Free templates & patterns
130+ freebies are waiting in the Haunted Library
Templates, patterns and printables for every project on the blog.
Formerly Making Make Believe · Join the Haunted Library

Halloween Party Favor Jars
As an Amazon Associate I earn from qualifying purchases.
This post may contain affiliate links for your convenience. Click here to read our disclosure policy.
The clown has been a Halloween staple for some time now, but I’ve never been a fan.
Yet, I kind of have a circus thing going on lately. Maybe it’s the summer heat, or perhaps it’s because the code orange alerts in my inbox keep sending me creepy clowns.
The smiling, balloon animal crafting clown with the oversized shoes may seem sweet and fun to some, but I say avoid and run. (I blame it on Pennywise.)
While operating my costume shop, I encountered several real-life clowns who seemed perfectly nonscary, yet I, like many others, find the character a little unsettling.
So, it is all the more strange that we are back at the haunted circus today with another project featuring a clown or two.
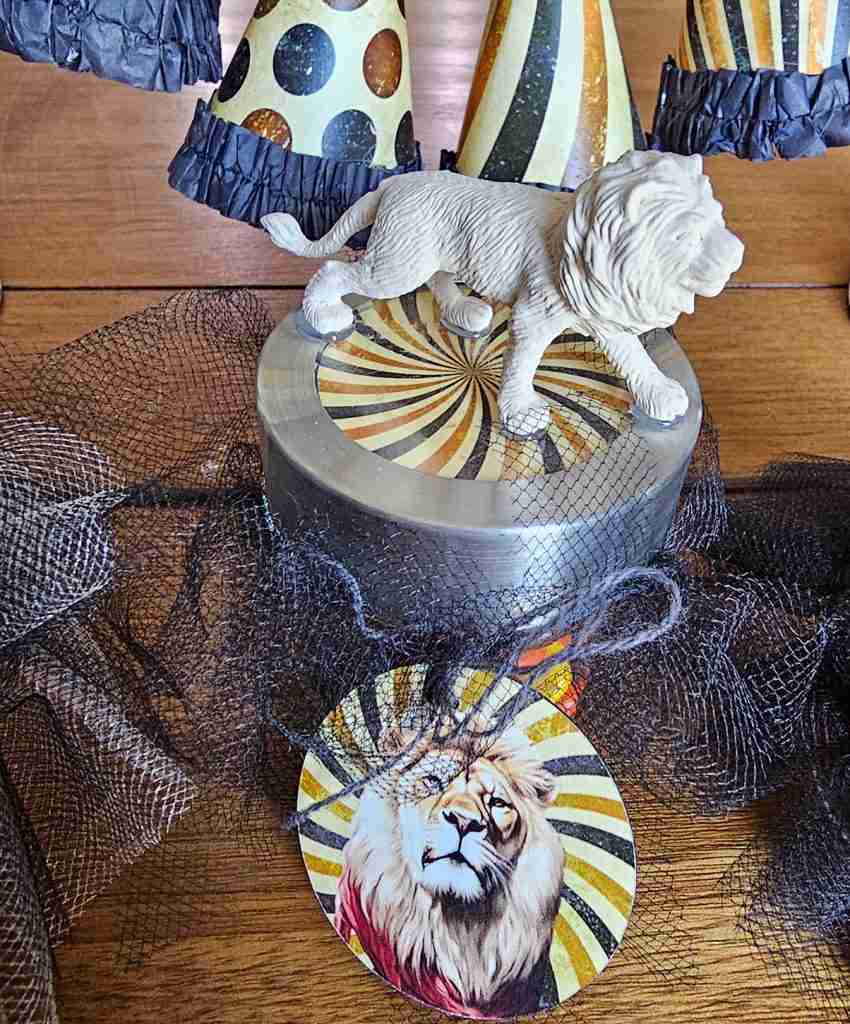
Today, we will make an easy haunted circus party favor jar you can send home with your guests or hand out to trick-or-treaters.
If clowns and the circus really aren’t your thing, fear not. I’ve got you covered with a circus-free version, allowing you to choose what suits your spooky style.
So, let’s get started.
For this project, we will need:
Small jars – I grabbed these from Hobby Lobby, but you can also recycle any small jars with lids.
Ribbon or cording
Tulle
Scissors
Spray paint or acrylic craft paint
Circus animal figurines or small skulls and tiny pom-poms
Hot glue
Printer and paper (not shown)
Small candies
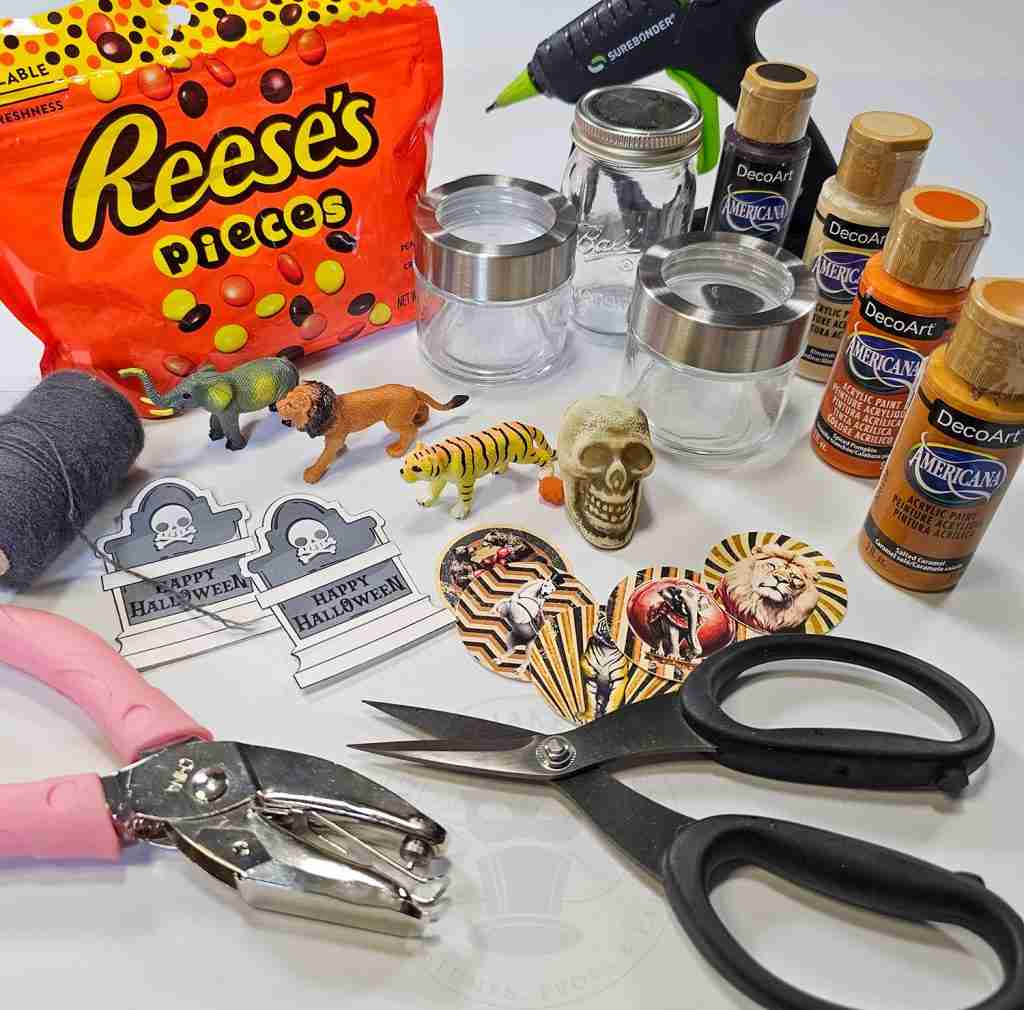
We will also need the Party Favor Jar Medallions from the Haunted Library. Choose the SVG/PTC for print then cut machine cutting, or the PDF for hand cutting.

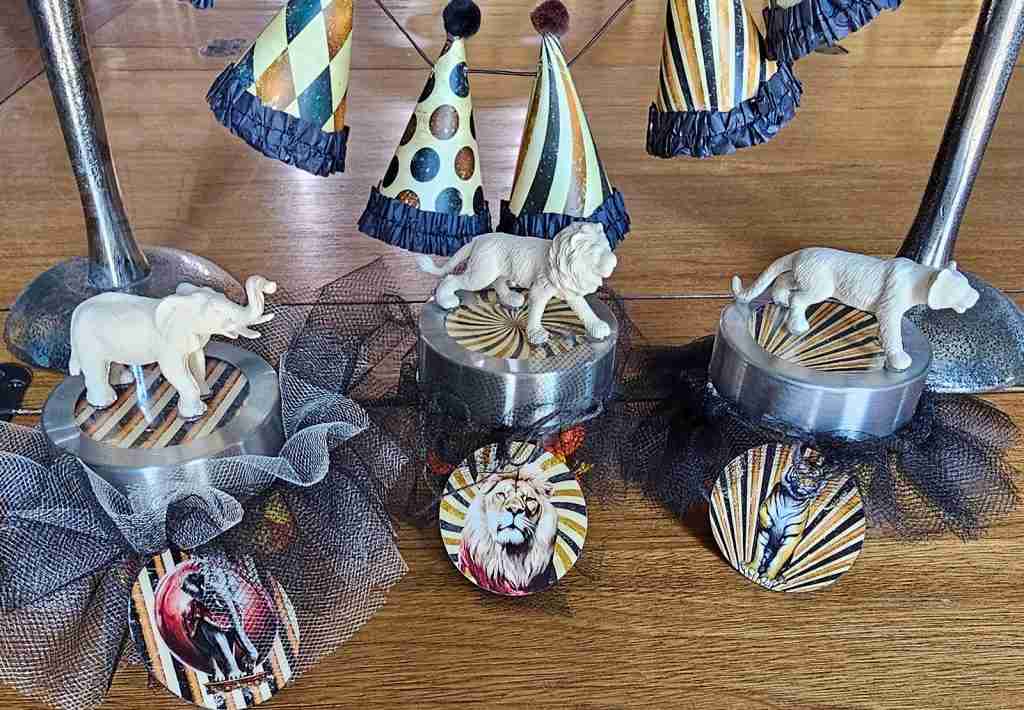
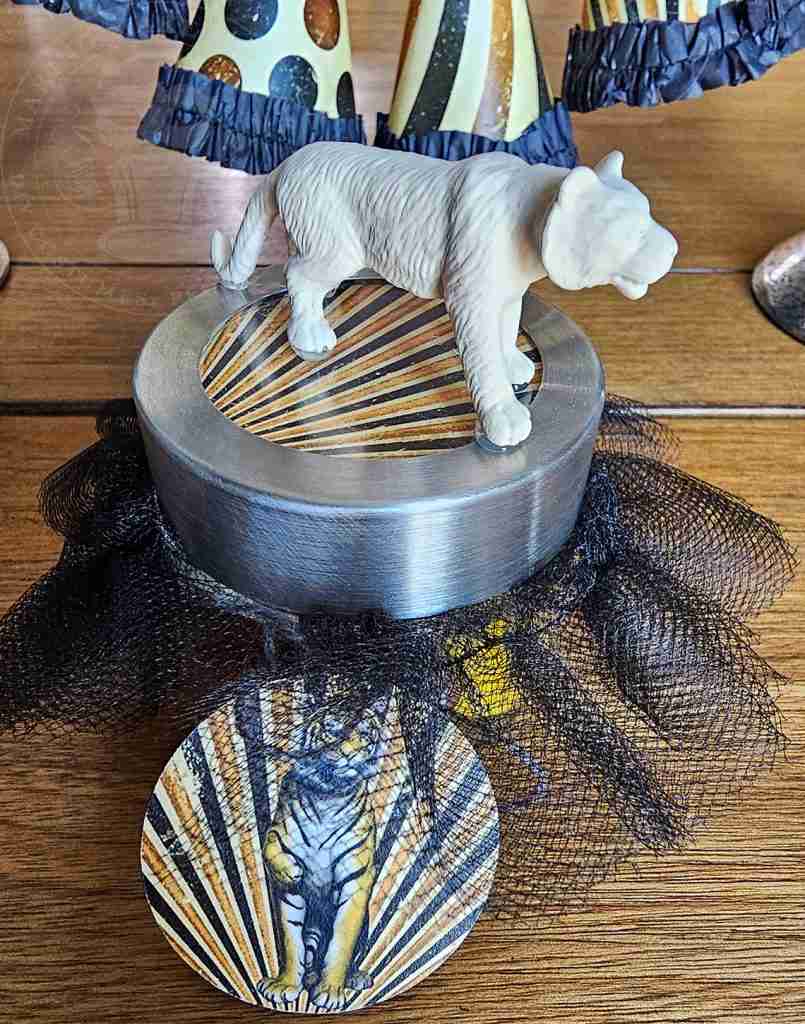
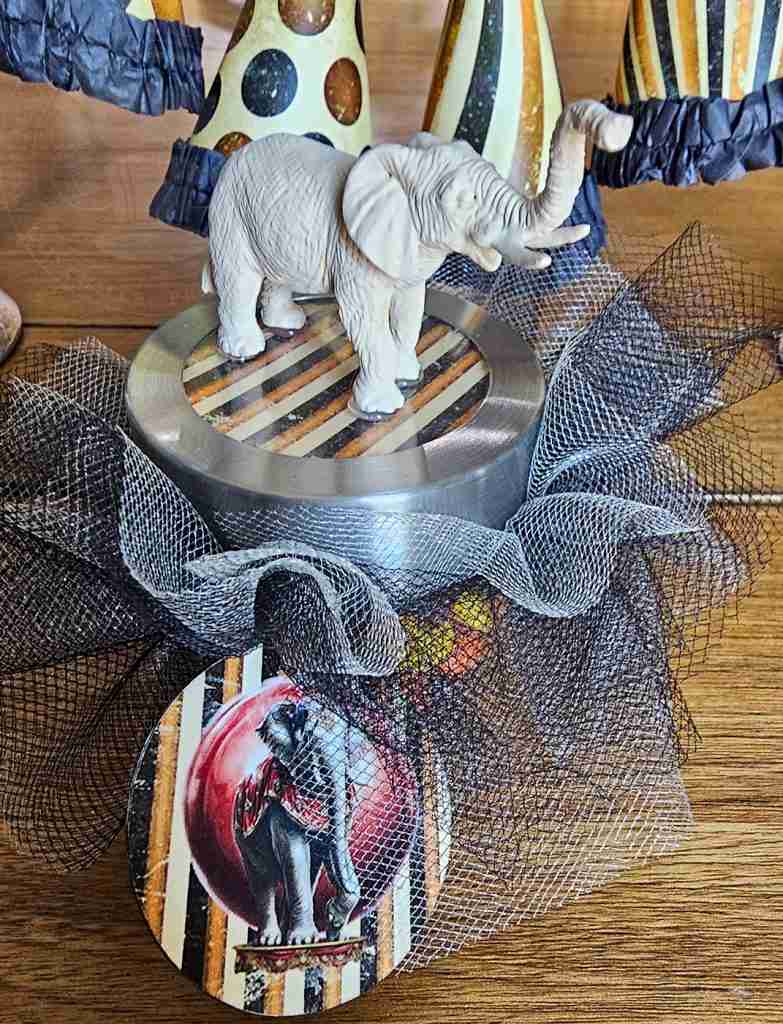
First, select your desired topper elements for your jars. For the Haunted Circus theme, I’m using safari wildlife animal figurines and small skulls.
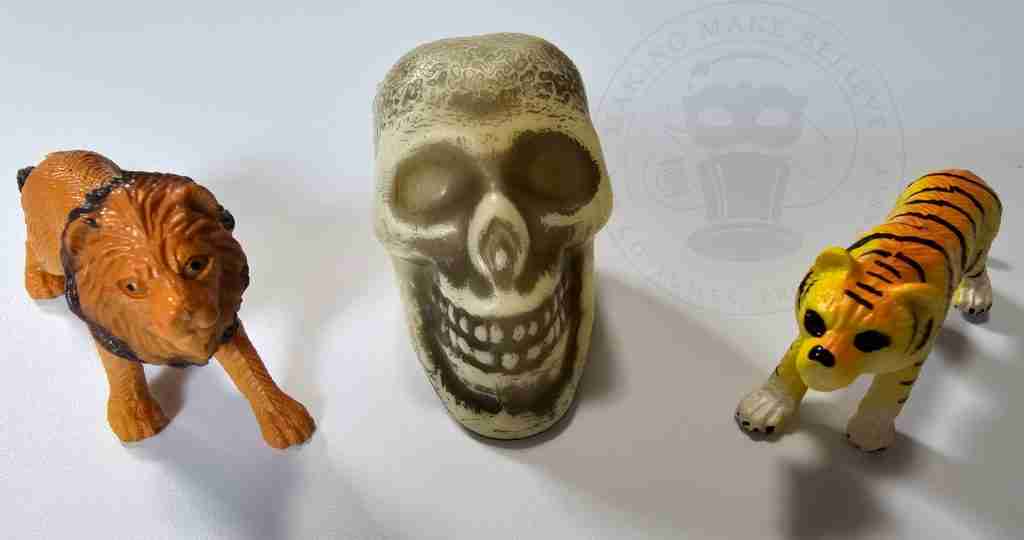
Layout the figurines and the jar lids and paint as desired.
I used acrylic craft paint in a ghostly white for the wildlife animals and black spray paint for the metal lids.
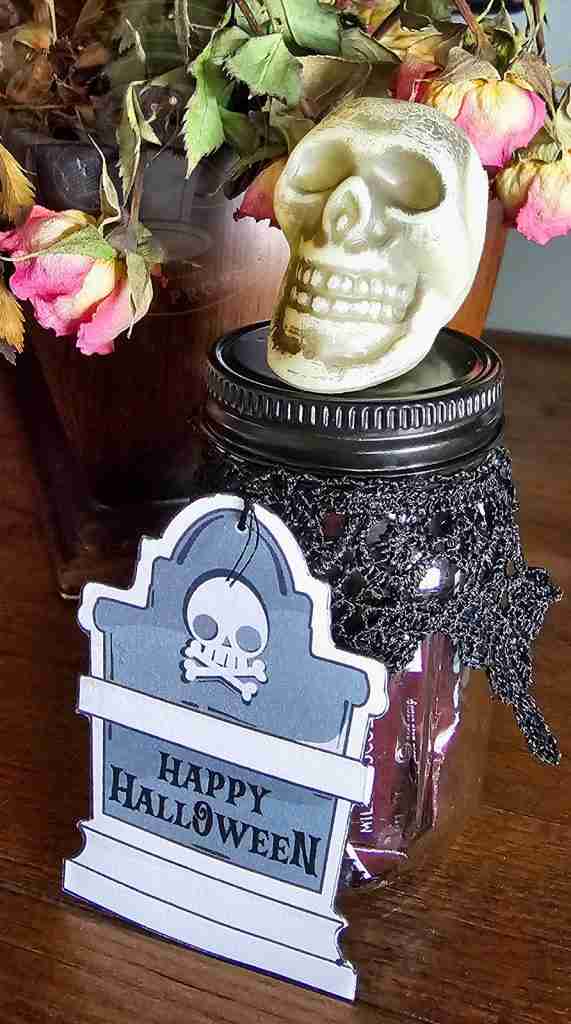
The little skull is perfect, so I opted not to paint it.
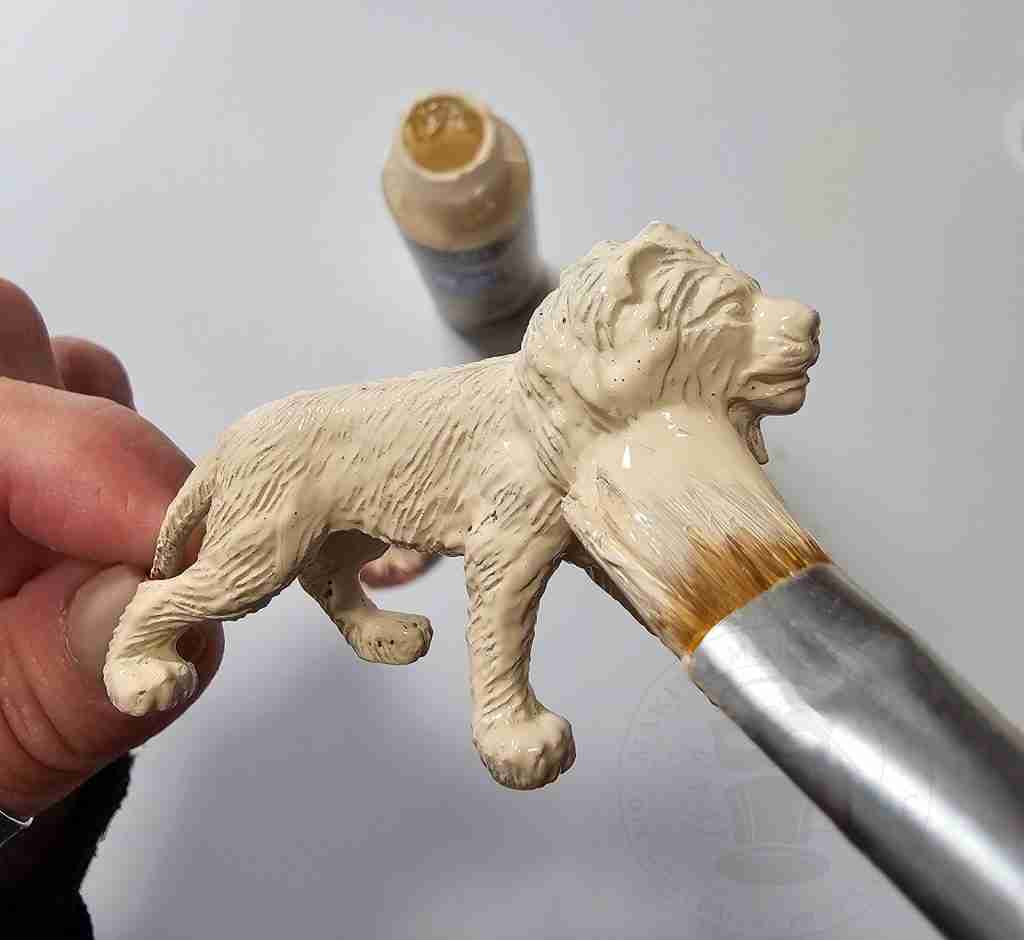
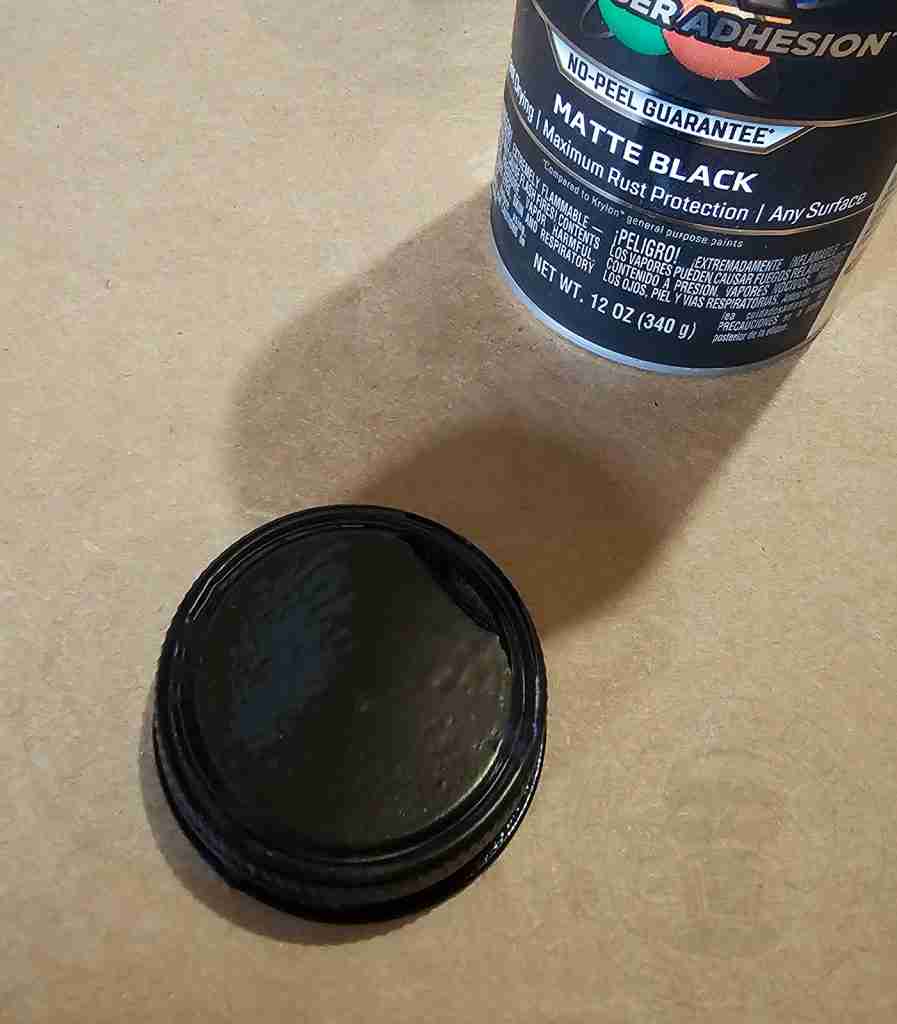
Set aside and allow them to dry.
Cut a length of tulle. You will need enough to fit around your jar and gather so about three times the diameter of your jar.
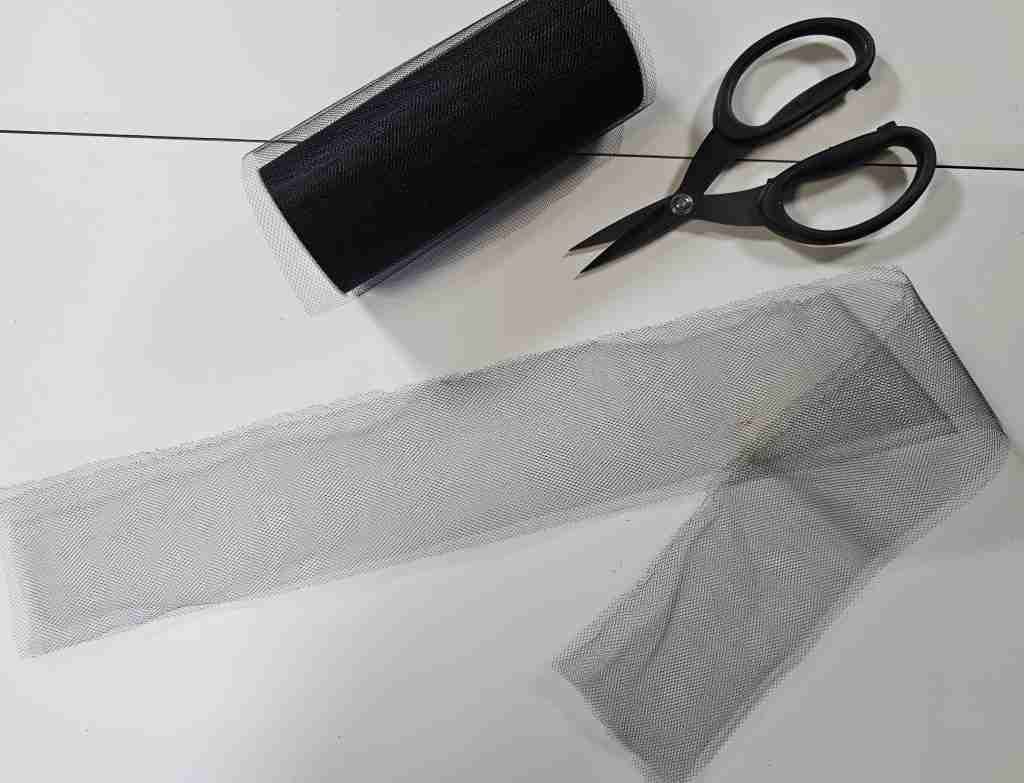
Fold the tulle in half and stitch about 1/4″ to 1/2″ away from the fold to make a casing.
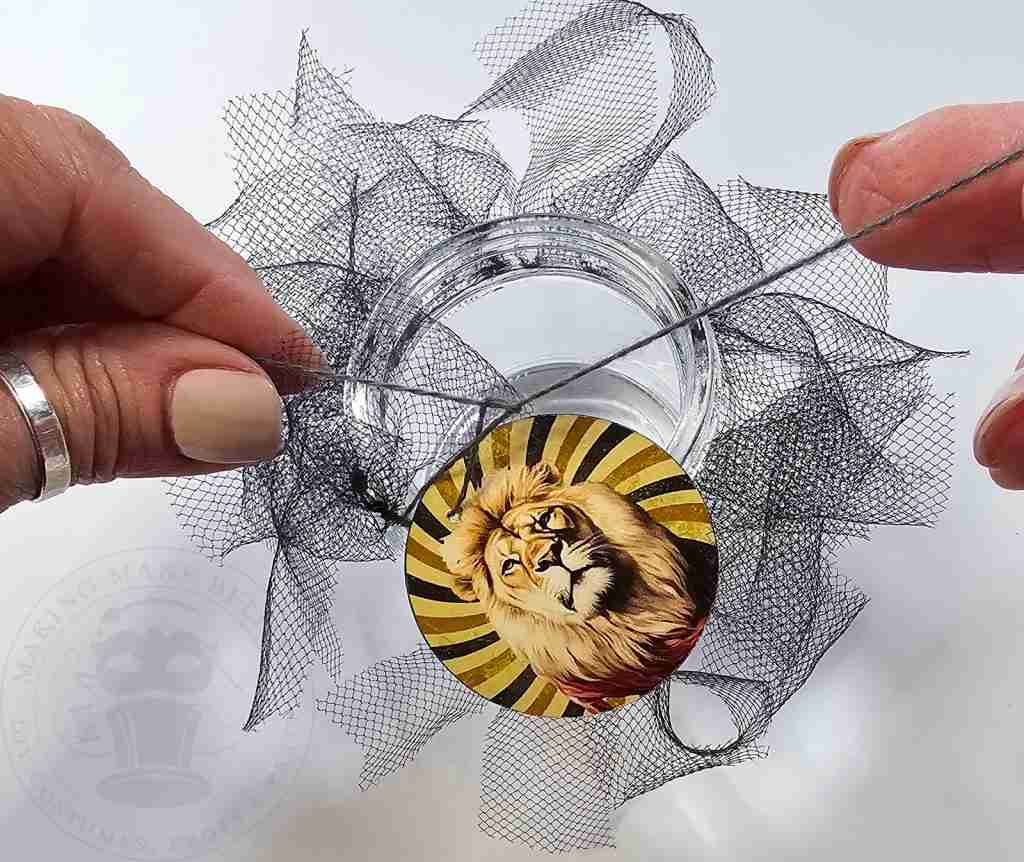
String the tulle onto a ribbon or cording to gather.
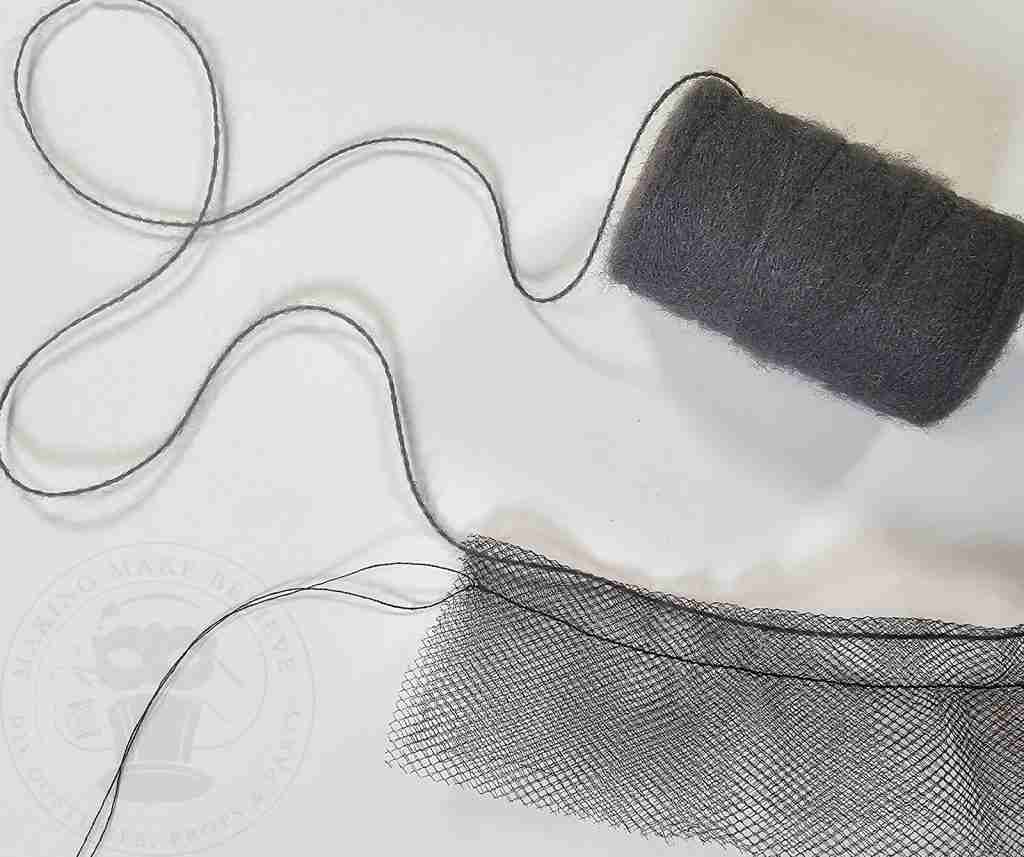
If you prefer a no-sew method, you can cut thin strips of tulle and loop them onto your cording.
I taped one end of my ribbon to the table, making it easier to tie on the tulle.
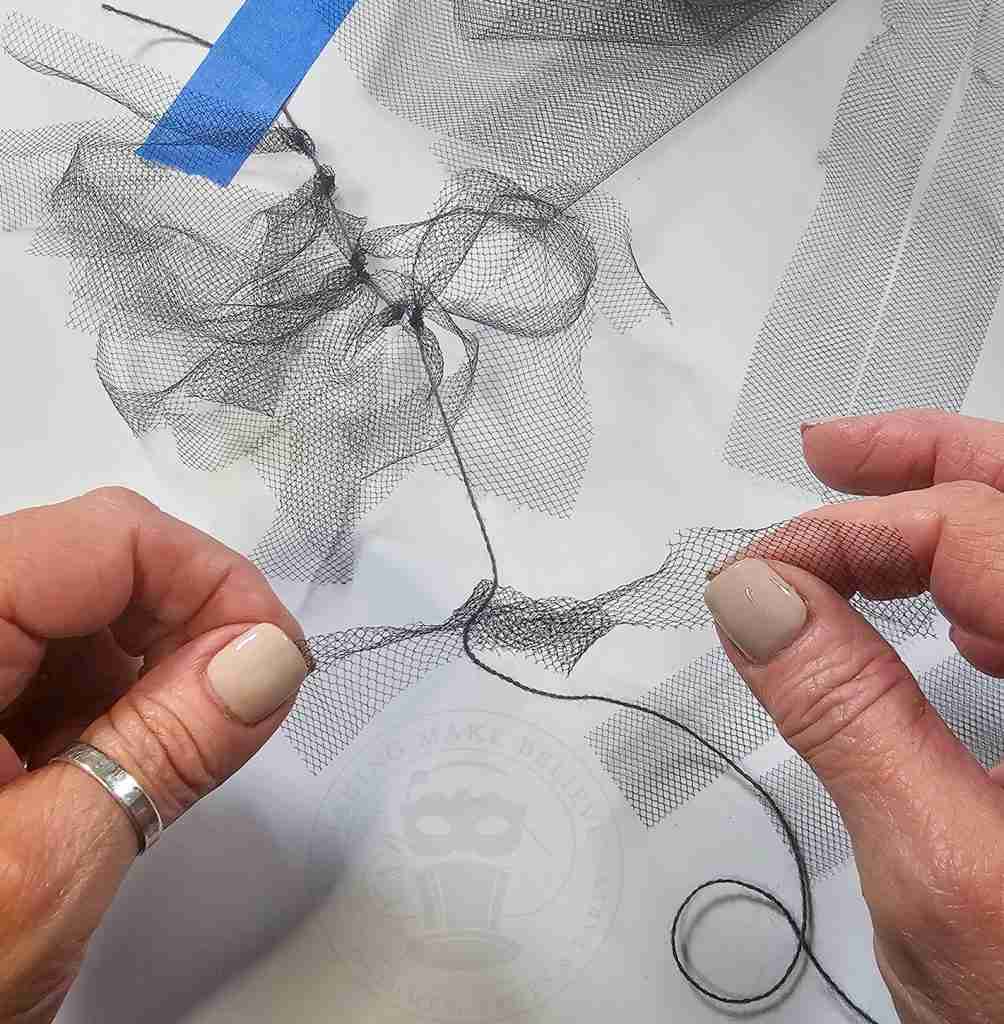
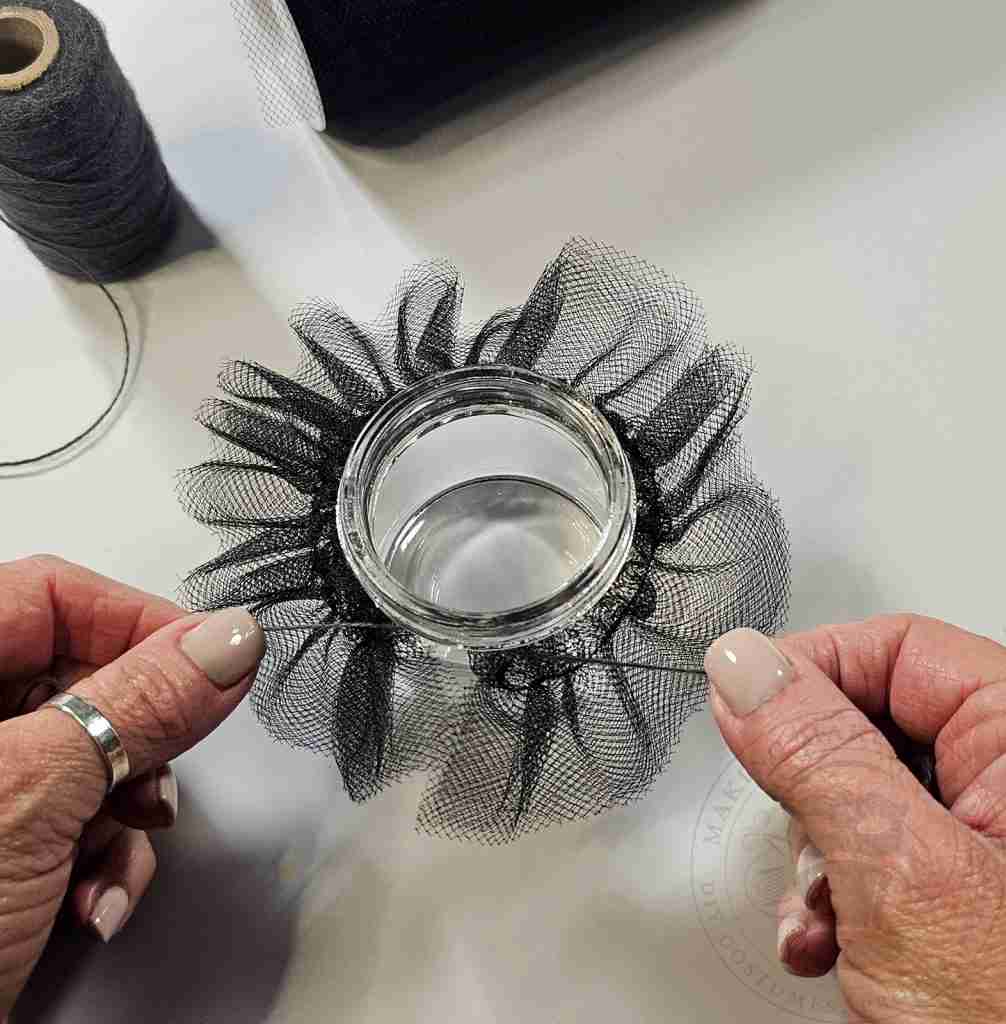
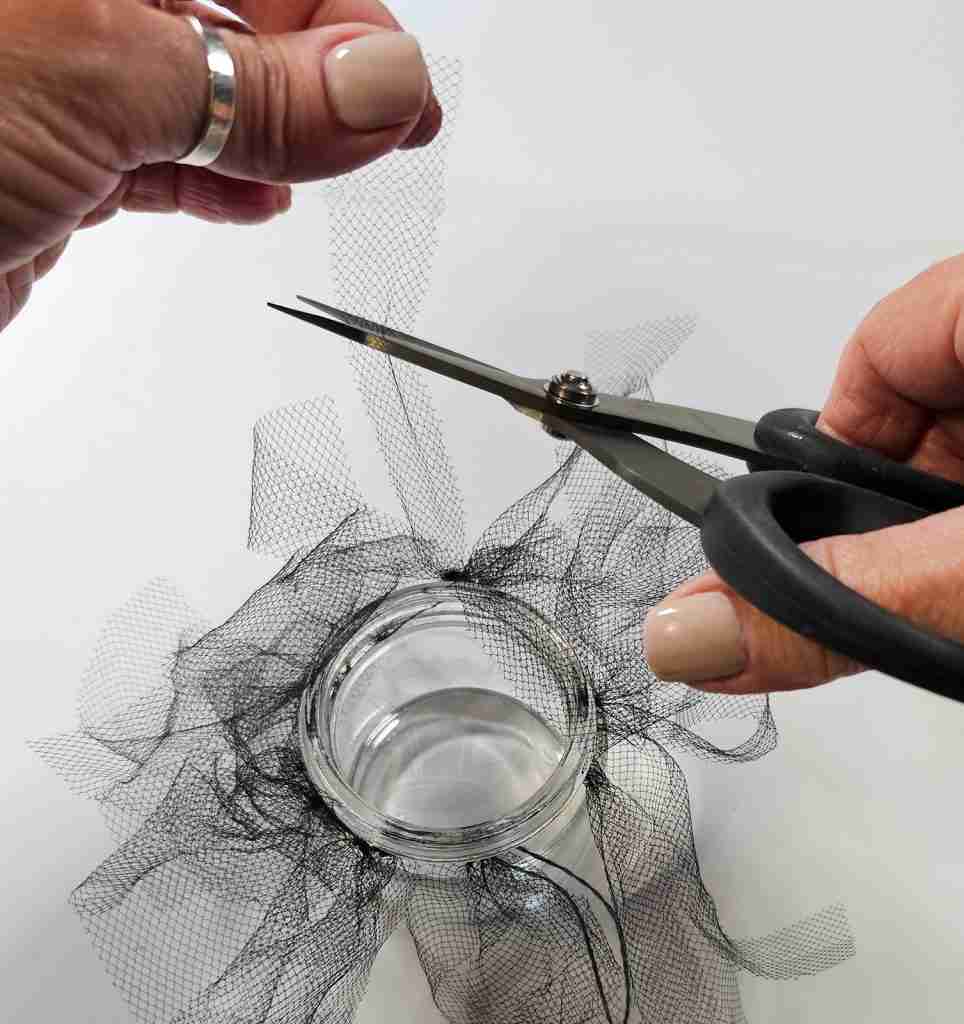
Wrap the tulle around the neck of your jar, tie it, and trim it if desired.
For Print Then Cut machine cutting, upload the Party Favor Jar Medallions into your design software. I’m using Cricut Design Space.
The medallion layout will print and cut four of each of the five designs.
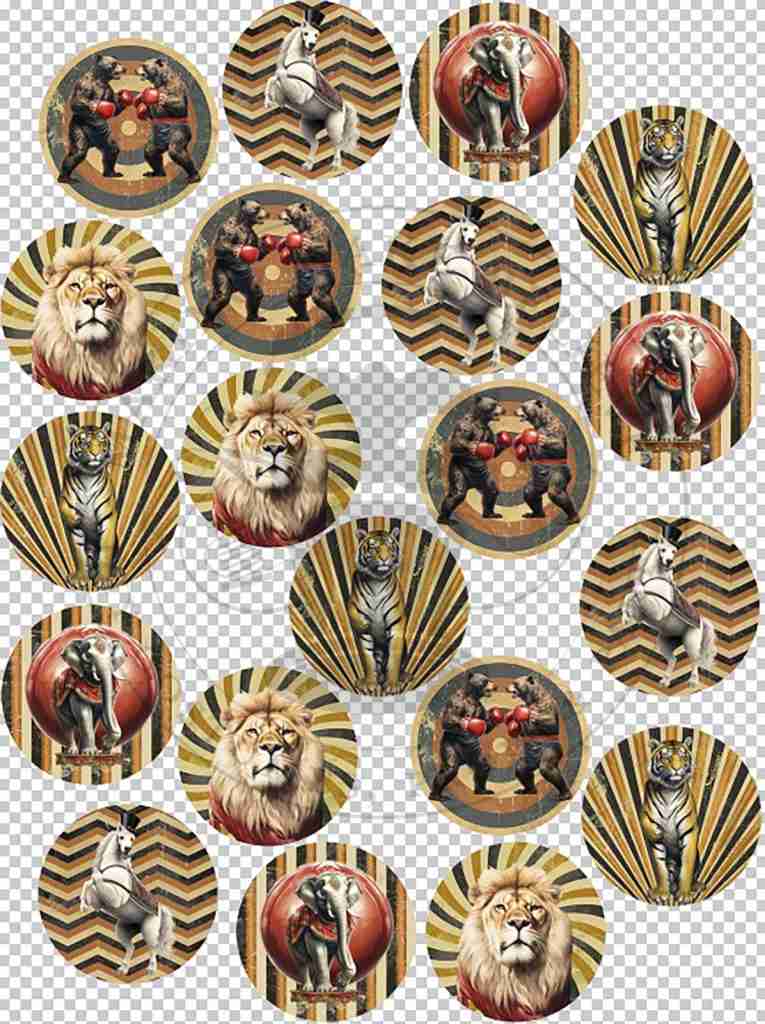
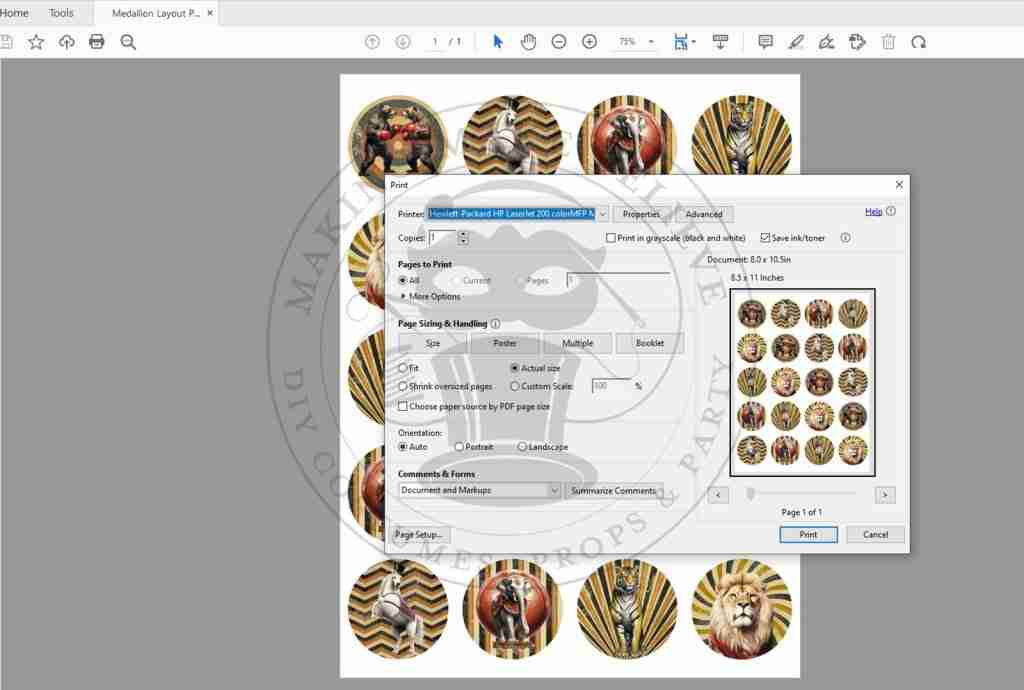
To cut by hand, open the template with your favorite PDF reader (Adobe, FoxIt, etc.).
Set the medallions to print at Actual Size or resize if preferred.
Print and cut the medallions.
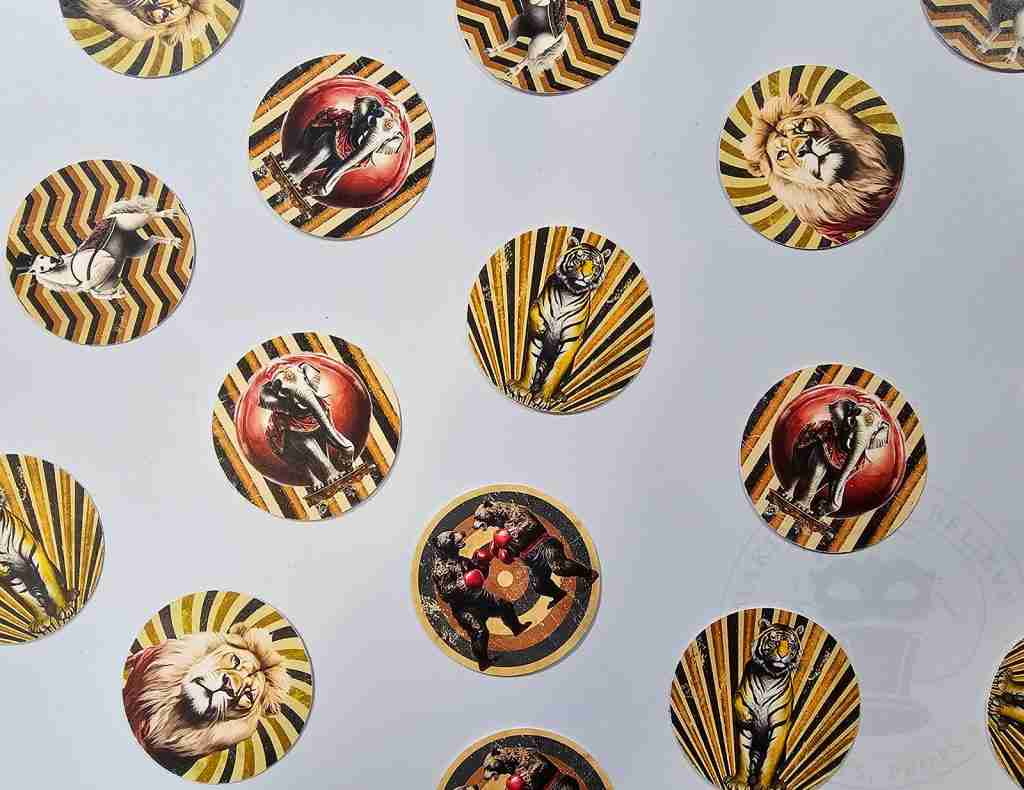
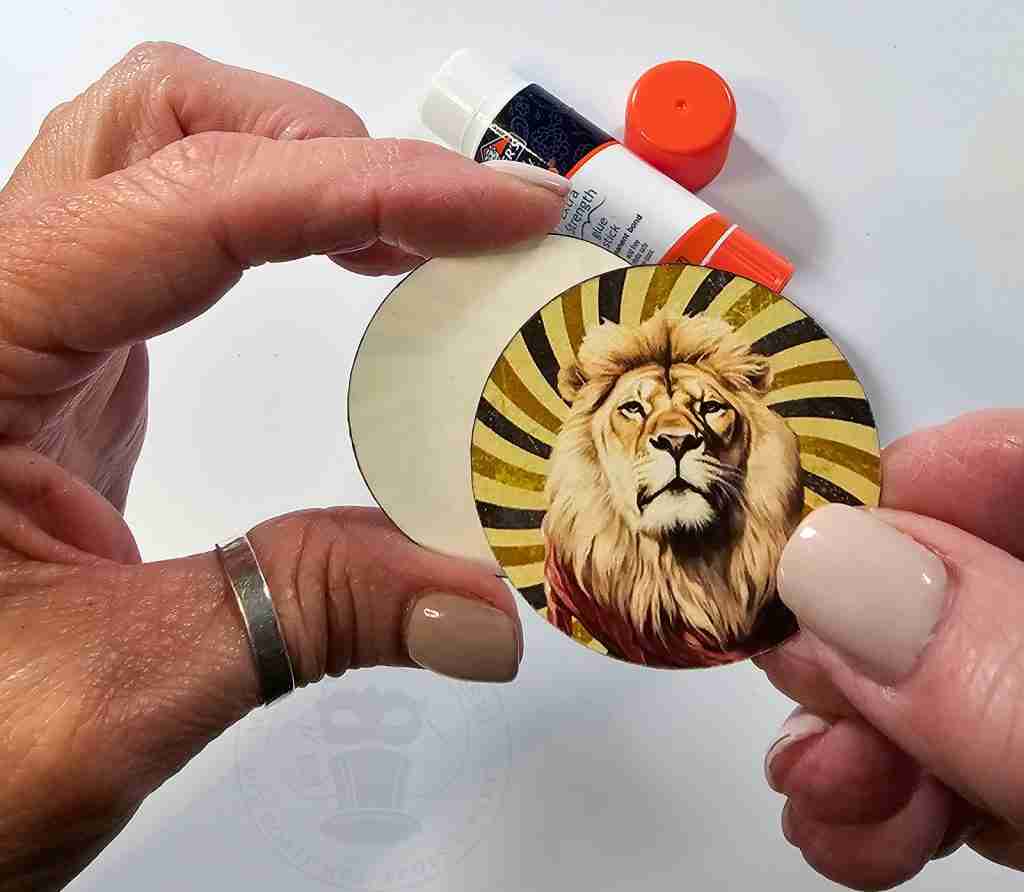
For a more complete look, glue a back onto your medallion. You can choose from another animal piece or use a circle cut from colored cardstock.
Punch a small hole near the top and tie a medallion onto the front of each jar with the tulle-covered cording.
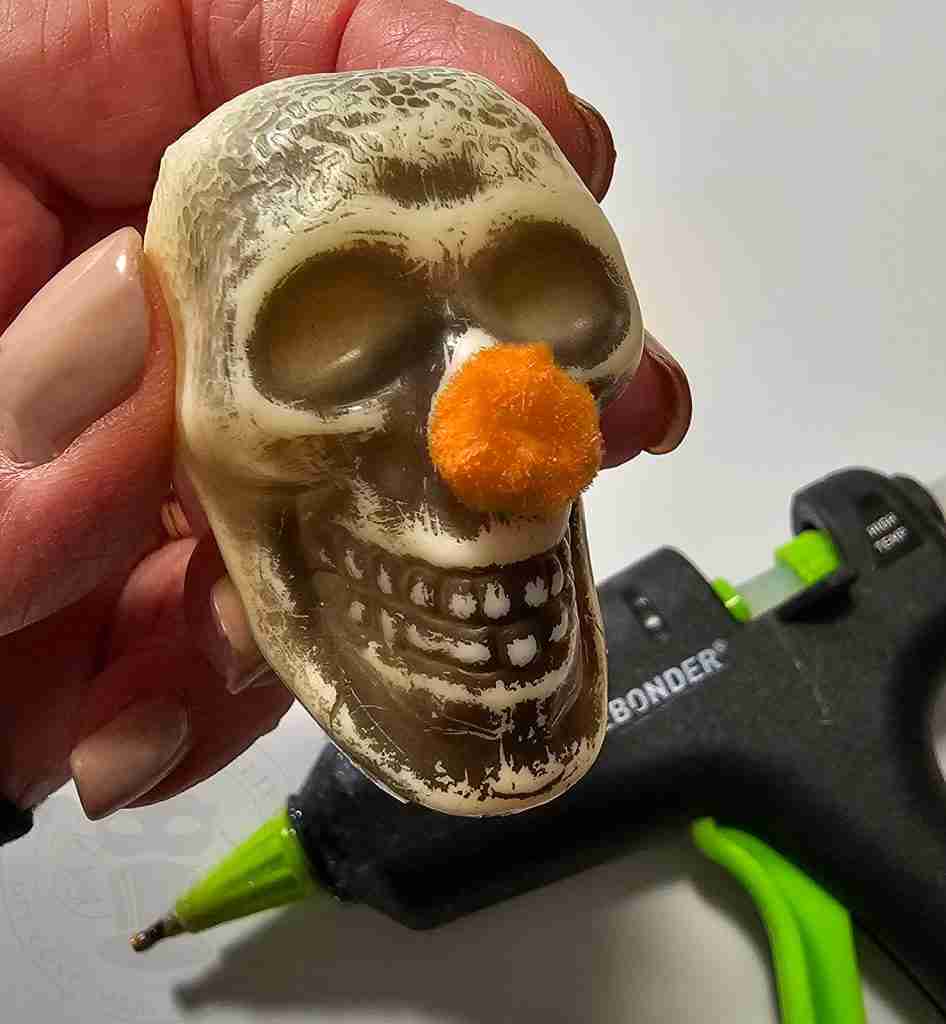
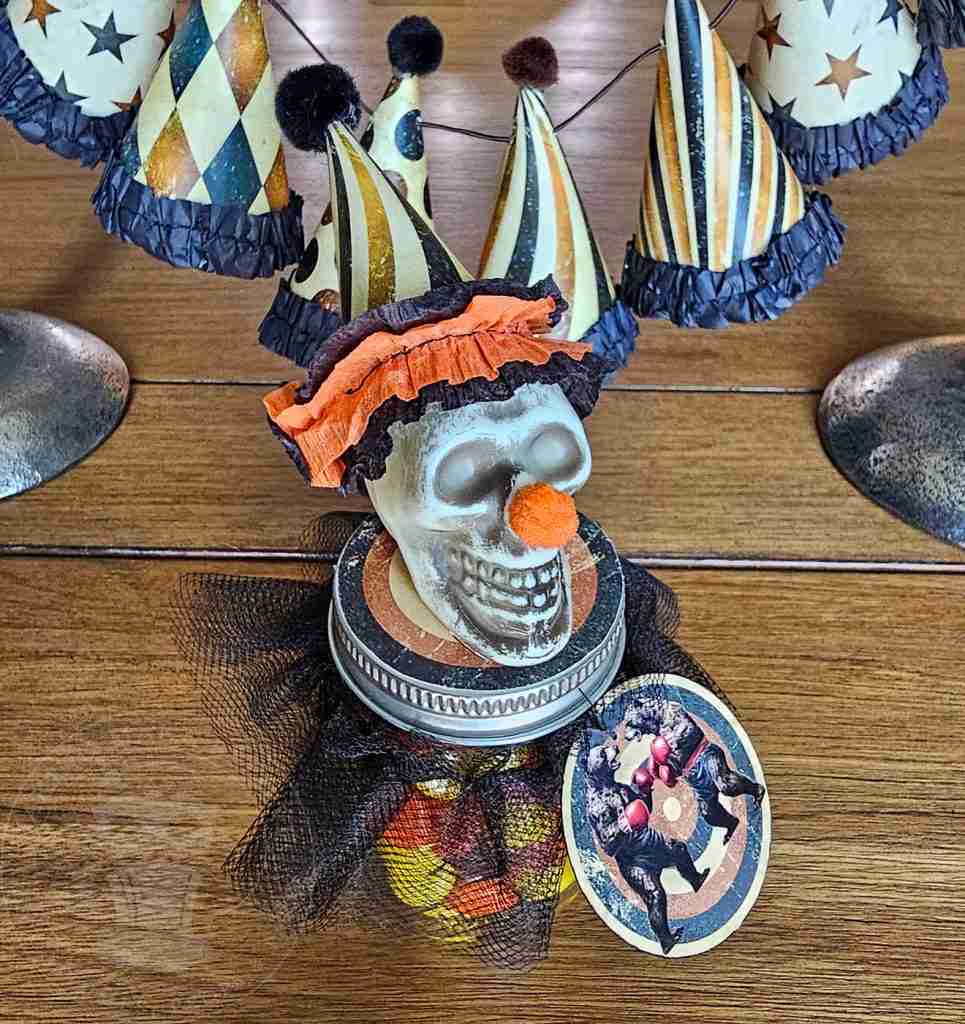
To use small skulls as clown toppers, hot glue a tiny pom-pom to the nose.
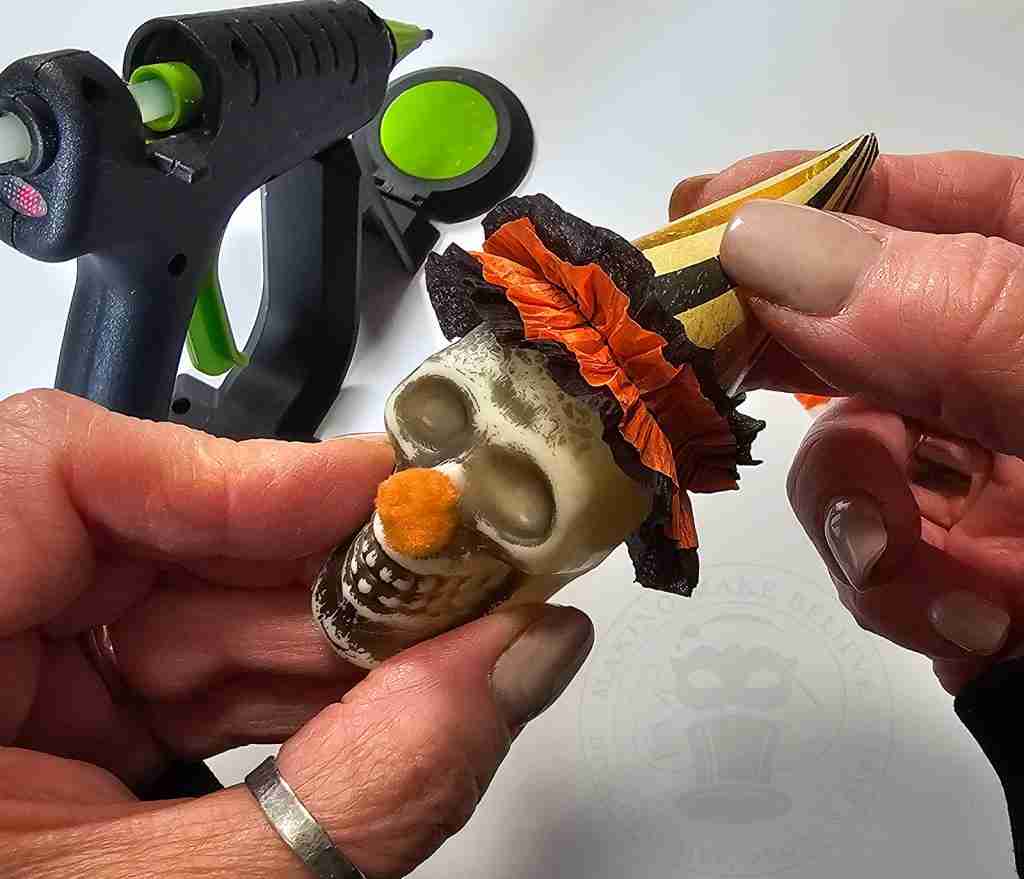
You can also use the Haunted Circus Mini Paper Clown Hat to make a tiny clown hat and glue it to the skull.
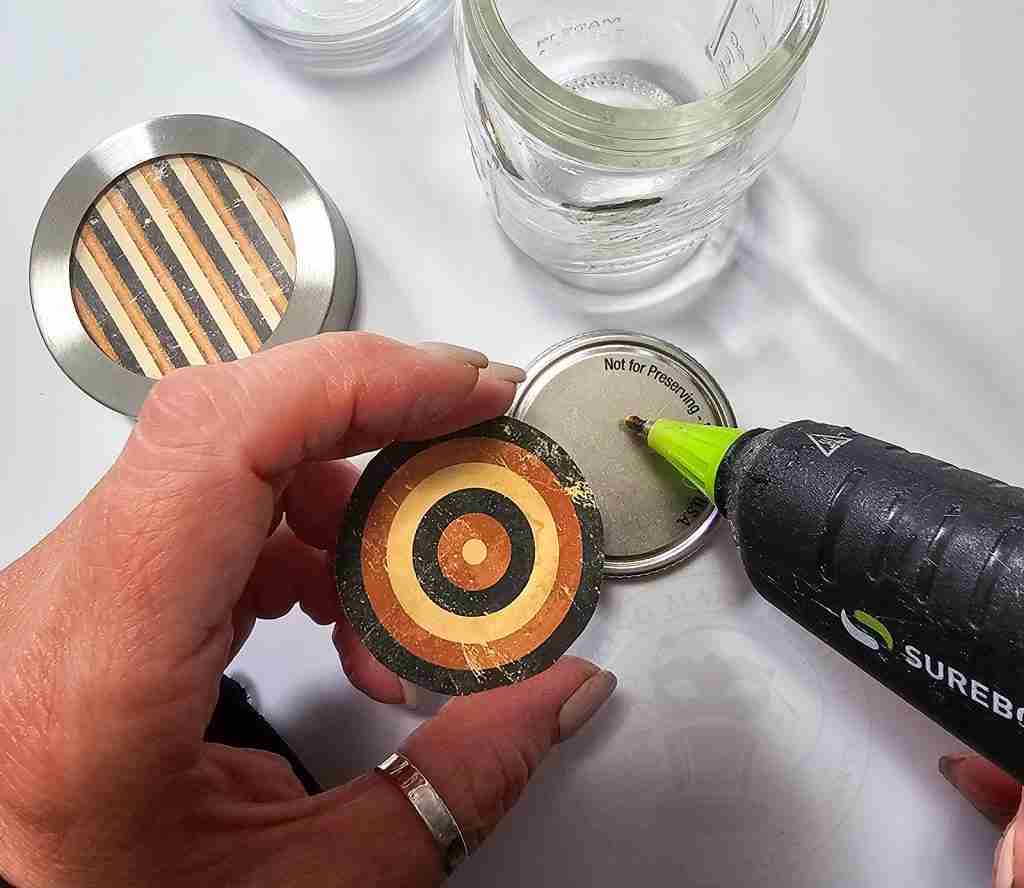
Before adding the toppers to our jars, we need to finish any lids we haven’t painted.
I glued a medallion to the solid metal lid’s top and the clear lids’ underside.
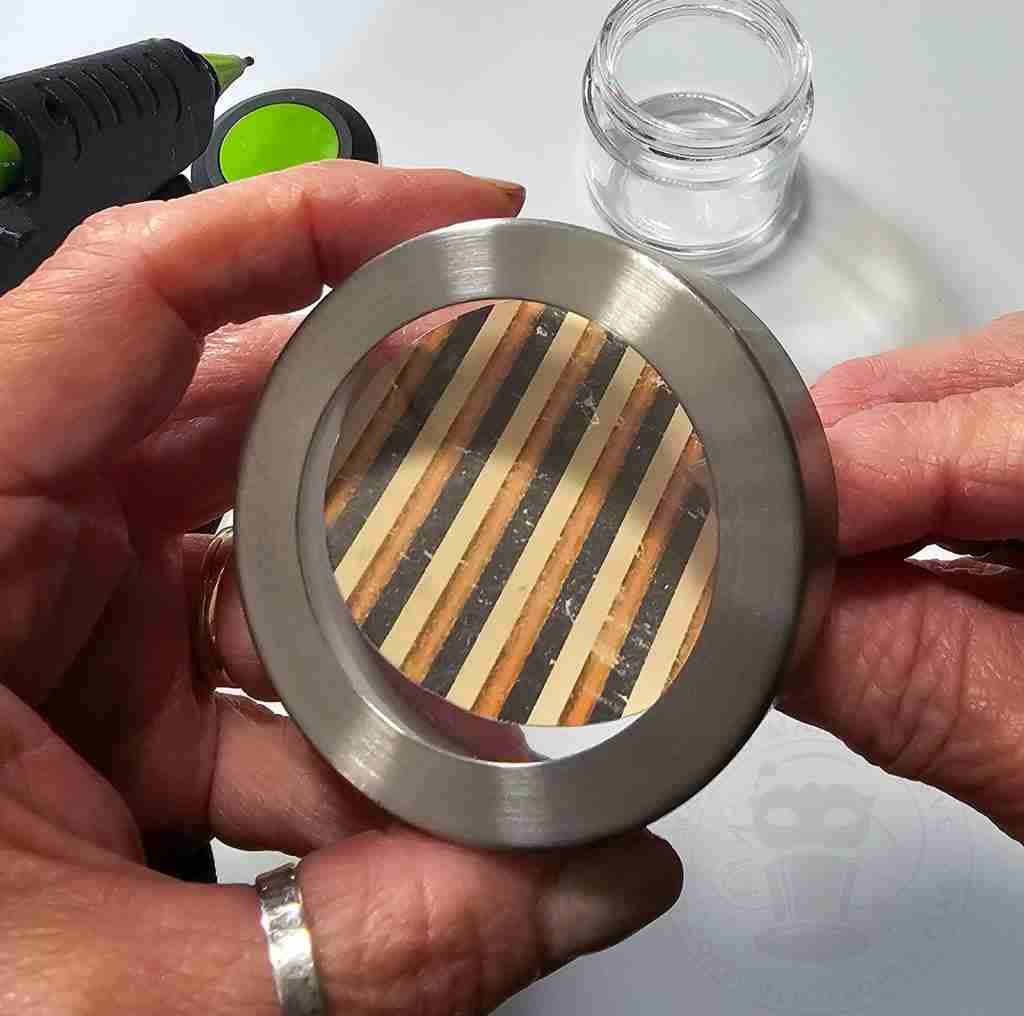
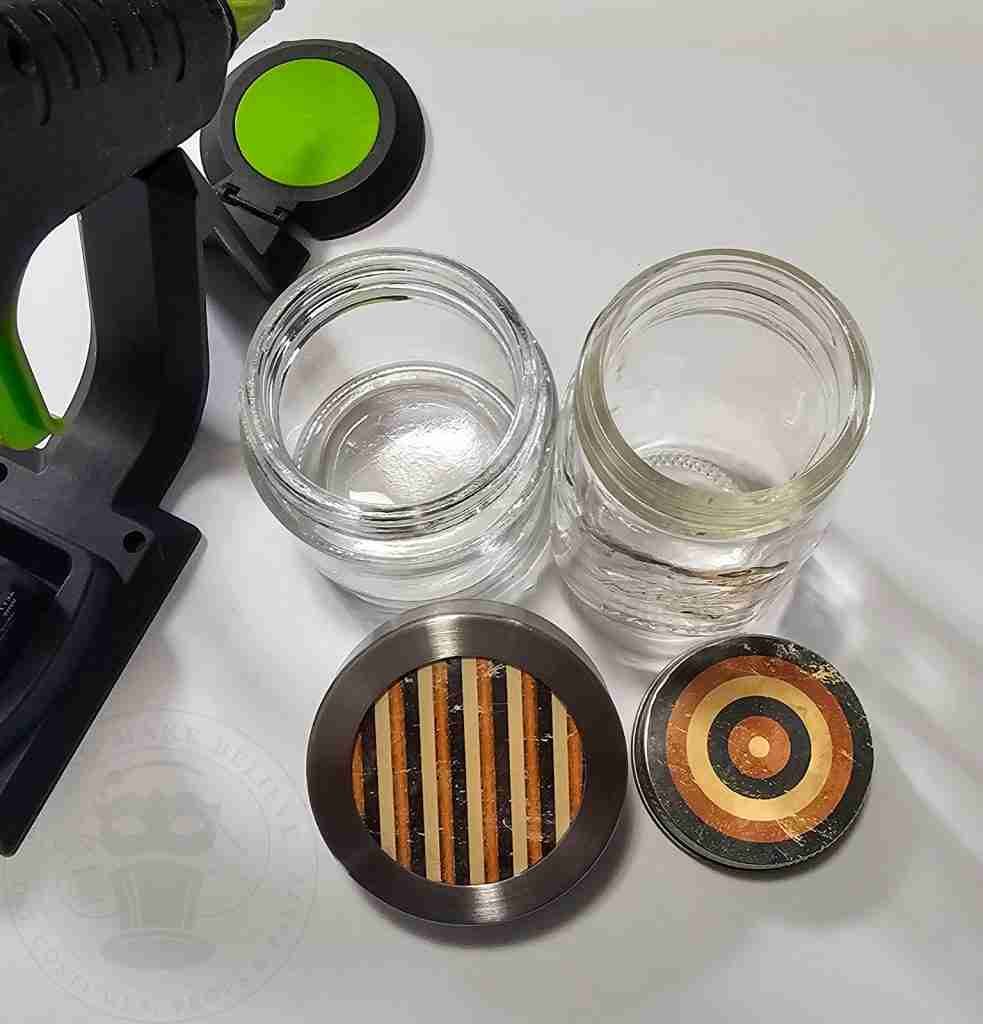
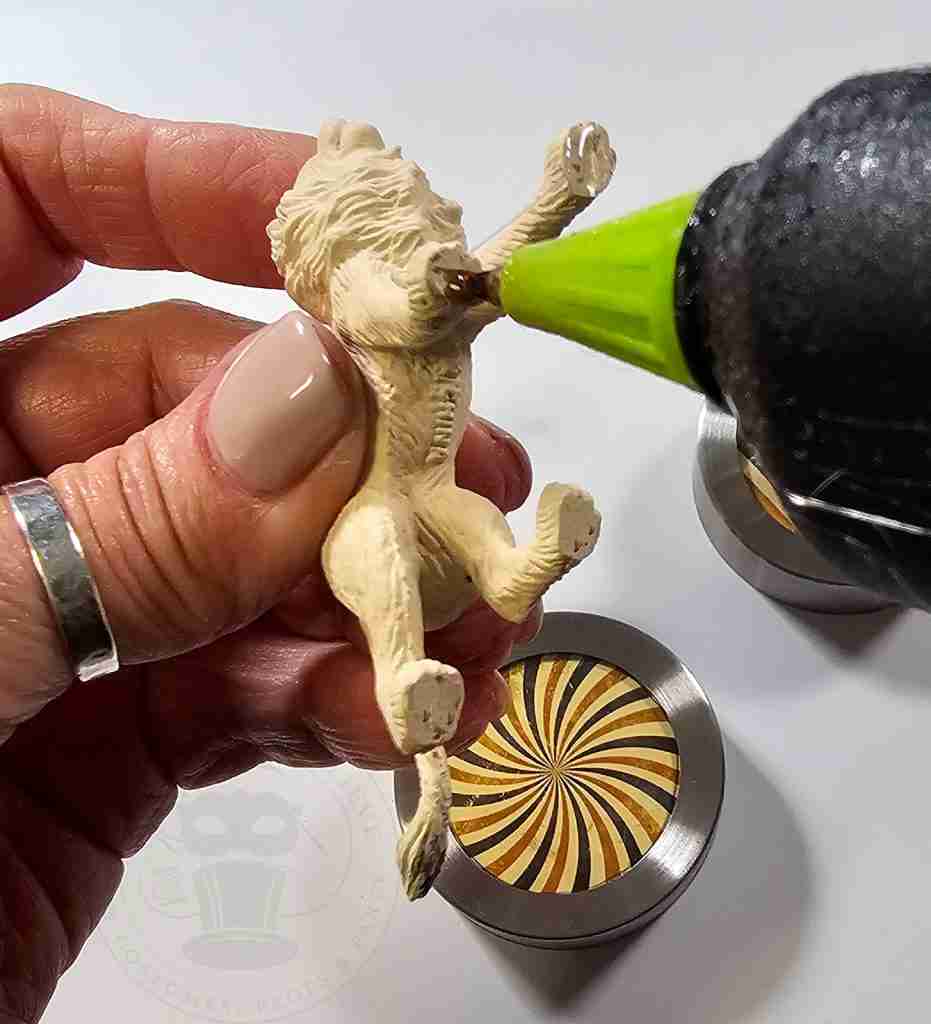
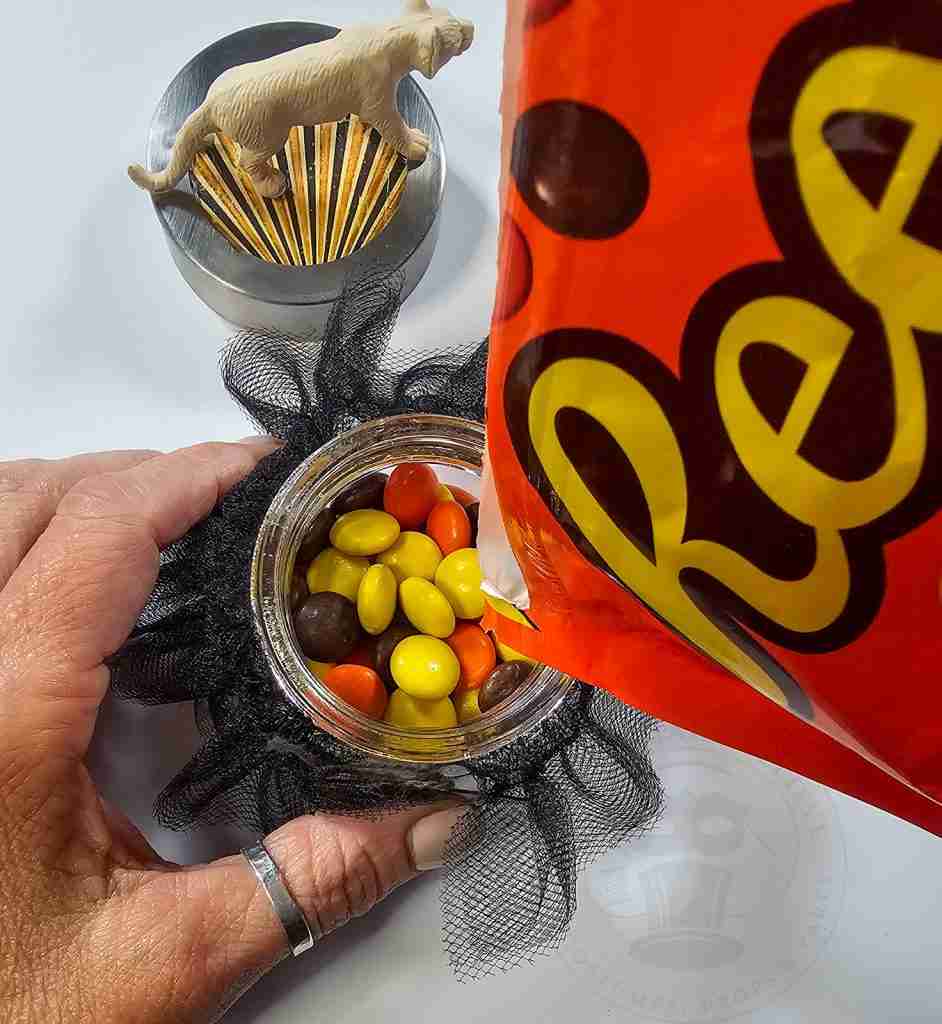
Lastly, hot glue the circus animals and skulls to the top of the jars and fill them with small candies.
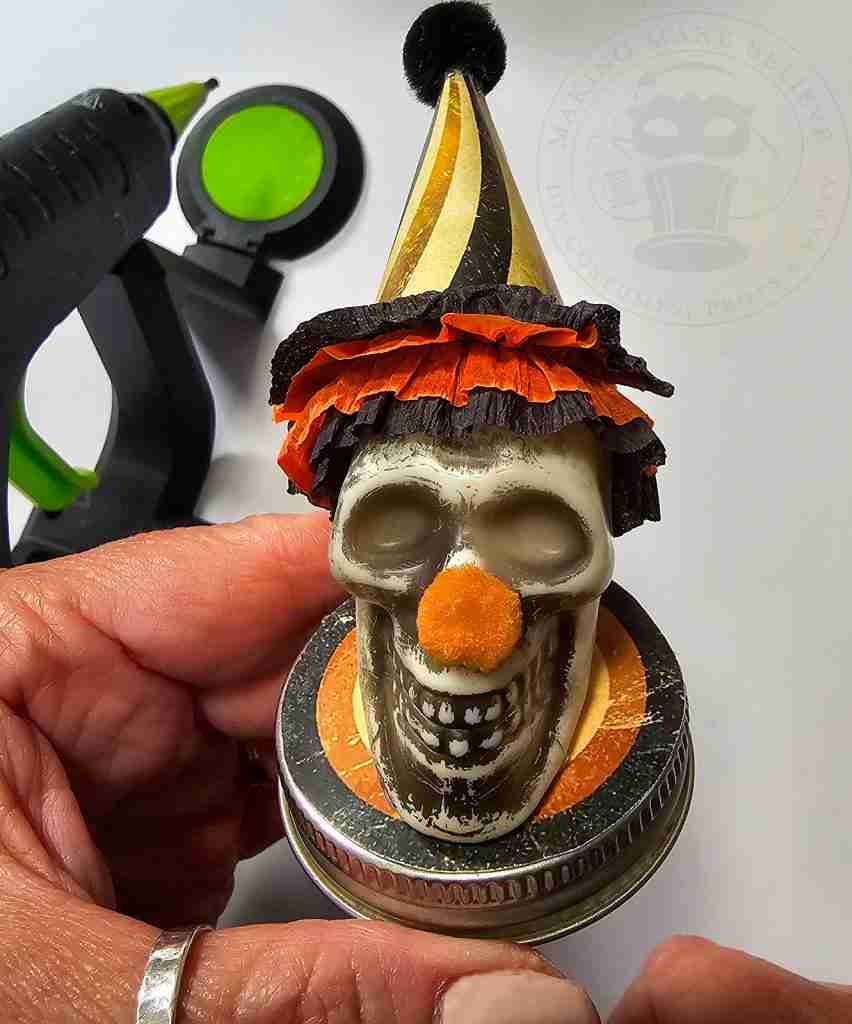
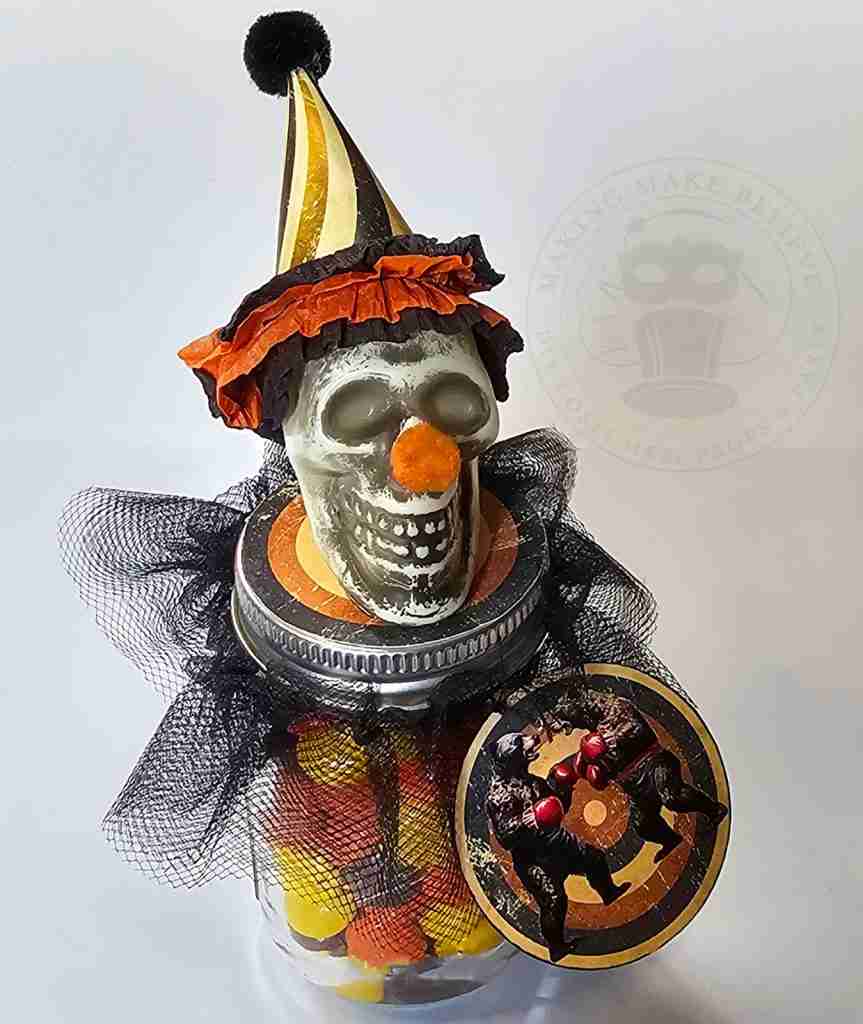
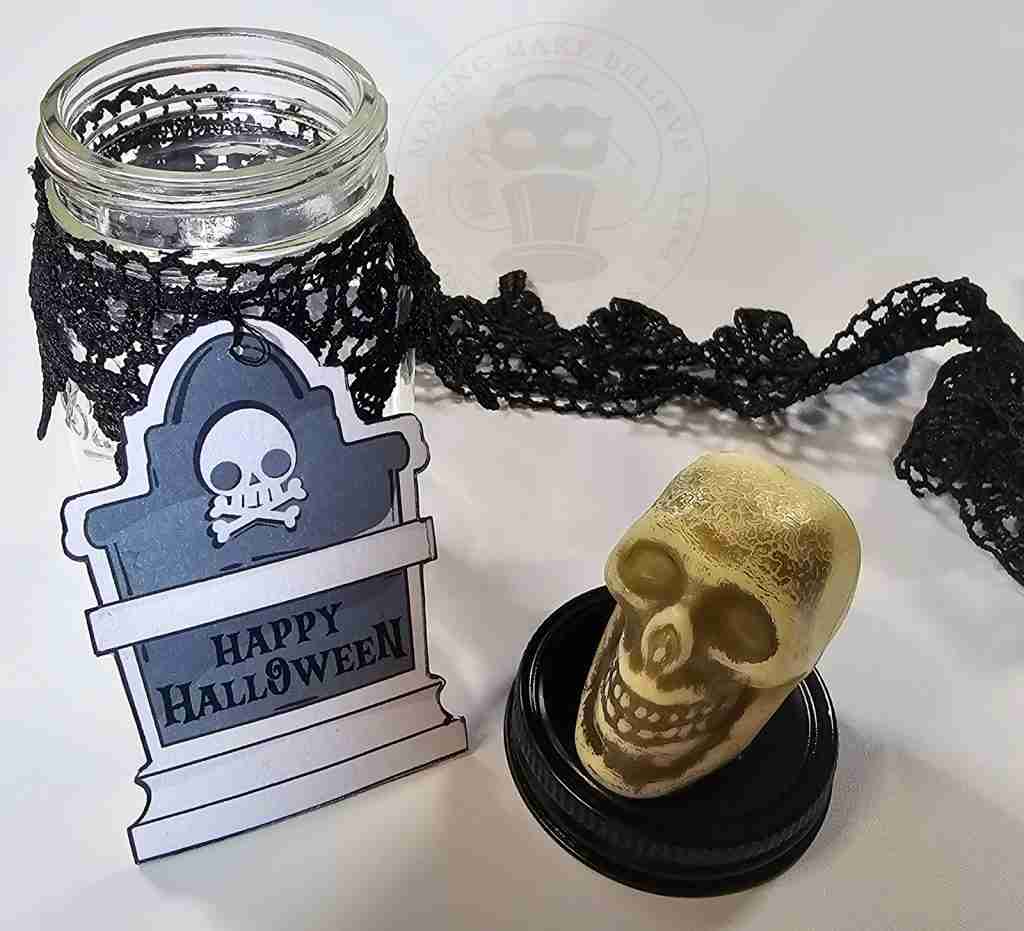
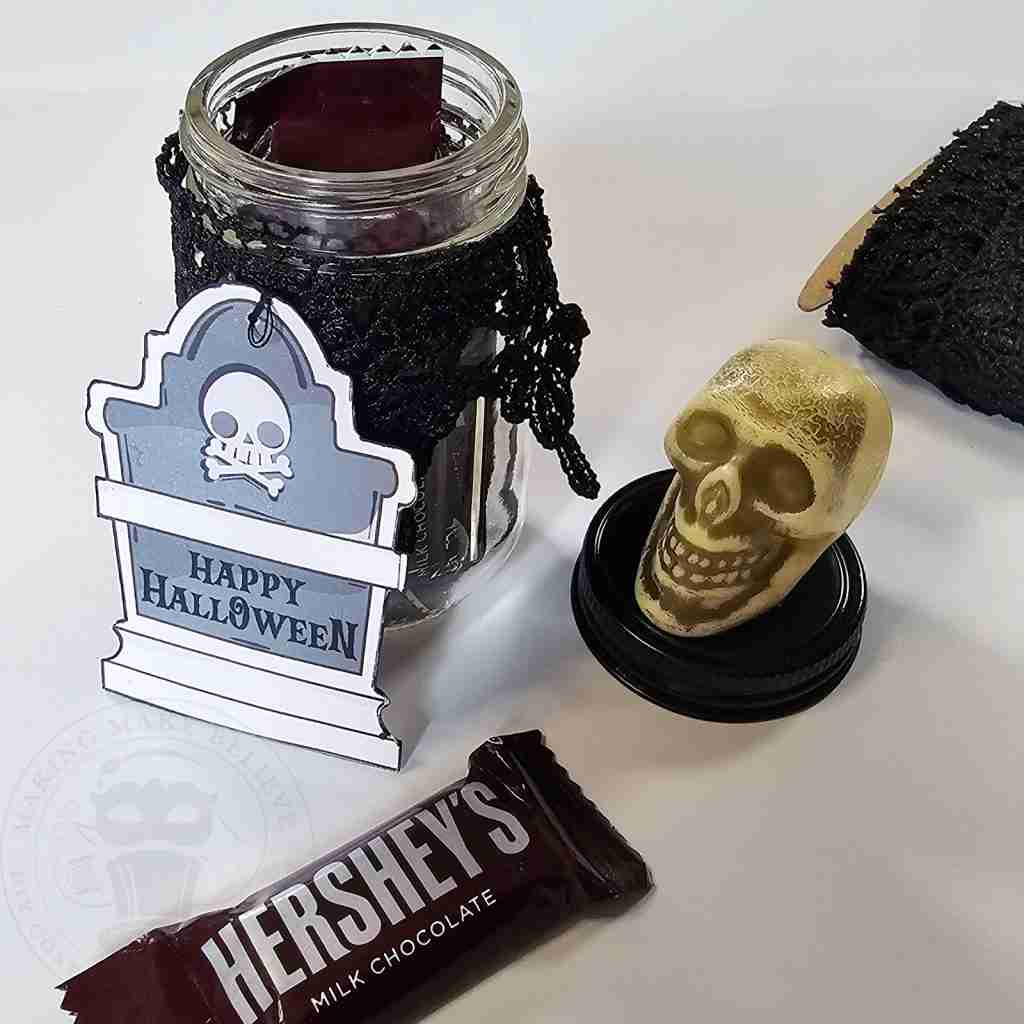
For a non-circus version, pair the skulls (sans the nose and hat) with tombstone medallions.
I hope you enjoyed our trip to the circus today. It won’t be the last.
Until next time, stay spooky.

Templates, patterns and printables for every project on the blog.

Counting down to Halloween since the 1970s. I create, style and celebrate all things costume and Halloween, all year round.
Welcome to my world of Halloween Ever After, where I create, style, and celebrate all things costume and Halloween.
Within these haunted pages lie affiliate links to curious and captivating finds I love. If you make a purchase through them, I may earn a modest commission (think fun-size candy bar), which helps keep the Halloween magic alive. No extra cost to you – cross my batty heart.



Check your email for the Haunted Library password.
Don’t miss a moment of the mischief.
Add hello@halloweeneverafter.com to your address book.
The magic happens right here in my studio and office. When you step inside my creative space, you’ll find an ever expanding gallery wall overflowing with original spooky art and classic Halloween LPs, right alongside a haunted cabinet packed to the brim with vintage curiosities.
It’s under the watchful eyes of these retro treasures that I design and craft.
Join us and get access to our Haunted Library stocked with templates, printables, cut files, and exclusive content. Plus, you’ll receive Eerie Emails just for our subscribers.
*Stay as long as you like. Unsubscribe at any time.


