Free templates & patterns
130+ freebies are waiting in the Haunted Library
Templates, patterns and printables for every project on the blog.
Formerly Making Make Believe · Join the Haunted Library

Halloween Printables
As an Amazon Associate I earn from qualifying purchases.
This post may contain affiliate links for your convenience. Click here to read our disclosure policy.
When I switched gears from having a Halloween shop to starting a Halloween blog, one thing I knew was that I wanted to create my own designs.
I already had Adobe Illustrator, only because it came with Photoshop, but it was very intimidating. So, I signed up for an online course to make SVG files. As luck would have it, the course offered lessons in both Illustrator and Inkscape.
I was not even aware of Inkscape, a free, open-source vector graphics editor which turned out to be more my speed.
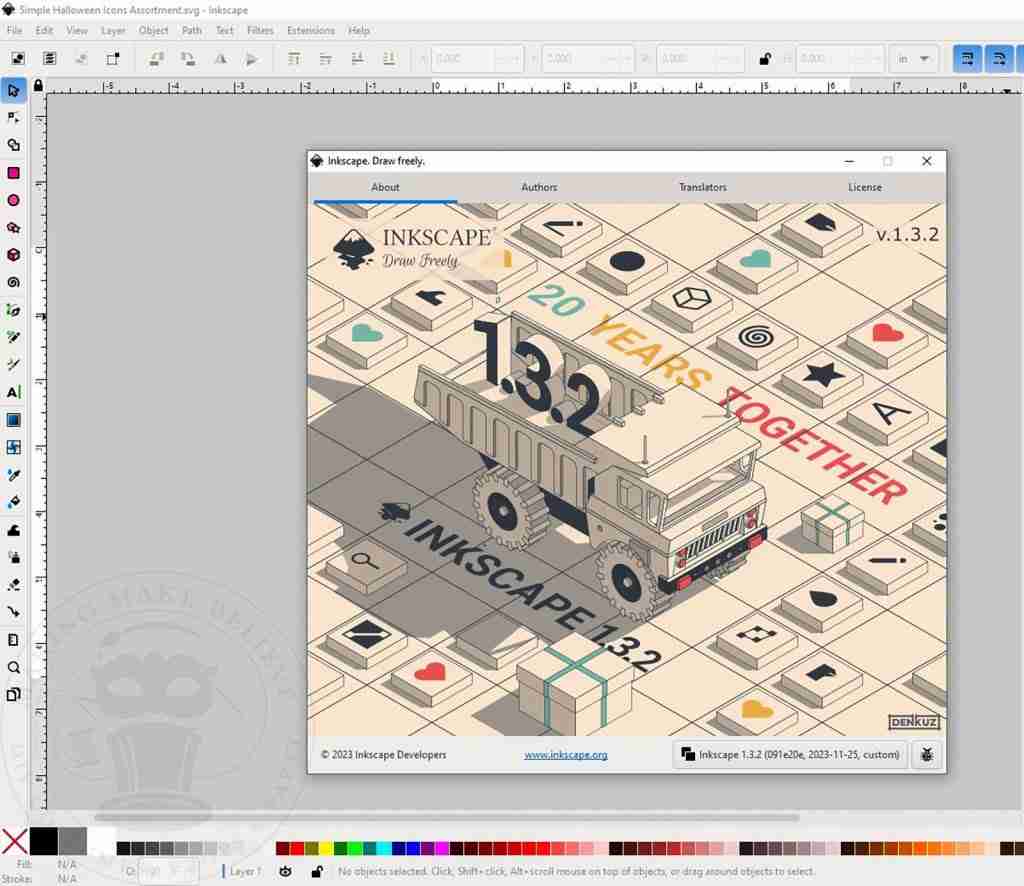
Normally, when I sit down to design, I have a plan or an idea of what I want to create. Sometimes, it goes as planned, and sometimes, I end up with a design that simply won’t work for the project.
There are also instances where I am trying to learn a new skill, so I play around with it to see what I can create.
The pieces produced in these practice sessions serve to help me learn but often don’t make it into a project.
It’s a shame these designs are sitting around doing nothing, so I decided to drop a couple into the Haunted Library for you to use as you like.
Both files are Halloween printables that can be machine cut or cut by hand and are extremely versatile.
You can make several projects using these images, and I’ve provided a few ideas to get you started.
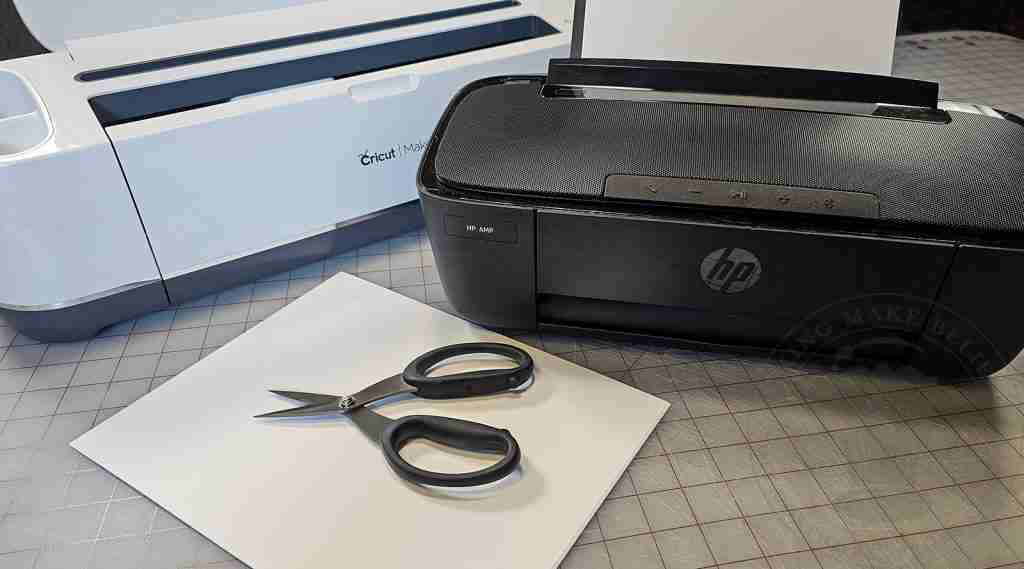
So, grab a color printer, white cardstock, and a cutting machine or scissors, and let’s make some spooky stuff.
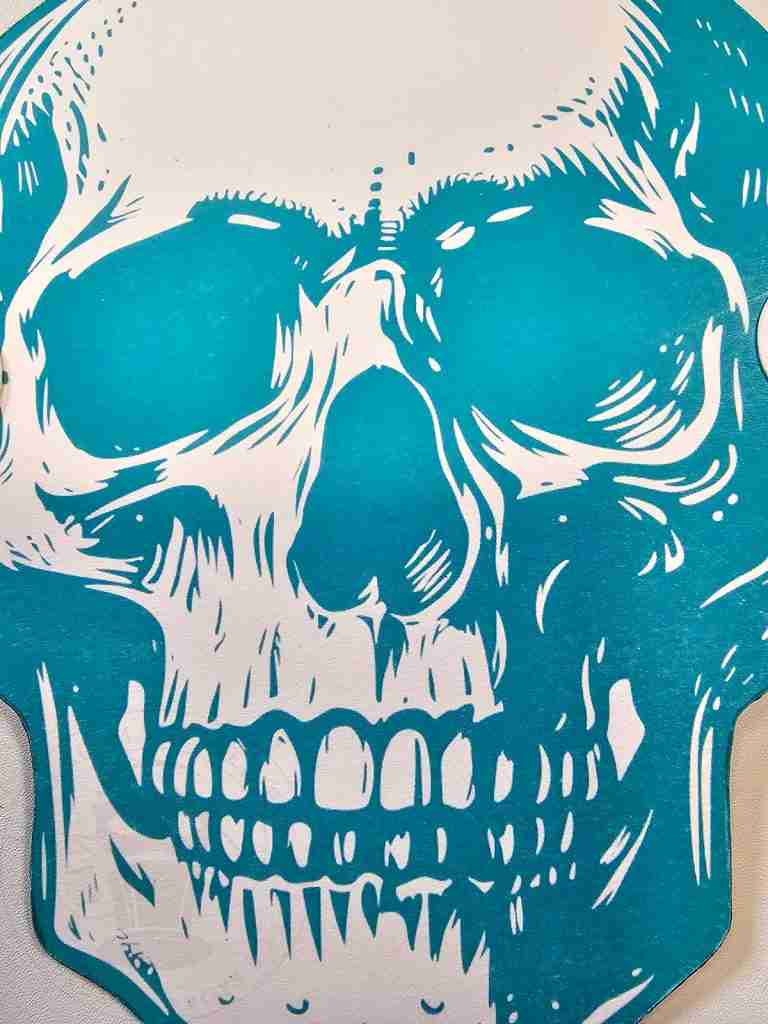
First up is the Rainbow Skull Printable.
For this design, I wanted to learn how to add color correctly. I got a bit carried away, and before I knew it, I had done skulls in ten colors.
This boney bunch is perfect for garlands, party decor, masks, and gift tags.
To begin, download the Rainbow Skull Printable file from the Haunted Library. Select the PNG/PTC for Print Then Cut using a cutting machine, or select the PDF if hand-cutting.

Upload the file into your design software. I’m using Cricut Design Space.
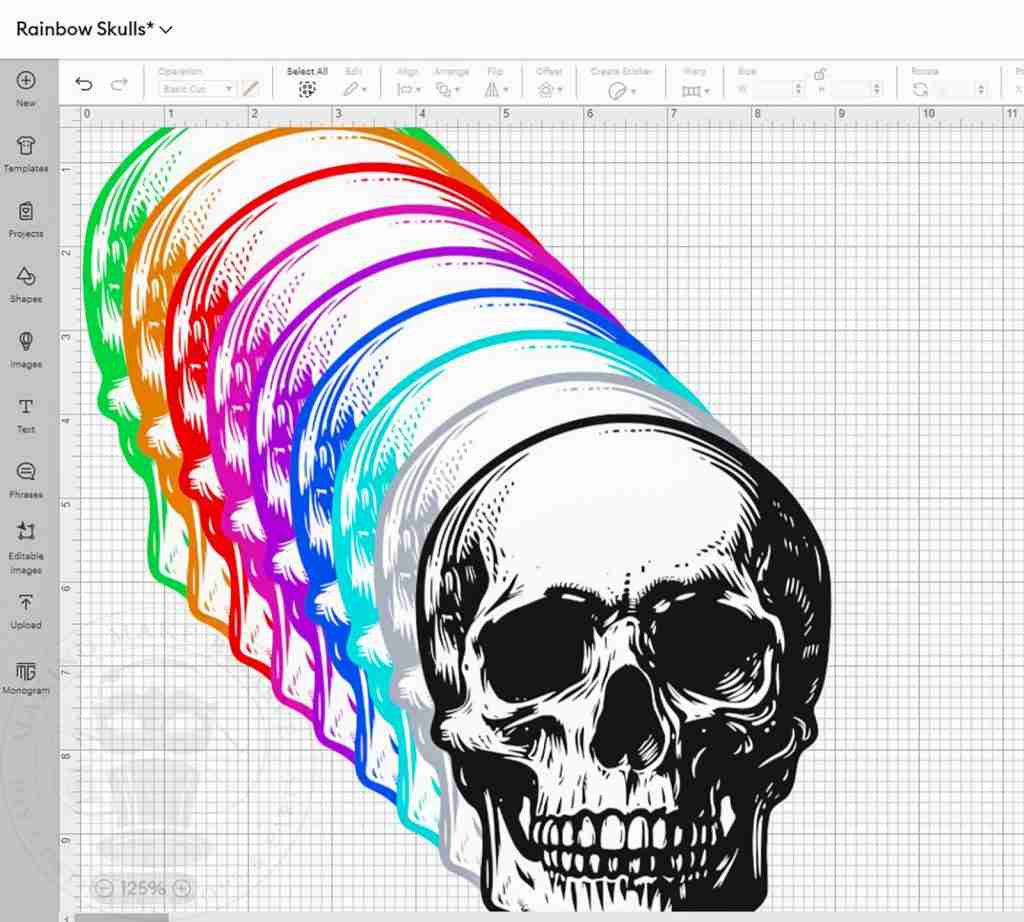
To cut by hand, open the file in your favorite PDF reader, such as Adobe, FoxIt, etc.
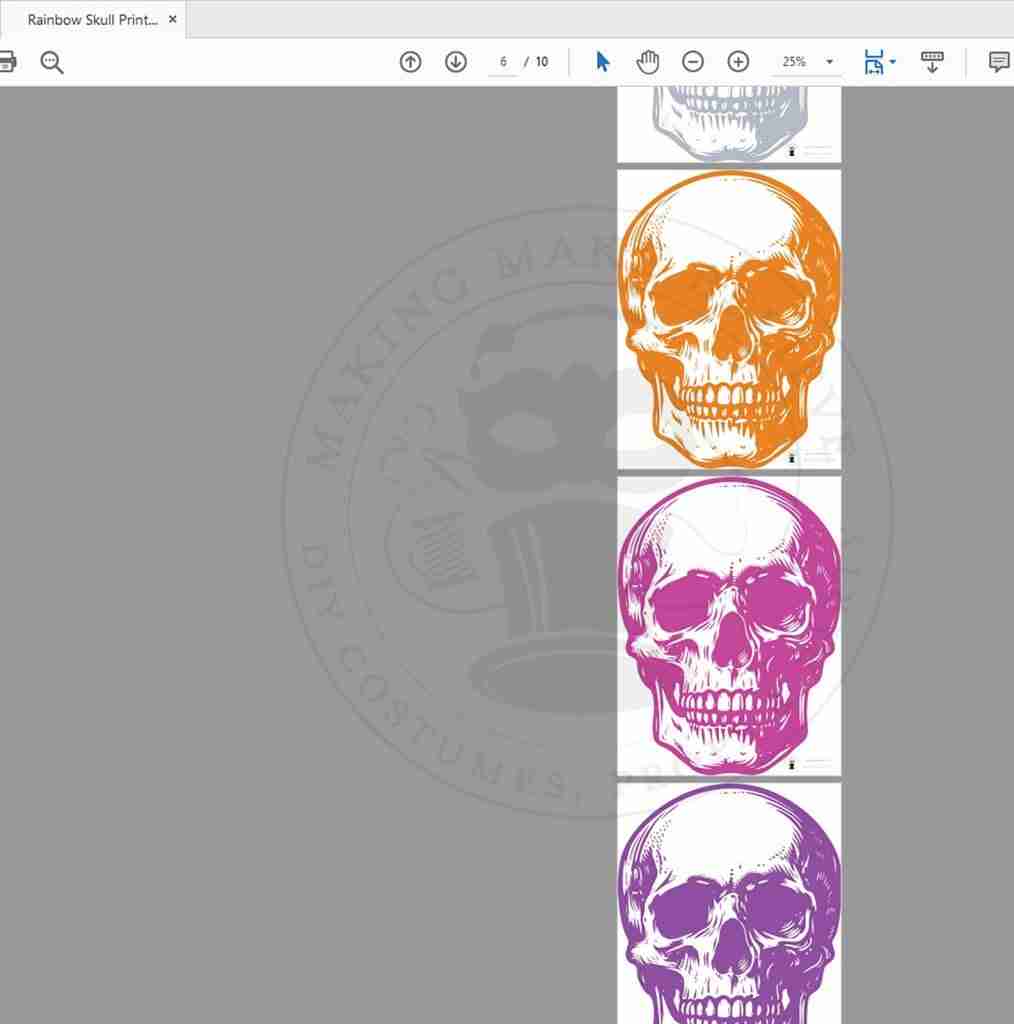
Resize if desired, print, and then cut.
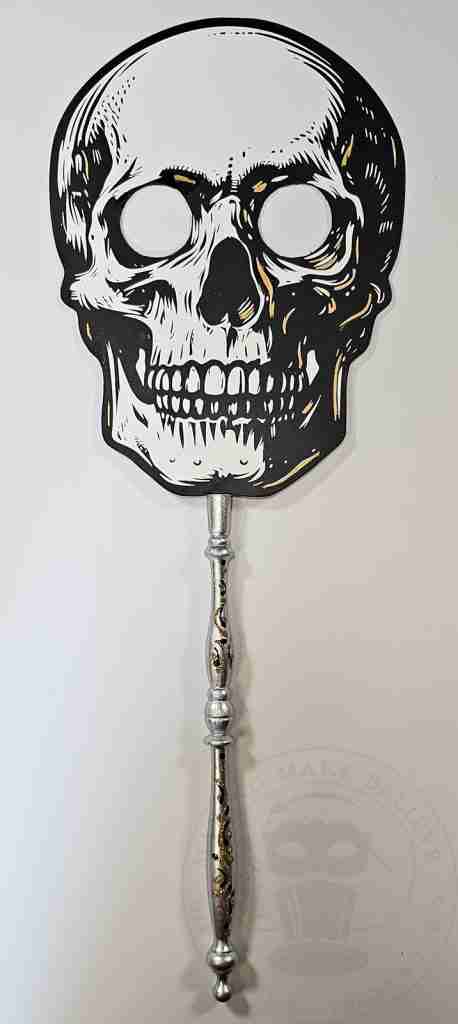
I played around with a few ideas and created a handheld masquerade-style mask.
For this piece, I used the PDF version as Design Space limits the size of a Print-Then-Cut.
I cut the skull by hand and removed the eye area. I then added some detail with a gold marker.
Lastly, I cut a silhouette of the skull from heavy black cardstock, glued it to the back, and added a handle.
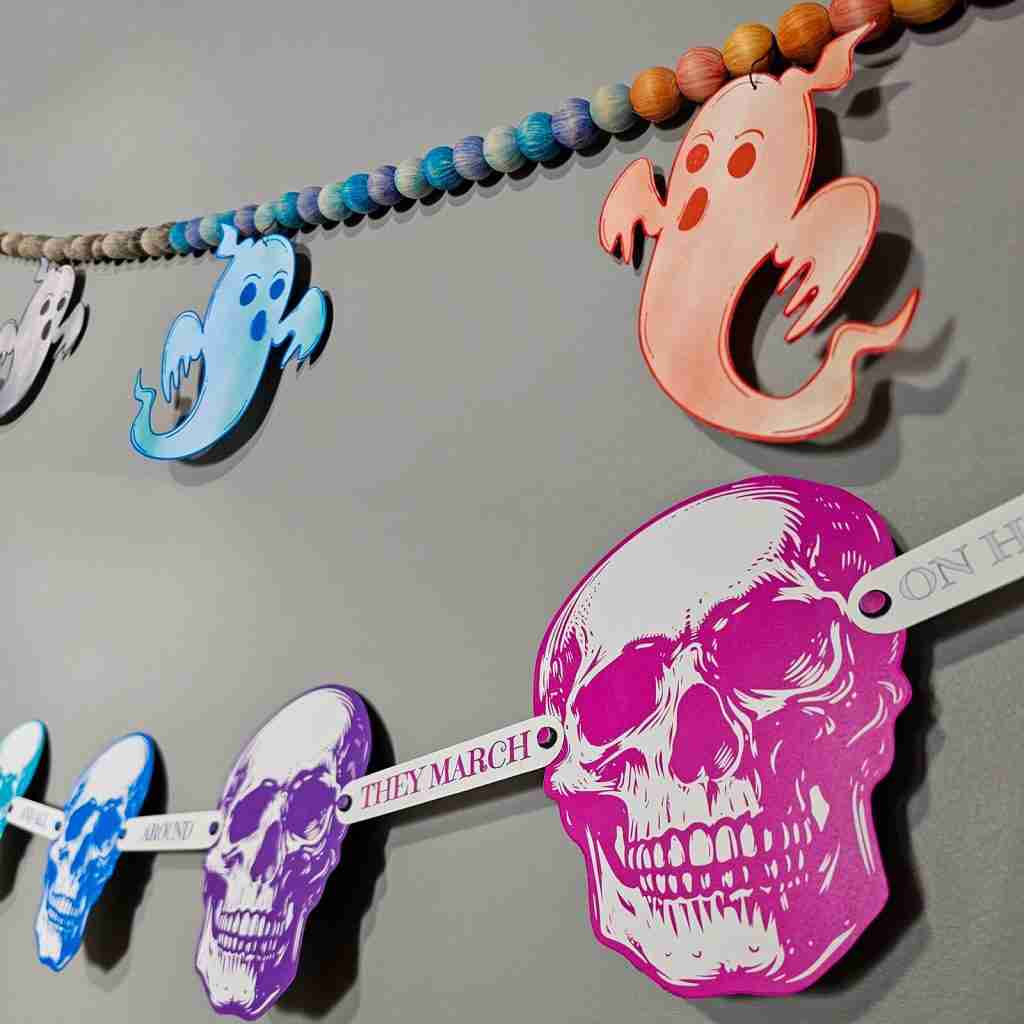
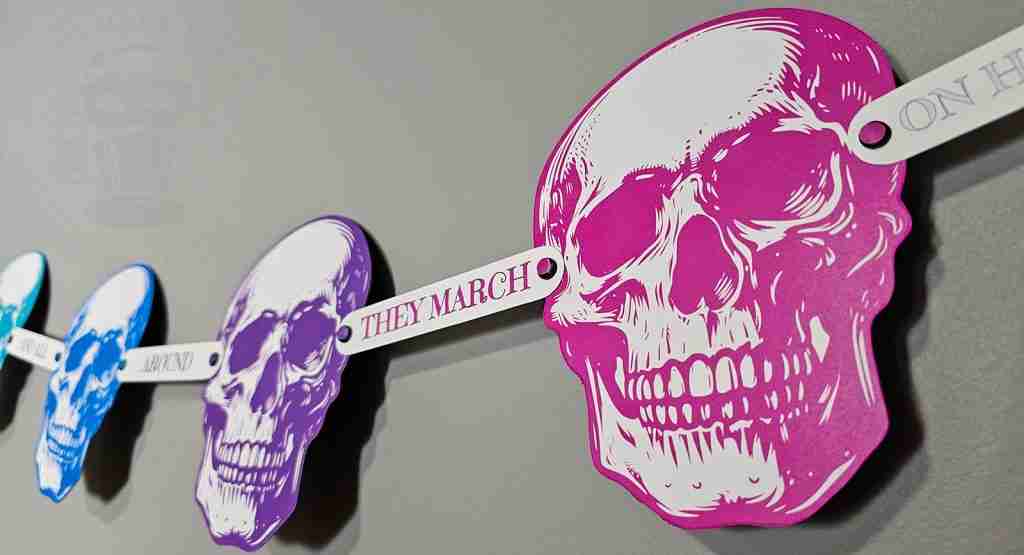
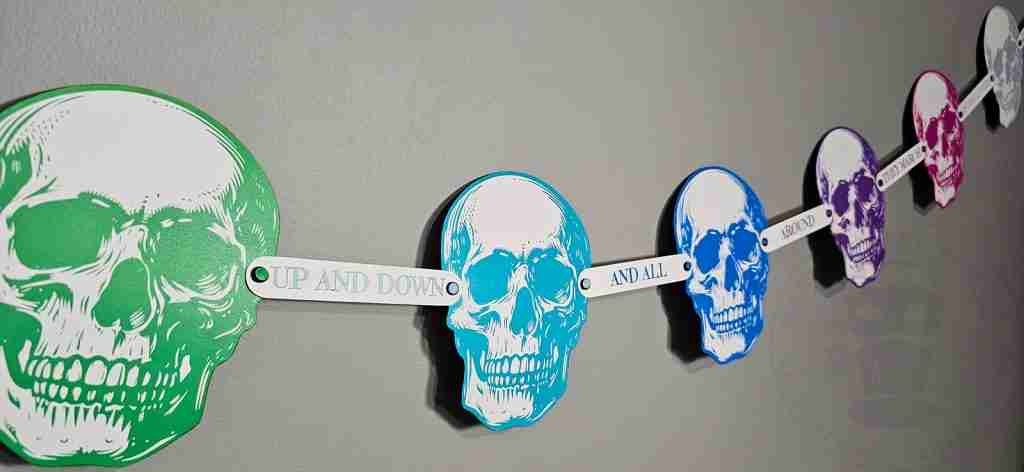
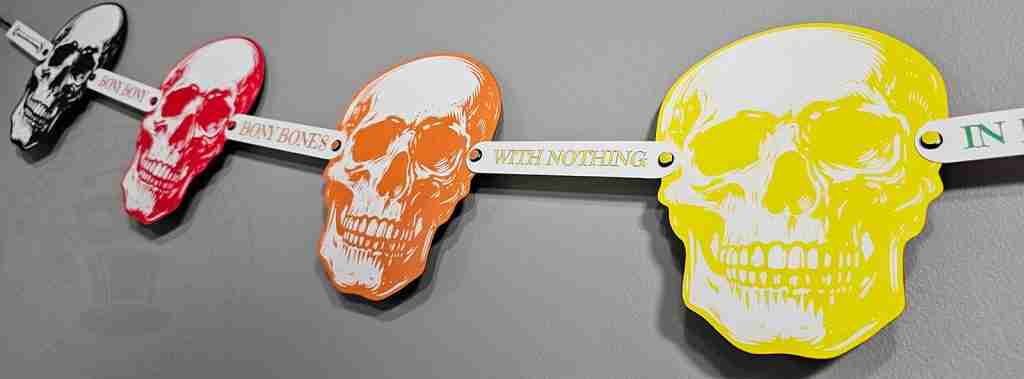
My favorite is the rainbow skull banner. The large skull heads are printed on cardstock and backed with a silhouette of the skull cut from heavy cardstock.
The skulls are connected with cardstock bridges, which recite a section from Jack Prelutsky’s 1977 children’s book, It’s Halloween.
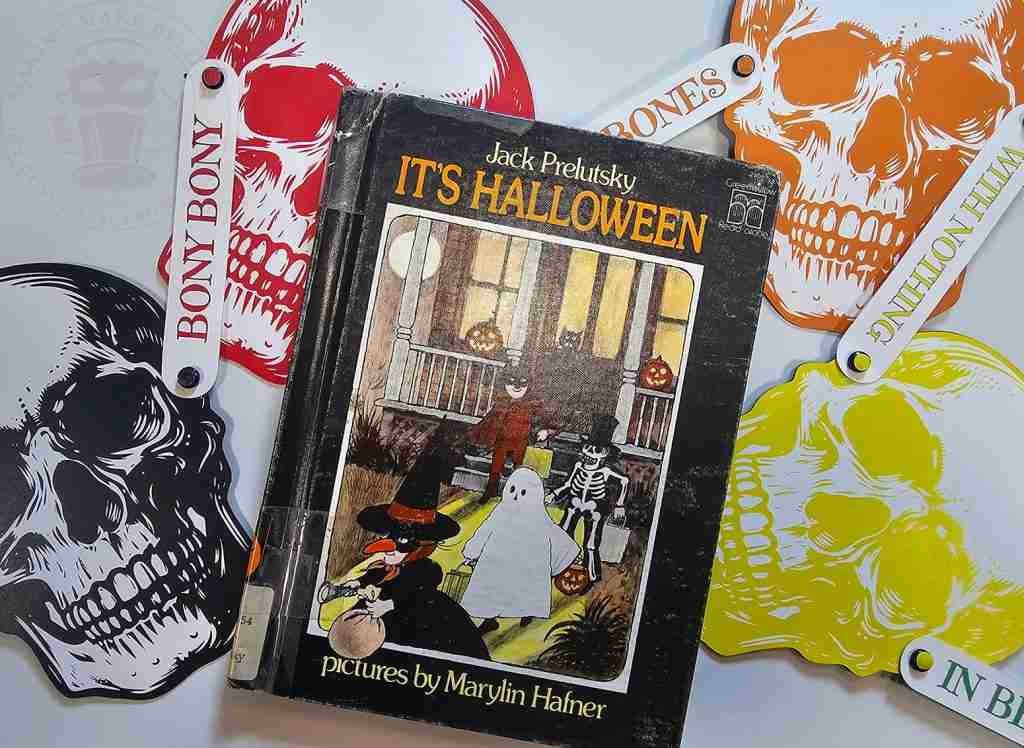
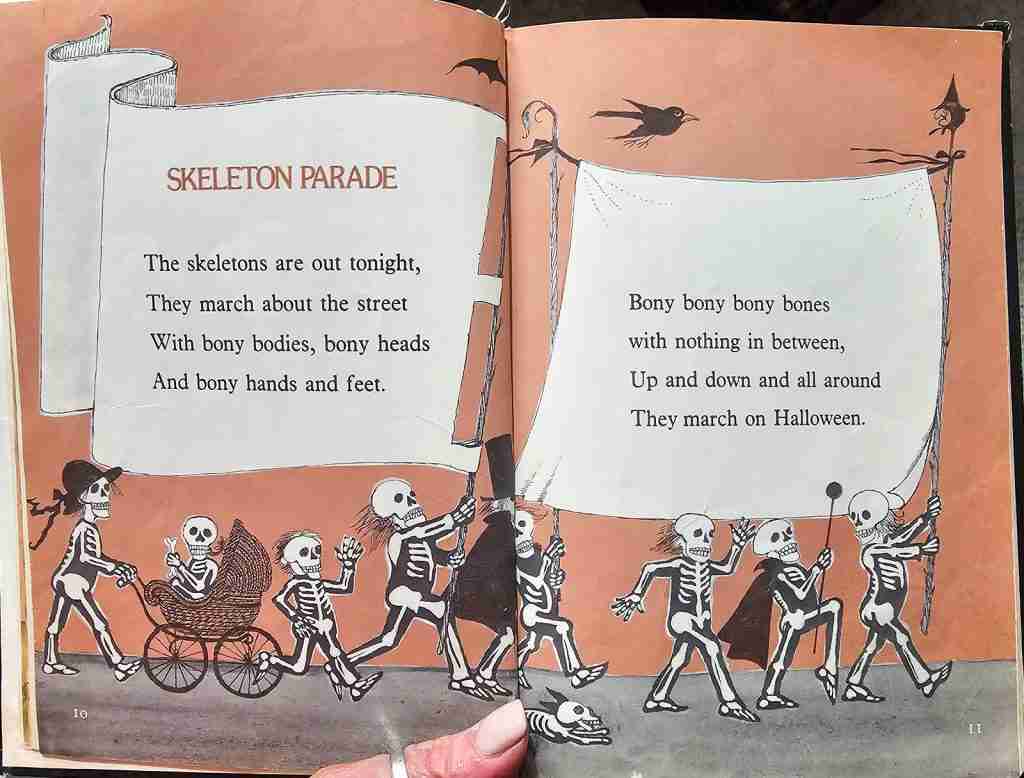
It’s Halloween by Jack Prelutsky
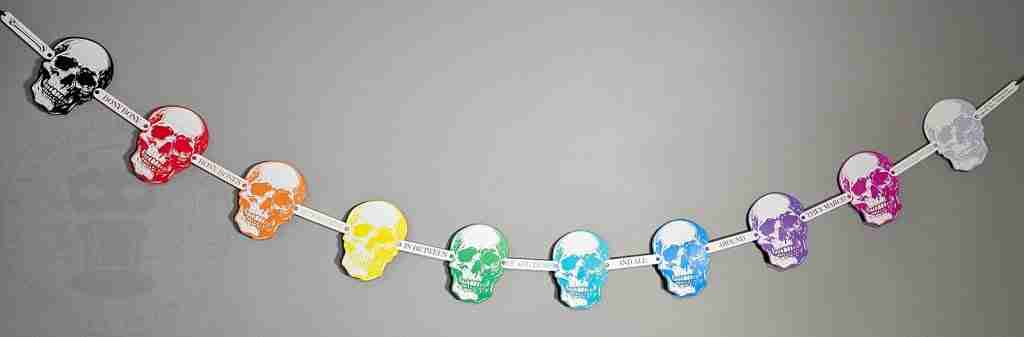
I love this one so much that I plan to make the full tutorial available soon.
Next, I created a group of ghoulies while testing my watercolor skills in Inkscape.
This little creepy crew consists of five ghosties, perfect for banners, haunted decor, gift tags, and tablescapes.
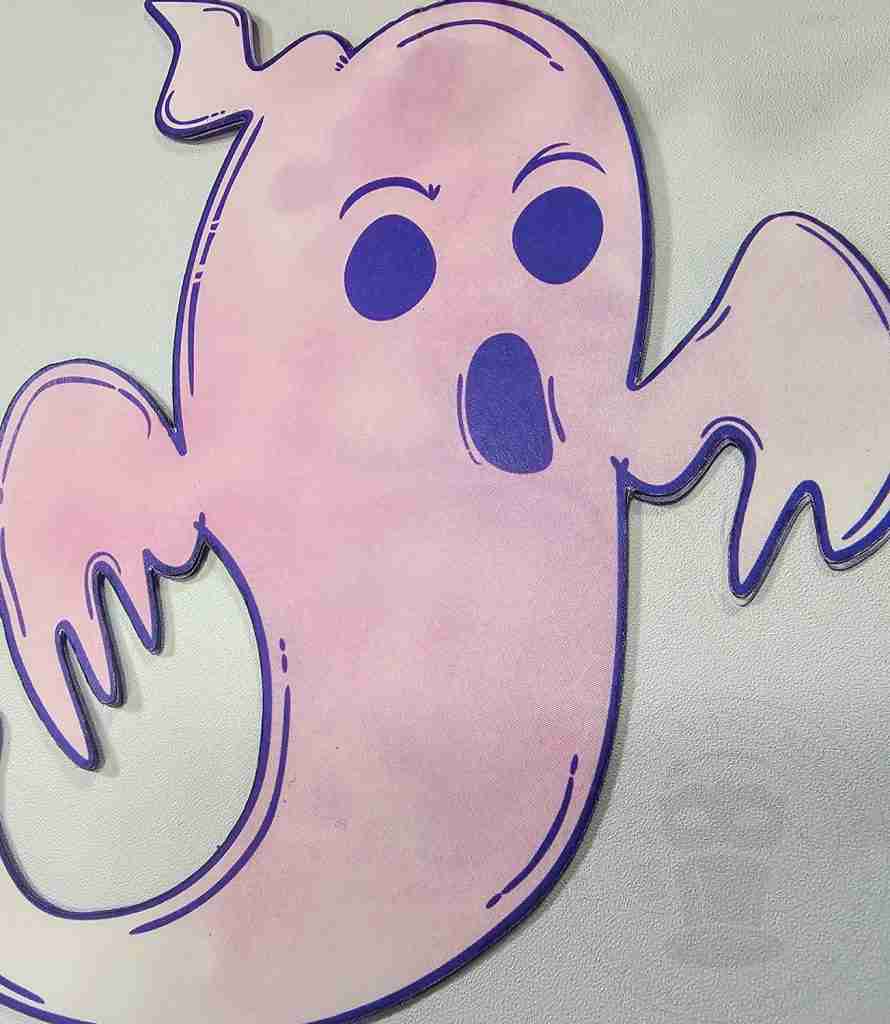
To begin, download the Rainbow Ghosties Printable file from the Haunted Library. Select the PNG/PTC for Print Then Cut using a cutting machine, or select the PDF if hand-cutting.

Upload the file into your design software. I’m using Cricut Design Space.
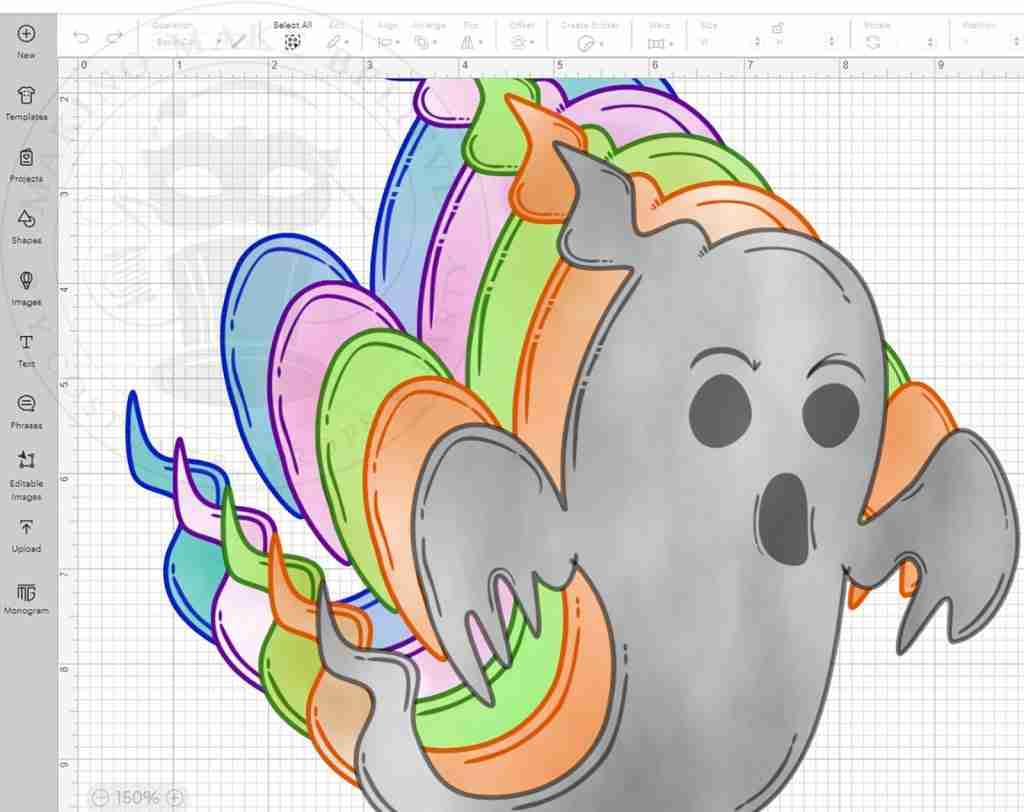
To cut by hand, open the file in your favorite PDF reader, such as Adobe, FoxIt, etc.
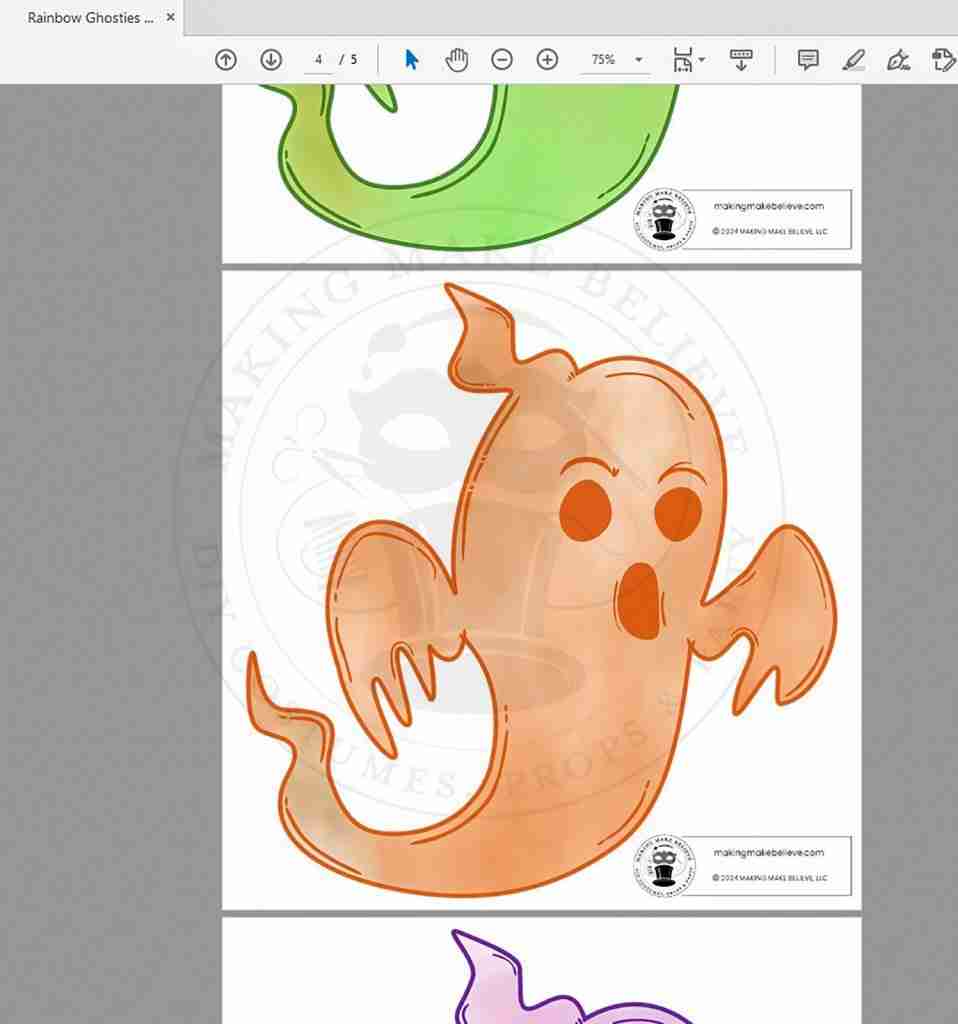
If desired, resize, then print, and cut.
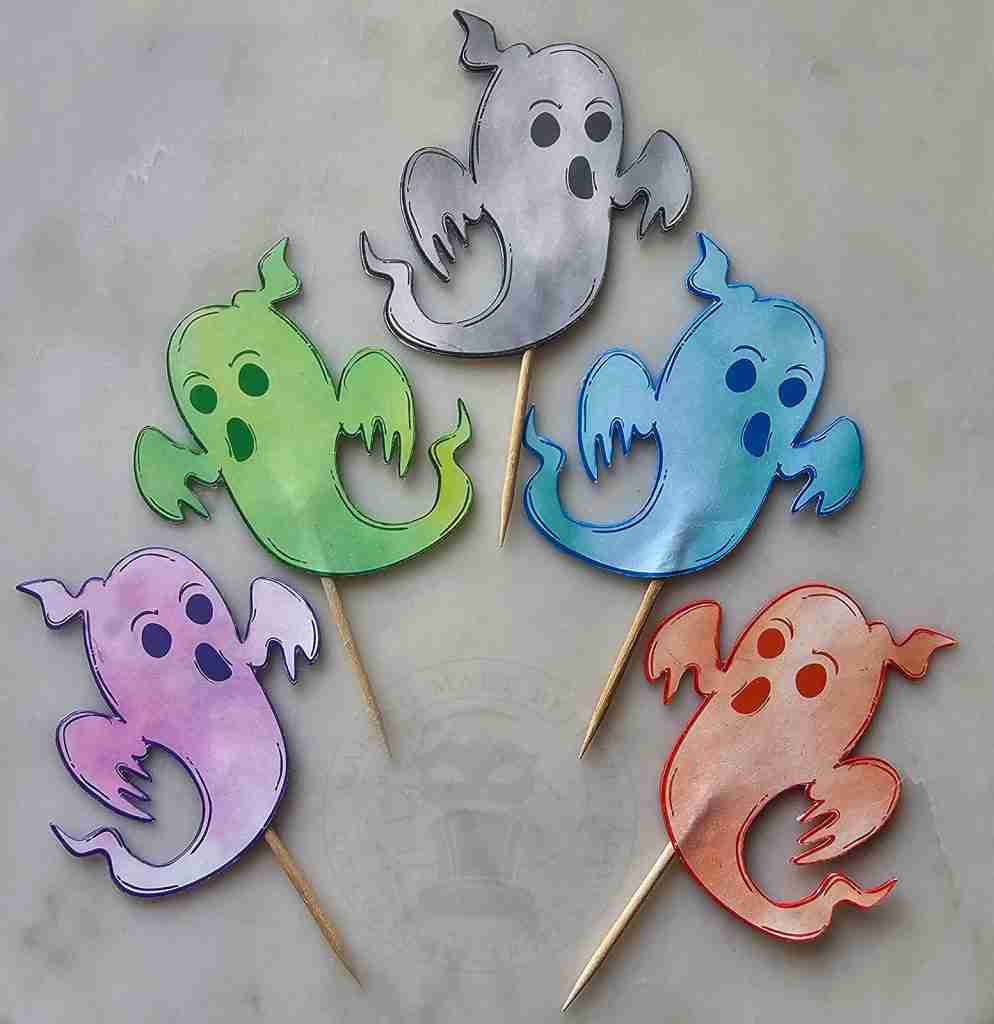
I used white cardstock to create party picks by printing two of each color. Be sure to mirror the second set before printing and cutting, then sandwich a pick between the layers and glue.
Now, they are ready to decorate the top of a cupcake or add a label to identify the ghostly goodies on your haunted buffet.
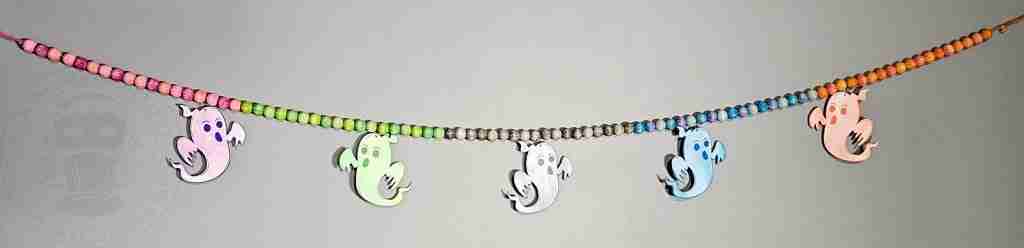
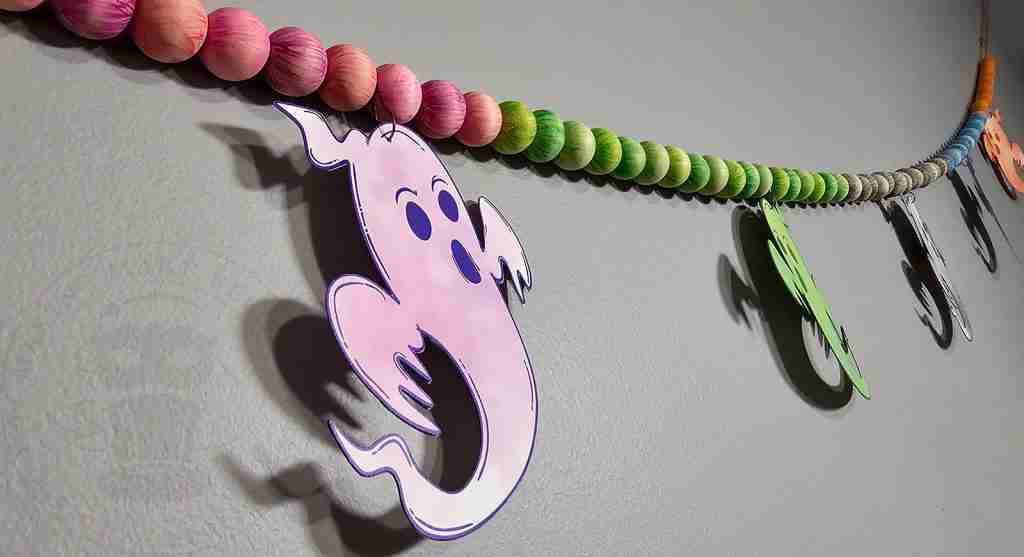
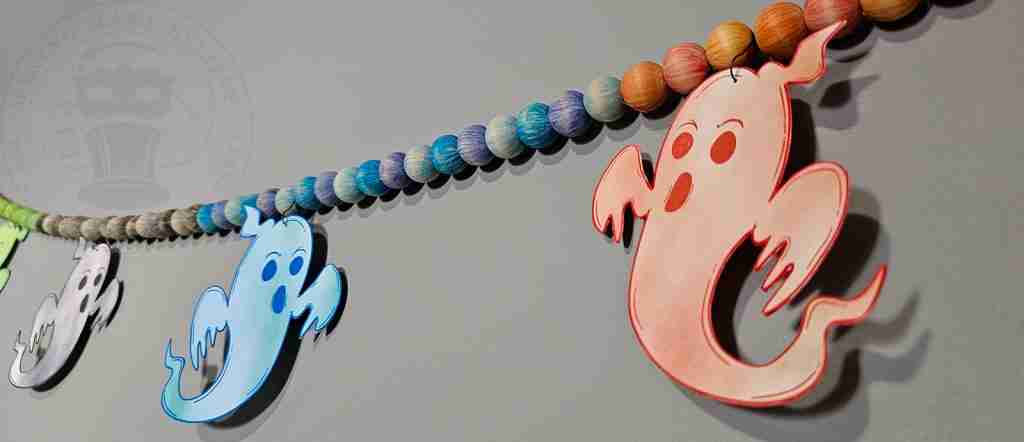
This custom garland comes together quickly. Grab some premade bead garland (or string your own) and add two-sided ghosties.
First, I painted the beads to match my ghosties.
Then, like with the picks, I glued mirrored versions of the ghosts together.
Lastly, I punched a hole along the top edge of each ghost and strung them onto the garland with loop pins.
How will you use this creepy collection to create some haunted hijinx this season?
Until next time – stay spooky.

Templates, patterns and printables for every project on the blog.

Counting down to Halloween since the 1970s. I create, style and celebrate all things costume and Halloween, all year round.
Welcome to my world of Halloween Ever After, where I create, style, and celebrate all things costume and Halloween.
Within these haunted pages lie affiliate links to curious and captivating finds I love. If you make a purchase through them, I may earn a modest commission (think fun-size candy bar), which helps keep the Halloween magic alive. No extra cost to you – cross my batty heart.



Check your email for the Haunted Library password.
Don’t miss a moment of the mischief.
Add hello@halloweeneverafter.com to your address book.
The magic happens right here in my studio and office. When you step inside my creative space, you’ll find an ever expanding gallery wall overflowing with original spooky art and classic Halloween LPs, right alongside a haunted cabinet packed to the brim with vintage curiosities.
It’s under the watchful eyes of these retro treasures that I design and craft.
Join us and get access to our Haunted Library stocked with templates, printables, cut files, and exclusive content. Plus, you’ll receive Eerie Emails just for our subscribers.
*Stay as long as you like. Unsubscribe at any time.


