Free templates & patterns
130+ freebies are waiting in the Haunted Library
Templates, patterns and printables for every project on the blog.
Formerly Making Make Believe · Join the Haunted Library

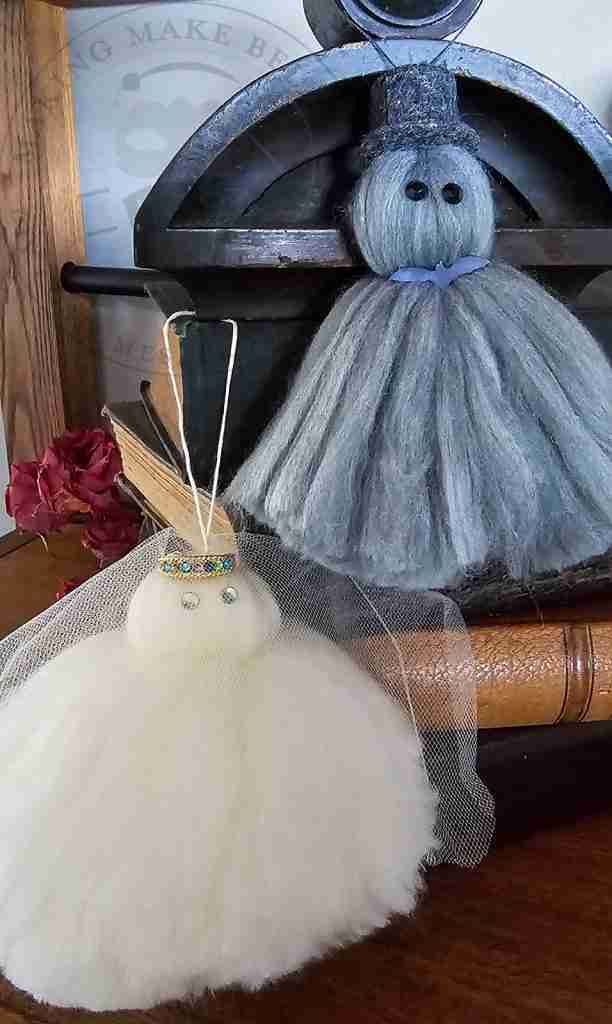
Bride and Groom Yarn Ghosts – Adorable Apparitions
As an Amazon Associate I earn from qualifying purchases.
This post may contain affiliate links for your convenience. Click here to read our disclosure policy.
My PC is in the shop. It has a hiccup, so I had our youngest son (who built the computer) give it a check-up, and mid-exam, the motherboard gave up the ghost.
Last week’s project was ready to go, but projects for the following weeks were in various stages of completion, and I was leaving for Los Angeles to see our oldest son.
Things don’t always go as planned.
With my templates and designs trapped in my computer, I knew this week’s project would need to be template-free and quick.
I landed back home around midnight on Tuesday, praying that the jury duty summons I received for Thursday would be canceled. (It was.)
Now, what shall we make?
I’ve seen several people making yarn ghosts, which was one of my favorite childhood projects.
I decided to make this popular ghostie – but with a twist using some super fluffy yarn. Would this experiment be a surprising success or a frightful failure?
Let’s find out.
For this project, we will need:
Roving yarn*
Tassel form – I’m using one by Clover, but you can draft your own from cardboard
Scissors
Embroidery floss or cording
Clear plastic hair ties or rubberbands (optional)
Embellishments – craft gems, felt, etc.
Adhesive such as Quick Hold
Tweezers (optional)
Large blunt needle (optional)
*I’m using Yarn Bee Showstopper from my stash; however, it has been discontinued. You can still find it on Etsy and eBay or use any roving yarn.
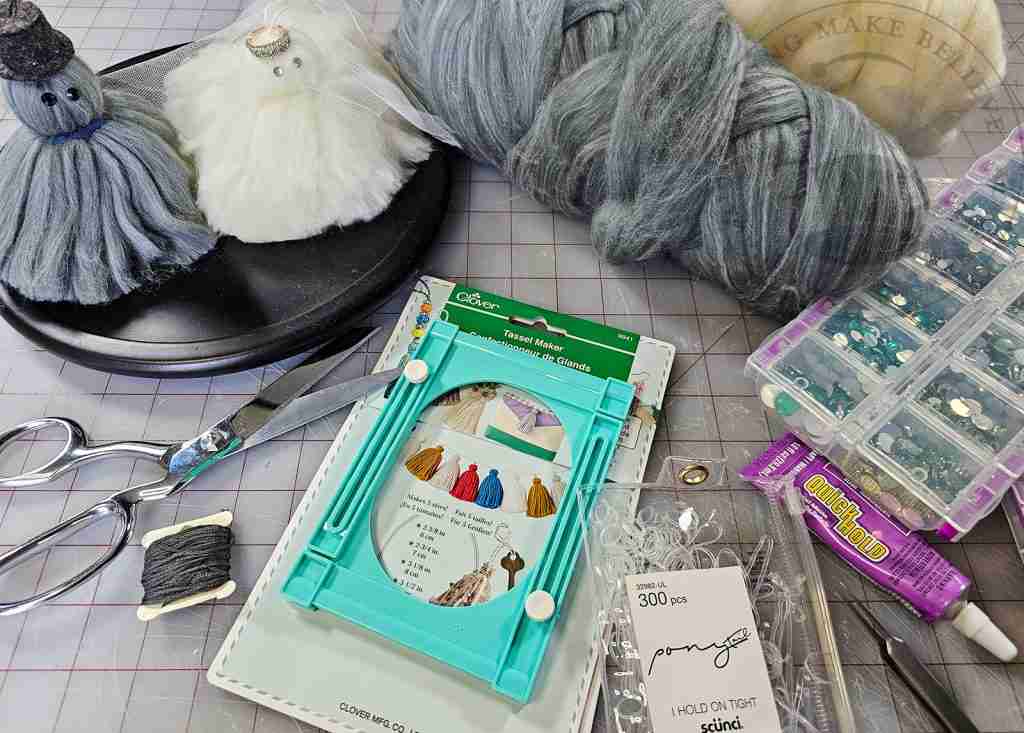
First, set the tassel maker to the desired size for your yarn ghost. Keep in mind that the ghost will be half as tall as the length of your template.
If you don’t want to use a tassel maker, cut a length of cardboard for wrapping your ghost.
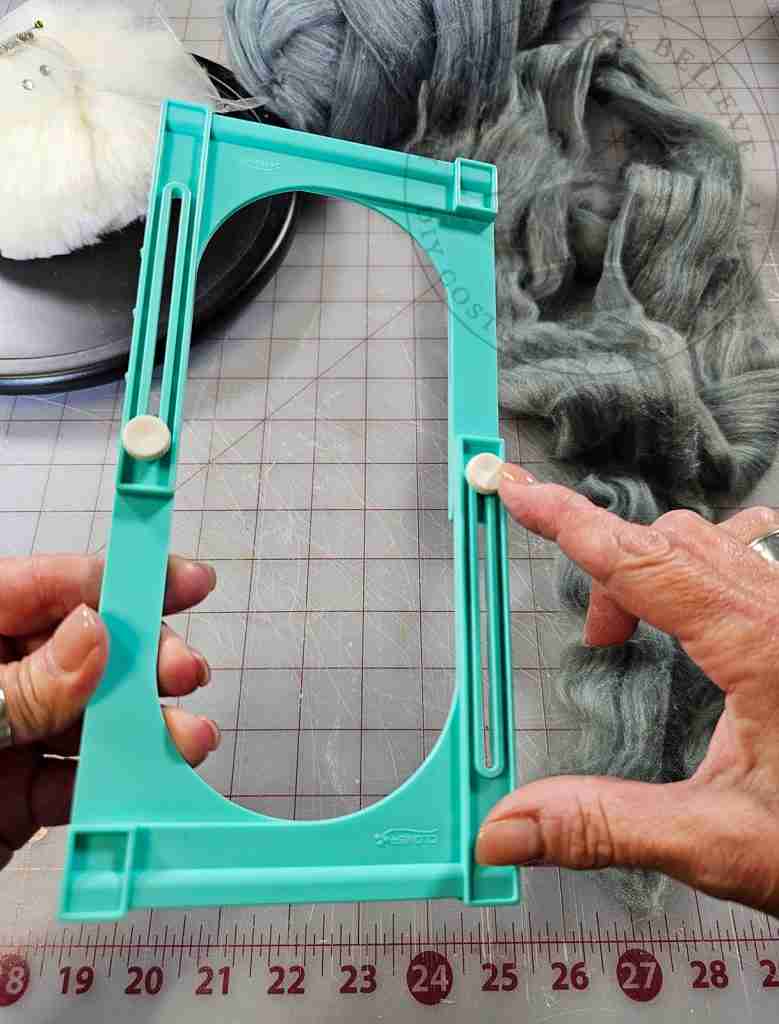
Flatten the yarn and wrap it around your template. I did two wraps for my groom yarn ghost and three for the bride.
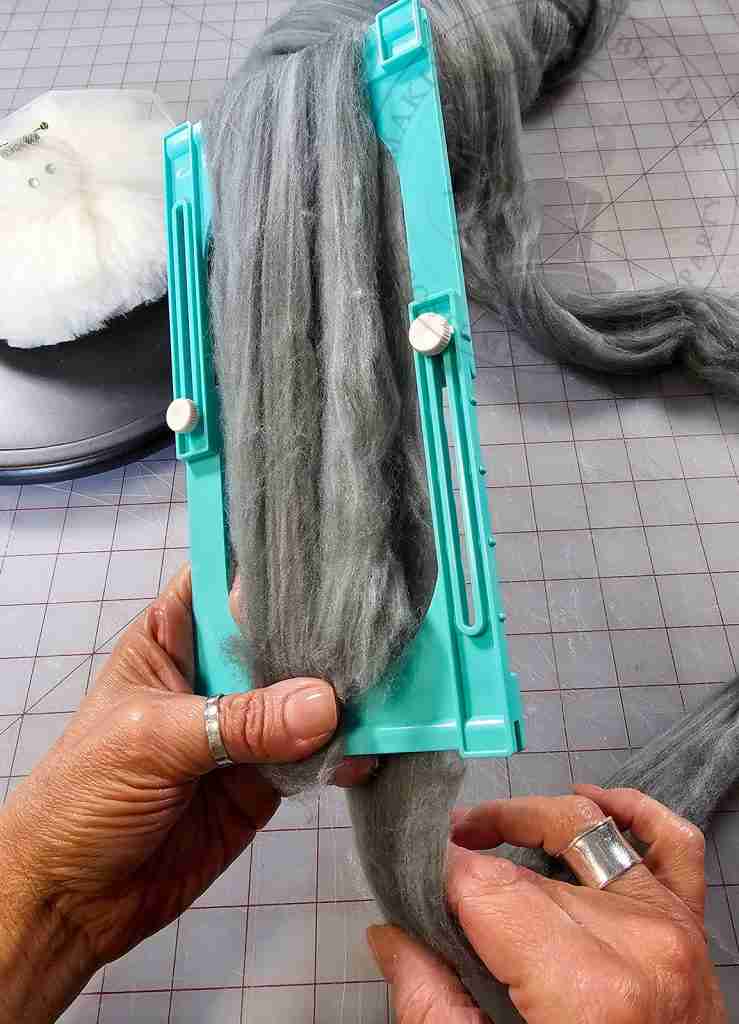
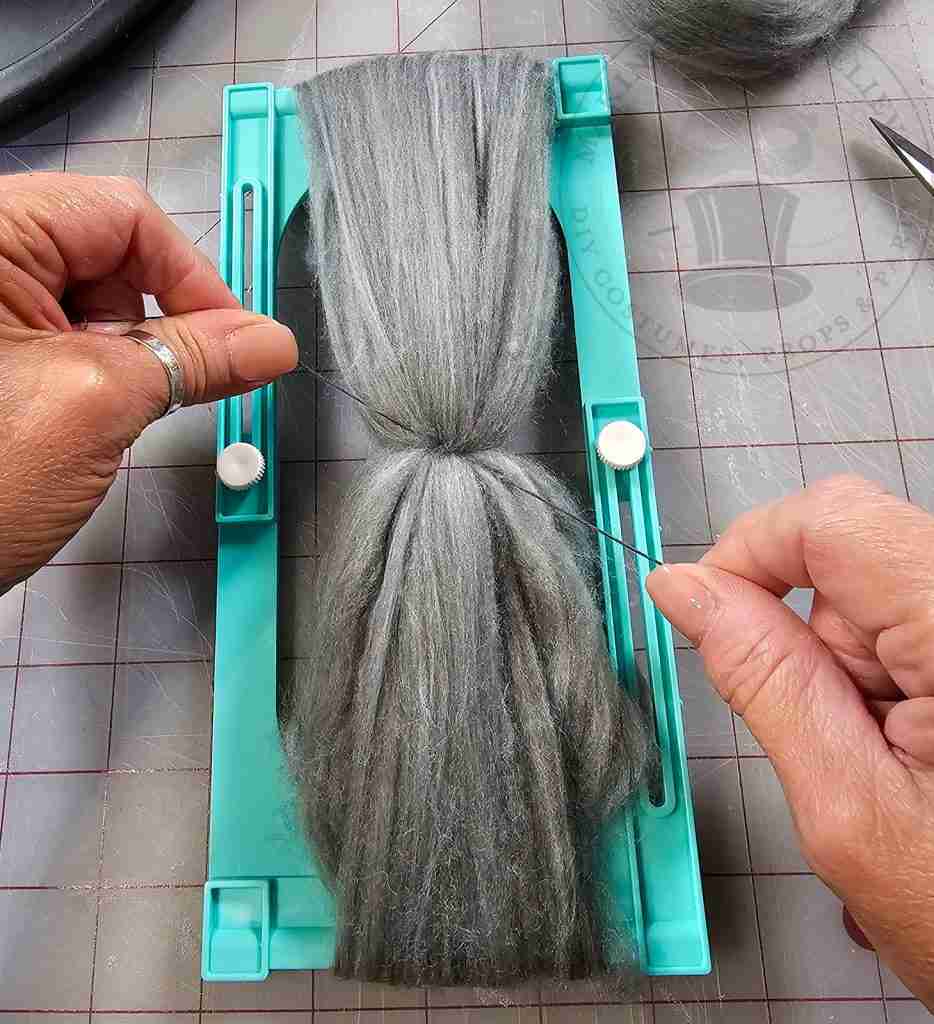
Cut off the excess and use embroidery floss to tie off the tassel in the center.
I like to tie off on one side, then flip to the other and tie off again.
Leave the ends of the embroidery floss long, as these will serve as your hanger for your yarn ghost.
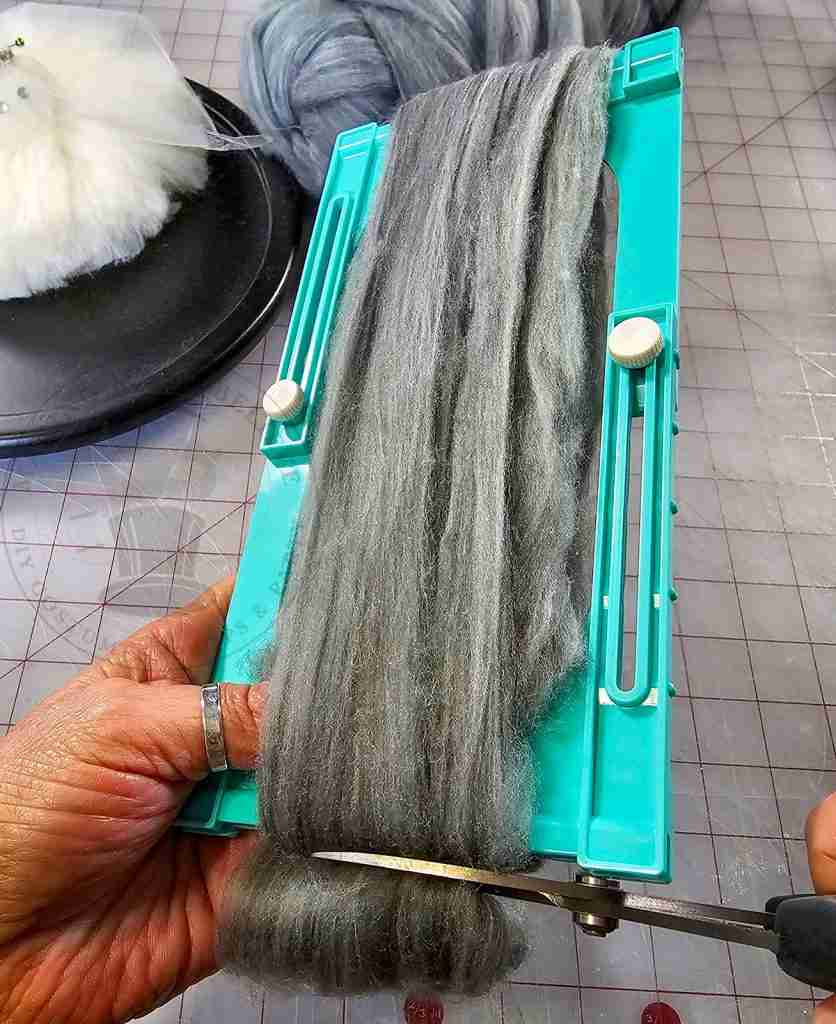
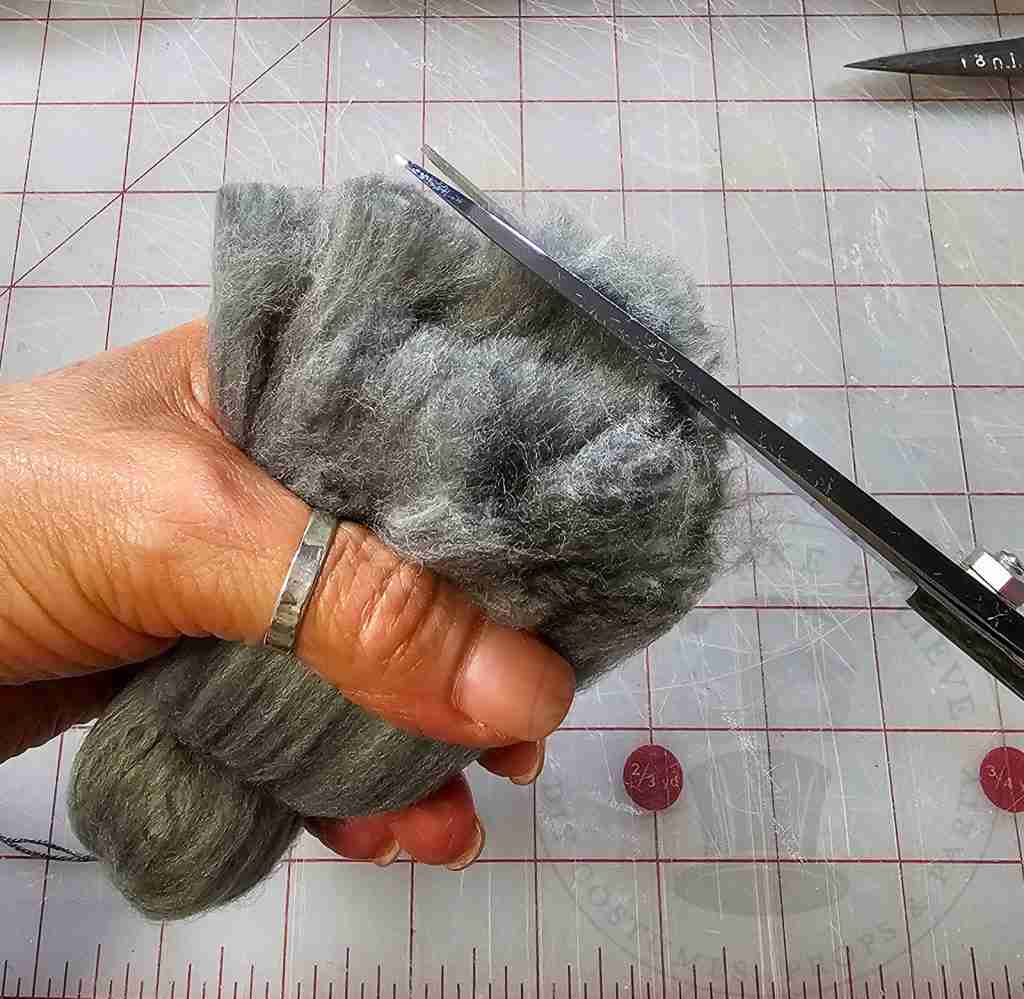
Next, cut through the yarn at each end.
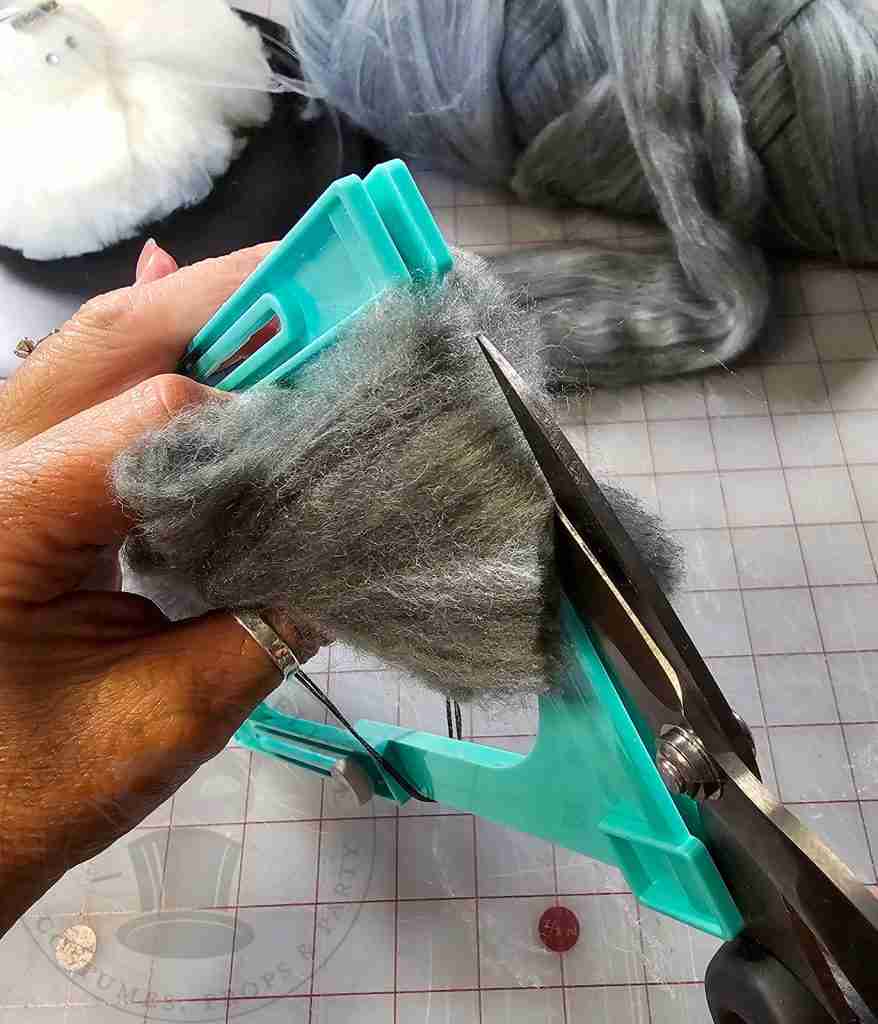
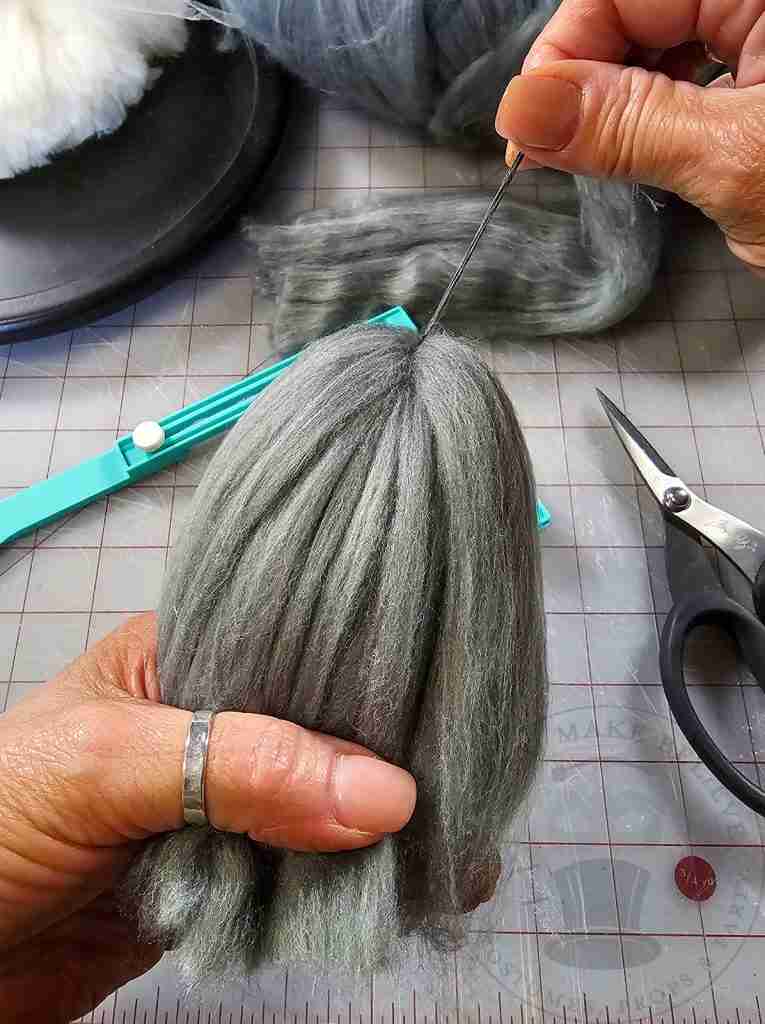
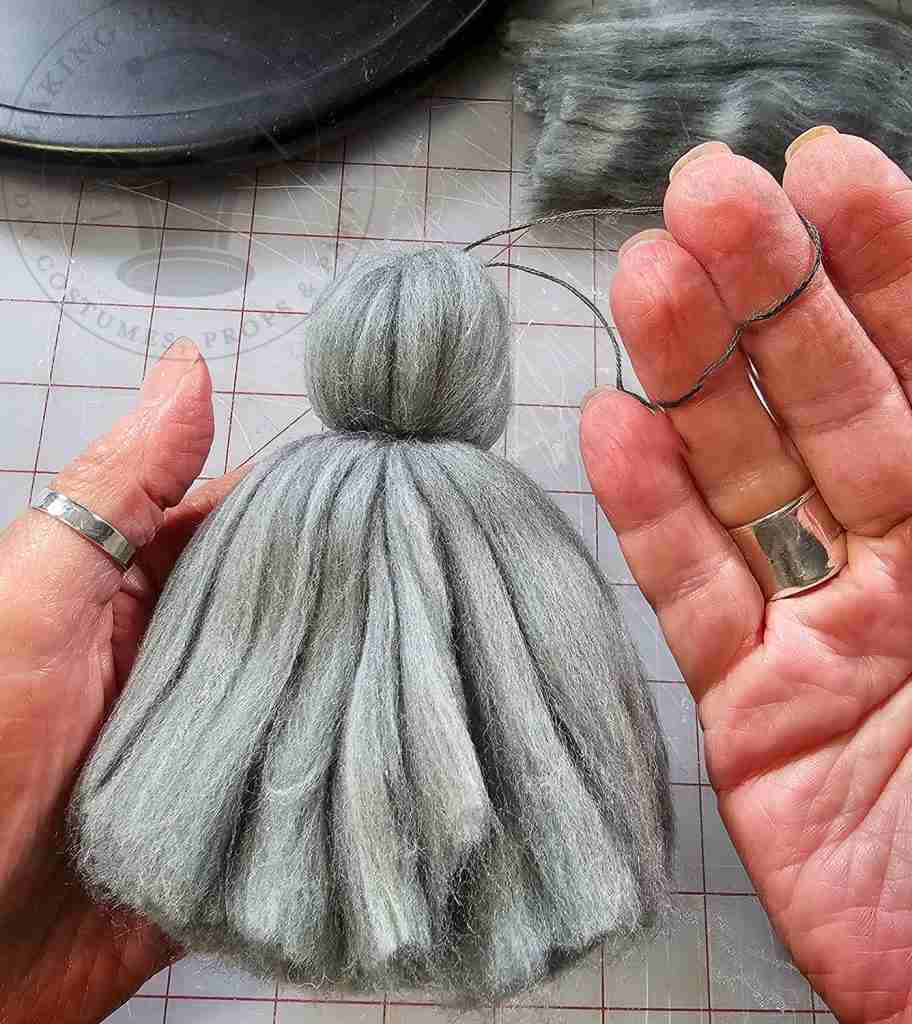
Determine the placement of the neck of your ghost and wrap a clear plastic hair tie around the tassel.
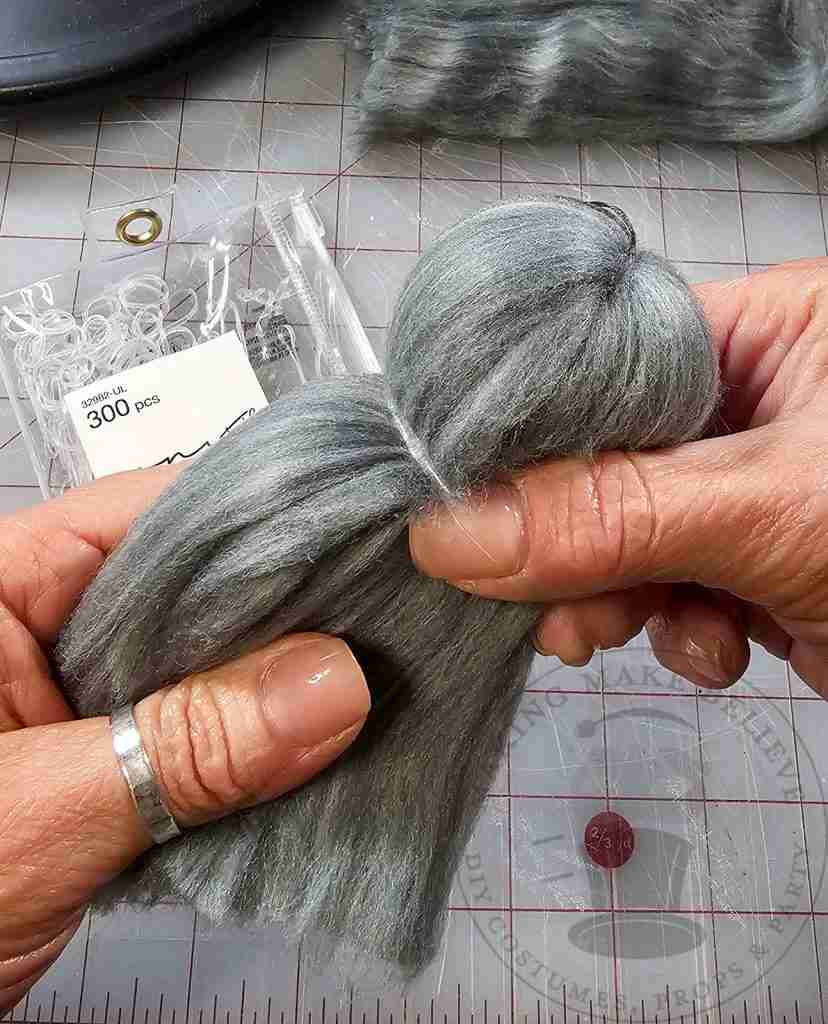
I like to cover the hair tie, so I wrap embroidery floss around the neck, knot it to secure it, and tuck it into the ghost using a large blunt needle.
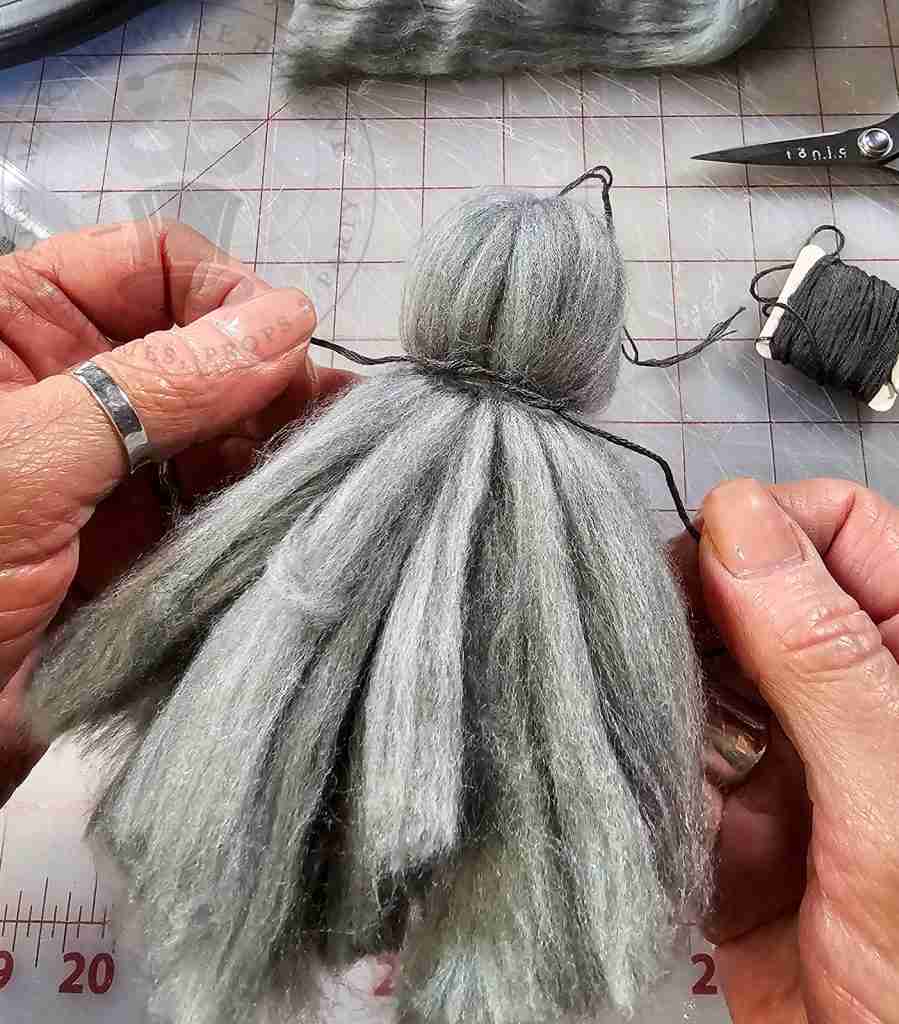
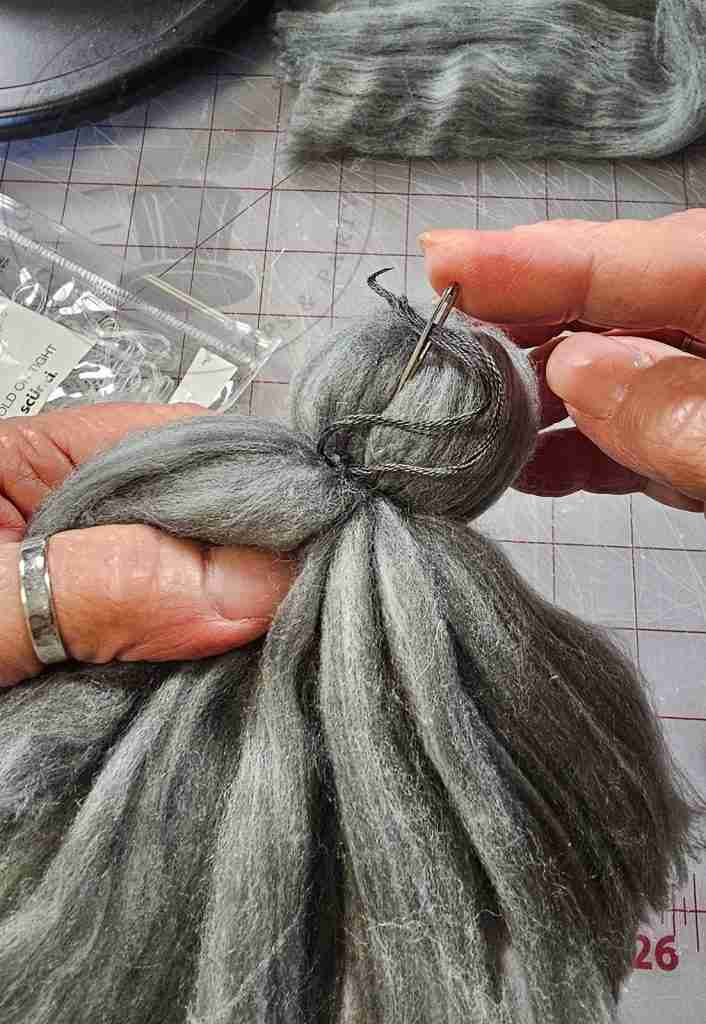
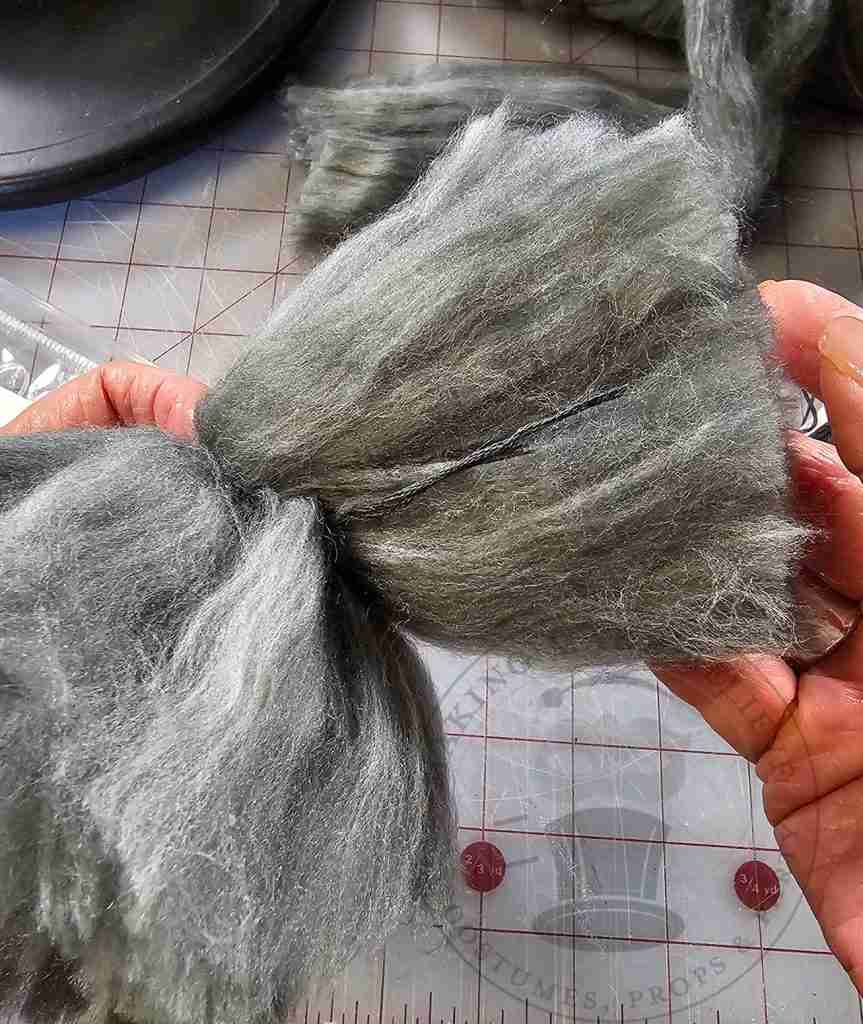
Next, trim up your yarn ghost as desired. I cleaned up the ends for the groom, making his length uniform. For the bride, I trimmed the front in soft layers to give the illusion of a petticoat.
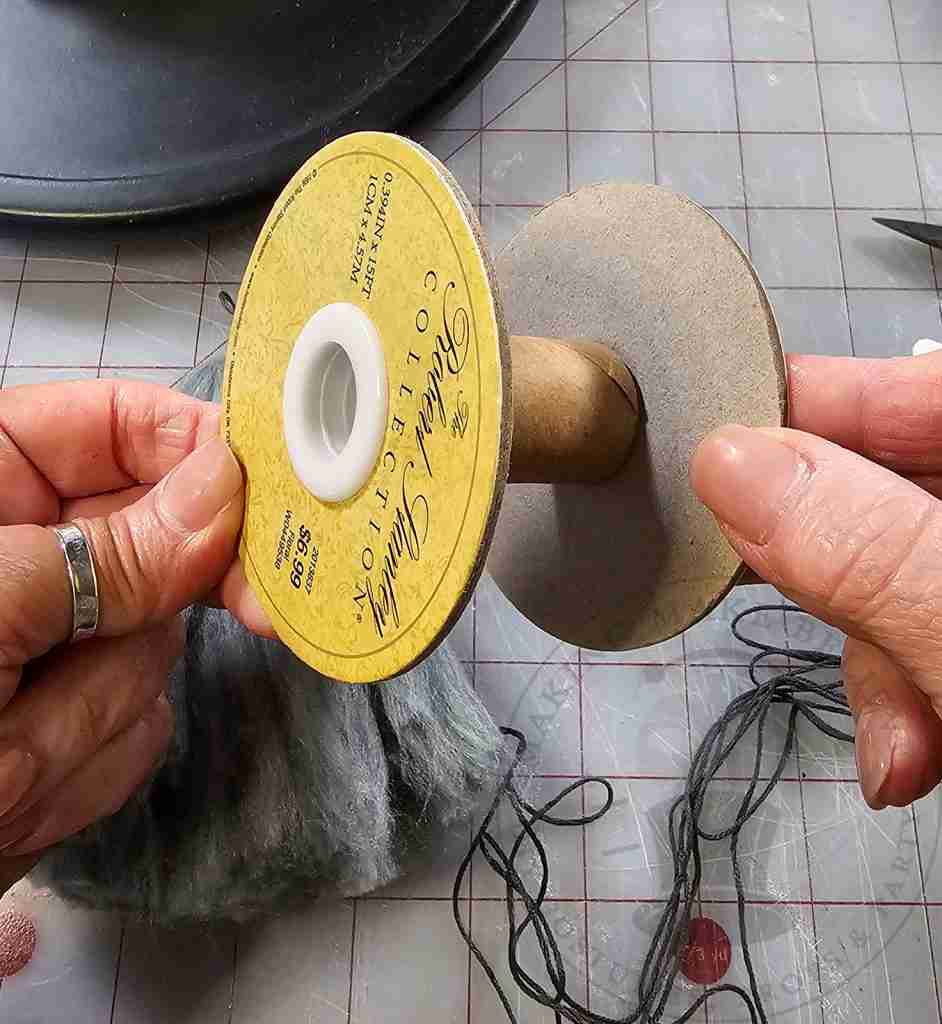
To get the groom wedding-ready, I decided to fashion a top hat. I disassembled an empty ribbon spool from my stash (yes, I keep junk).
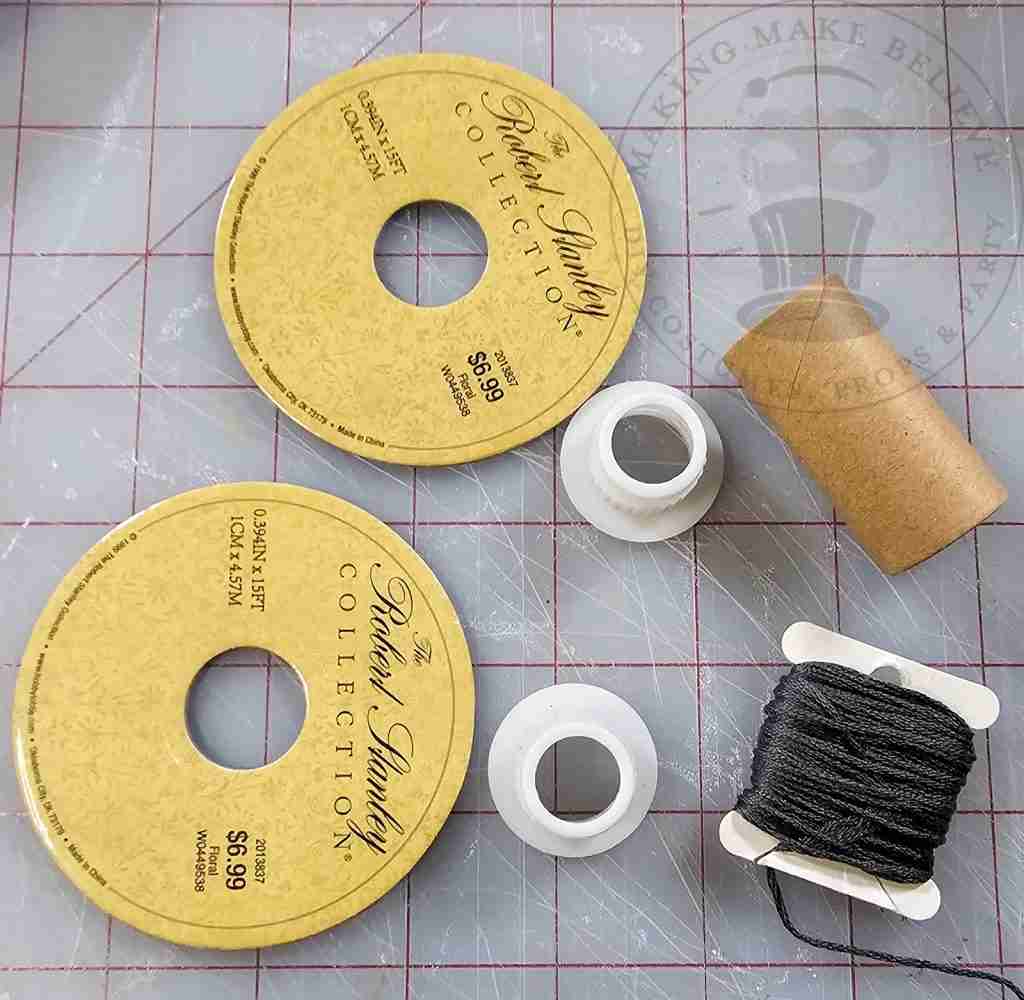
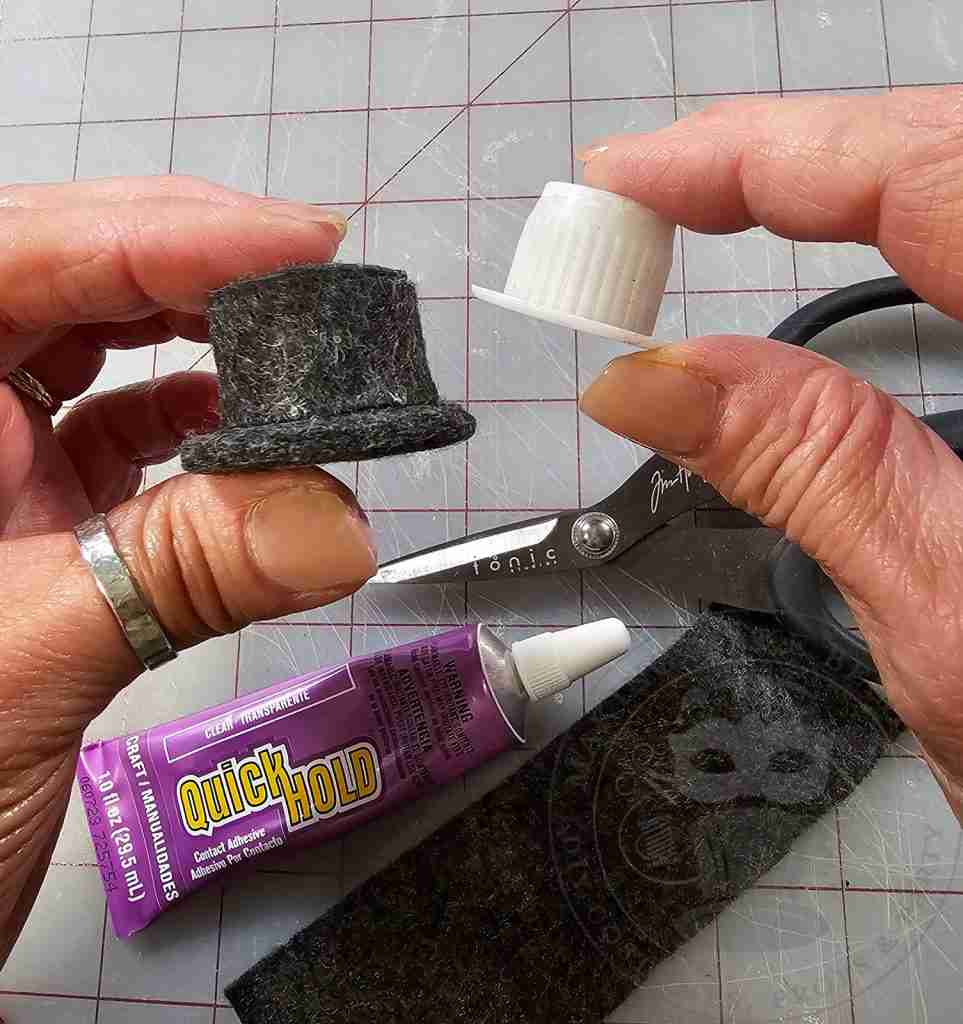
Using the plastic cap, I cut circles and a band from some scrap felt and glued them onto the cap.
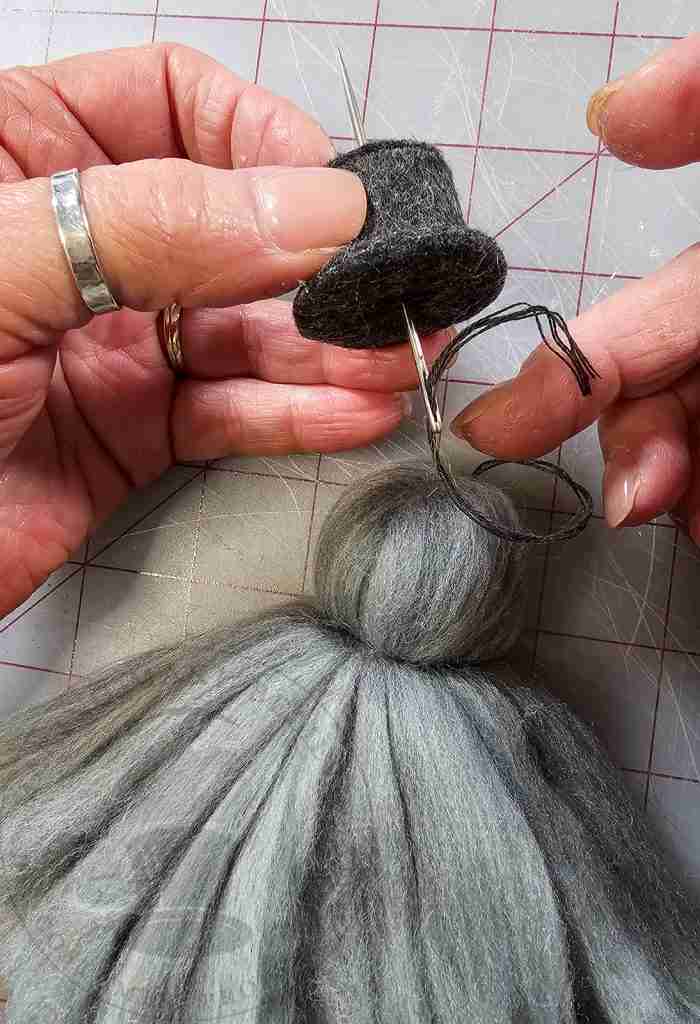
Next, I threaded the embroidery floss hanger through a large blunt needle and ran it up through the top hat.
I knotted the ends of the embroidery floss to form a loop.
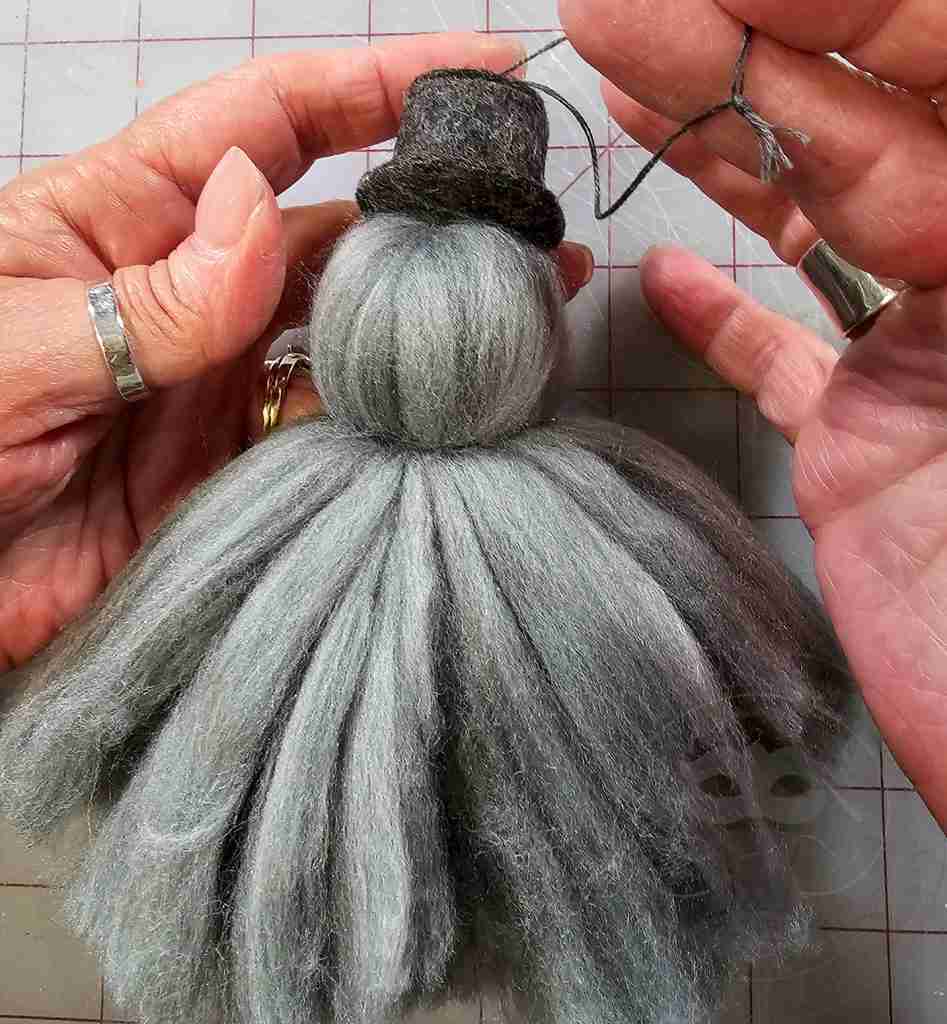
He’s not dapper enough, so I grabbed a sticker from my stash, cut one bat from the bunch, and cut away the white edging.
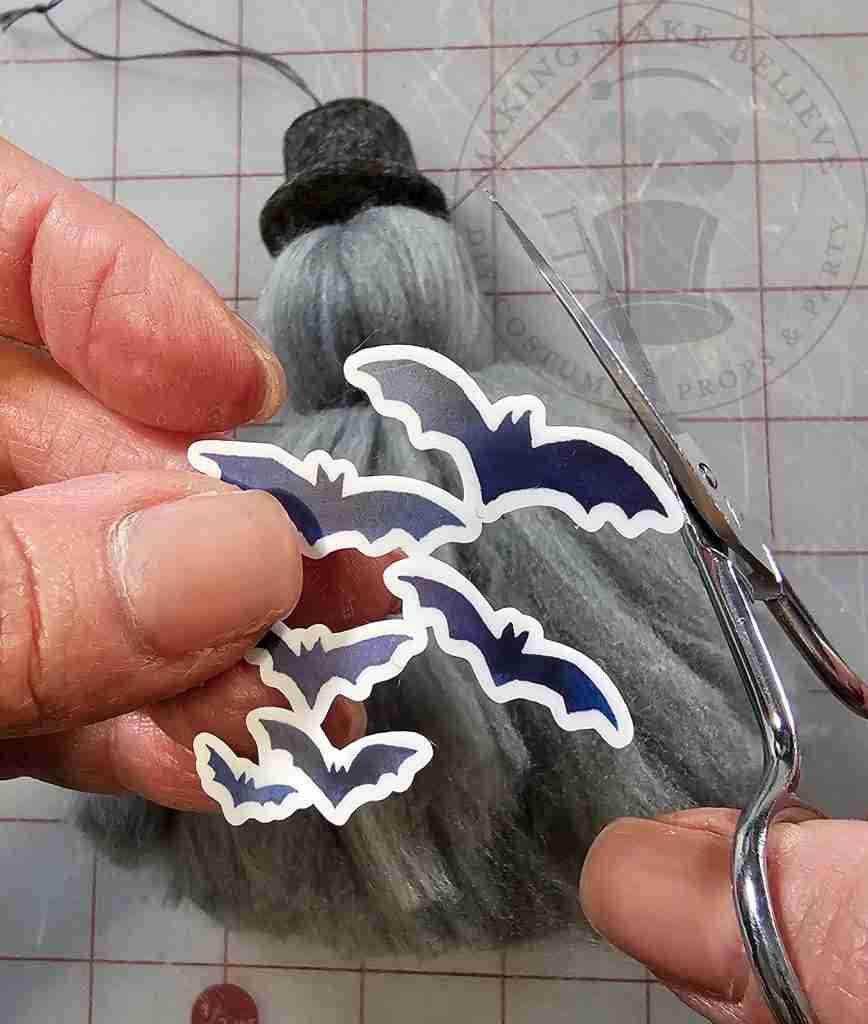
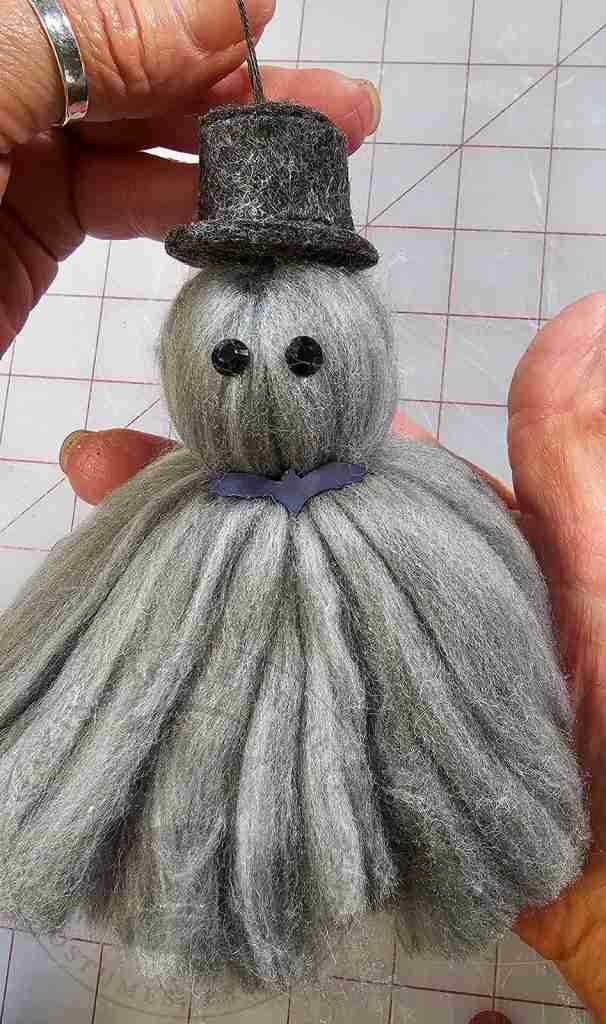
I glued the sticker at the neckline to give him a batty bow tie, and then I added some black craft gems for his eyes.
The bride also features craft gem eyes.
Her tiara is an old mother’s birthstone ring from my costume jewelry stash.
The tiara is secured with thread to the floss that forms the hanger.
I then threaded the floss through a square of fine mesh tulle and tied the ends together to form a loop for hanging.
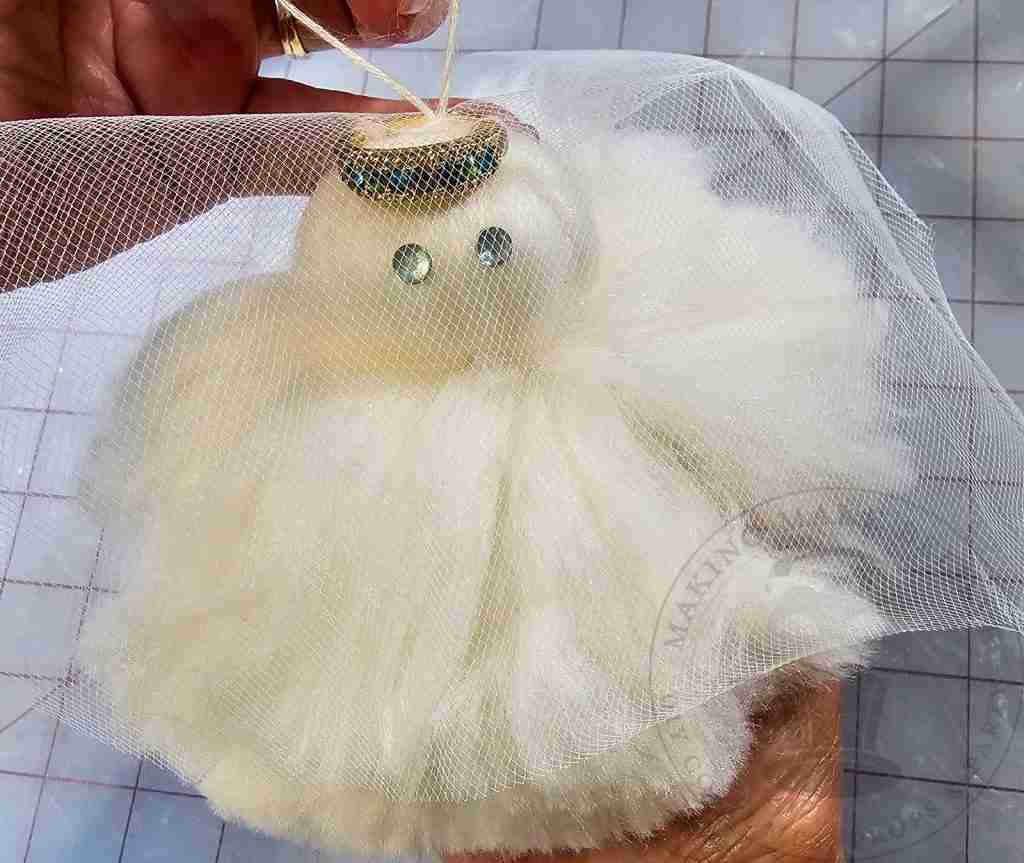
Aren’t they just the most adorable apparitions?!
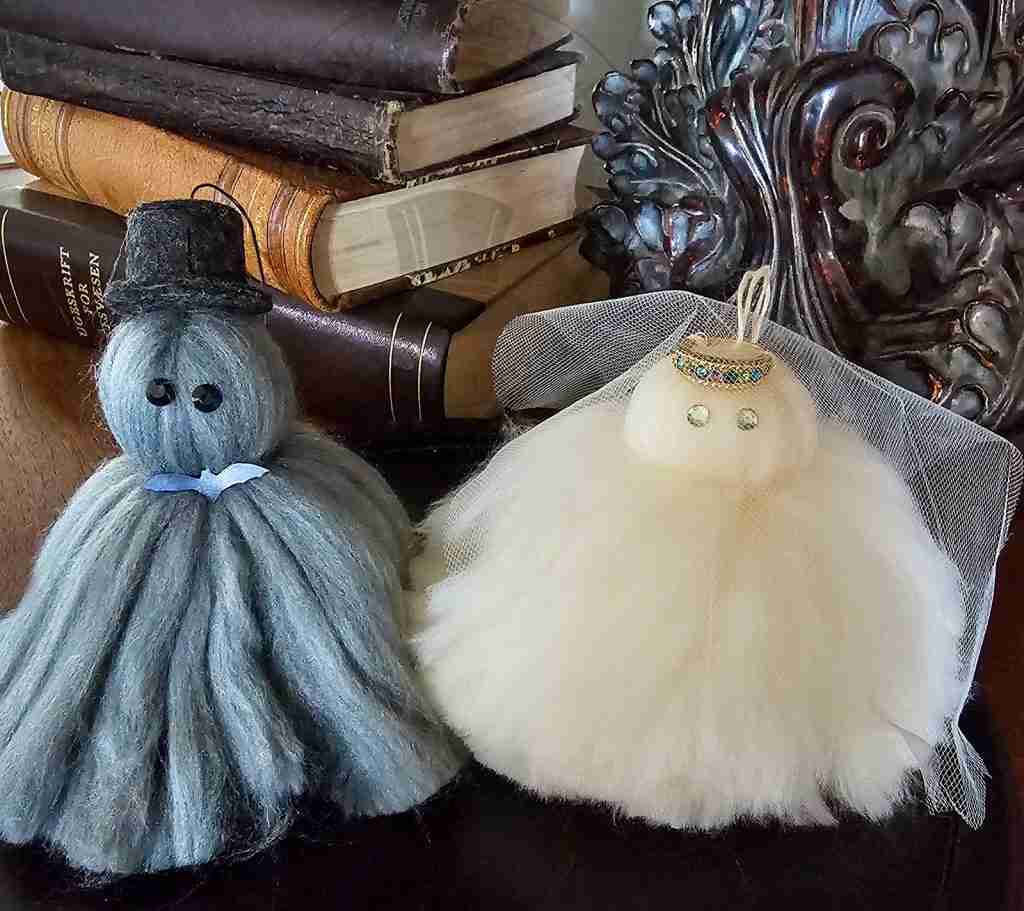
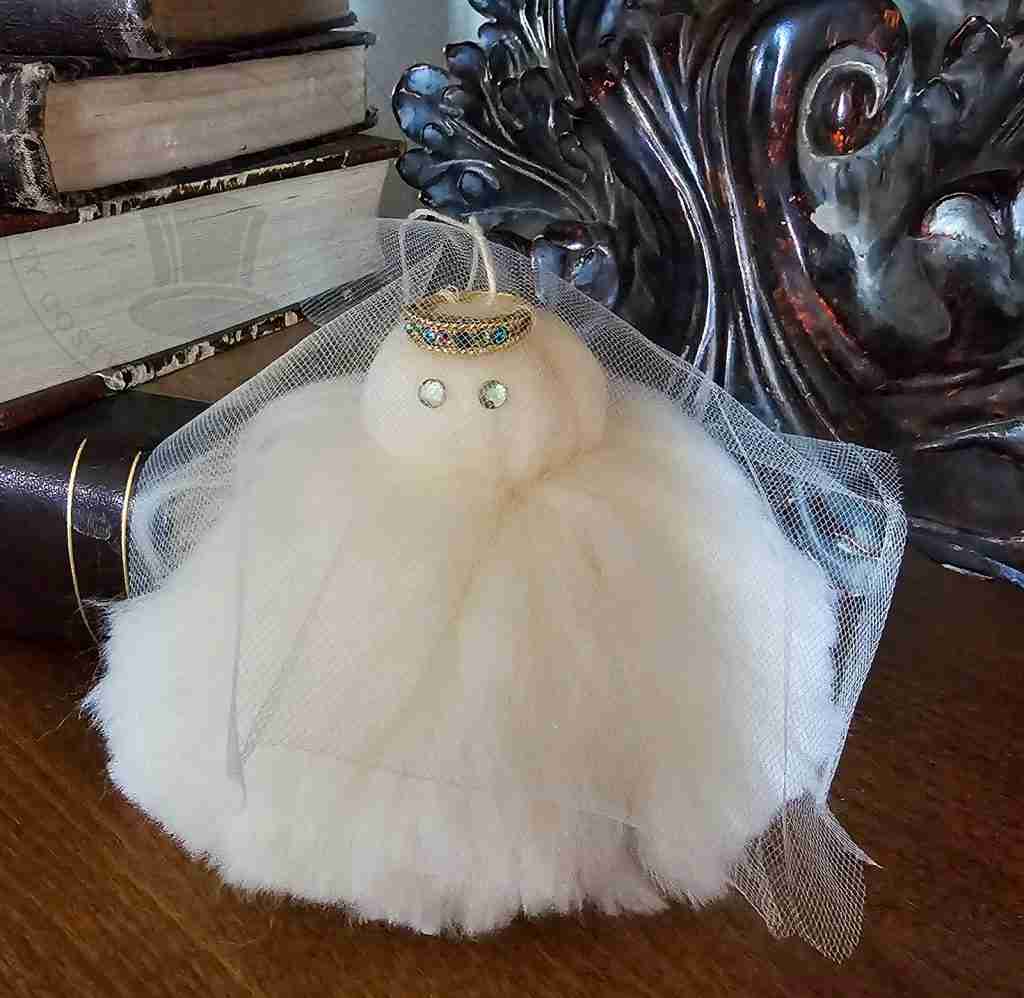
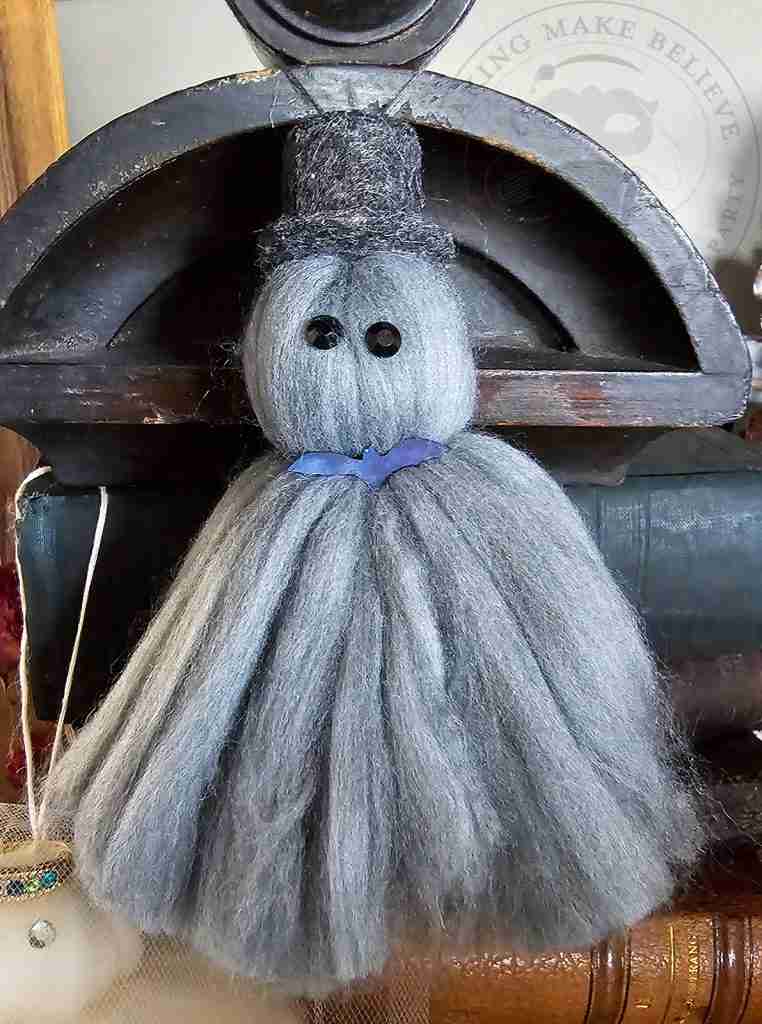
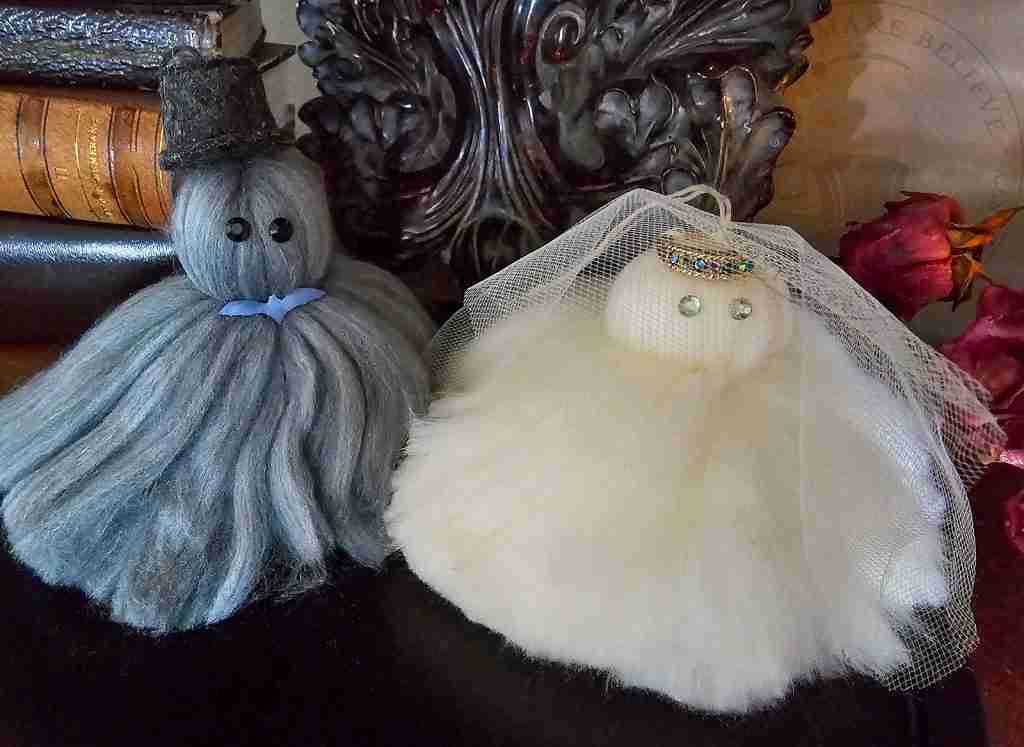
I didn’t intend to make bride and groom yarn ghosts today, but the project took on a life of its own.
Maybe this little manifestation is an homage to my husband, with whom I will celebrate 35 years of marriage this October.
I should have my computer back within a few days, but things don’t always go as planned – sometimes, they turn out better than expected.
Until next time – stay spooky.

Templates, patterns and printables for every project on the blog.

Counting down to Halloween since the 1970s. I create, style and celebrate all things costume and Halloween, all year round.
Welcome to my world of Halloween Ever After, where I create, style, and celebrate all things costume and Halloween.
Within these haunted pages lie affiliate links to curious and captivating finds I love. If you make a purchase through them, I may earn a modest commission (think fun-size candy bar), which helps keep the Halloween magic alive. No extra cost to you – cross my batty heart.



Check your email for the Haunted Library password.
Don’t miss a moment of the mischief.
Add hello@halloweeneverafter.com to your address book.
The magic happens right here in my studio and office. When you step inside my creative space, you’ll find an ever expanding gallery wall overflowing with original spooky art and classic Halloween LPs, right alongside a haunted cabinet packed to the brim with vintage curiosities.
It’s under the watchful eyes of these retro treasures that I design and craft.
Join us and get access to our Haunted Library stocked with templates, printables, cut files, and exclusive content. Plus, you’ll receive Eerie Emails just for our subscribers.
*Stay as long as you like. Unsubscribe at any time.


