Free templates & patterns
130+ freebies are waiting in the Haunted Library
Templates, patterns and printables for every project on the blog.
Formerly Making Make Believe · Join the Haunted Library

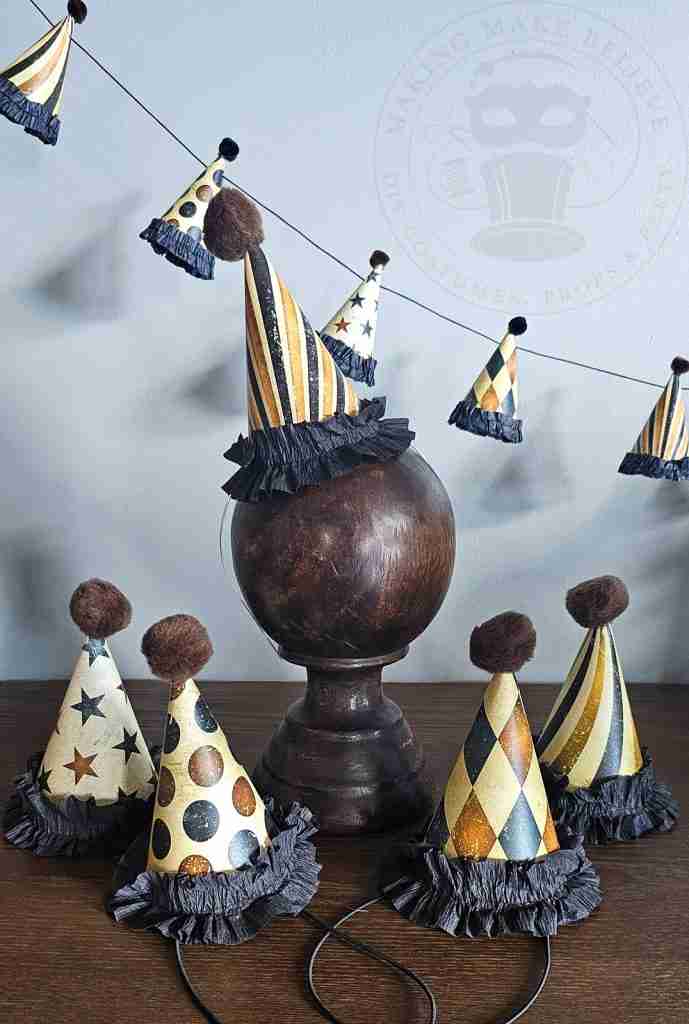
Mini Paper Clown Hat
As an Amazon Associate I earn from qualifying purchases.
This post may contain affiliate links for your convenience. Click here to read our disclosure policy.
Summertime is here!
Kids are out of school, the temperature is climbing, and warm-weather activities are in full swing.
Much needed summer fun is calling us outdoors for picnics, barbeques, lake time, and baseball.
Oh, and the circus, of course.
Summer is the time of year when the carnival and circus come to town.
While not looked on with as much anticipation as earlier generations did, I still see quite a line at the ticket booth any time the circus is here.
I haven’t been to a circus since our kiddos were little, but we enjoyed the acrobatics and the animals.
The clowns? Not so much.
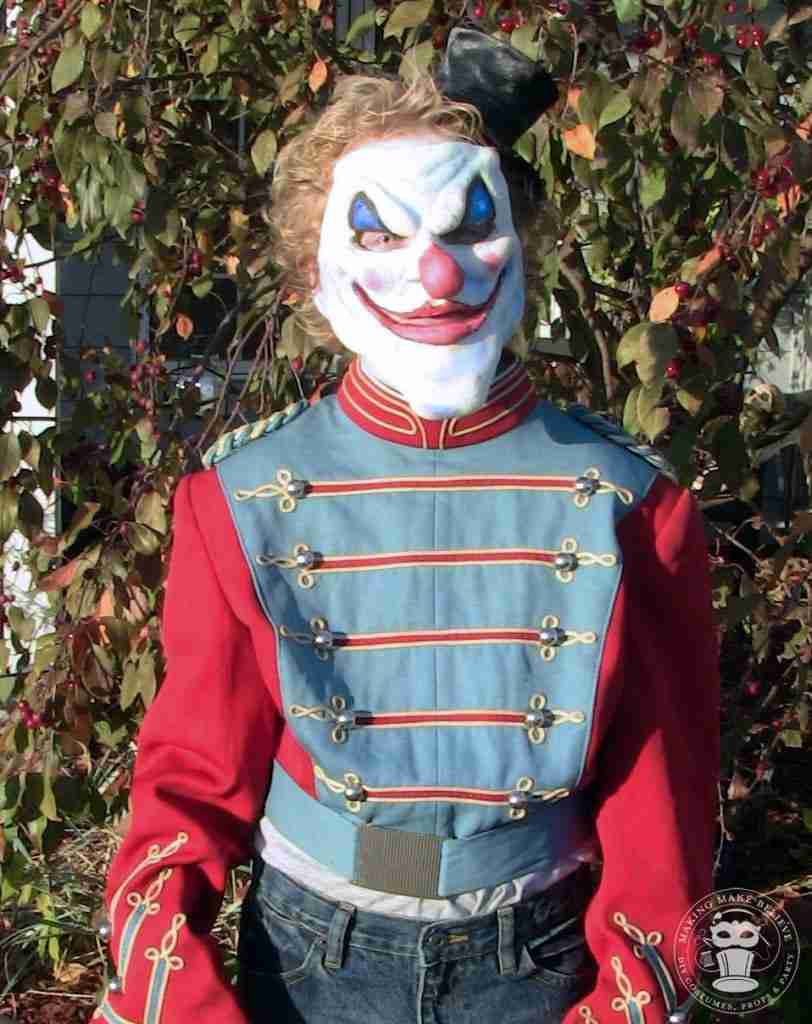
Our youngest in his creepy clown costume circa 2010.
I am not a fan of clowns, but it is a popular costume that can be portrayed as both light and funny, as well as dark and sinister.
I’m working on some elements for a circus theme with a slightly dark vibe, which can lend itself to vintage or scary.
To kick off our Haunted Circus theme, we’ll need some clown hats. So, let’s get started.
For this project, we will need:
White lightweight cardstock
Color printer
Scissors or a cutting machine
Tape or adhesive such as Elmers Craft Bond Glue Stick
Embellishments such as pom poms, crepe paper, etc. (optional)
Headband or elastic (wearable version)
Cording (garland version)
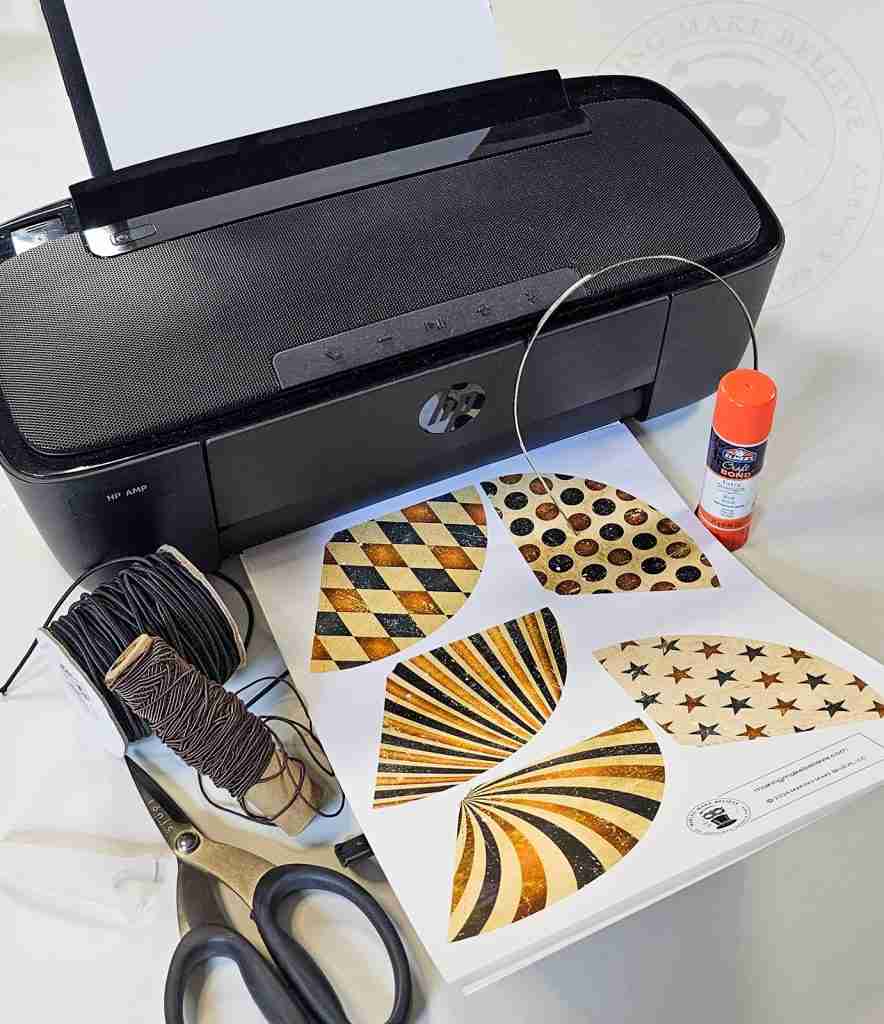
We will also need the Haunted Circus Mini Paper Clown Hat template from the Haunted Library. Select the SVG/PTC file for Print Then Cut (machine cutting) or the PDF for hand cutting.

The Mini Paper Clown Hat template includes two options based on how you plan to use your hat.
For the wearable version, we will need the larger cone with the holes punched near the base of the hat.
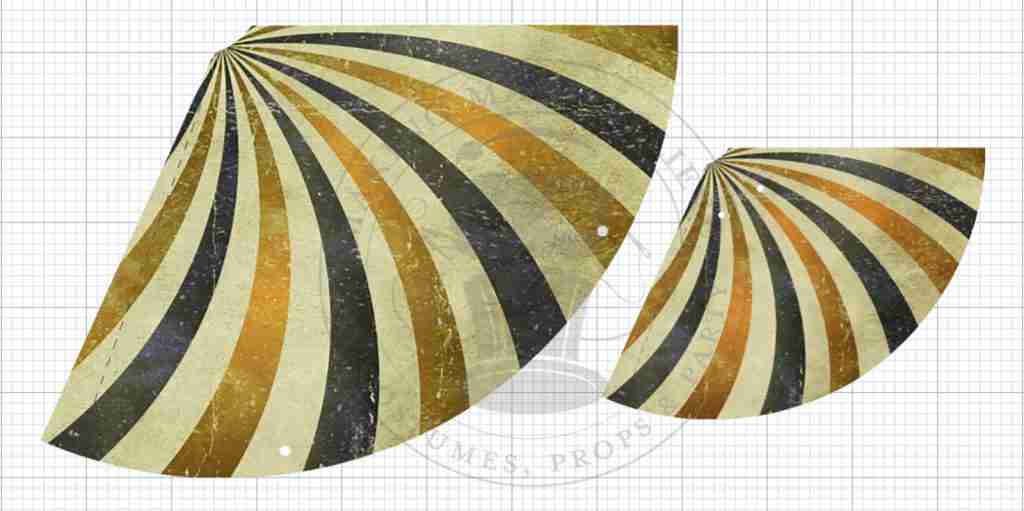
For machine cutting, upload the clown hat Print Then Cut file into your design software. I’m using Cricut Design Space.
Select the hat(s) you want to make and resize them if desired. My hats are approximately 7.5″ by 5.329″.
To cut by hand, open the template with your favorite PDF reader (Adobe, FoxIt, etc.).
Set the hat(s) to print at Actual Size or resize if preferred.
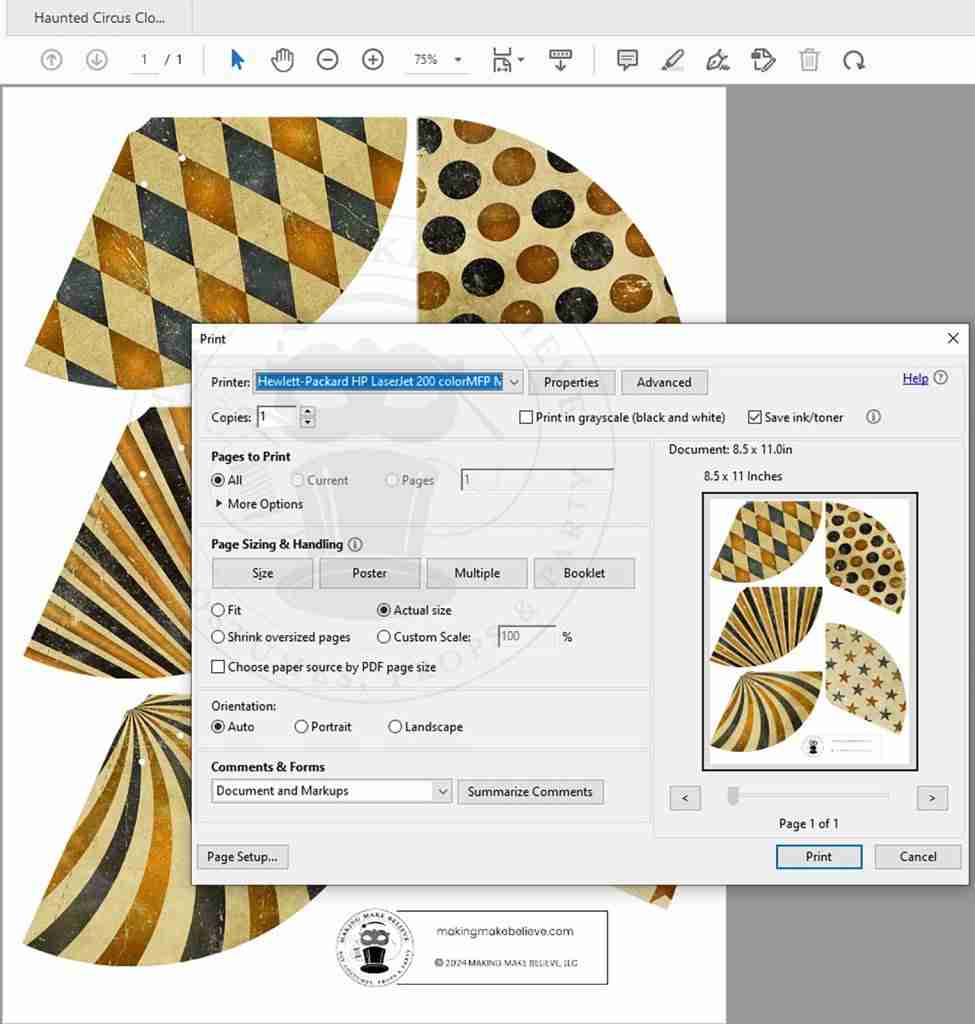
Print and cut the desired pieces.
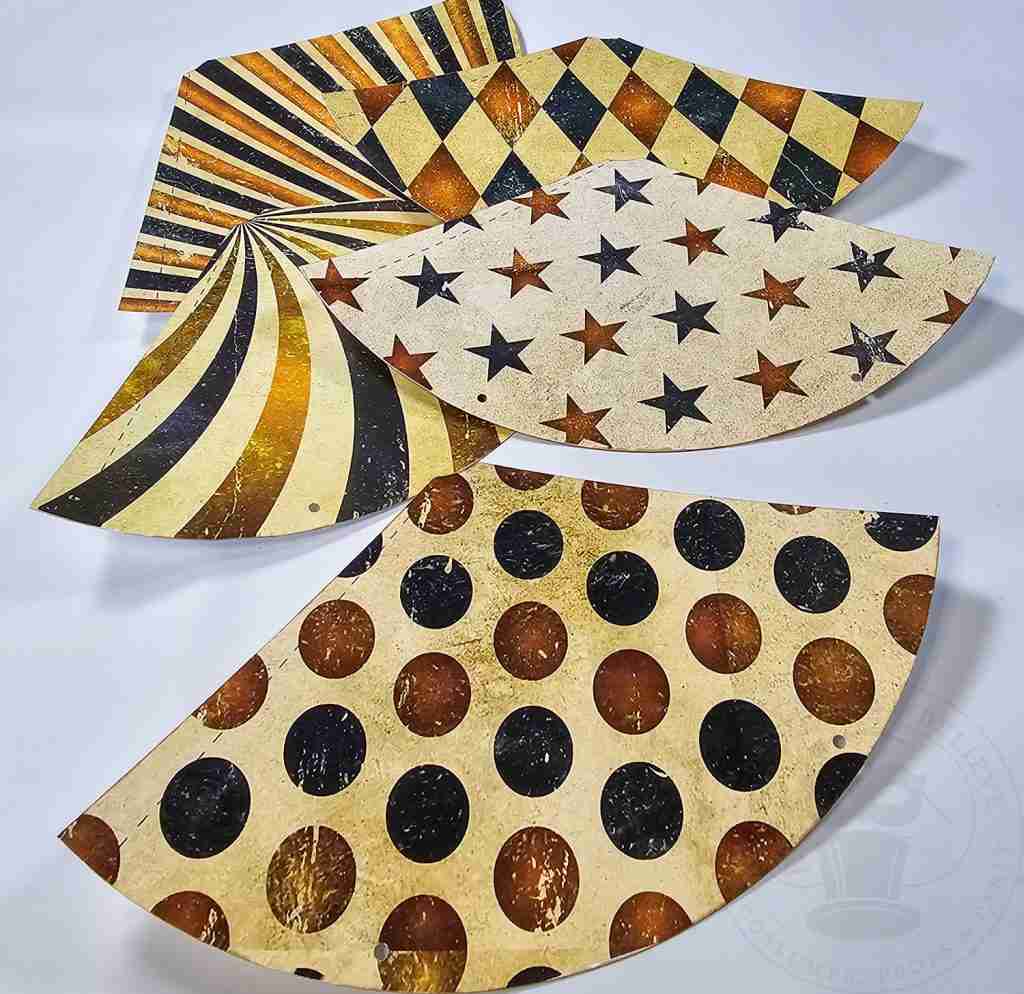
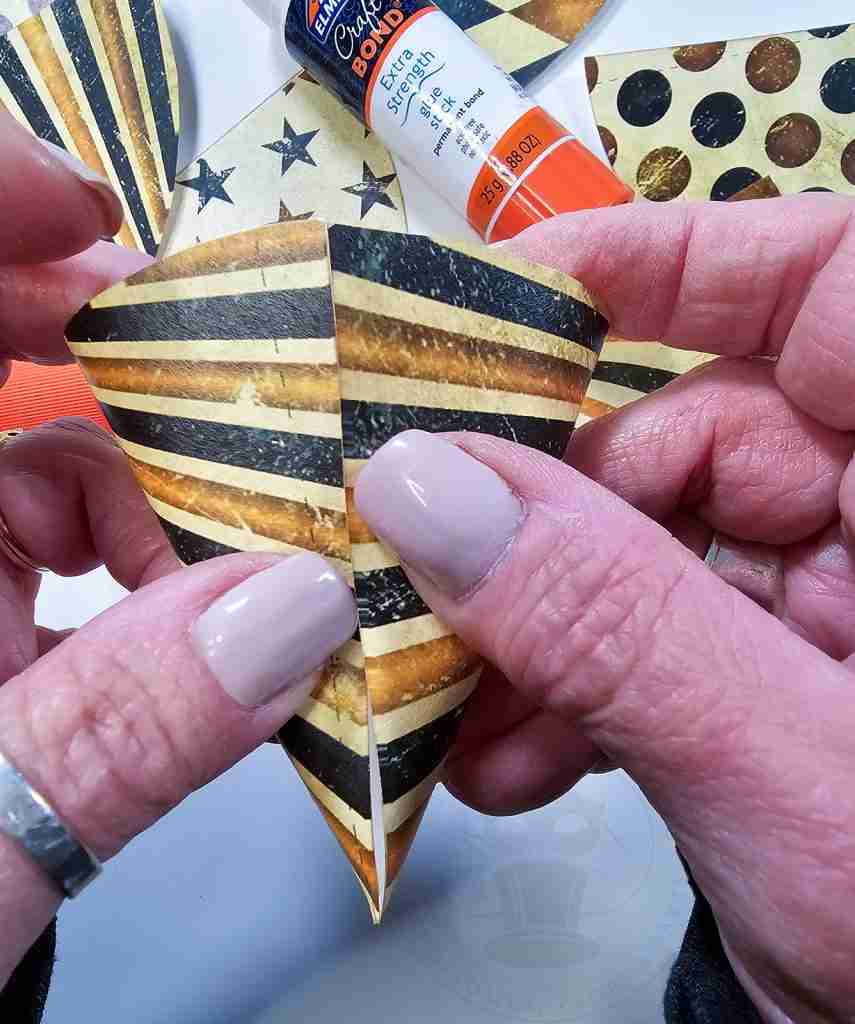
To assemble the hat, gently curl the cone by rolling it along the edge of a table.
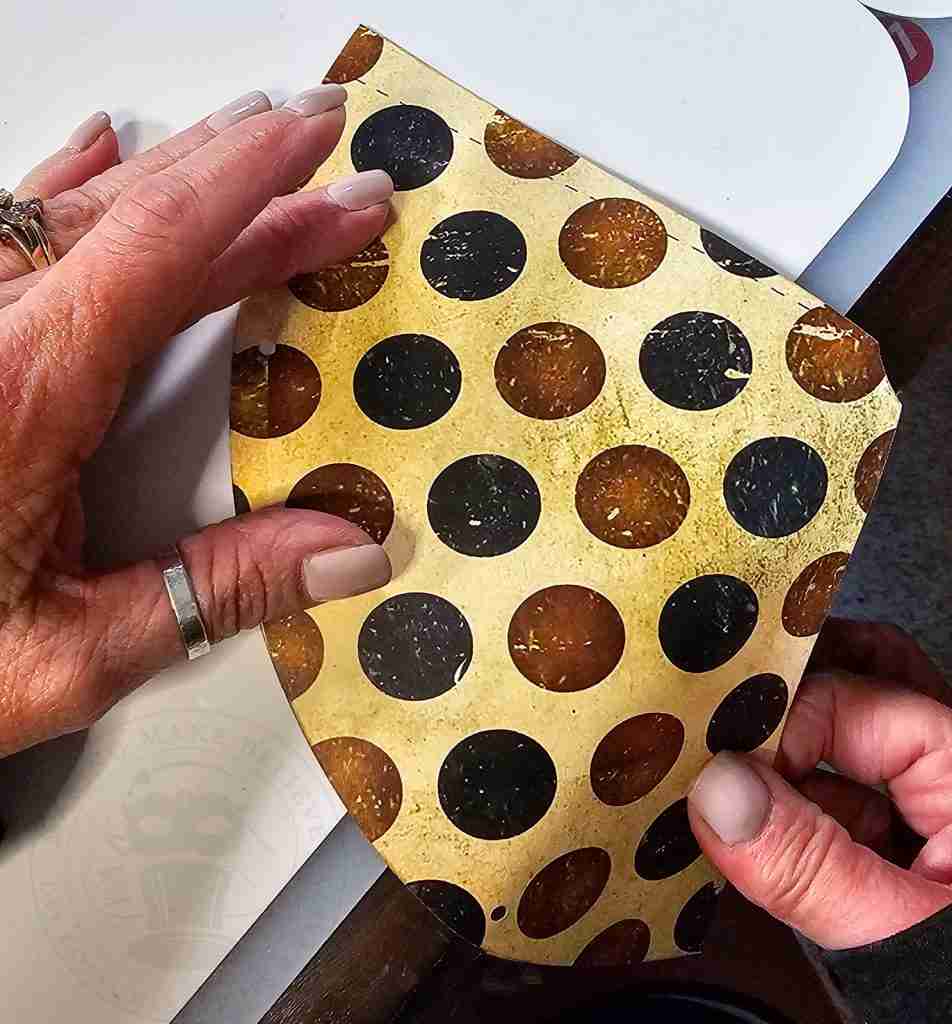
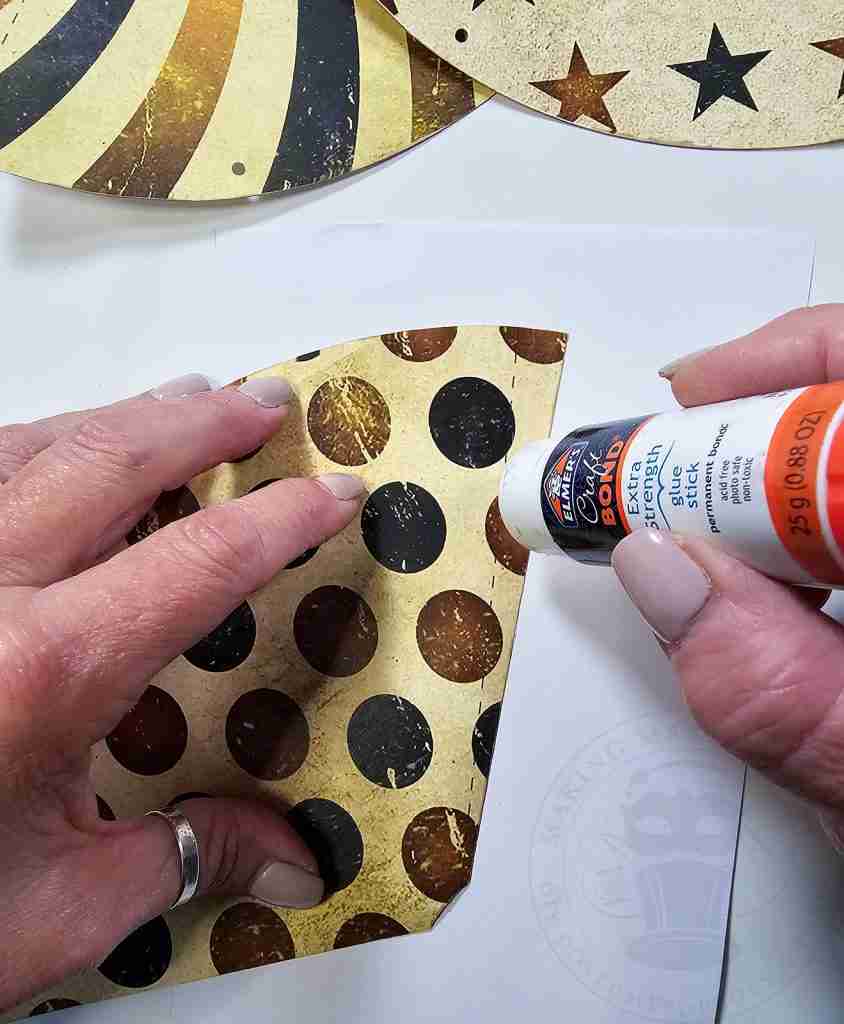
Overlap the unmarked side onto the side with the dashed line, keeping the glue to the outside edge.
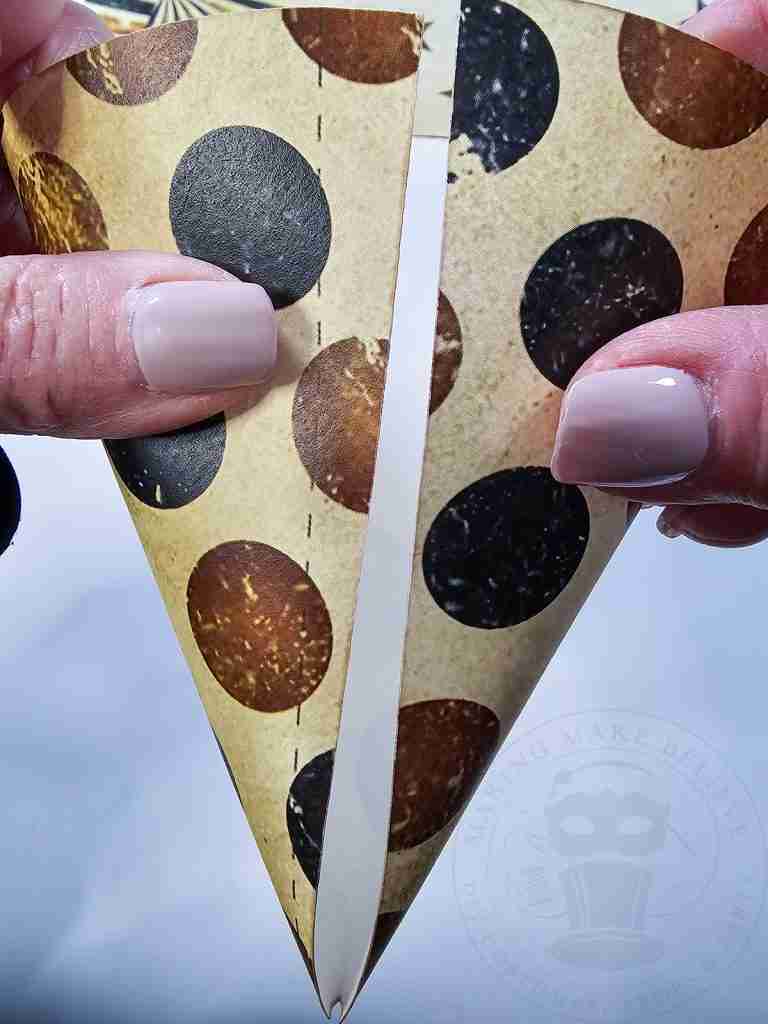
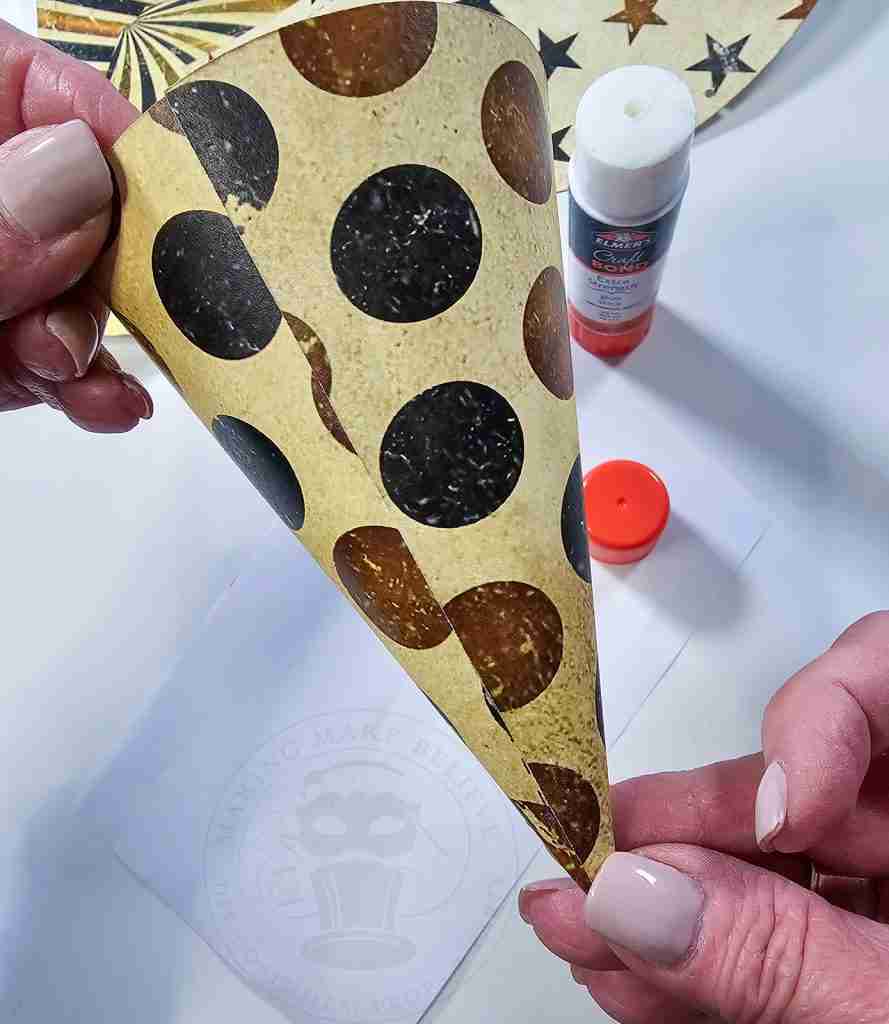
Now, you can decorate your hat however you wish.
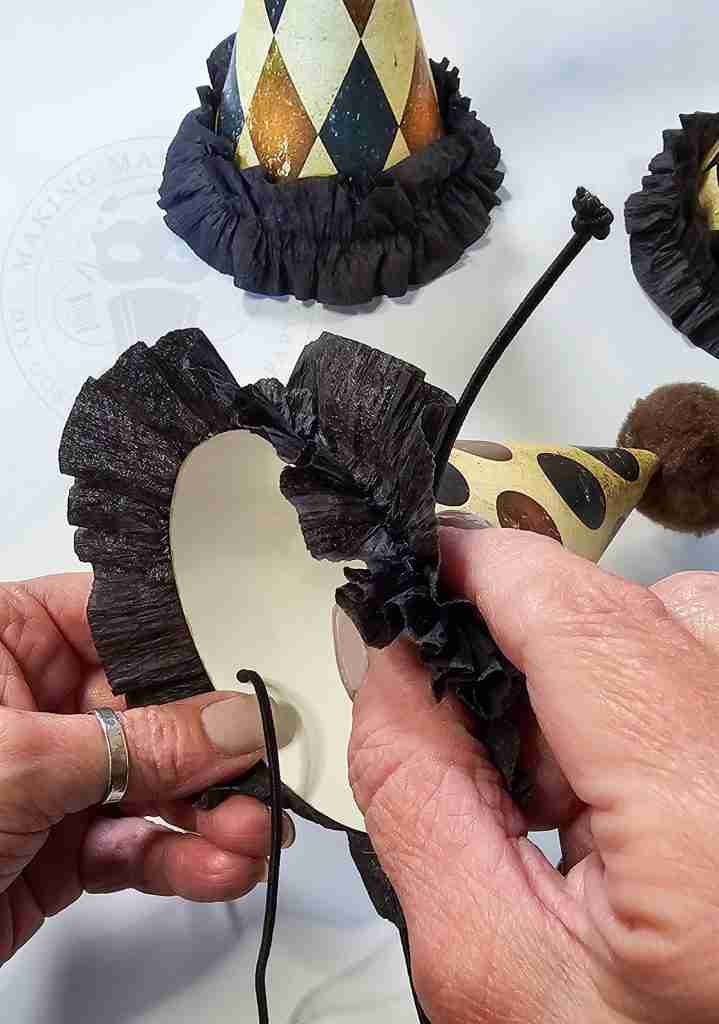
I like to add a pom-poms and crepe festooning.
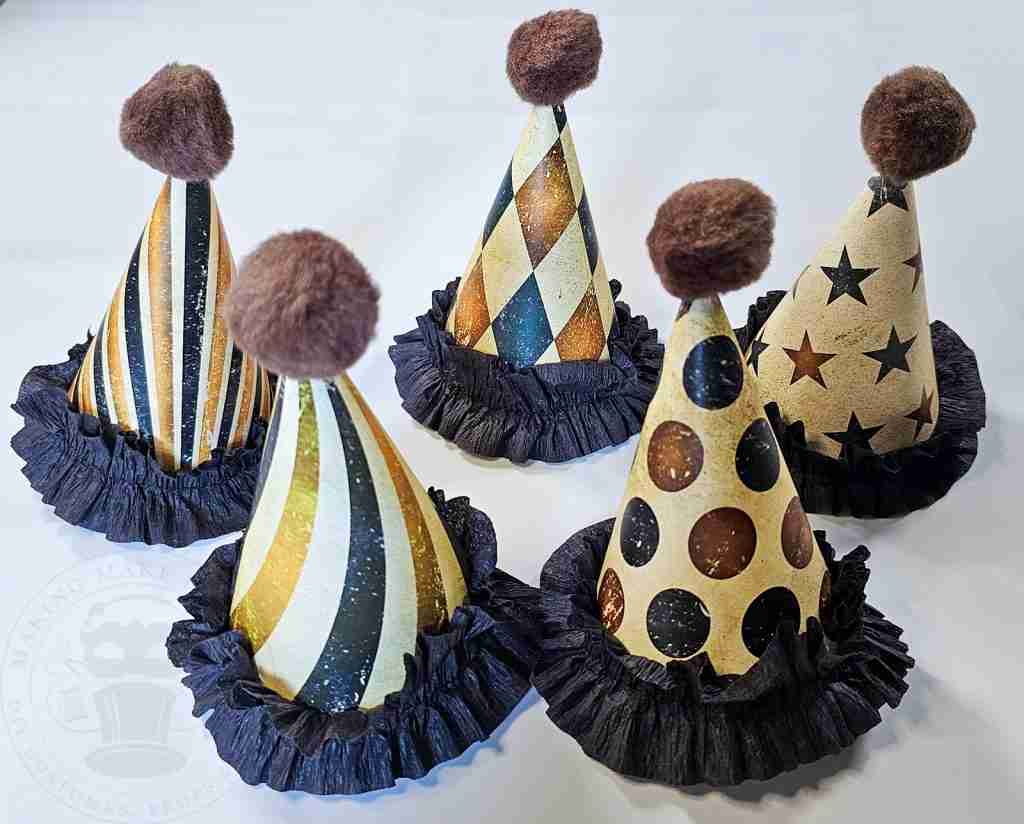
Want to learn how to make crepe paper festoon?
To wear, slide a narrow headband or elastic cording through the holes, and you’re ready to clown around.
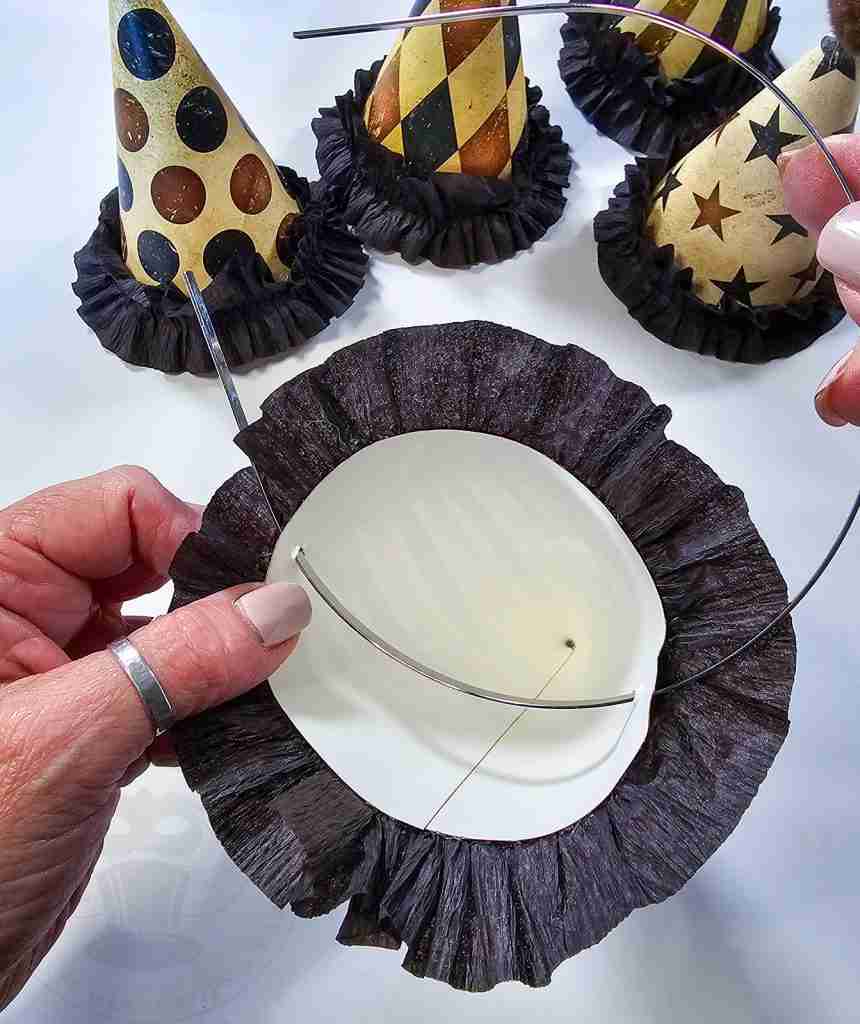
To make the Mini Paper Clown Hat Garland, select the smaller cone with the holes near the top.
My hats are approximately 4.5″ by 3.197″, but you can resize them if desired.
Follow the same process above for cutting and assembly.
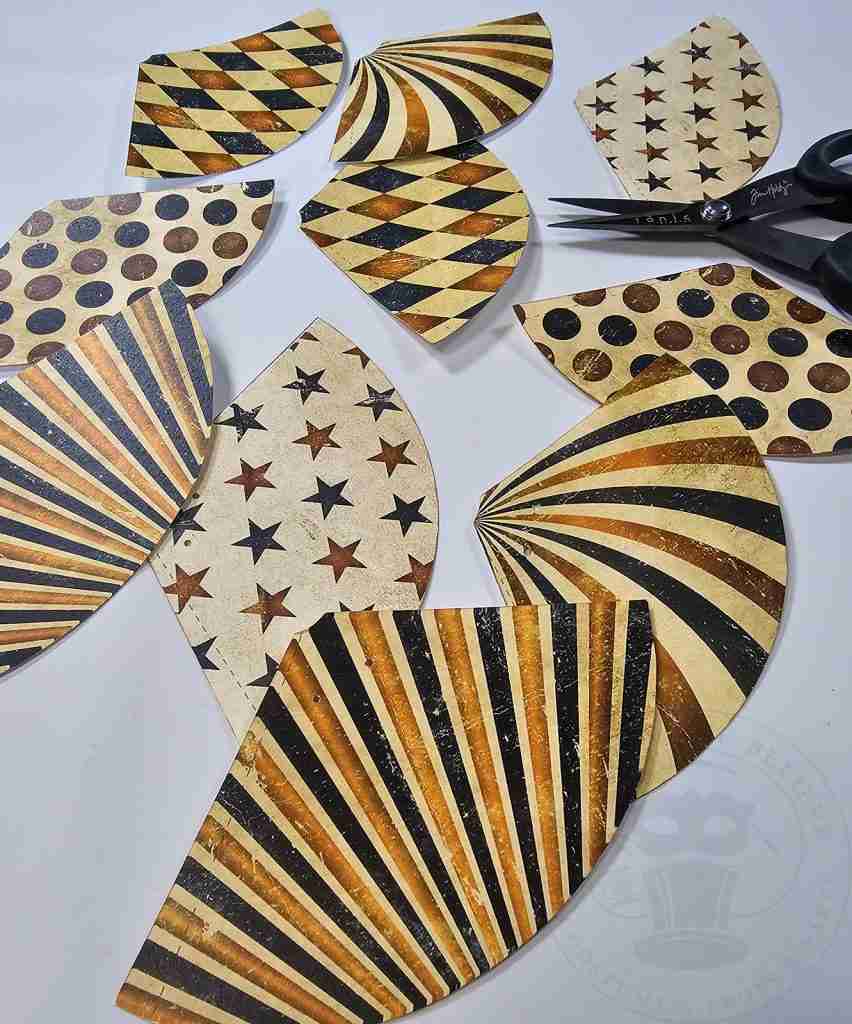
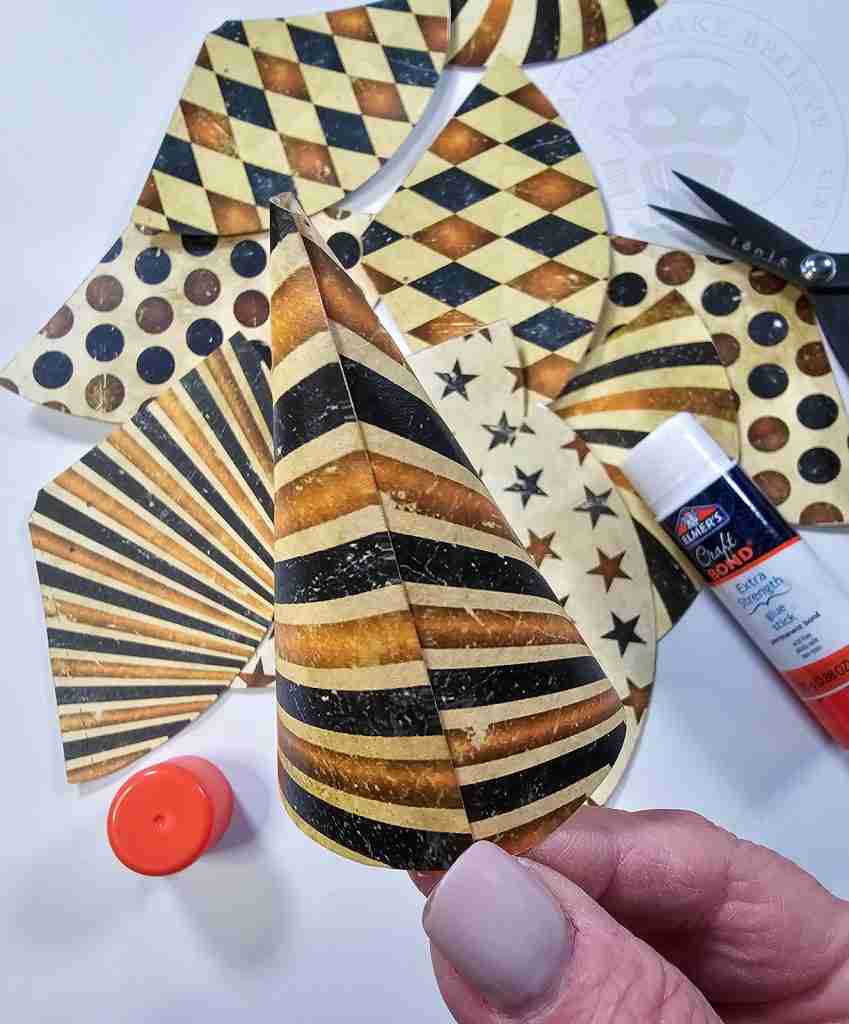
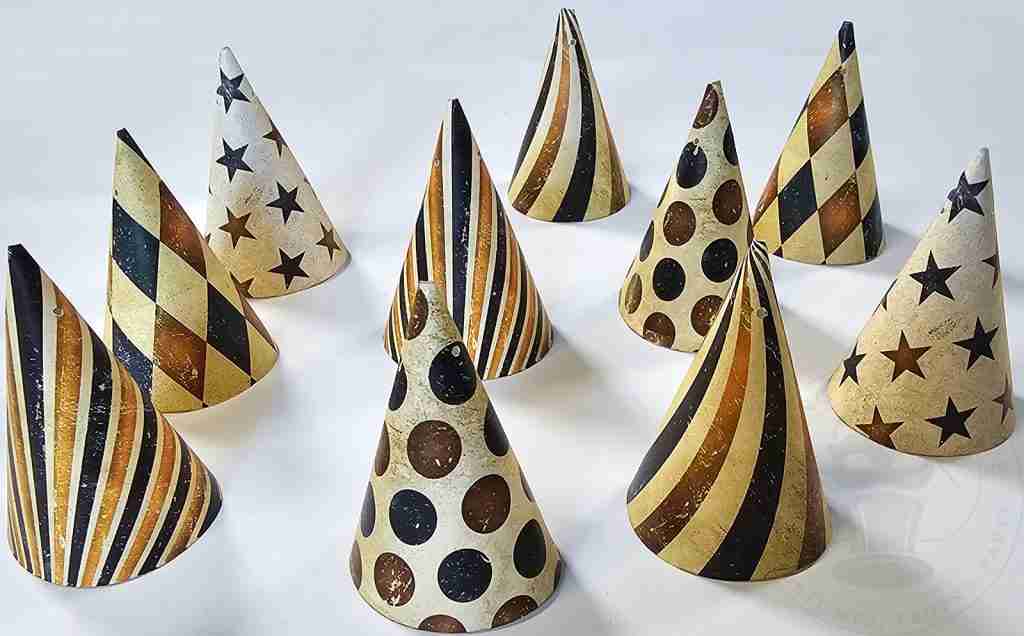
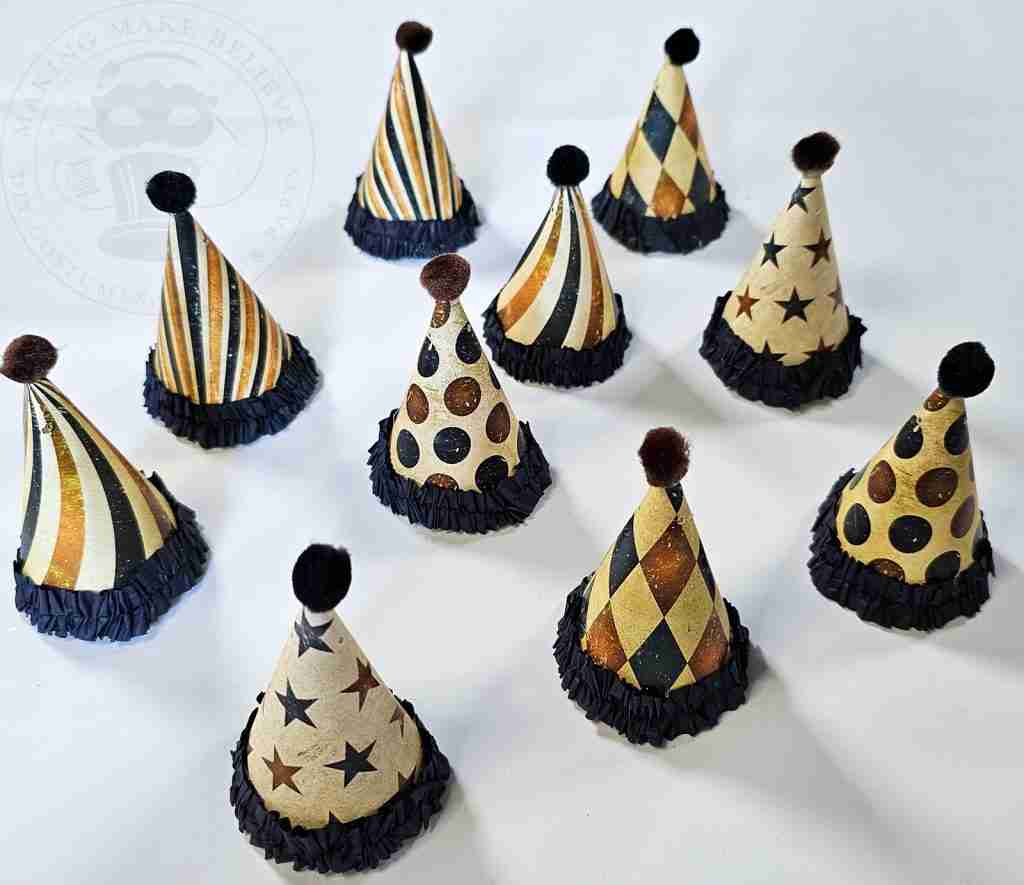
Decorate your garland hats as desired.
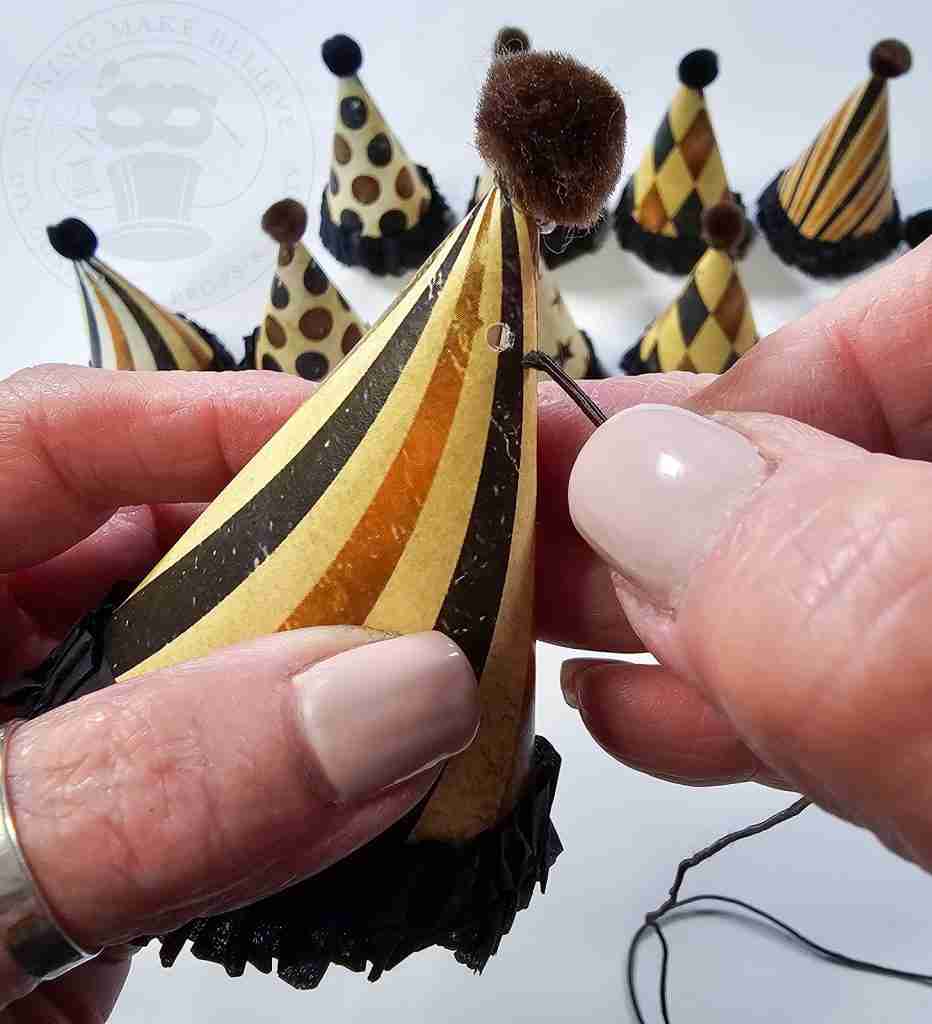
Run the cord through the punched holes in the hat.
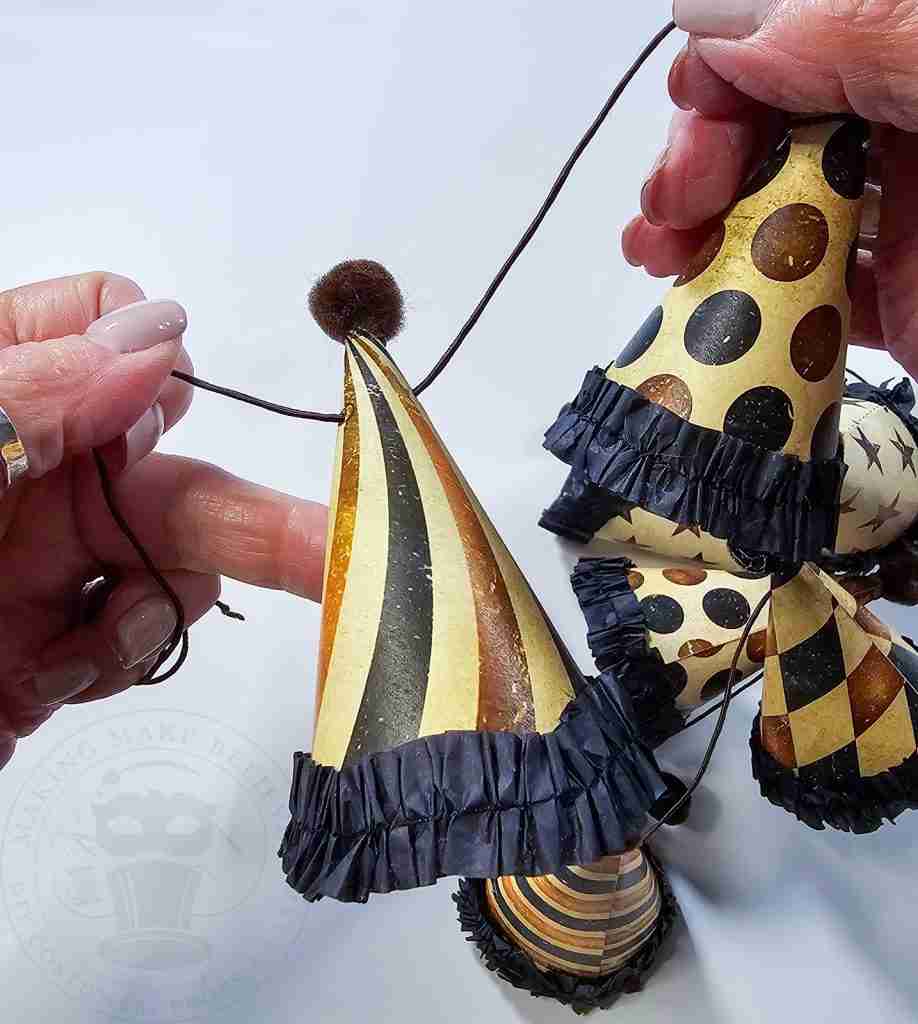
Add a loop at each end of the cord, and it’s circus time!
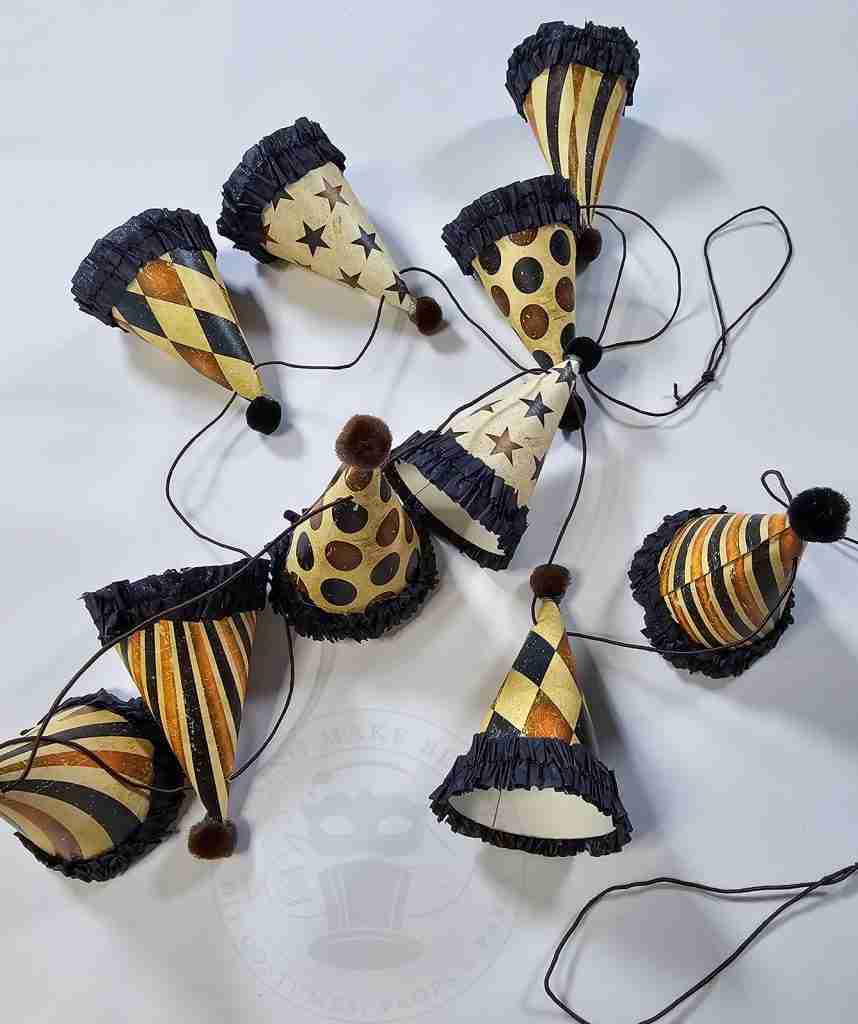
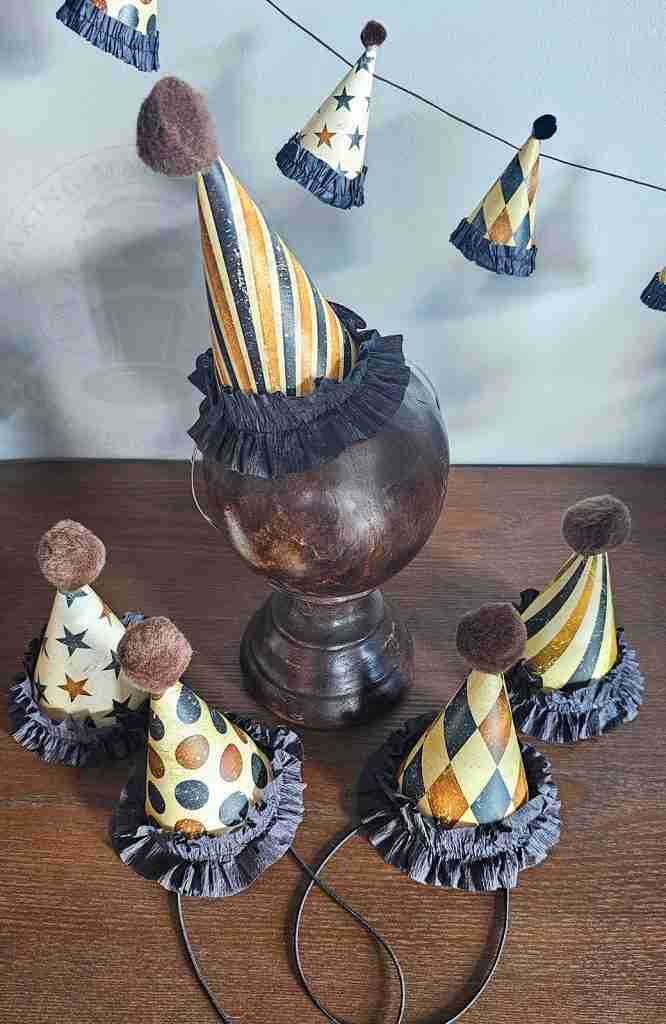
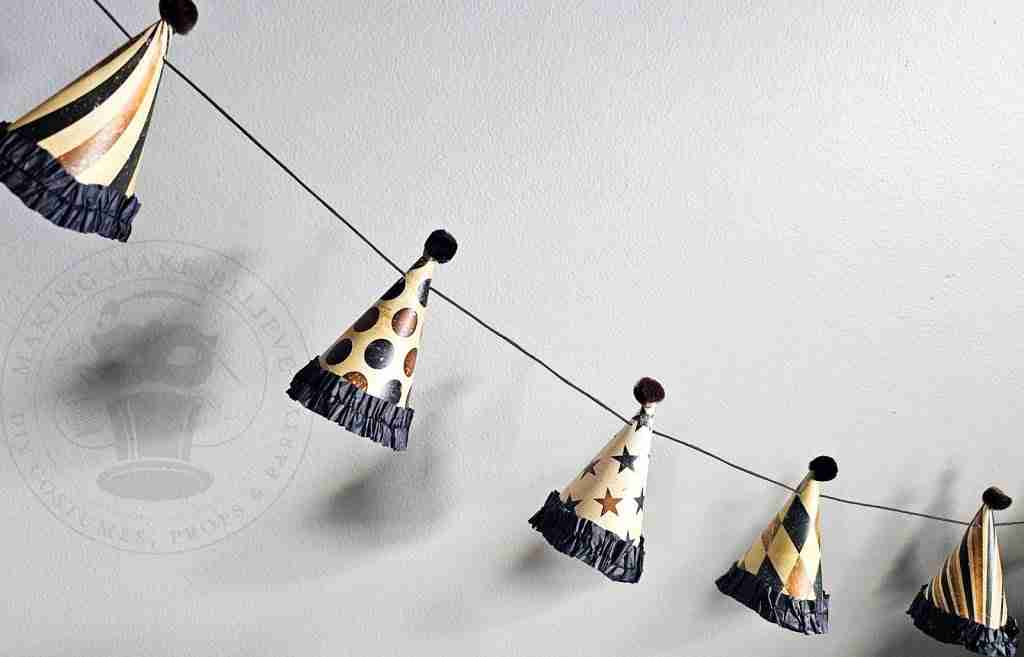
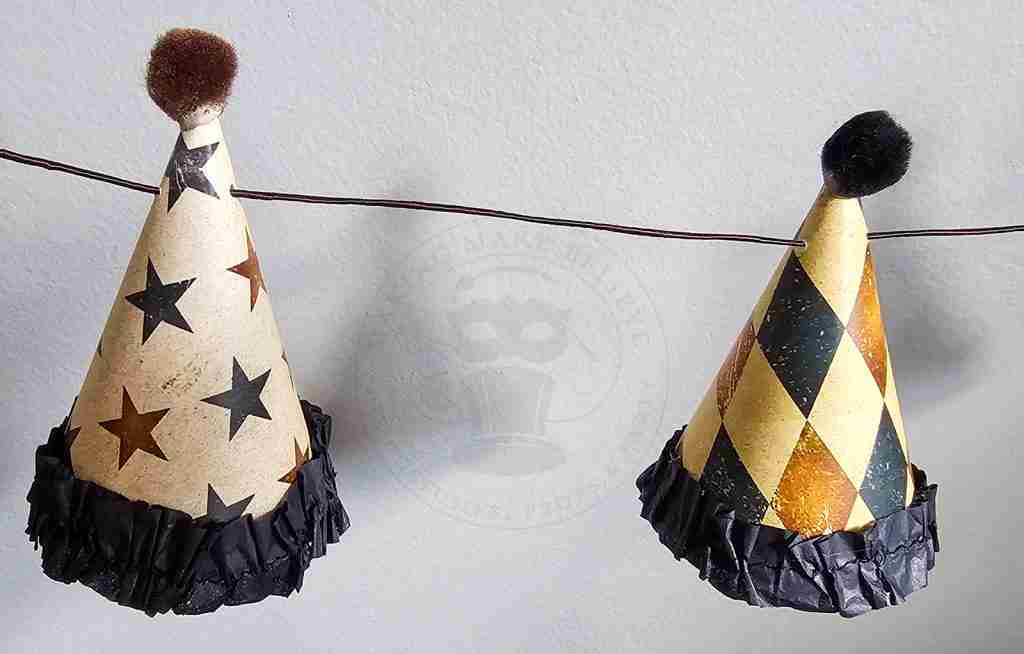
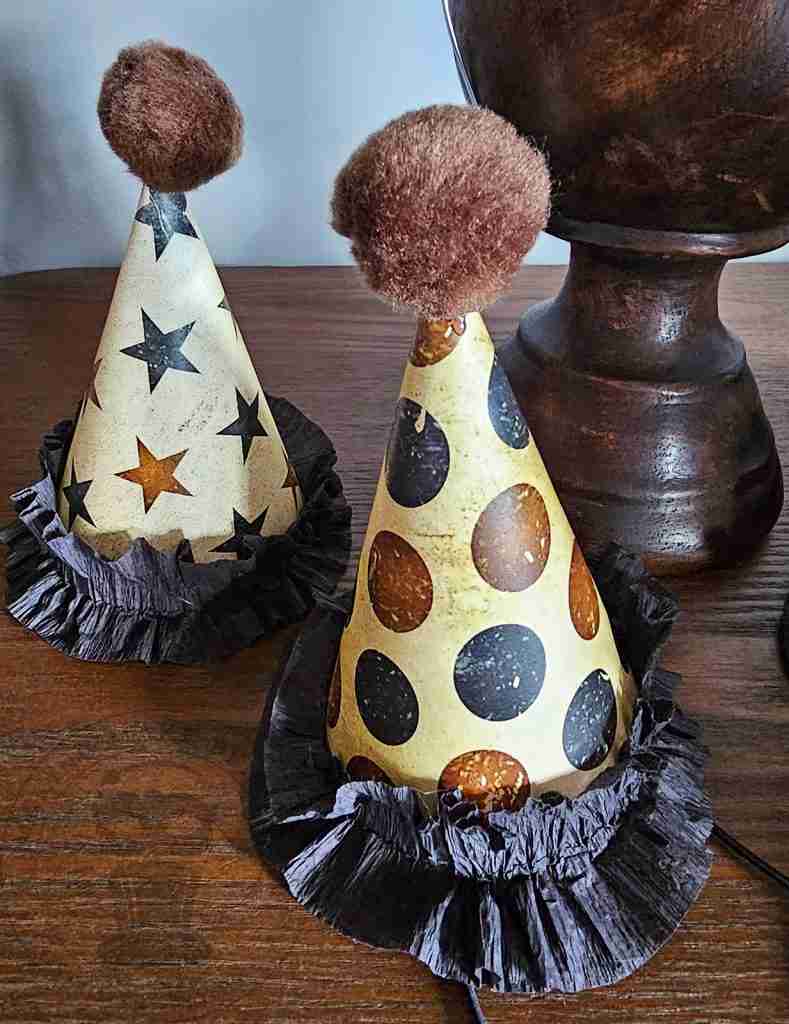
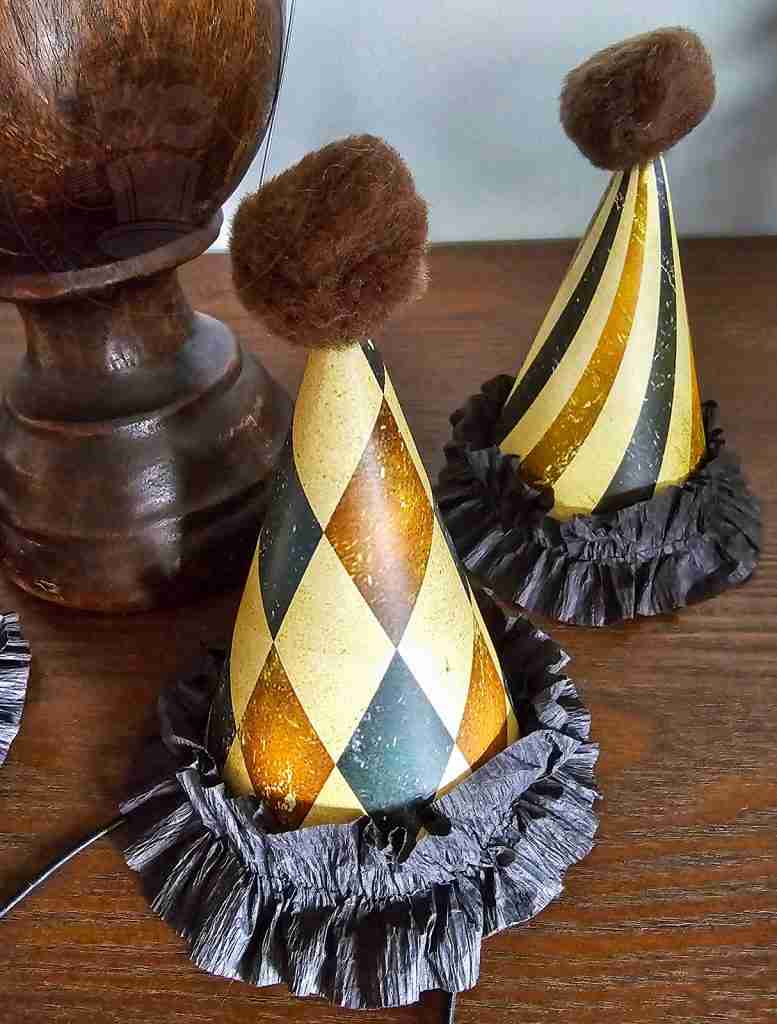
I’m kind of liking this theme – but I still don’t like clowns.
Alright, that’s enough funny business. Check back soon to see more from the Haunted Circus.
Until next time – stay spooky.

Templates, patterns and printables for every project on the blog.

Counting down to Halloween since the 1970s. I create, style and celebrate all things costume and Halloween, all year round.
Welcome to my world of Halloween Ever After, where I create, style, and celebrate all things costume and Halloween.
Within these haunted pages lie affiliate links to curious and captivating finds I love. If you make a purchase through them, I may earn a modest commission (think fun-size candy bar), which helps keep the Halloween magic alive. No extra cost to you – cross my batty heart.



Check your email for the Haunted Library password.
Don’t miss a moment of the mischief.
Add hello@halloweeneverafter.com to your address book.
The magic happens right here in my studio and office. When you step inside my creative space, you’ll find an ever expanding gallery wall overflowing with original spooky art and classic Halloween LPs, right alongside a haunted cabinet packed to the brim with vintage curiosities.
It’s under the watchful eyes of these retro treasures that I design and craft.
Join us and get access to our Haunted Library stocked with templates, printables, cut files, and exclusive content. Plus, you’ll receive Eerie Emails just for our subscribers.
*Stay as long as you like. Unsubscribe at any time.


