Free templates & patterns
130+ freebies are waiting in the Haunted Library
Templates, patterns and printables for every project on the blog.
Formerly Making Make Believe · Join the Haunted Library

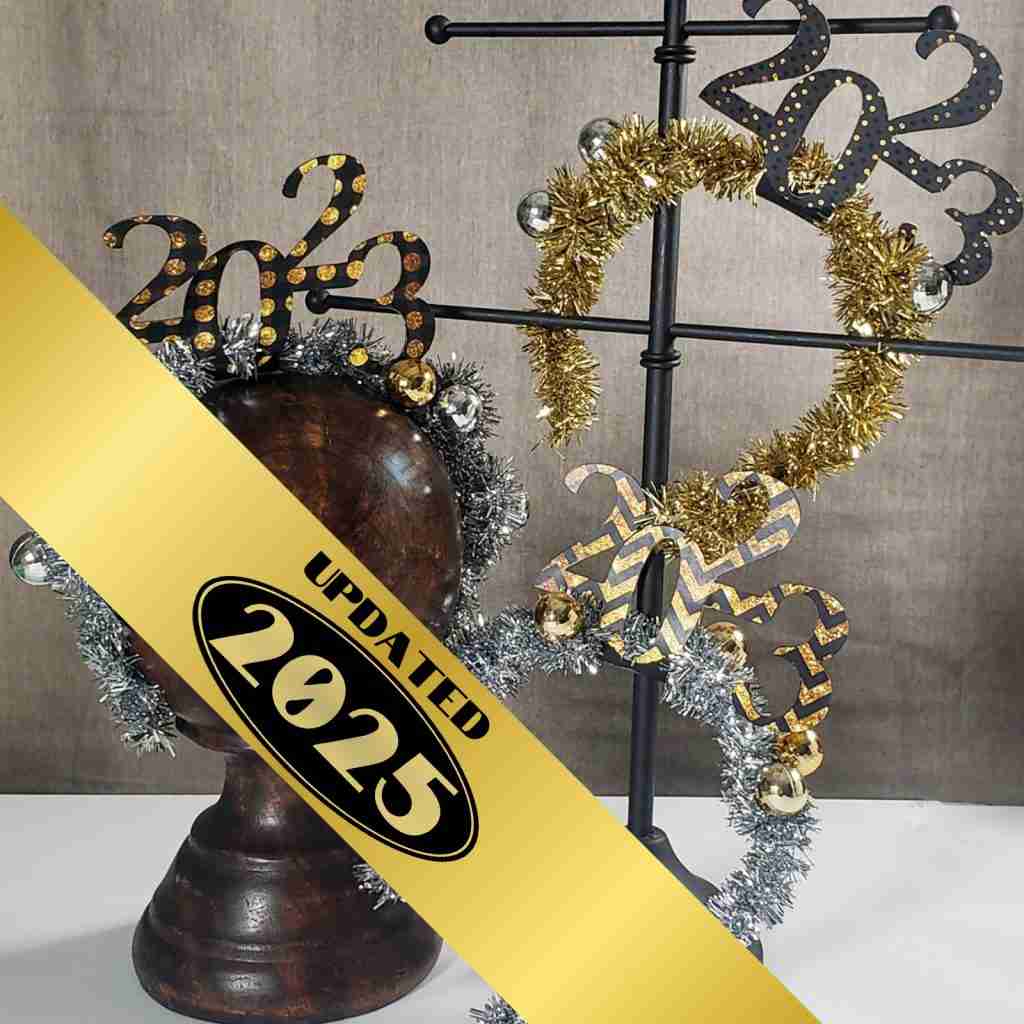
UPDATED FOR 2025 – Last-Minute New Year’s Eve Crown
As an Amazon Associate I earn from qualifying purchases.
This post may contain affiliate links for your convenience. Click here to read our disclosure policy.
With the Fa-La-La-La-La behind us, it’s time to welcome in the New Year!
After being behind all season, I’m finally caught up, and I look forward to ringing in 2025.
Over the years, we’ve hosted events, attended parties, and gathered with family and friends, but this year will be a relaxed New Year for two or three, if you count Lily Pug.

I plan to stay in, stay warm, and watch the ball drop while wearing my pajamas from the comfort of my sofa.
But if you have grander plans and need a fast and festive fascinator for your NYE, I’ve got an easy, last-minute DIY you can pull together with time to spare.
I went more minimalist for this crown, which made for a simple yet festive look that isn’t too over-the-top, but you can pile on as much tinsel and extras as you want.
Once you have your supplies ready, this crown comes together quickly. Hit the after-Christmas sales or rummage through your holiday decorations for tinsel and baubles you can use.
The countdown clock of 2024 is ticking, so let’s get going.
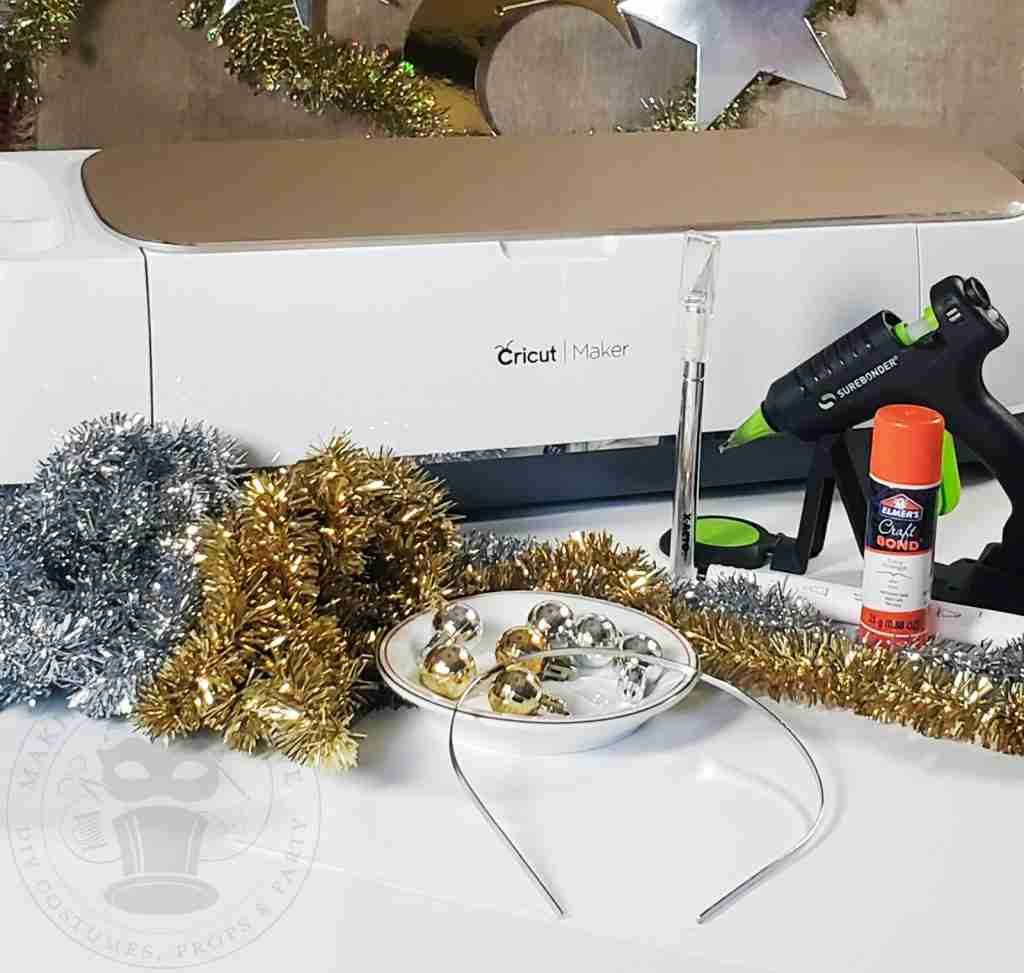
We will need,
Thin headband – I’m using this one
Christmas tinsel garland
Embellishments – I’m using some mini ornaments
Cutting machine or X-Acto knife
Printer
Cardstock
Glue stick
Hot glue, if necessary
Alcohol ink marker (optional)
We will also need the NYE Tinsel Crown 2025 Year Emblem file from the Haunted Library.

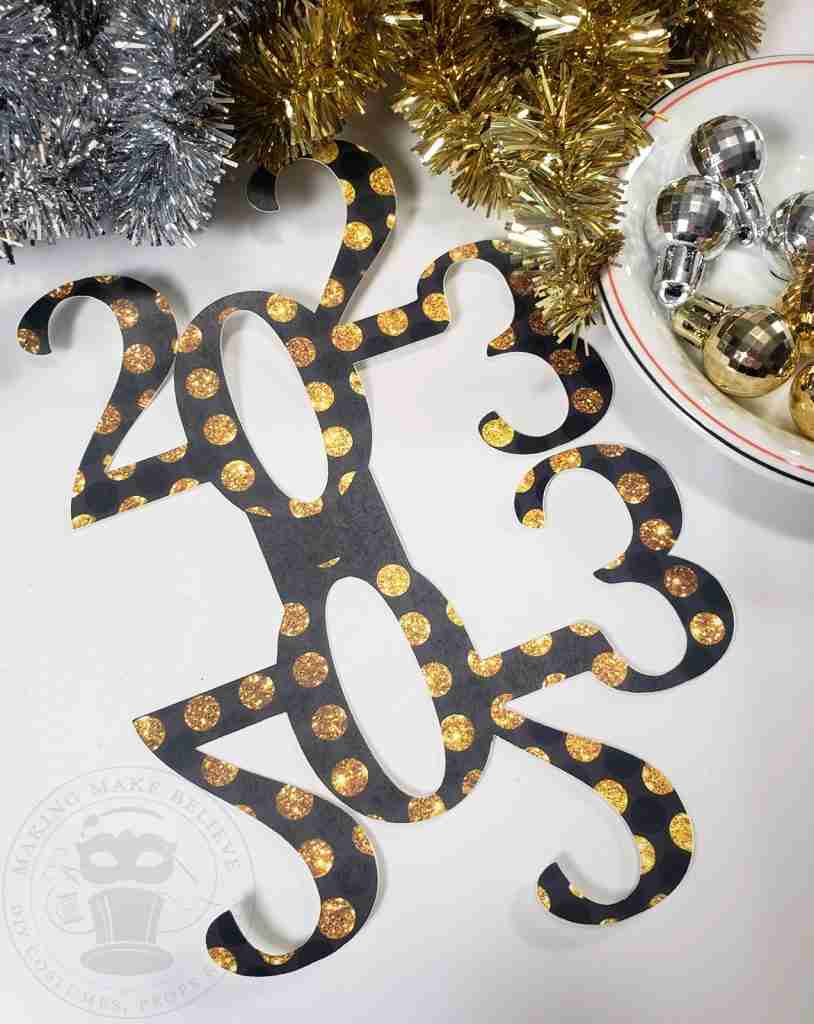
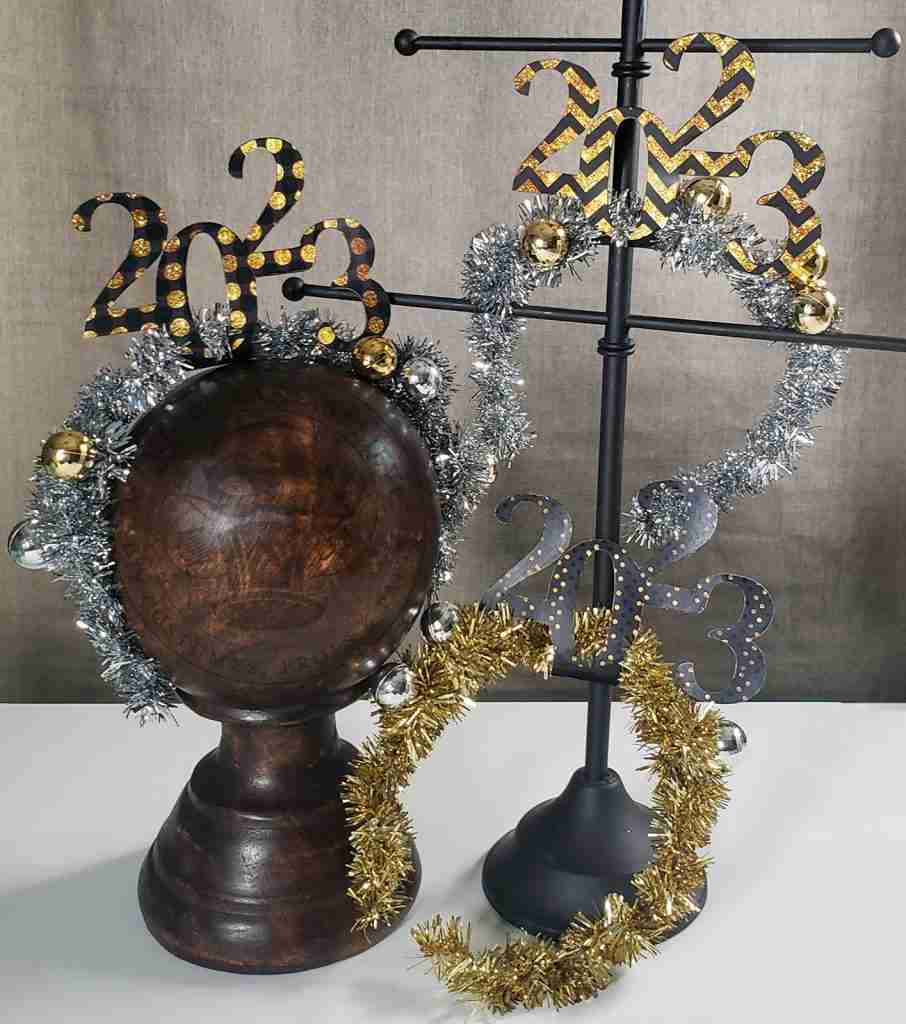
The file includes the 2025 Year Emblem in three patterns. Choose from Mini Dot, Large Dot, and Chevron.
Select the Print Then Cut file for machine cutting or the PDF file for hand cutting.
First, print and cut the 2025 Crown Emblem.
You can size your emblem however you desired.
For reference, I cut mine 5″ wide and just over 7″ high before folded in half.
You can either use the Print Then Cut feature of your cutting machine, such as the Cricut, or print out the PDF and cut using an X-Acto knife.
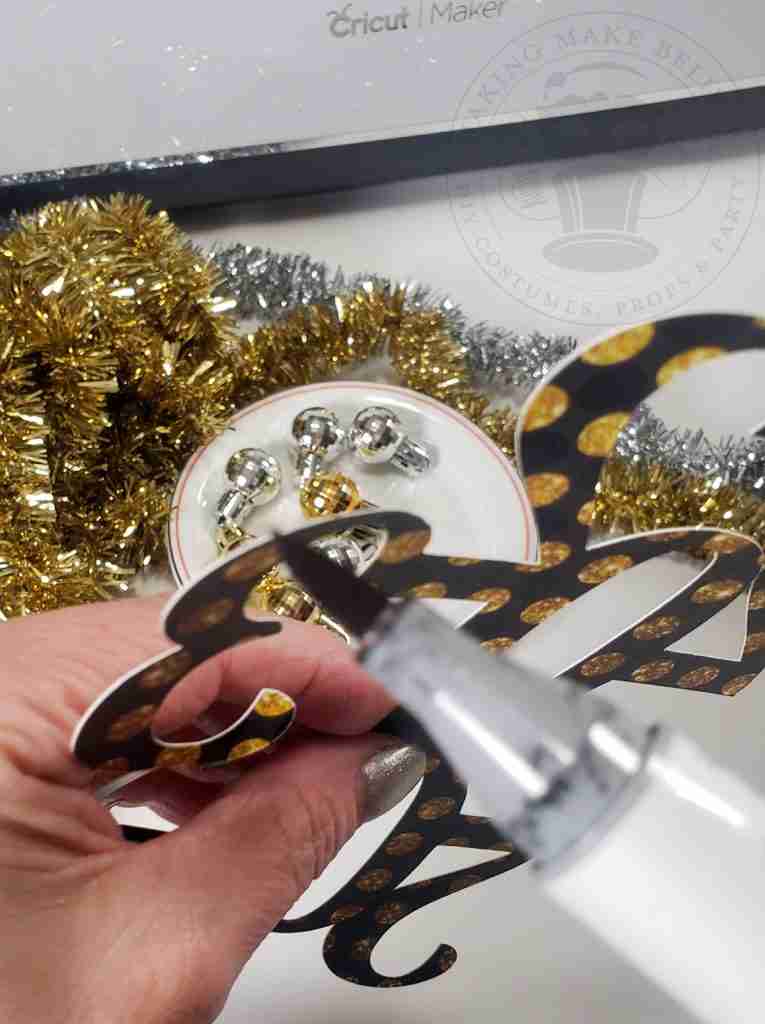
For a more finished look, color the edges of the emblem using a black alcohol ink marker.
Wrap the tinsel onto your headband. I went with a more sparse approach, but you can do as much or as little as you like.
My tinsel held fine, but you can secure it with hot glue if necessary.
Use caution if your headband is metal like mine, and don’t burn your fingers.
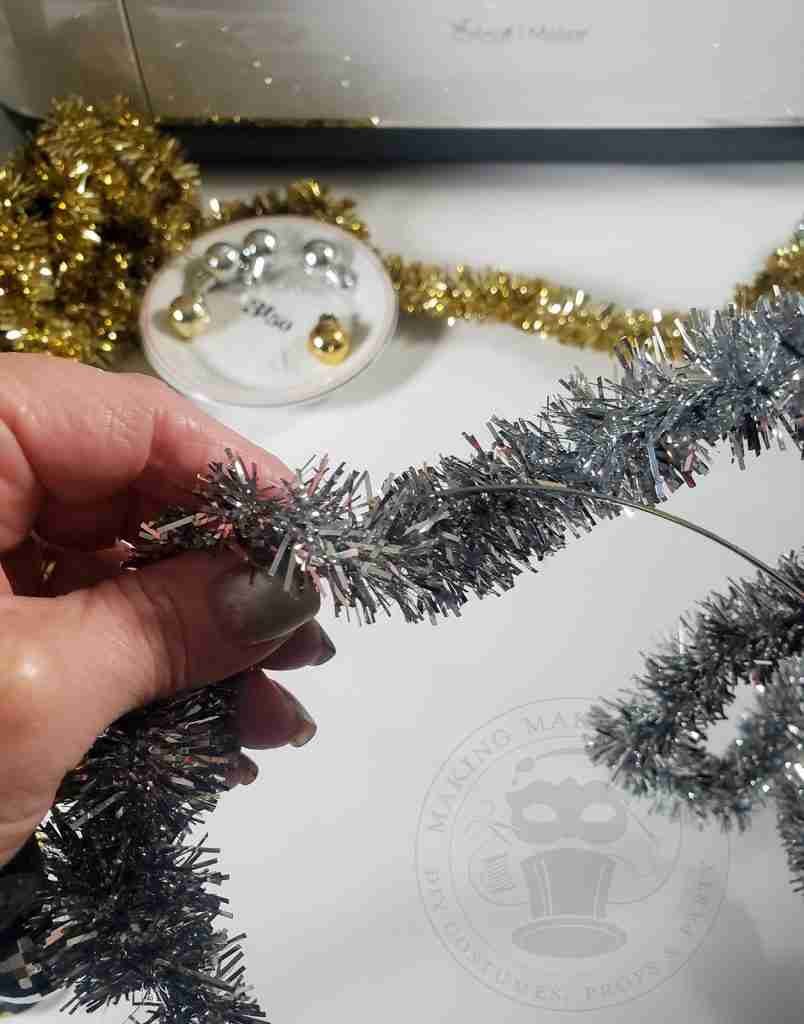
Position the emblem along the top of your crown where desired and fold it around the headband.
Align the numbers and use the glue stick to adhere the front to the back.
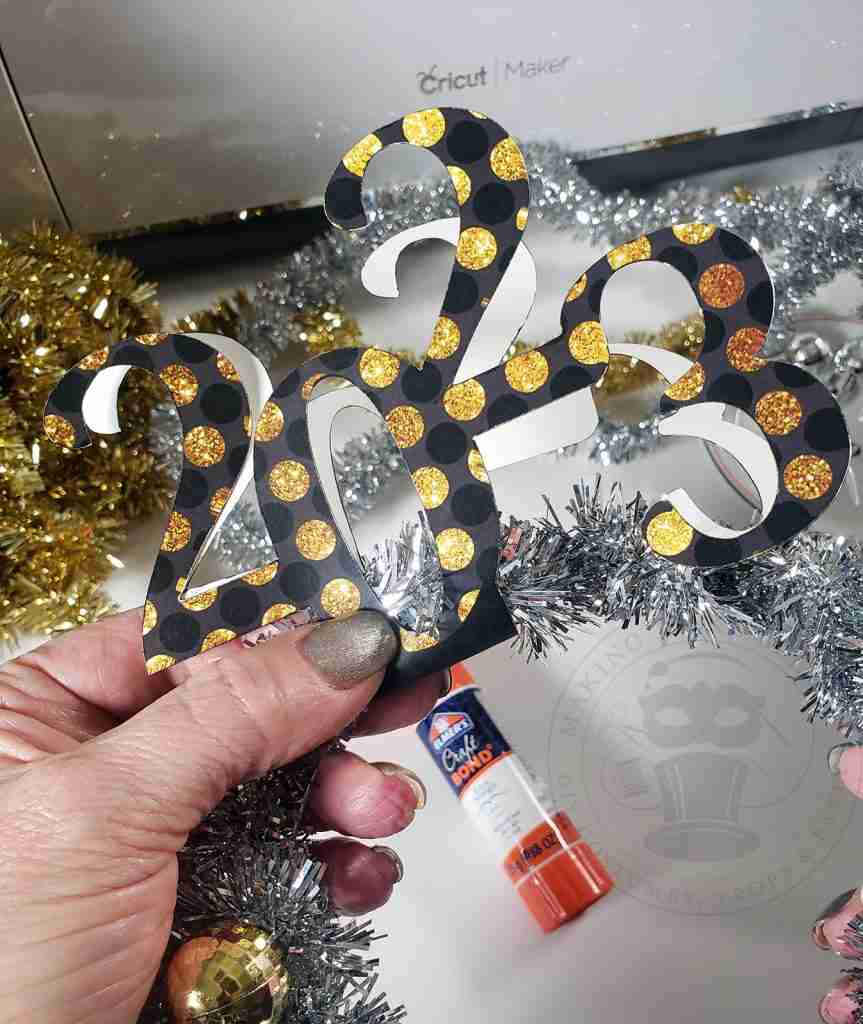
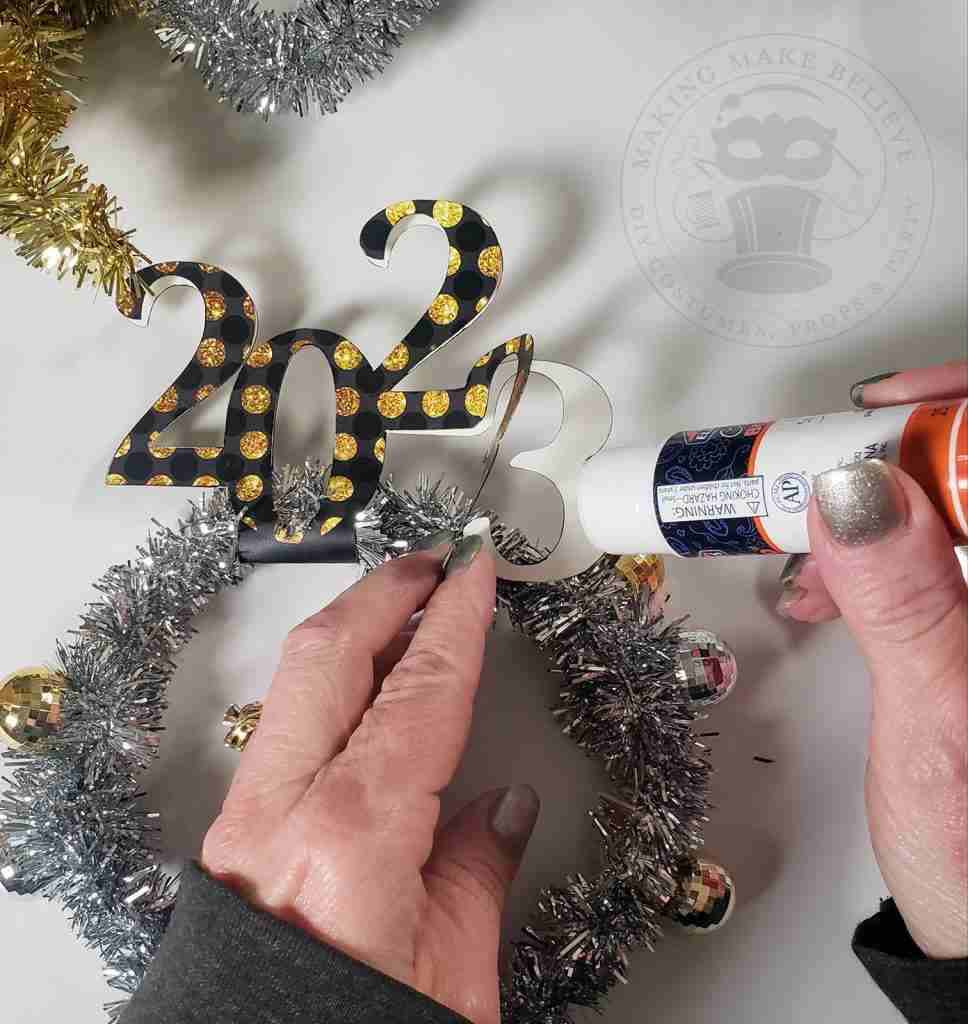
Add your embellishments and secure them with hot glue.
My ornaments slid onto my headband perfectly, which allowed me to skip the hot glue and string them onto the headband while adding the tinsel. (This was one of those unplanned, happy accidents.)
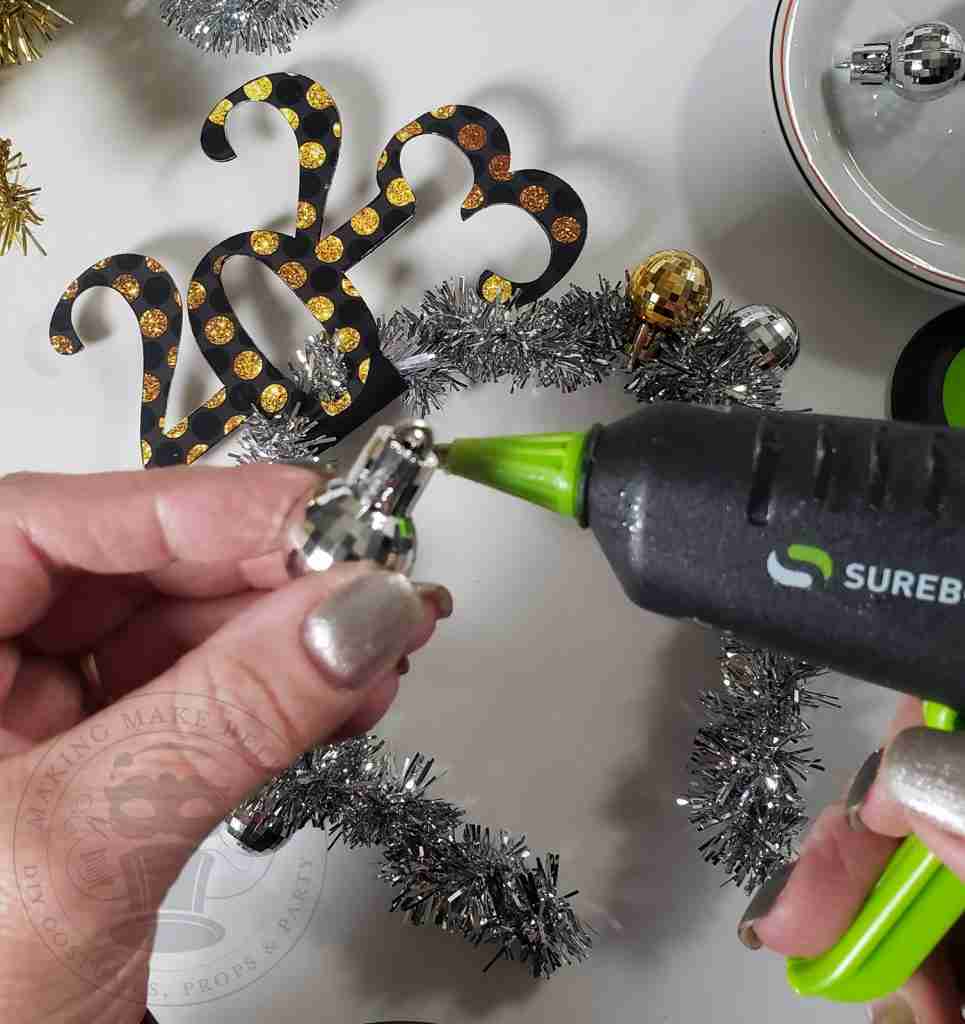
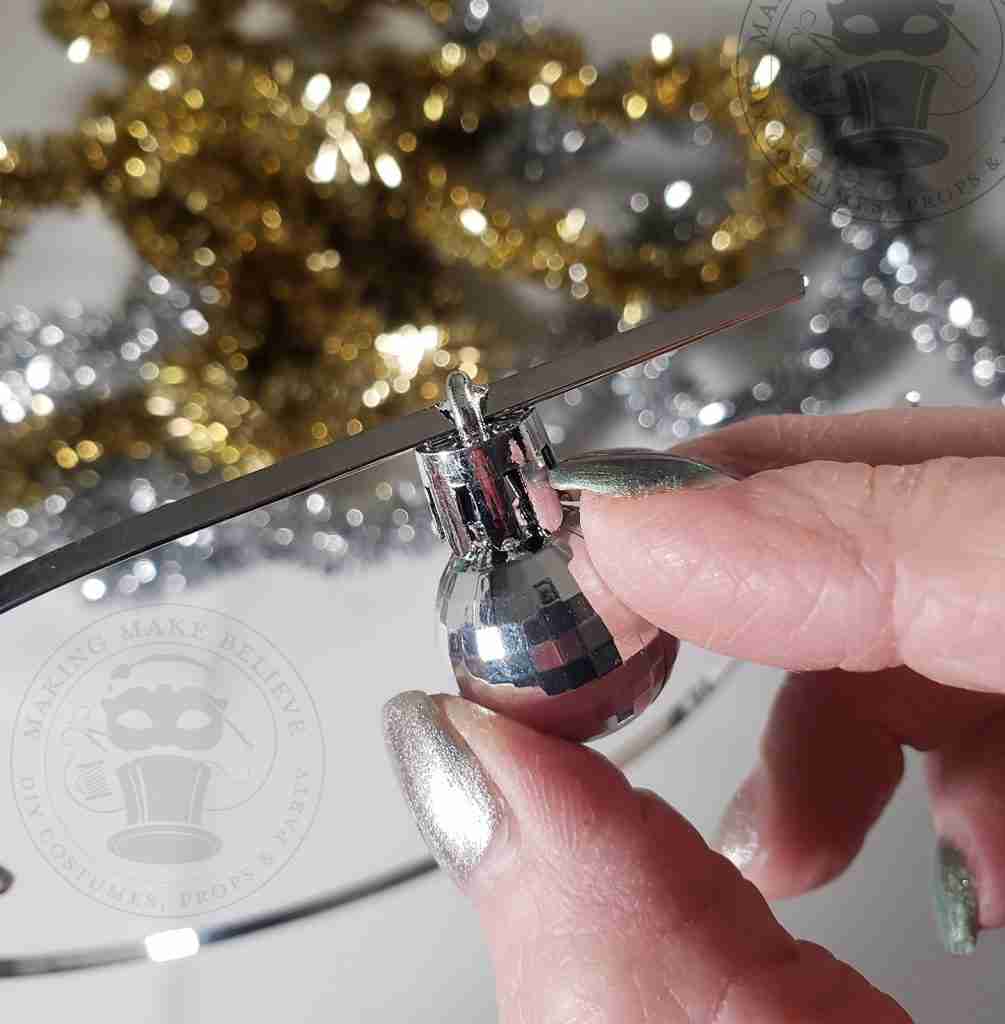
Wrap the ends of the tinsel onto your headband or secure them with hot glue.
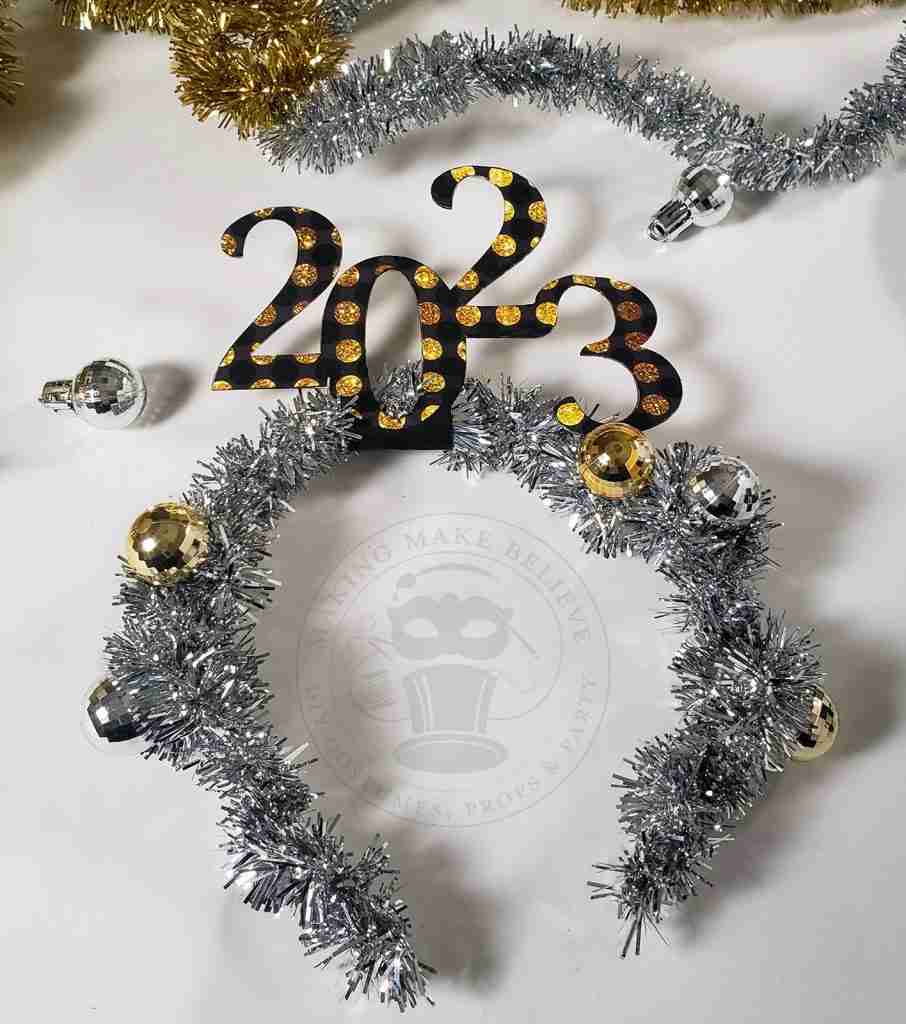
Completed last-minute New Year’s Eve crown.
And just like that, you are ready for the ball drop!
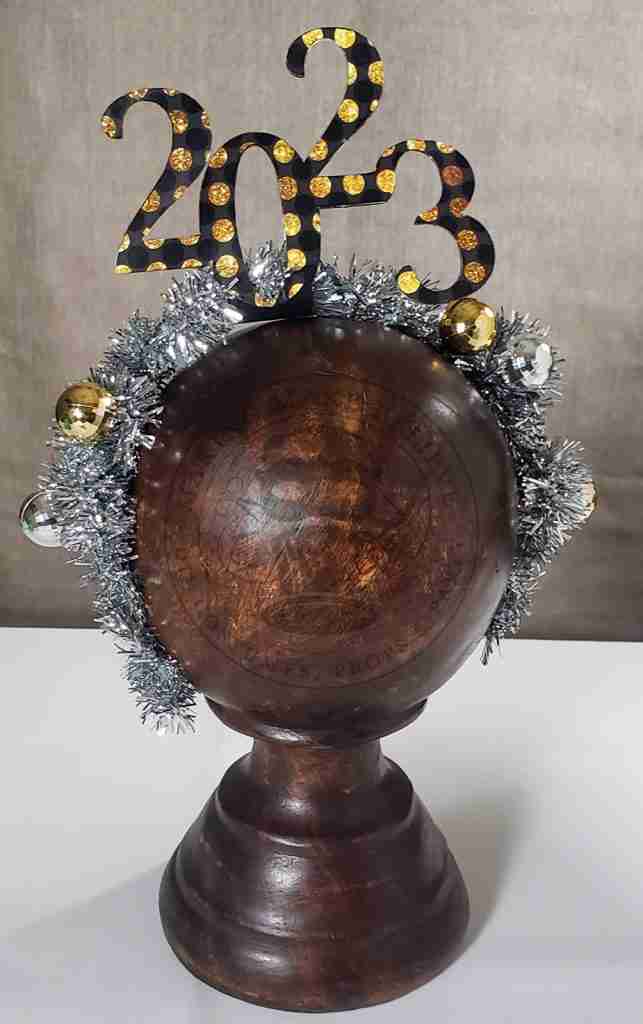
2023 Large Dot Pattern – 2025 NOW AVAILABLE
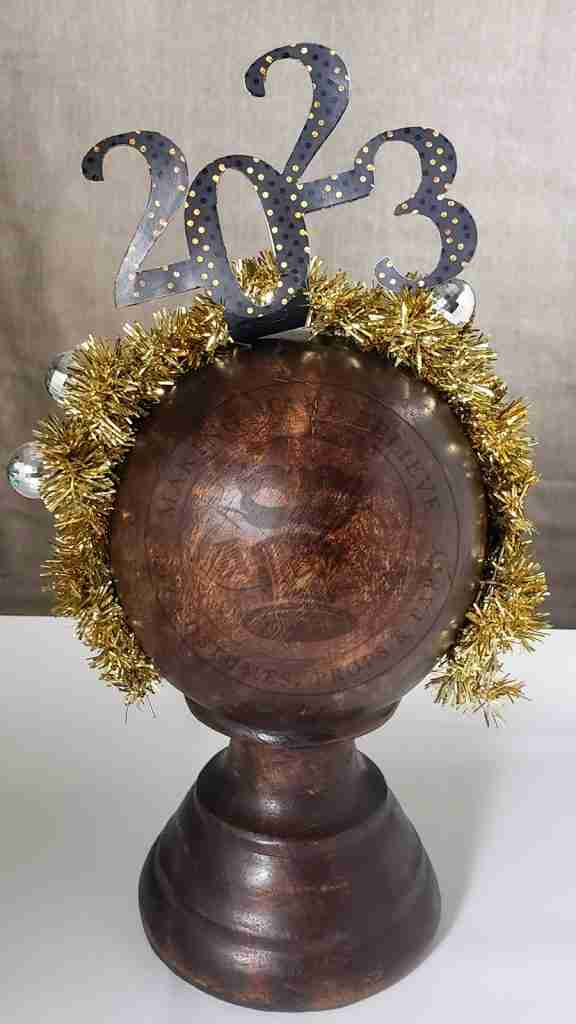
2023 Mini Dot Pattern – 2025 NOW AVAILABLE
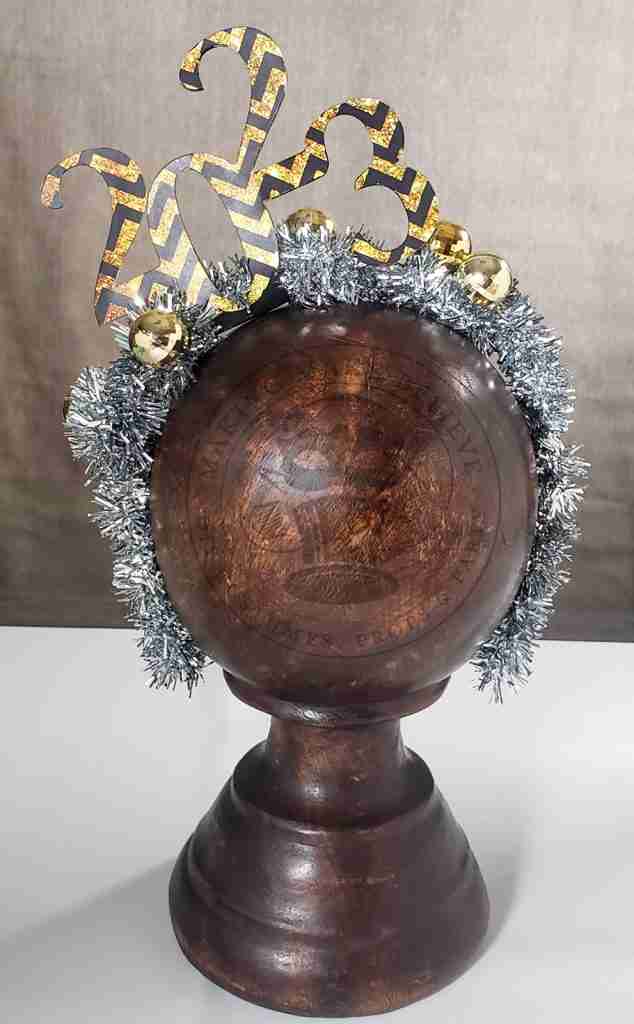
2023 Chevron Pattern – 2025 NOW AVAILABLE
This crown is so lightweight and comfy that I may wear it while I watch the countdown from the couch.
As we bid adieu to 2024, I want to thank you for visiting Making Make Believe, and I wish you and yours a very happy new year.

Until next time.

Templates, patterns and printables for every project on the blog.

Counting down to Halloween since the 1970s. I create, style and celebrate all things costume and Halloween, all year round.
Welcome to my world of Halloween Ever After, where I create, style, and celebrate all things costume and Halloween.
Within these haunted pages lie affiliate links to curious and captivating finds I love. If you make a purchase through them, I may earn a modest commission (think fun-size candy bar), which helps keep the Halloween magic alive. No extra cost to you – cross my batty heart.



Check your email for the Haunted Library password.
Don’t miss a moment of the mischief.
Add hello@halloweeneverafter.com to your address book.
The magic happens right here in my studio and office. When you step inside my creative space, you’ll find an ever expanding gallery wall overflowing with original spooky art and classic Halloween LPs, right alongside a haunted cabinet packed to the brim with vintage curiosities.
It’s under the watchful eyes of these retro treasures that I design and craft.
Join us and get access to our Haunted Library stocked with templates, printables, cut files, and exclusive content. Plus, you’ll receive Eerie Emails just for our subscribers.
*Stay as long as you like. Unsubscribe at any time.


