Free templates & patterns
130+ freebies are waiting in the Haunted Library
Templates, patterns and printables for every project on the blog.
Formerly Making Make Believe · Join the Haunted Library

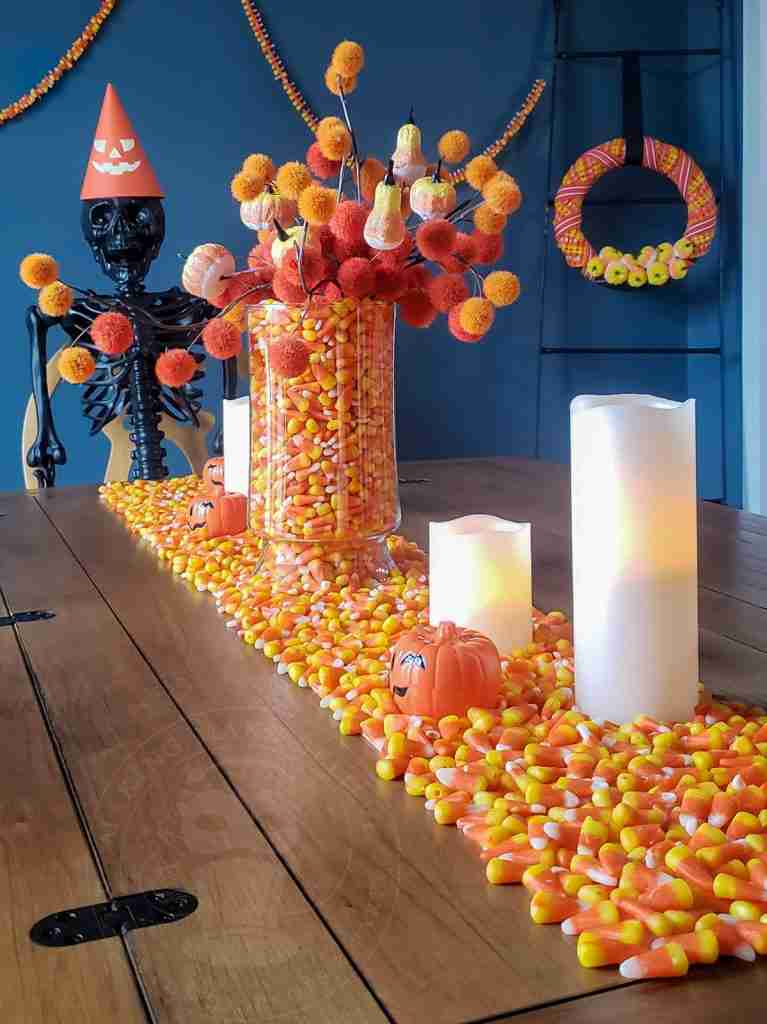
Easy Candy Corn Halloween Decor
As an Amazon Associate I earn from qualifying purchases.
This post may contain affiliate links for your convenience. Click here to read our disclosure policy.
Candy corn – the most unpopular iconic Halloween candy.
Frowned upon by trick-or-treaters, a gift of candy corn for Halloween might be akin to receiving a fruitcake at Christmas.
Few seem to like it yet; with the arrival of Fall, store shelves overflow with this kernel-shaped treat.
Spanning two holidays, the white, yellow, and orange candies have inspired holiday decor for the entire Autumn season from Halloween to Thanksgiving.
The candy’s look has become so popular that you can now find it in a variety of flavors and colors to enjoy year-round.
But – who is enjoying this candy?!
Whether candy corn is on your yummy or yucky list, you might want to pick up a few bags to create easy candy corn Halloween decor.
Let’s get started.
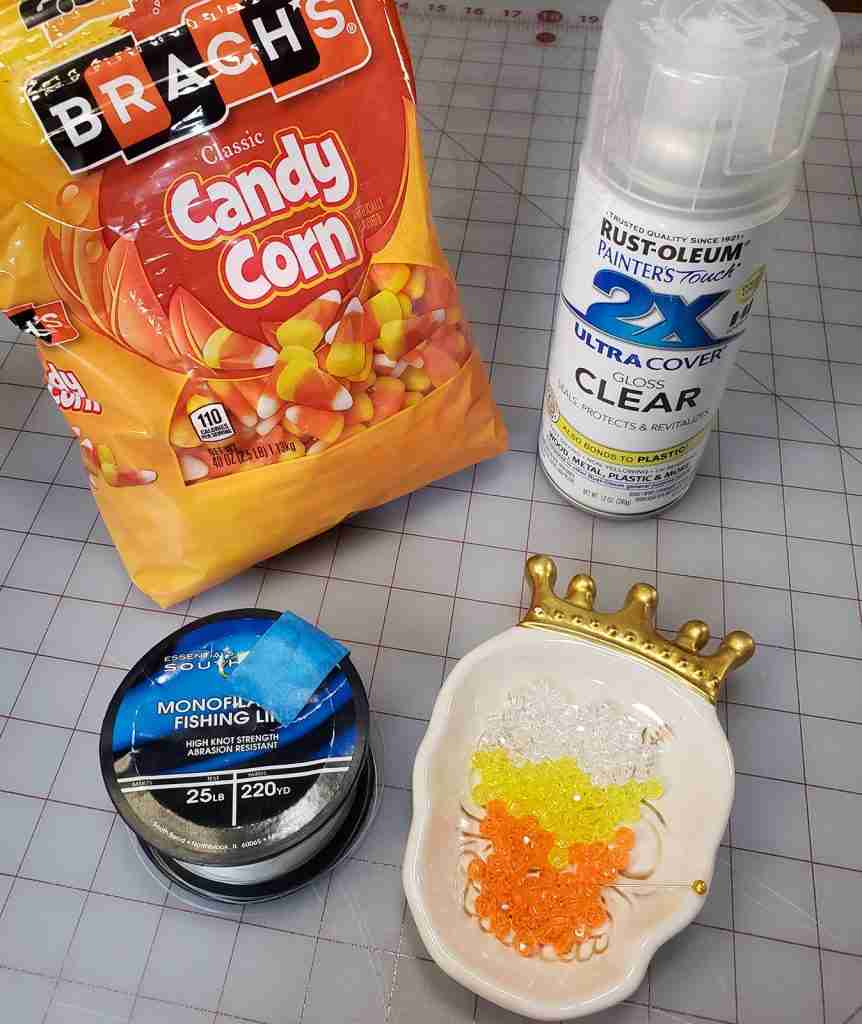
We will need:
Candy corn
Straight pin
Monofilament (I’m using 25lb weight) or needle and thread
Mini beads (optional)
Clear spray sealer (optional)
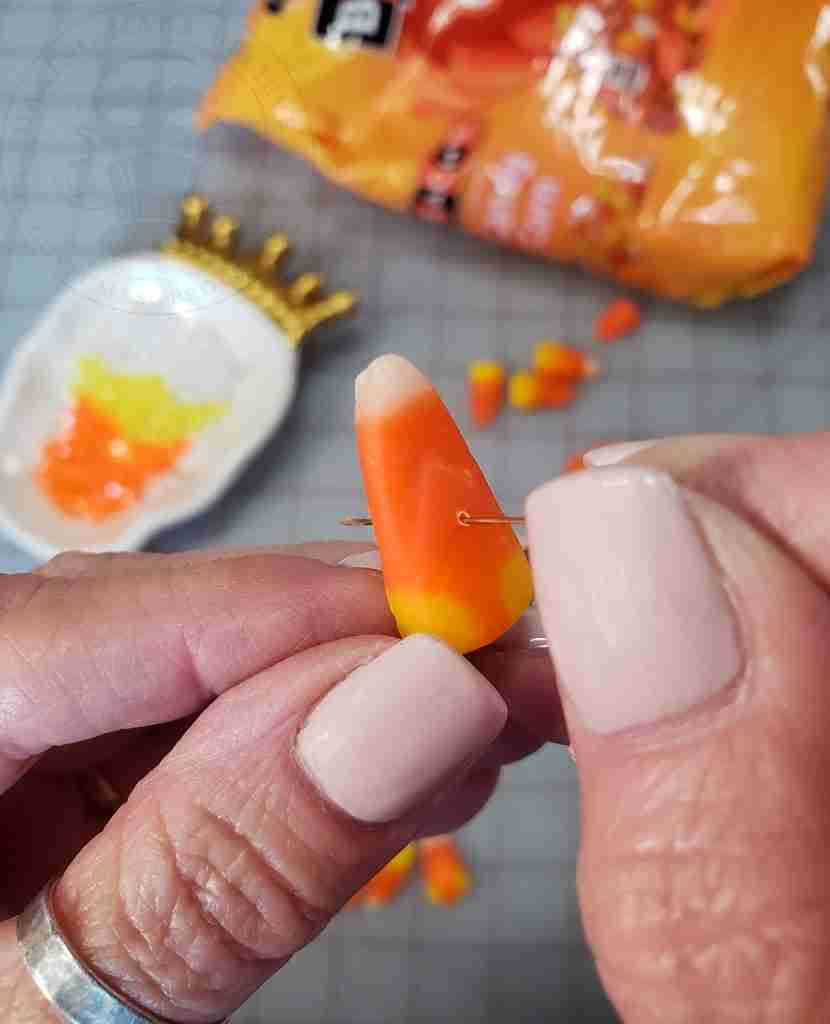
To make stringing the candy corn easier, prep the candy by poking a hole through each piece using the straight pin.
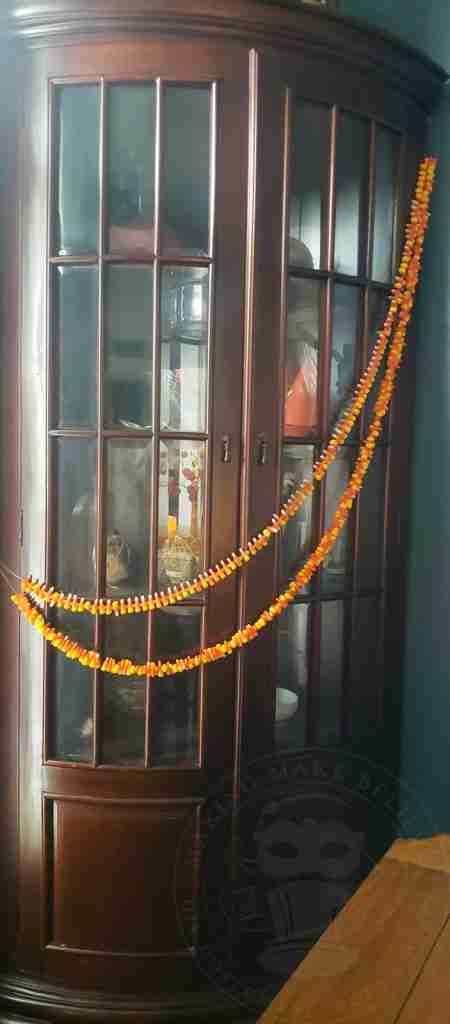
Once you’ve prepped all the pieces, thread the candy corns directly onto the monofilament.
Alternatively, you can string the candy using a needle and thread.
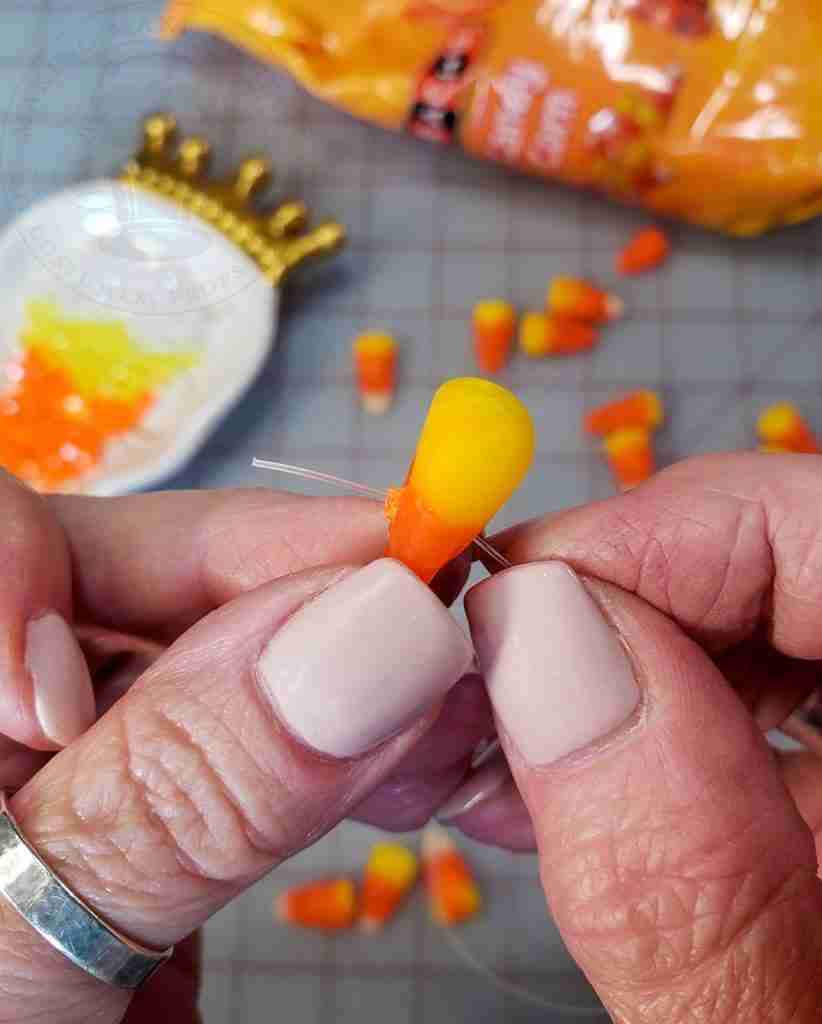
Keep adding pieces until you get the length you want.
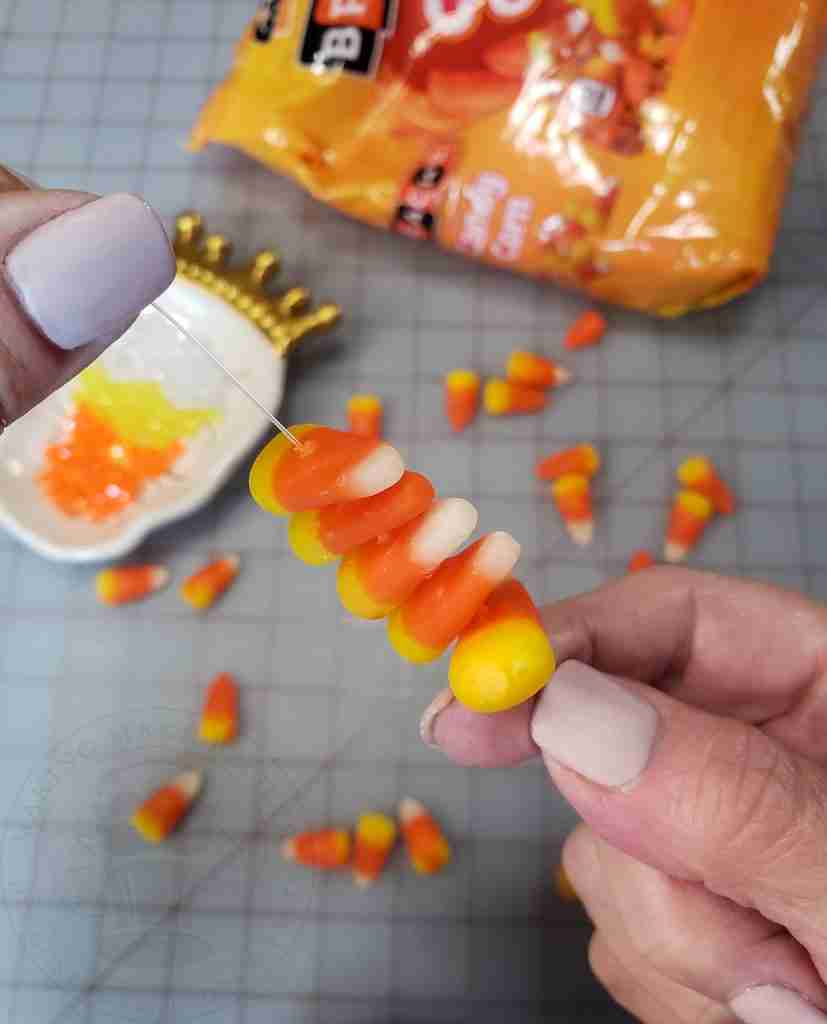
Another option for your garland is to incorporate beads.
I pulled these retro plastic beads out of my stash and placed one between each piece of candy.
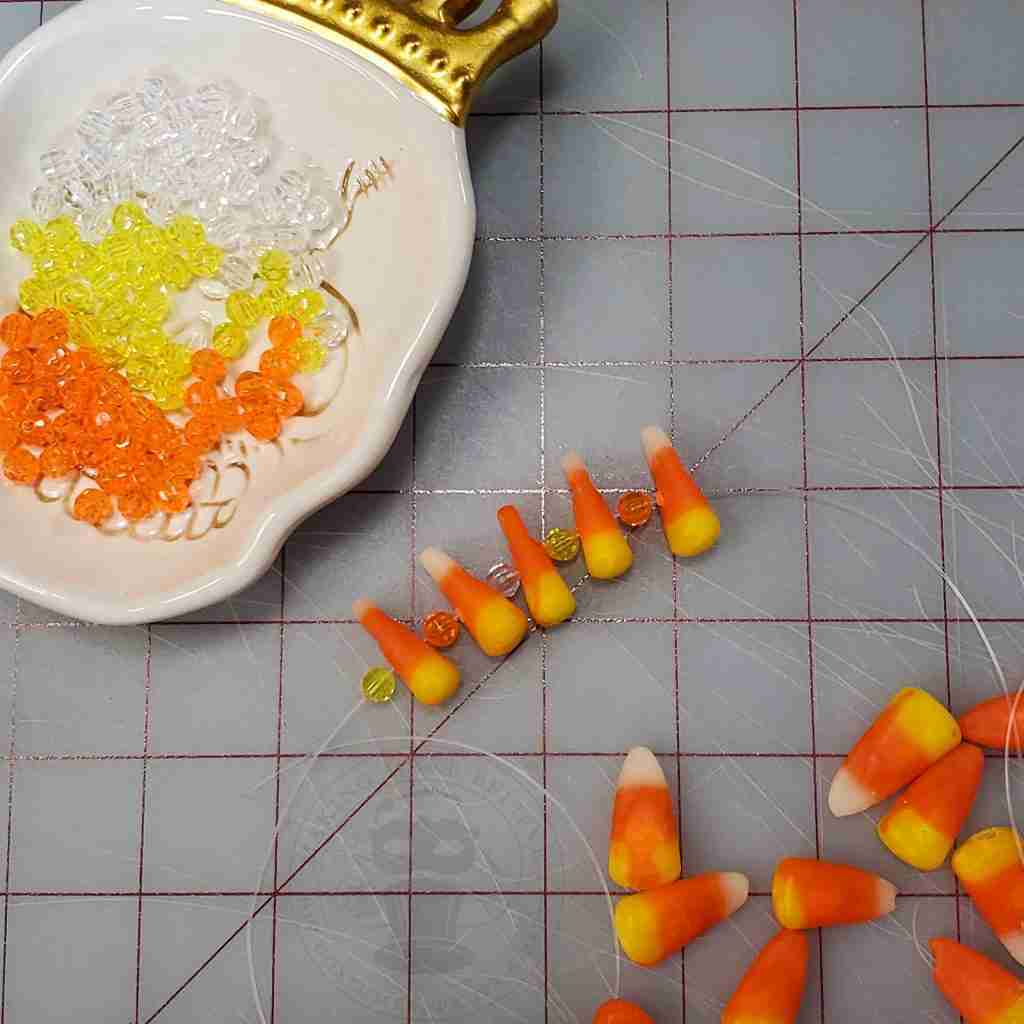
To finish the garland, form a loop at each end of the string for hanging.
To better preserve your garland, you can spray with a clear sealer, but note that the spray renders the candy inedible, so keep it away from small kiddos.
Move over popcorn garland! Candy corn swag is stealing the show.
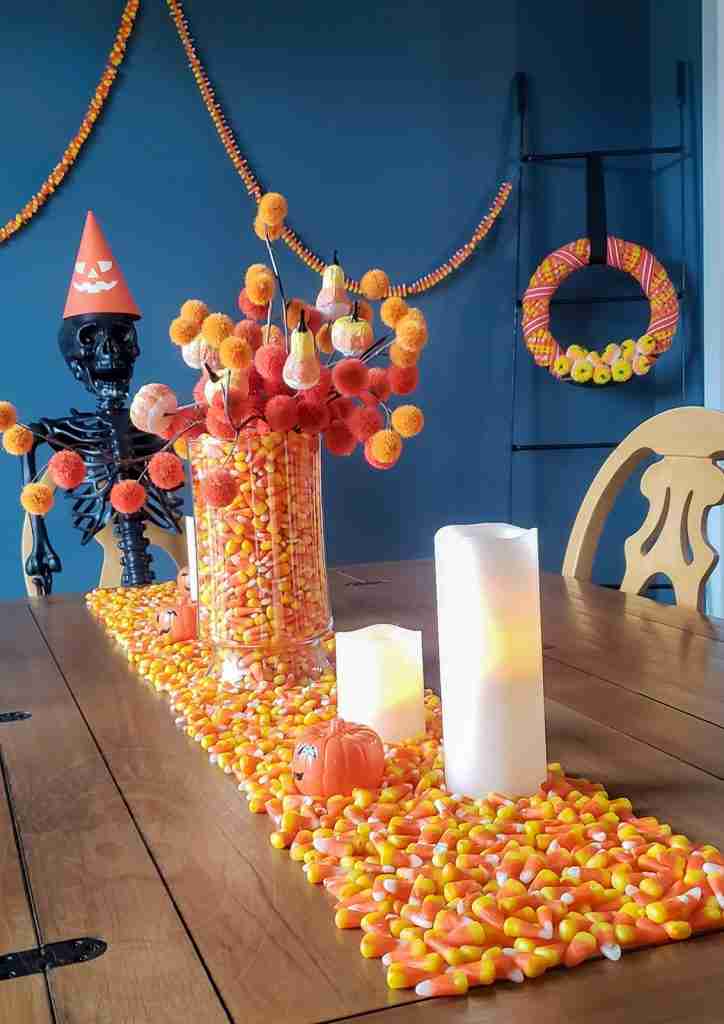
This tablescape comes together quickly. If you want a big impact in a short amount of time, here’s your go-to.
We will need:
Candy corn
Length of sturdy fabric such as felt
Hot glue
Flameless candles
Embellishments (optional)
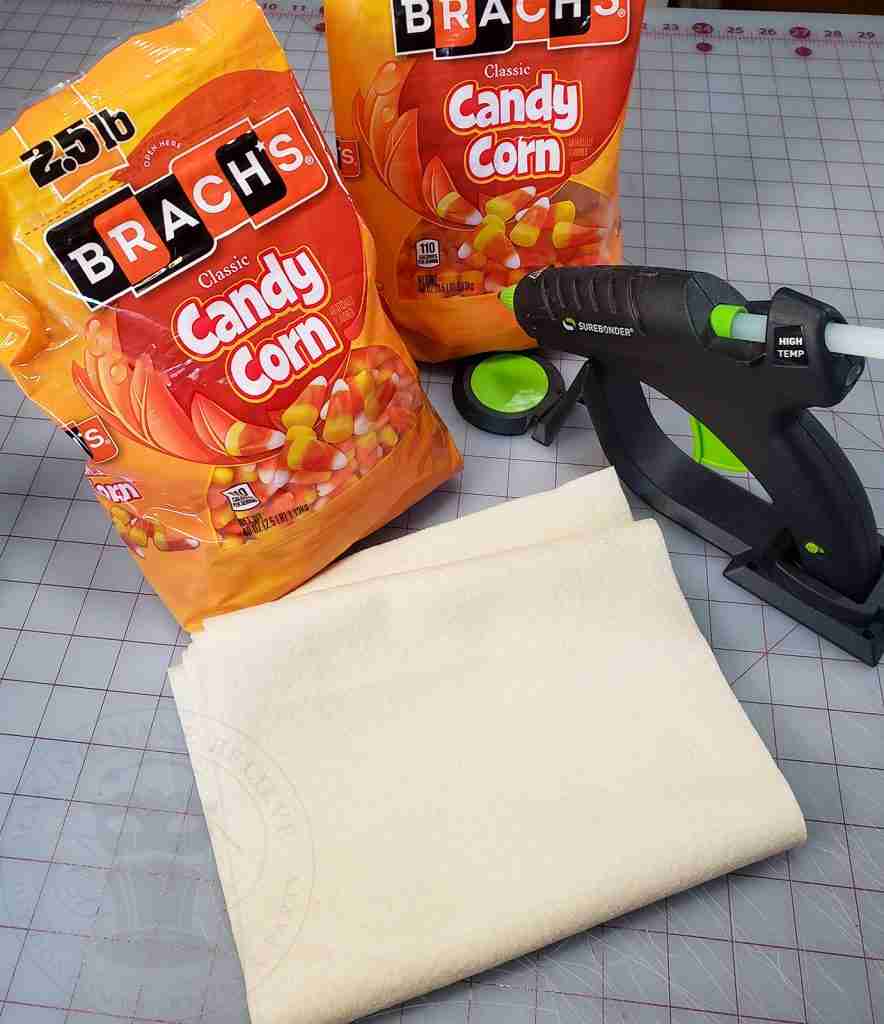
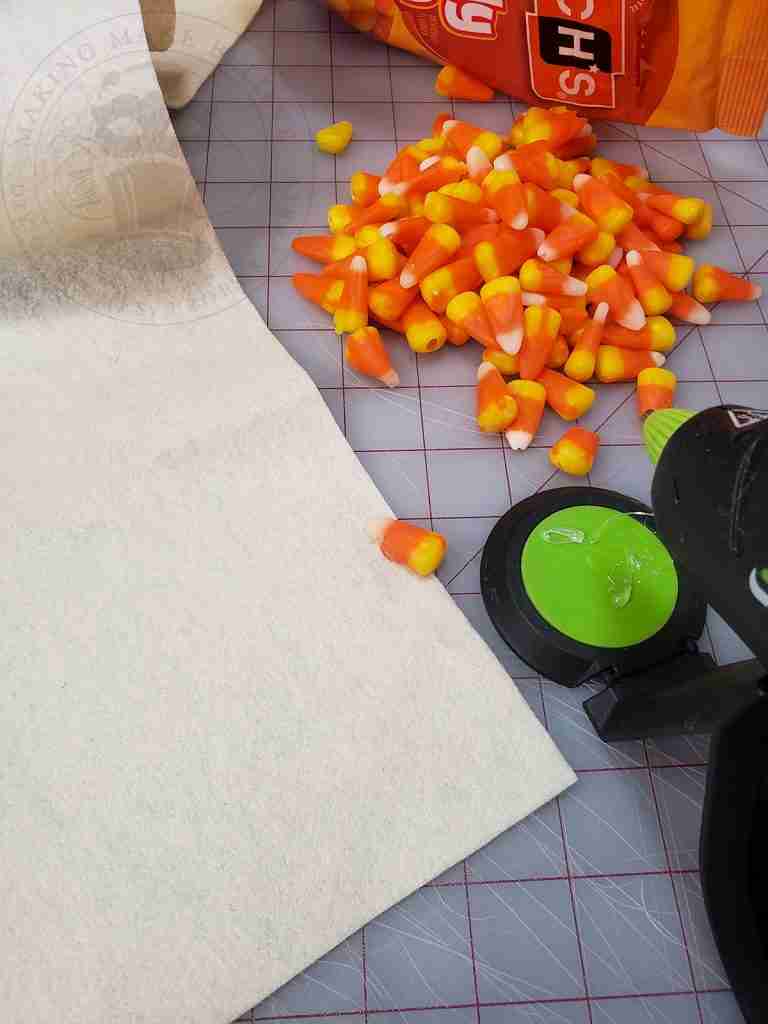
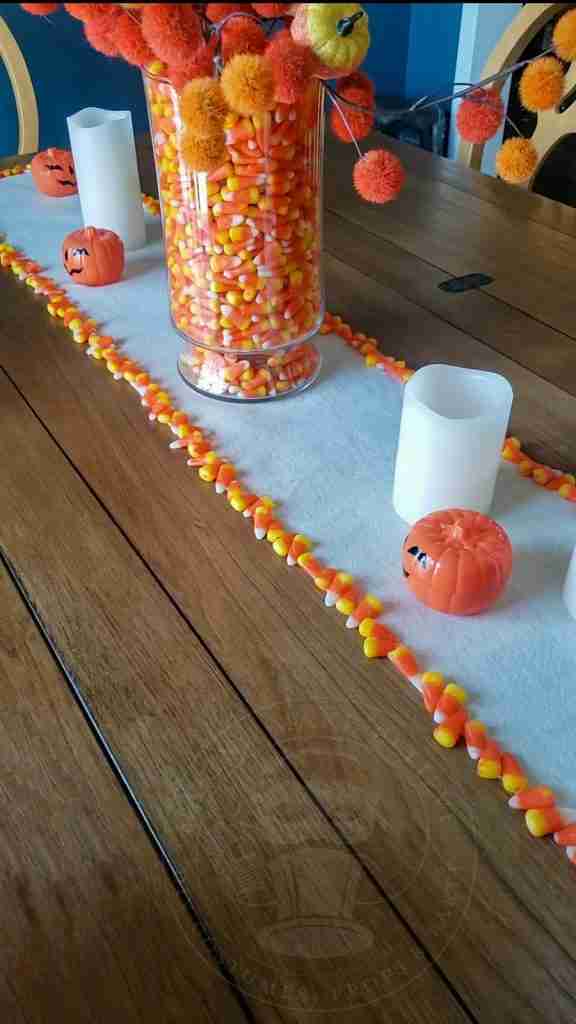
Cut felt to the length you need for the center of your table and glue candy corn pieces along the edge. Allow the candy to hang off the fabric to disguise the fabric’s edge.
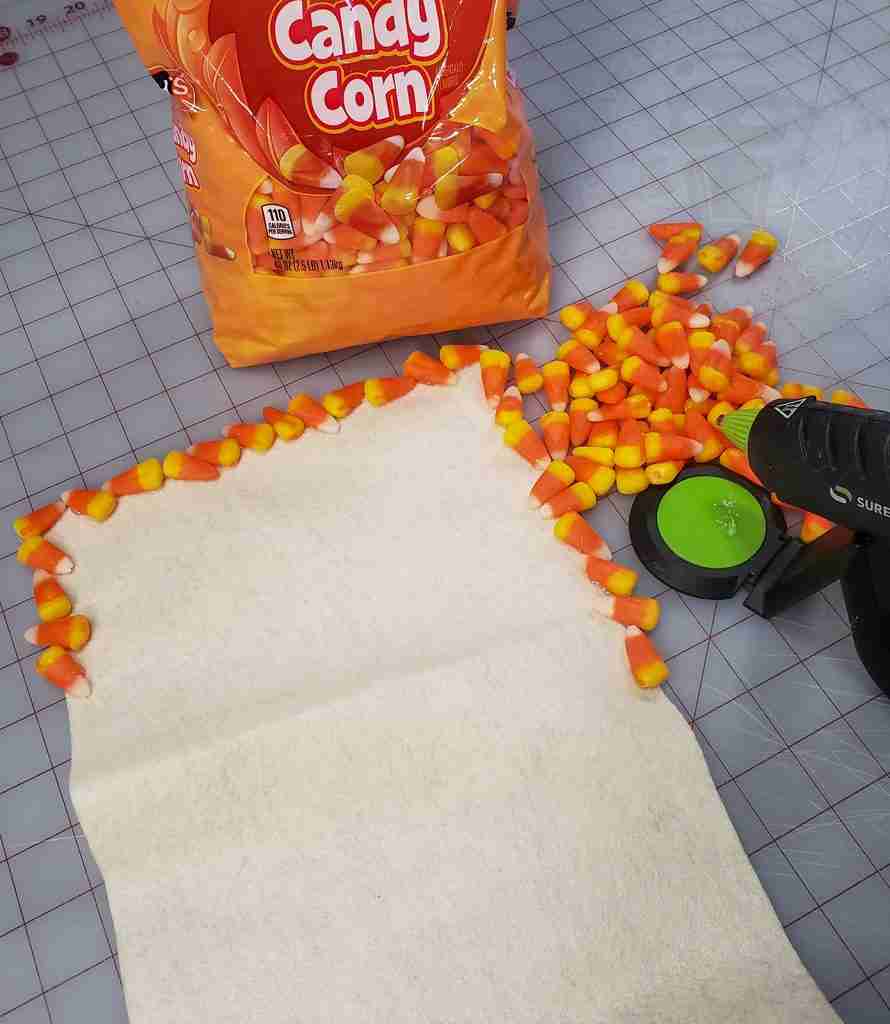
Continue gluing the candy corn around the entire length of the fabric.
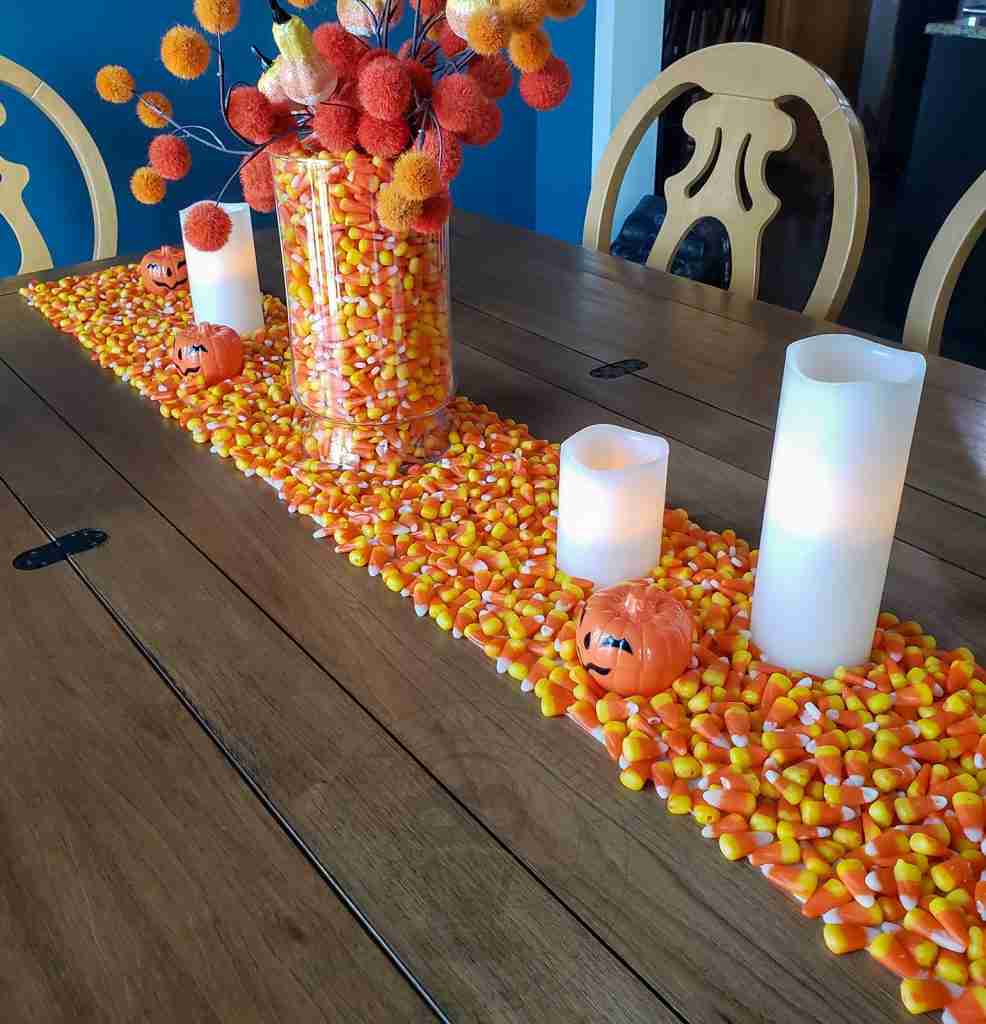
Lay the candy-edged fabric down the center of your table and place your flameless candles and embellishments where desired.
Cover the exposed fabric with loose candy corn.
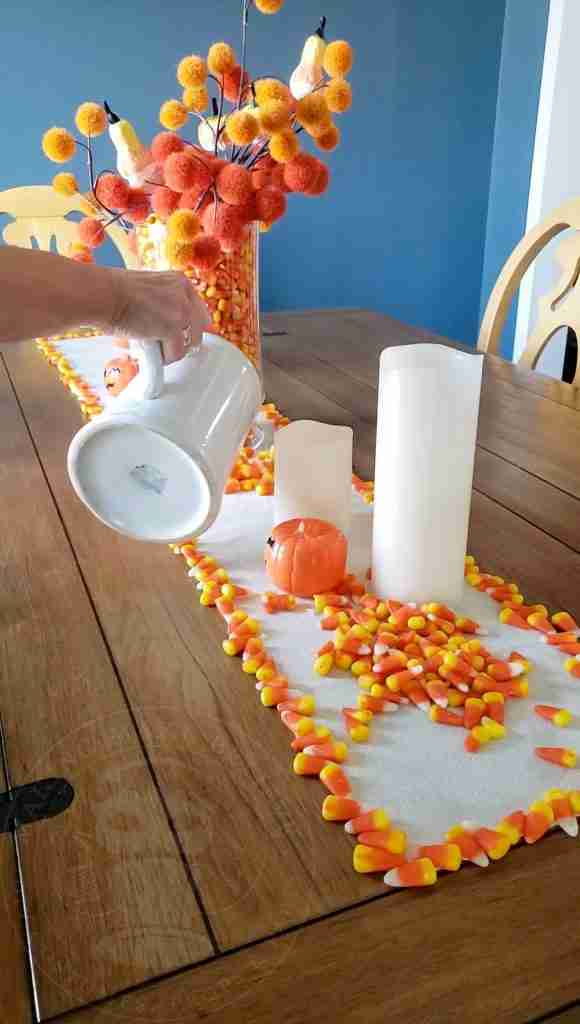
Just like that, you have a fast and festive tablescape.
We will need:
Candy corn
Large clear cylinder vase
Small clear cylinder vase
Florals and decorative picks or flameless candle
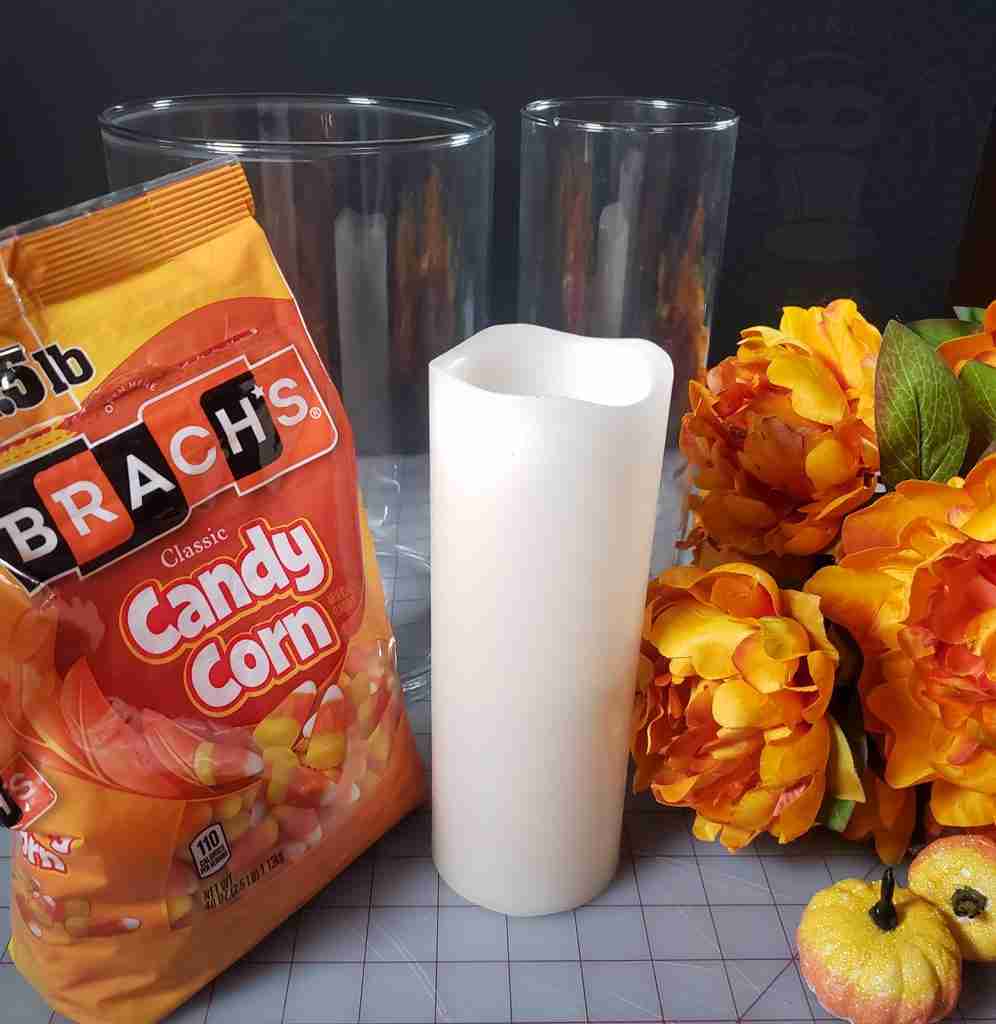
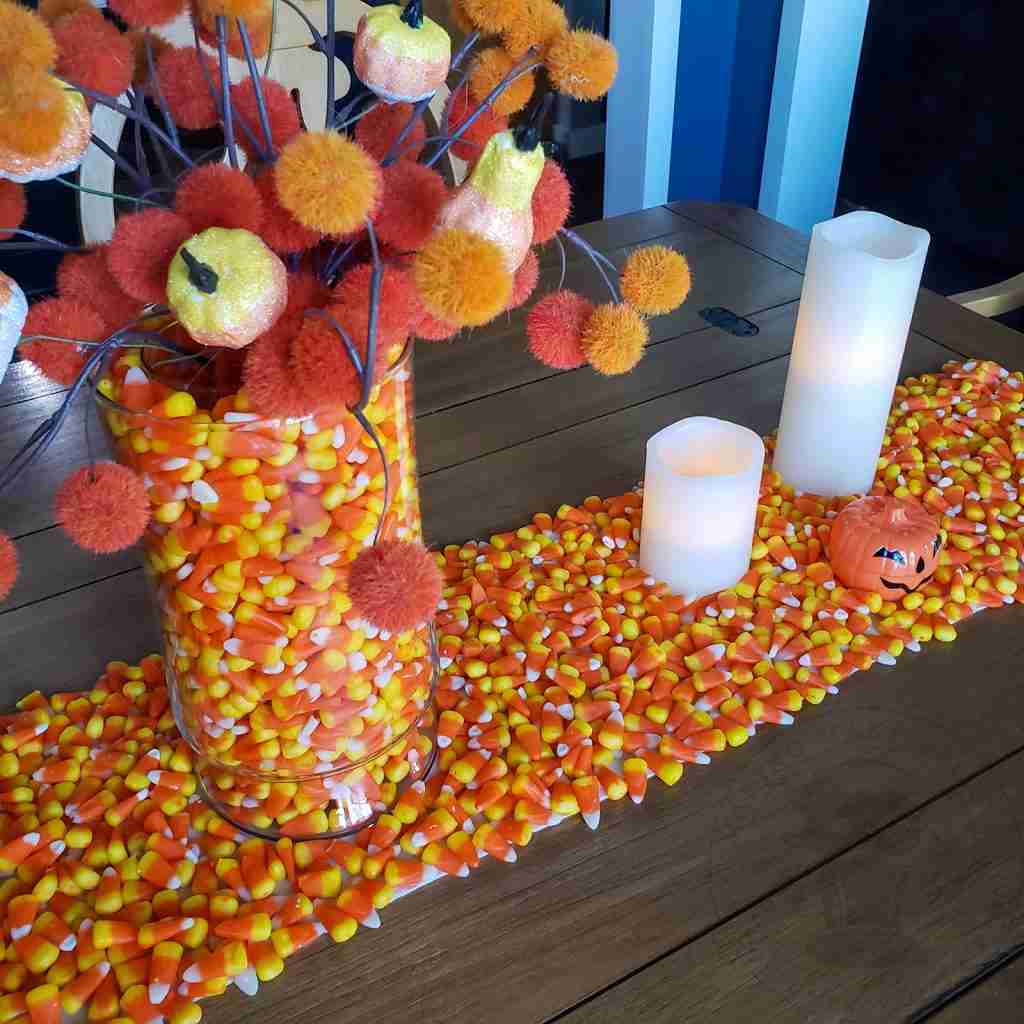
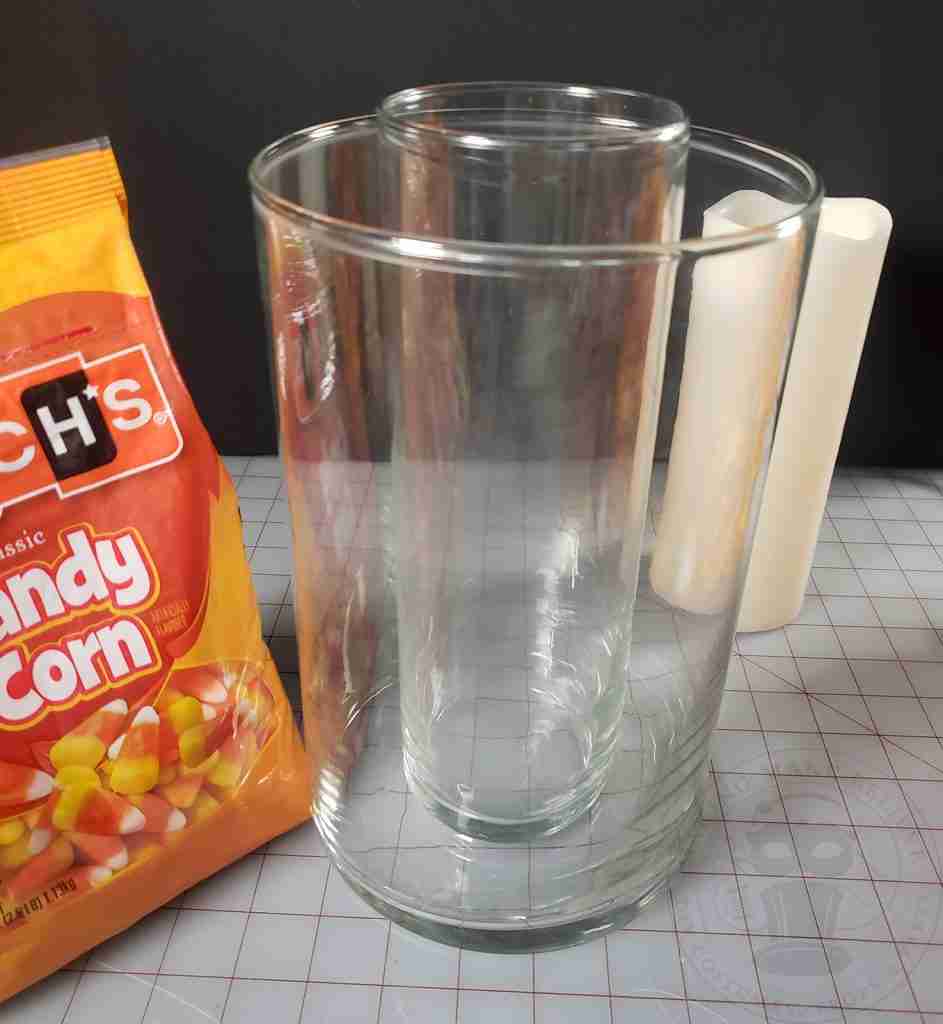
Center the small cylinder vase inside the large vase and ensure that the tops of both vases are aligned.
If you need to elevate your small vase, build a base of candy corn prior to placing it inside the larger one.
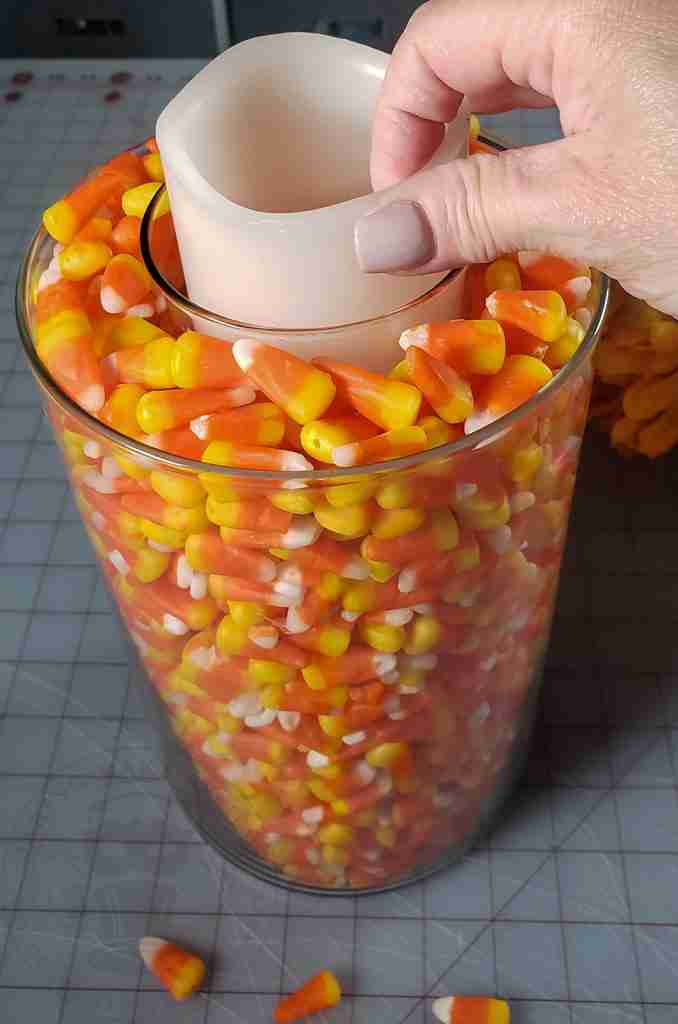
Pour candy corn around the small vase and fill it to the top with candy corn.
Add your candle and turn it on.
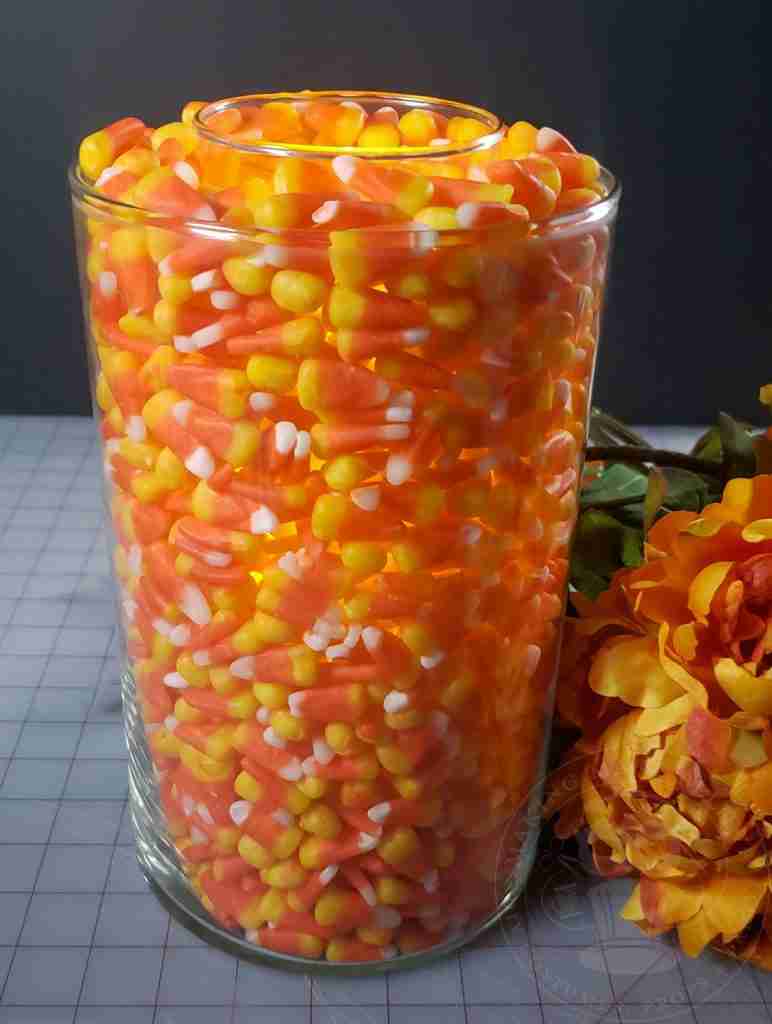
Alternatively, you can add florals, decorative picks, etc., and arrange them as desired.
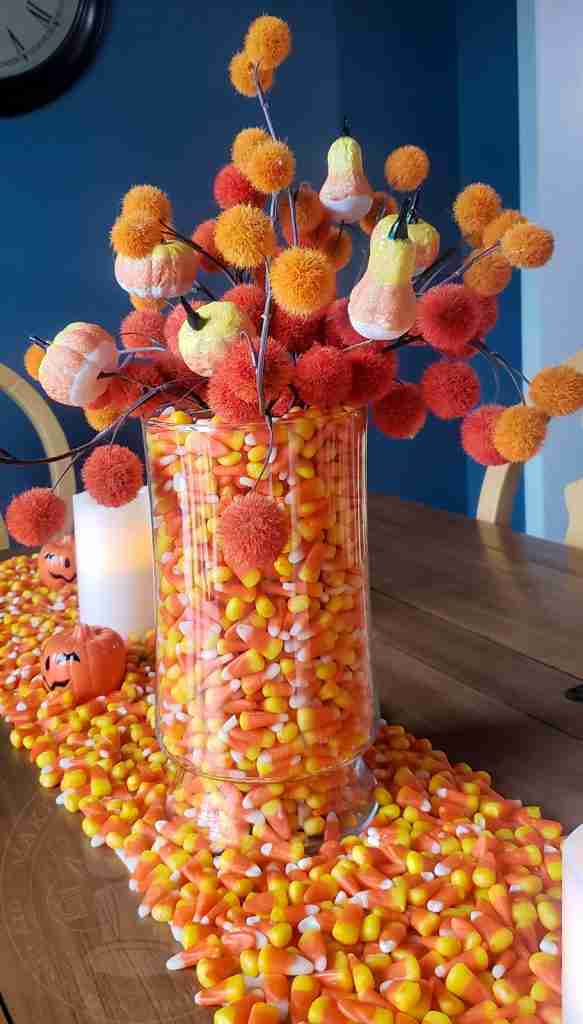
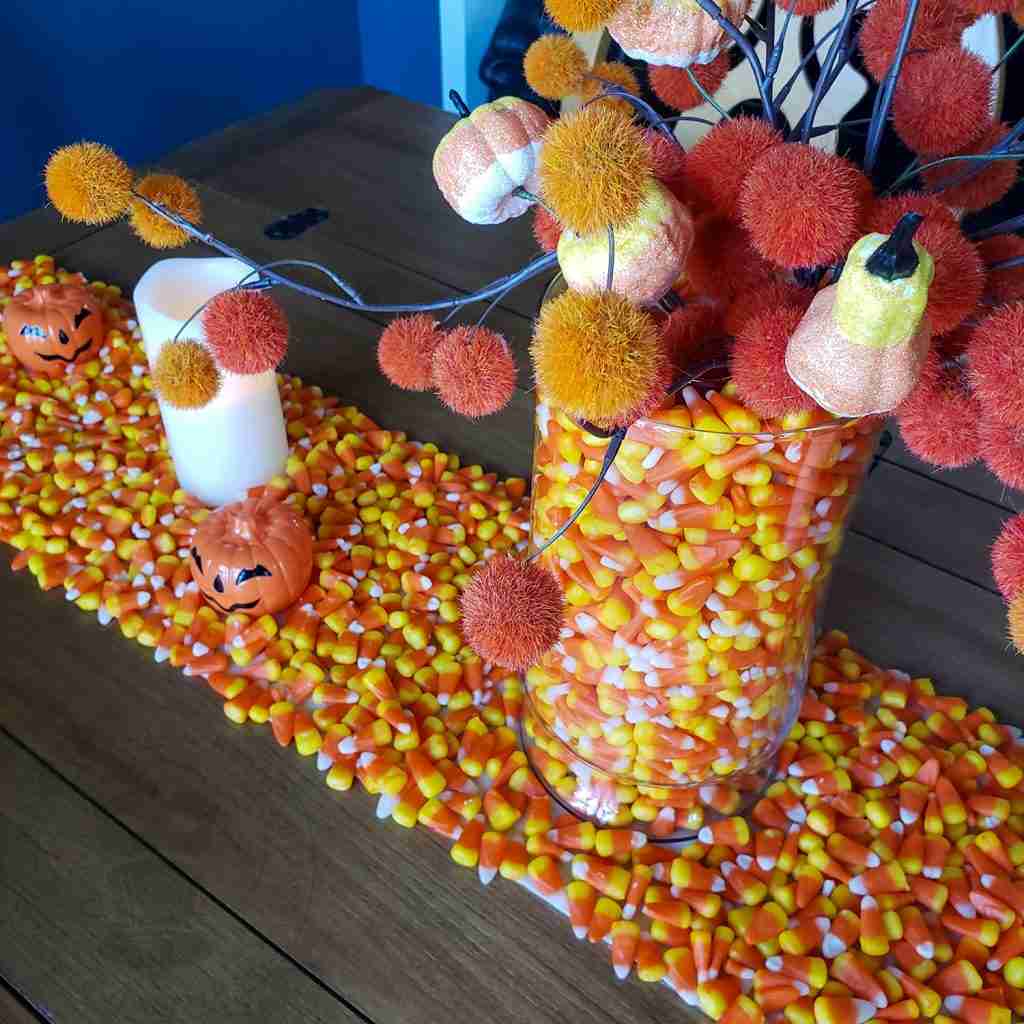
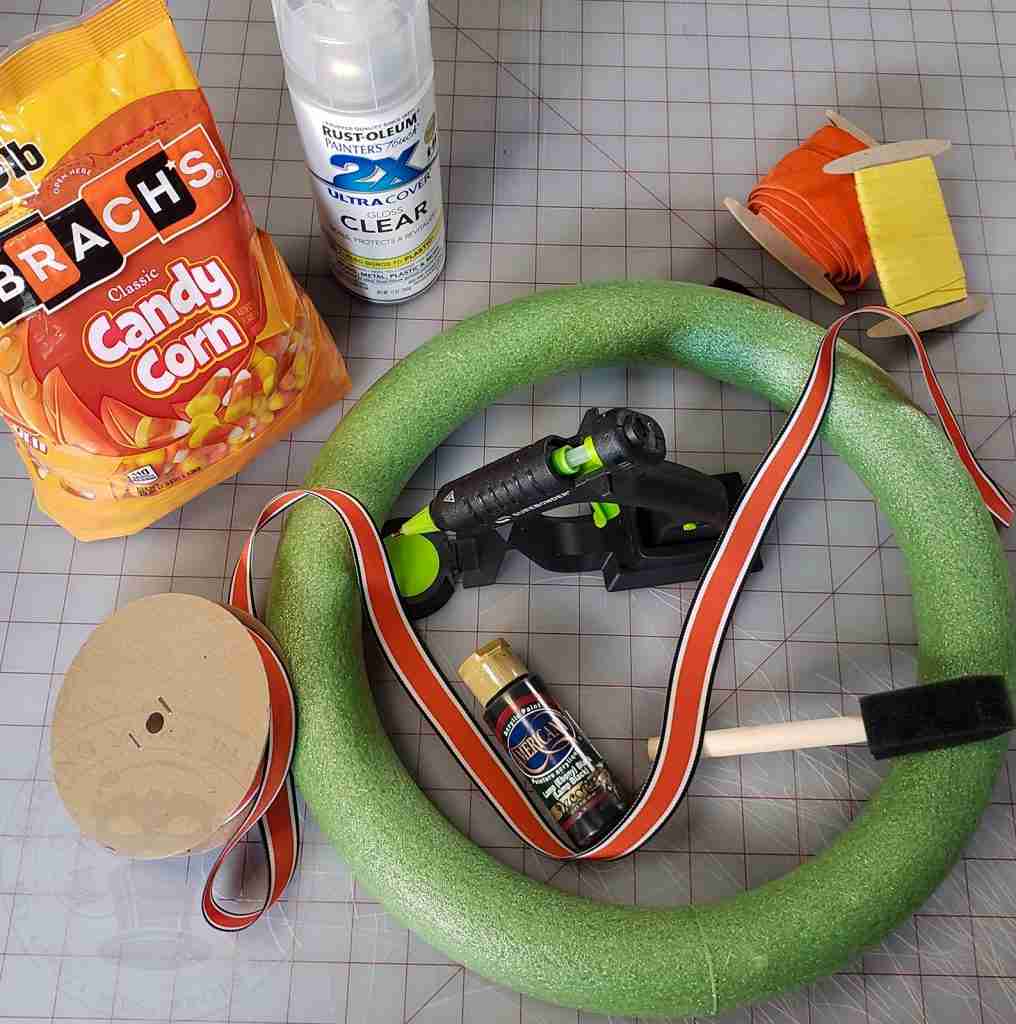
For this project, we will need:
Candy corn
Foam wreath form
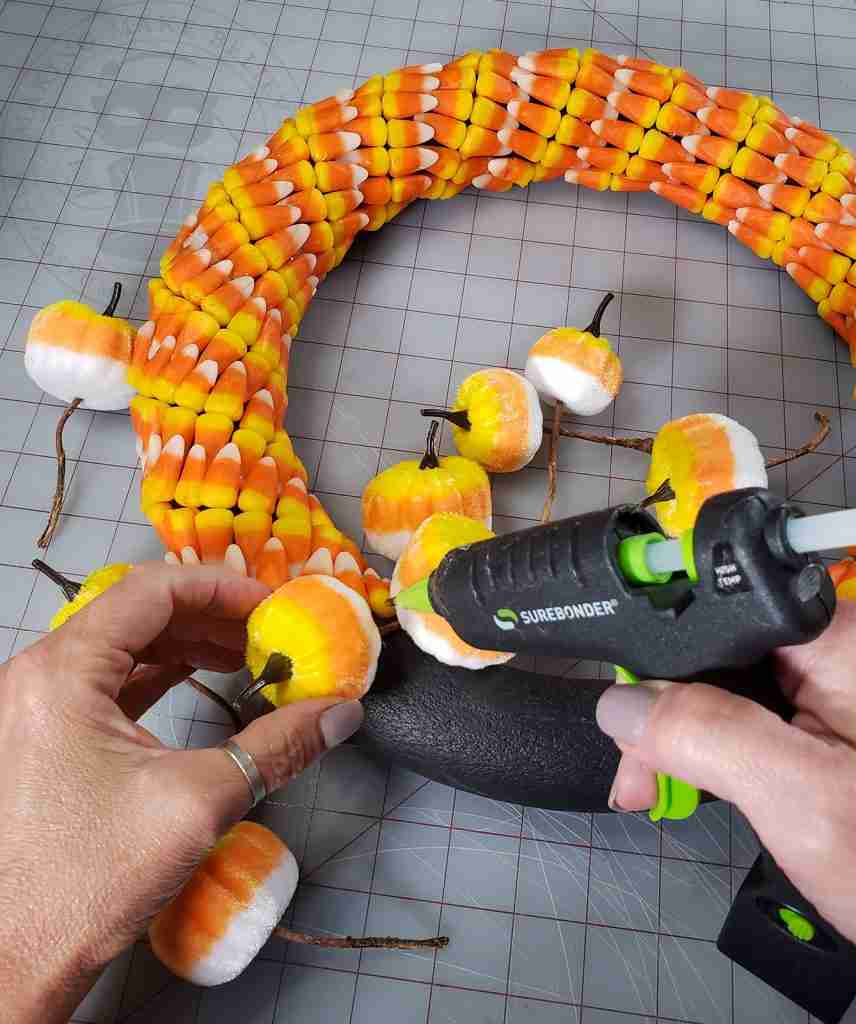
Hot glue
Ribbon
Embellishments (optional)
Acrylic paint and foam brush (optional)
Clear spray sealer (optional)
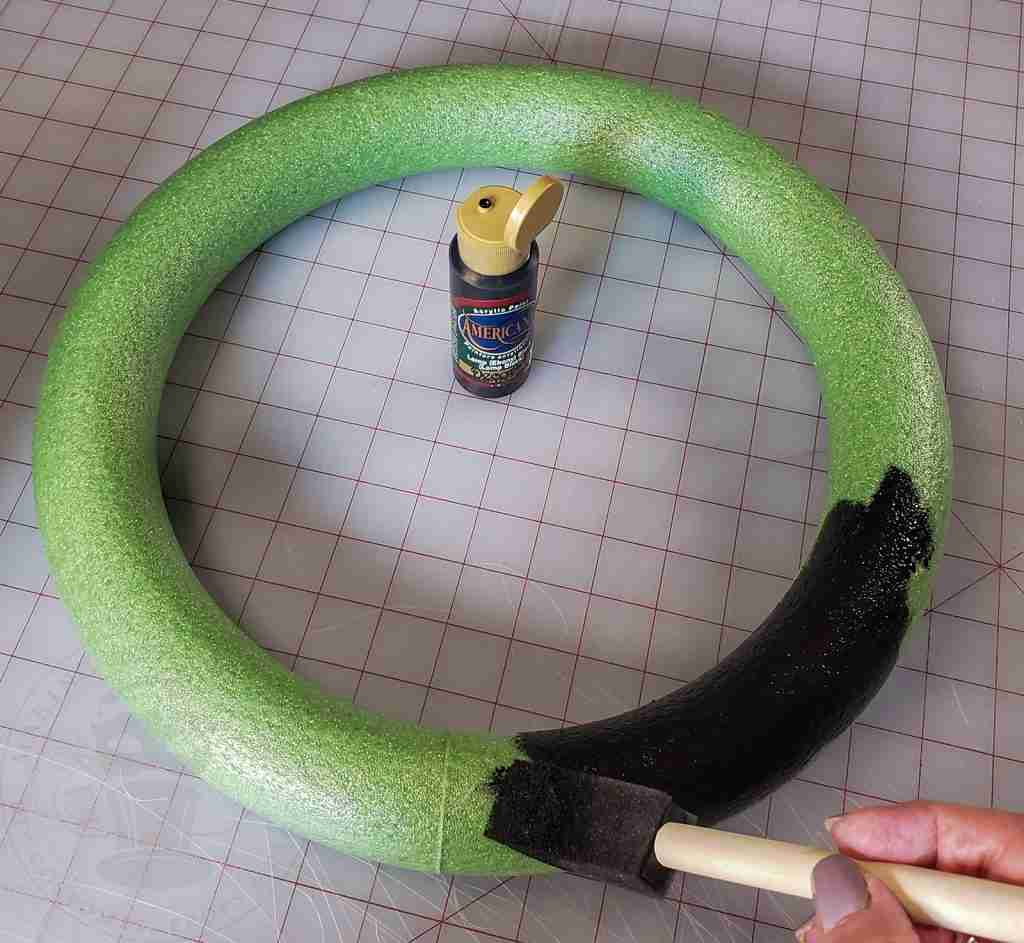
Before you begin, determine the layout for the candy corn on your wreath.
The wreath form will show through between the candy corns, so, if desired, paint it in the color of your choice.
Add a small dab of hot glue to the candy corn and glue it into place on the wreath form.
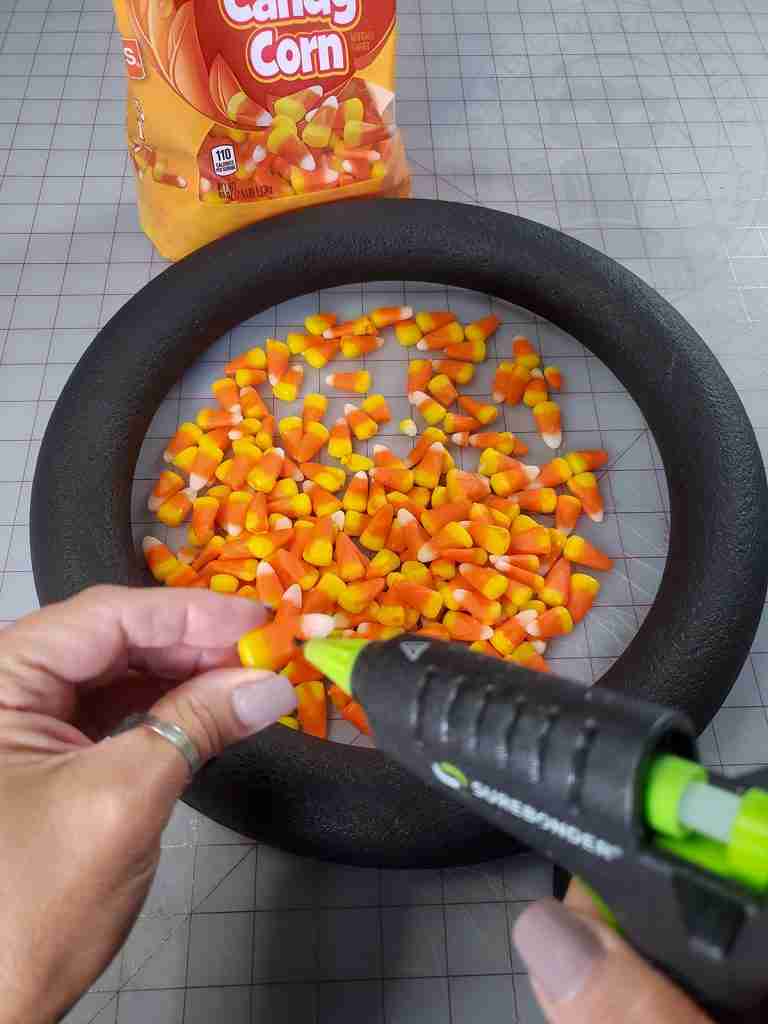
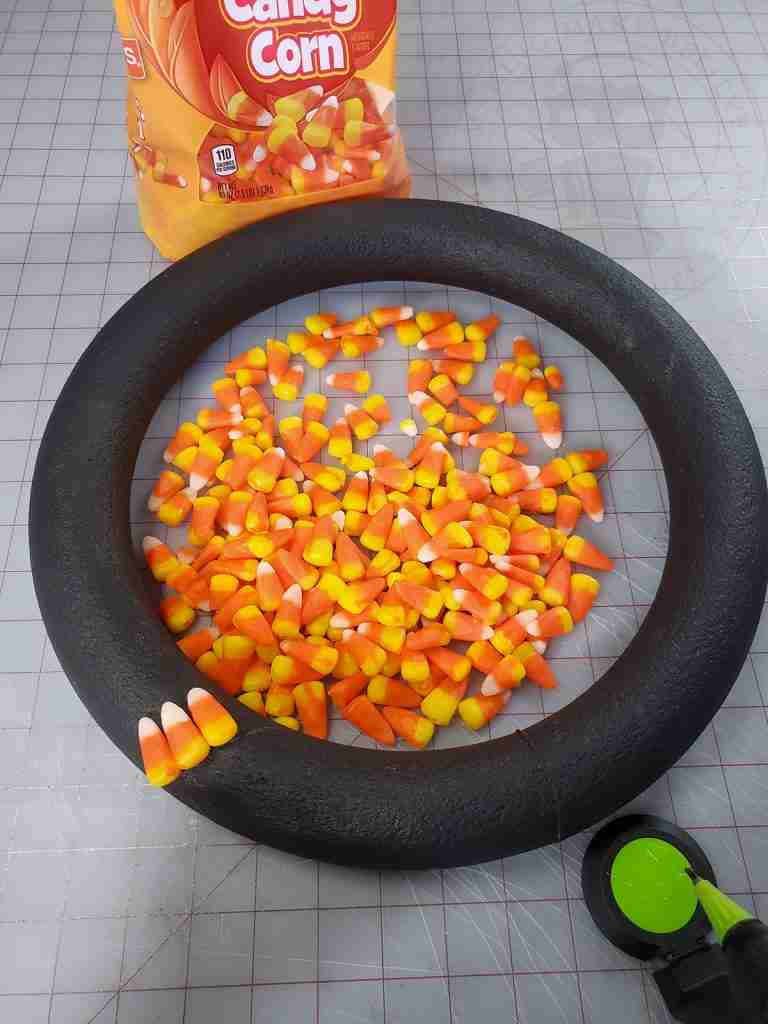
Continue gluing candy pieces onto the wreath, following the pattern for your design.
I opted to only glue candy to the front and sides of my wreath to save time and allow me to have more candy corn to eat.
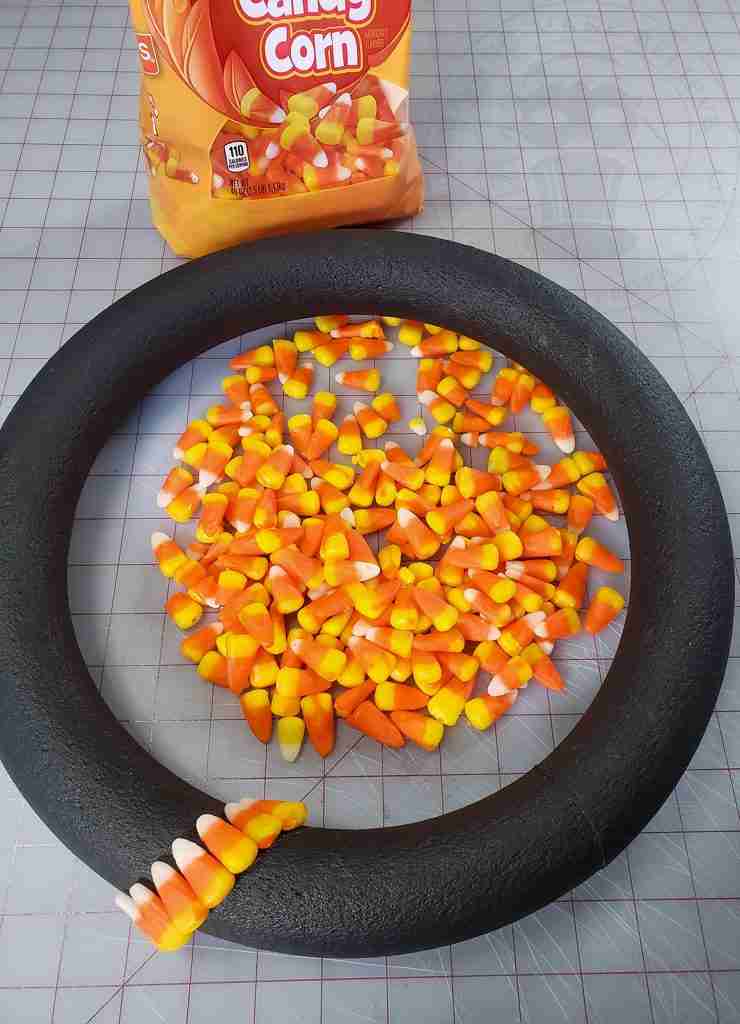
Listen to some Halloween tunes and keep gluing.
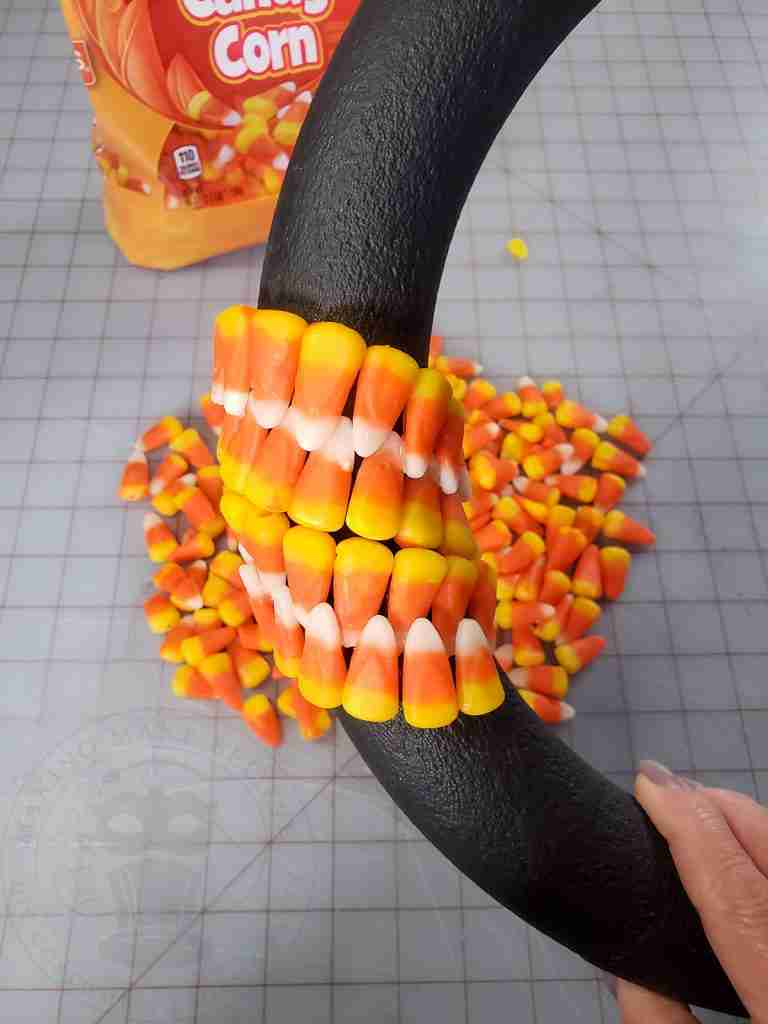
It’s coming together.
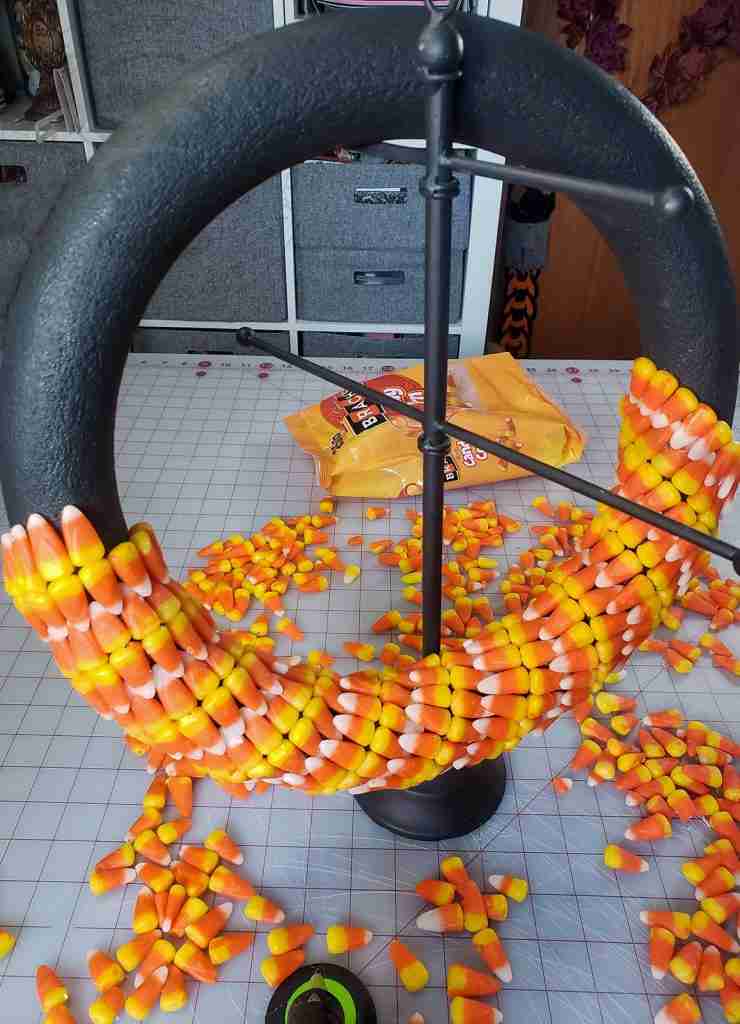
Add your embellishments and a ribbon for hanging.
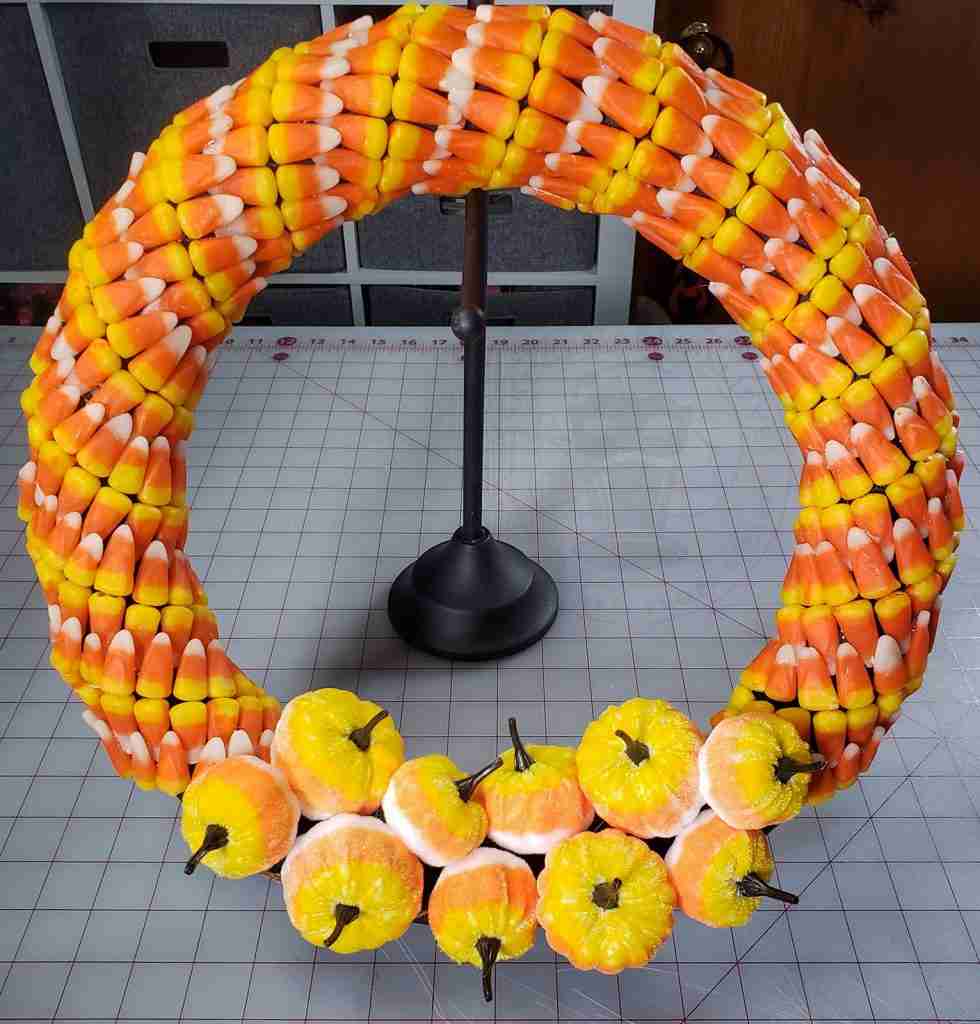
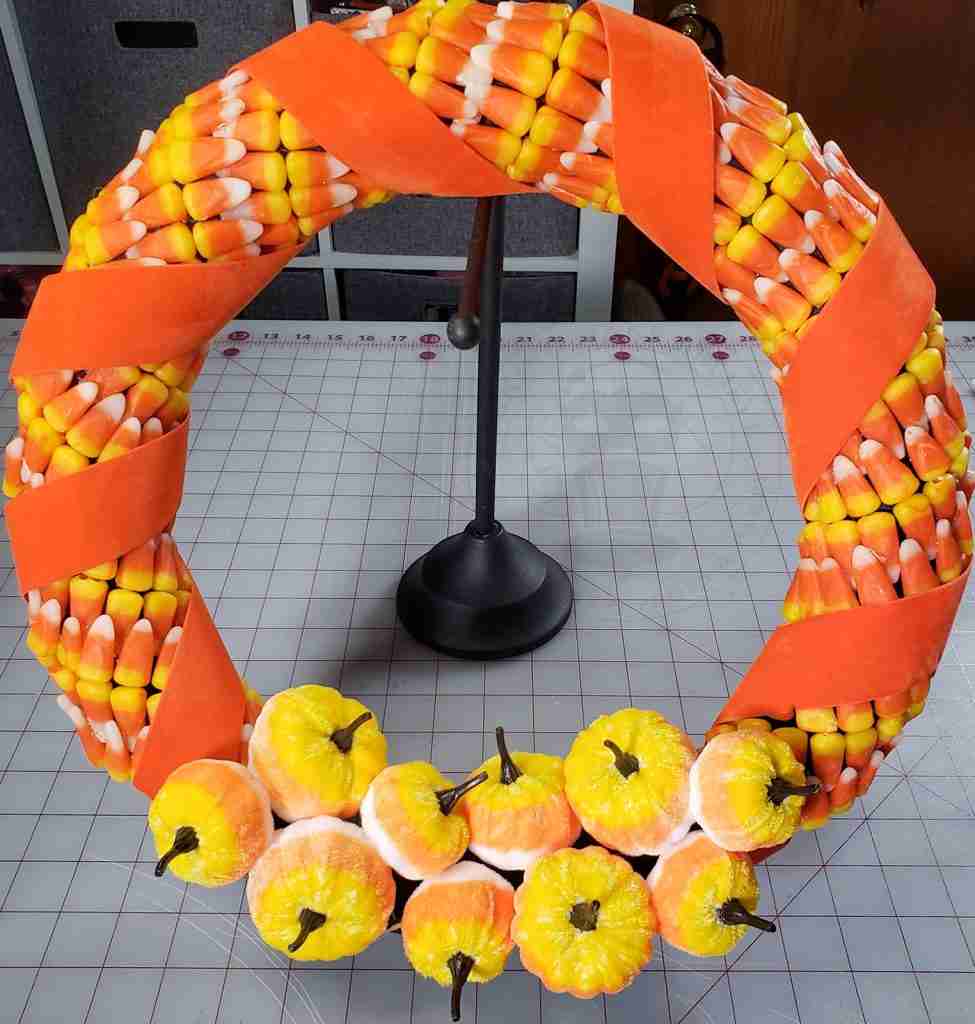
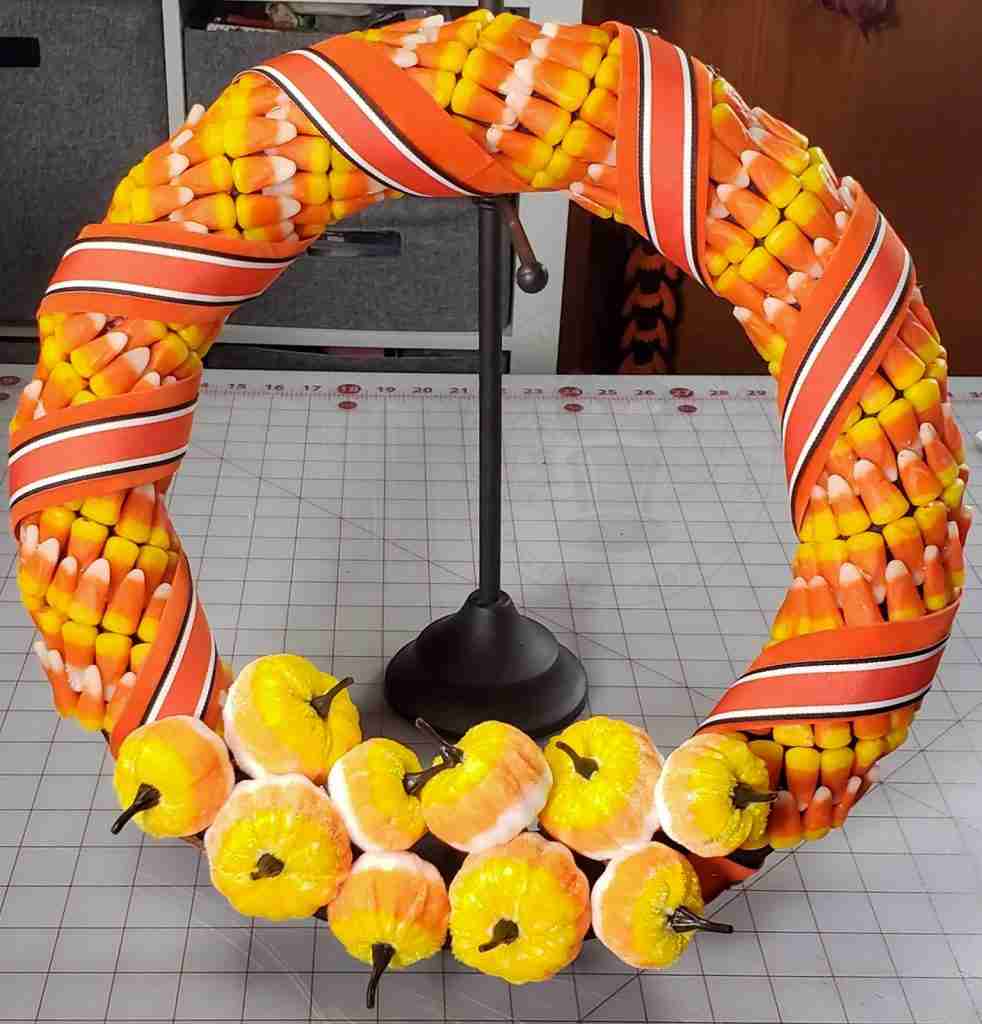
To better preserve your wreath, you can spray with a clear sealer.
The spray renders the candy inedible, so keep it away from small kiddos.
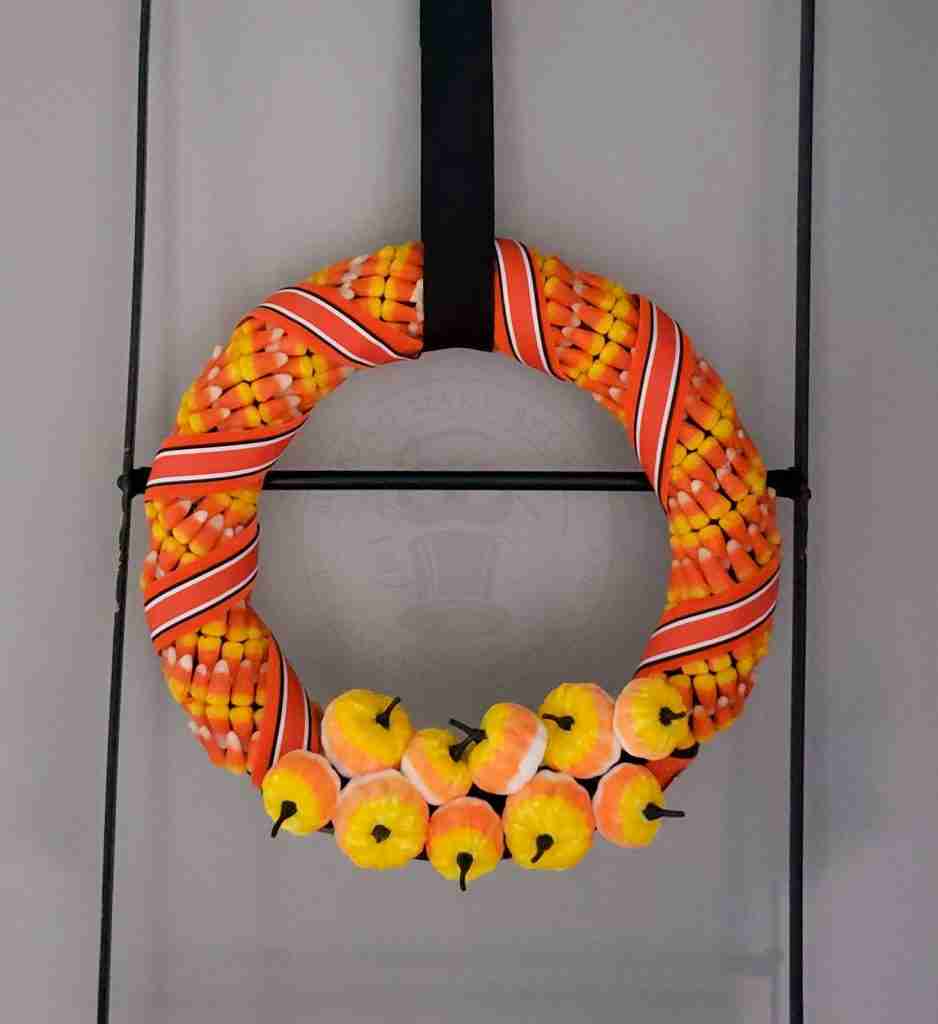
Now, you have four quick and easy candy corn Halloween decor pieces.
I think these are the perfect way to add a touch of happy hauntedness to your home.
Oh, and again, who are these people who like candy corn?
Guilty.
Let me share with you my family’s favorite Fall snack:
Grab some:
Candy corn
Salted roasted peanuts
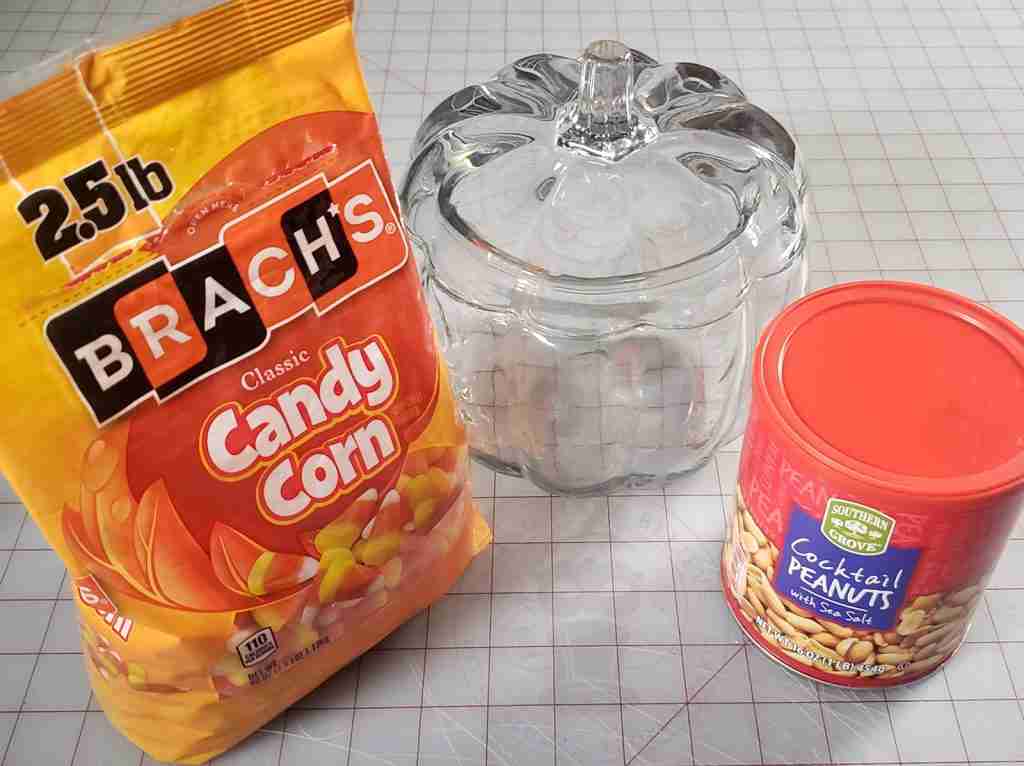
Add the candy corn and peanuts to a bowl in whatever ratio makes you happy.
Mix it up.
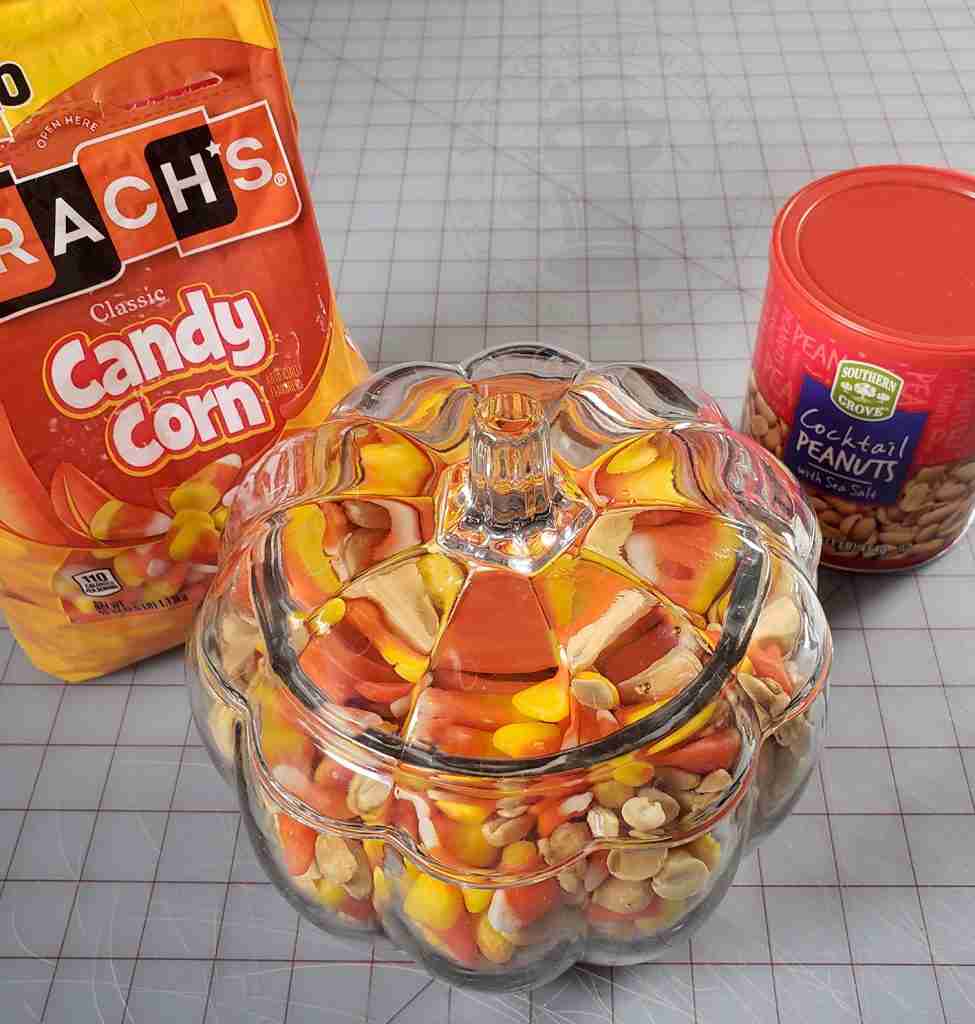
Store in a covered canister or bowl on your counter.
Grab a handful every time you pass by.
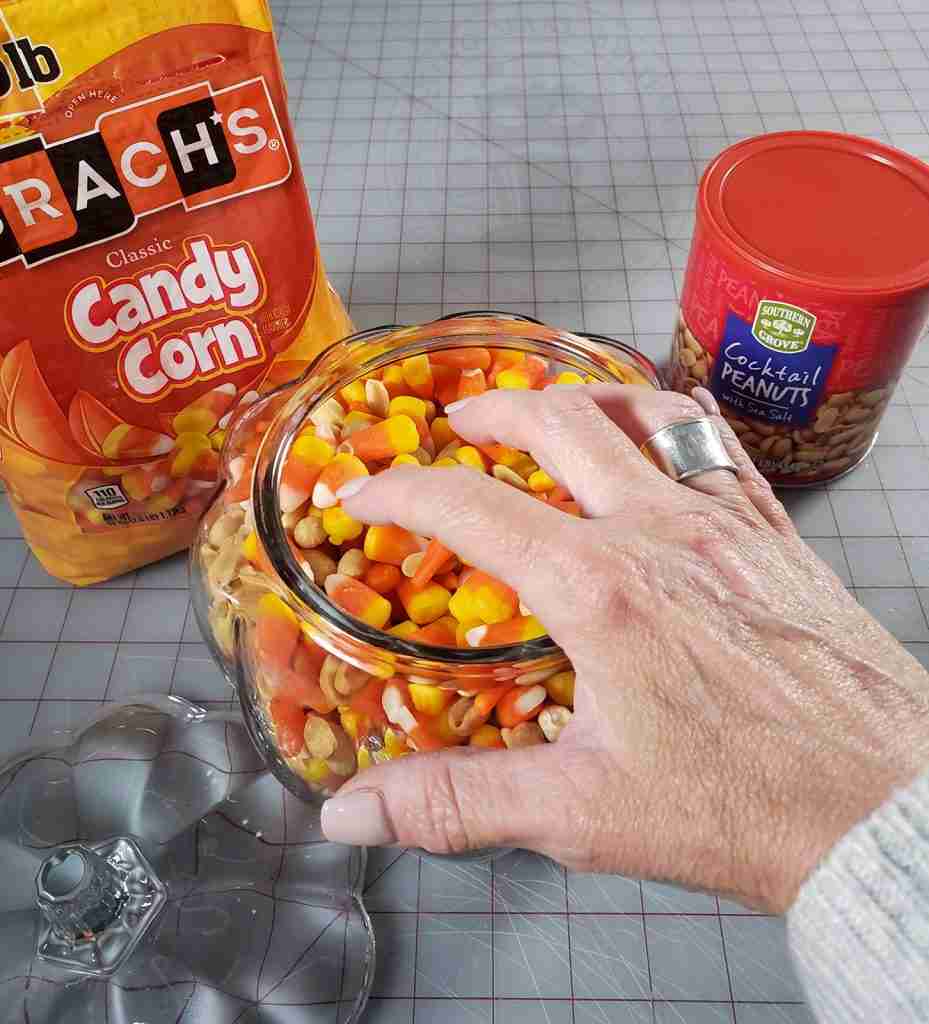
This combo tastes like a PayDay or Salted Nut Roll candy bar – definitely on the yummy list!
Until next time – keep it sweet!

Templates, patterns and printables for every project on the blog.

Counting down to Halloween since the 1970s. I create, style and celebrate all things costume and Halloween, all year round.
Welcome to my world of Halloween Ever After, where I create, style, and celebrate all things costume and Halloween.
Within these haunted pages lie affiliate links to curious and captivating finds I love. If you make a purchase through them, I may earn a modest commission (think fun-size candy bar), which helps keep the Halloween magic alive. No extra cost to you – cross my batty heart.



Check your email for the Haunted Library password.
Don’t miss a moment of the mischief.
Add hello@halloweeneverafter.com to your address book.
The magic happens right here in my studio and office. When you step inside my creative space, you’ll find an ever expanding gallery wall overflowing with original spooky art and classic Halloween LPs, right alongside a haunted cabinet packed to the brim with vintage curiosities.
It’s under the watchful eyes of these retro treasures that I design and craft.
Join us and get access to our Haunted Library stocked with templates, printables, cut files, and exclusive content. Plus, you’ll receive Eerie Emails just for our subscribers.
*Stay as long as you like. Unsubscribe at any time.


