Free templates & patterns
130+ freebies are waiting in the Haunted Library
Templates, patterns and printables for every project on the blog.
Formerly Making Make Believe · Join the Haunted Library

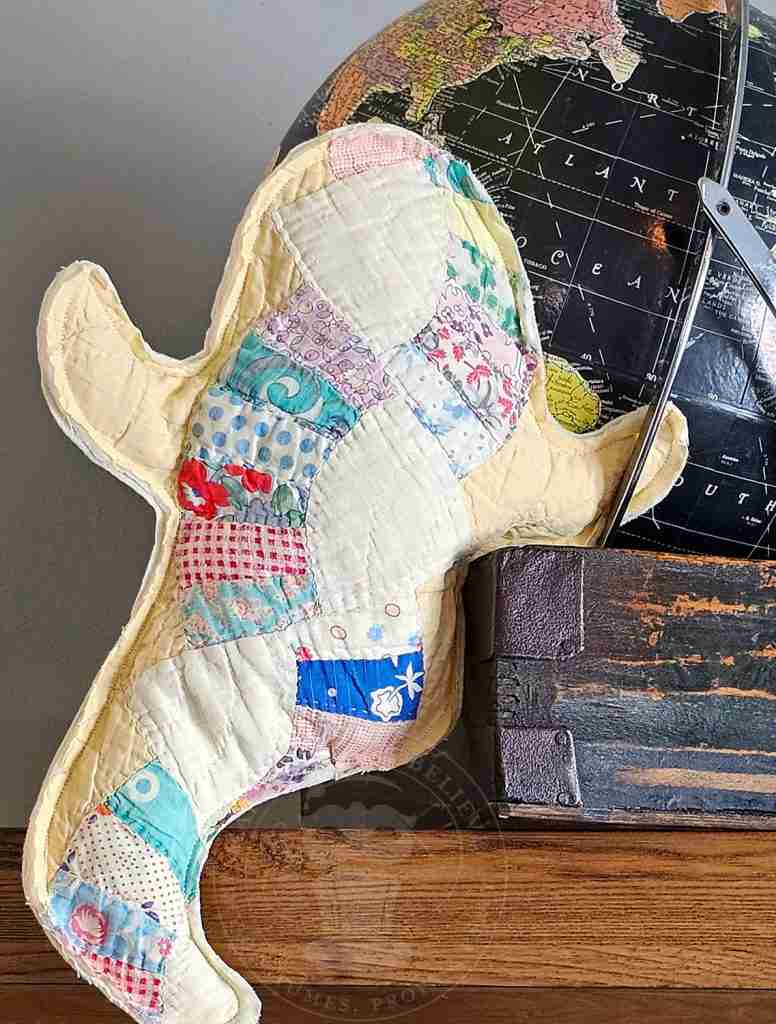
Quilt Ghost Plush
As an Amazon Associate I earn from qualifying purchases.
This post may contain affiliate links for your convenience. Click here to read our disclosure policy.
Christmas 2023 is in the books. The tree, the lights, the greenery, the ornaments – all have been tucked away. And, just as I was starting to lament that the world was a bit darker without all the Christmas glitter, nature dumped about seven inches of snow on our doorstep.

The scene is beautiful – truly a white wonderland – and not too chilly, but we’ve got a severe cold front moving in that will drop temps to the teens. Brrrr. The thought of cold weather and snuggling in reminded me of a project on my to-do list.
Last summer, I grabbed two quilts at an estate sale, each needing some TLC. One can be mended and used to keep me warm during the Kansas winters, while the other is in horrible shape.
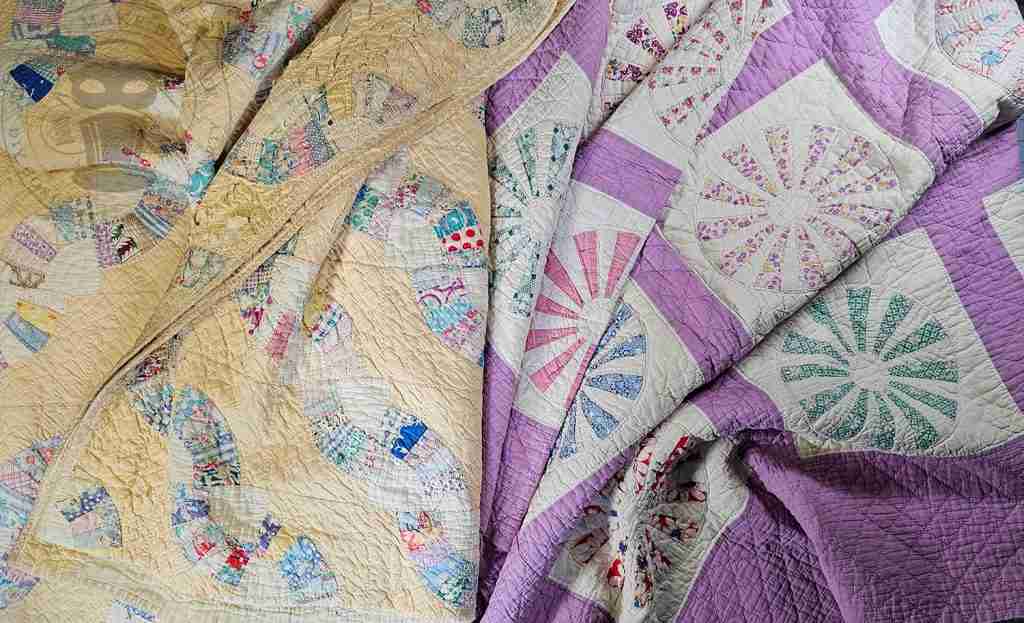
Despite the holes and tatters, I knew it would be the perfect candidate for this project – a quilt ghost plush, aka a spooky stuffie.
So, let’s get started.
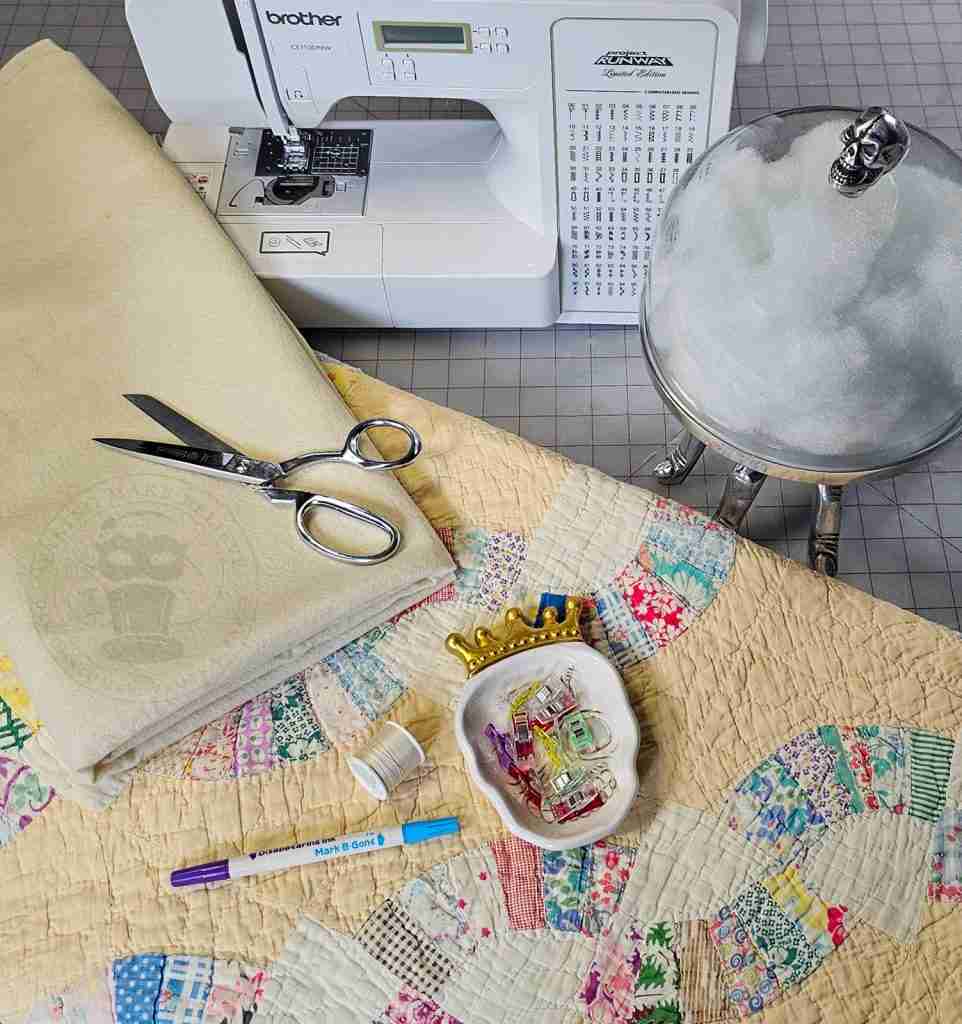
We will need:
A cutter quilt*
Backing fabric, I’m using felt
Fabric marker
Scissors
Pins or clips
Sewing machine or needle
Thread
Polyfil (or similar)
*A cutter quilt is one that is seriously worn or damaged to the point that repair is impossible or not feasible. To find your own cutter quilt, check yard sales, estate sales, Etsy, eBay, thrifts, and antique shops.
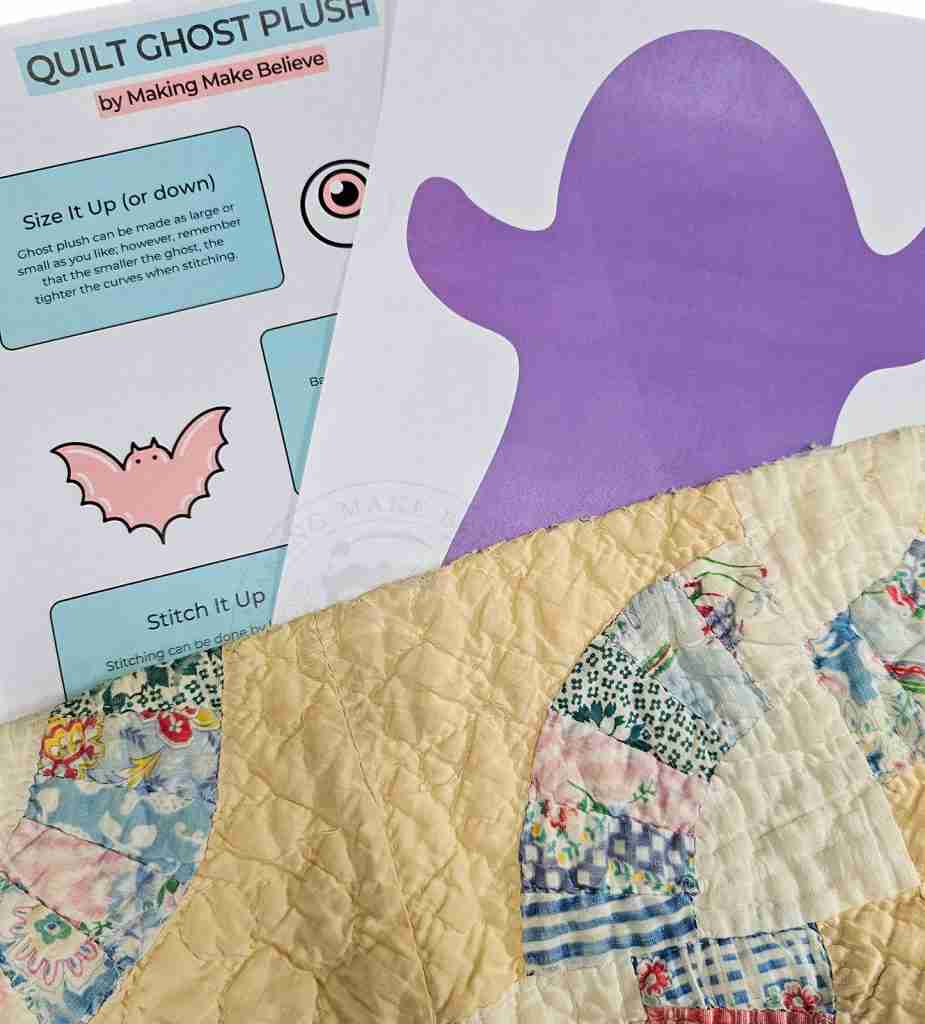
You can draw a template or grab our free ghost pattern along with our tips and ideas sheet for this project. You’ll find both in the Haunted Library.

First, cut out your ghost pattern. The default size of our ghost is 10″ high and about 7 1/4″ wide. You can resize the pattern to make your quilt ghost plush any size you like.
Next, lay out your quilt and place your pattern on top, preferably where there is no damage.
Using your fabric marker, trace around the ghost, and cut it out.
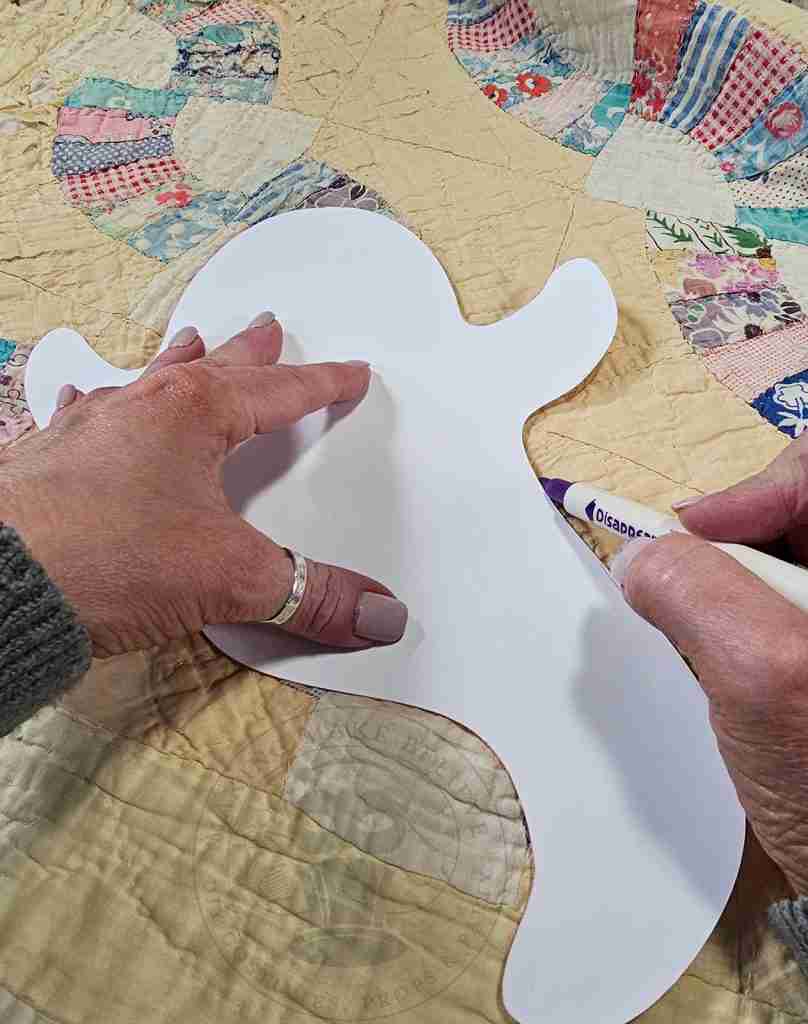
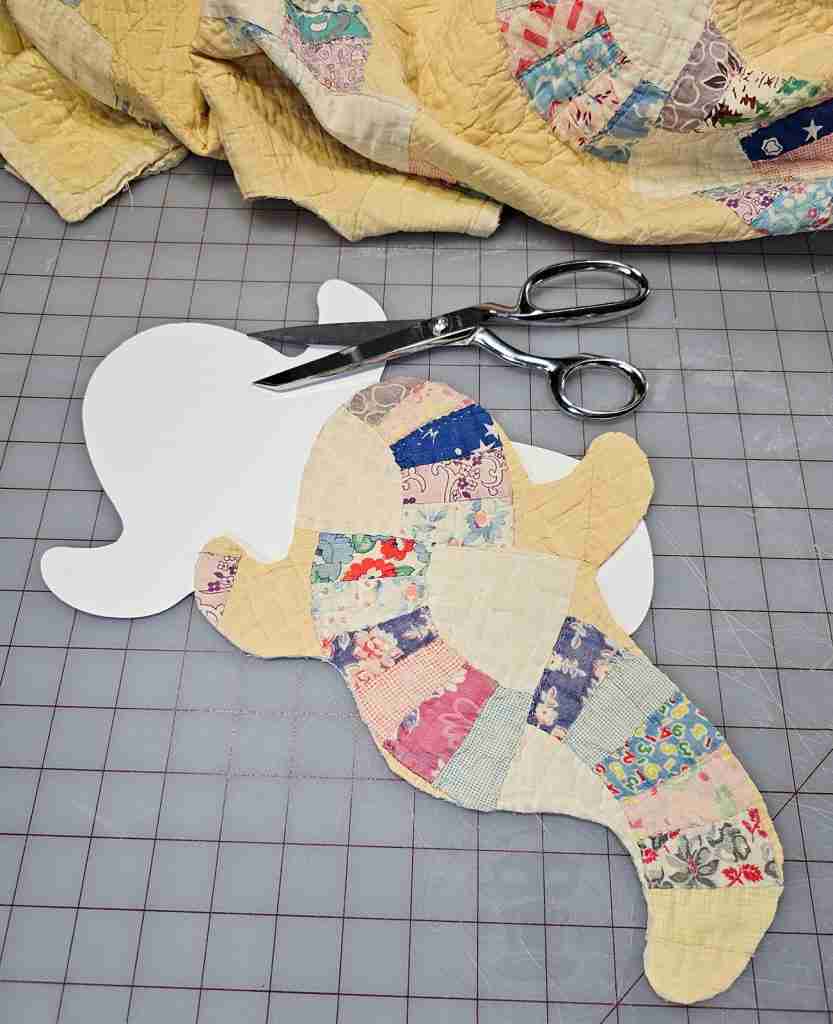
Repeat with the backing fabric.
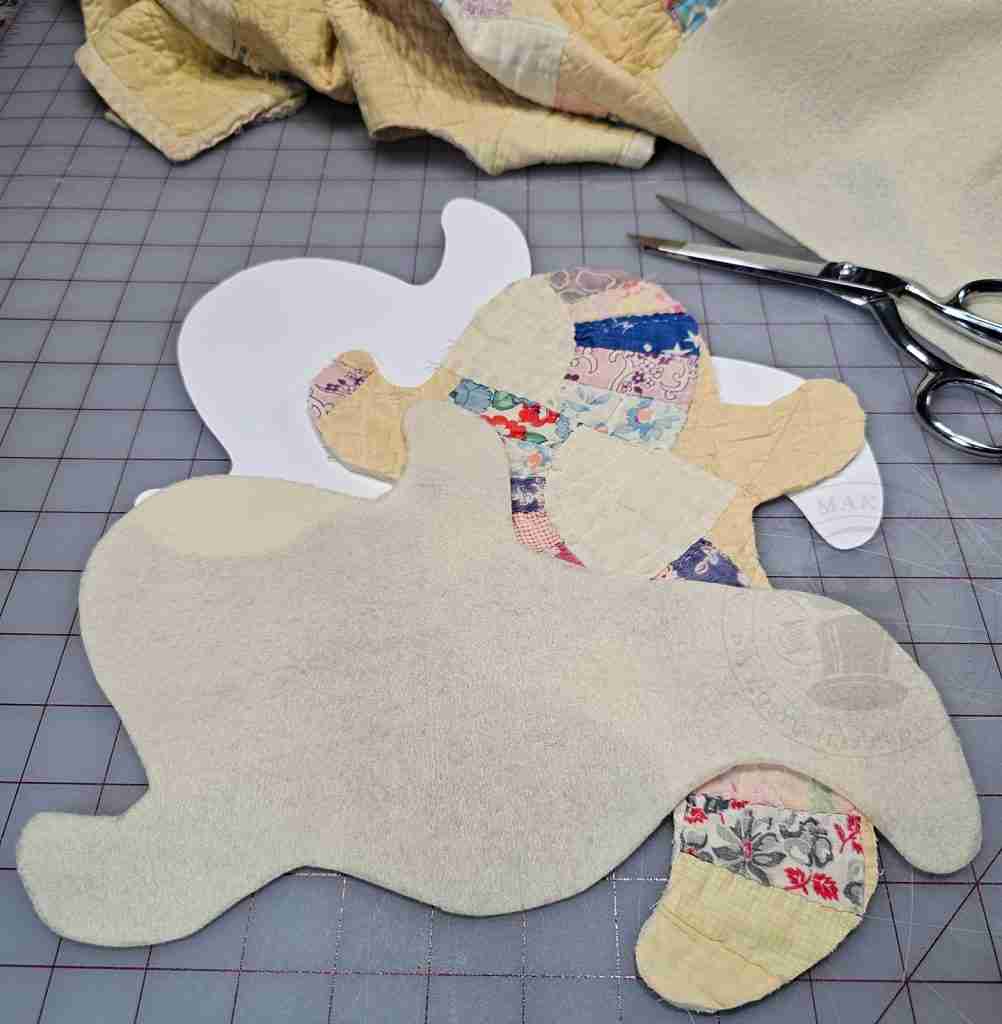
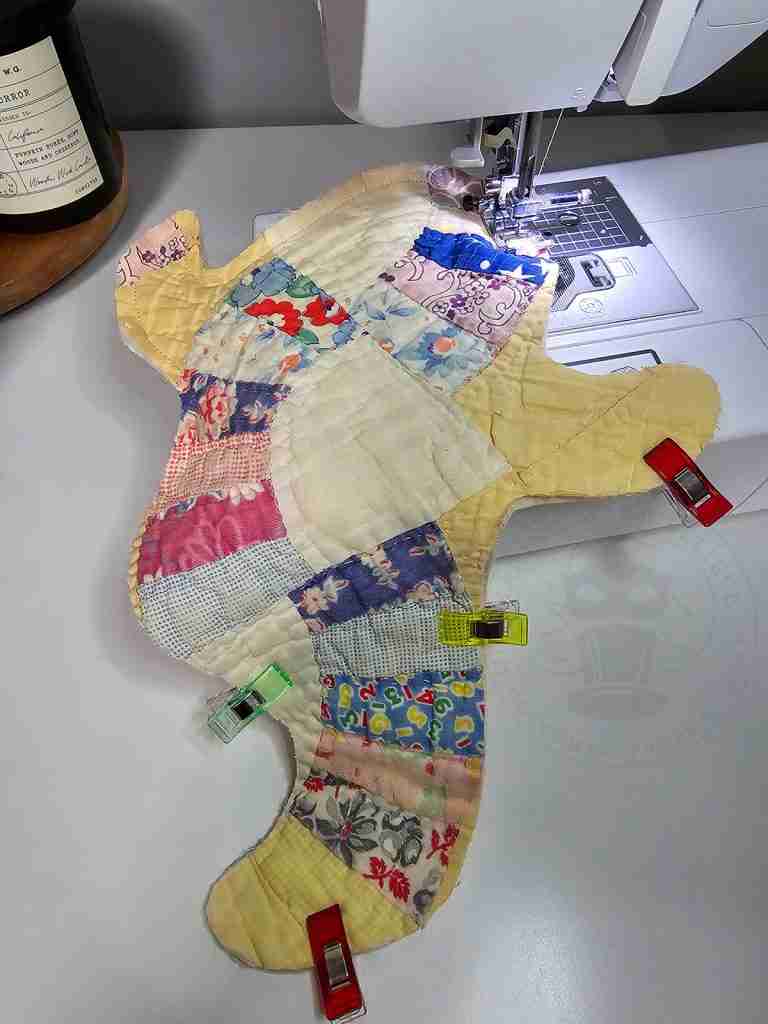
With the wrong sides together, stack the quilt ghost on top of the backing ghost and pin or clip them together.
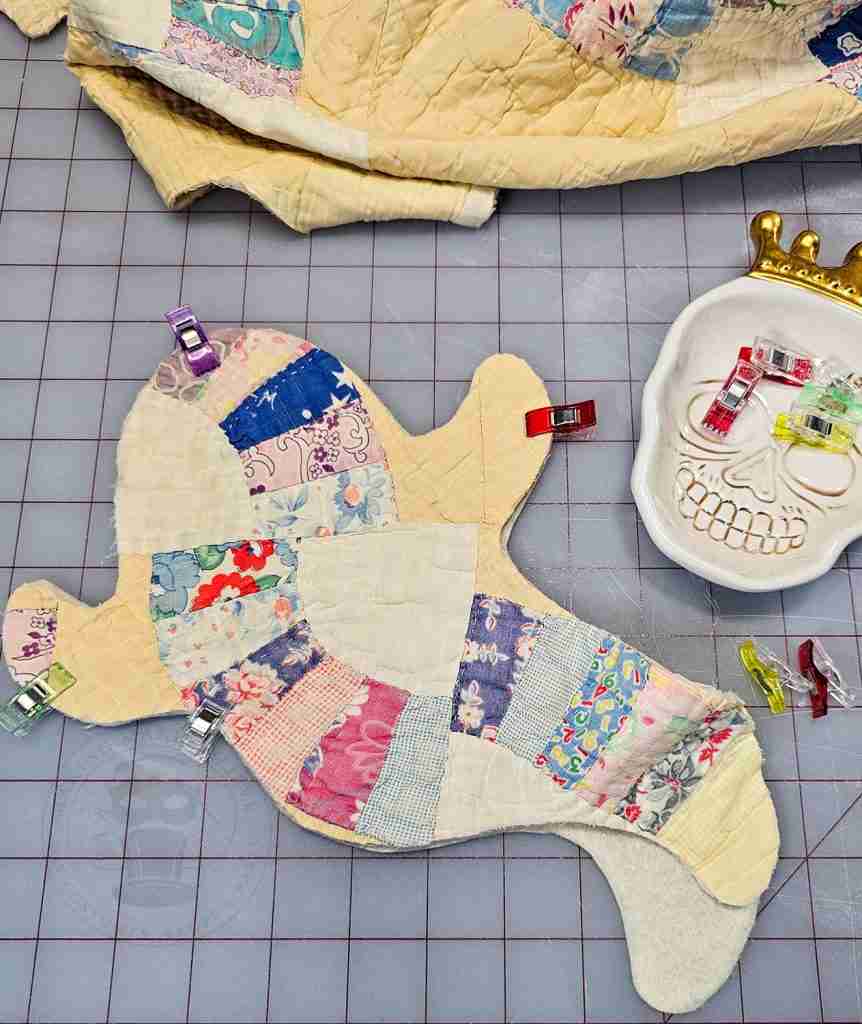
Stitch around the ghost using a 1/4″ seam allowance, leaving a few inches open to allow for stuffing.
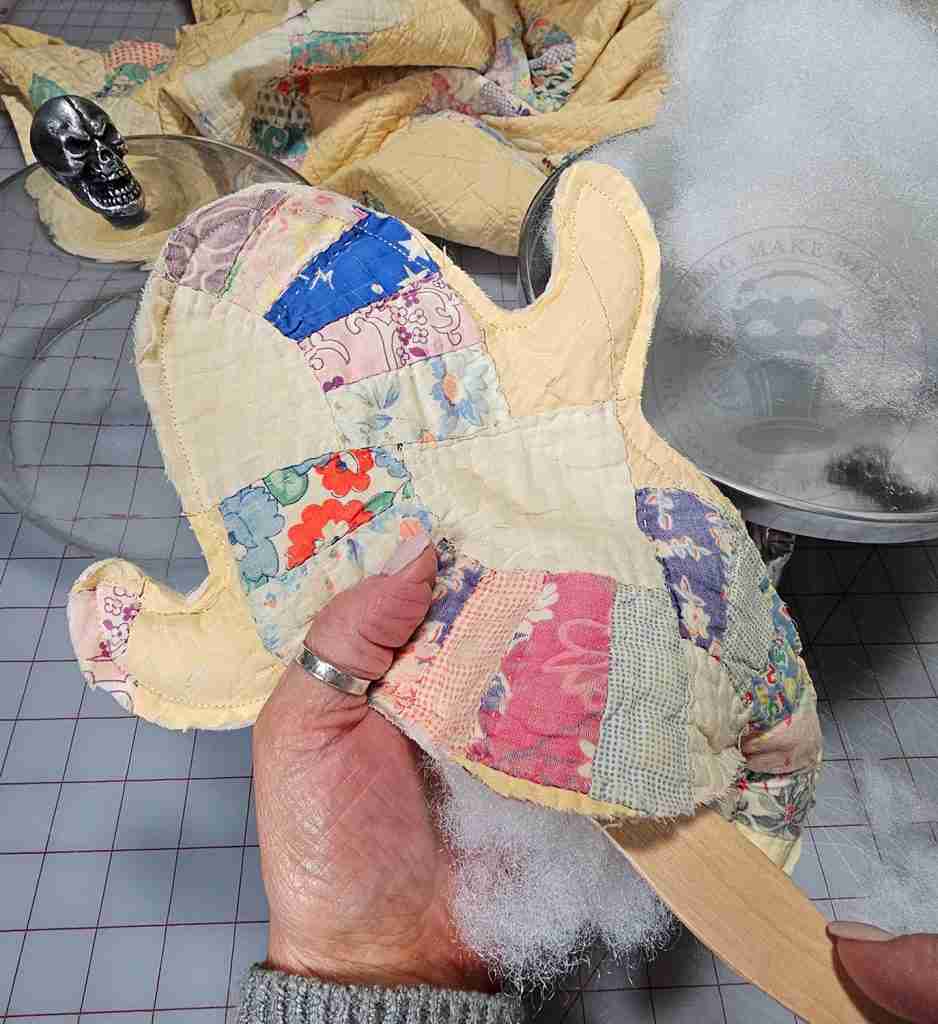
Stuff your ghost with Polyfil and close up the opening.
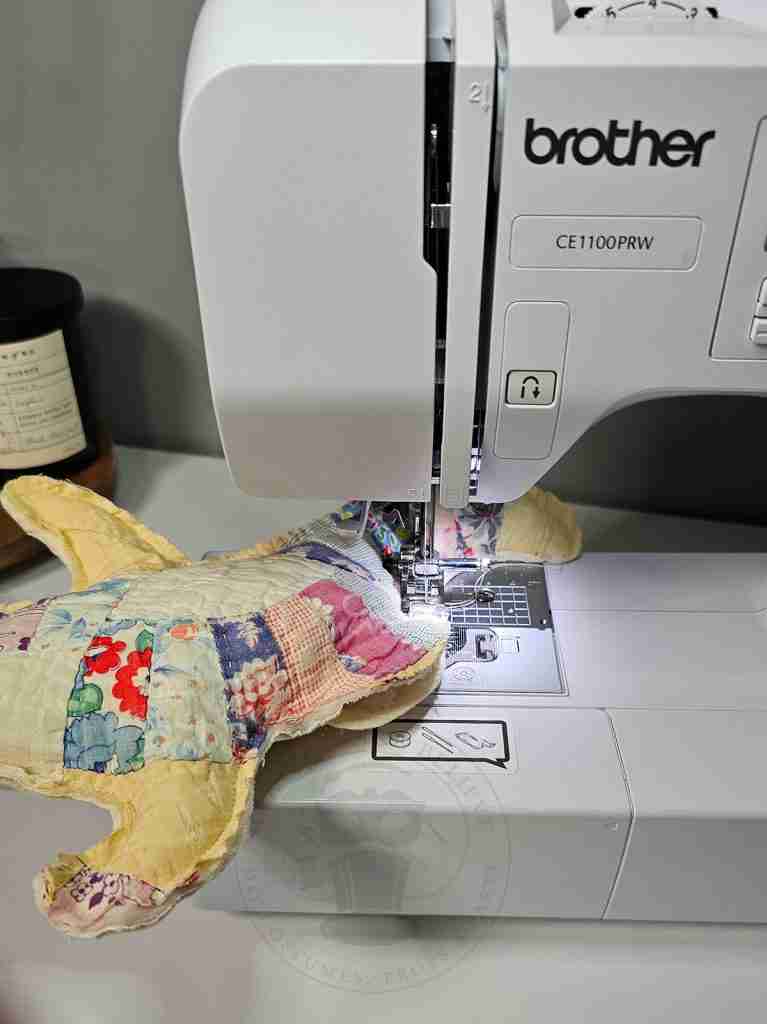
And you’re done! You now have your very own quilt ghost plush.
And, as always, I couldn’t make just one, so I now have a trio of quilted ghosts. I’m sure that I’ll be making some more soon.
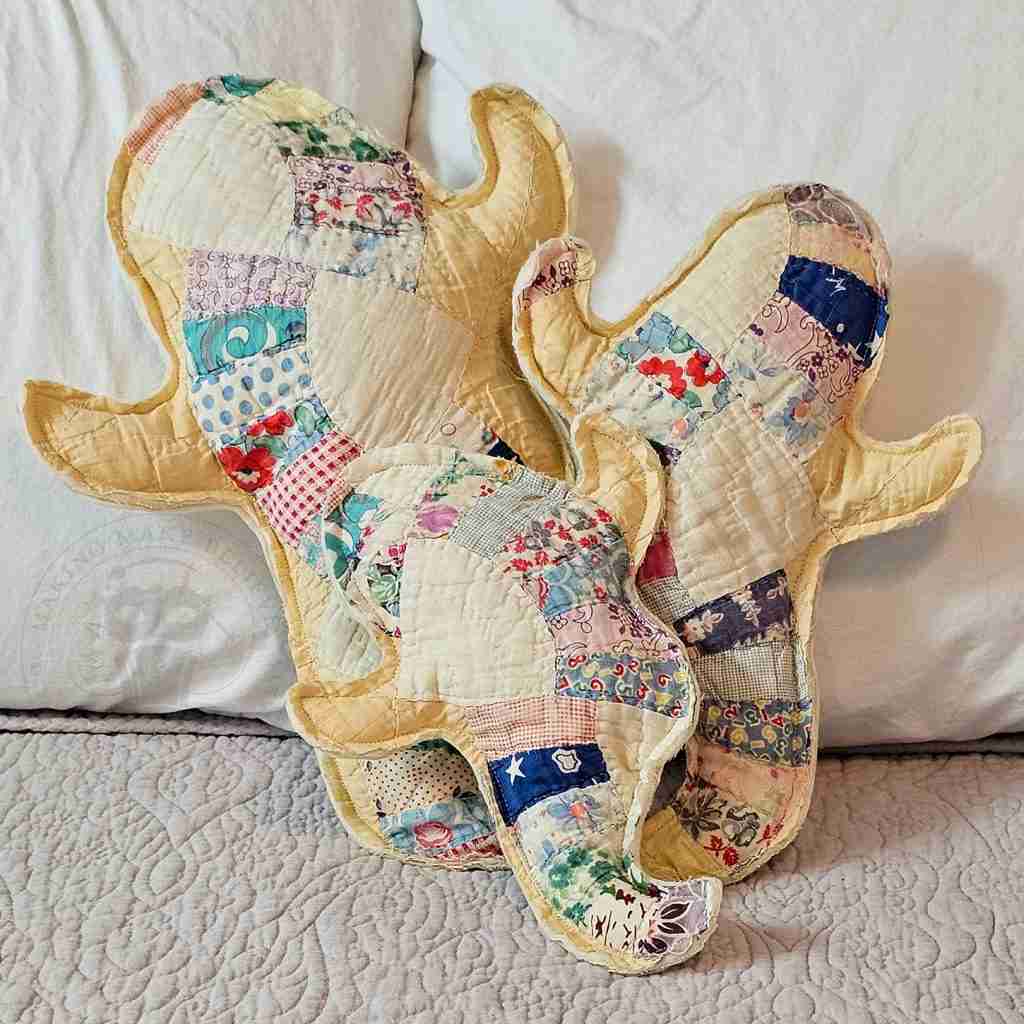
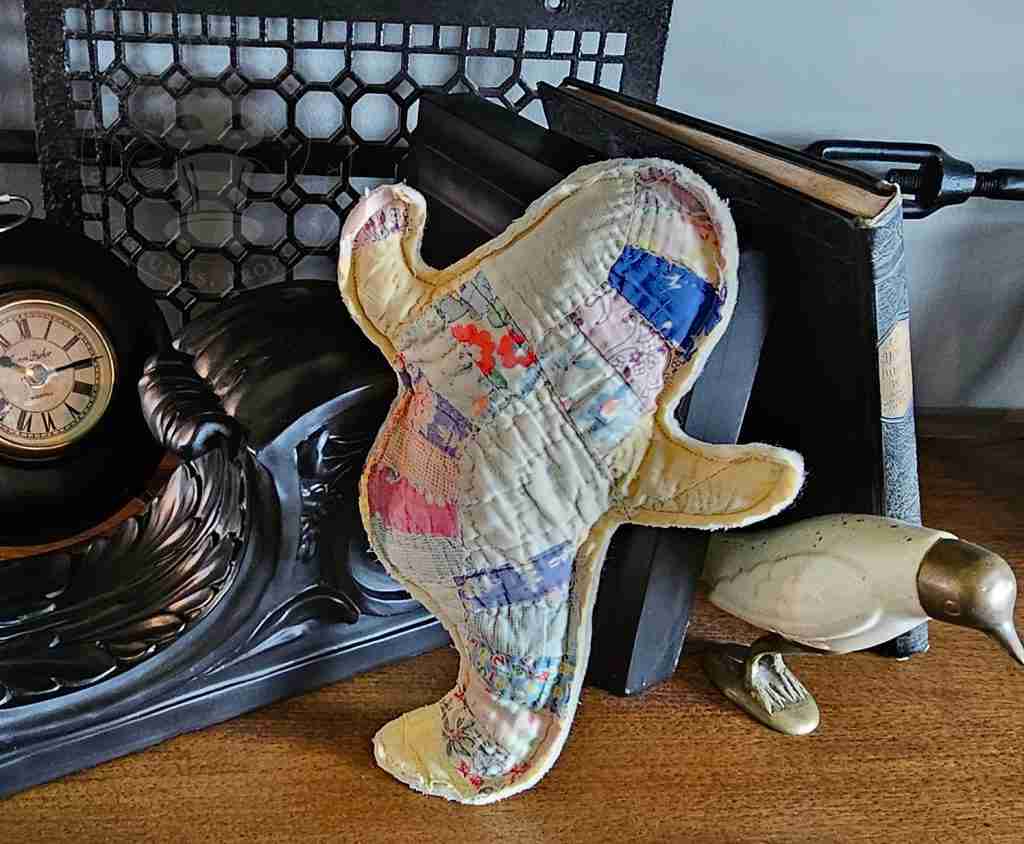
I love how these look when nestled on a bed or bookshelf.
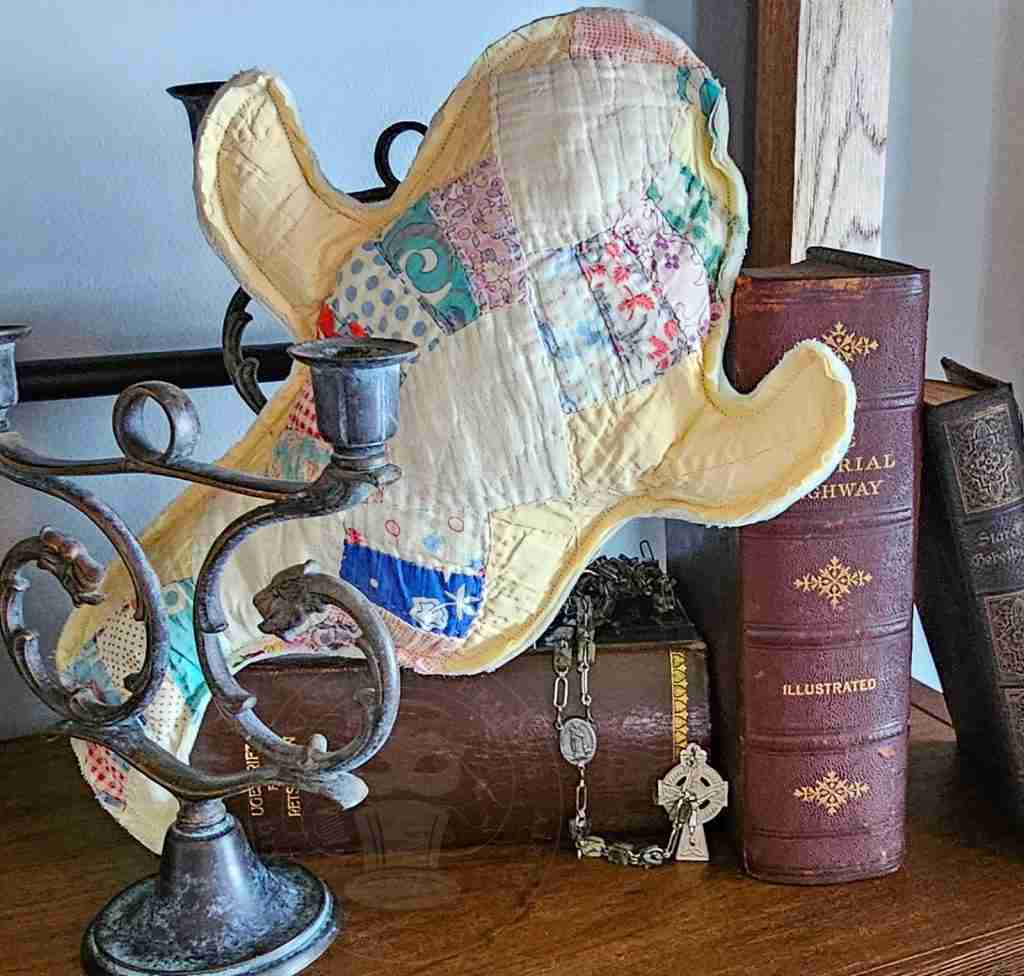
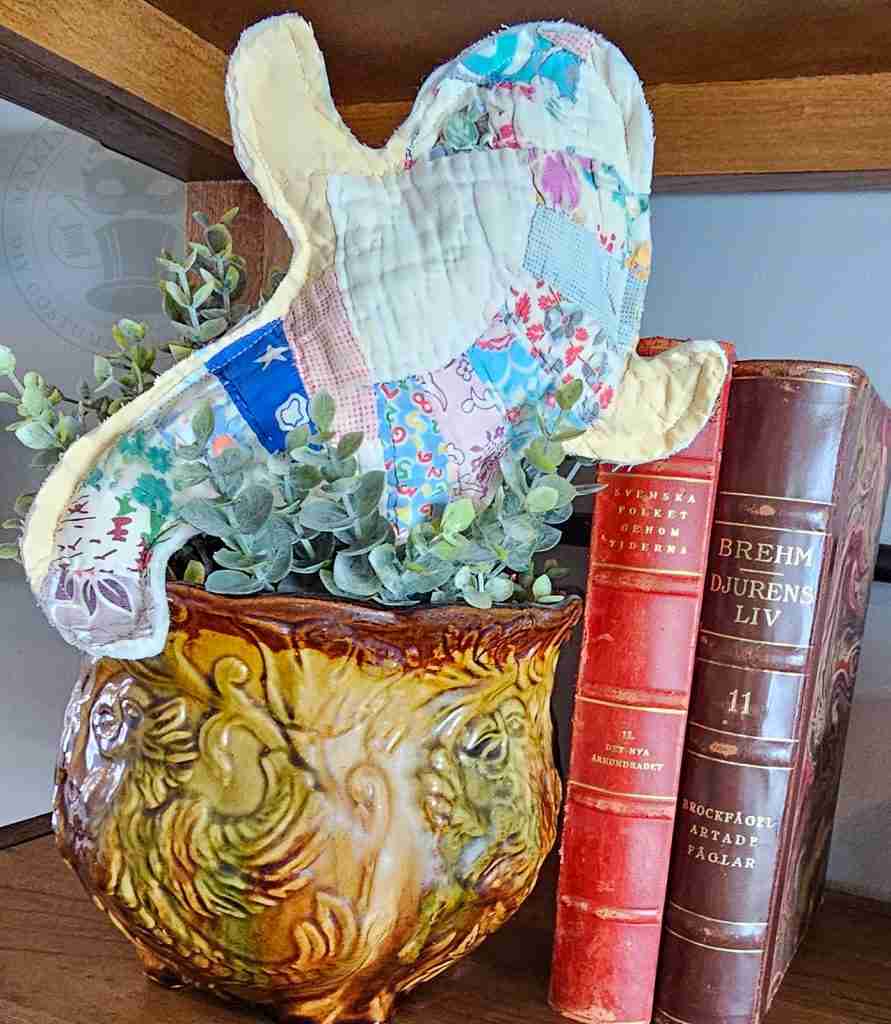
Well, it looks like that cold front is moving in.
I hope you are tucked in for whatever weather is heading your way.
Until next time – stay spooky.

Templates, patterns and printables for every project on the blog.

Counting down to Halloween since the 1970s. I create, style and celebrate all things costume and Halloween, all year round.
Welcome to my world of Halloween Ever After, where I create, style, and celebrate all things costume and Halloween.
Within these haunted pages lie affiliate links to curious and captivating finds I love. If you make a purchase through them, I may earn a modest commission (think fun-size candy bar), which helps keep the Halloween magic alive. No extra cost to you – cross my batty heart.



Check your email for the Haunted Library password.
Don’t miss a moment of the mischief.
Add hello@halloweeneverafter.com to your address book.
The magic happens right here in my studio and office. When you step inside my creative space, you’ll find an ever expanding gallery wall overflowing with original spooky art and classic Halloween LPs, right alongside a haunted cabinet packed to the brim with vintage curiosities.
It’s under the watchful eyes of these retro treasures that I design and craft.
Join us and get access to our Haunted Library stocked with templates, printables, cut files, and exclusive content. Plus, you’ll receive Eerie Emails just for our subscribers.
*Stay as long as you like. Unsubscribe at any time.


