Free templates & patterns
130+ freebies are waiting in the Haunted Library
Templates, patterns and printables for every project on the blog.
Formerly Making Make Believe · Join the Haunted Library

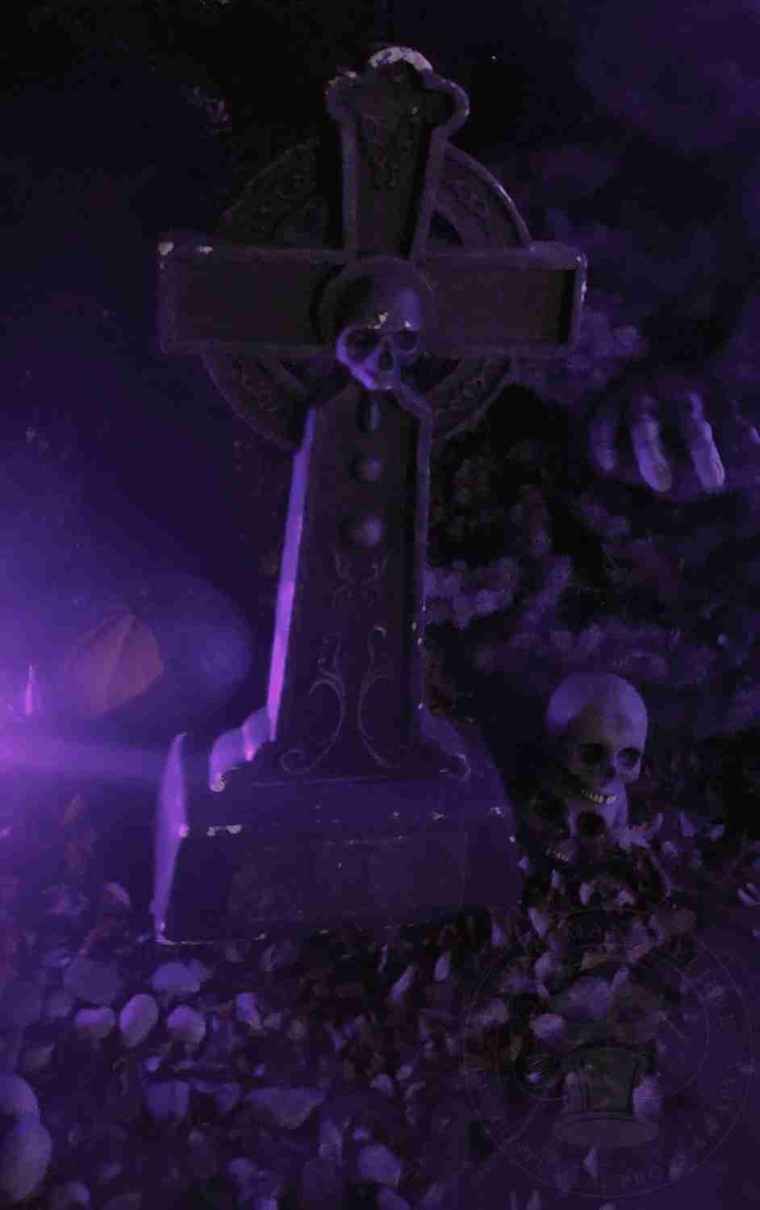
There is a thrill that comes with the arrival of October. For me, the season’s magic lies in chasing that spooky vibe – especially a late-night trip to a haunted house where you know you’re in for a good scare. Whether it is a ride through Disney’s Haunted Mansion or a tromp through a local haunt, I love the experience. There is nothing quite like weaving through damp, unfamiliar shadows, soaking in a curated atmosphere of dread, only to be startled by some wretched ghoul lunging from the dark. While I tend to meet these horrors with laughter rather than screams, the adrenaline remains a fun way to celebrate the season.
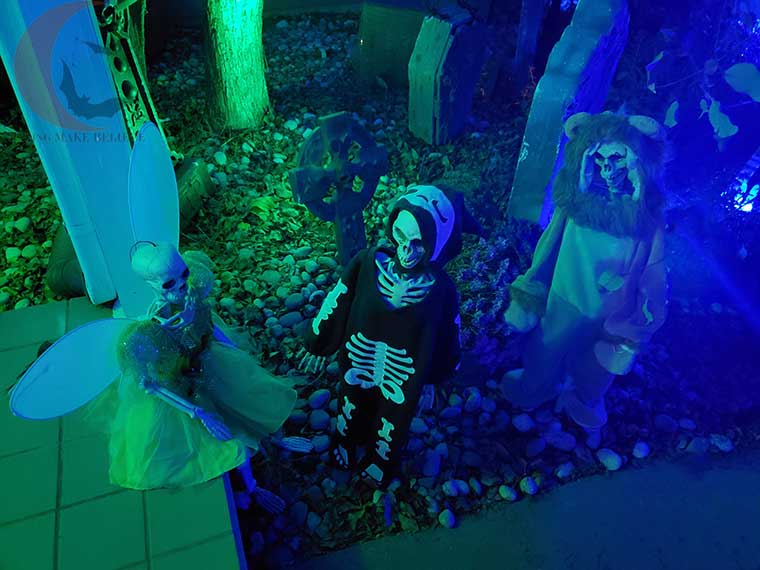
The night of All Hallows’ Eve brings its own creepy charm when the mini monsters emerge to trick-or-treat. They flit from house to house (or trunk to trunk) like little moths to a flame, hoping to fill their pumpkin coffers with a bounty of spooky, sweet treats.
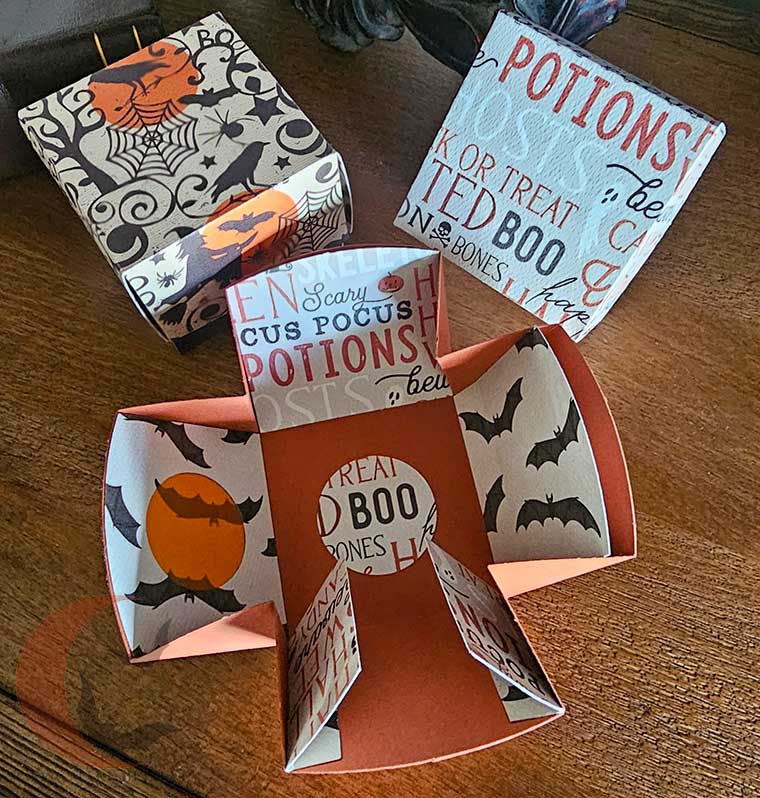
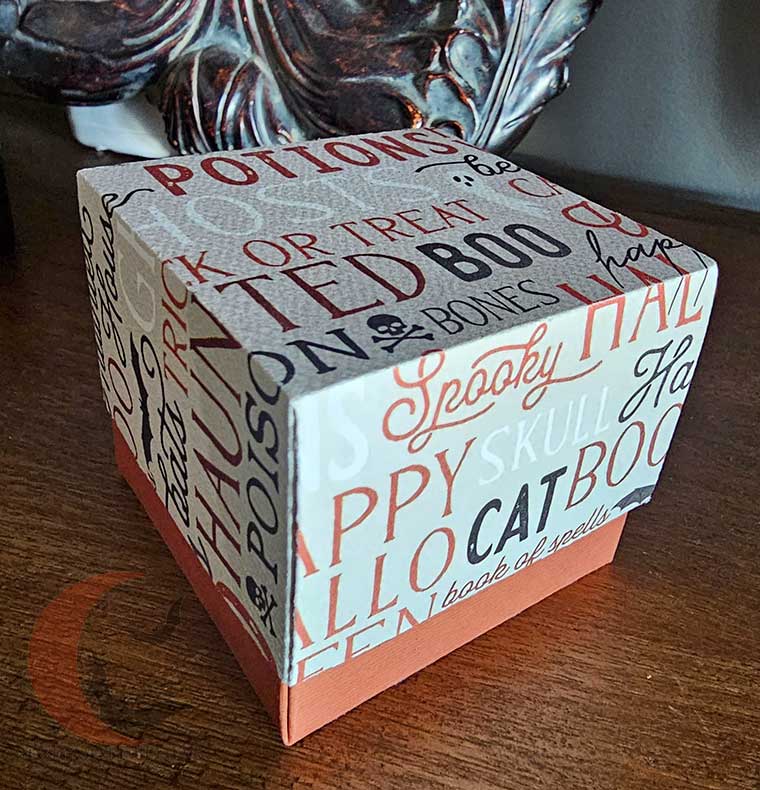
In homage to both the thrill of the surprise and the tradition of the treat, I have designed a papercraft project that bridges the two – a surprise treat box. This seemingly simple parcel is perfect for gifting ghoulish goodies to your favorite creature of the night.
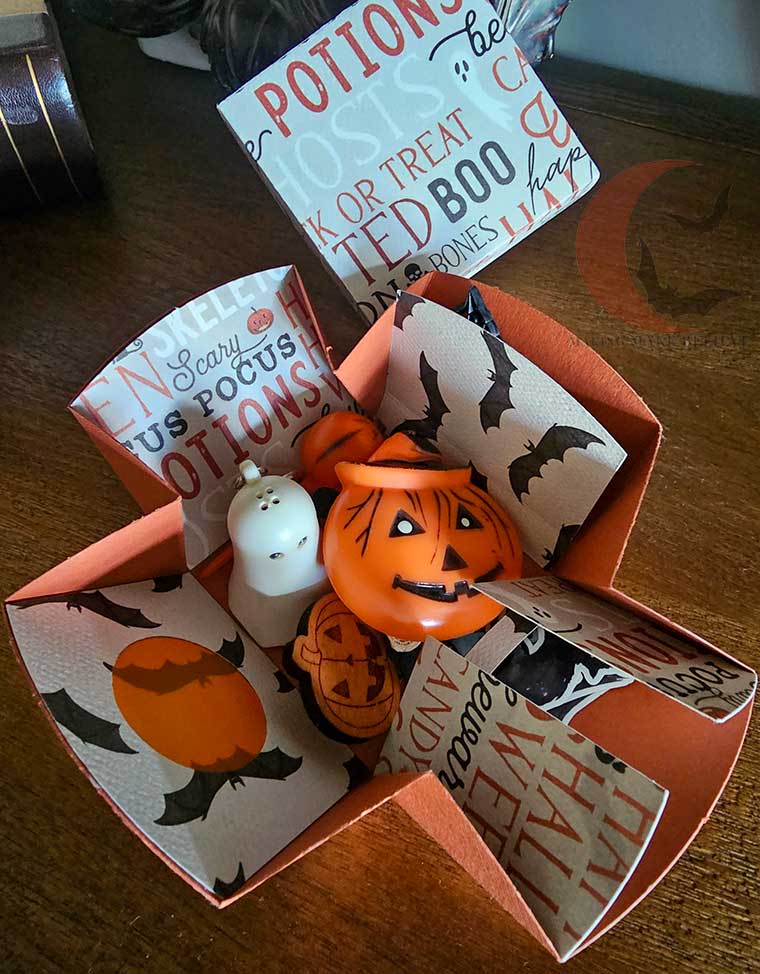
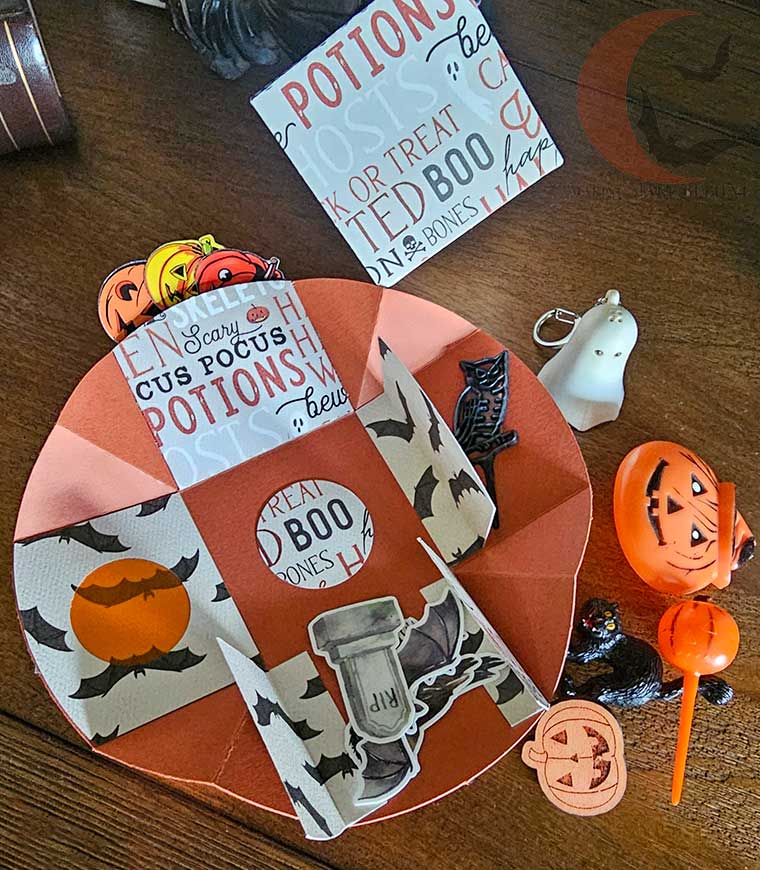
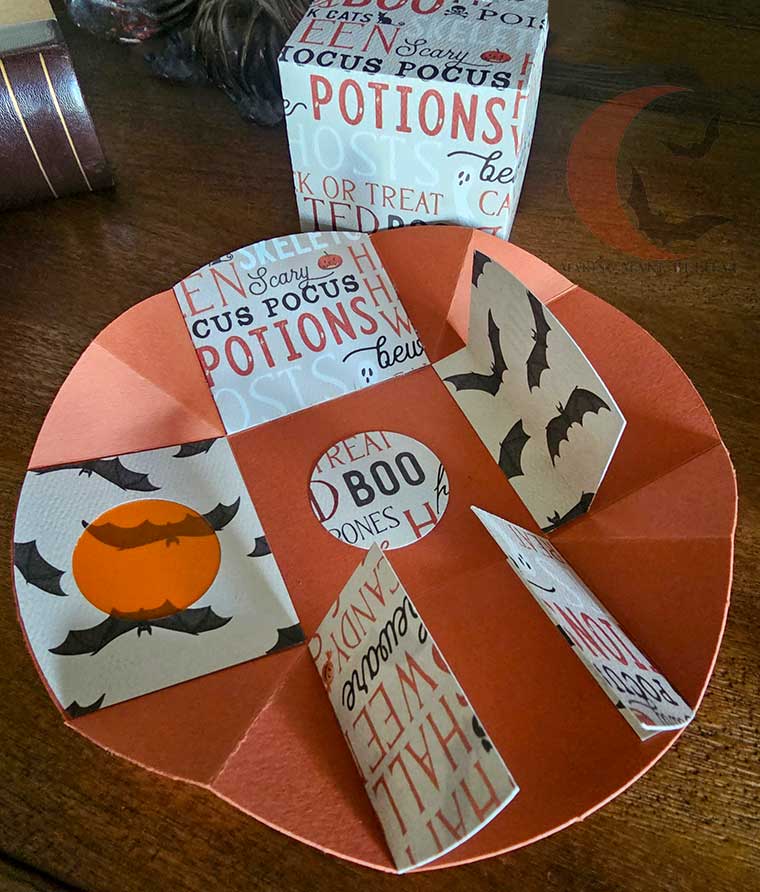
Lift the lid, and the box unfolds, revealing hidden pockets, secret doors, and shadowed windows that can hold all manner of cryptic notes and tiny treasures. Plus, there’s still plenty of room to tuck in your favorite tasty morsels that will win over a haunted heart.
If you’re up for a little spooky fun and love a sweet surprise, you’re in the right place. Let’s jump in.
For this project, we will need:
8 1/2” x 11” (or larger) scrapbook paper
12” x 12” scrapbook paper
Cutting machine or scissors
Adhesive – I’m using a double-sided tape roller
Scoring tool for machine cutting or bone folder
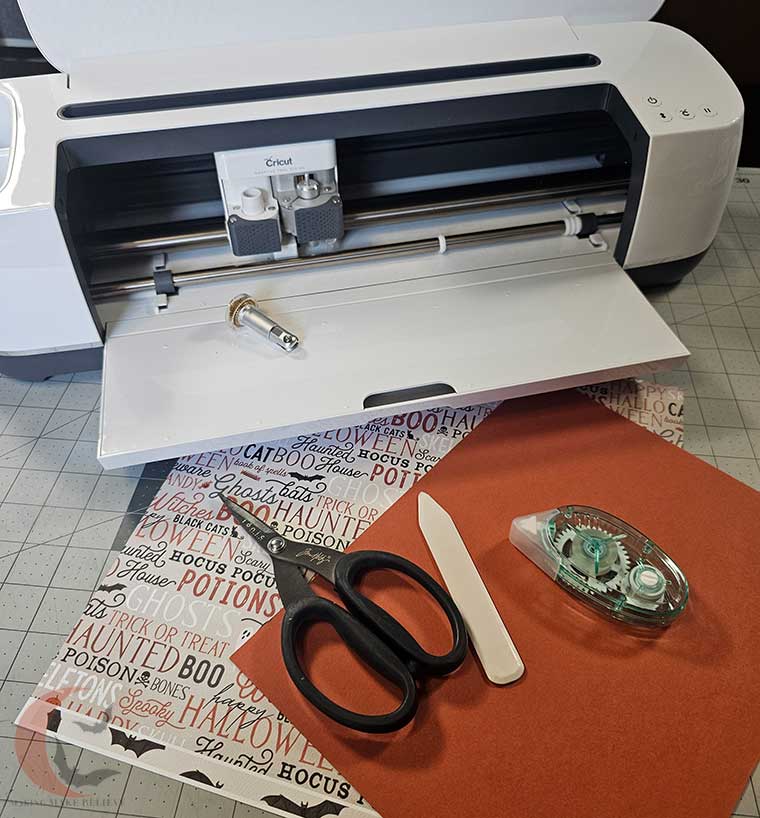
We will also need the Surprise Treat Box files from the Haunted Library. Select the SVG for machine cutting or the PDF for hand cutting.
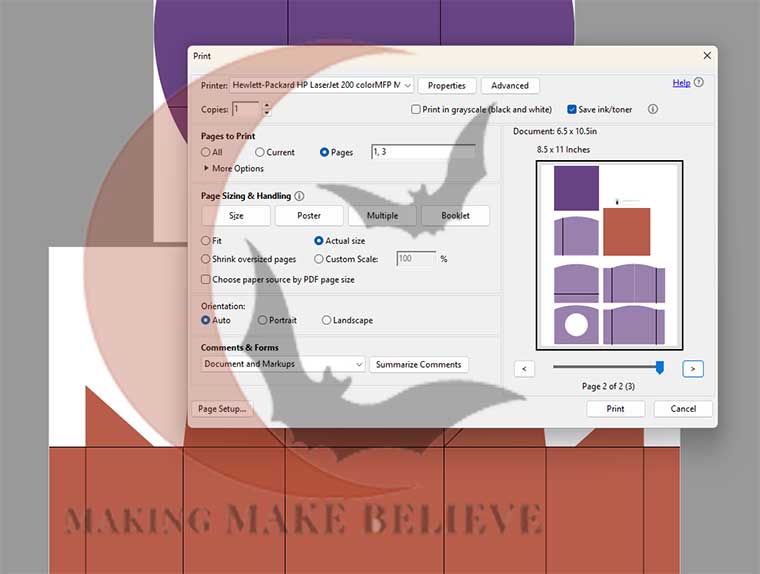
If using the PDF Printable to cut by hand, open the Surprise Treat Box PDF in your favorite reader (Adobe, Foxit, etc.), and print the box base, pockets, and doors at actual size.
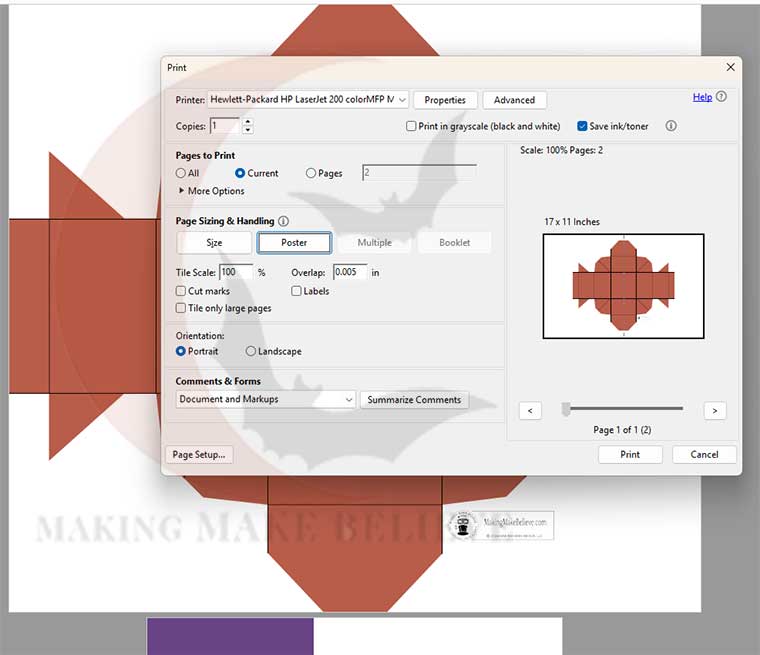
Next, print the box lid using the Poster option and piece the pattern together.
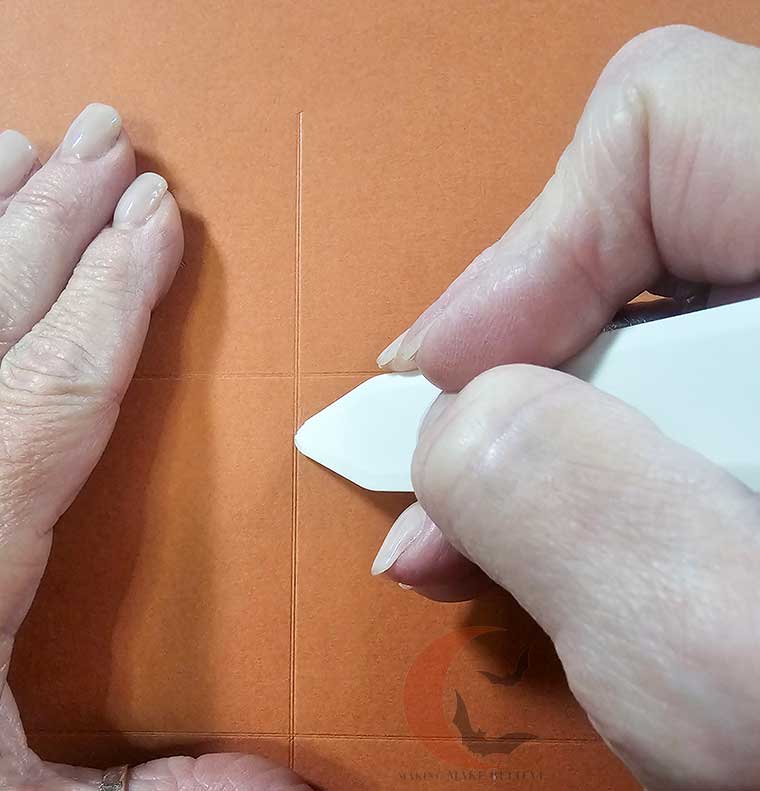
Cut out all the pattern pieces, transfer the patterns onto your scrapbook paper, and then use a bone folder to score the black lines for your folds.
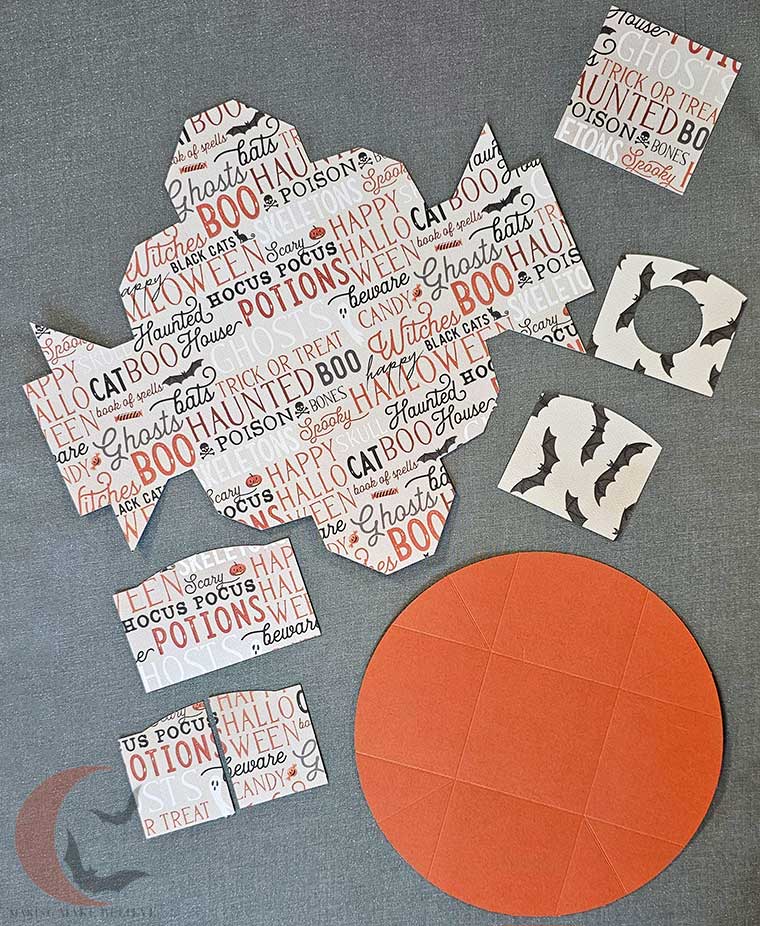
Cut out all the pieces.
After downloading the Surprise Treat Boxes from the Haunted Library, upload them to your favorite design software. I’m using Cricut Design Space.
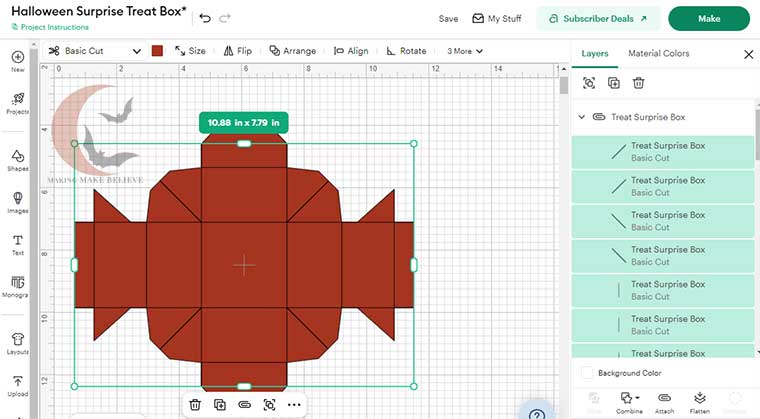
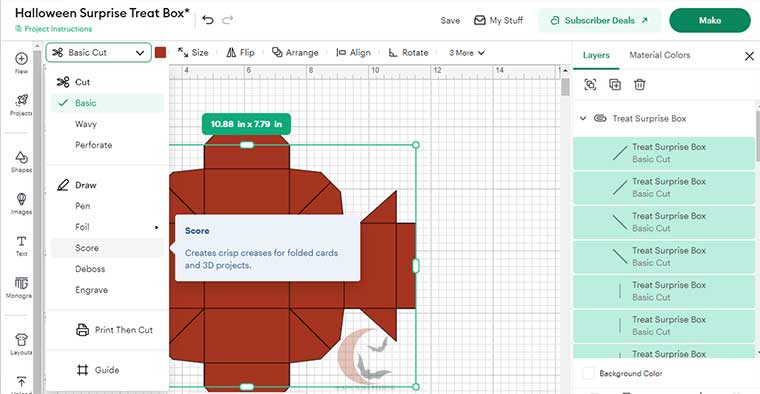
Ungroup the box base. From the Layers Panel, select each score line, and change it from Basic Cut to Score in the Operation drop-down menu.
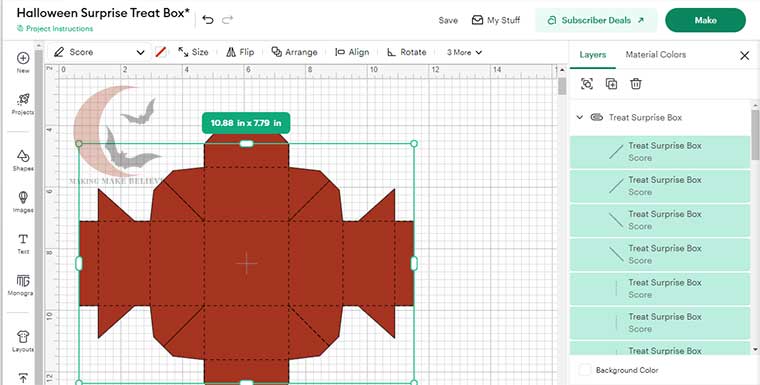
Then, taking care not to move the score lines, select them along with the box base and then click Attach at the bottom of the Layers Panel.
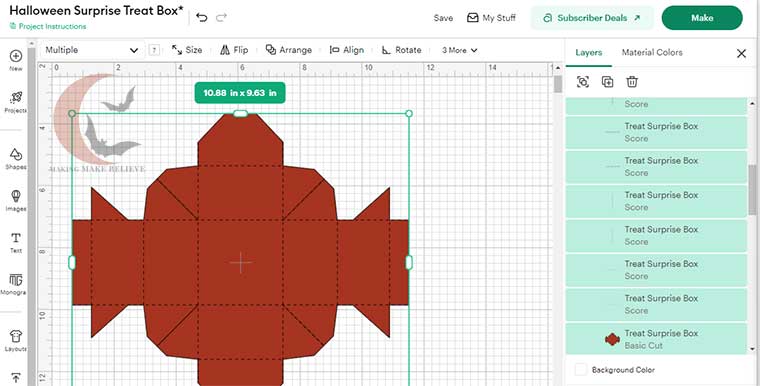
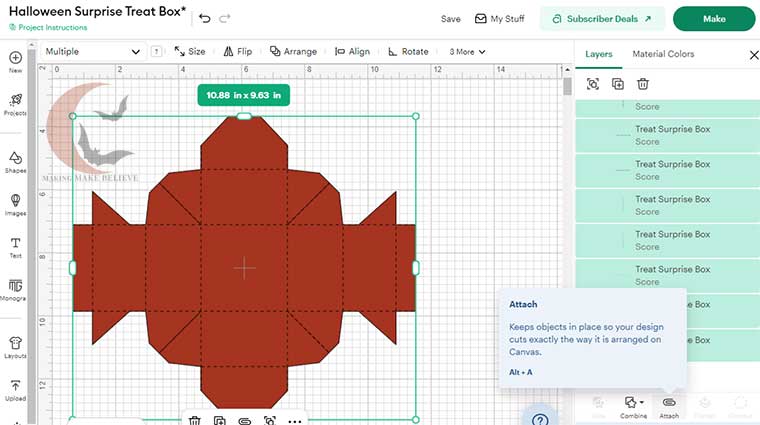
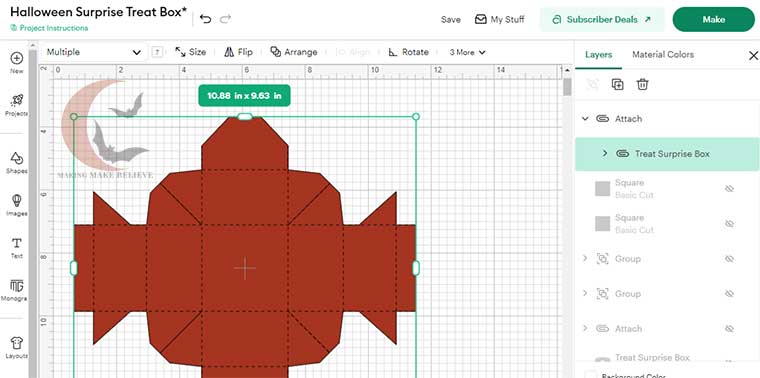
Repeat these steps with each element – the box lid, pockets, and doors.
Now, you are ready to cut out all of your box elements.
To form the base, fold along the score lines and crease with your finger or a bone folder.
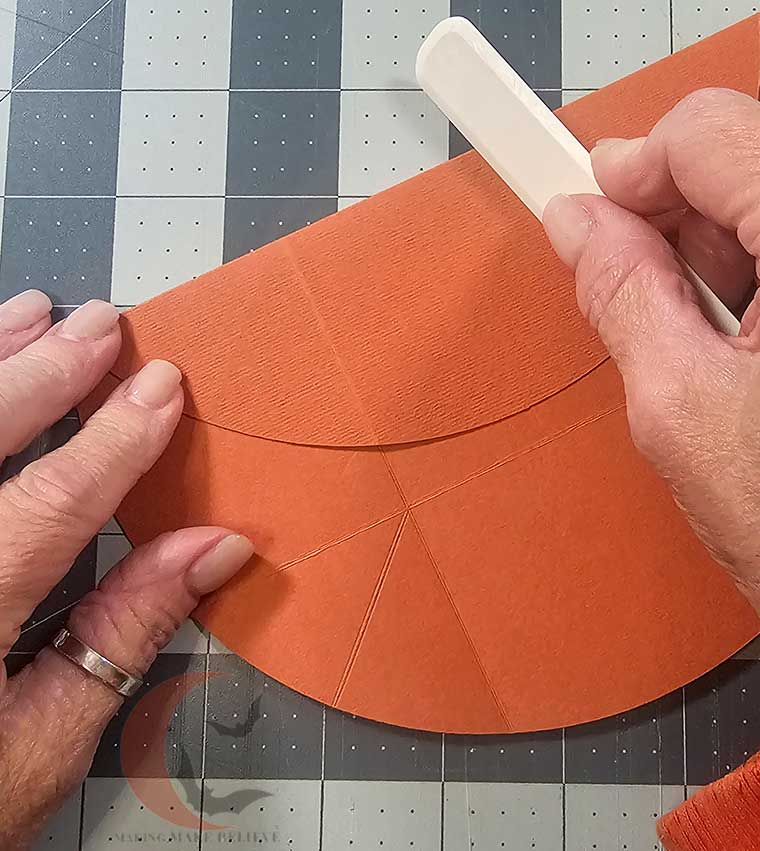
Press in the corners along their score lines and crease.
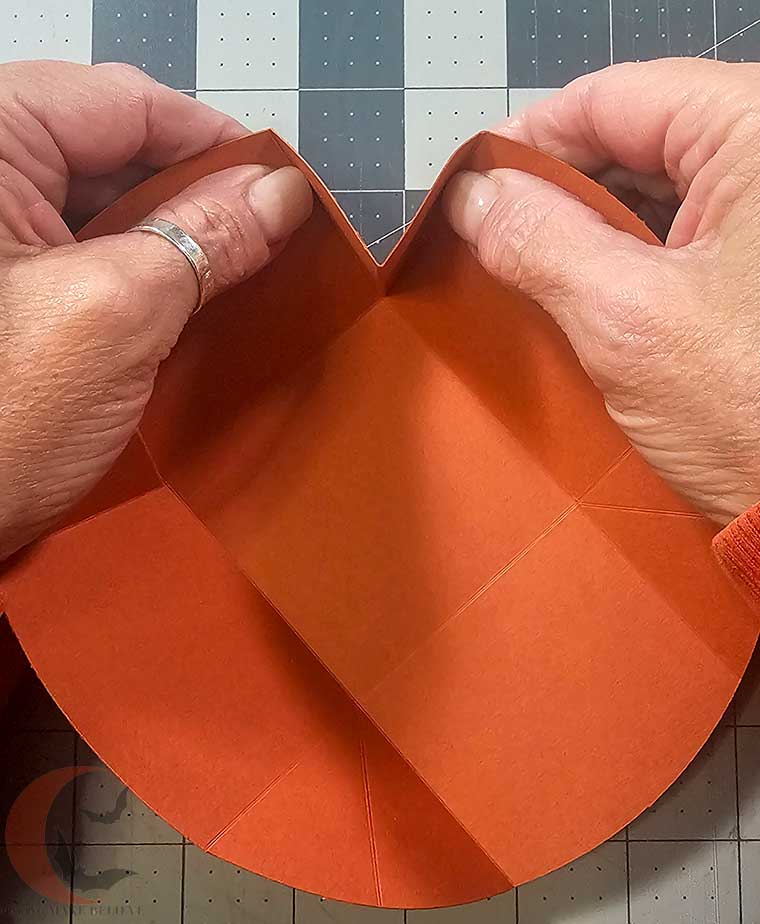
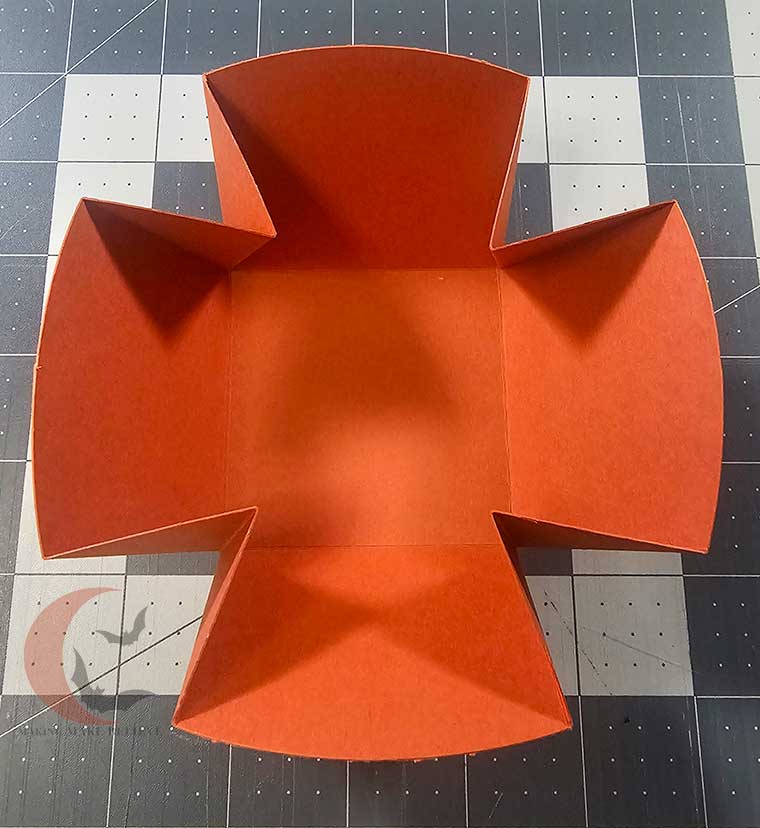
To form the lid, fold along the score lines and crease with your fingers or a bone folder.
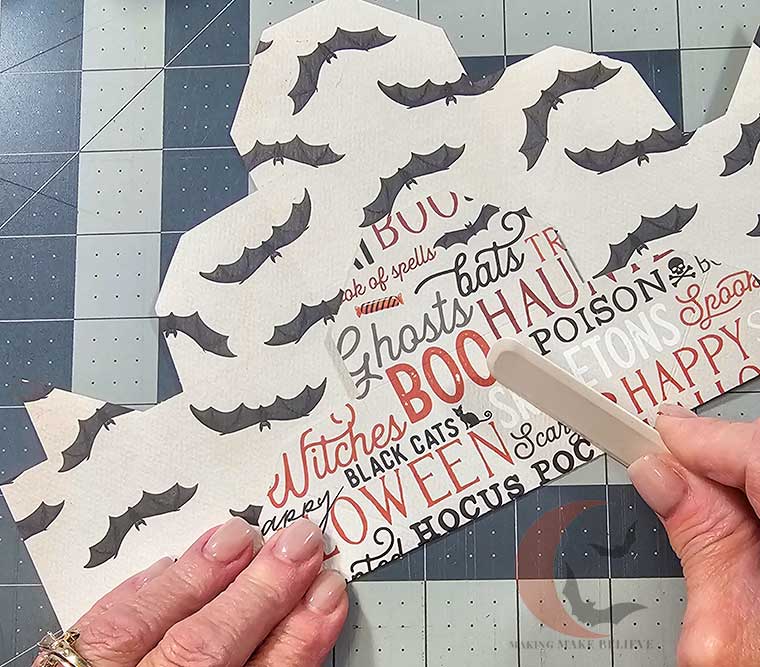
Press in the corners and crease those as well.
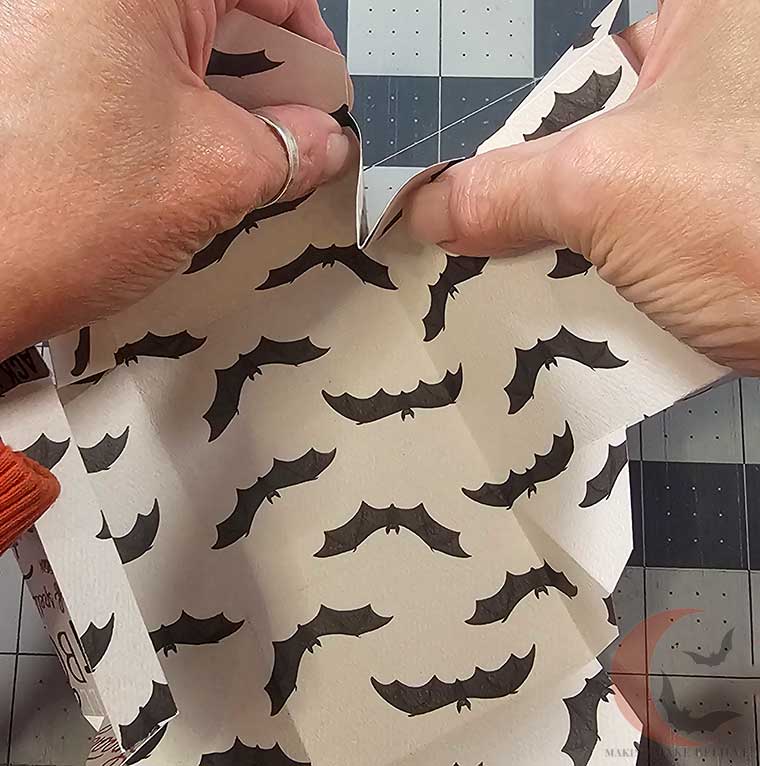
If desired lay a square in the center of the lid’s interior. While not required, if your paper is not double sided this square give the Suprise Treat Box a more finished look. You can glue it in place if desired, but it’s not necessary.
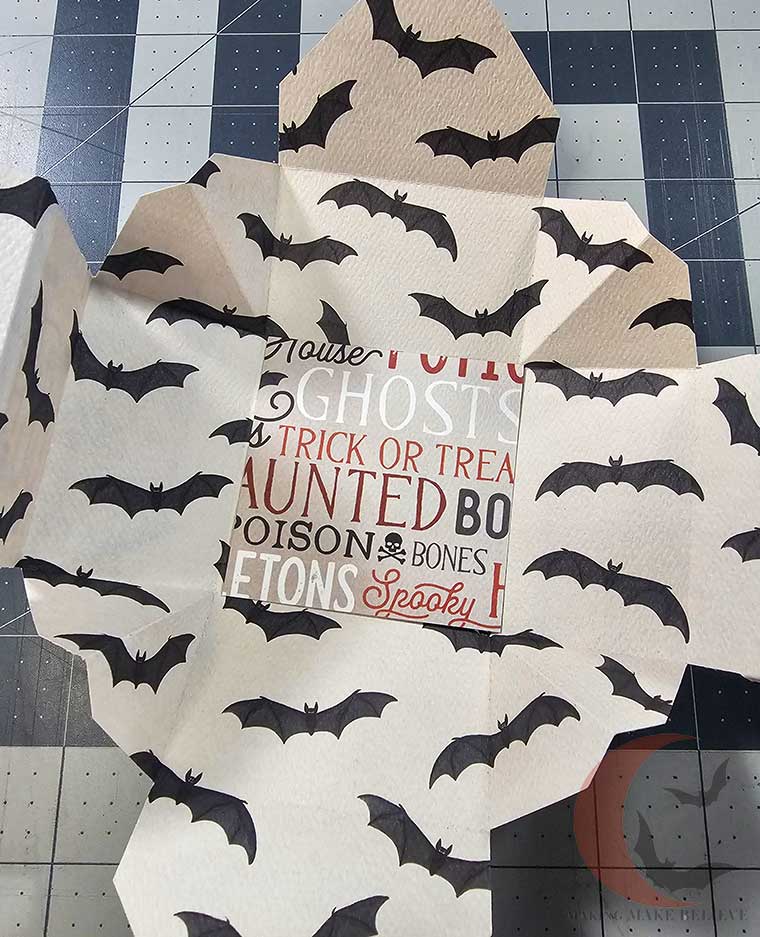
To assemble the lid, fold over the sides to secure the corners on both sides.
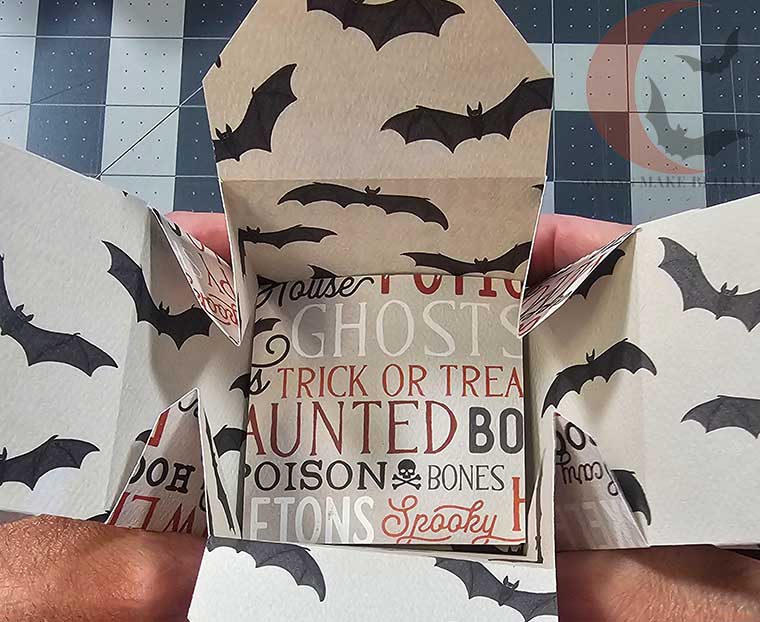
Hold the sides in place with a clip if needed.
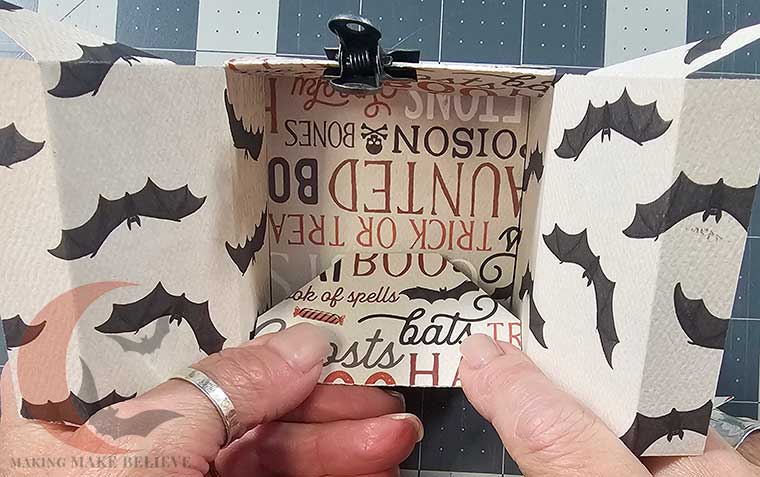
With the narrow flap and triangular tabs folded outward, tuck them toward the lid’s interior on both sides.
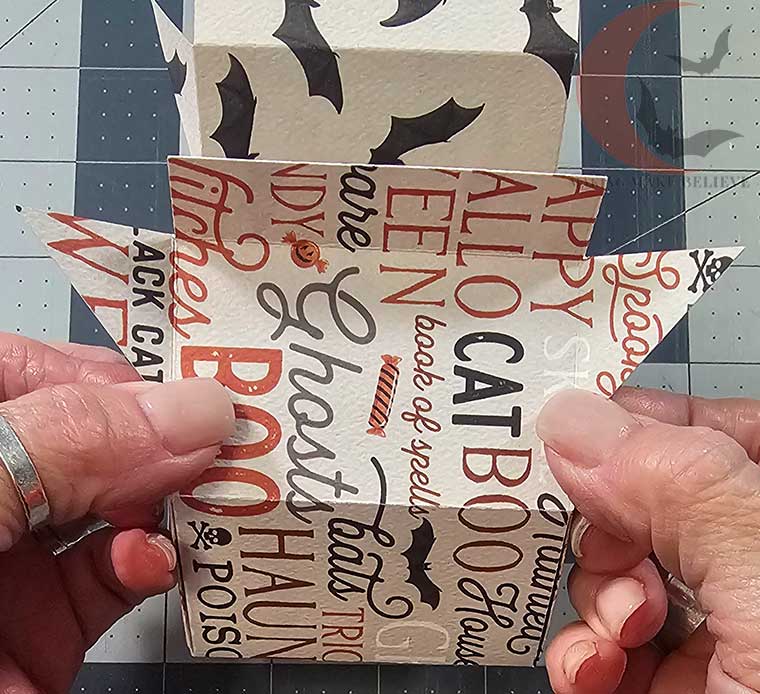
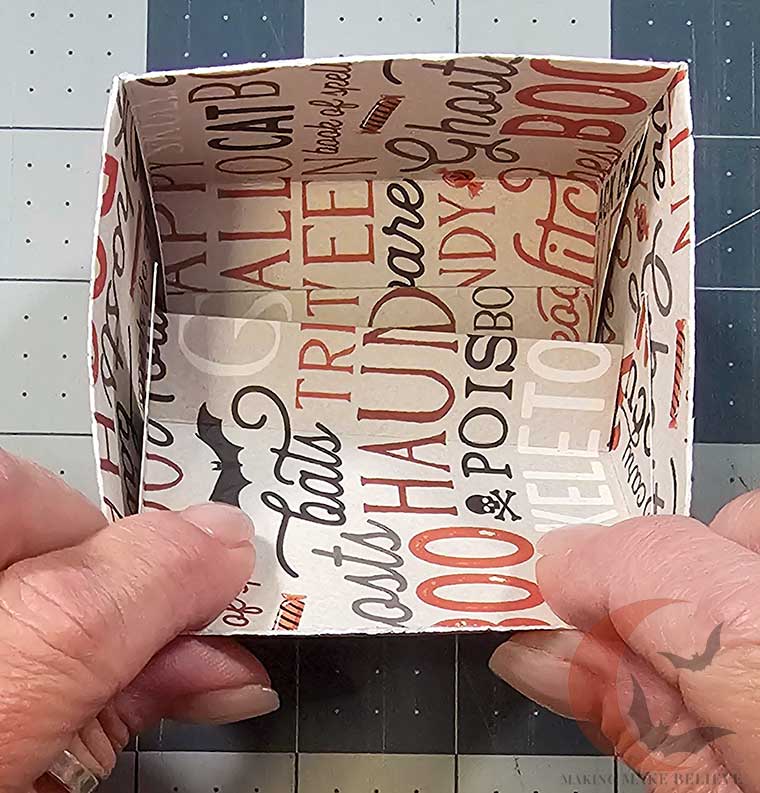
Your lid is complete!
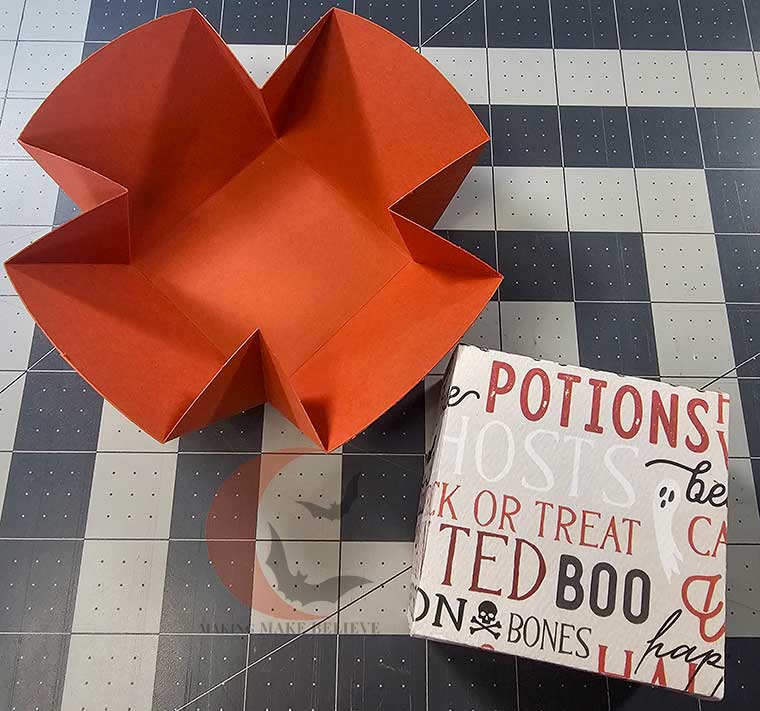
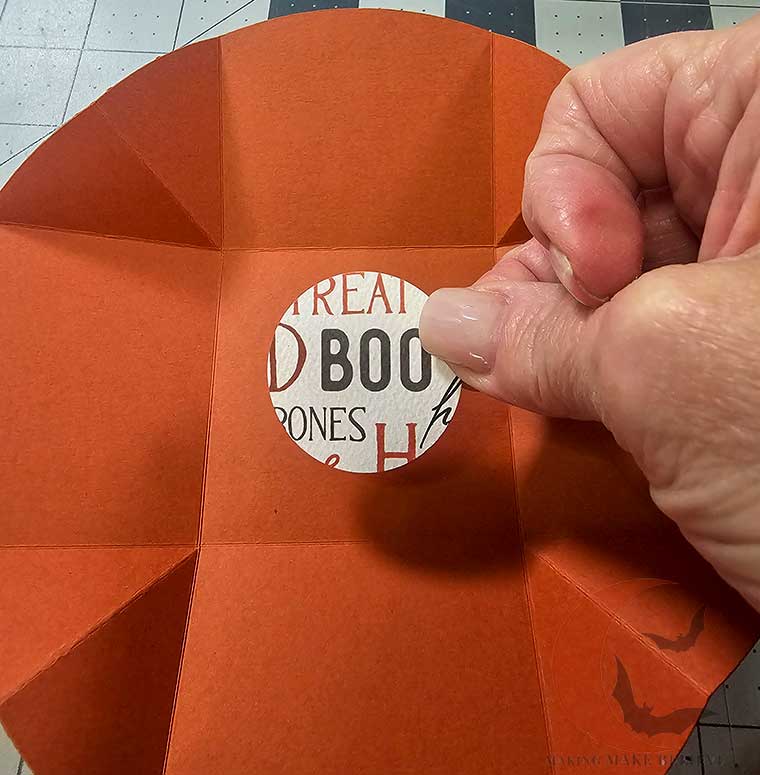
To complete the base, adhere the square, or another embellishment, to the center of the base’s interior.
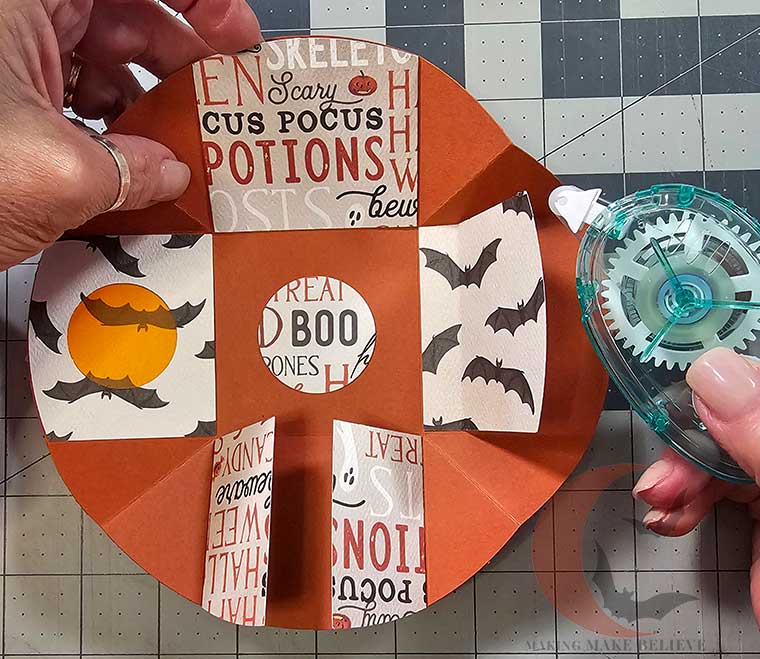
Glue windows, doors, and pockets to the sides of the base’s interior. Use any configuration you desire.
Now you’re ready to tuck in tiny tricks and sweet treats for your favorite boo or ghoul.
These DIY surprise treat boxes are sure to win you haunted hearts, so be careful where you cast your spell!
Until next time – stay spooky.

Templates, patterns and printables for every project on the blog.

Counting down to Halloween since the 1970s. I create, style and celebrate all things costume and Halloween, all year round.
Welcome to my world of Halloween Ever After, where I create, style, and celebrate all things costume and Halloween.
Within these haunted pages lie affiliate links to curious and captivating finds I love. If you make a purchase through them, I may earn a modest commission (think fun-size candy bar), which helps keep the Halloween magic alive. No extra cost to you – cross my batty heart.



Check your email for the Haunted Library password.
Don’t miss a moment of the mischief.
Add hello@halloweeneverafter.com to your address book.
The magic happens right here in my studio and office. When you step inside my creative space, you’ll find an ever expanding gallery wall overflowing with original spooky art and classic Halloween LPs, right alongside a haunted cabinet packed to the brim with vintage curiosities.
It’s under the watchful eyes of these retro treasures that I design and craft.
Join us and get access to our Haunted Library stocked with templates, printables, cut files, and exclusive content. Plus, you’ll receive Eerie Emails just for our subscribers.
*Stay as long as you like. Unsubscribe at any time.


