Free templates & patterns
130+ freebies are waiting in the Haunted Library
Templates, patterns and printables for every project on the blog.
Formerly Making Make Believe · Join the Haunted Library

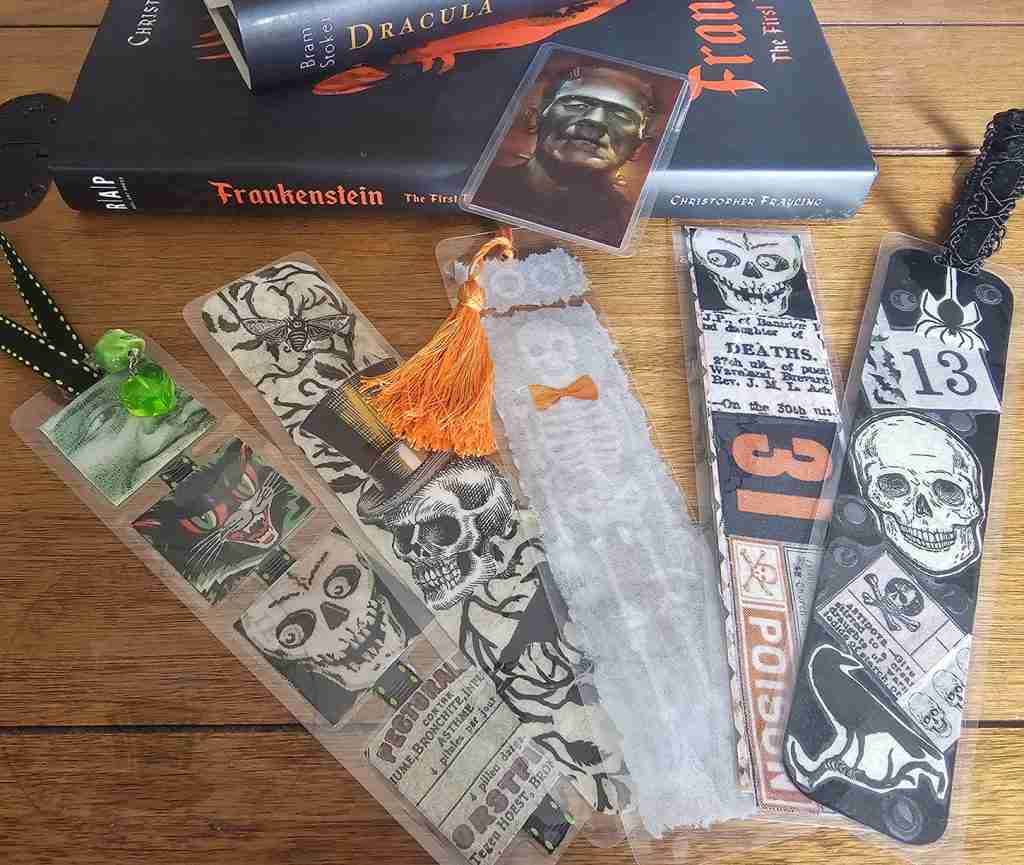
DIY Halloween Bookmarks
As an Amazon Associate I earn from qualifying purchases.
This post may contain affiliate links for your convenience. Click here to read our disclosure policy.
Ah, the sights of the spooky season are all around us.
It’s mid-August, and stores are hauling out Halloween decorations in droves.
Large decor pieces, wreaths, tabletop centerpieces, blankets, pillows, dishes, and dog toys are just a few of the frightful fun stuff you can find.
With bats, cats, skellies, ghosts, pumpkins, and monsters galore, the stores are a treasure trove of spooky delights. You’re sure to find that special something to haunt your house.
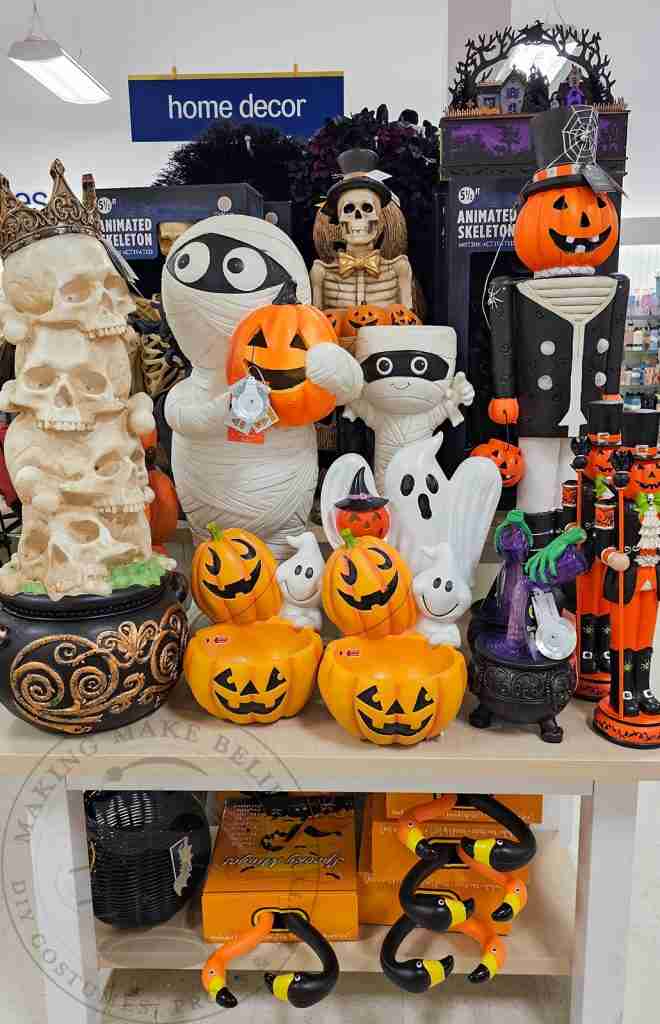
And, when you bring that new ghoulish goodie home, you will likely ditch the packaging, rip off the tags, and put it on display.
Wait! Before you ditch the packaging and rip off the tags, take a closer look. You might be missing some extra ghoulie goodness.
Sometimes, those ribbons, tags, and backer pieces are dressed for Halloween.
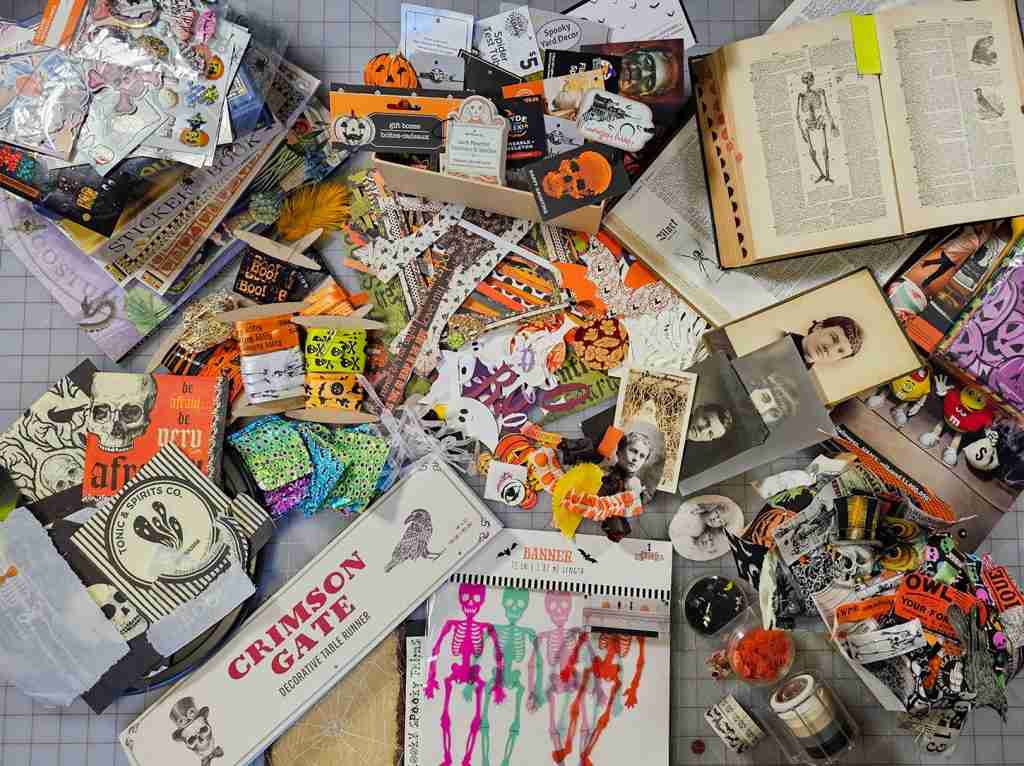
I’ve been collecting these scary scraps with plans to use them in a future project.
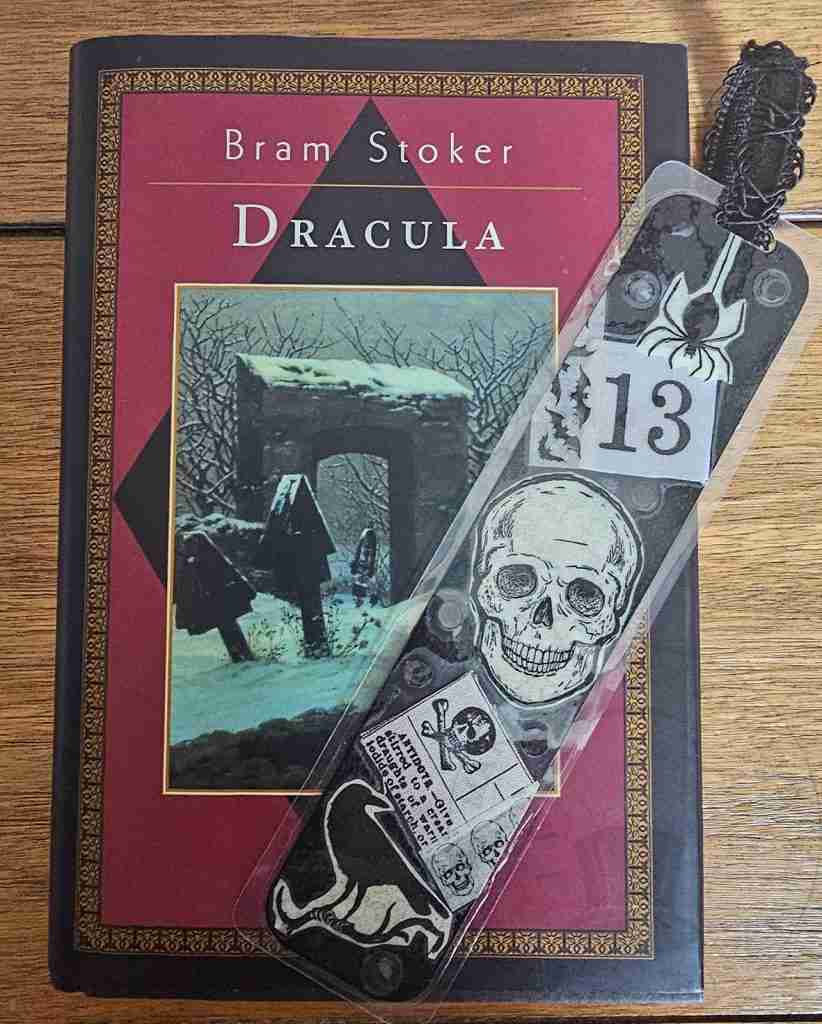
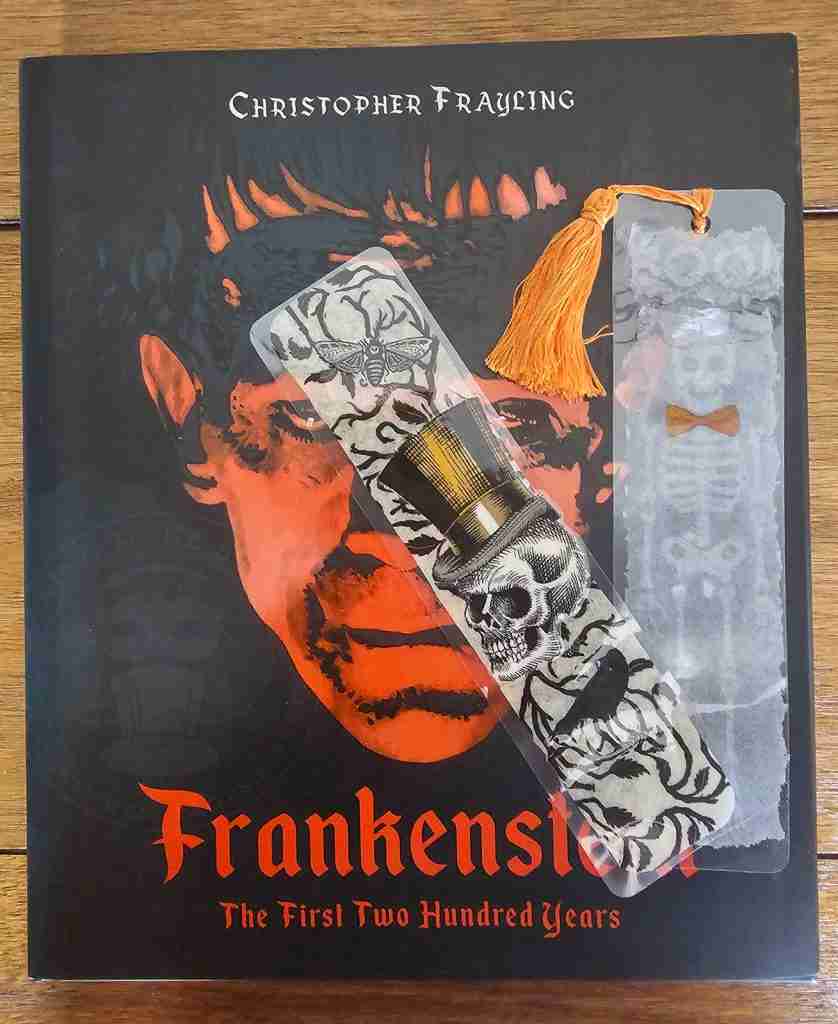
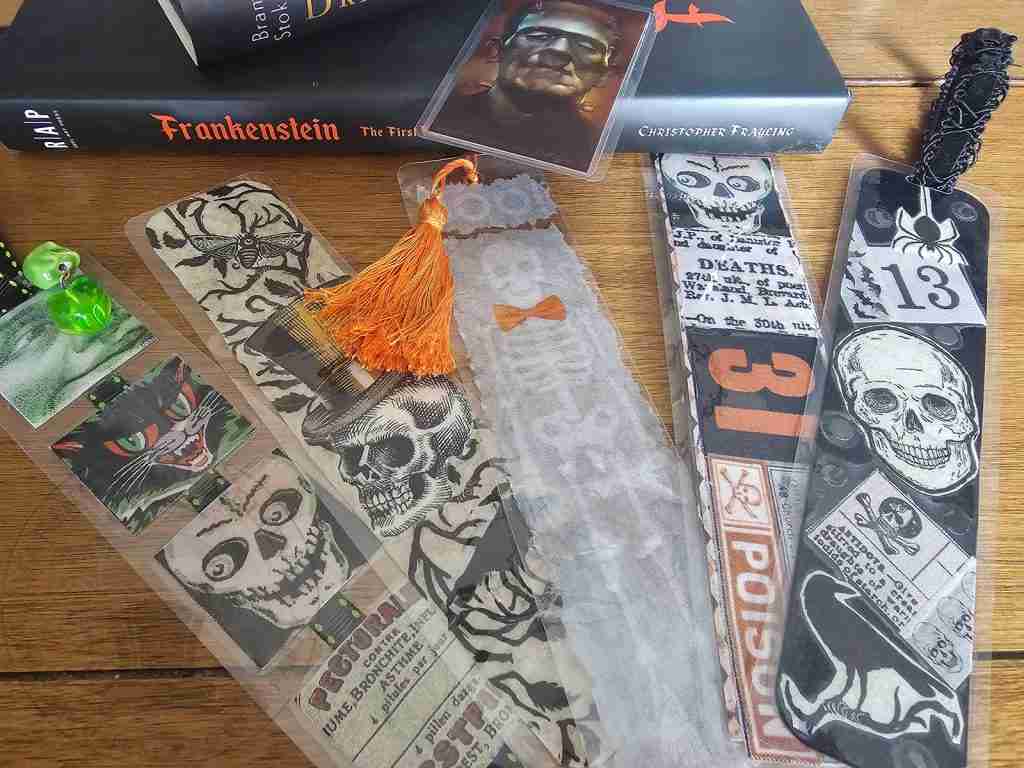
Today is the future, so I’m gathering all my bits and pieces to make quick and easy BOOkmarks.
These are the perfect addition to your haunted library or as a gift for the Halloween book lover on your list.
So, let’s get started.
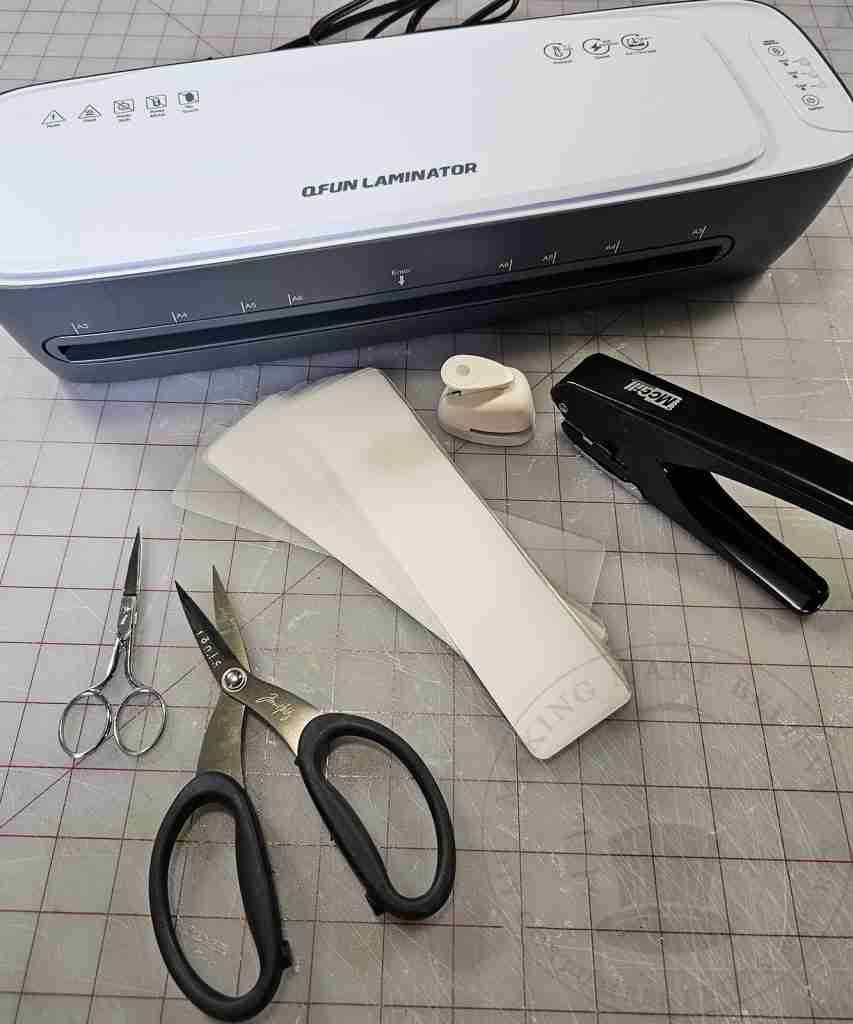
For this project, we will need:
Assorted scraps (see below)
Scissors
Glue stick
Laminating pouches – I’m using 2-inch by 8-inch bookmark laminating sleeves
Laminating machine or iron or Easy Press
Hole punch (optional)
Ribbon, cording, yarn, etc. (optional)
In addition to product packaging and tags, my scrap collection includes:
Before we heat things up, we need to prepare our scraps.
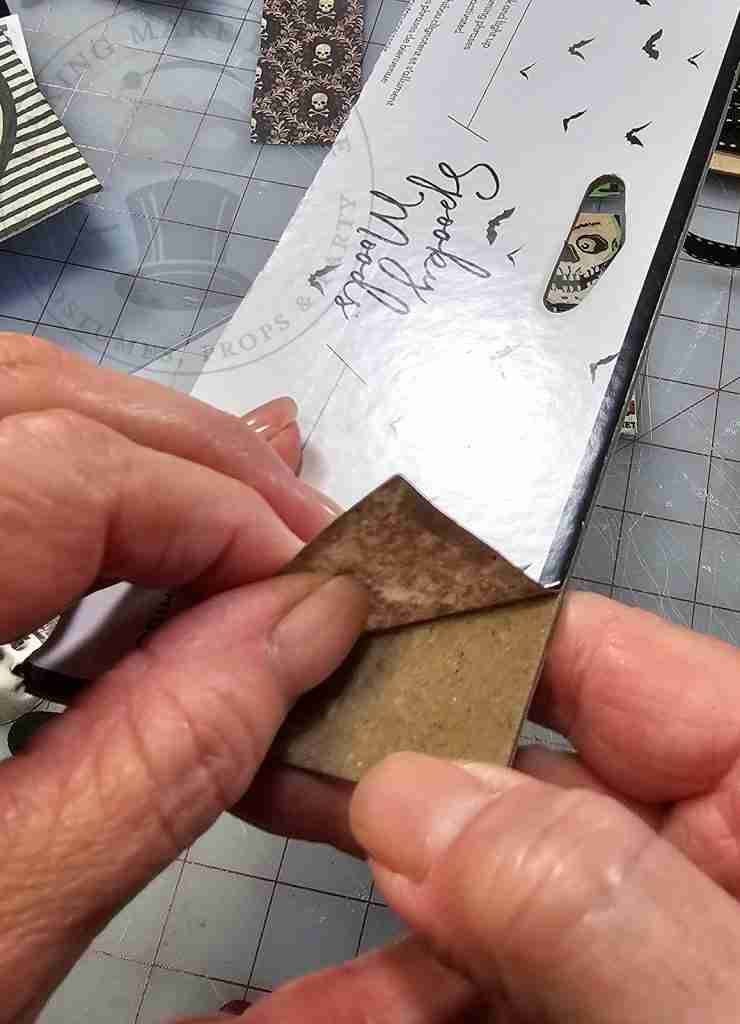
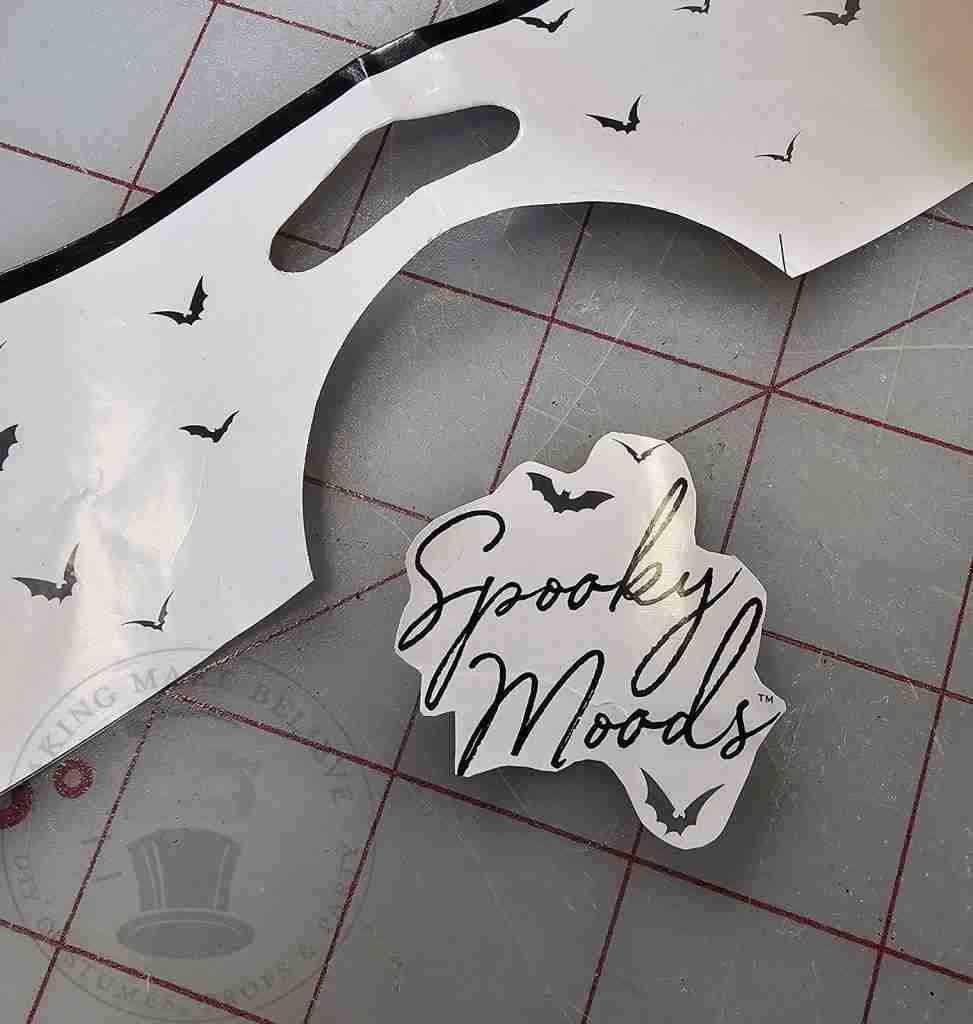
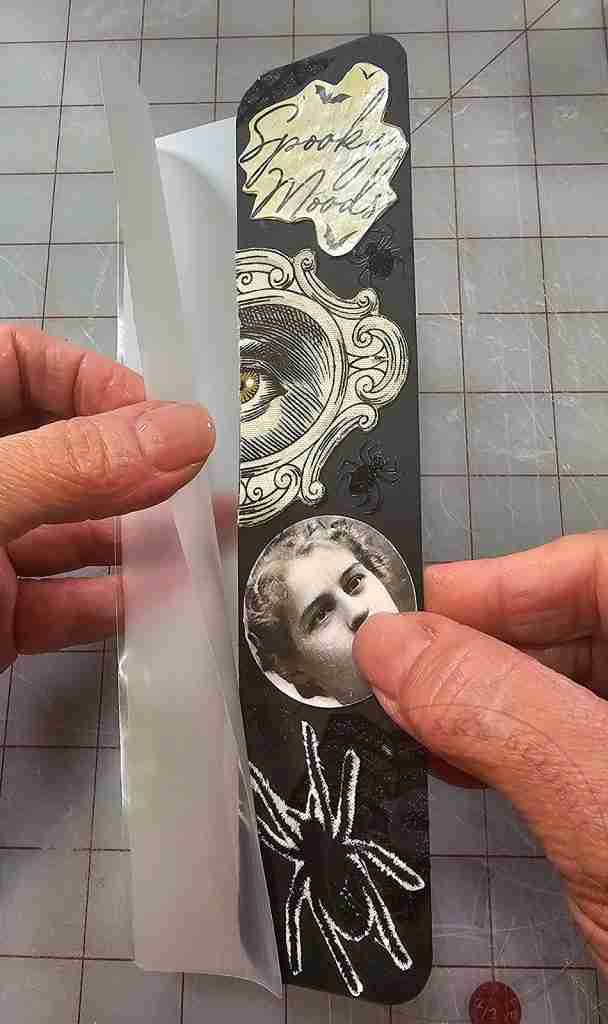
I’m using this Spooky Moods text from some packaging. The cardboard is too thick to laminate, so I first carefully removed the top layer.
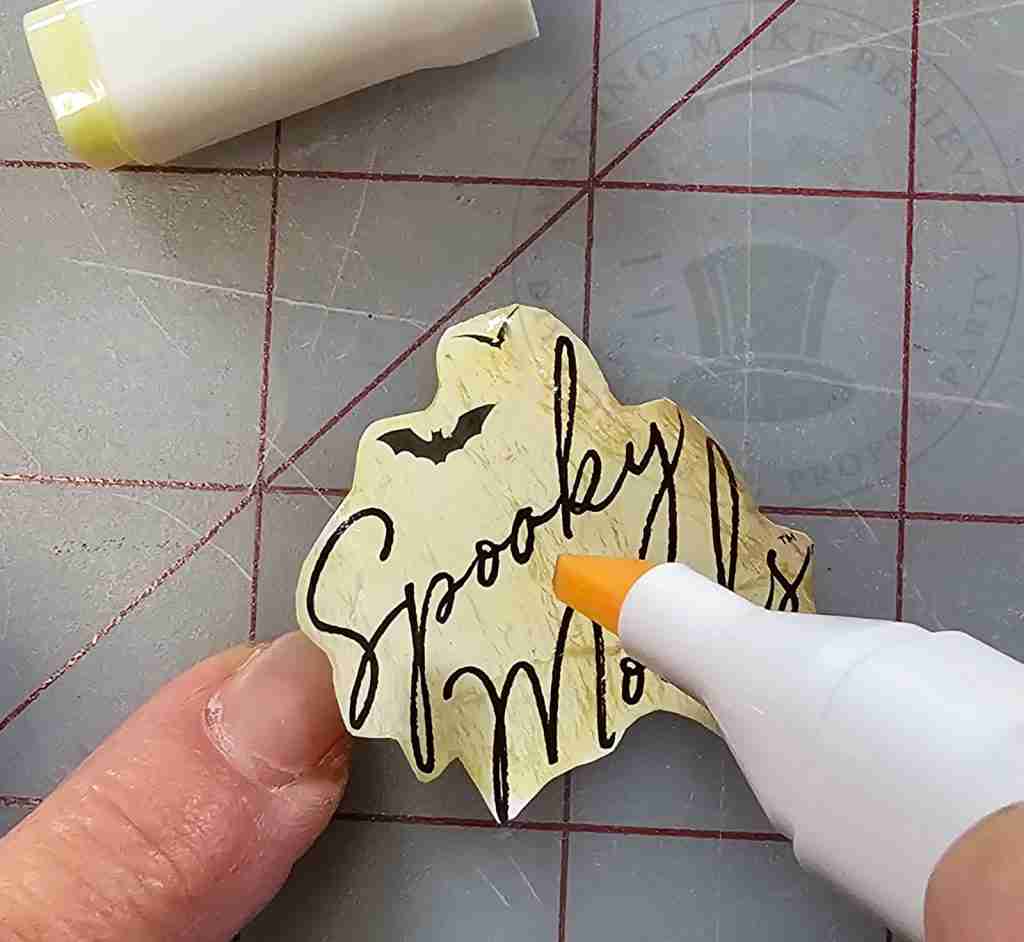
Next, I fussy-cut around the text, and then, to tone down the white, I distressed it with alcohol ink.
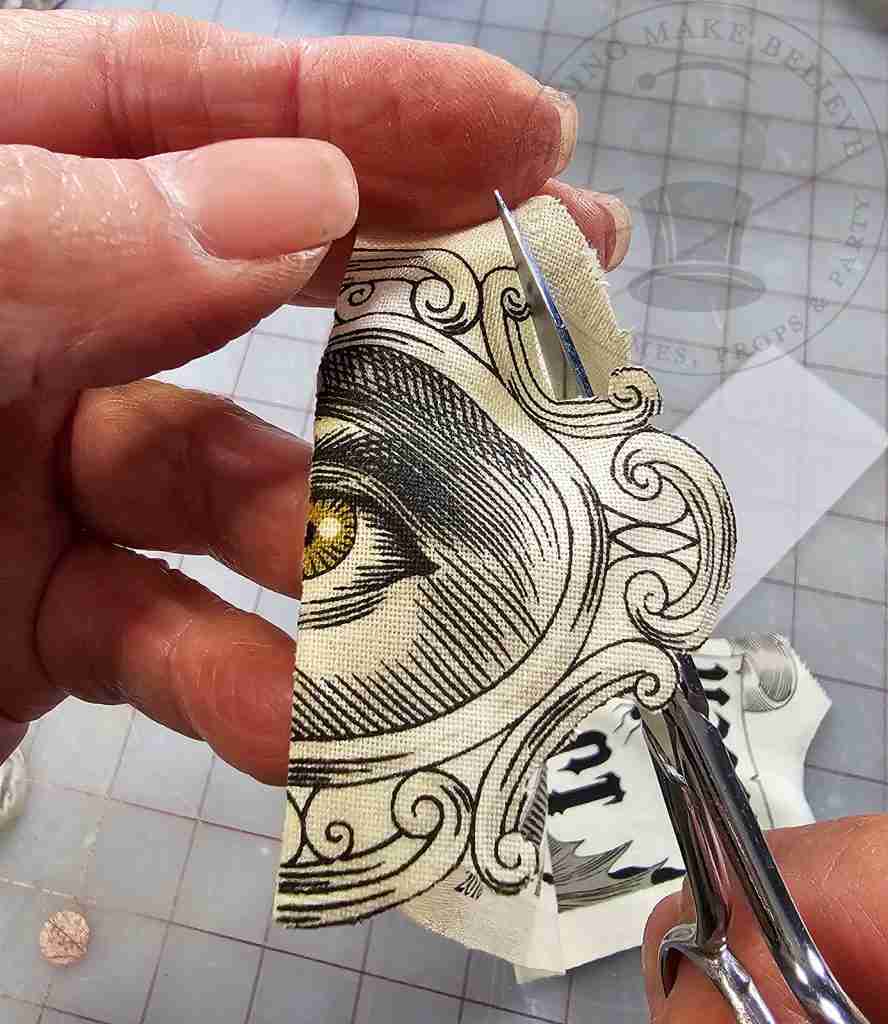
Fabric scraps leftover from previous projects are added to the design. I simply cut out the pieces I want.
So far, we have packaging artwork, fabric scraps, and a vintage photograph for the design.
I cut black cardstock in the shape of my bookmark slightly smaller than the laminating sleeve.
I like to lightly tack the design down with a glue stick to hold it in place.
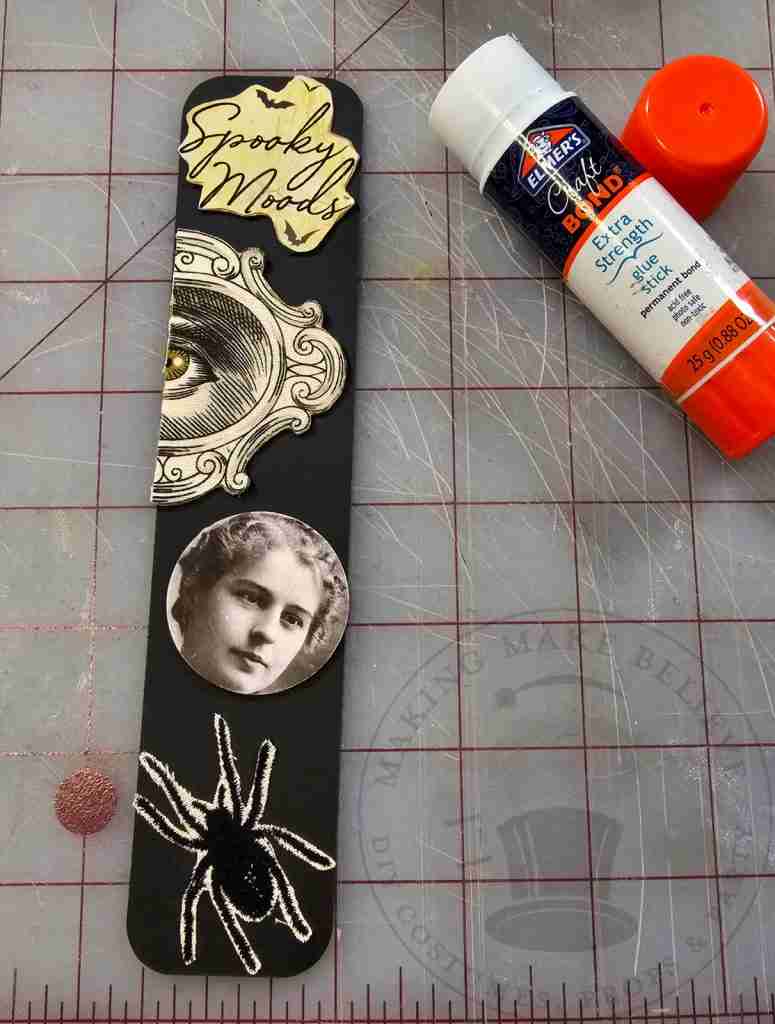
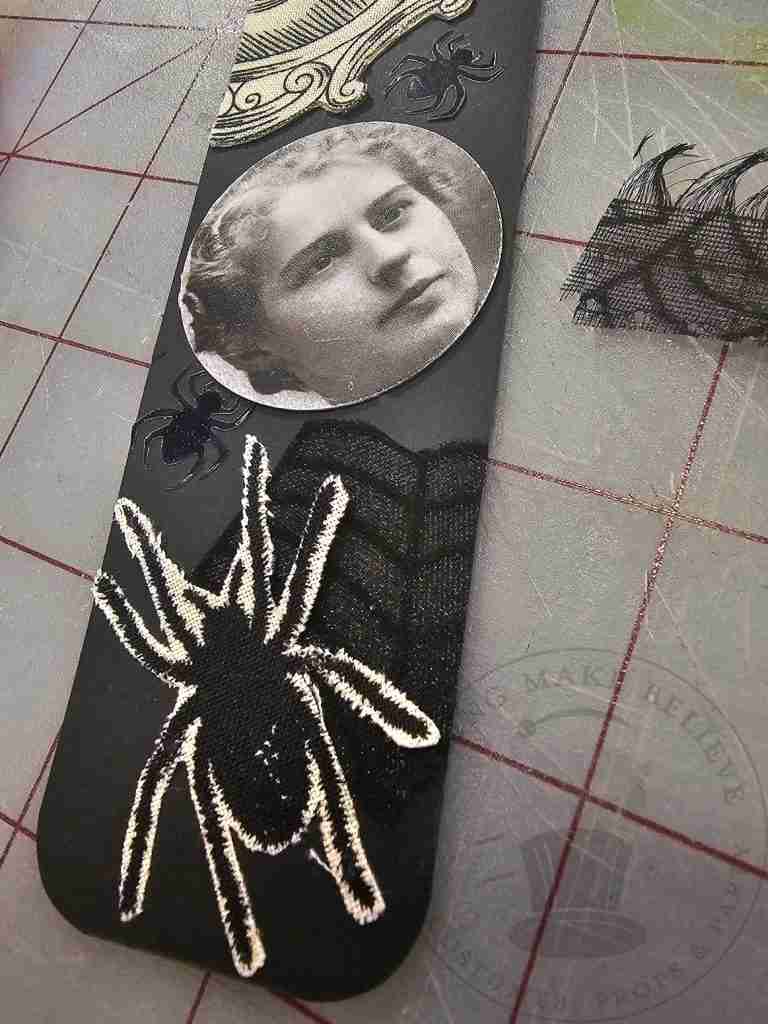
To finish this side, I dropped in some black metallic spider stickers and lace webbing.
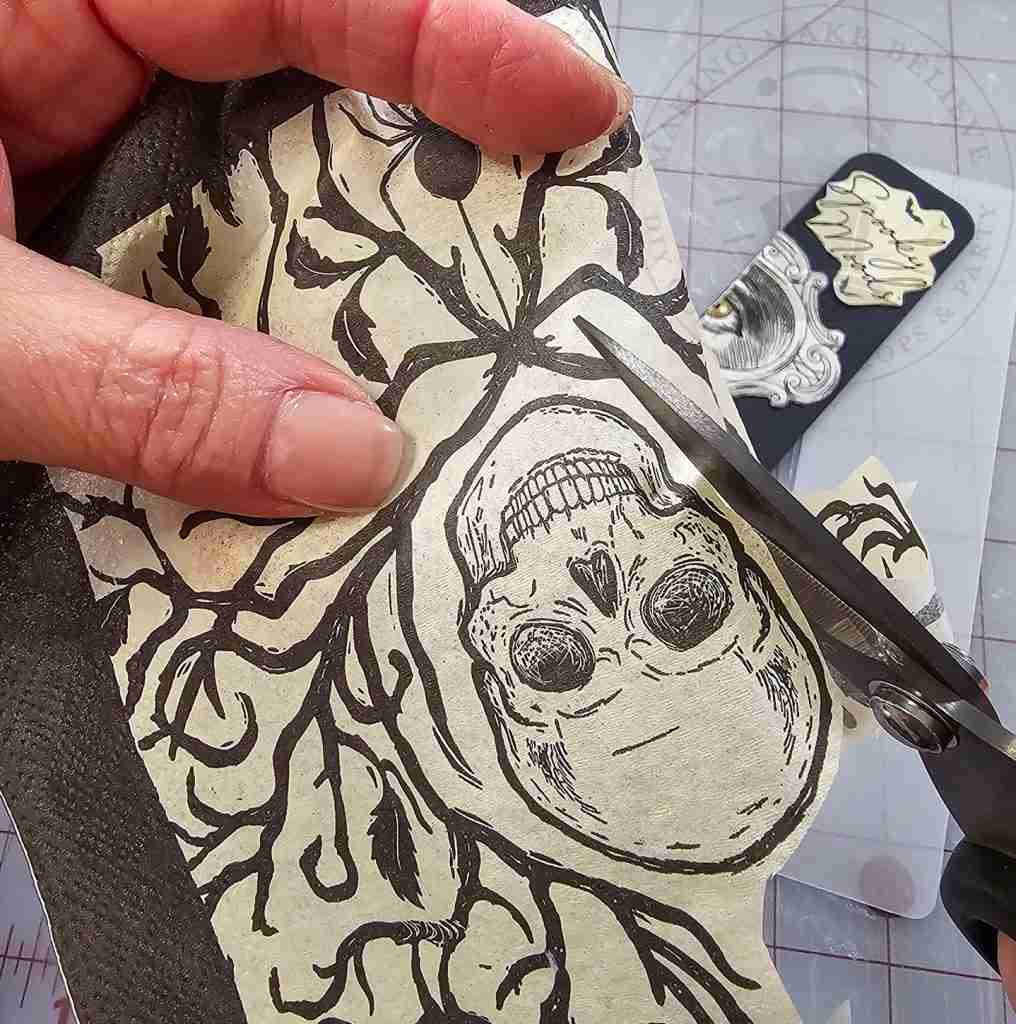
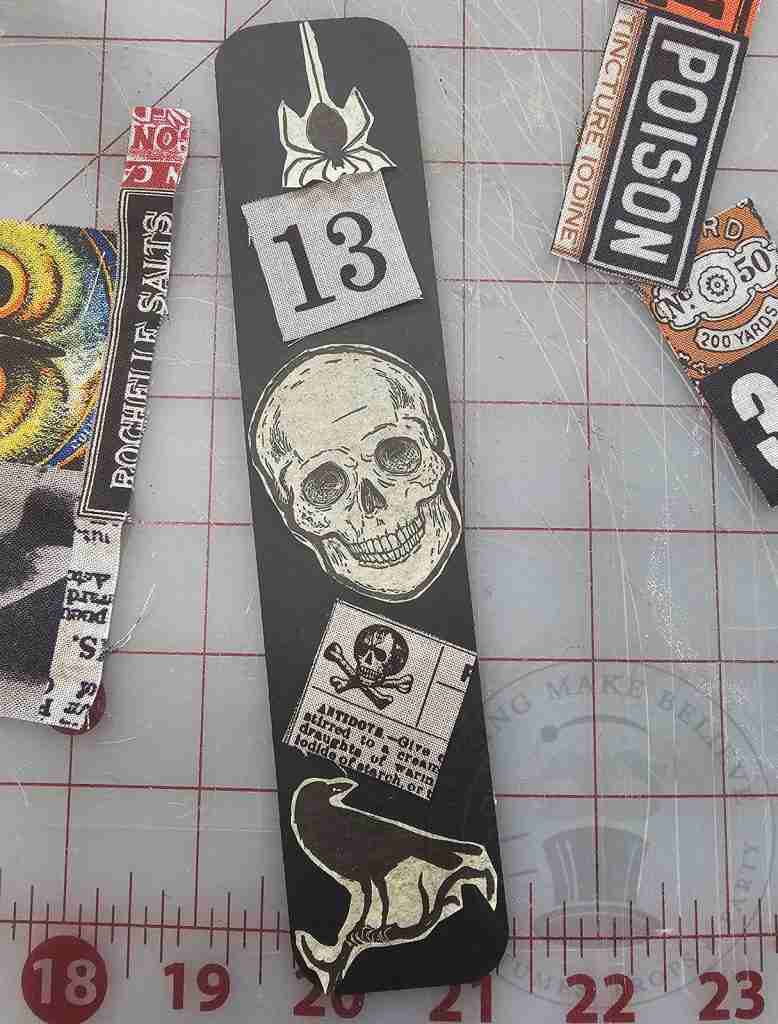
For the other side, I fussy-cut some Halloween napkins and added more fabric scraps, washi tape, and paper confetti.
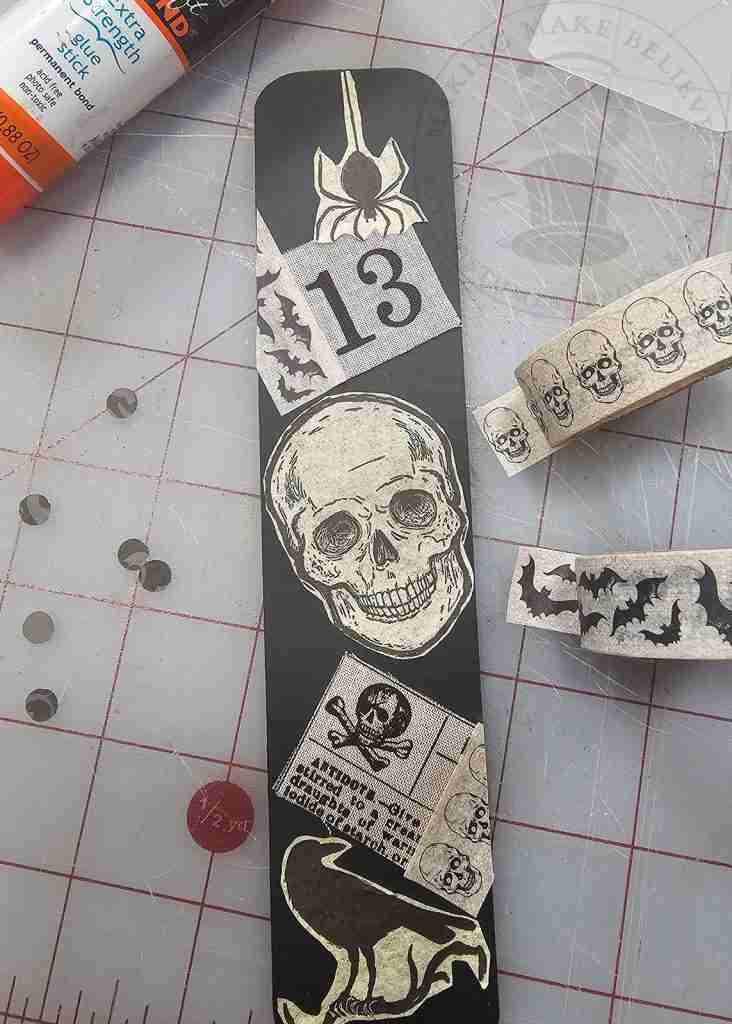
Following the instructions of your laminator, heat up the machine.
When it is ready, insert the Halloween bookmark.
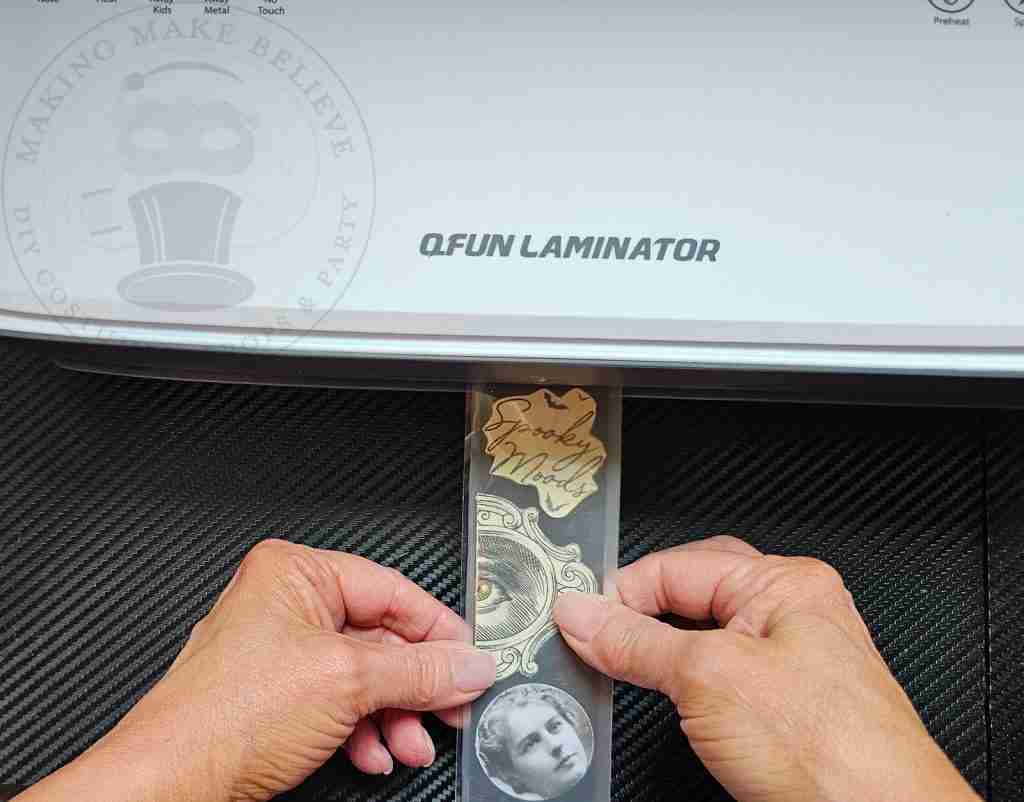
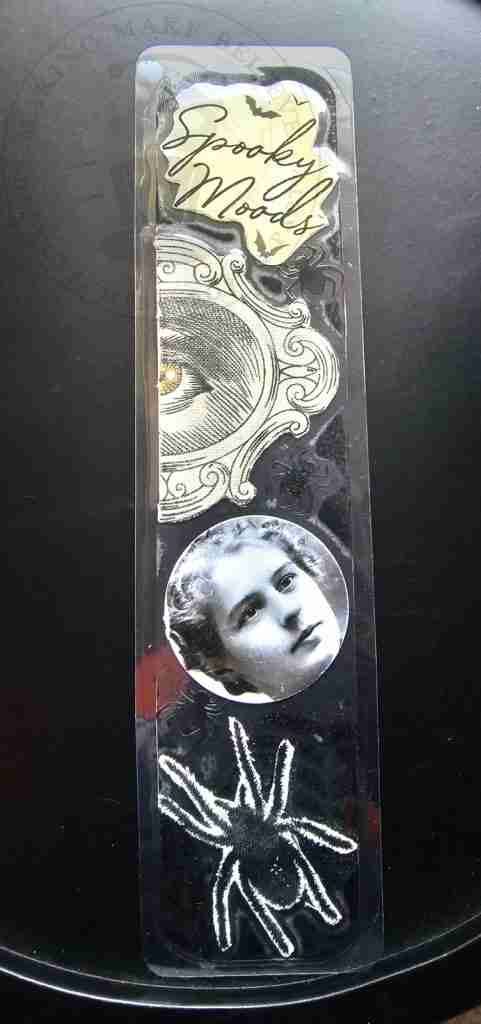
To add a ribbon, use a punch to make a hole at the center top and thread the ribbon onto the bookmark.
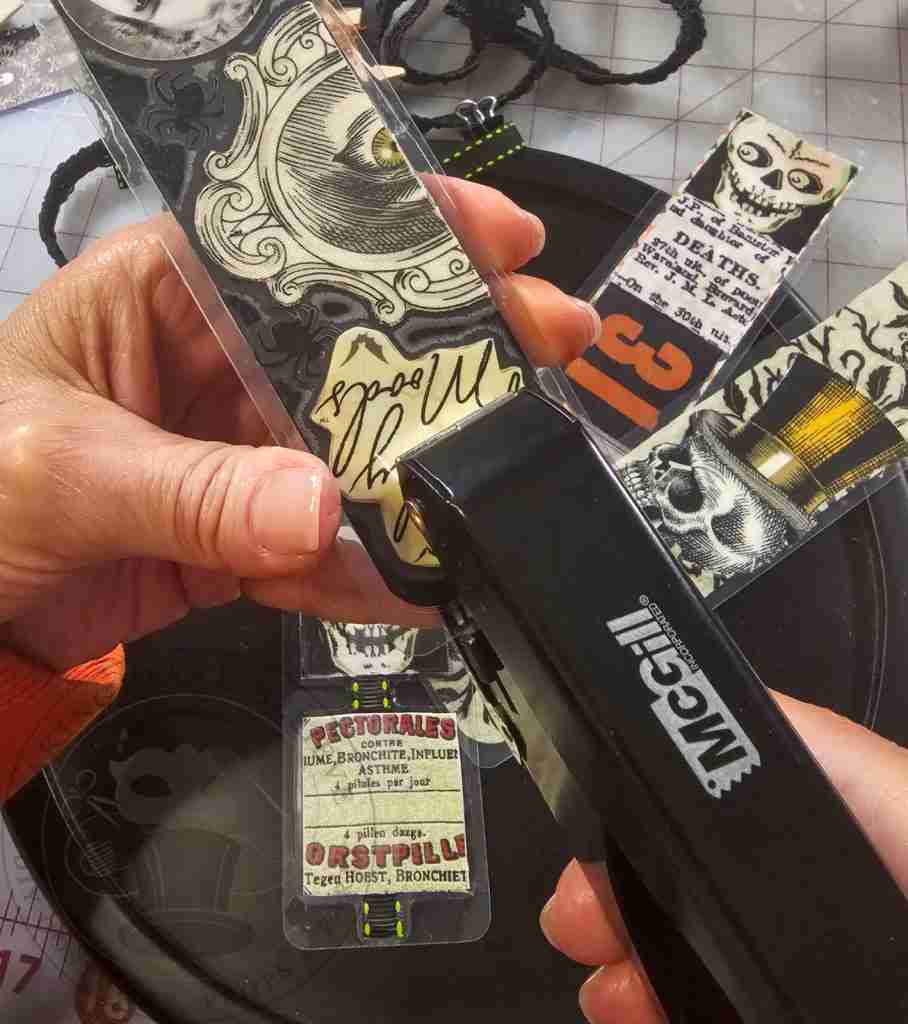
To laminate your Halloween bookmark without a machine, grab your iron or Cricut Easy Press and some parchment paper.
Set the temperature to 285° for 5 mil or 275° for 3 mil laminating sheets.
I’m using a pressing pad, but you can also use an ironing board.
Place a piece of parchment paper down on your pressing pad.
Place your Halloween bookmark on top and cover it with a second piece of parchment paper.
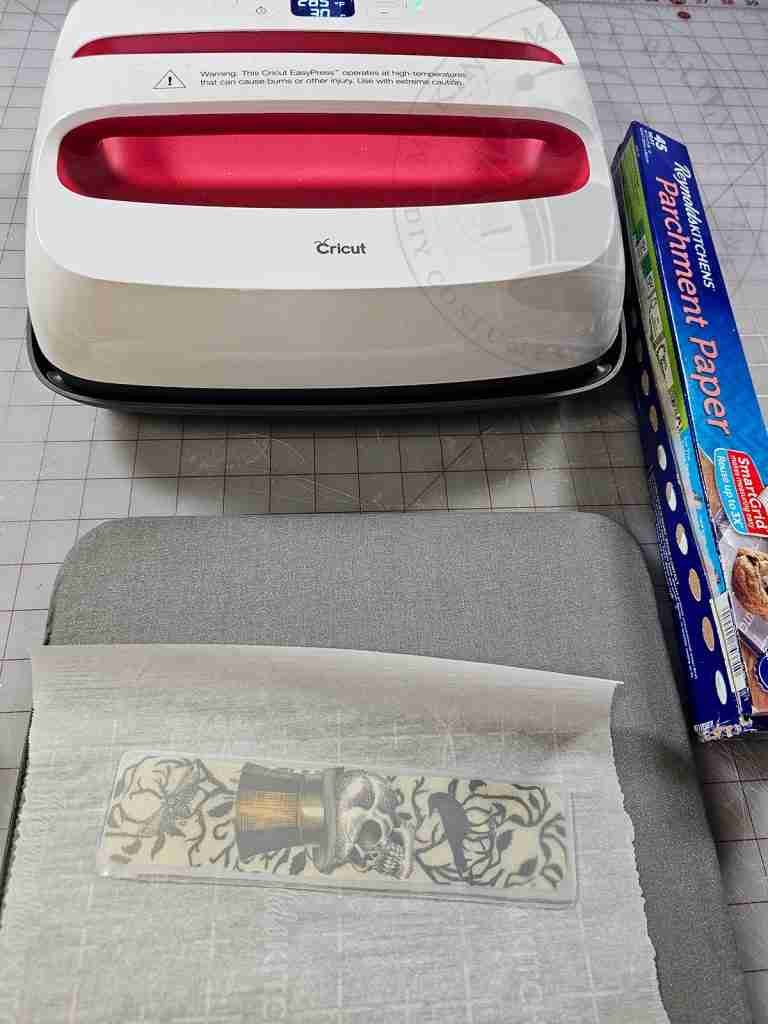
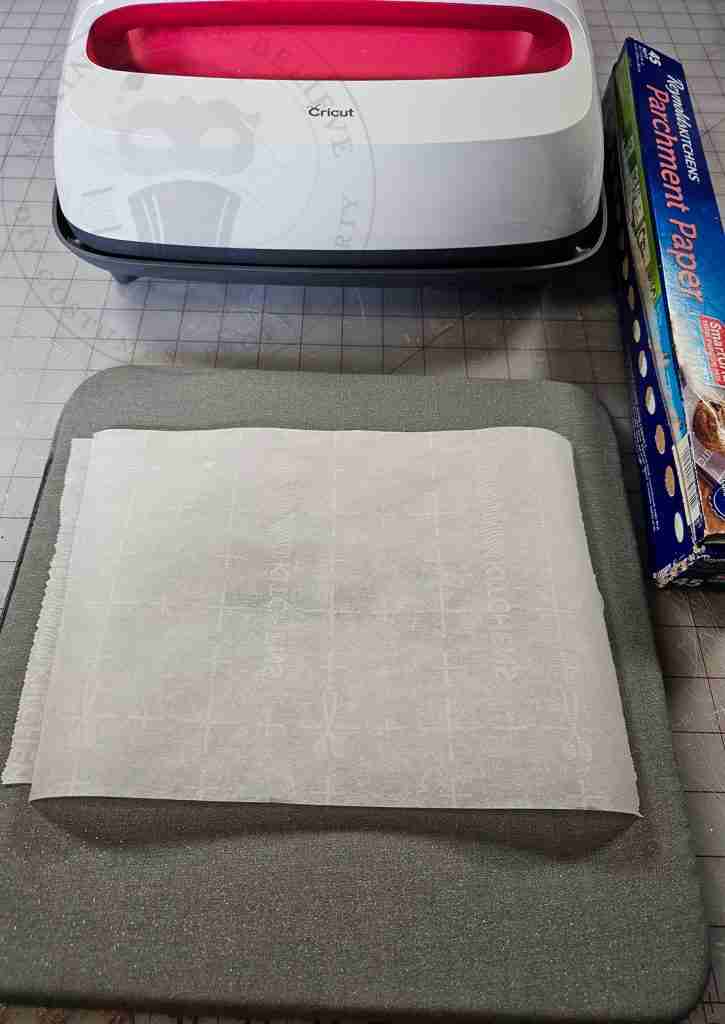
Press firmly, but don’t slide the Easy Press or iron.
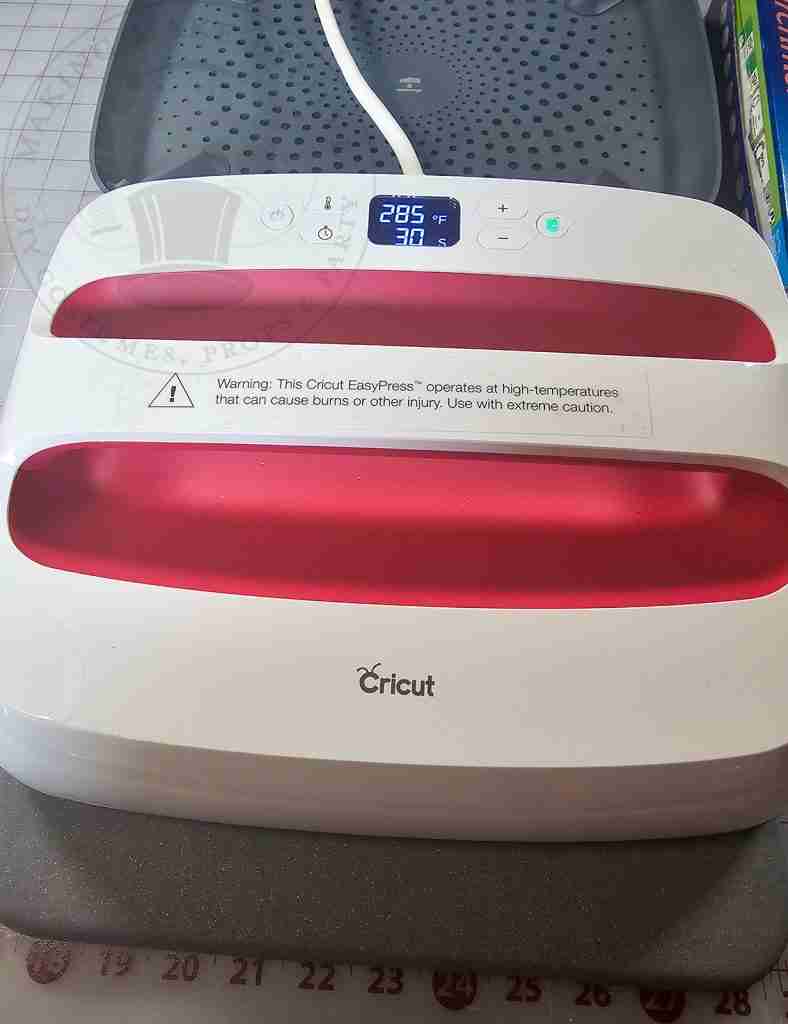
Check to ensure the lamination is complete and finish as desired.
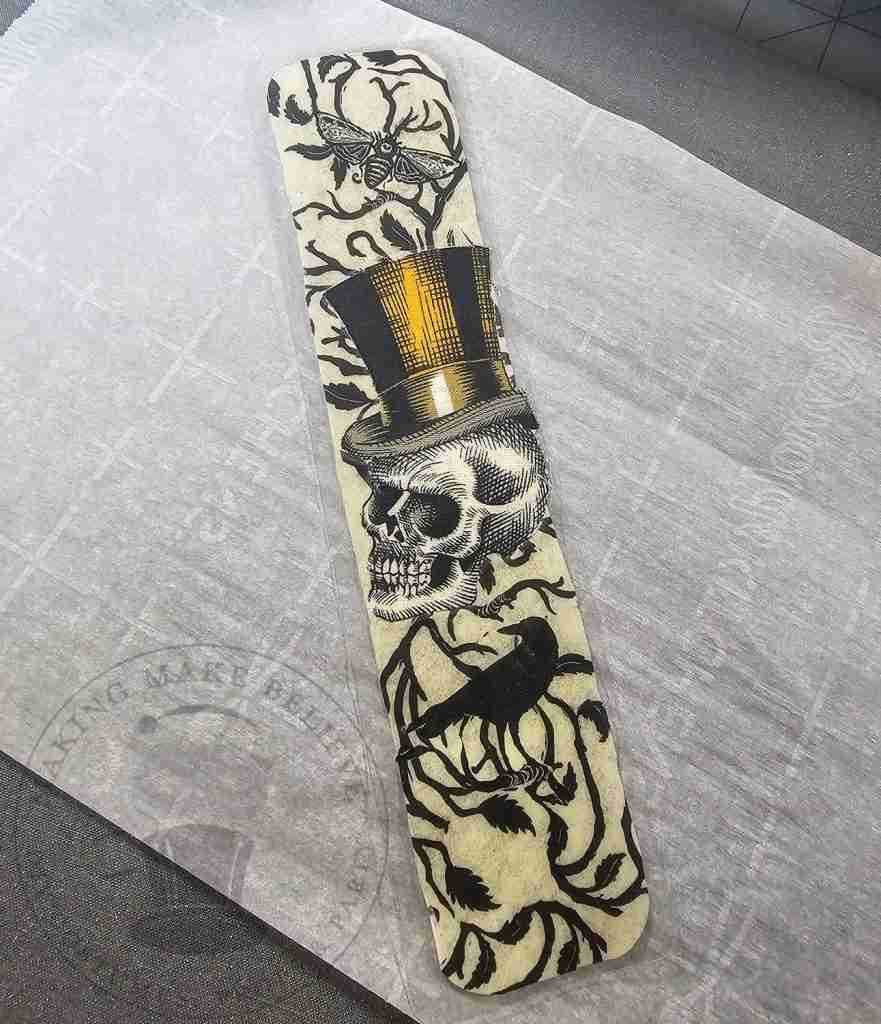
I made quite a few from my scrap pile and can’t wait to use them in my Halloween and costume books collection.
These are also perfect to tuck into a book for your favorite Halloween fanatic.
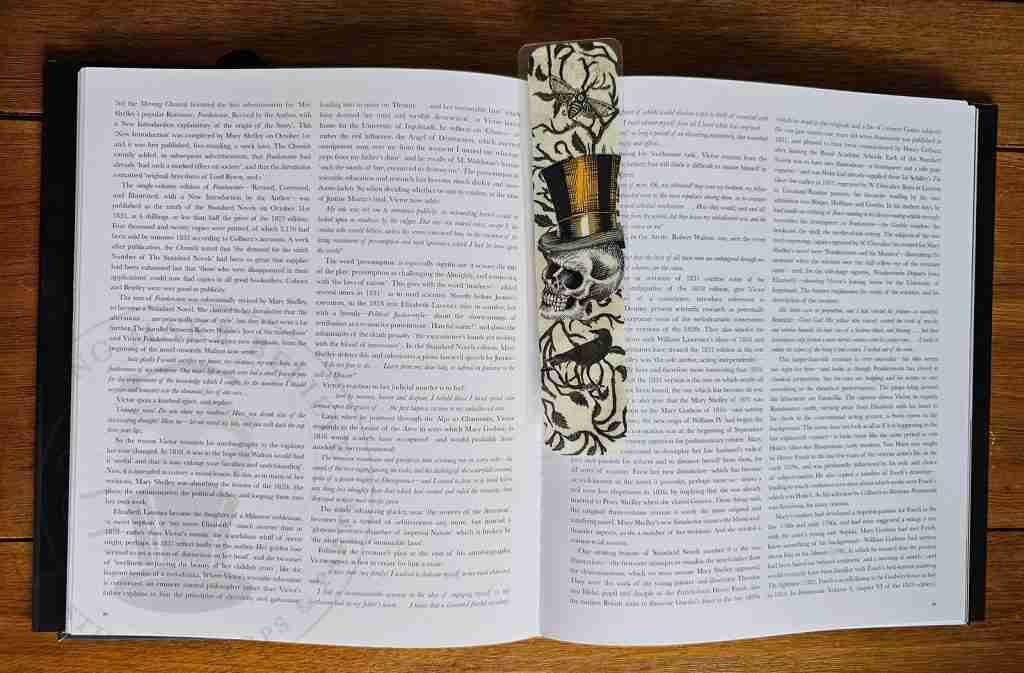
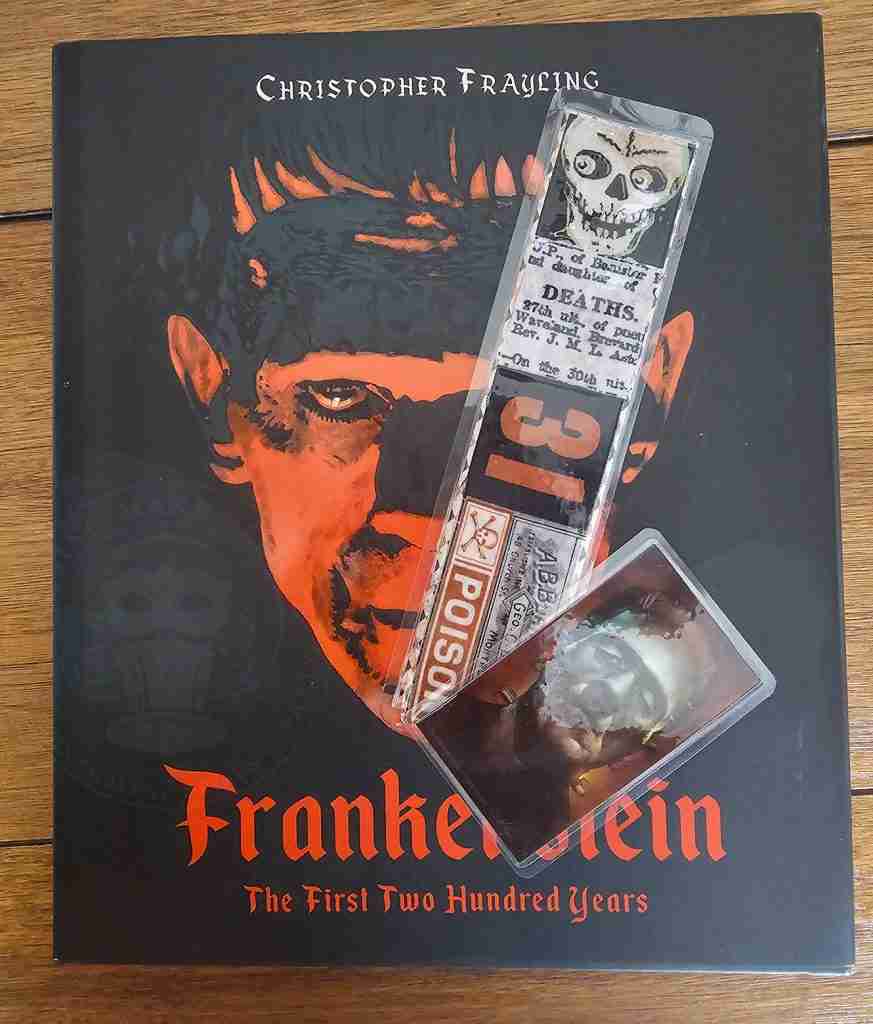
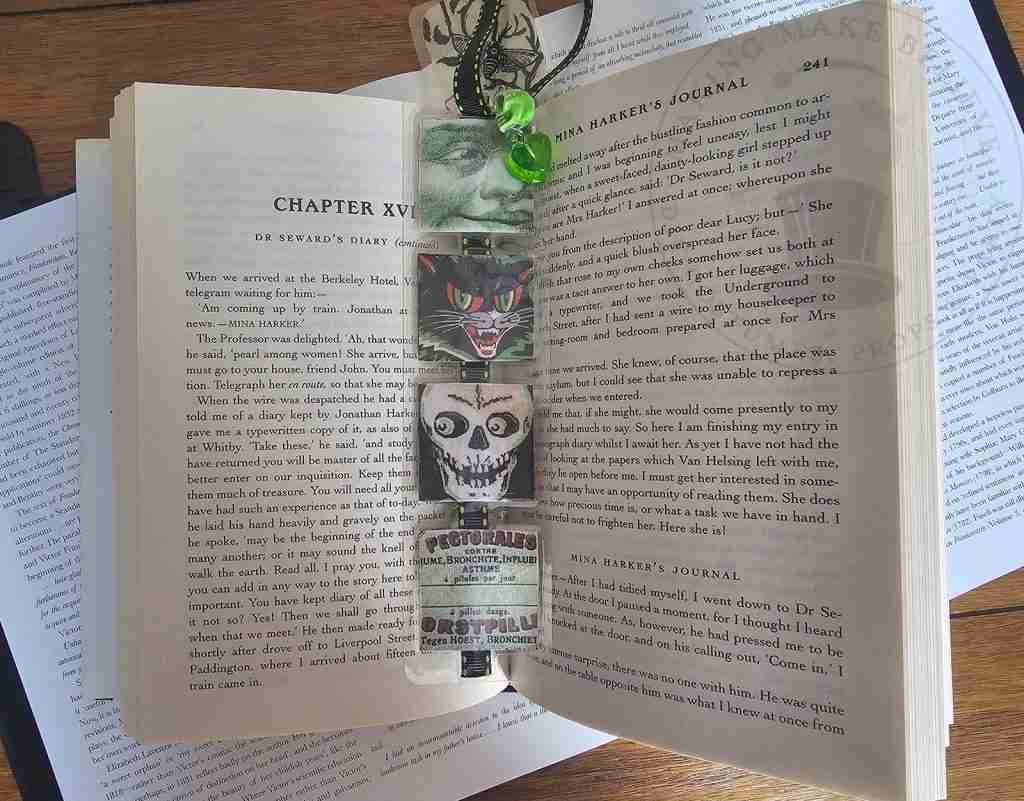
Until next time – stay spooky.

Templates, patterns and printables for every project on the blog.

Counting down to Halloween since the 1970s. I create, style and celebrate all things costume and Halloween, all year round.
Welcome to my world of Halloween Ever After, where I create, style, and celebrate all things costume and Halloween.
Within these haunted pages lie affiliate links to curious and captivating finds I love. If you make a purchase through them, I may earn a modest commission (think fun-size candy bar), which helps keep the Halloween magic alive. No extra cost to you – cross my batty heart.



Check your email for the Haunted Library password.
Don’t miss a moment of the mischief.
Add hello@halloweeneverafter.com to your address book.
The magic happens right here in my studio and office. When you step inside my creative space, you’ll find an ever expanding gallery wall overflowing with original spooky art and classic Halloween LPs, right alongside a haunted cabinet packed to the brim with vintage curiosities.
It’s under the watchful eyes of these retro treasures that I design and craft.
Join us and get access to our Haunted Library stocked with templates, printables, cut files, and exclusive content. Plus, you’ll receive Eerie Emails just for our subscribers.
*Stay as long as you like. Unsubscribe at any time.


