Free templates & patterns
130+ freebies are waiting in the Haunted Library
Templates, patterns and printables for every project on the blog.
Formerly Making Make Believe · Join the Haunted Library

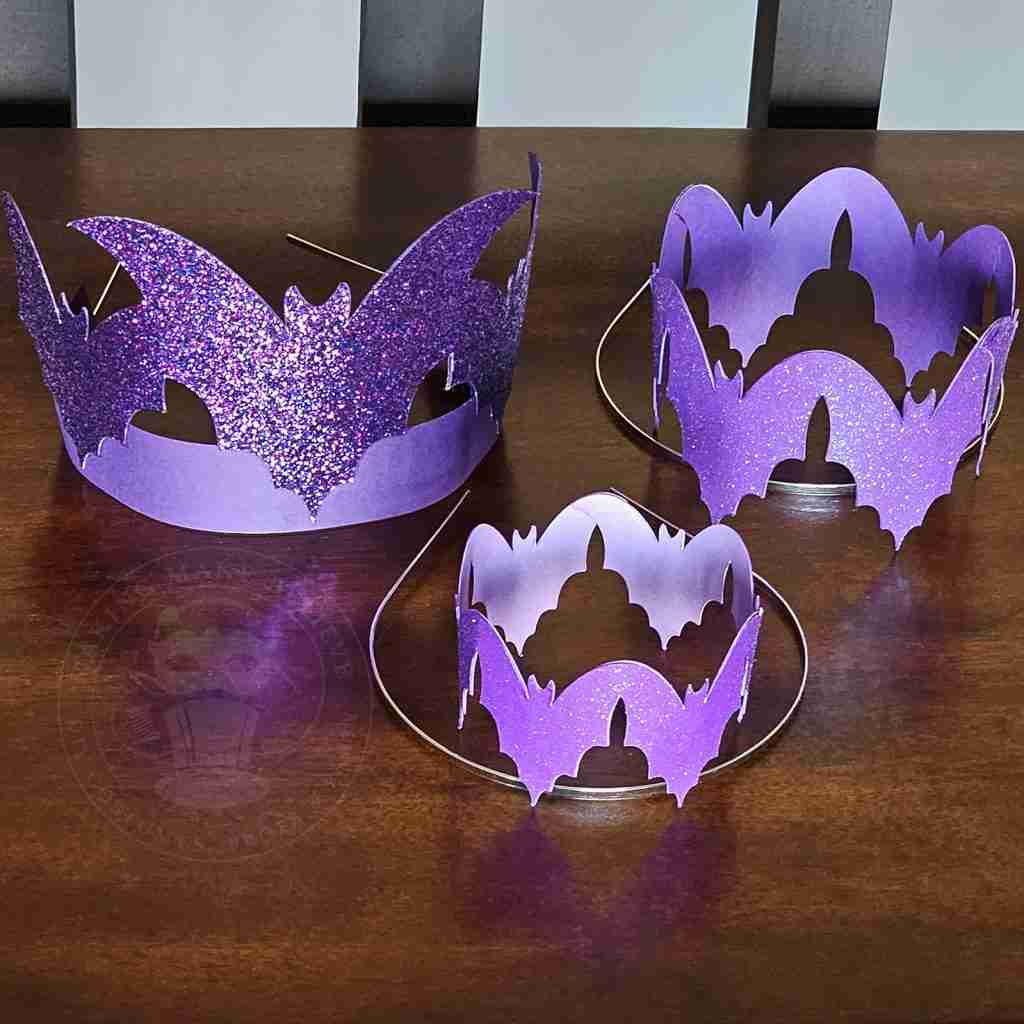
Last-Minute Bat Crowns
As an Amazon Associate I earn from qualifying purchases.
This post may contain affiliate links for your convenience. Click here to read our disclosure policy.
Of all the iconic images often associated with Halloween, the bat is among my favorites.
While others may run screaming when encountering a flying fox, I’ve always found them mysterious yet cute.
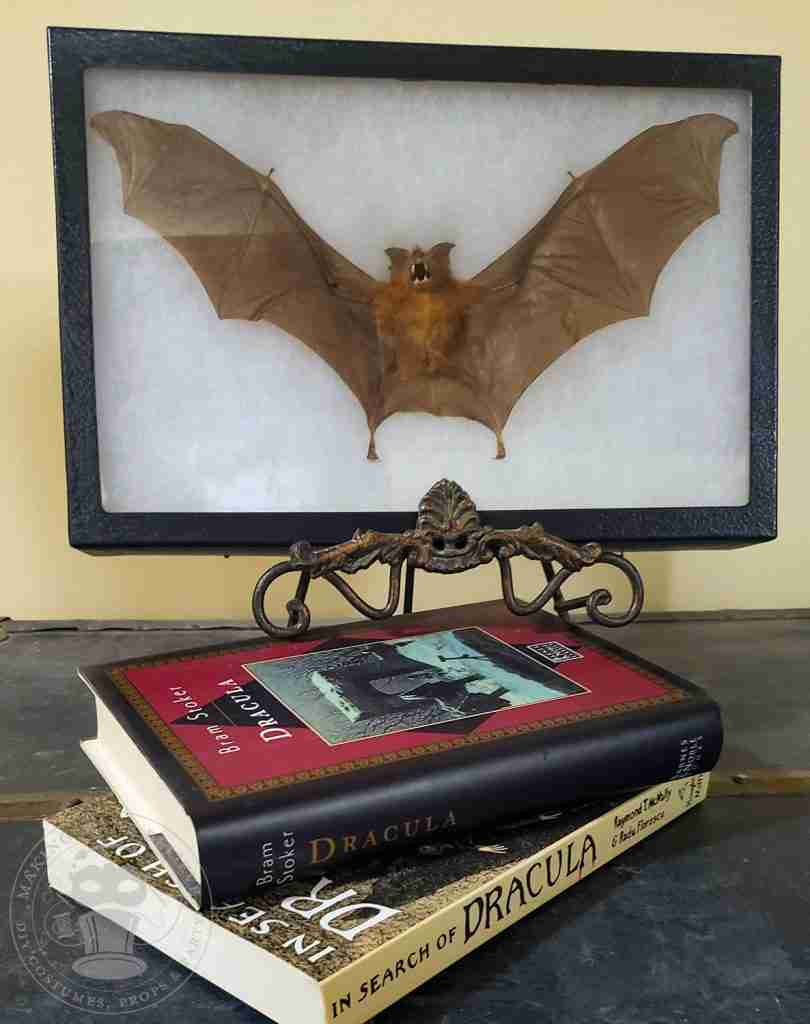
I have my own pet bat, which I acquired while attending the Transworld Haunt Show many years ago.
S/he originally belonged to an artist exhibitor who needed to rehome her, so after confirming that she was ethically sourced, I scooped her up.
She now resides nestled among our Halloween collectibles.
(Read more about ethical sourcing.)
A few years ago, we came home in the middle of the day to find this little visitor taking a break by our front door.
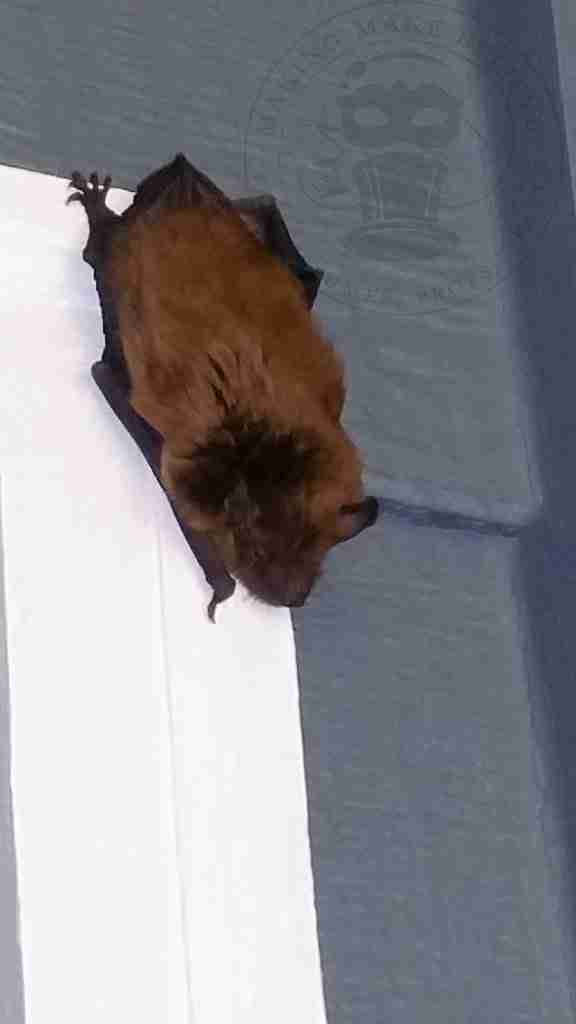
We snapped a quick pic and then tiptoed to the backdoor to avoid disturbing him while he waited for sunset.
So, if you haven’t guessed what this week’s project entails, I’ll give you a hint – it’s bats.
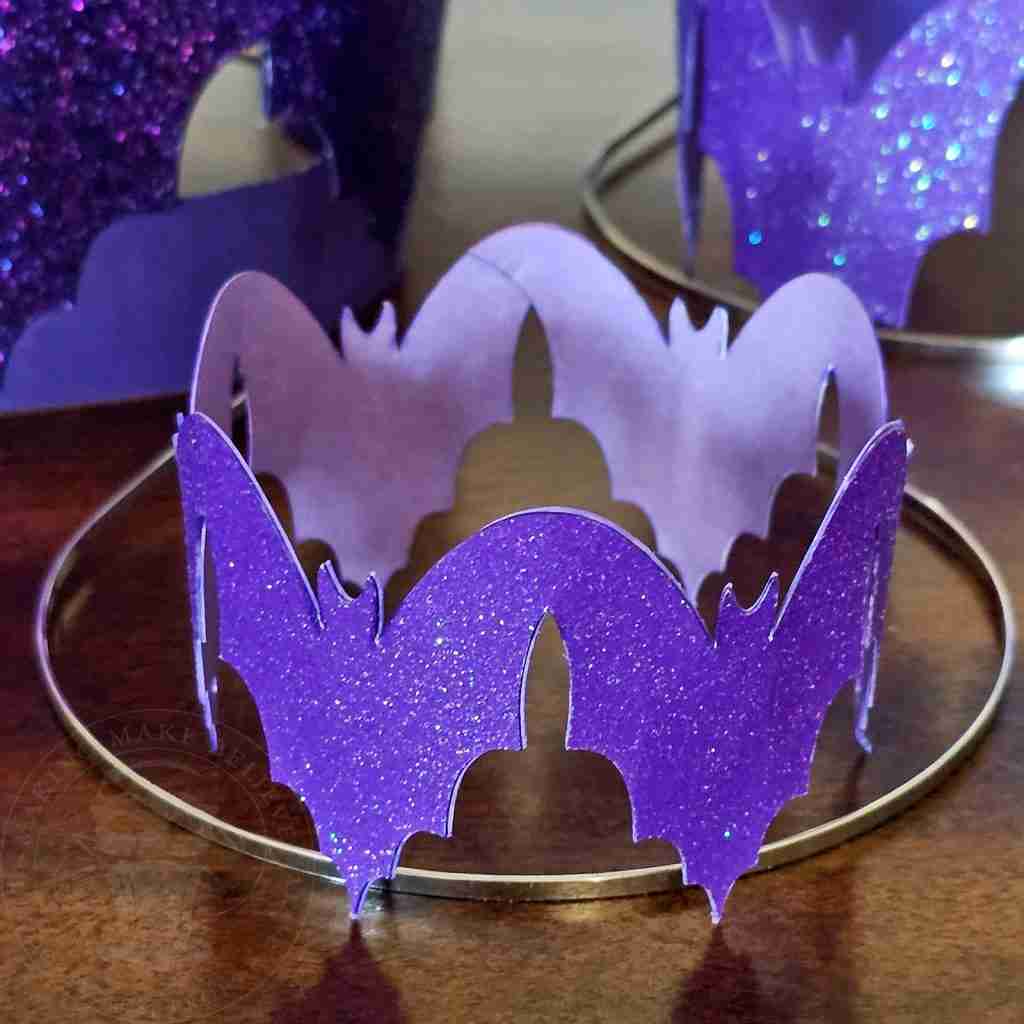
We’re whipping up some last-minute bat crowns from glitter cardstock. These are super fast to make, and the glitz will elevate even the most basic cape.
So, let’s get started.
For this project, we will need:
Glitter cardstock
Plain cardstock
Cutting machine or finger blade
Adhesive – I’m using Bearly Art Precision Craft Glue
Thin headband such as this 5.6-inch (14cm) wire headband
Clips (optional)
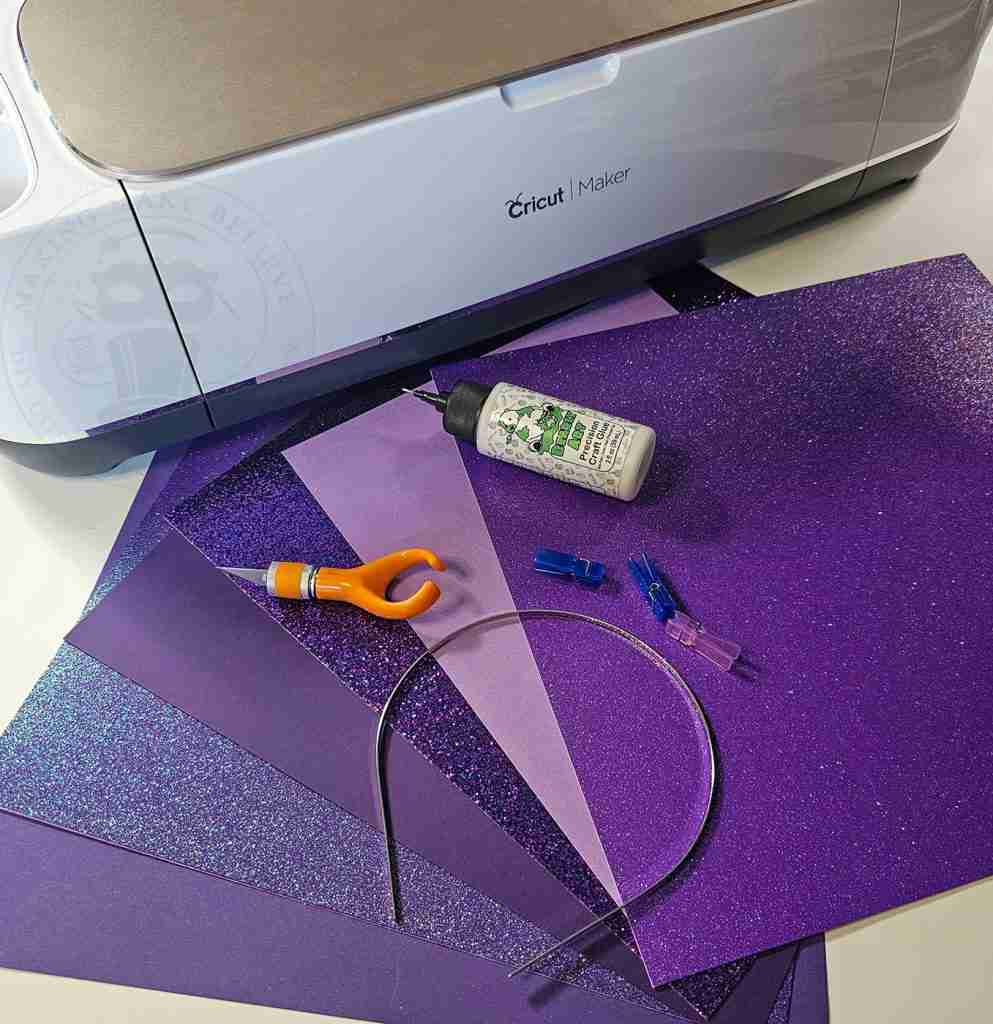
We will also need the Royal Batty Crown Collection from the Haunted Library. Select the SVG for machine cutting or the PDF for hand cutting.

The download includes three versions: Baby Bat, Mama Bat, and Papa Bat.
Each version assembles a little differently, but they all come together quickly.
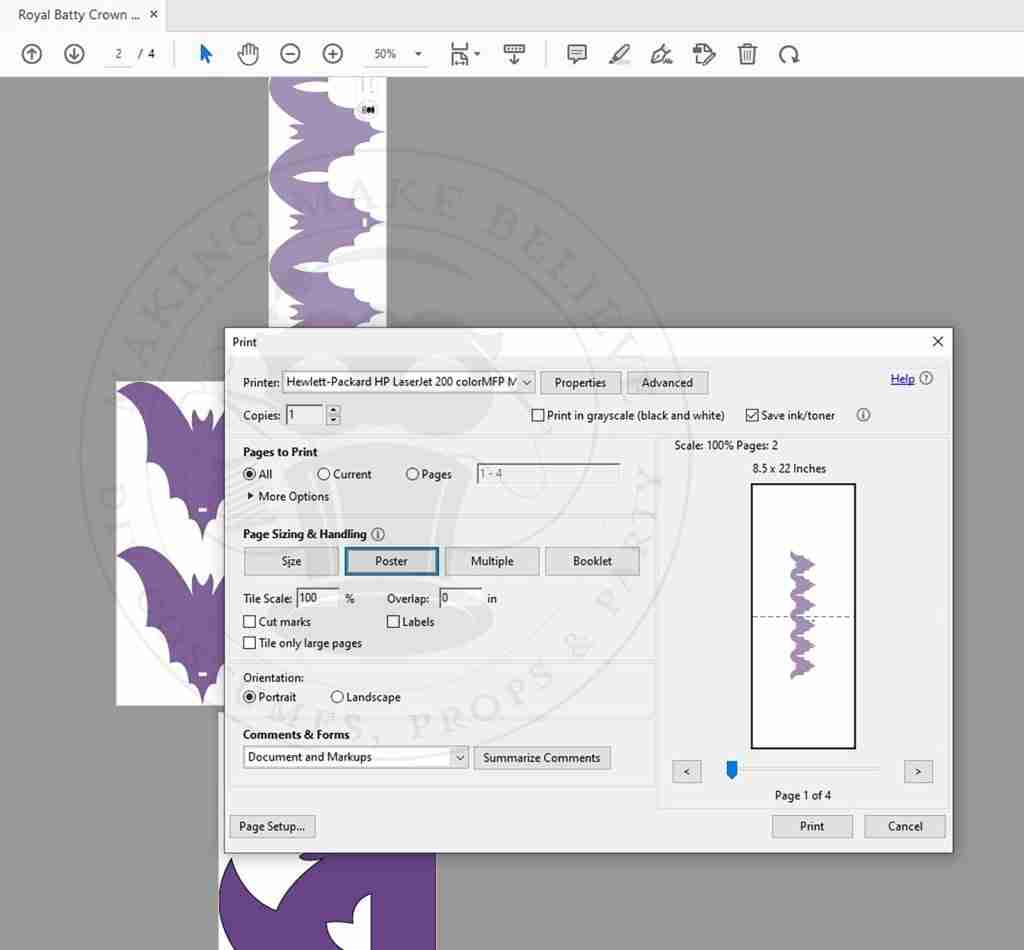
For hand cutting, open the Baby Bat Crown in your favorite PDF reader (Adobe, FoxIt, etc.).
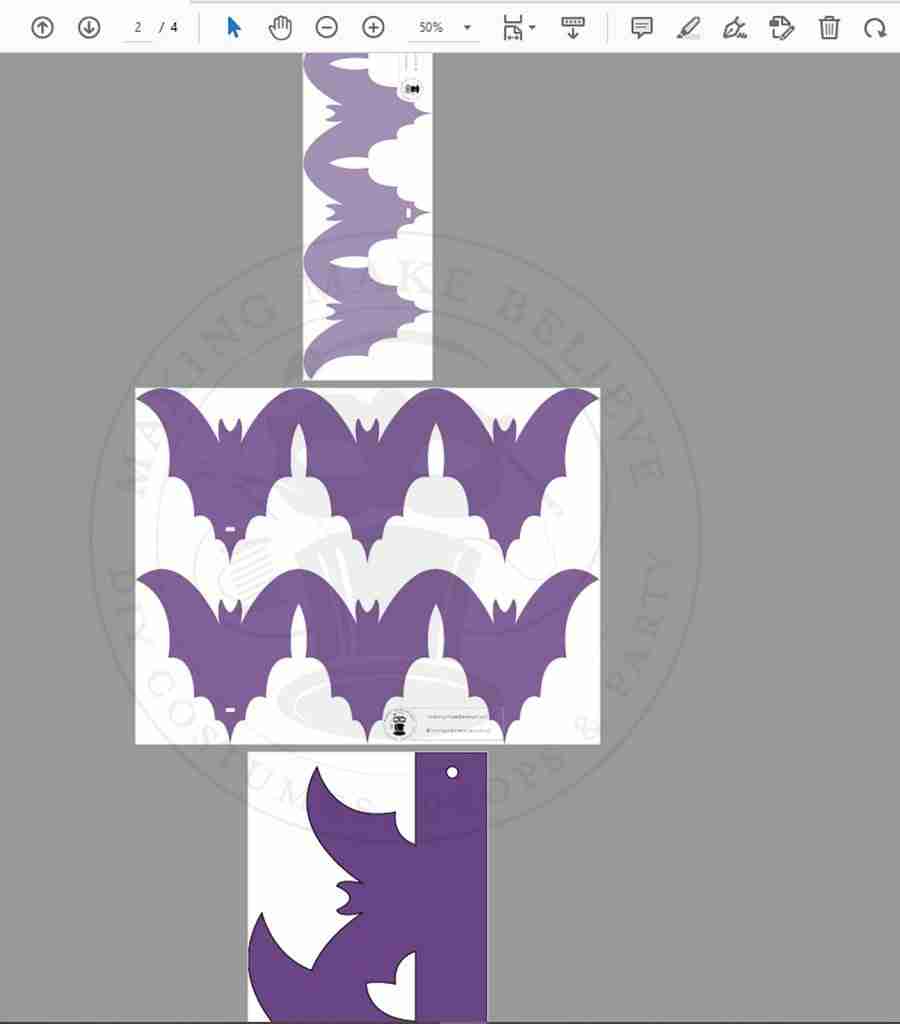
Print at Actual Size using the Poster option (under Size & Handling) and transfer the pattern to both cardstock papers.
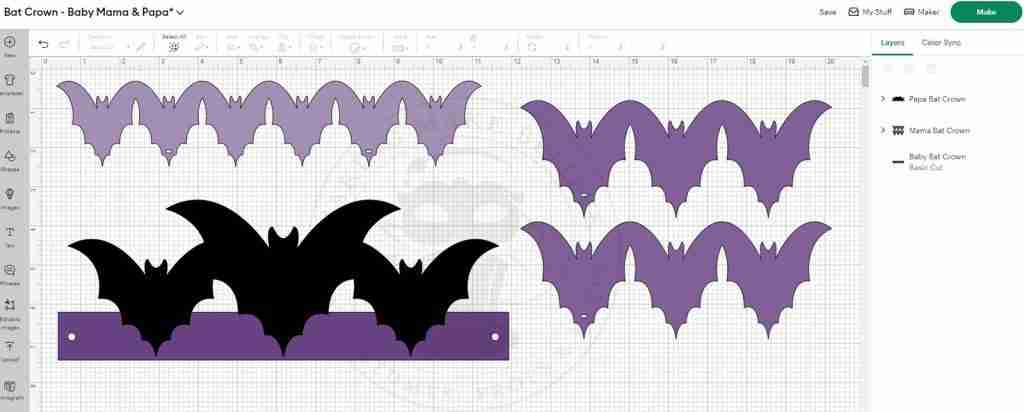
To machine cut, select the Baby Bat Crown and upload it into your design software. I’m using Cricut Design Space.
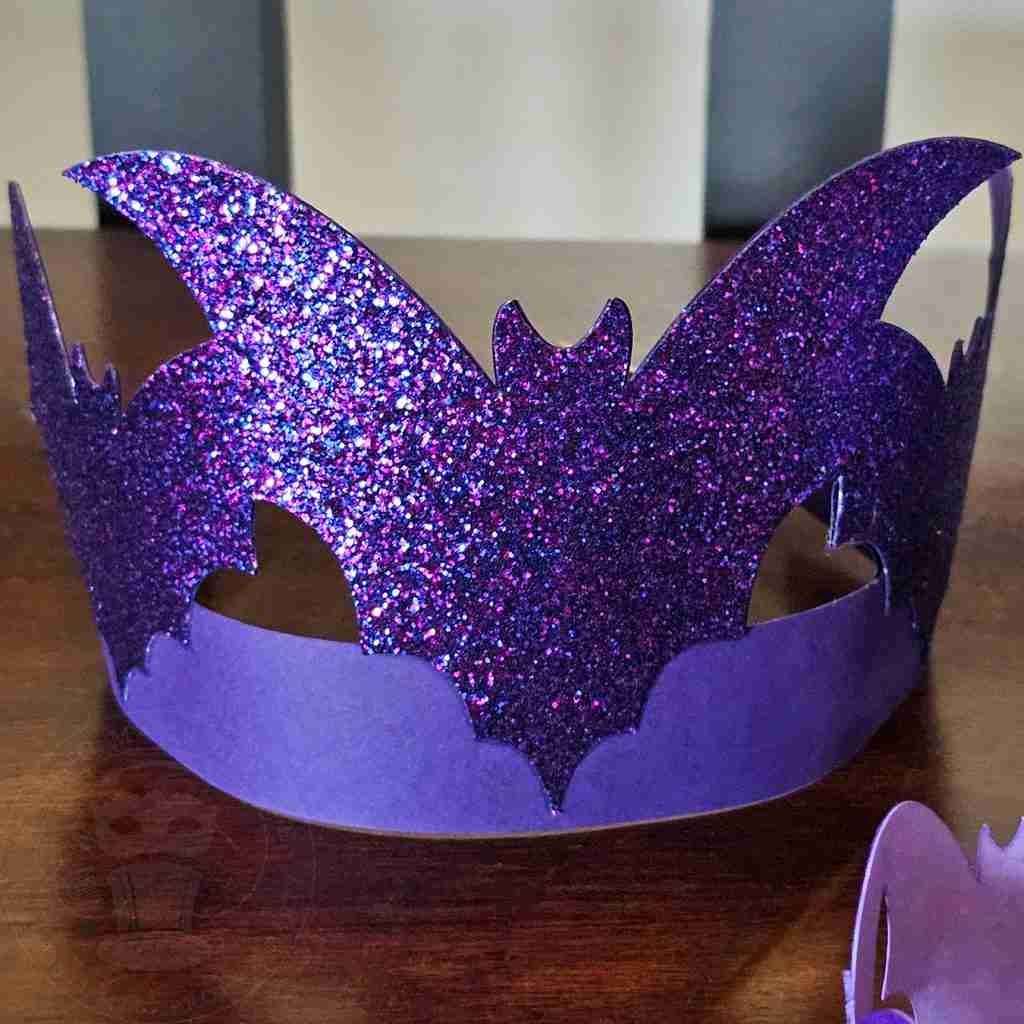
Cut one crown from the glitter cardstock and one from the plain cardstock.
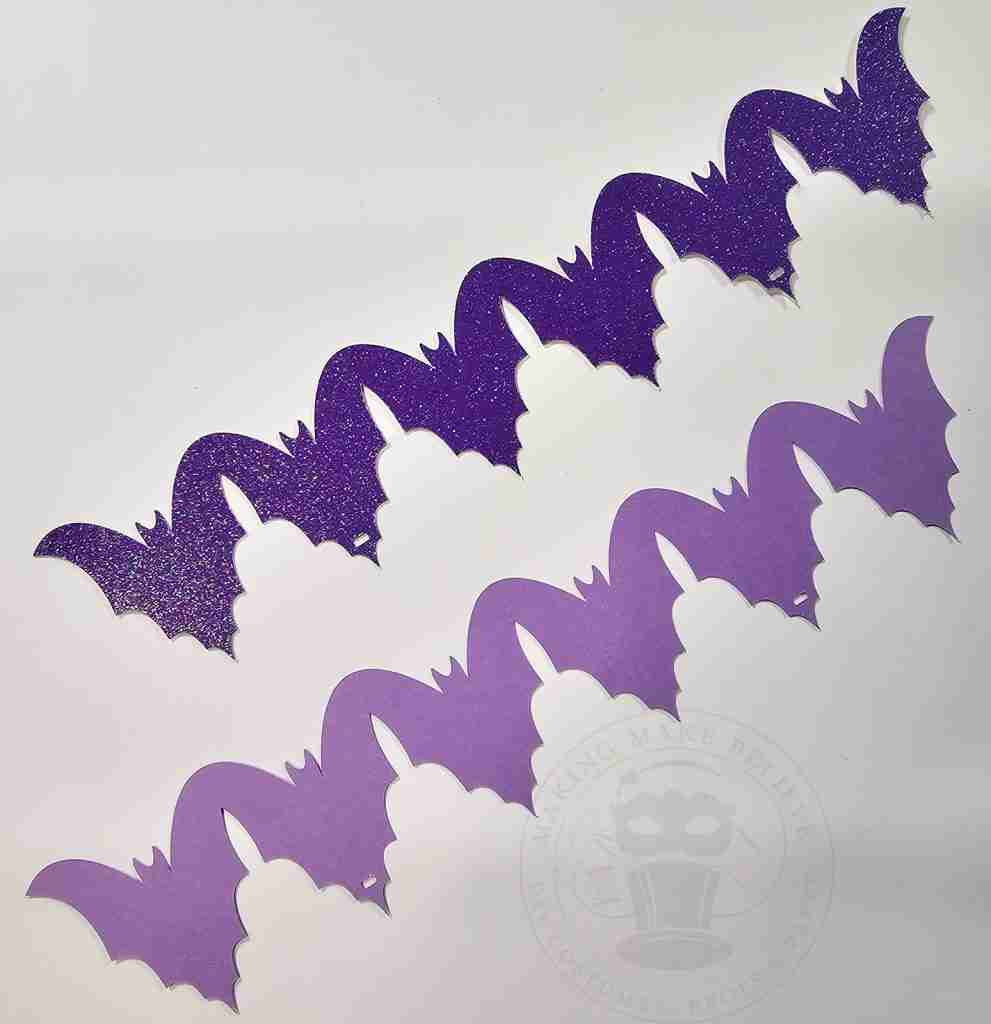
Before gluing, align your pieces to ensure everything is facing correctly, and then add adhesive to the cardstock.
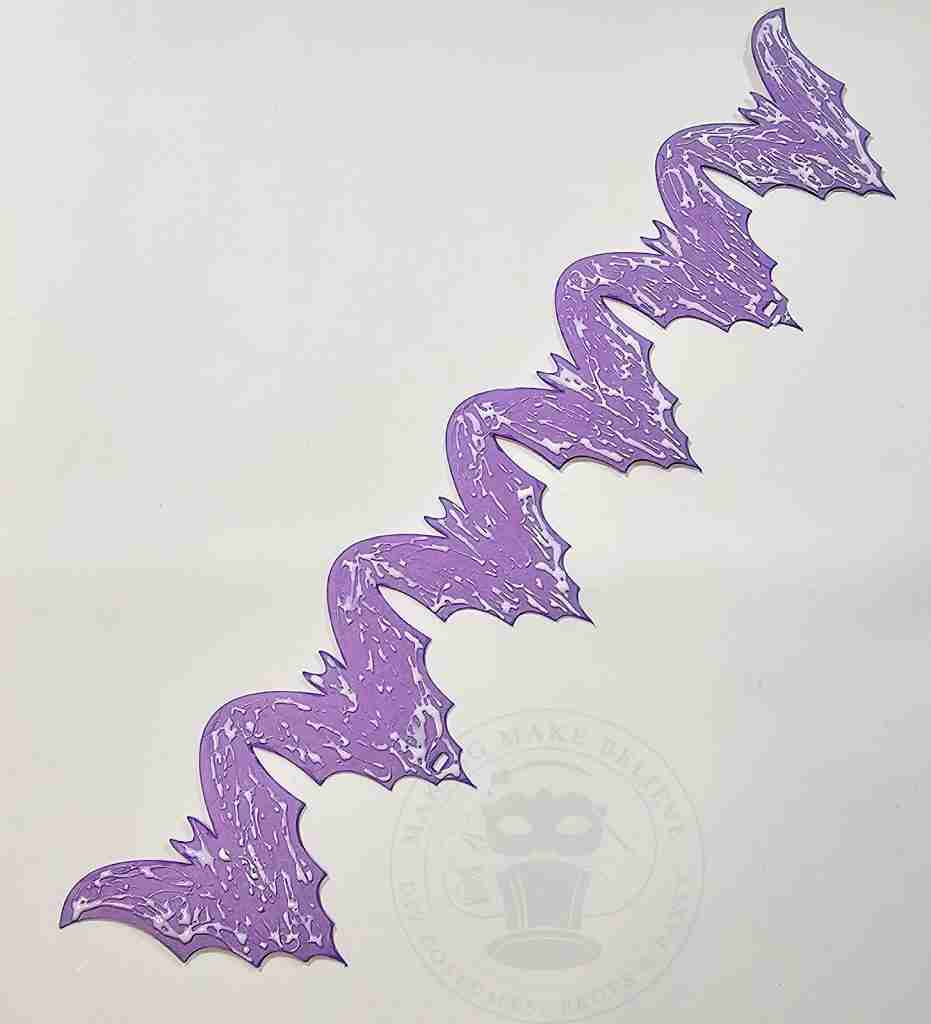
Align the holes and stick the glitter cardstock on top of the plain cardstock.
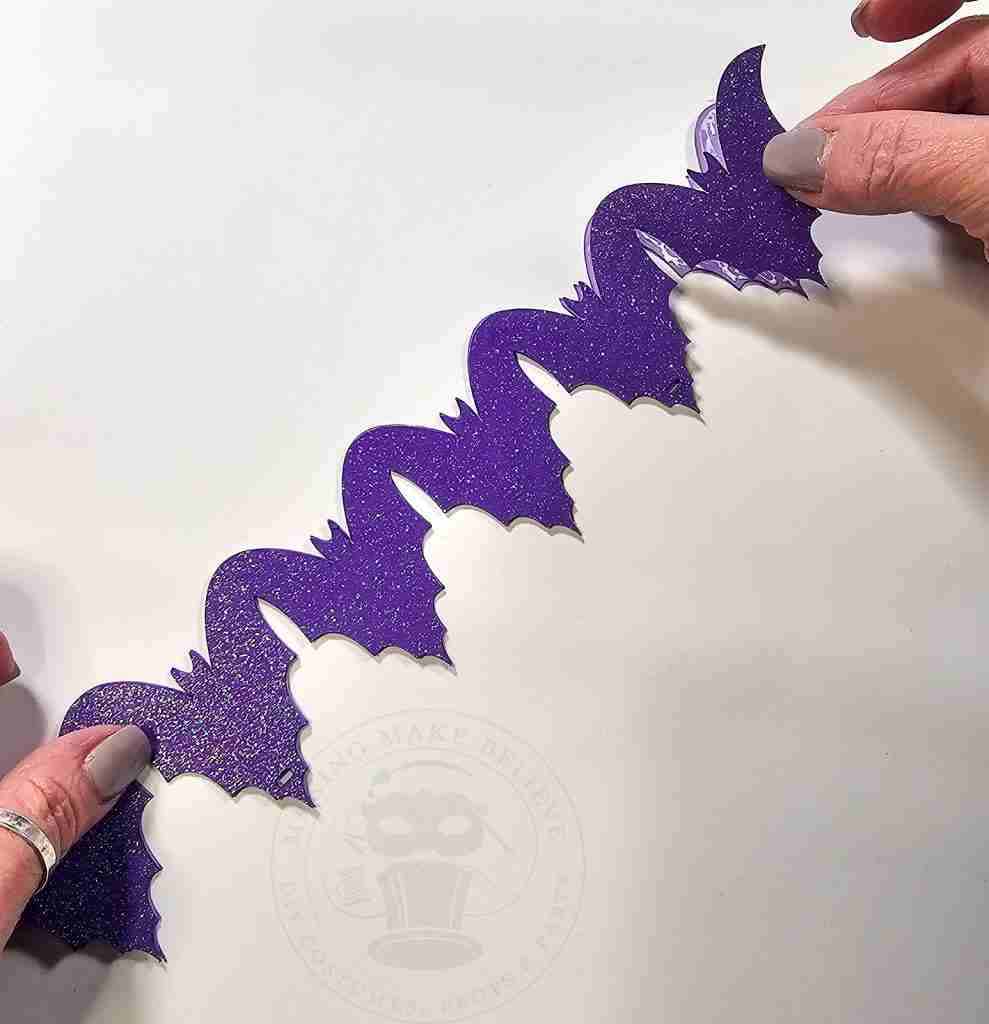
Carefully curl the crown to help it form into a circle. You can work it with your hands or gently curl along the edge of a table.
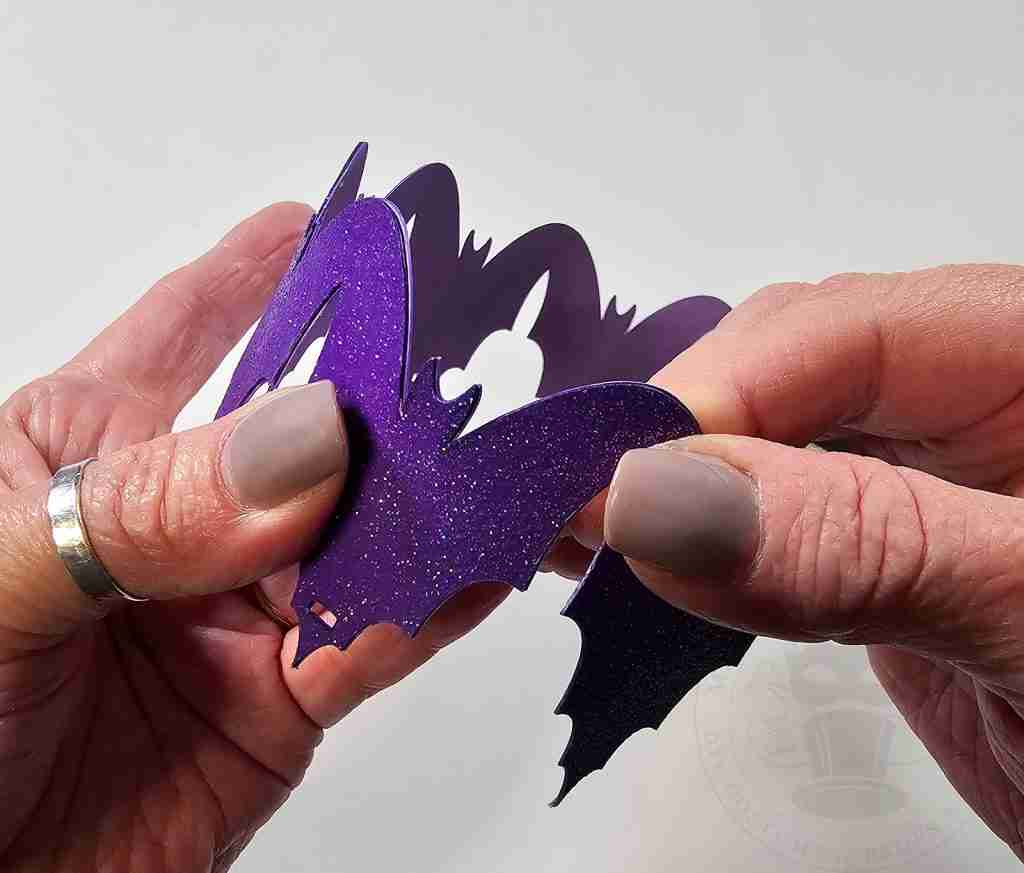
Overlap the wings of the bats on each end and glue them together.
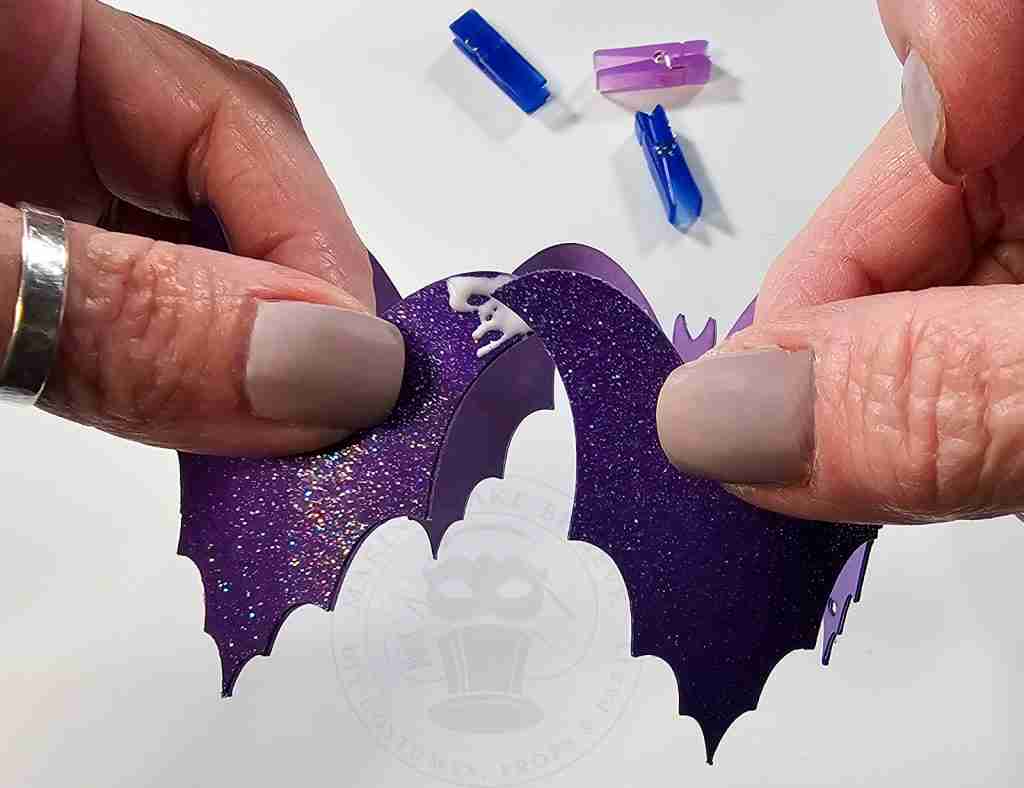
Clip to secure and allow the glue to dry completely.
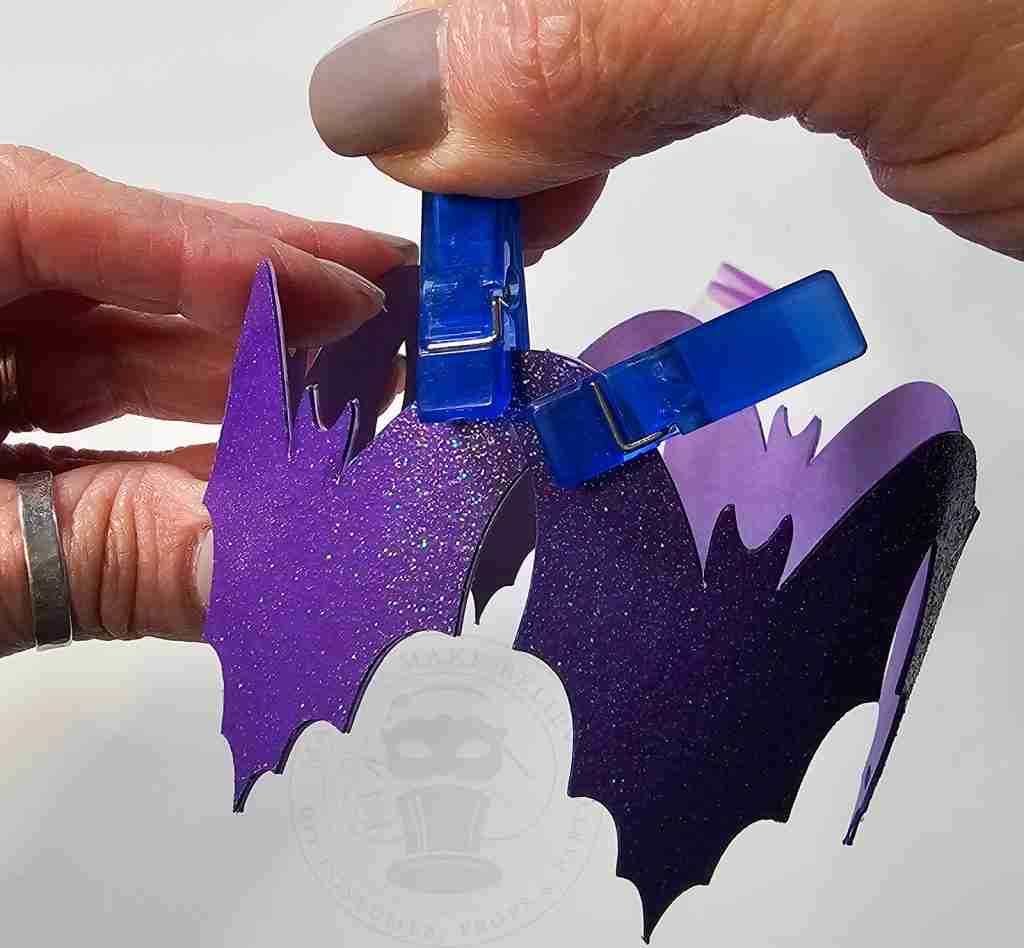
Slide the headband through the holes, position it as desired, and go batty!
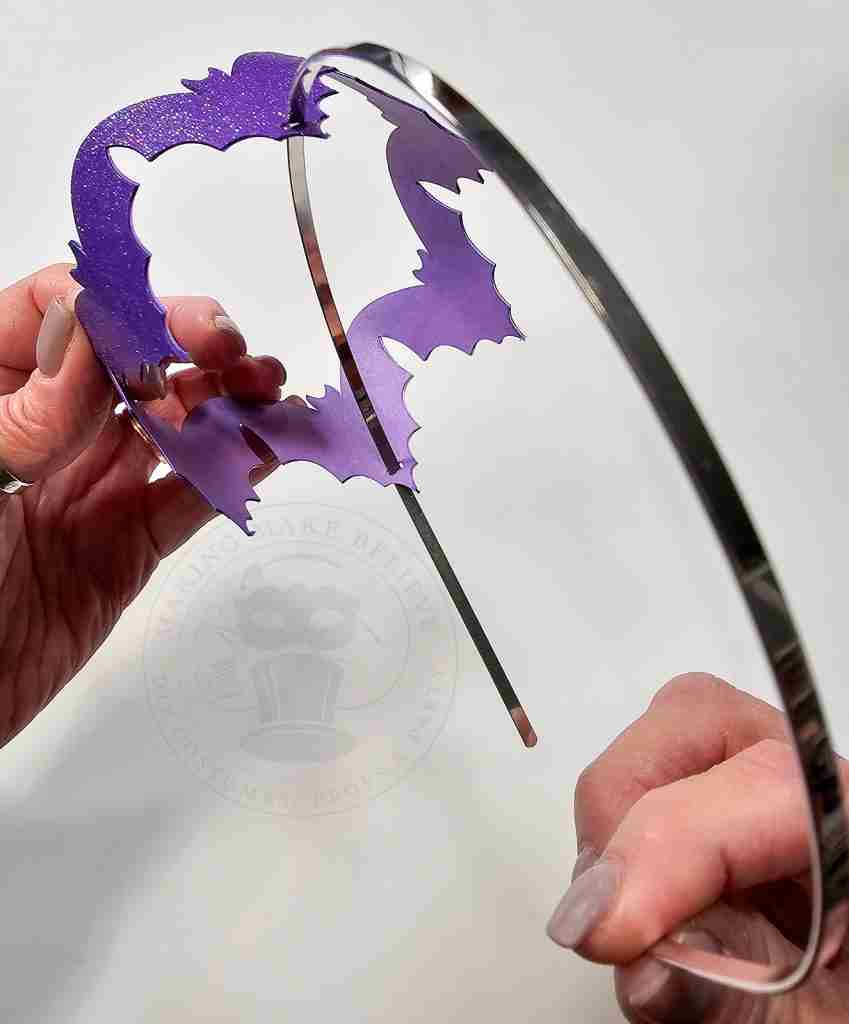
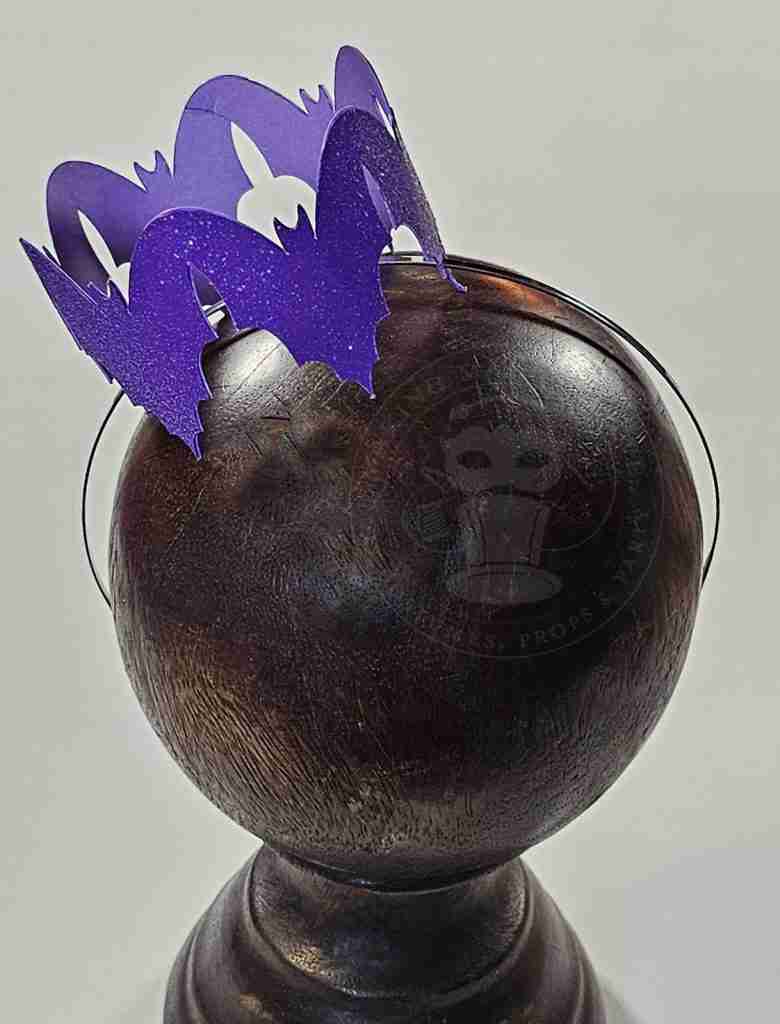
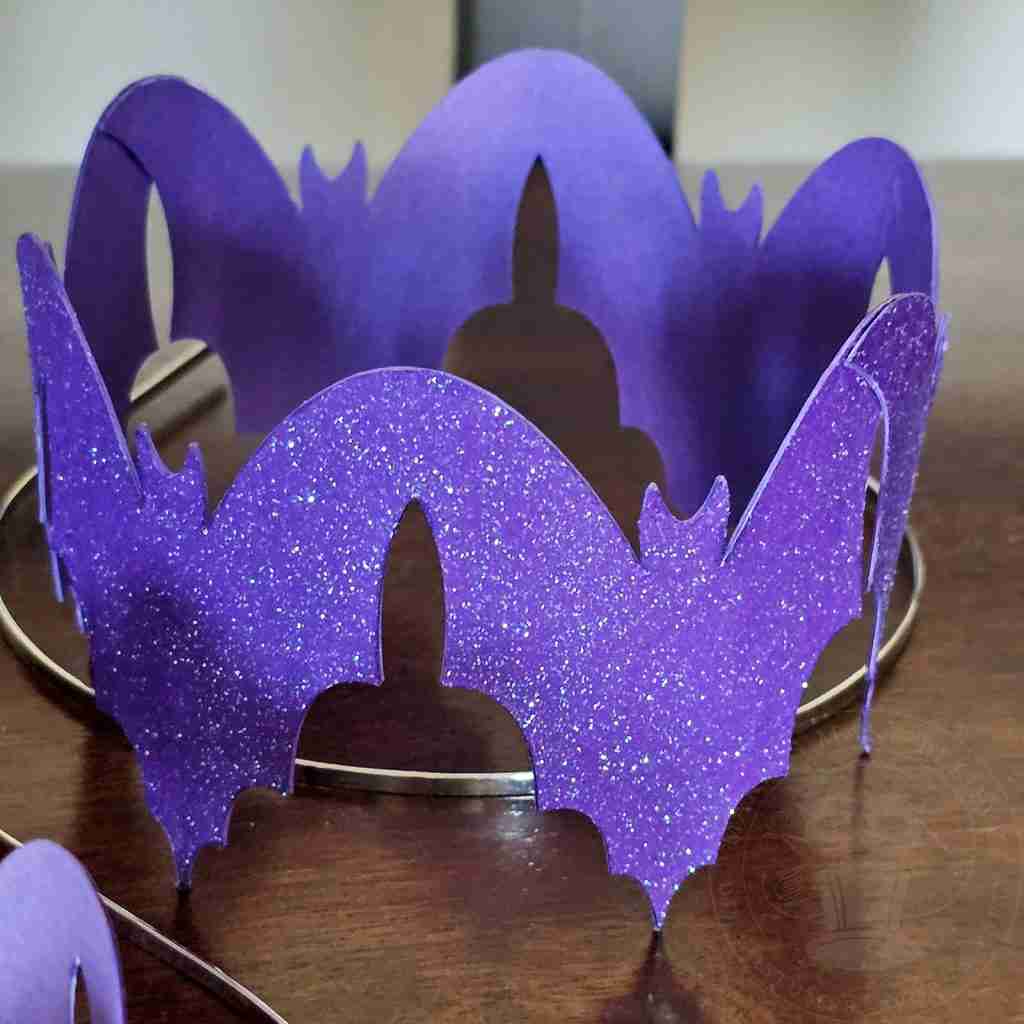
To make the Mama Bat Crown, cut two pieces from glitter cardstock and two from plain cardstock.
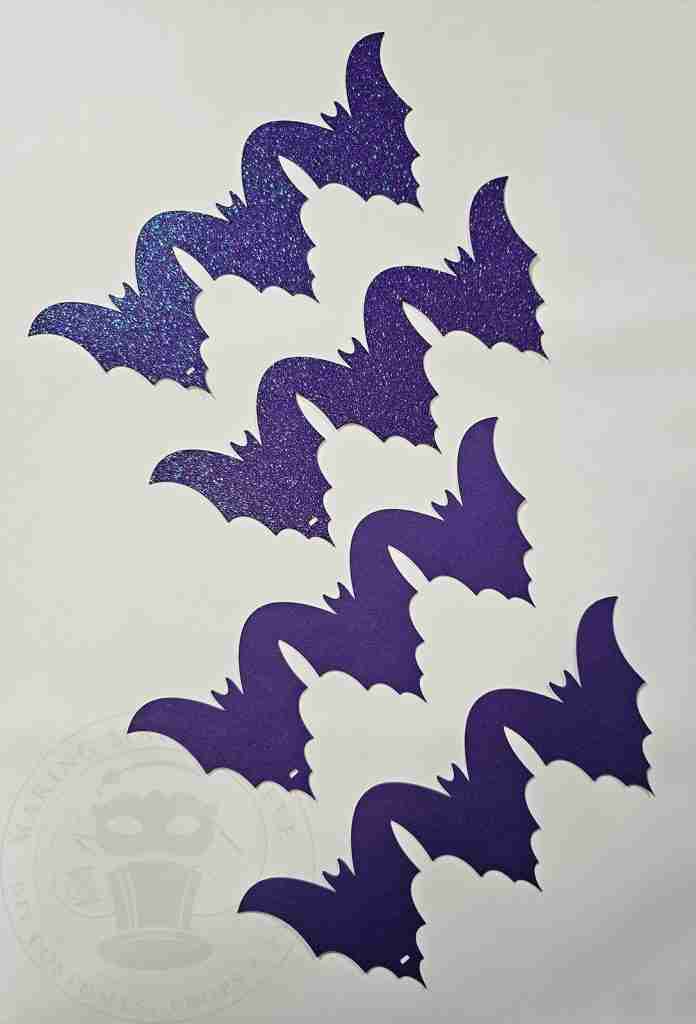
Before gluing, align your pieces to ensure everything is facing correctly, and then add adhesive to the cardstock.
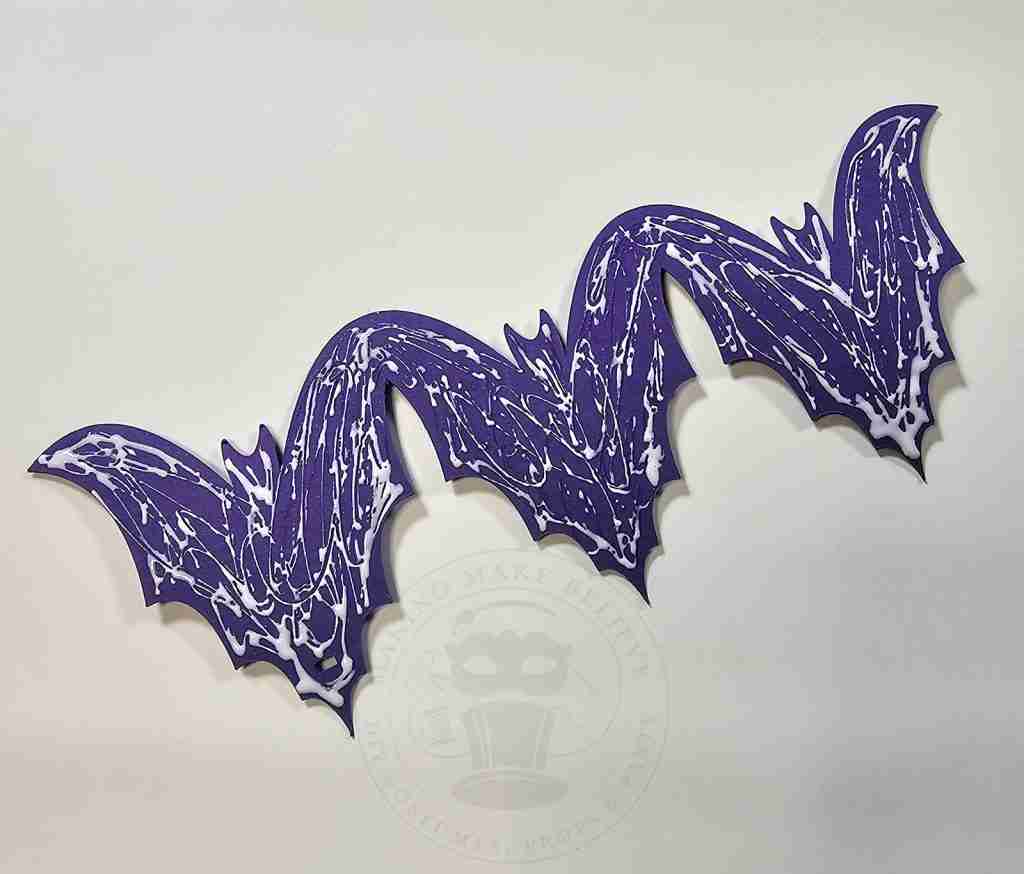
Align the holes and stick the glitter cardstock on top of the plain cardstock.
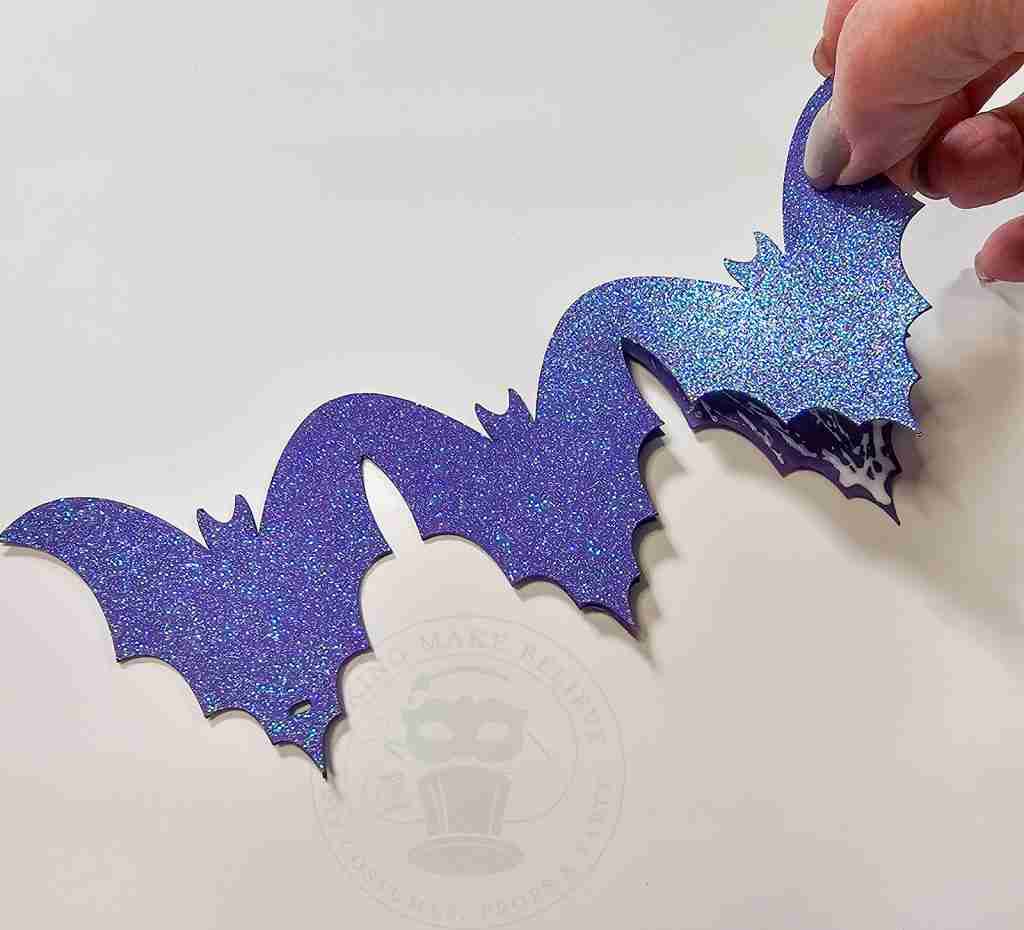
To connect the pieces, overlap the end bat’s wings to form one long piece. Allow to dry.
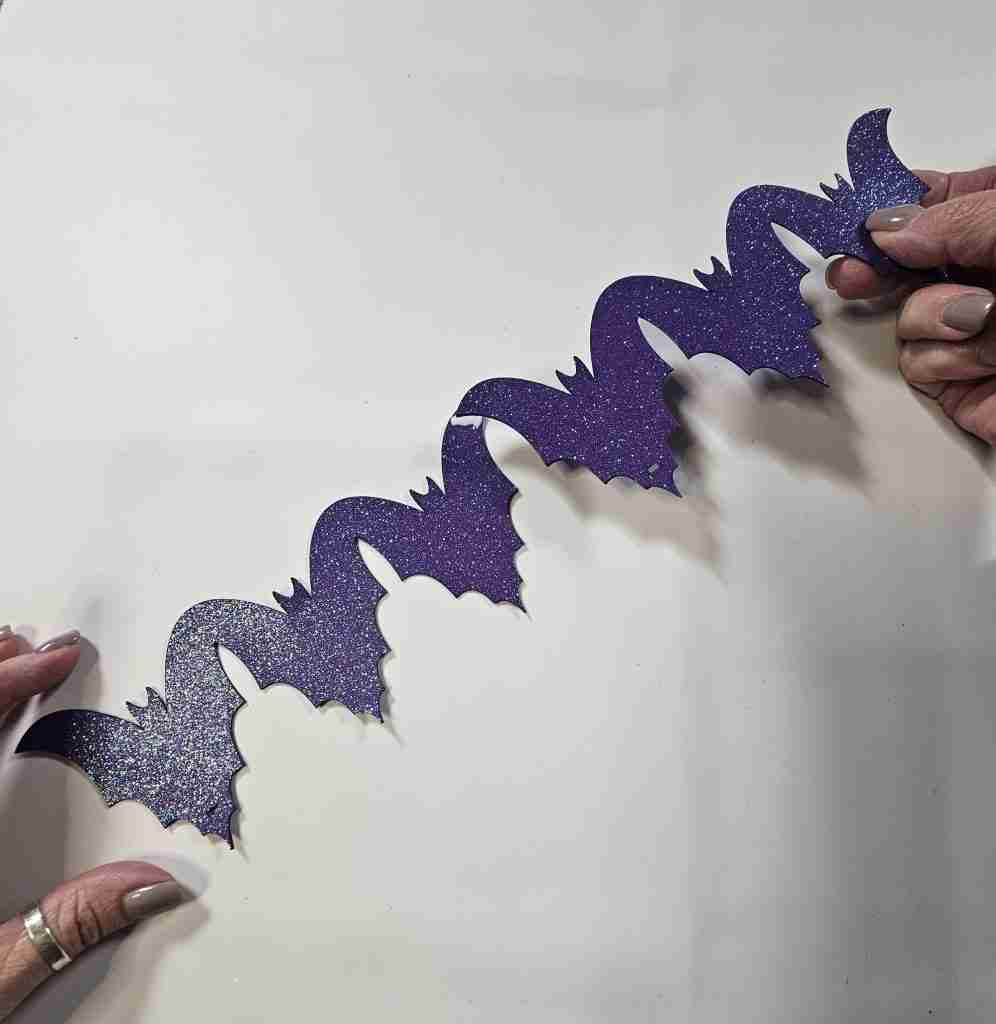
Carefully curl the crown to help it form into a circle.
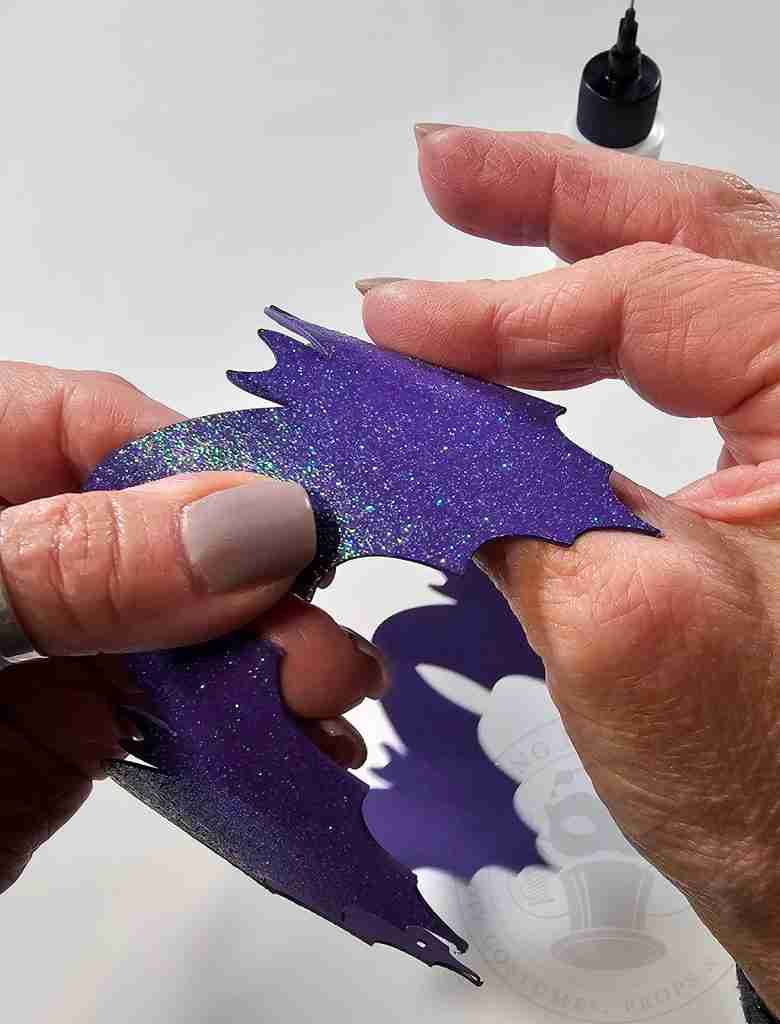
Overlap the wings of the bats on each end and glue them together.
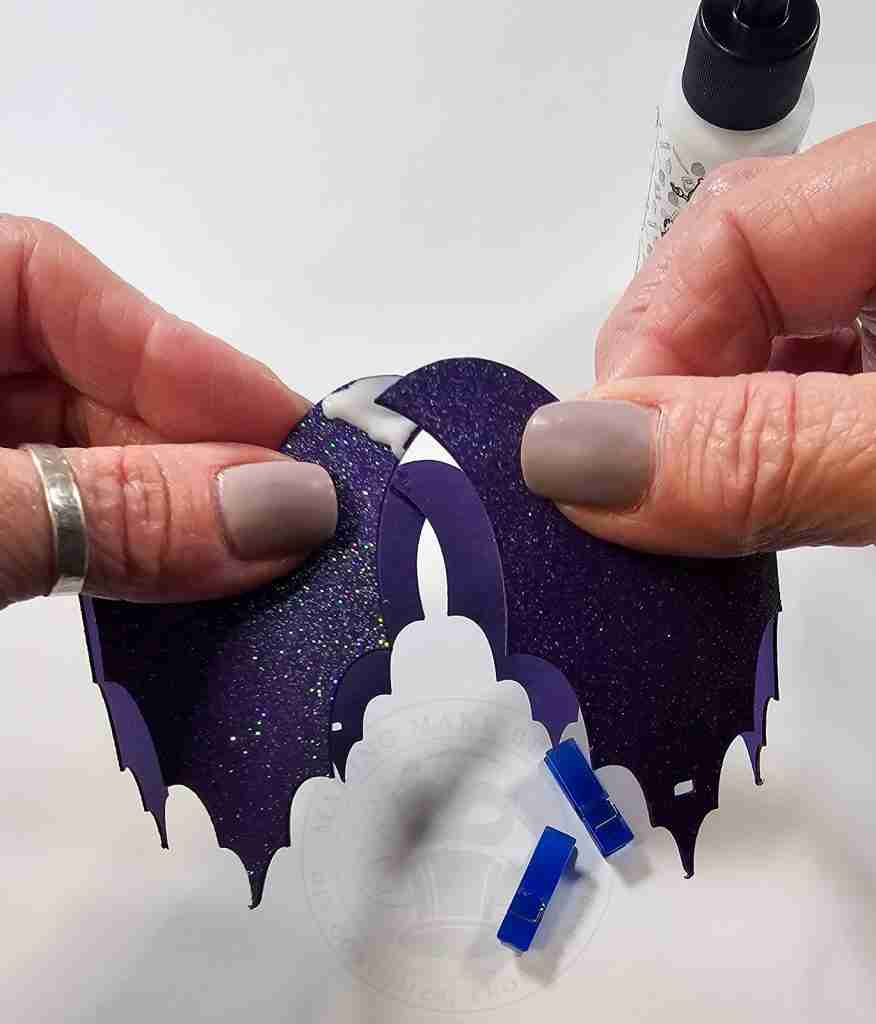
Clip to secure and allow the glue to dry completely.
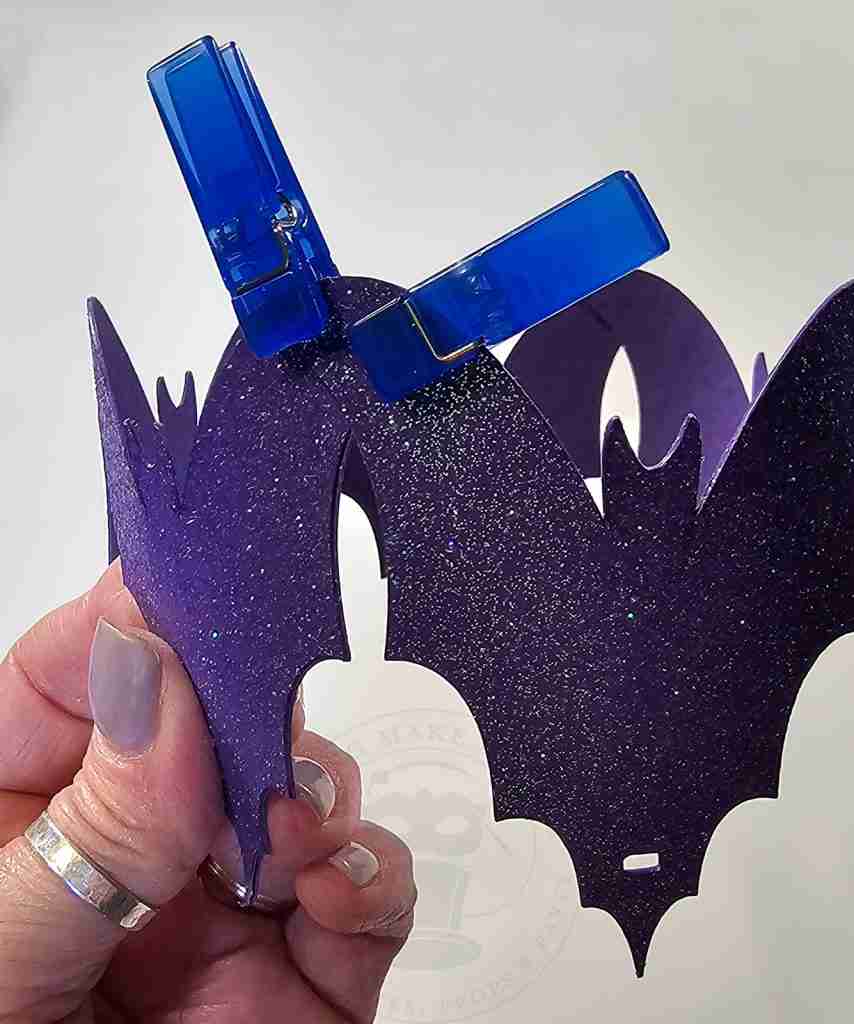
Slide the headband through the holes, position your crown, and your Lady Bat is ready to rule.
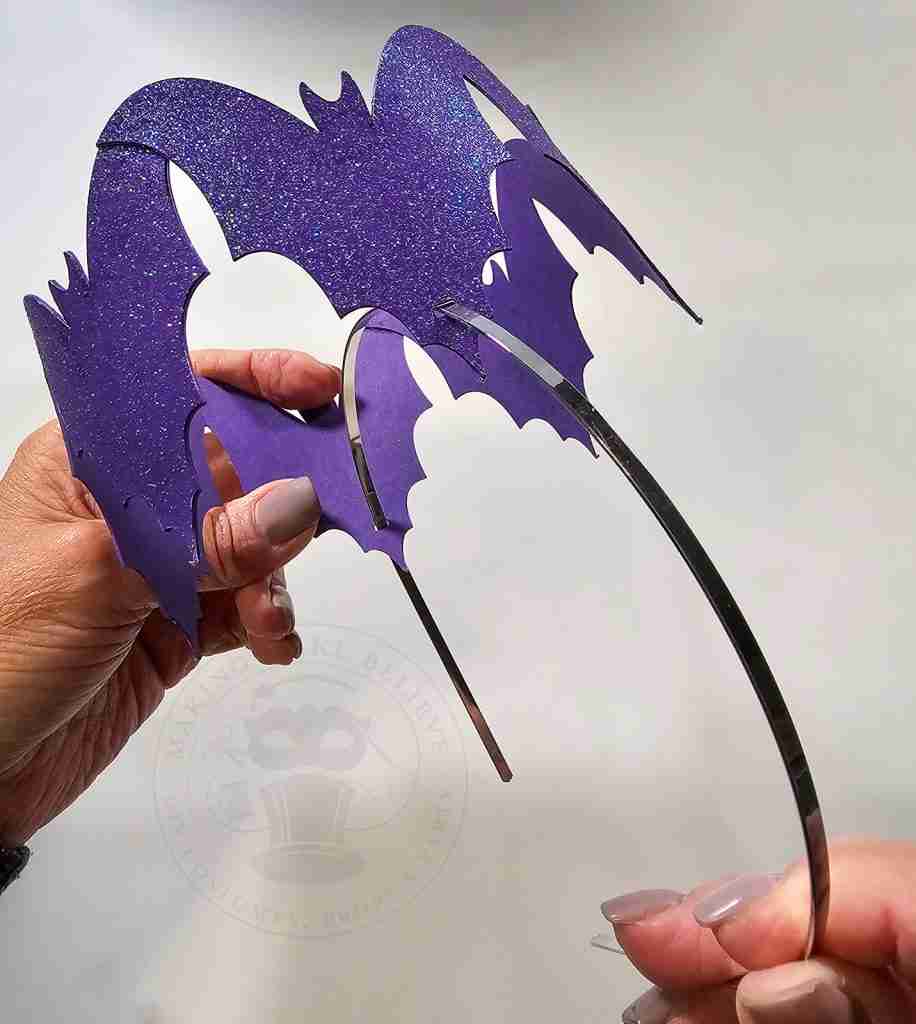
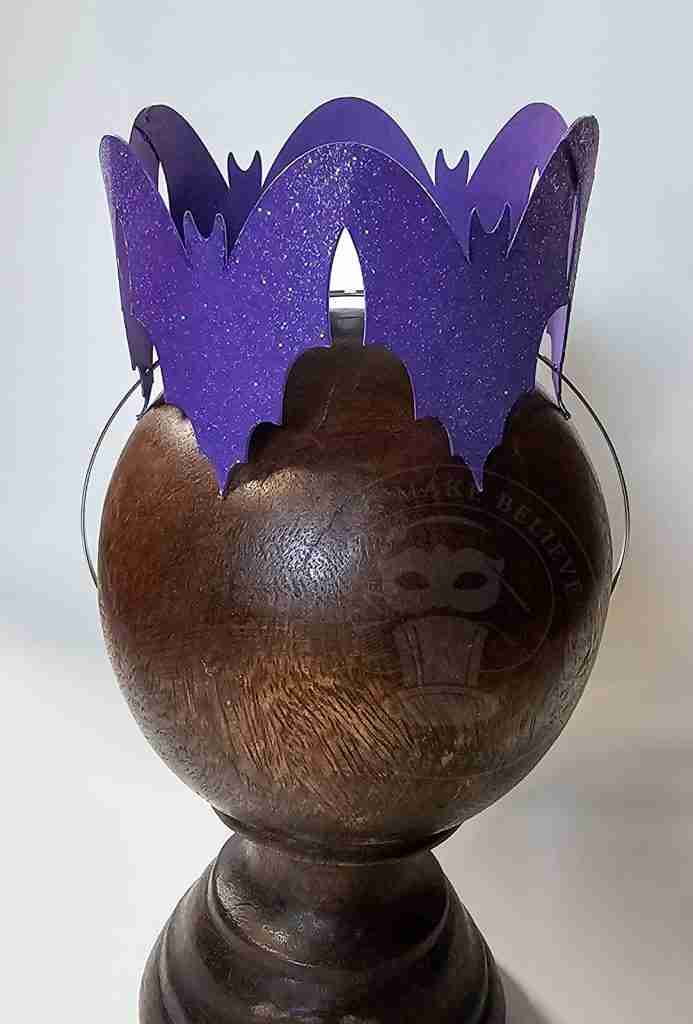
To make the Papa Bat Crown, cut the front piece from glitter cardstock and the back from plain cardstock.
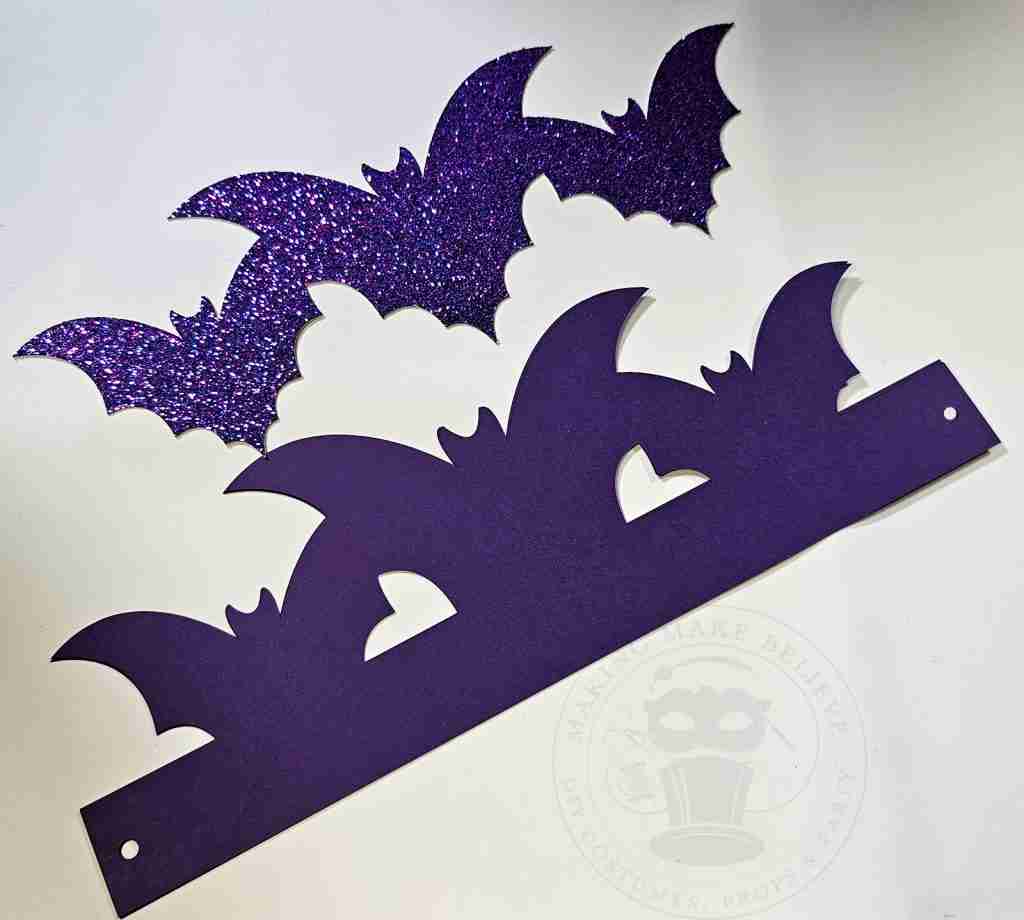
Prior to gluing, align your pieces to ensure everything is facing correctly, and then add adhesive to the back of the glitter cardstock.
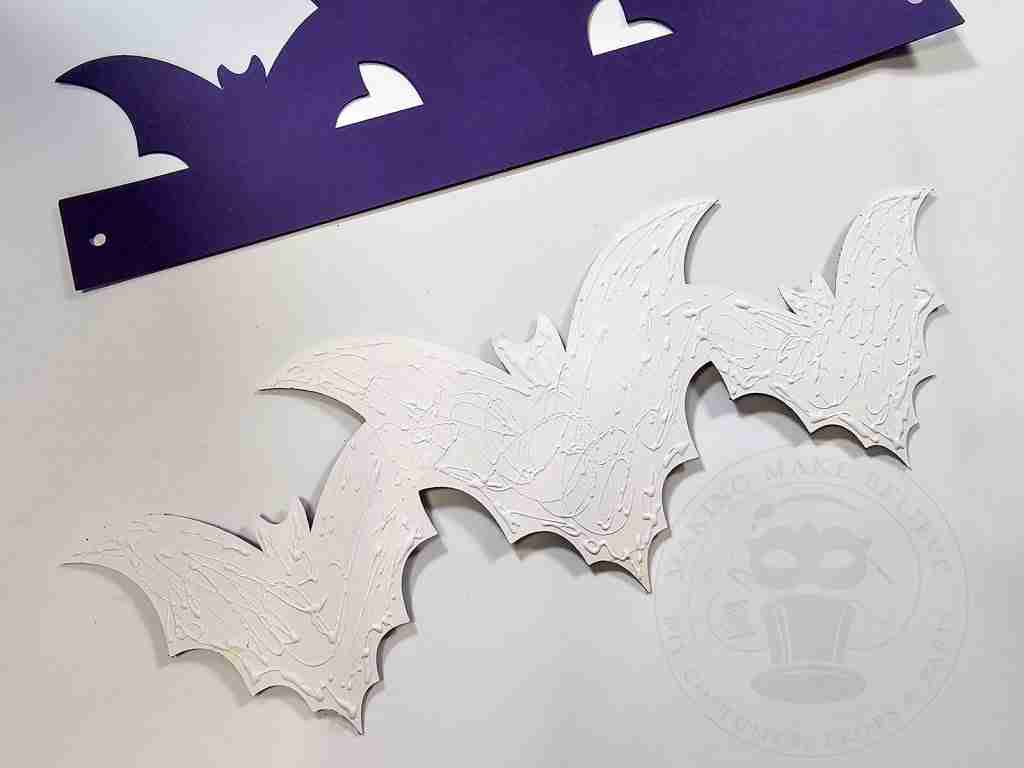
Glue the glitter cardstock onto the plain cardstock, aligning the bat trio.
Then, allow to dry.
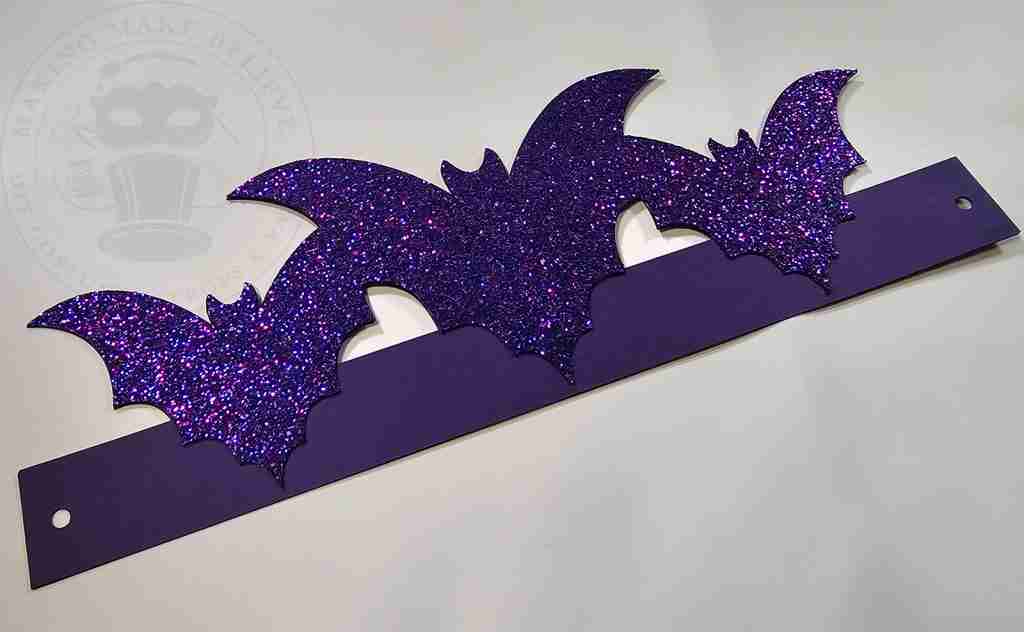
Gently curl the crown to help it form into a circle.
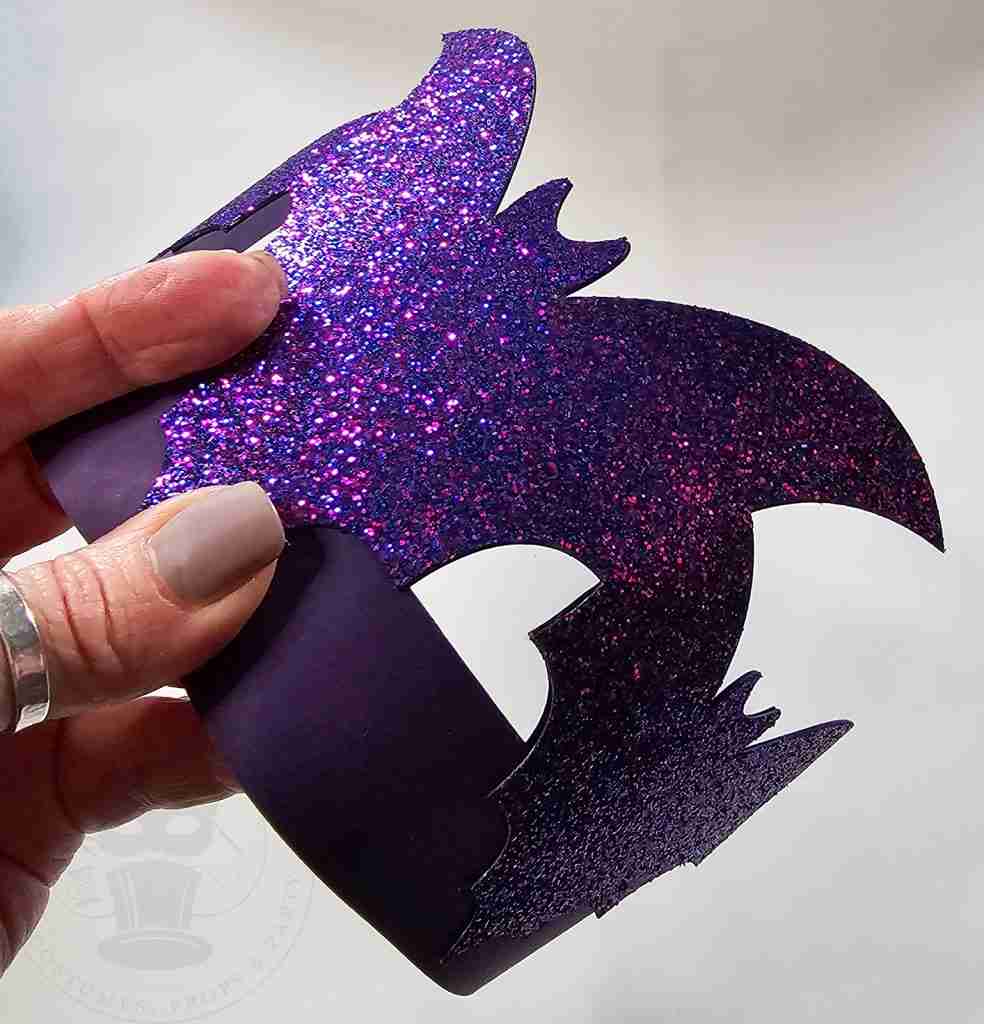
Slip the headband through the holes.
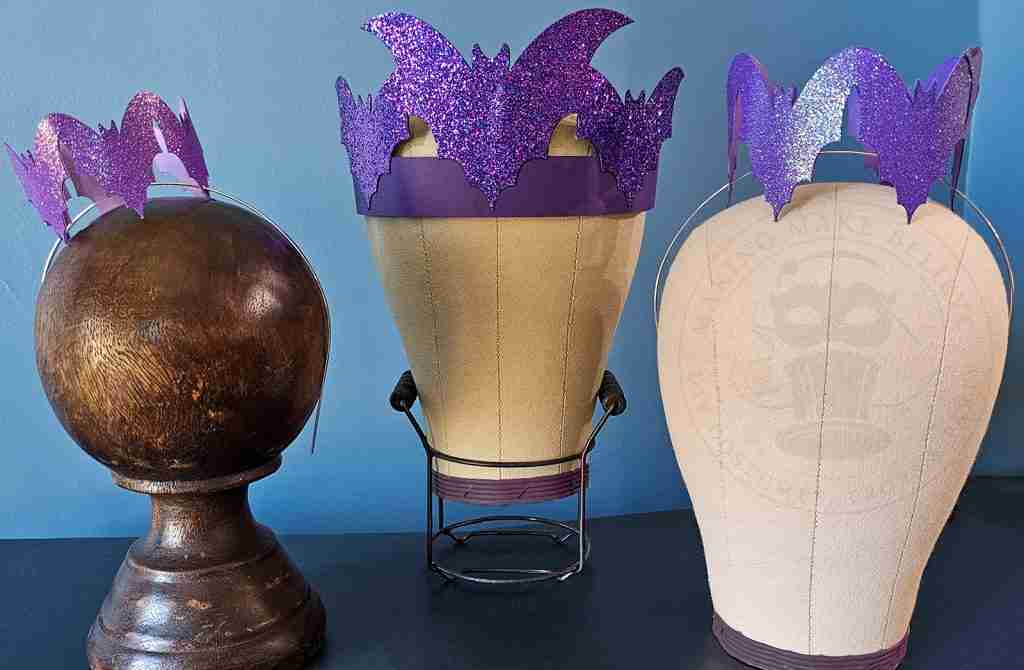
Wear by positioning the headband horizontally along the front of the head.
If you wish to secure the headband, you can glue it to the crown.
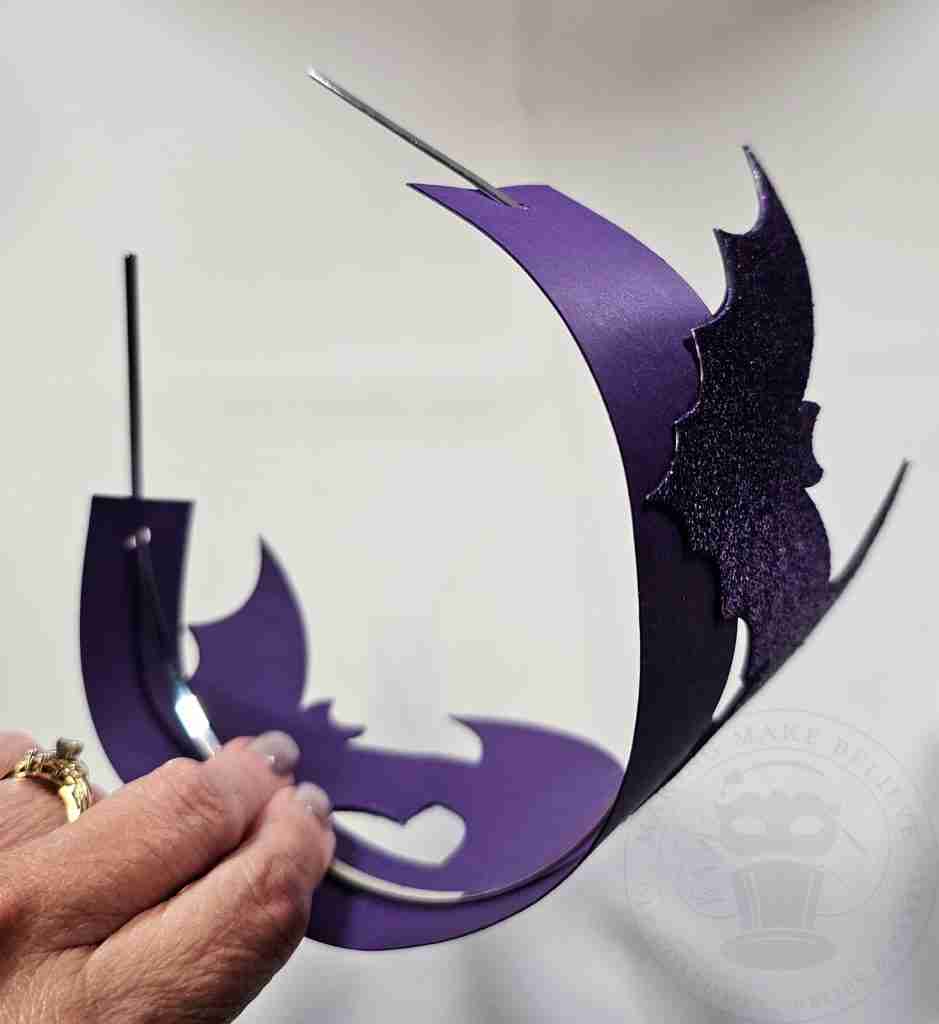
Alternatively, attach a ribbon or elastic band through the holes and secure it behind your head, taking care not to pull too tightly and tear the cardstock.
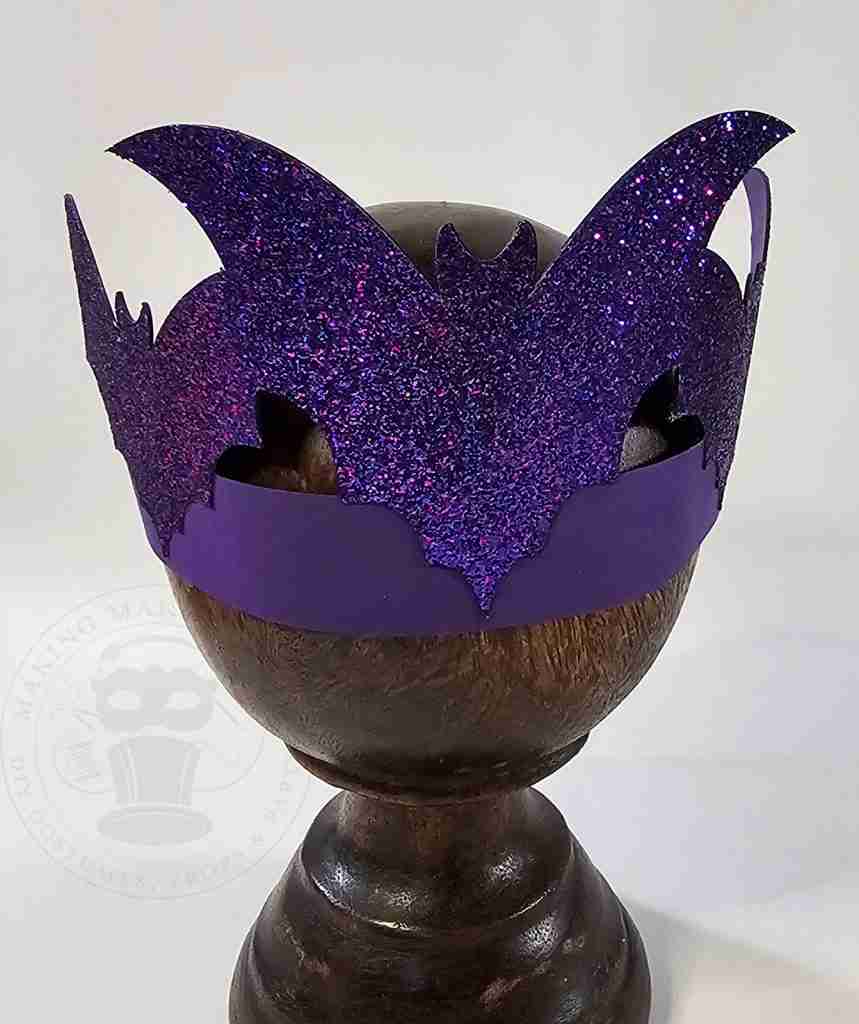
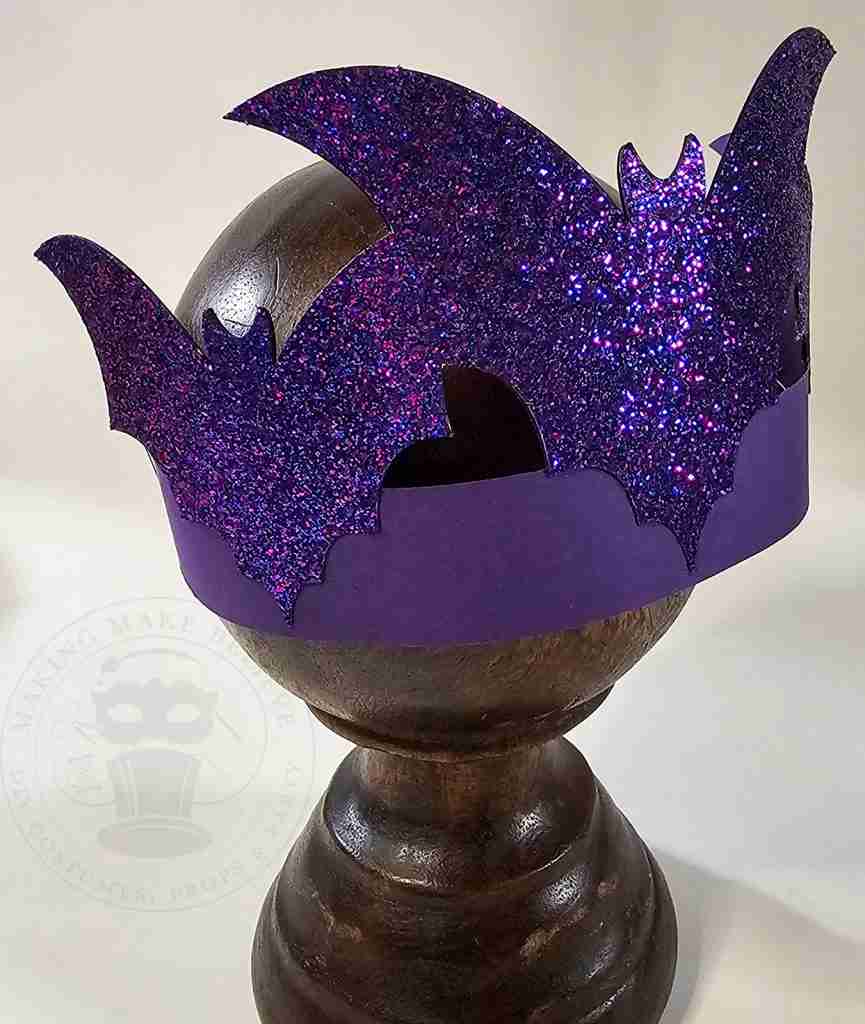
I present our Royal Court.
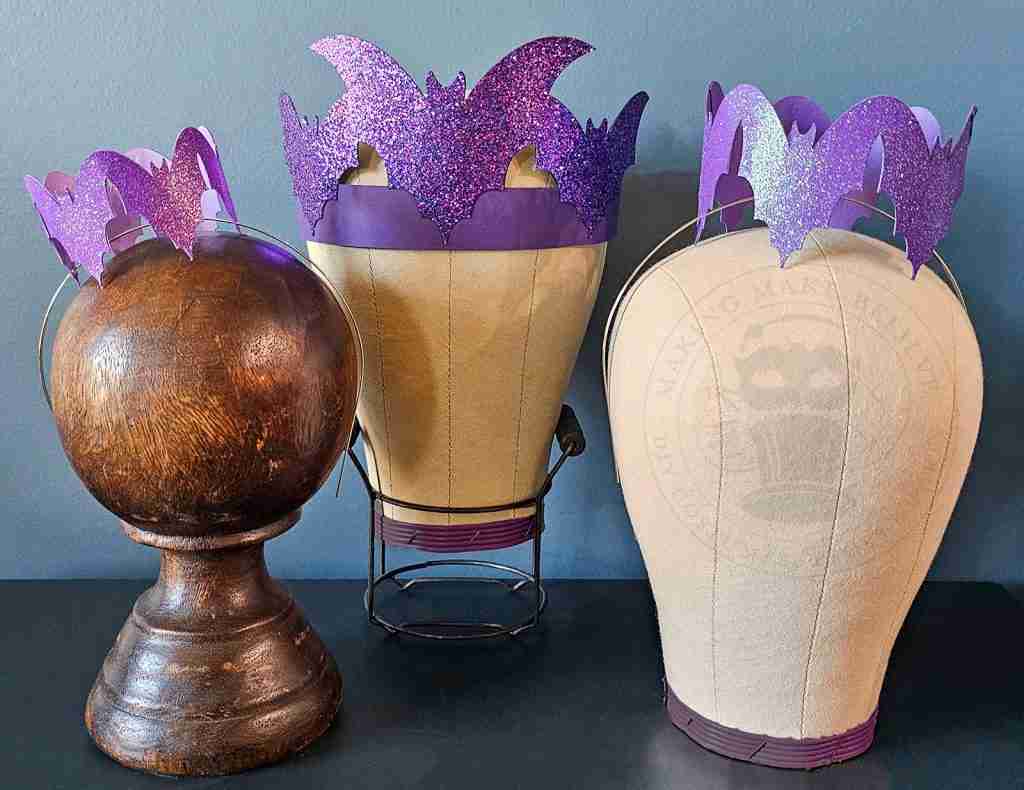
It’s going to be a BATastic Halloween!
Well, I’ve got to fly, so until next time – stay spooky.

Templates, patterns and printables for every project on the blog.

Counting down to Halloween since the 1970s. I create, style and celebrate all things costume and Halloween, all year round.
Welcome to my world of Halloween Ever After, where I create, style, and celebrate all things costume and Halloween.
Within these haunted pages lie affiliate links to curious and captivating finds I love. If you make a purchase through them, I may earn a modest commission (think fun-size candy bar), which helps keep the Halloween magic alive. No extra cost to you – cross my batty heart.



Check your email for the Haunted Library password.
Don’t miss a moment of the mischief.
Add hello@halloweeneverafter.com to your address book.
The magic happens right here in my studio and office. When you step inside my creative space, you’ll find an ever expanding gallery wall overflowing with original spooky art and classic Halloween LPs, right alongside a haunted cabinet packed to the brim with vintage curiosities.
It’s under the watchful eyes of these retro treasures that I design and craft.
Join us and get access to our Haunted Library stocked with templates, printables, cut files, and exclusive content. Plus, you’ll receive Eerie Emails just for our subscribers.
*Stay as long as you like. Unsubscribe at any time.


