Free templates & patterns
130+ freebies are waiting in the Haunted Library
Templates, patterns and printables for every project on the blog.
Formerly Making Make Believe · Join the Haunted Library

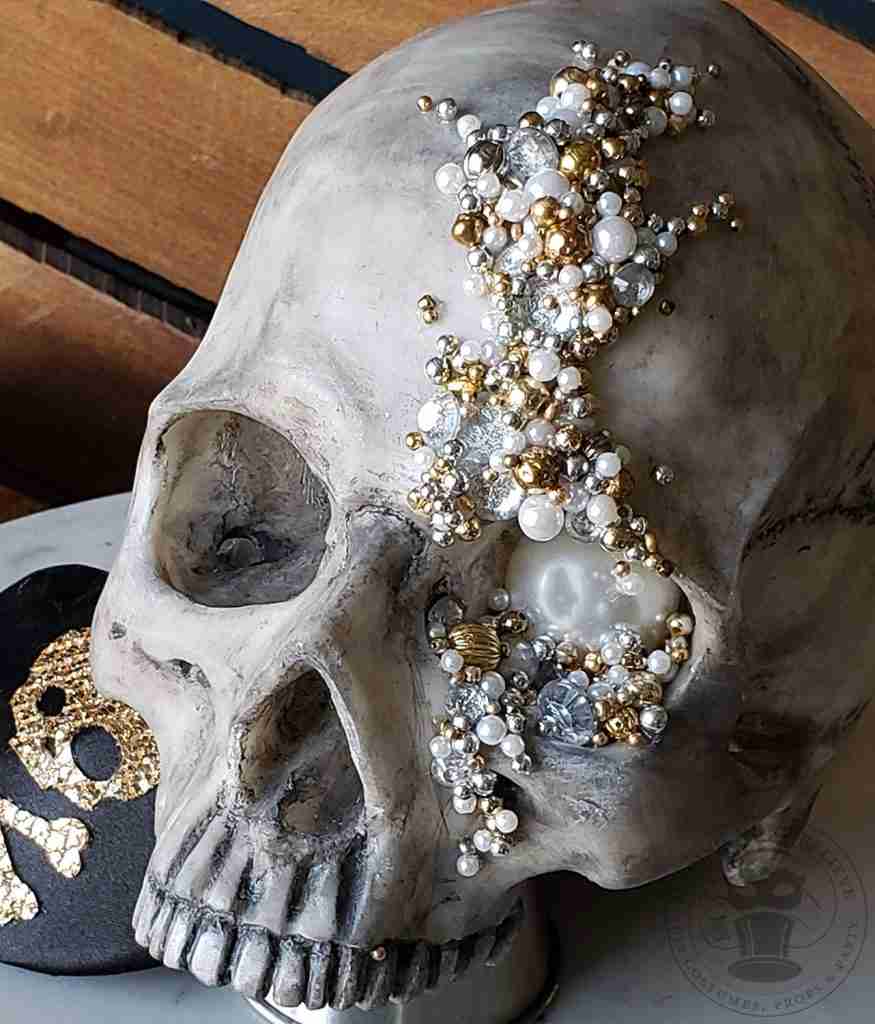
I love to have a theme when hosting a Halloween party. Themes keep me on track and make decorating easier.
In 2007, the theme was Pirates. It was a relatively simple party to decorate due to Disney’s Pirates of the Caribbean. Jack Sparrow was everywhere, and pirate mania was in full swing.
Pirate parties and costumes are still trendy, which is why I recently hacked some inexpensive and plain pirate hats. I added trim, skulls and crossbones and then whipped up headscarves and adorned eye patches. (See the tutorial for our Pirate Costume Hat Hack.)
I’m getting ready to make another pirate hat, and I thought it would be nice to have a bejeweled skull as a photo prop. The hunt to find the perfect skull went unanswered, so I decided to make my own.
The first task was to find a skull. Yes, I have several but, of course, not the kind I wanted for this project. I purchased this one on Amazon. I chose it because the jaw is removable, there is no skull cap, and I prefer resin over foam. At under $20, I thought this would be perfect.
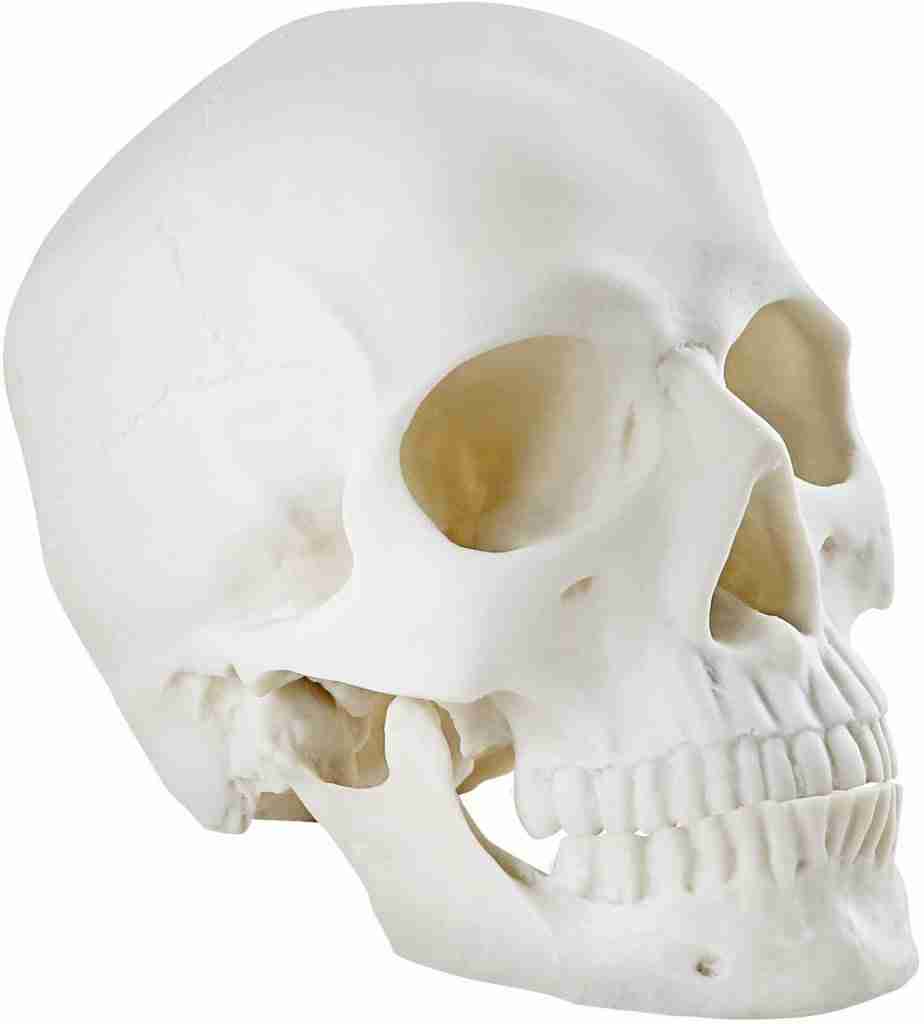
The skull was exactly as pictured – right down to the bright, shiny, medical white coloring. That just wasn’t going to do so; before I even could begin to bedazzle, I needed to do some aging.
To take the skull from white to weathered, I experimented with stains and paints. Though I’ve used gel stains in the past, it wasn’t giving me the look I wanted, so I switched to paint.
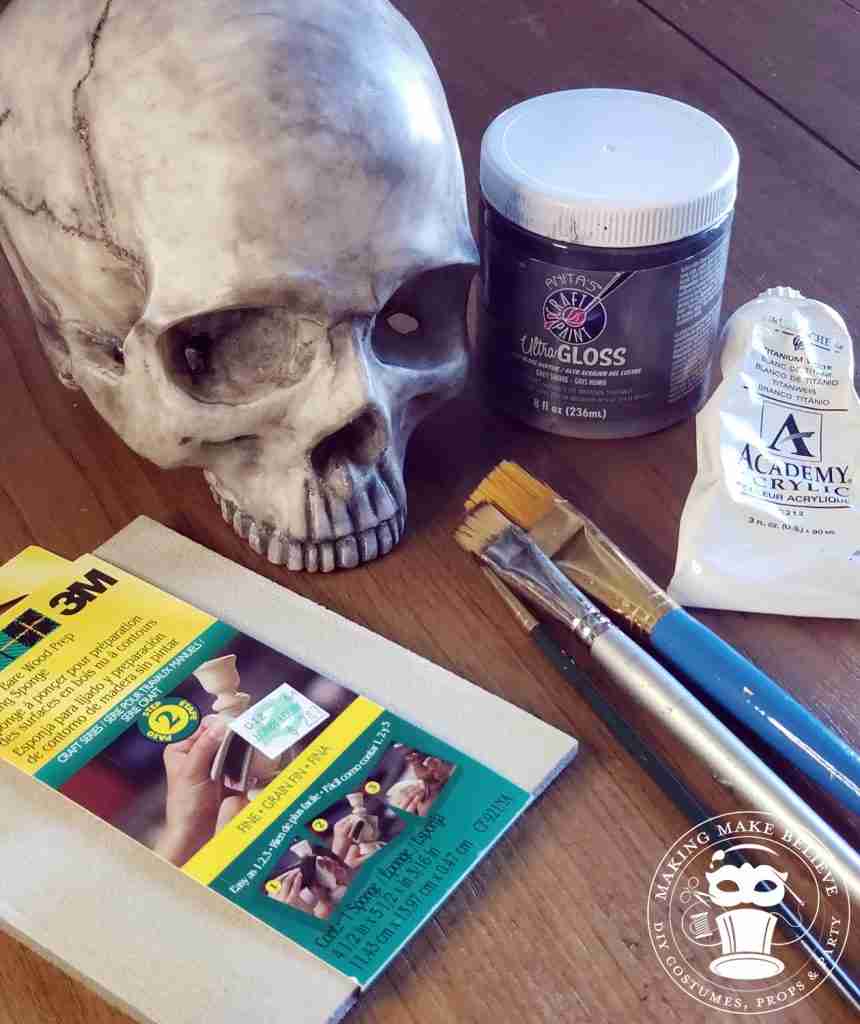
Using Anita’s Craft Paint in Ultra-Gloss Grey Smoke and a small brush, I first darkened in the sutures, between the teeth, and anywhere else I wanted dark shadows. I focused on getting the paint down into the recesses, and then I immediately wiped it off of the high points.
After that was done and dry, I took a 3M Fine grade sanding pad and lightly sanded the skull. I didn’t spend much time on this, and I did not hit every area.
Next, I made a wash with the paint and some water, and I used it to coat the entire skull.
I went in and painted the eyes, nose, and underside. I also dry-brushed some areas to give them more dimension.
Finally, I took some white acrylic paint and, using my finger, lightly rubbed it onto the front of the teeth and the high points such as the tip of the nose and the brow bone.
My best advice is to just play with this and have fun with it. Work in small sections adding and removing color as you see fit.
Below you can see the finished weathered look as well as the supplies that I used.
Now, let’s bedazzle this guy.
I went with silver, gold, and pearl beads, and clear jewels for this skull prop project. I gathered an assortment of sizes, from micro to the largest, 1 inch diameter, pearl-look bead for the eye.
Hot glue will work for this project, but E6000 takes longer to set so you can manipulate the placement. I used jewelers tweezers, but regular tweezers will work too.
A few quick tips:
If you don’t want the holes in your beads to show, line the holes up against other beads or top off with a microbead that has a less-obvious hole.
When stacking beads, let the bottom layer dry before adding more on top, so your beads don’t shift.
Stabilize your skull prop while you’re working on it by placing it in a bowl.
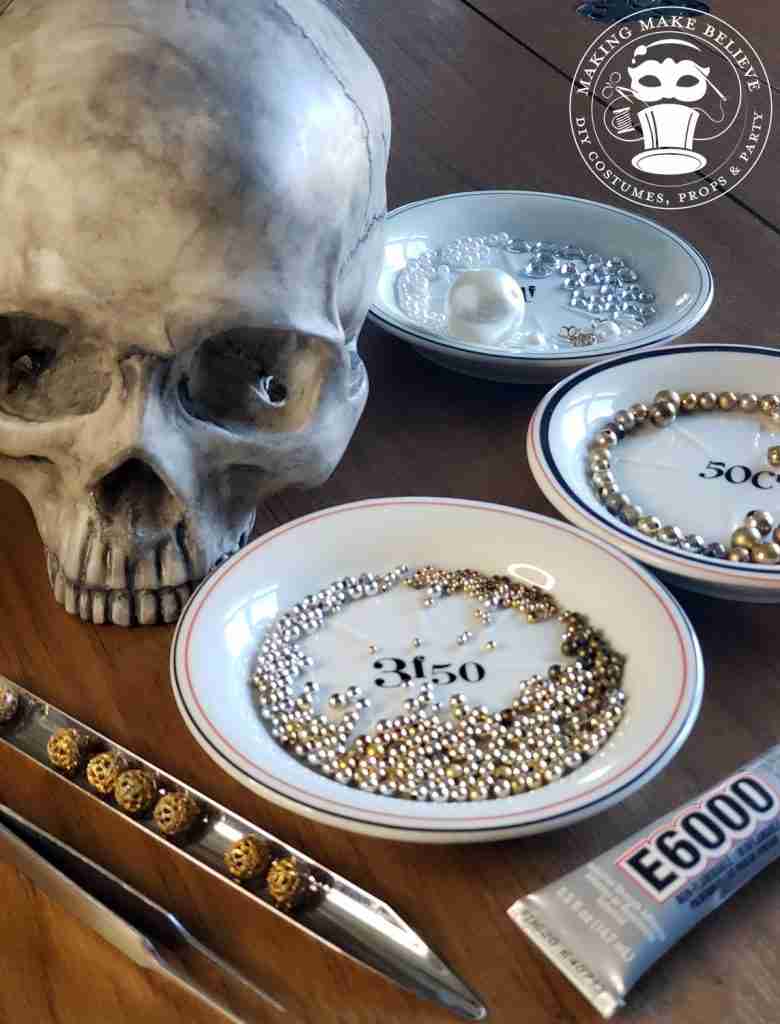
First up, place the large pearl-look bead in one eye near the back. Allow the glue to dry before adding more beads. You can use the hot glue or just give it a few minutes before moving on.
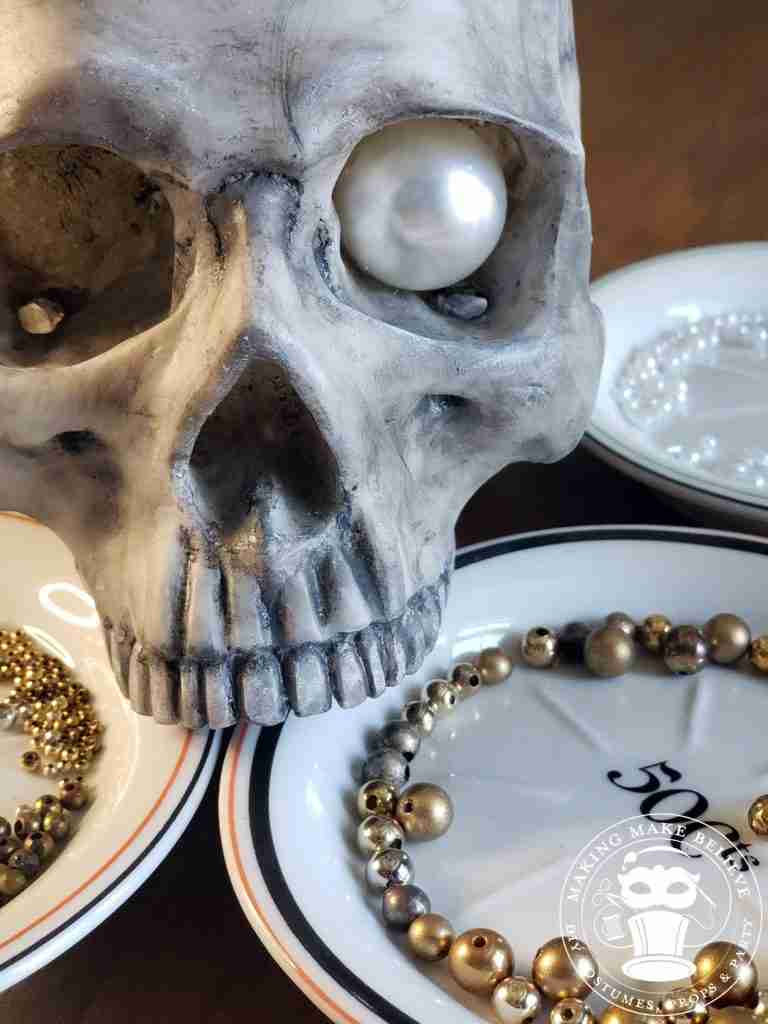
Now, begin filling the eye area.
Keep in mind that you will want to stack beads, so put your less favorites and some of the larger beads and jewels at the bottom. Save your microbeads for the top layers.
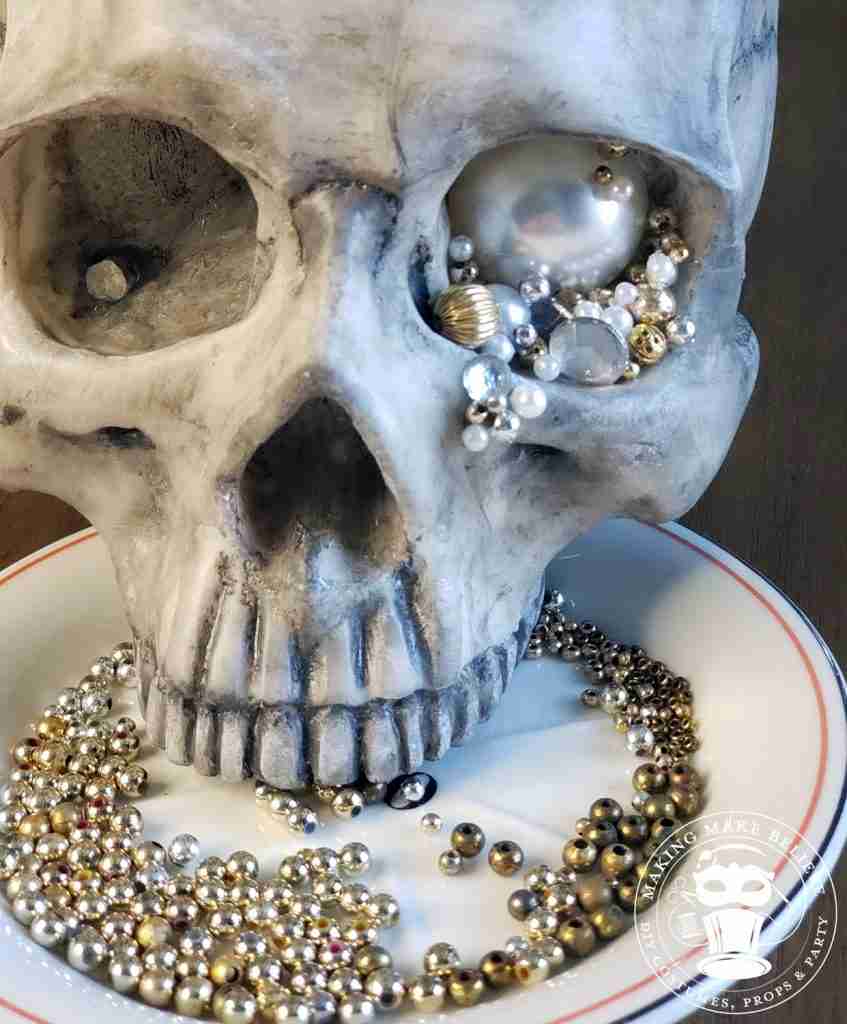
Build up the eye area until you get the look you want. Continue adding jewels to your skull prop, spilling them over the edge both down the front and up the skull.
Add a microbead between a couple of teeth if you like.
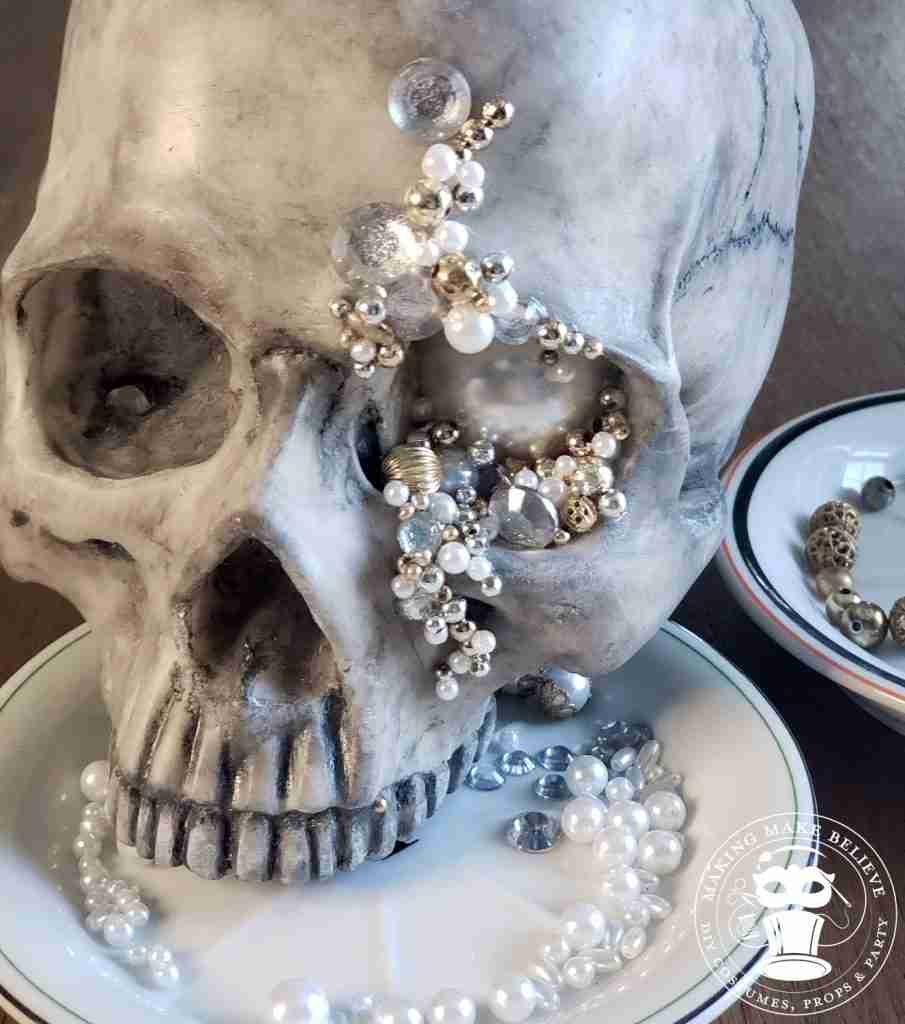
Add more beads and jewels up the skull prop face and to the top of the head. Don’t be afraid to stack and sprinkle in random places. There is no wrong way to bedazzle your skull.
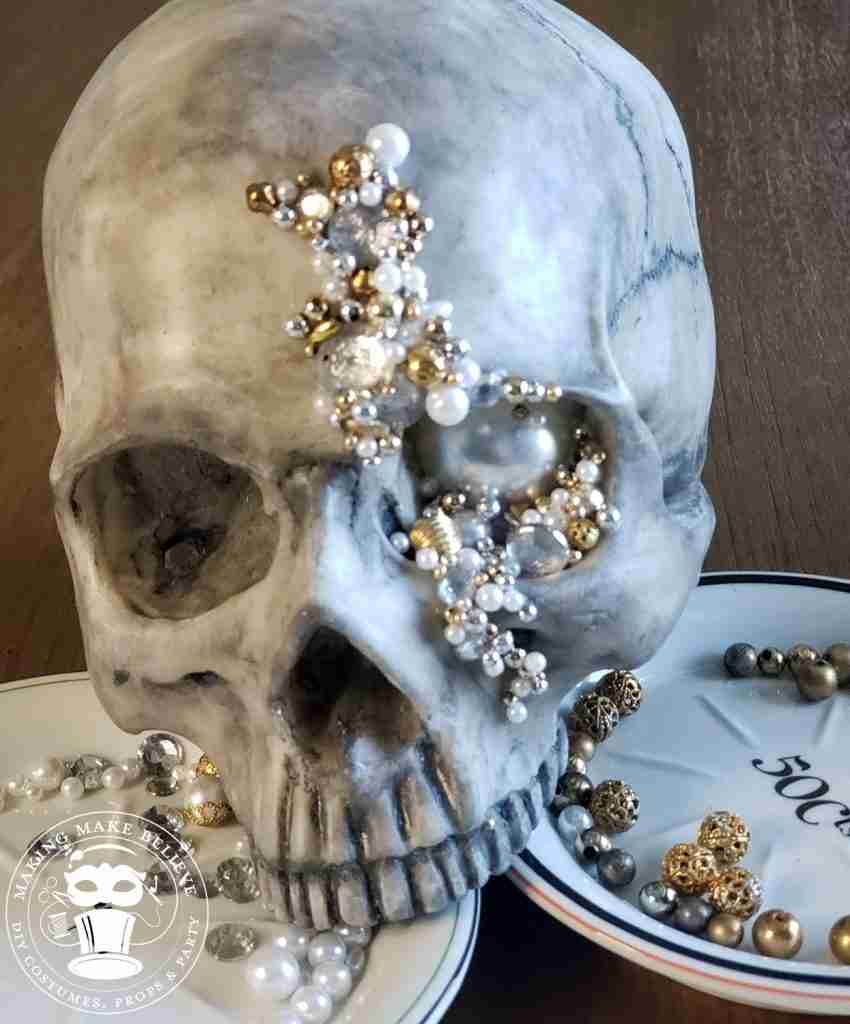
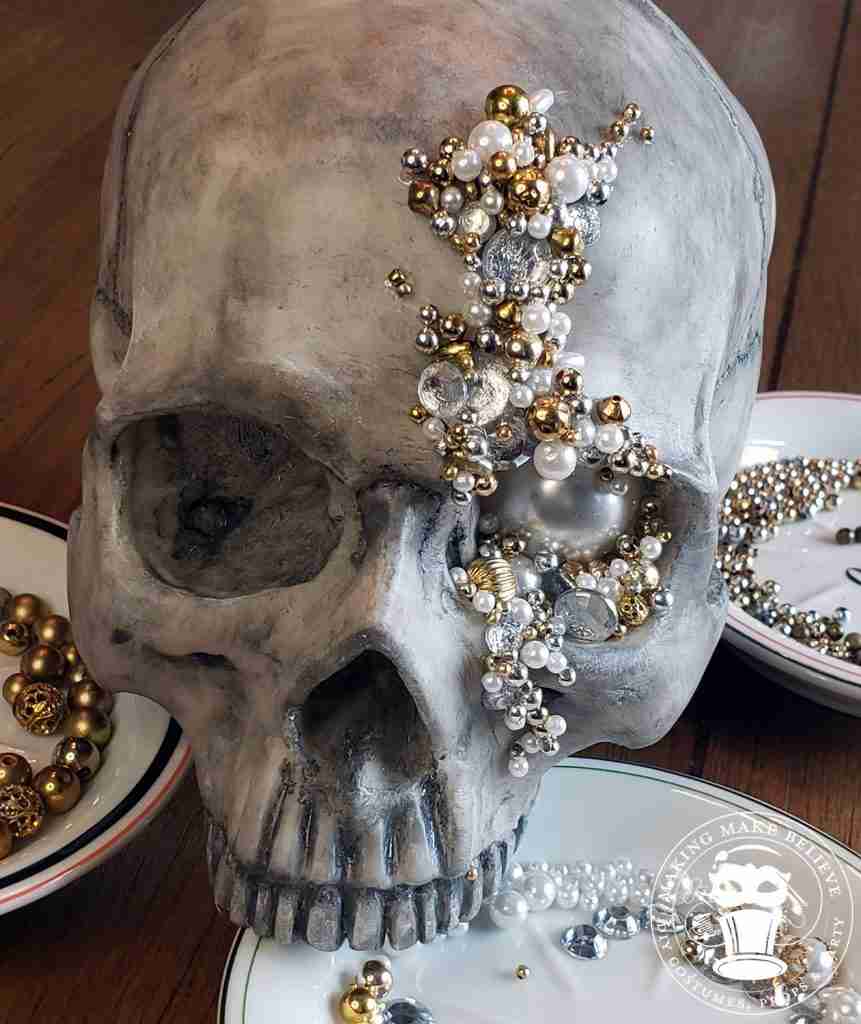
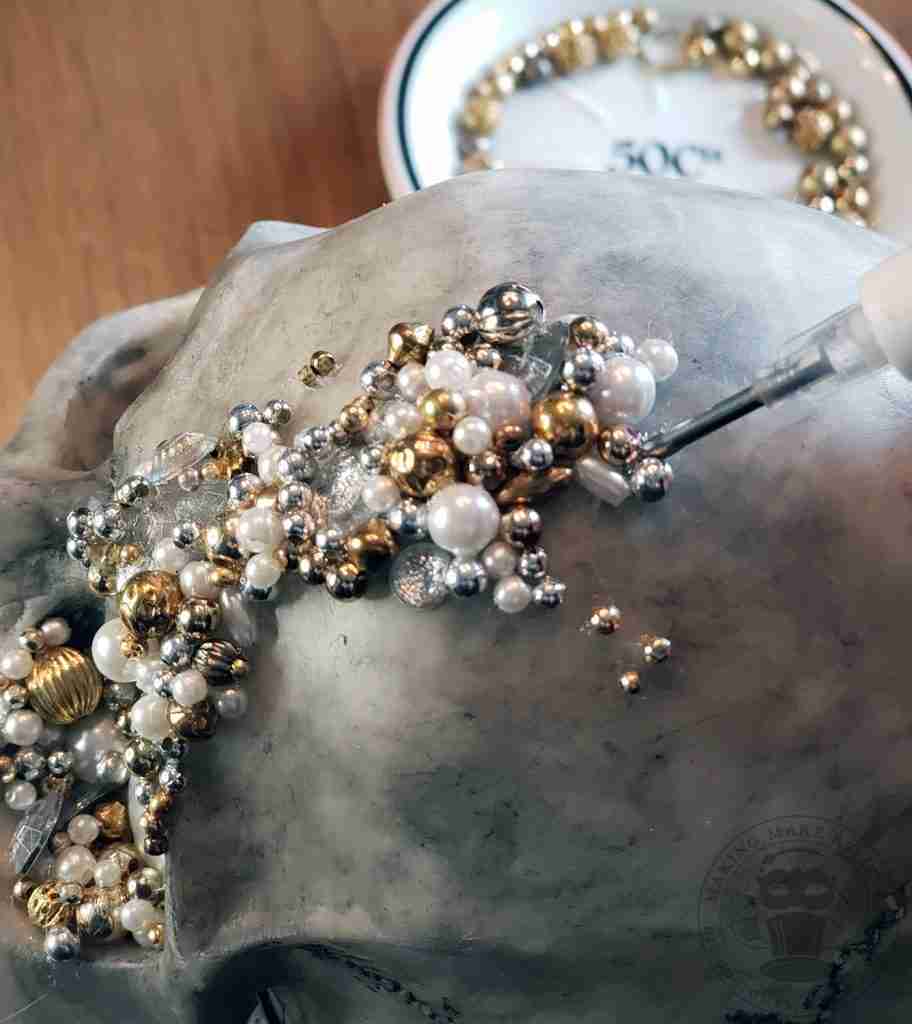
Whew! I’m not gonna lie. This project isn’t complicated but it does take some time so don’t expect to crank this out in the last minute.
Load up your YouTube watch list or get your Netflix on deck up before you start and just have fun with the creative process.
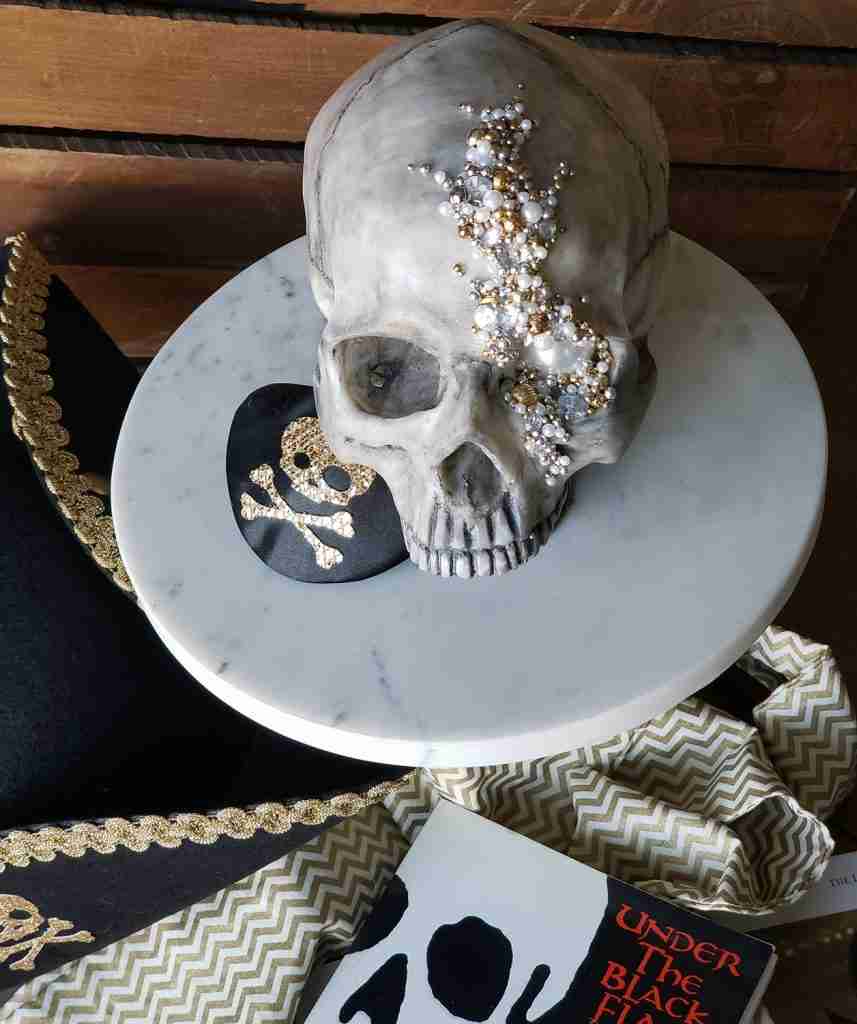
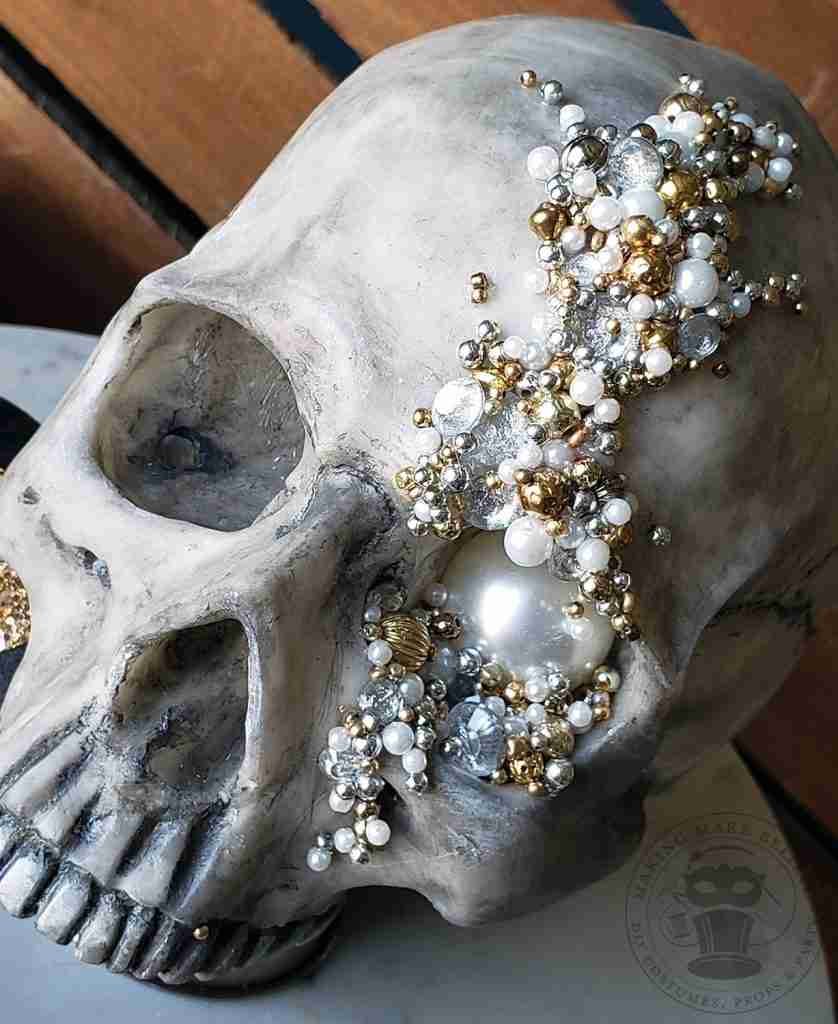
So, do you like this bedazzled buccaneer? Let me know on Instagram or Facebook.
Alright, I’m going to go work on some pirate hats.
Until next time. Be-dazzled.

Templates, patterns and printables for every project on the blog.

Counting down to Halloween since the 1970s. I create, style and celebrate all things costume and Halloween, all year round.
Welcome to my world of Halloween Ever After, where I create, style, and celebrate all things costume and Halloween.
Within these haunted pages lie affiliate links to curious and captivating finds I love. If you make a purchase through them, I may earn a modest commission (think fun-size candy bar), which helps keep the Halloween magic alive. No extra cost to you – cross my batty heart.



Check your email for the Haunted Library password.
Don’t miss a moment of the mischief.
Add hello@halloweeneverafter.com to your address book.
The magic happens right here in my studio and office. When you step inside my creative space, you’ll find an ever expanding gallery wall overflowing with original spooky art and classic Halloween LPs, right alongside a haunted cabinet packed to the brim with vintage curiosities.
It’s under the watchful eyes of these retro treasures that I design and craft.
Join us and get access to our Haunted Library stocked with templates, printables, cut files, and exclusive content. Plus, you’ll receive Eerie Emails just for our subscribers.
*Stay as long as you like. Unsubscribe at any time.


