Free templates & patterns
130+ freebies are waiting in the Haunted Library
Templates, patterns and printables for every project on the blog.
Formerly Making Make Believe · Join the Haunted Library

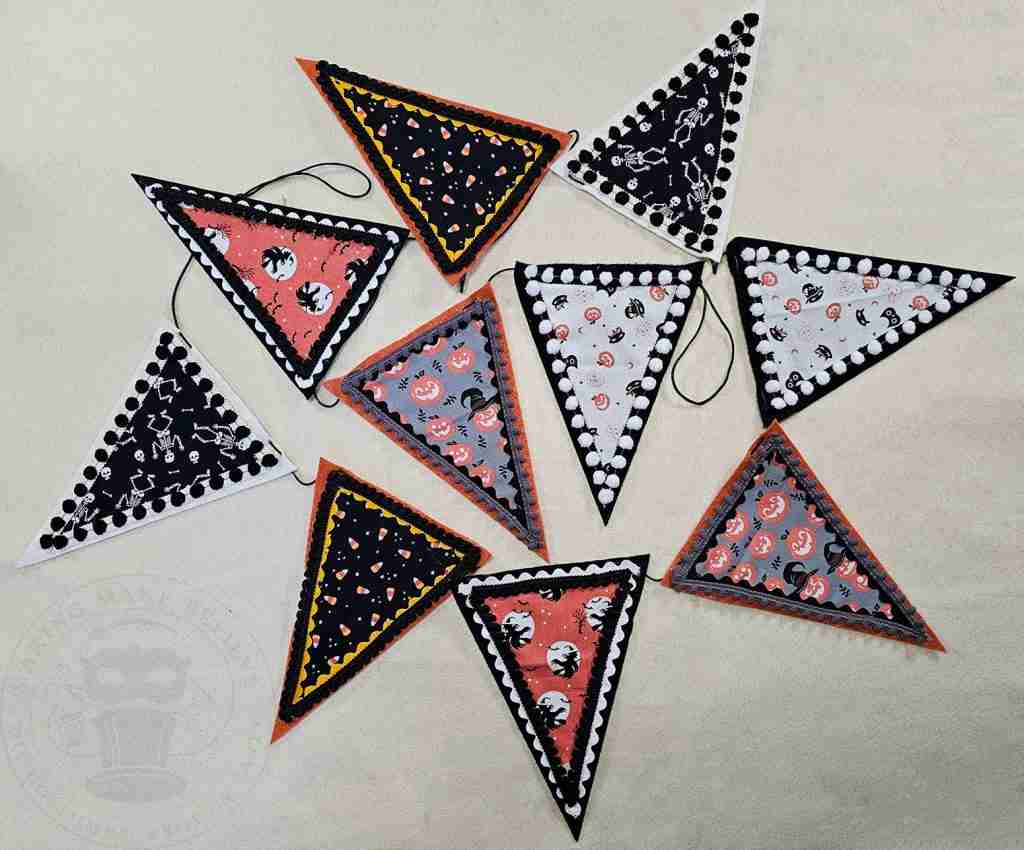
Halloween Pennant Banner
As an Amazon Associate I earn from qualifying purchases.
This post may contain affiliate links for your convenience. Click here to read our disclosure policy.
I’ll admit I have a problem. Obsession is a better word, but either way, I need to find creative ways to deal with my ever-growing stash of Halloween fabrics.
When I go to a fabric store and see the plethora of haunted prints, several seem to end up in my cart. Often, I don’t have a project in mind; I grab a bit, and I’ll figure it out later.
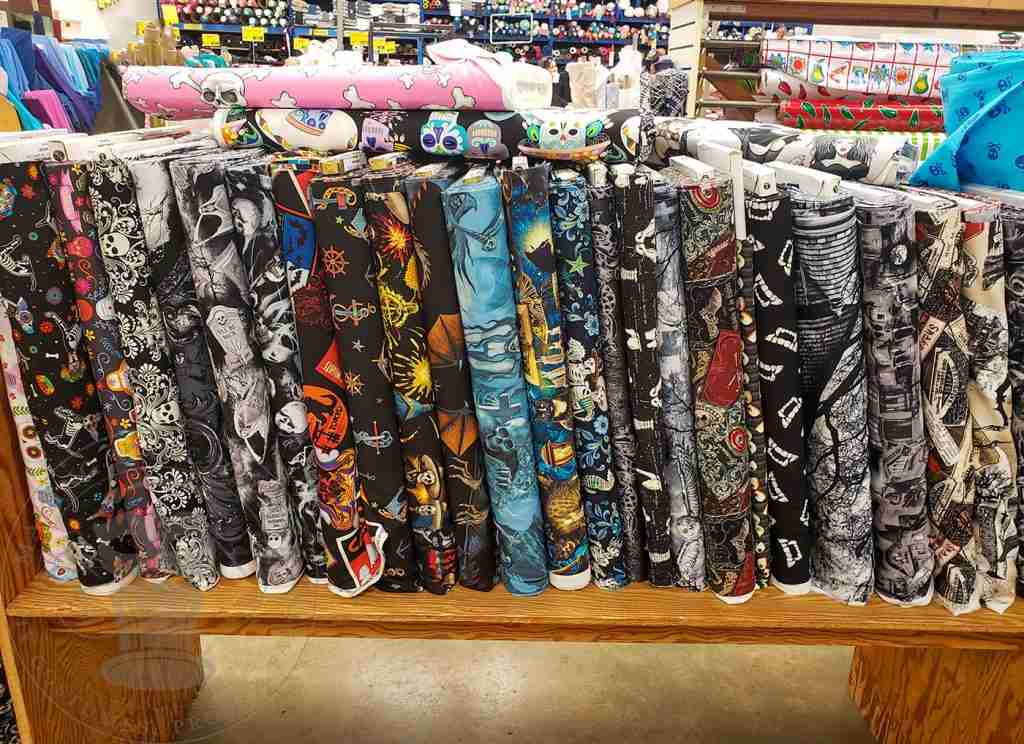
Well, today is later. I am running out of room in the spaces allotted to these frightful fabrics, so I need a project stat!
I love banners and have created several for this blog, but I still need to make a pennant-style version. So – to the fabric stash, we go.
While I have a healthy assortment of fabrics, this project does not require large amounts. If you don’t have your own stash or scrap pile – no worries. Remnants and fabric bundles all work well for this project.
For my banner, I’m diving into my pile of fat quarter bundles. These are great as you get various coordinating fabrics, so you don’t need to think about it.
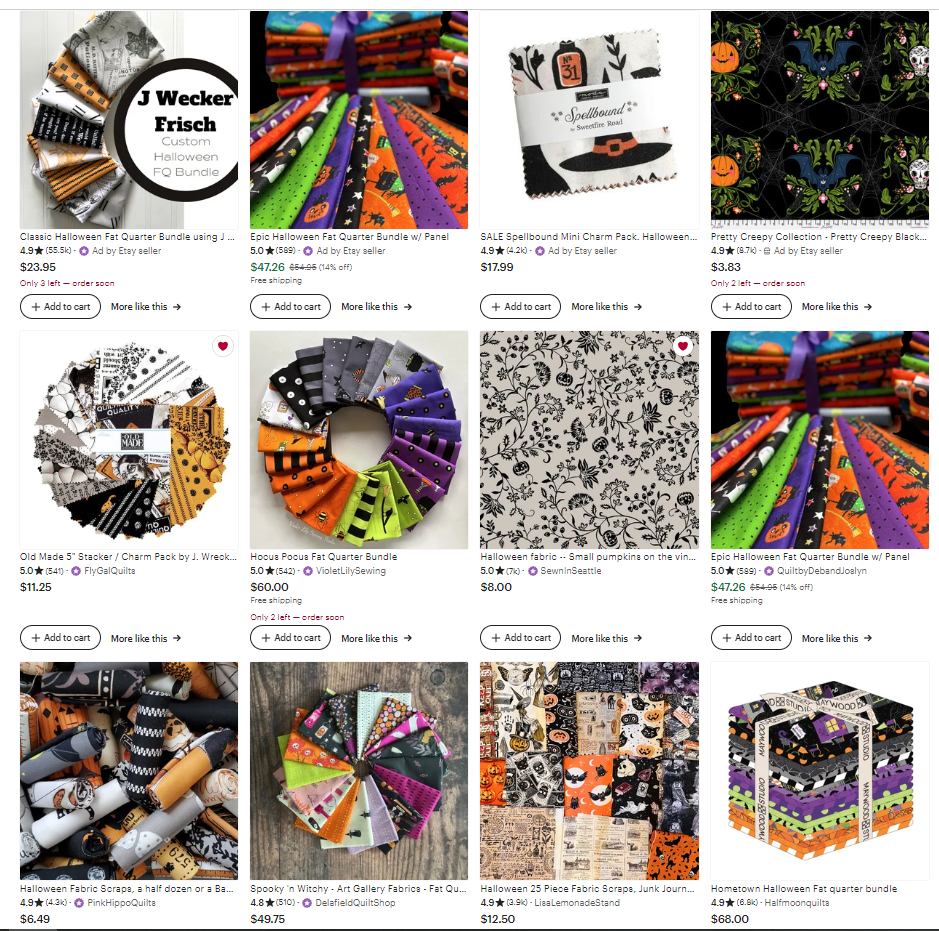
Find Halloween fabric bundles on Etsy.
One of the things I love about this project is that it allows you to create a custom, unique-to-you piece that fits your haunted style.
As a bonus, if you prefer a no-sew project, you can opt for glue instead of a needle and thread.
Ok, let’s get started.
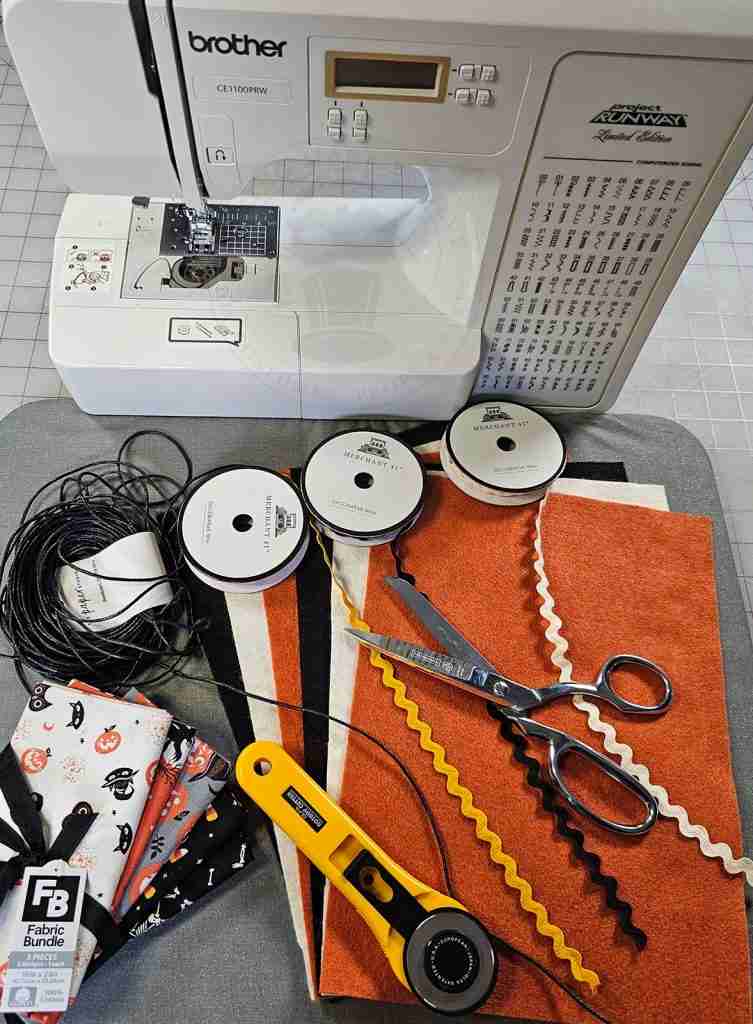
For this project, we will need:
Assorted Halloween fabric – I am using a fat quarter bundle
Assorted color craft felt
Scissors or rotary cutter
Sewing machine or needle and thread*
Cording or ribbon for stringing
Embellishments such as poms, rick rack, ribbons, tassels, etc.
*For a no-sew version, opt for fabric or felt glue instead.
The pennant is a simple triangle, but to make it super simple, we have a free Halloween Pennant Banner template in the Haunted Library. The download includes a background pennant for the felt and a front pennant for the fabric.

Print and cut out your pennant template in the desired size. In the free template, the background pennants are approximately 6.67″ wide by 8.75″ high, and my front pennants are approximately 5.5″ wide by 7.5″ high.
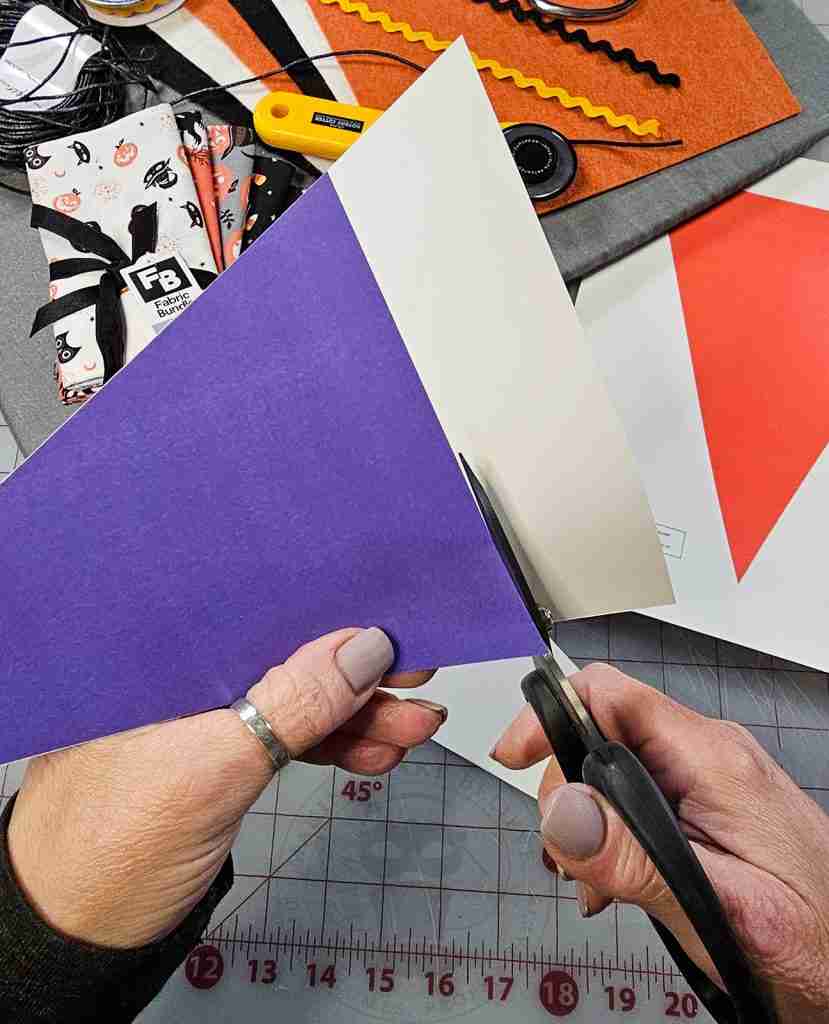
Next, trace the template onto the fabric and cut out the front pennants. Cut as many as you need to make the banner your desired length. Each pennant can be unique, or you can create a repeating pattern.
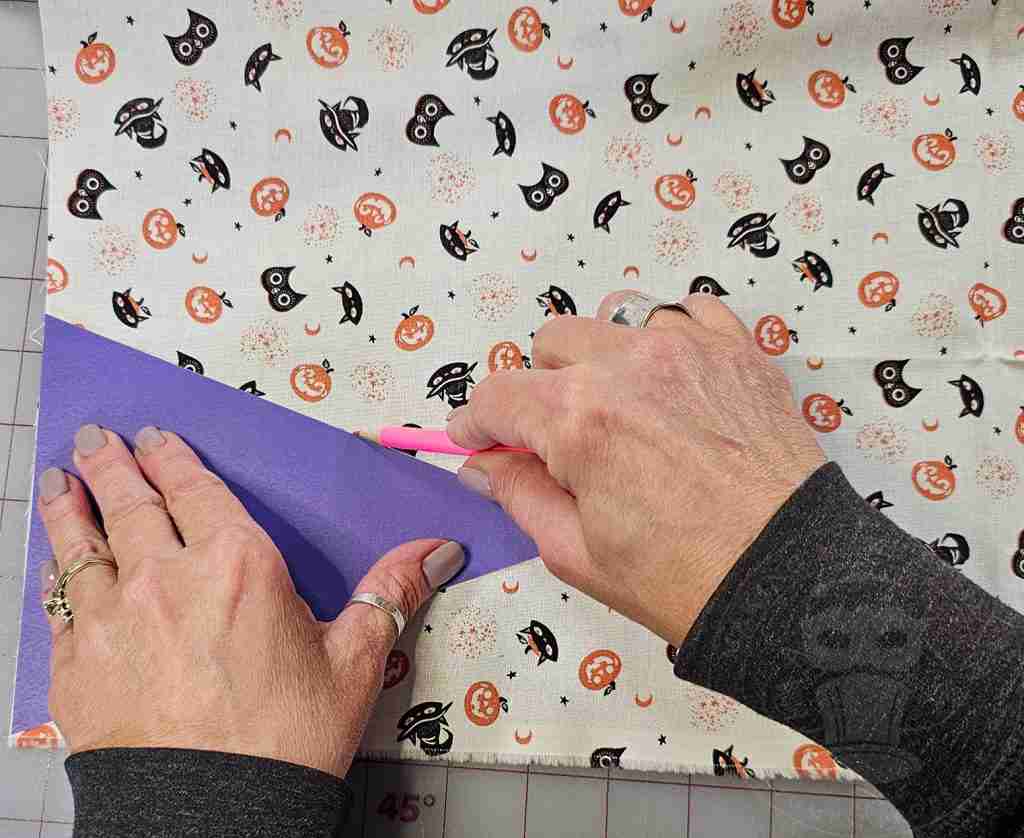
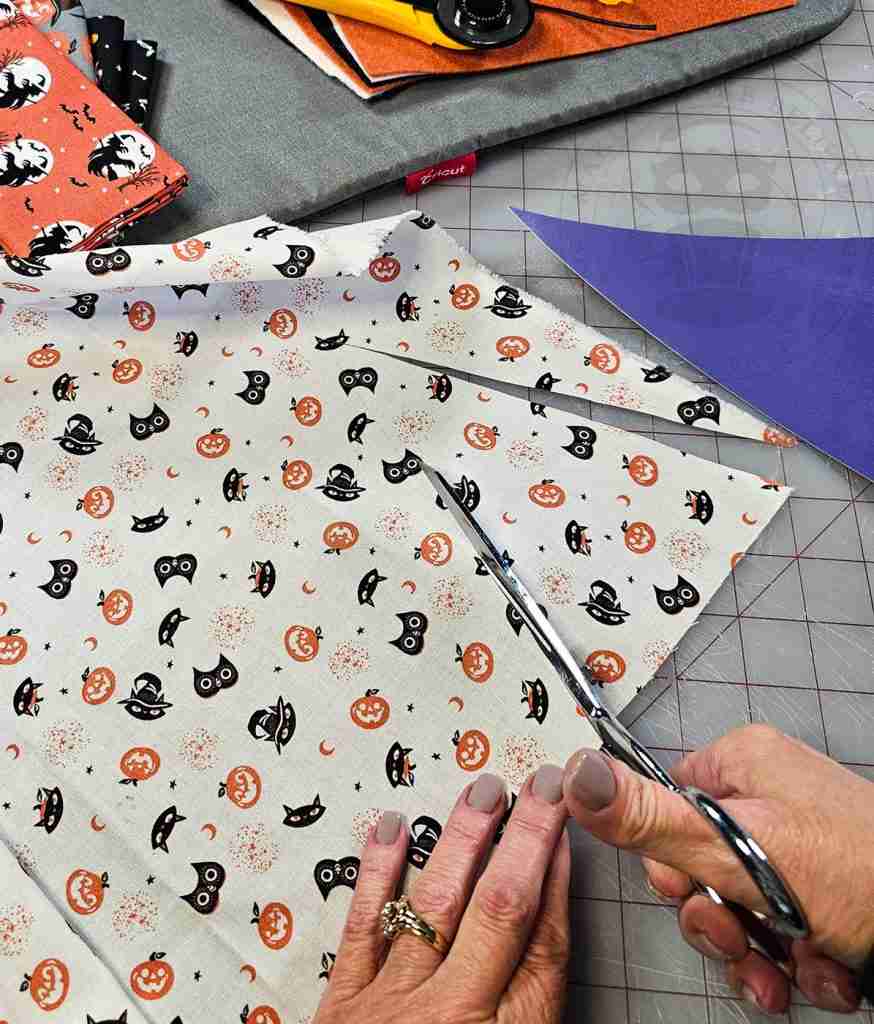
Trace and cut a background pennant from felt to go with each fabric pennant. You can coordinate the colors or be random with the design.
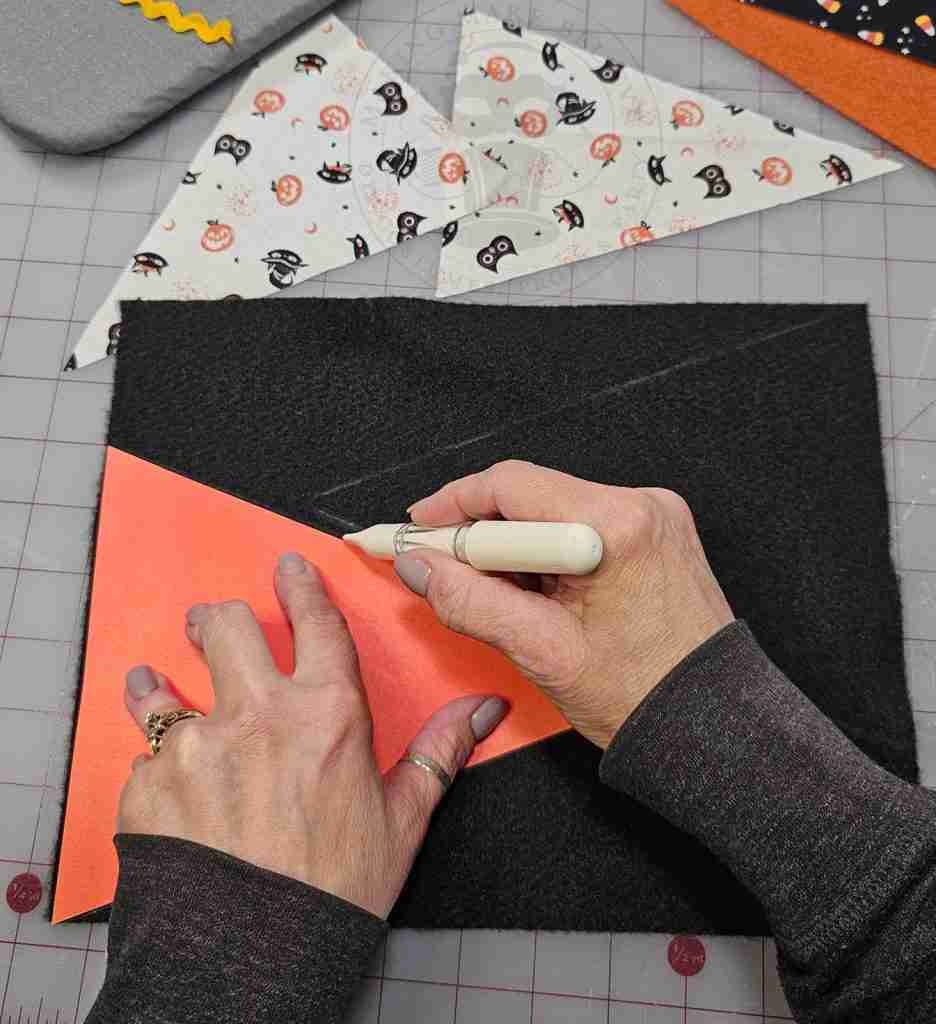
Group the front and back pieces together.
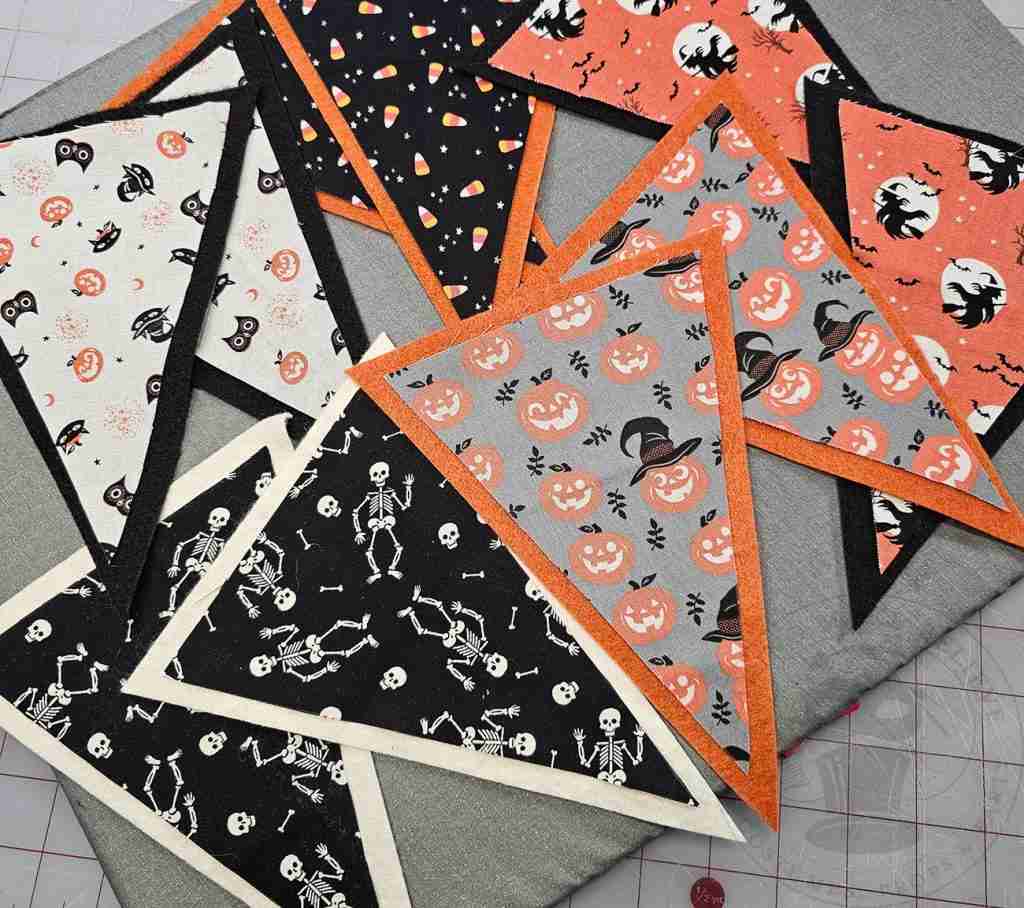
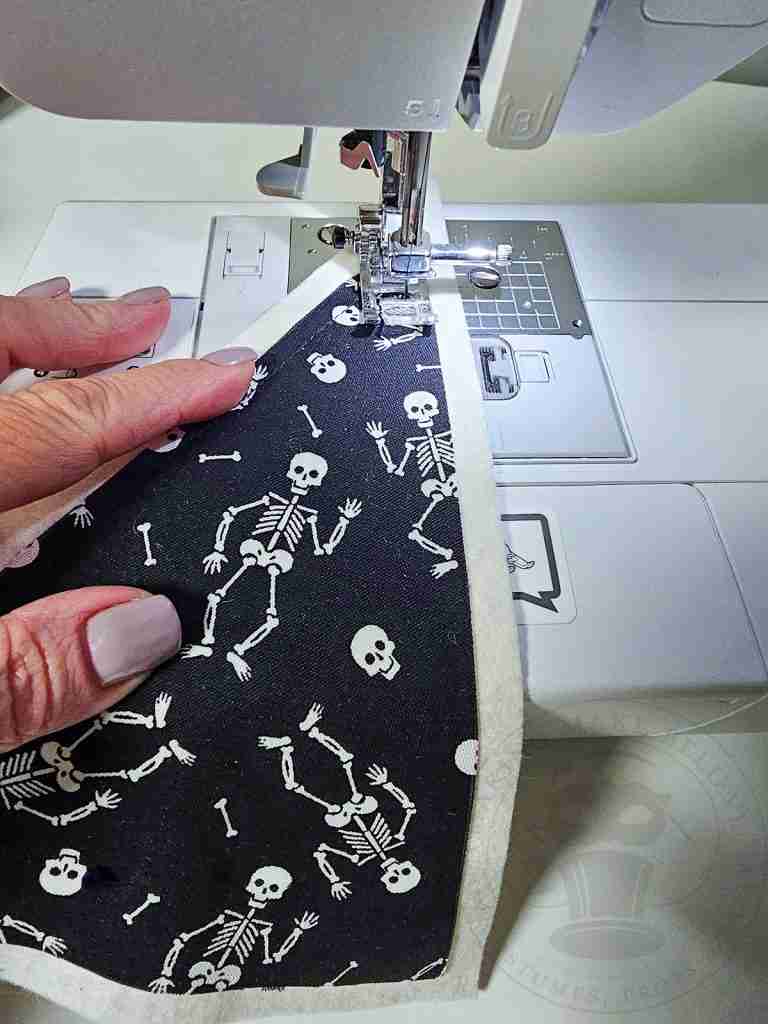
Center the front fabric pennant onto the felt background pennant and stitch (or glue) around the fabric to secure the pieces together.
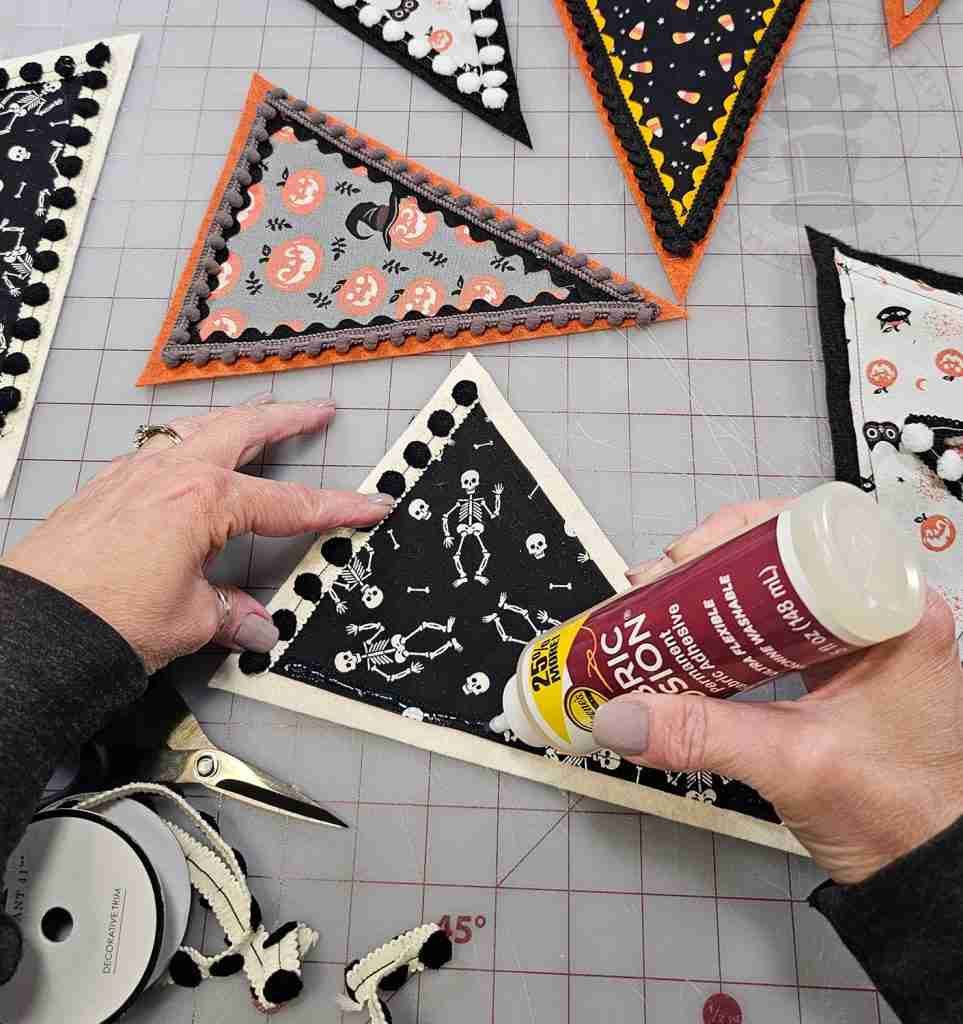
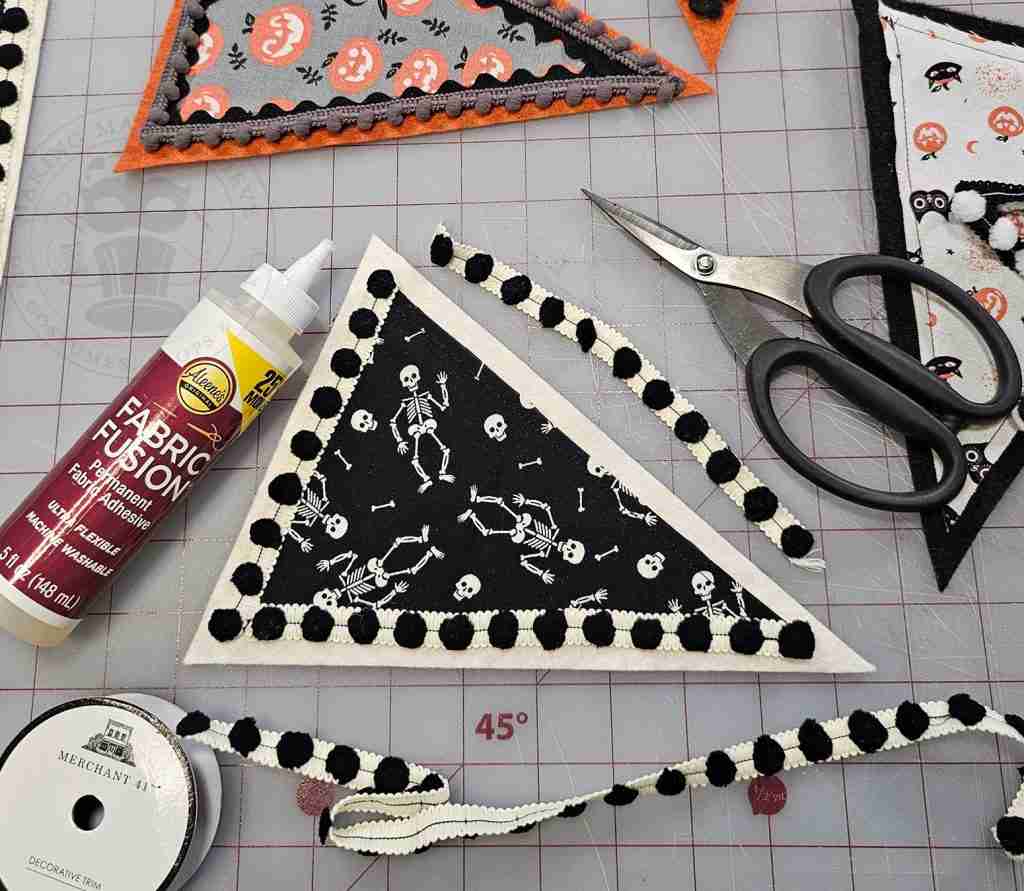
To embellish, add rick-rack, pom trim, or ribbon around the edge of the fabric pennant.
I opted for fabric glue to add my trims but stitching or hot glue will work as well.
Lastly, string the pennants onto a cord by making a small hole or slit near the top corner of each side of the background felt pennant.
Add a loop to each end of the cord for hanging.
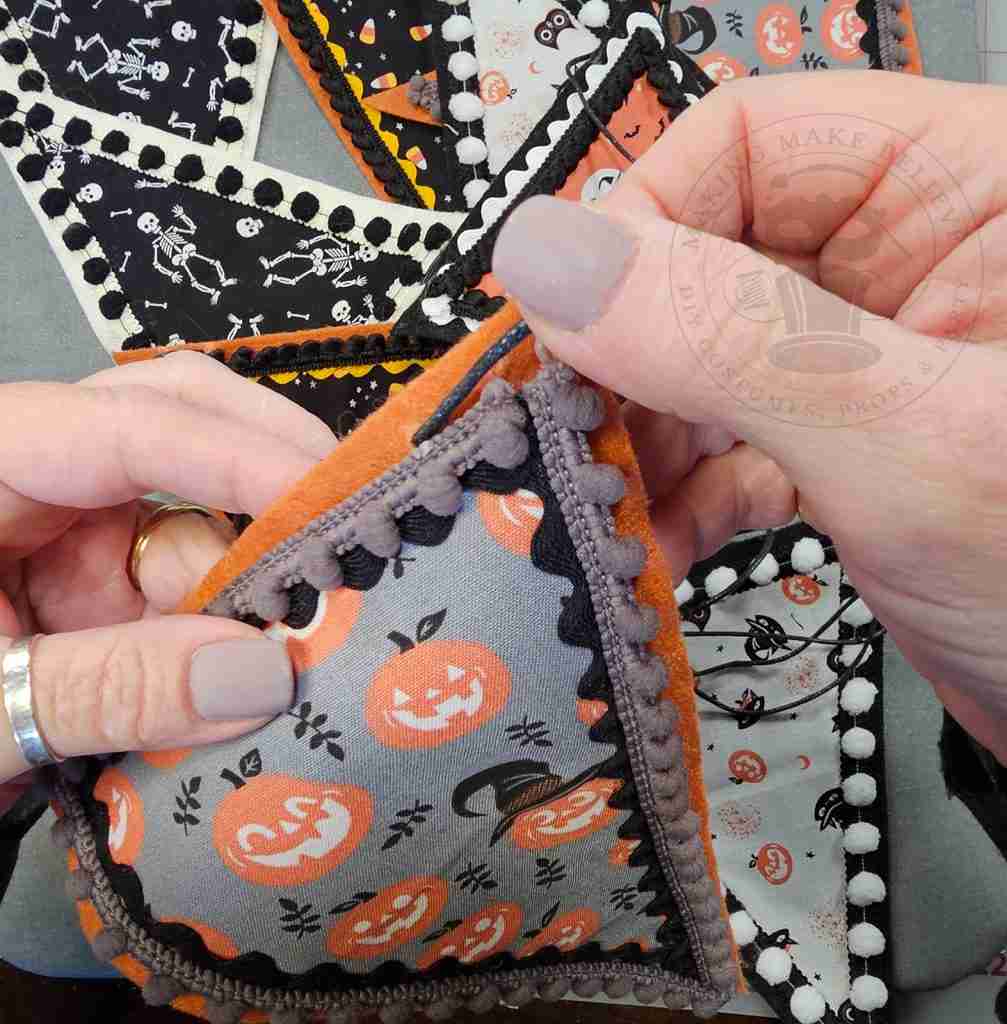
This Halloween pennant banner is so much fun to make!
I love coordinating the fabrics with the felts and choosing the embellishments. And it comes together relatively quickly, so I have custom Halloween decorations in a flash.
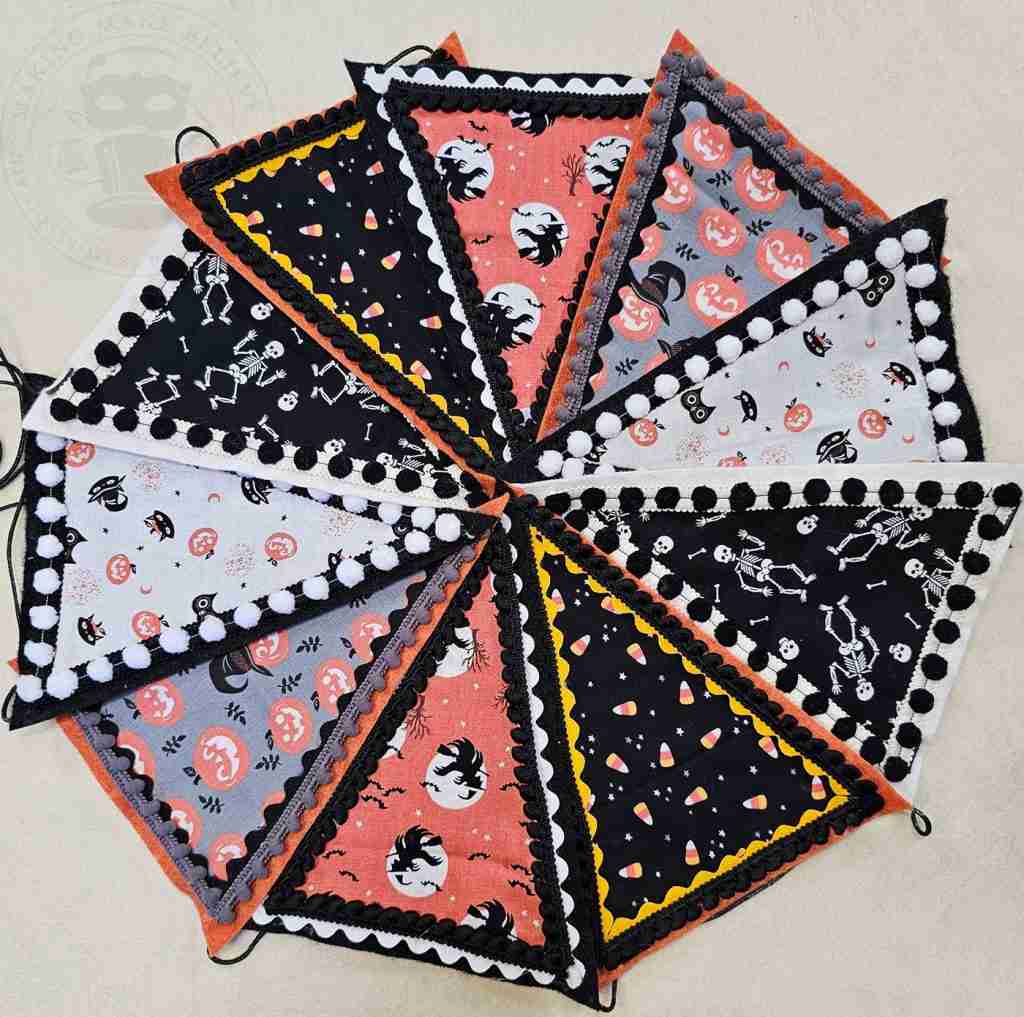
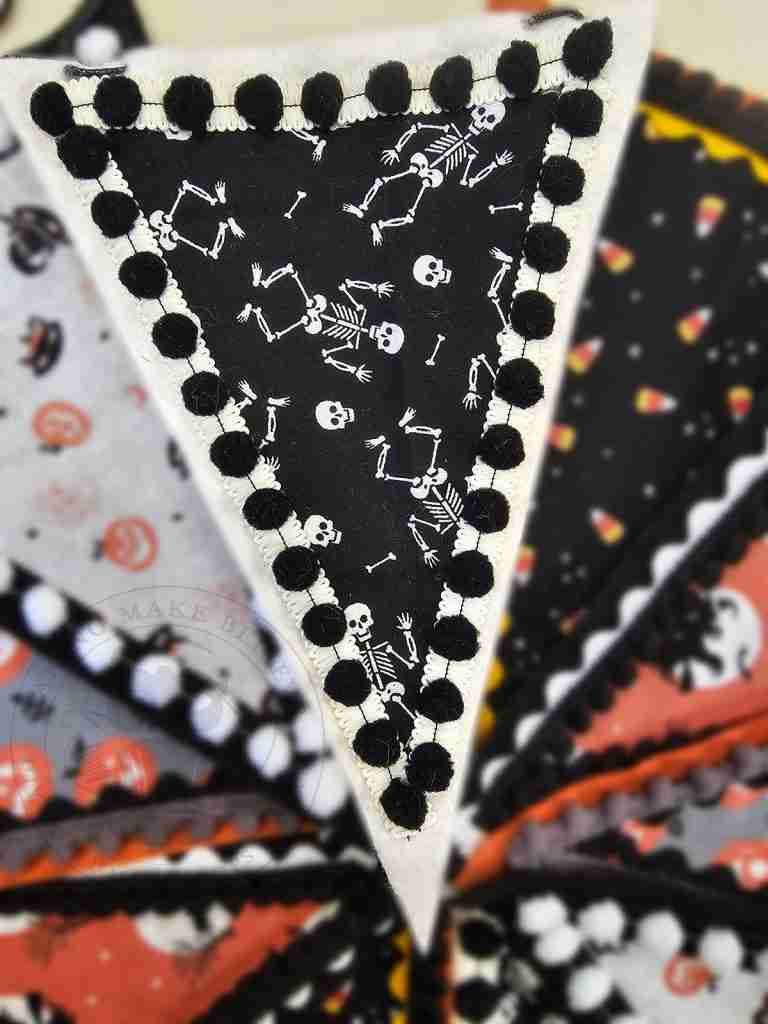
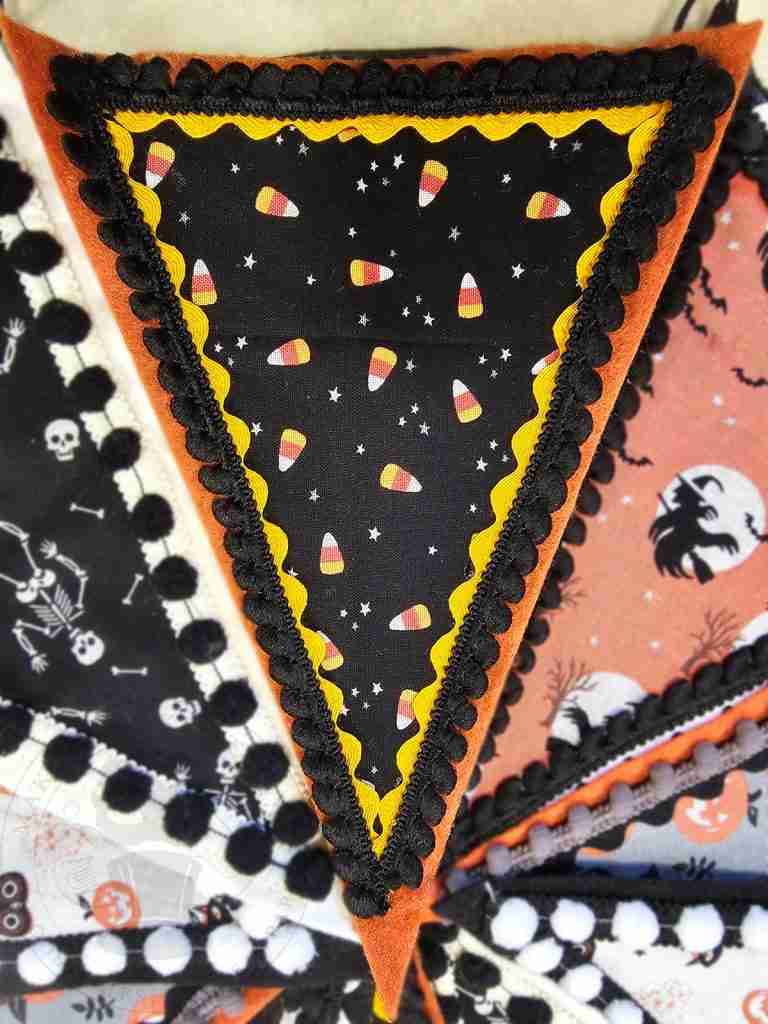
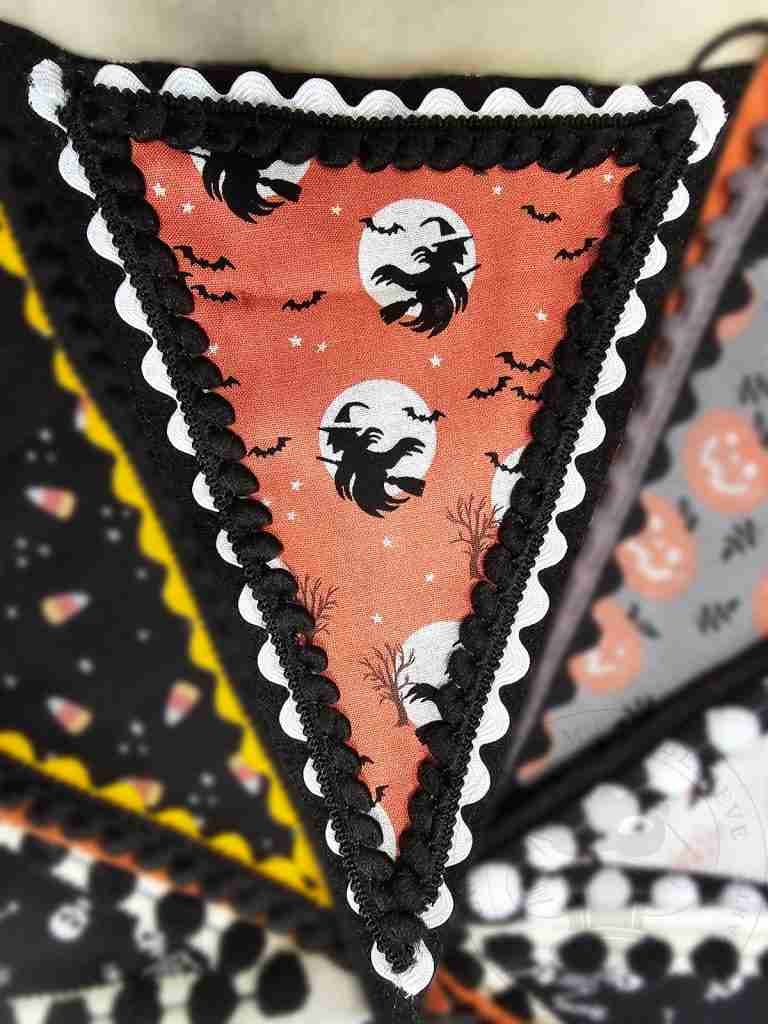
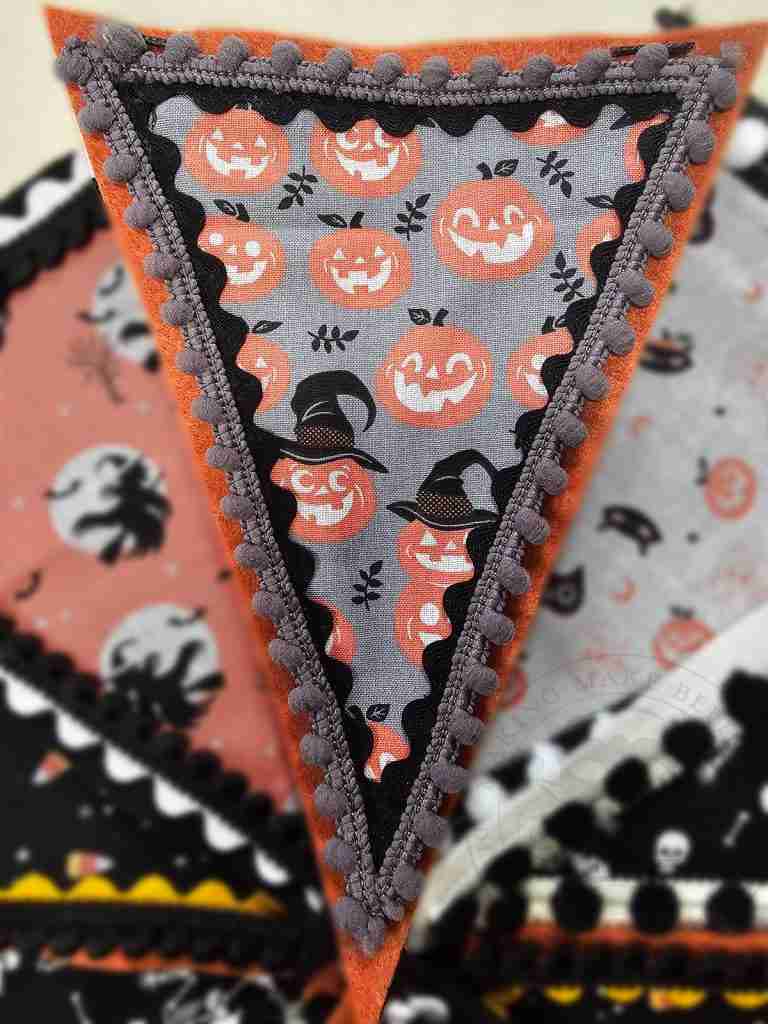
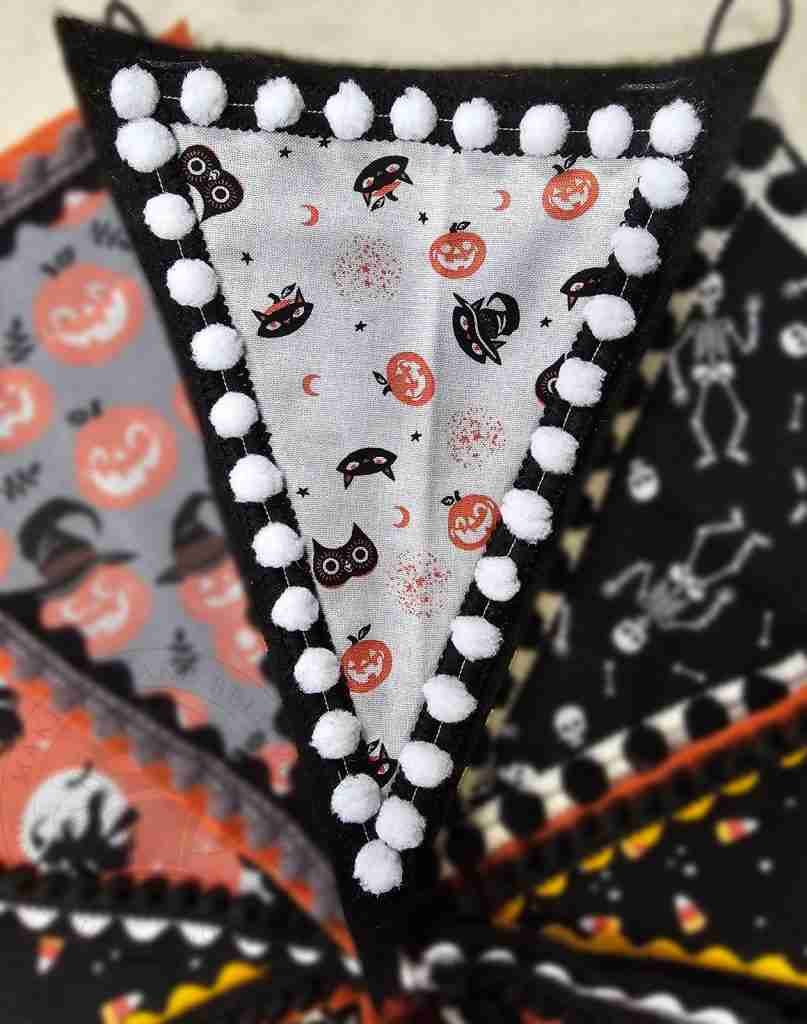
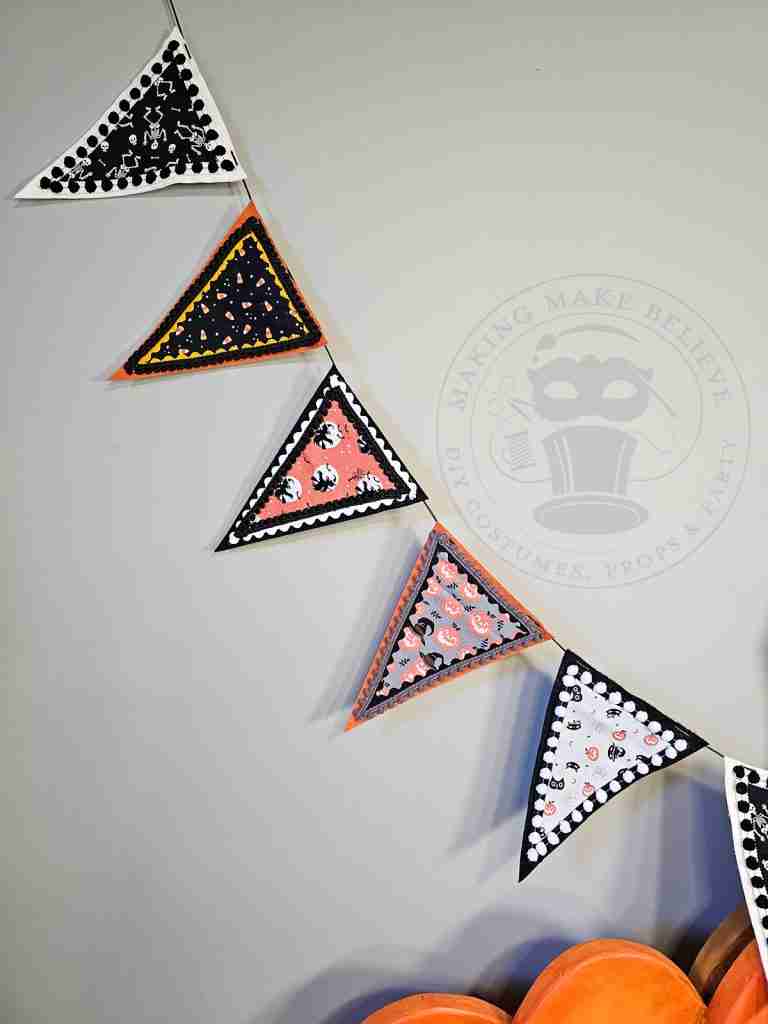
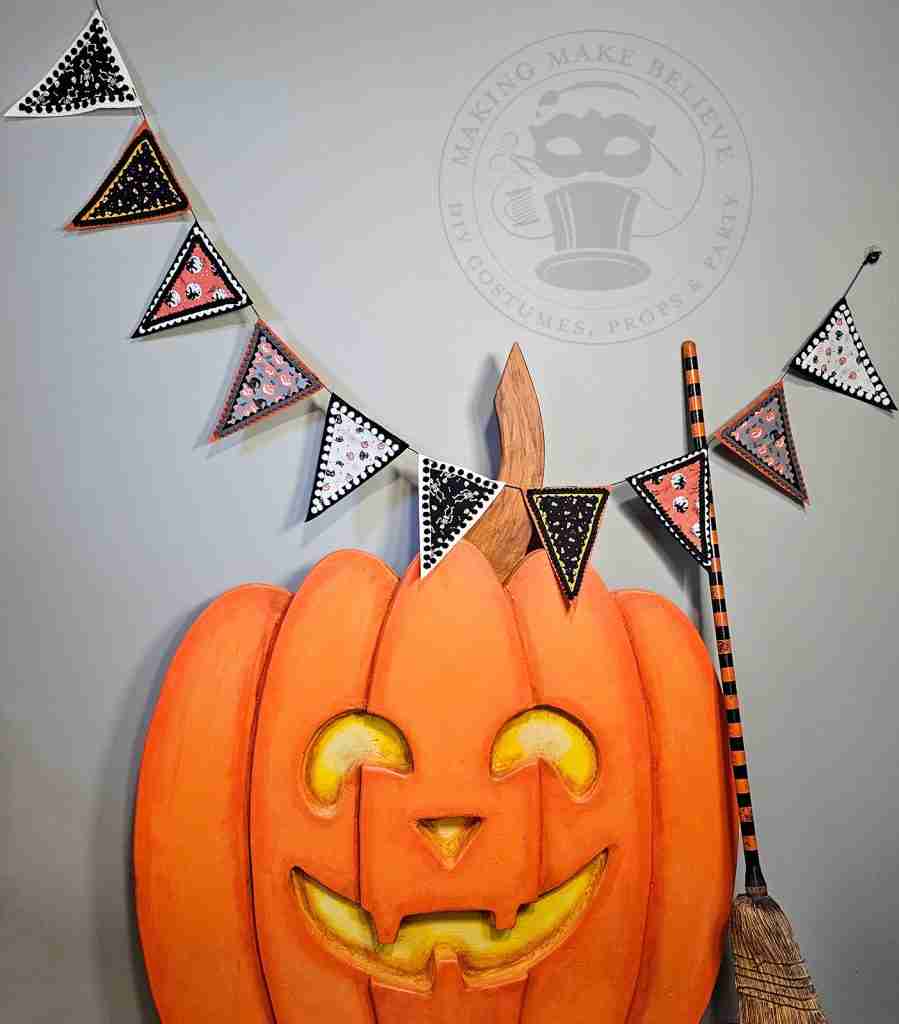
Well, I didn’t make a large dent in my stash, but I did make a little room for whatever I might bring home from my next trip to the fabric store.
Until next time – stay spooky.

Templates, patterns and printables for every project on the blog.

Counting down to Halloween since the 1970s. I create, style and celebrate all things costume and Halloween, all year round.
Welcome to my world of Halloween Ever After, where I create, style, and celebrate all things costume and Halloween.
Within these haunted pages lie affiliate links to curious and captivating finds I love. If you make a purchase through them, I may earn a modest commission (think fun-size candy bar), which helps keep the Halloween magic alive. No extra cost to you – cross my batty heart.



Check your email for the Haunted Library password.
Don’t miss a moment of the mischief.
Add hello@halloweeneverafter.com to your address book.
The magic happens right here in my studio and office. When you step inside my creative space, you’ll find an ever expanding gallery wall overflowing with original spooky art and classic Halloween LPs, right alongside a haunted cabinet packed to the brim with vintage curiosities.
It’s under the watchful eyes of these retro treasures that I design and craft.
Join us and get access to our Haunted Library stocked with templates, printables, cut files, and exclusive content. Plus, you’ll receive Eerie Emails just for our subscribers.
*Stay as long as you like. Unsubscribe at any time.


