Free templates & patterns
130+ freebies are waiting in the Haunted Library
Templates, patterns and printables for every project on the blog.
Formerly Making Make Believe · Join the Haunted Library

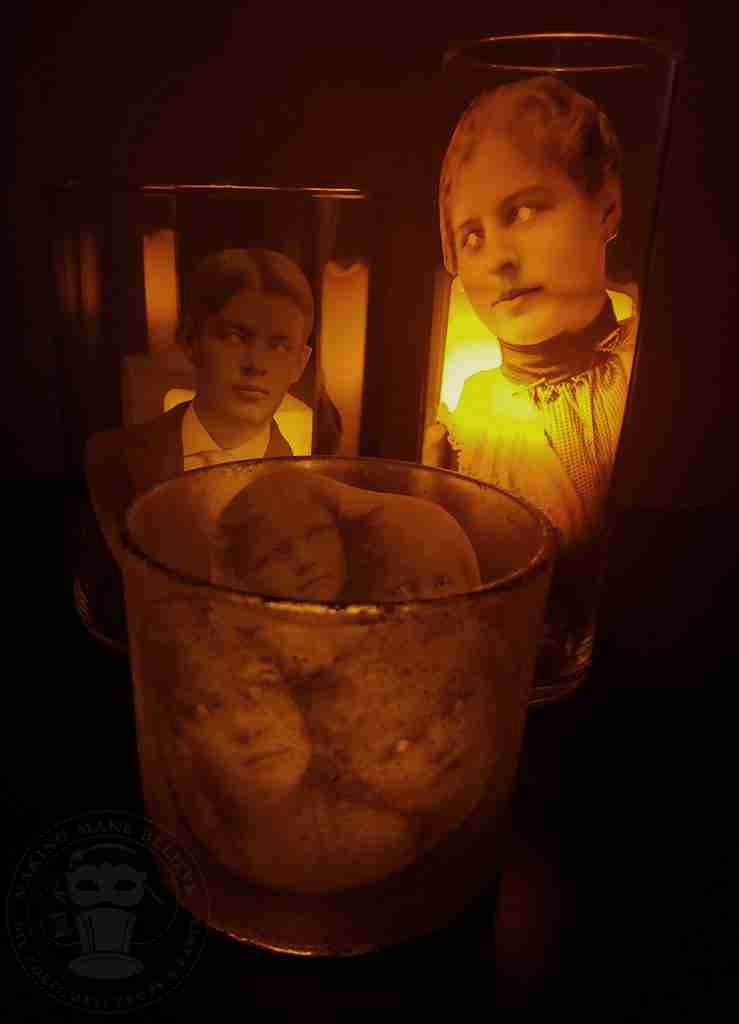
Haunted Candles Halloween DIY
As an Amazon Associate I earn from qualifying purchases.
This post may contain affiliate links for your convenience. Click here to read our disclosure policy.
I have amassed a pretty sizeable collection of vintage photos from the early 1900s to the 1960s. The funny thing is, I have no idea who these people are/were, where they come from, or how they lived. I’m not related to any of them (that I know of), yet, here they are.
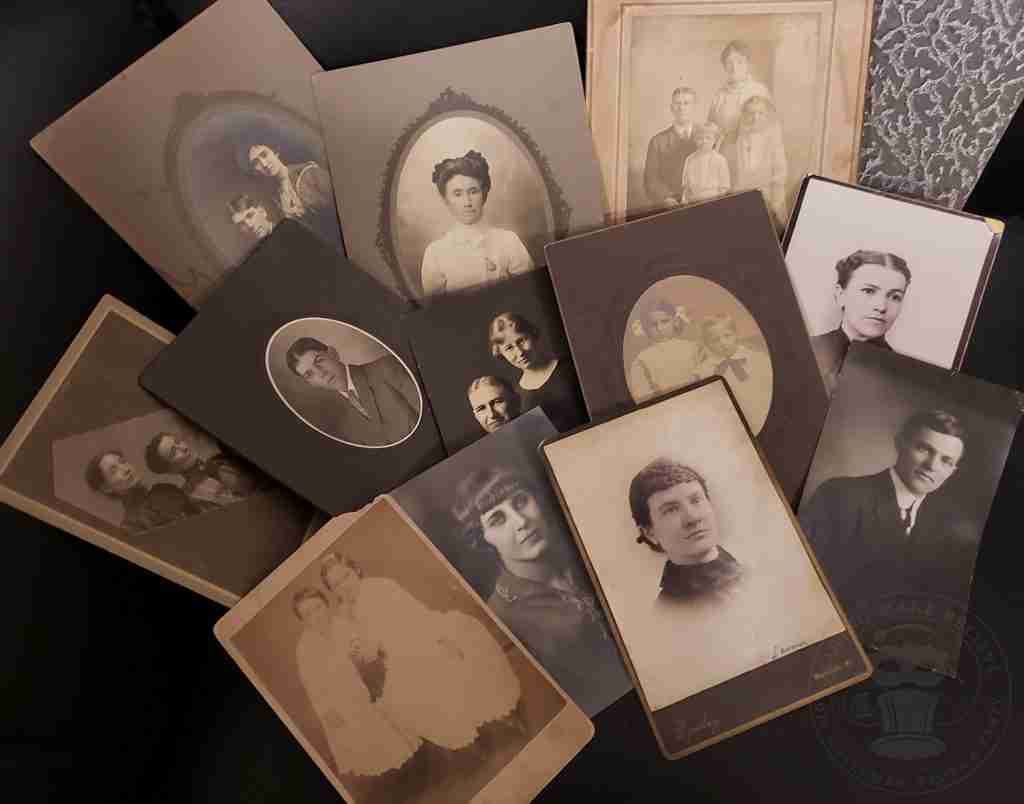
Some are rescues, destined for the trash heap, while others I’ve picked up in antique shops. And, sometimes, I’ve been gifted a box or two.
Since this collection keeps growing, it’s time to start using these mysterious accents to craft some Halloween decor.
So, if you don’t have your own resident poltergeist and you’d like one, I have a to-die-for DIY for you today.
So let’s get started.
We will need:
Vintage photos – If you have your own, you can use those, but if not, I have three for you in the Haunted Library.
Printable vellum (or, if you prefer, copy paper)
Scissors
Glue stick – Elmer’s Craft Bond Extra Strength is my fave
Glass vase
Scraper tool (optional)
Wood glue – I’m using Gorilla Glue brand
Acrylic paint (optional)
Sponge
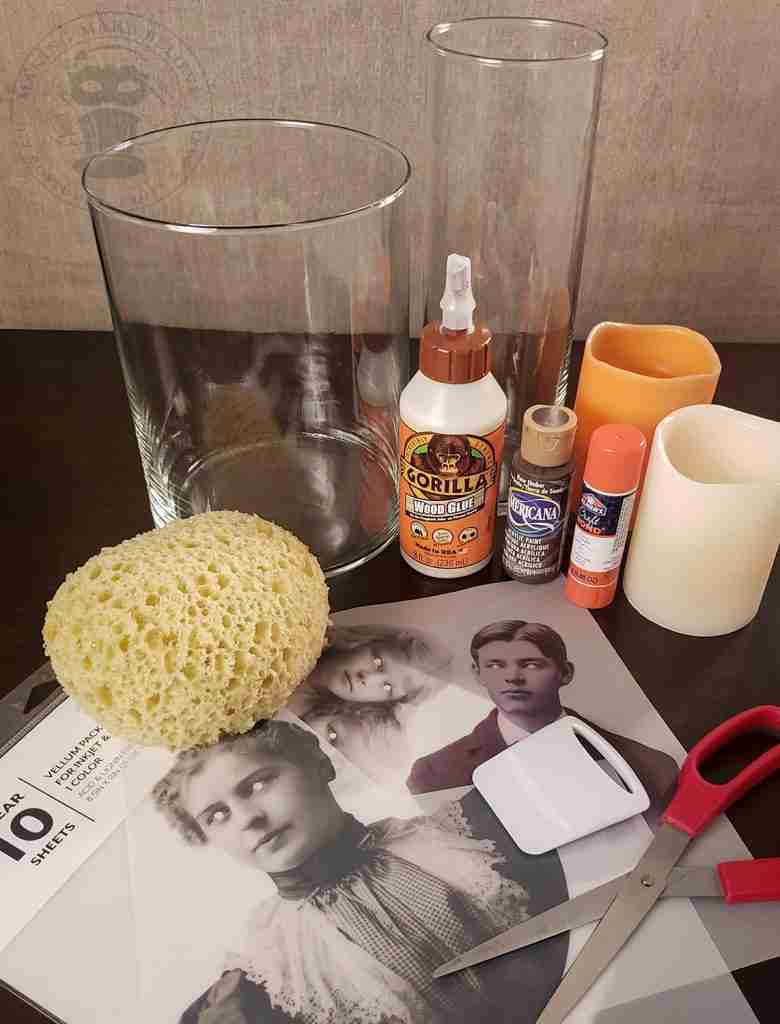
Resize the vintage photo to fit your vase. Print onto the printable vellum and cut around your image.
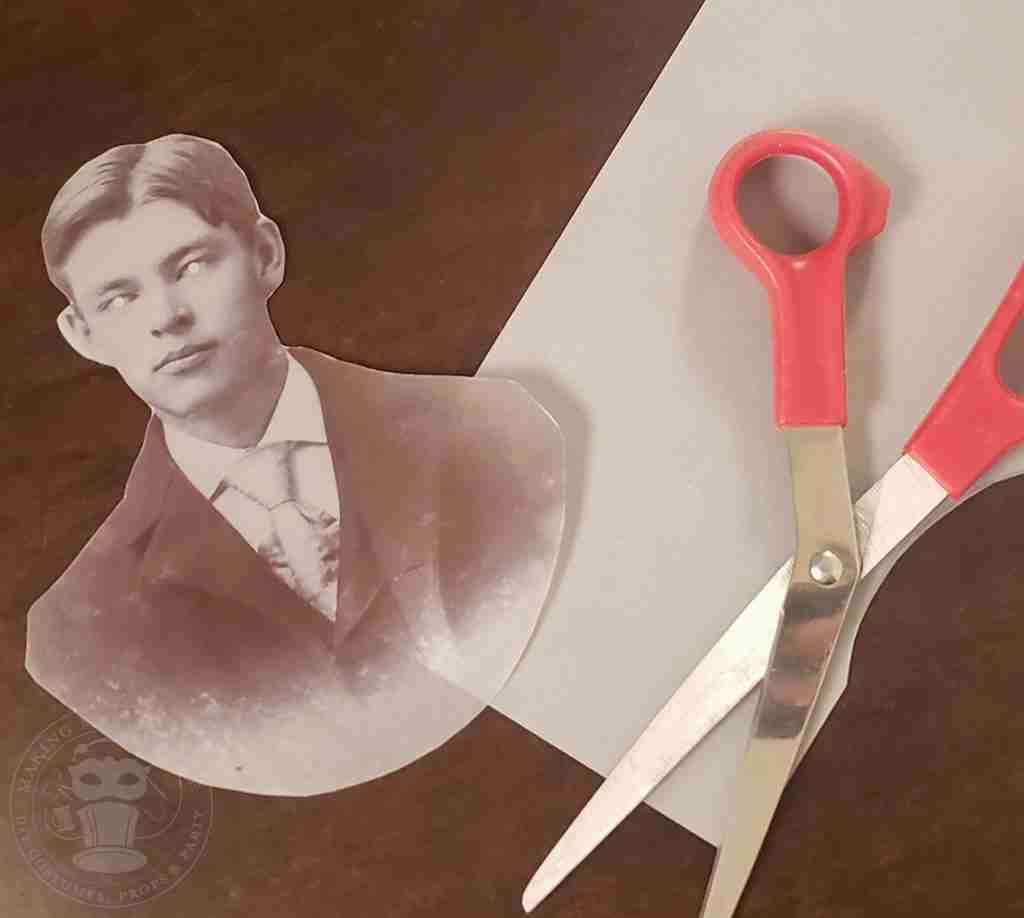
As the vellum is transparent, the image will show on both sides, so you can choose which you wish to face toward the outside of your glass.
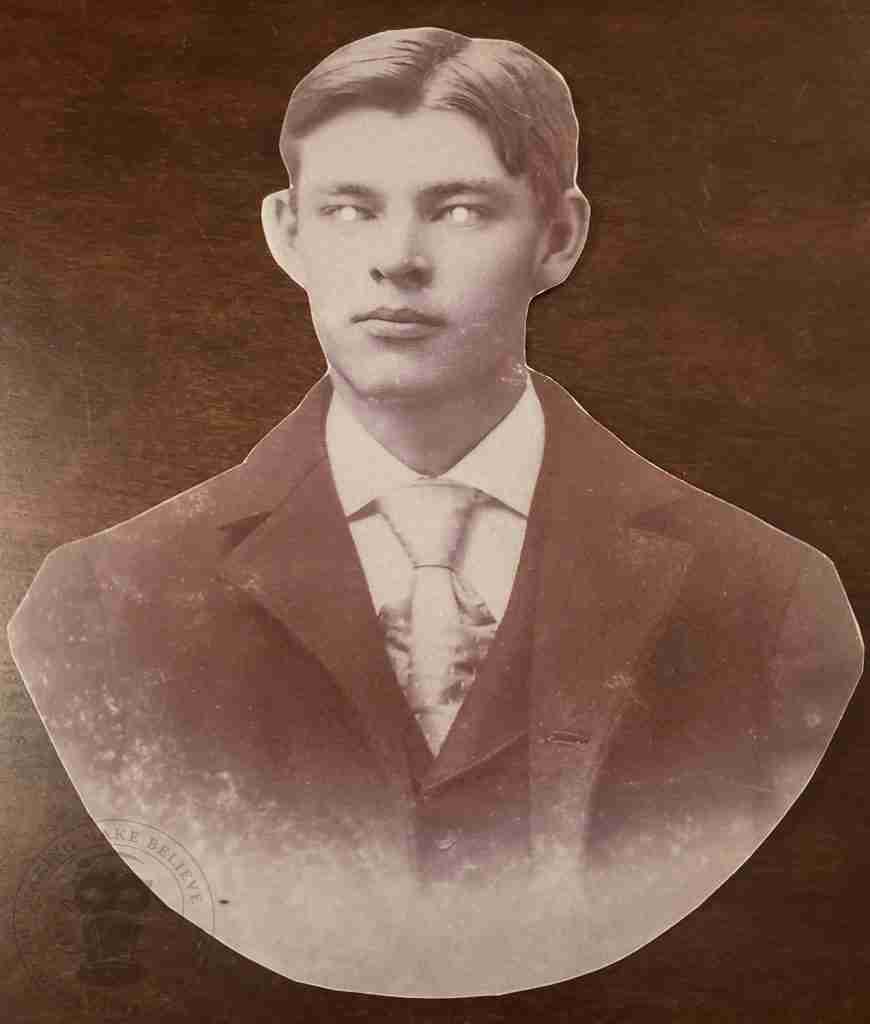
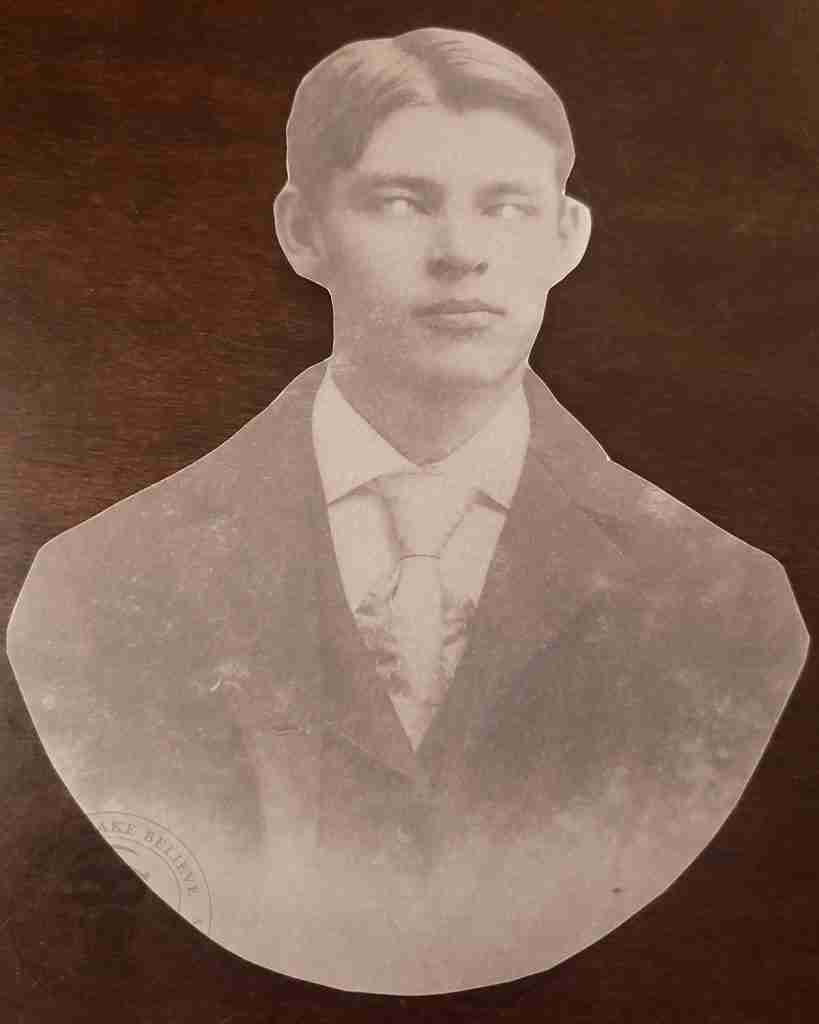
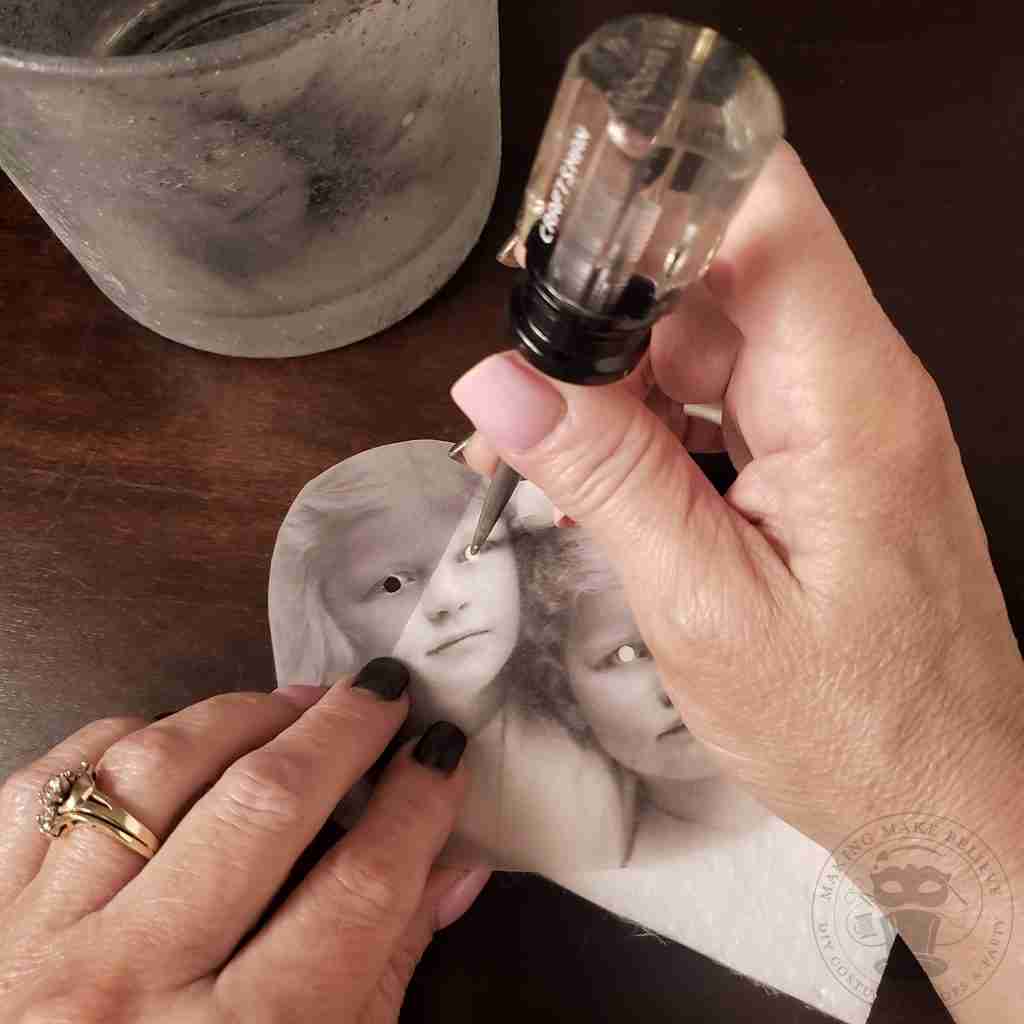
In the images provided, I have removed the eye area to give them a more ghostly look. If desired, you can use a small hole punch, awl, or scissors to remove this area for a more haunting effect.
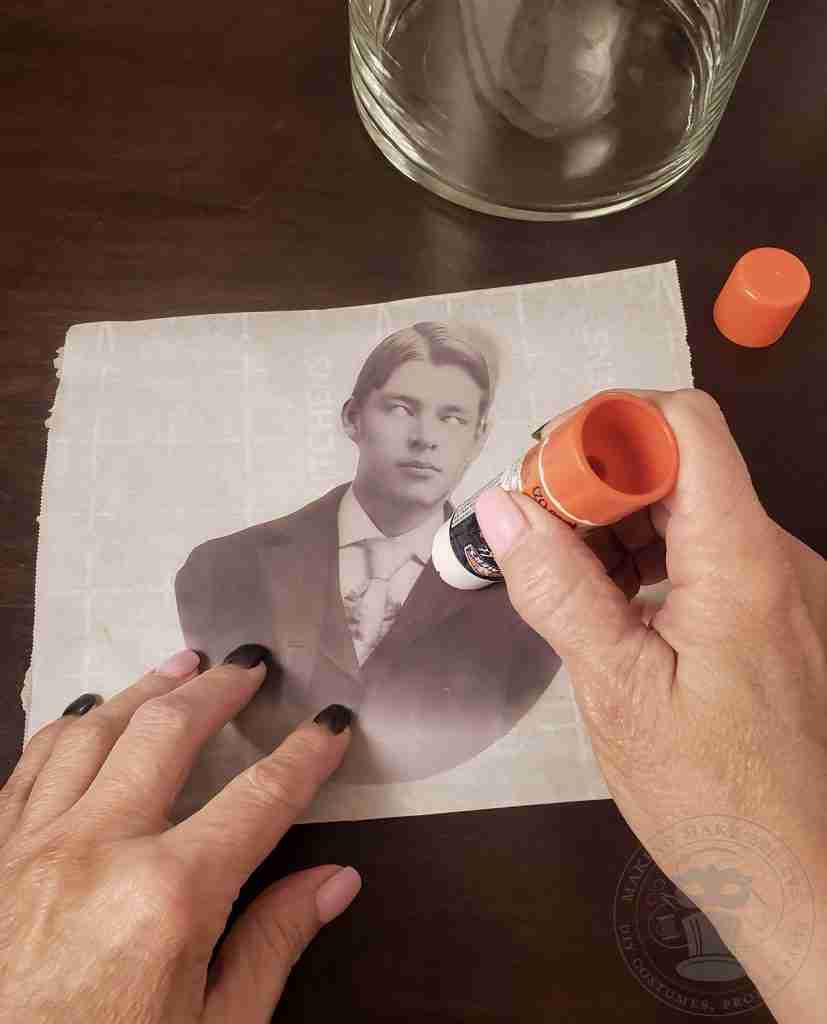
Make sure your vase is clean and dry. Then, apply Elmer’s Craft Bond glue stick to the image, ensuring good coverage, especially on the edges.
Position the image on the inside of your vase and press from the center outward to the edges. You can use a scraper tool if needed.
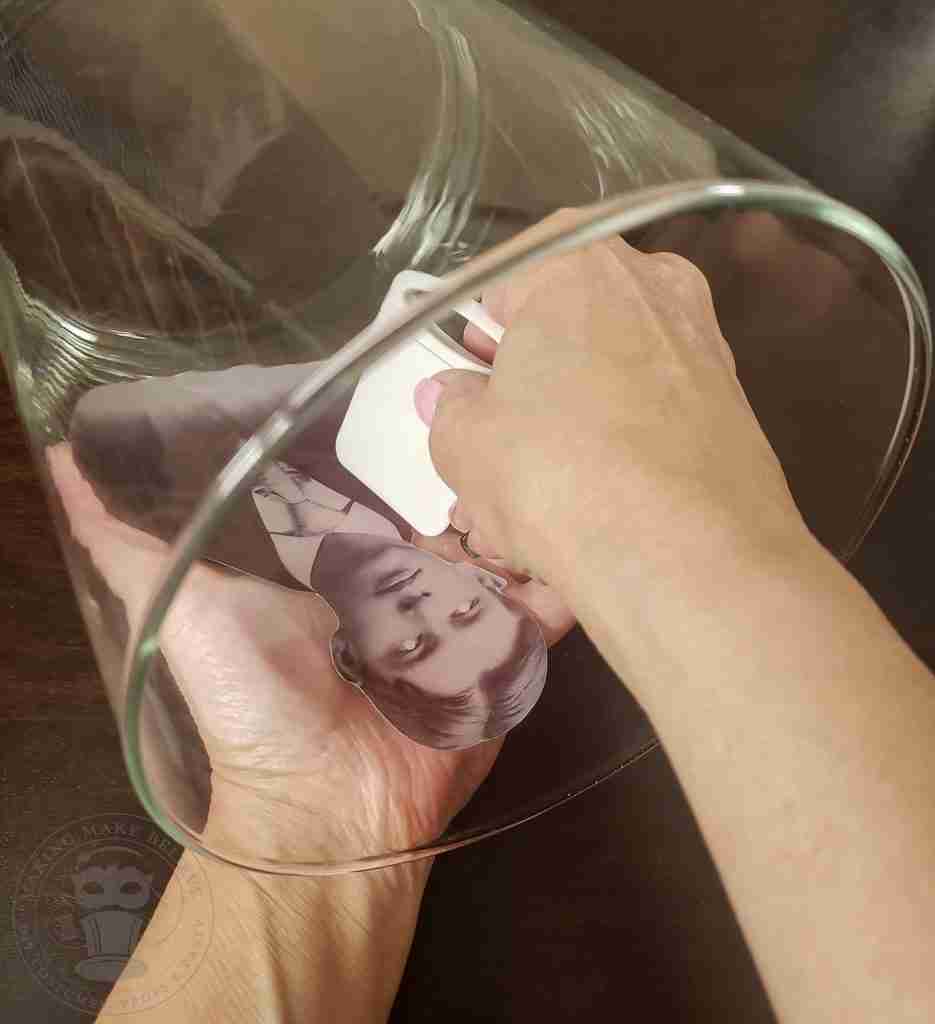
Phase one of your eerie effigies is complete!
You can stop here if you like. Throw in an battery operated candle and haunt things up.
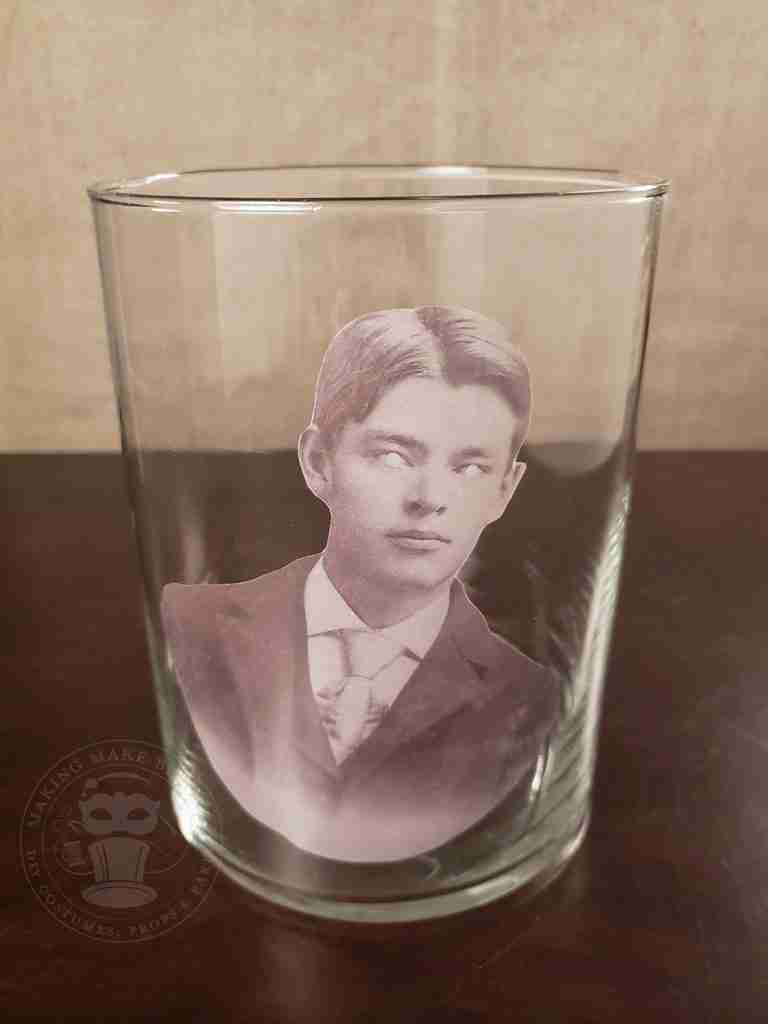
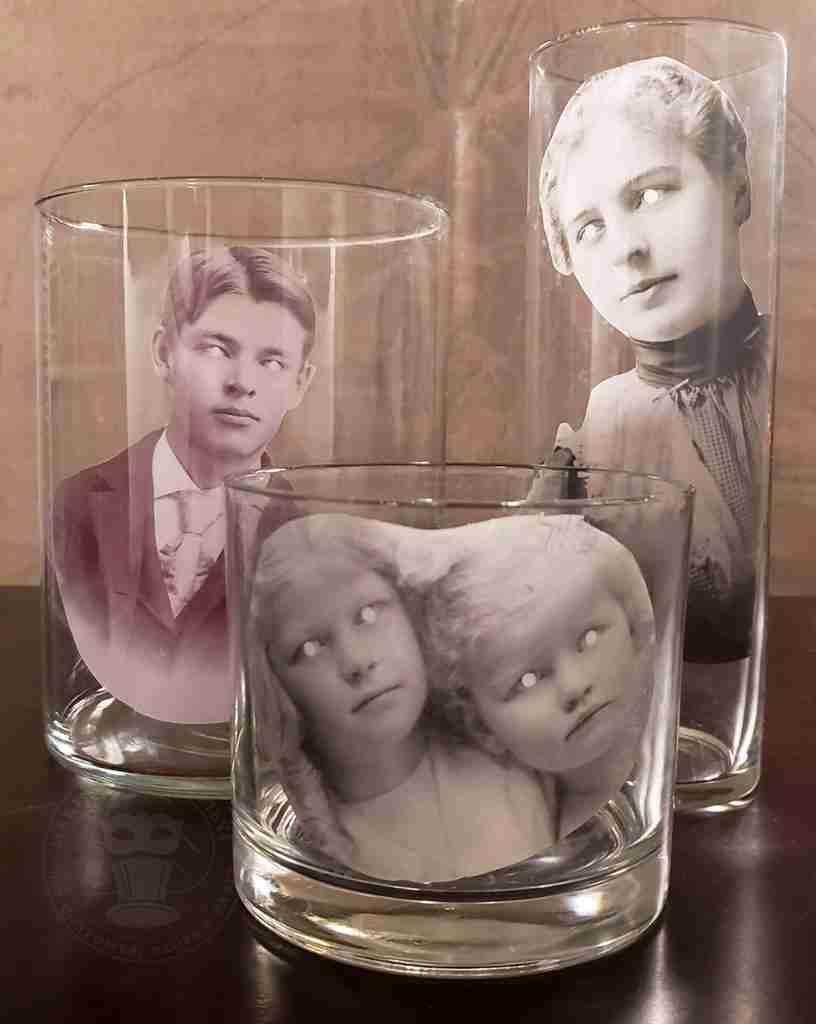
Or – we can up the creepy factor.
Take your sponge, dip it into the wood glue, and begin dabbing it onto the exterior of your vase. You can add a tiny amount of acrylic paint to the wood glue for a more aged look. I like to use brown, grey, or other neutral tones.
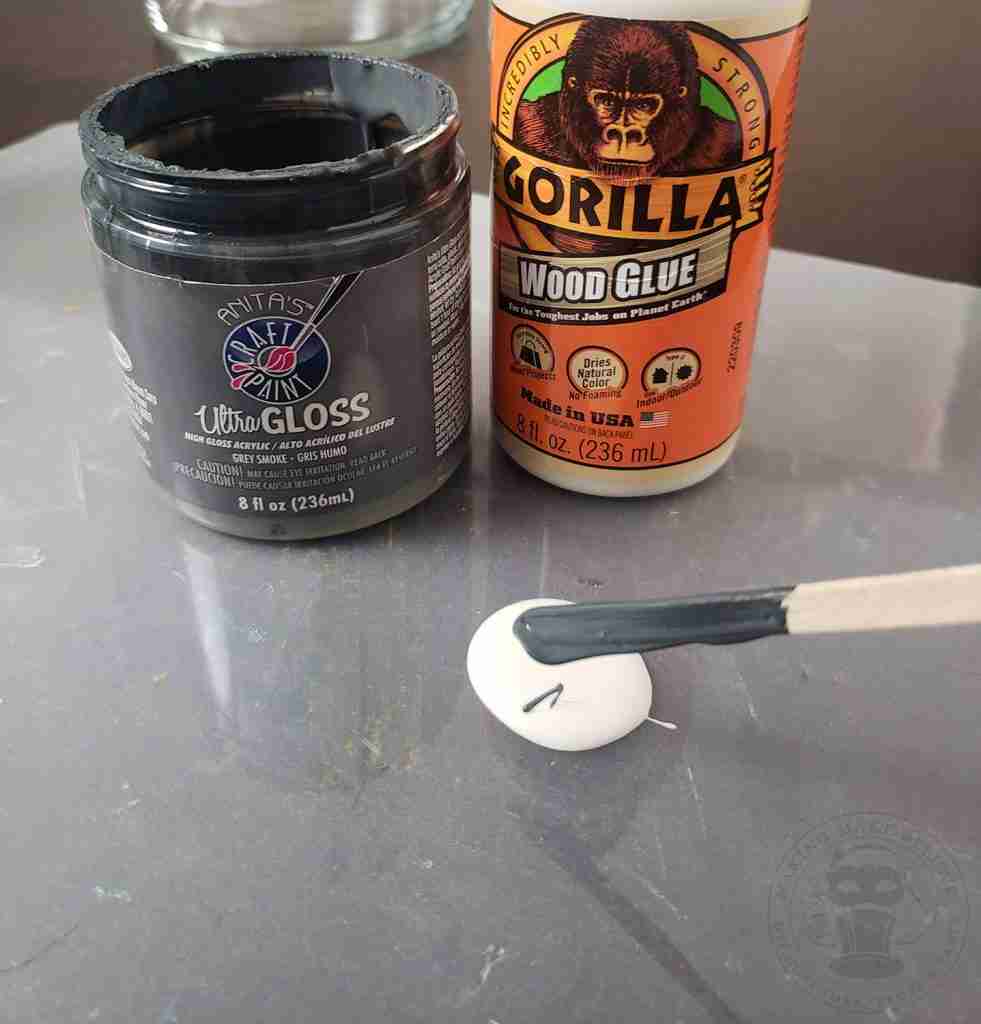
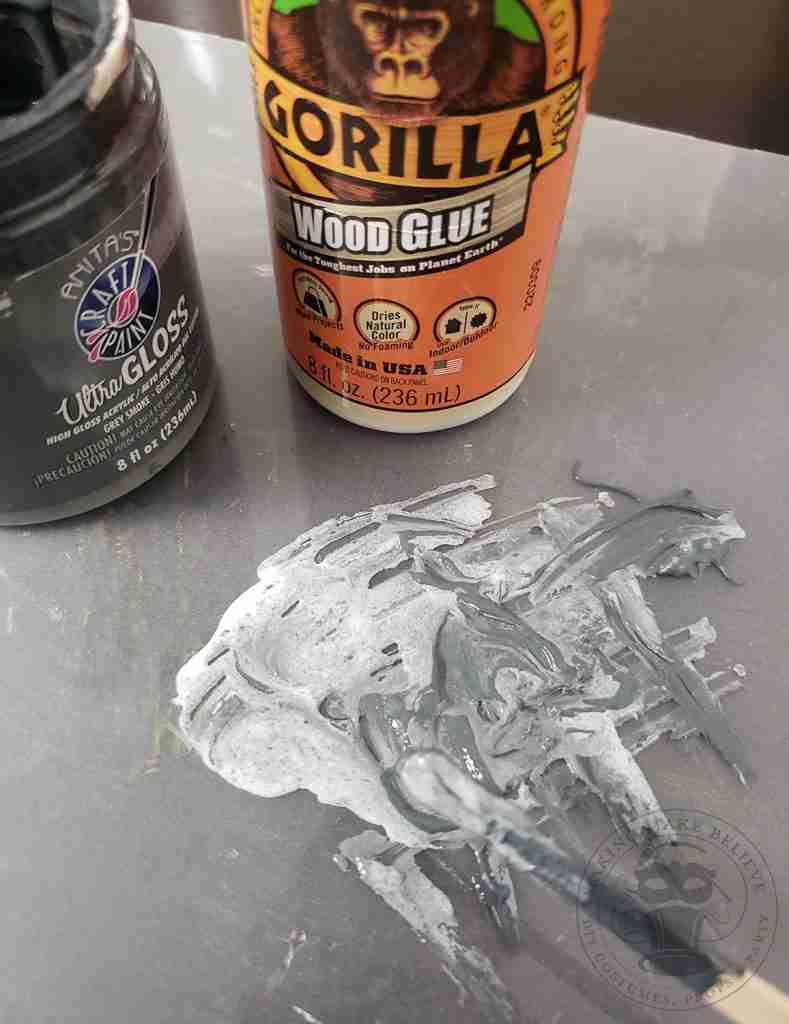
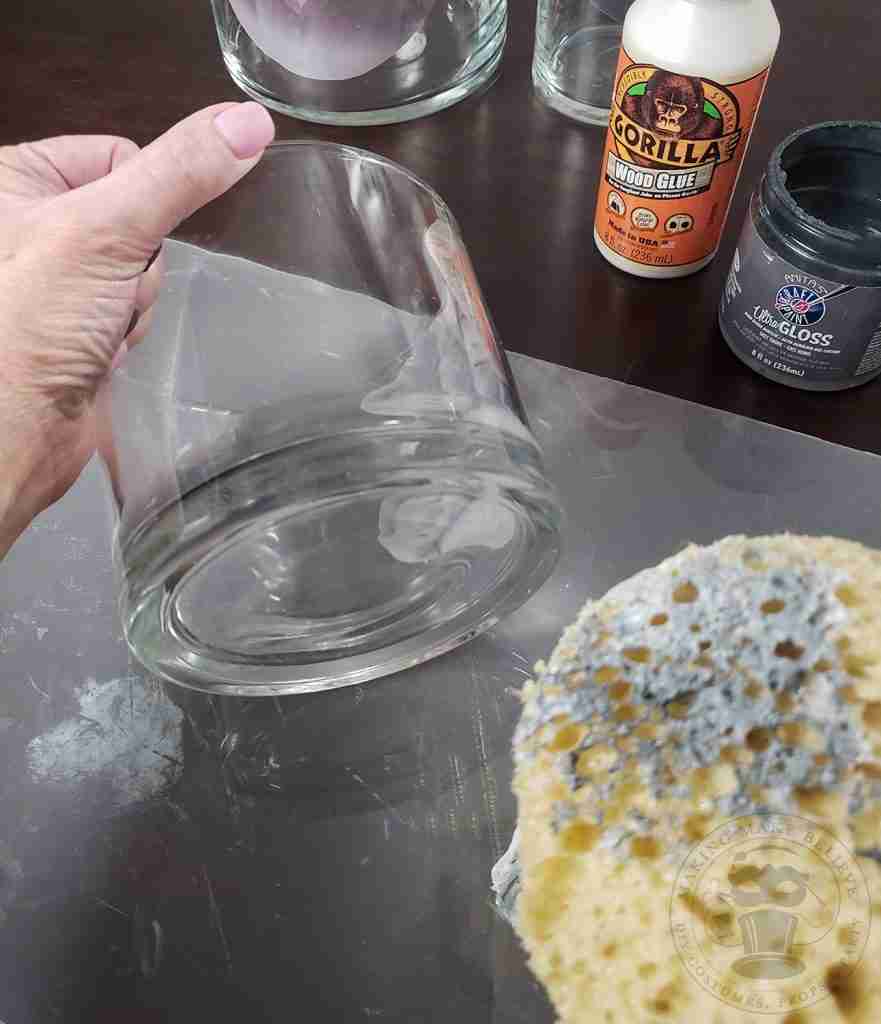
Dab as heavy or light as you like. I tend to keep it light and add layers until I get the look I want. Just be sure to allow each layer to dry completely before adding more glue.
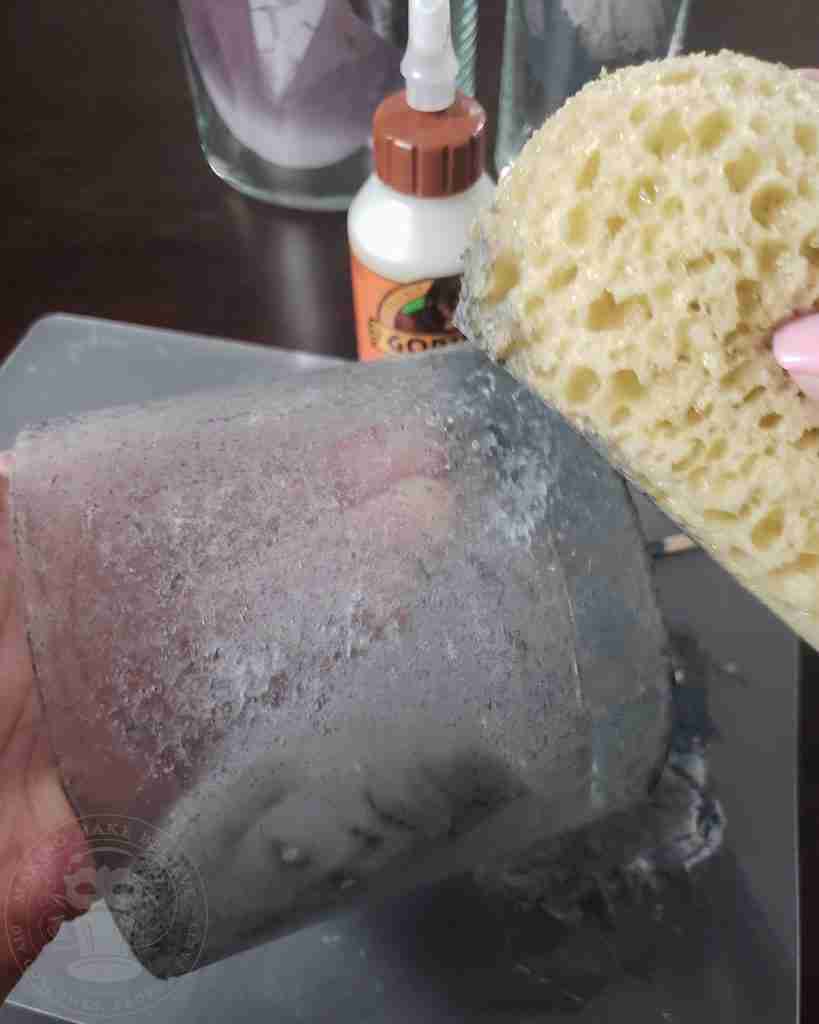
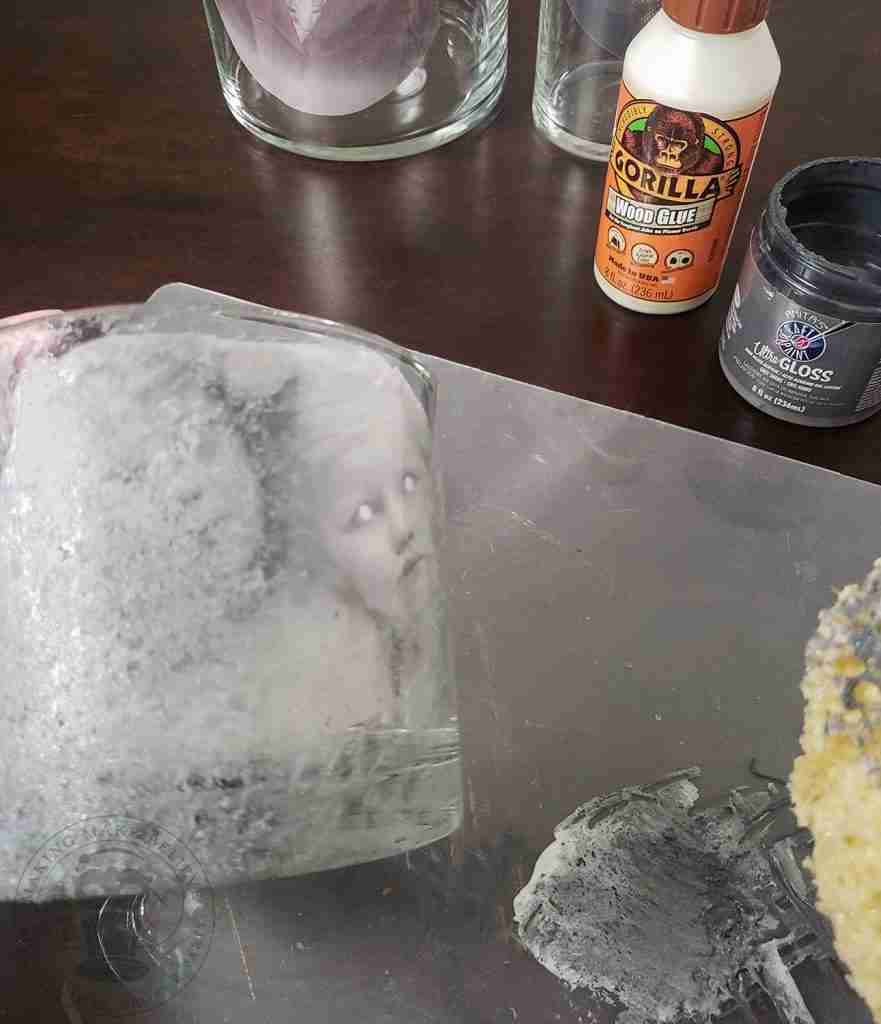
And now, our eerie effigy has an appropriately aged vase for perfectly haunted candles.
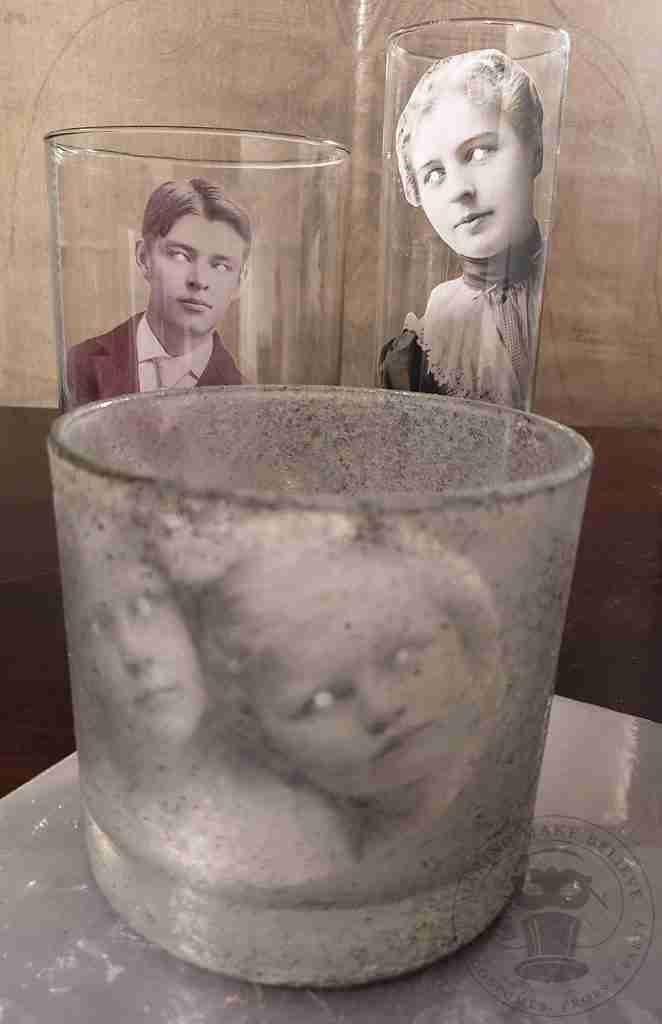
But wait, there’s more! What if I told you that you could undo this project? Yep, this project is entirely recyclable.
Should you wish to do something different with the glass vases, simply pull off the image from the inside. Then, scrub off the glue exterior with soap and water, and you have a clean slate for your next project.
And, still more. The tall cylinder vase was a thrifted find before becoming one of my haunted candles. See how I recycled, reused, and repurposed it with this easy hack.
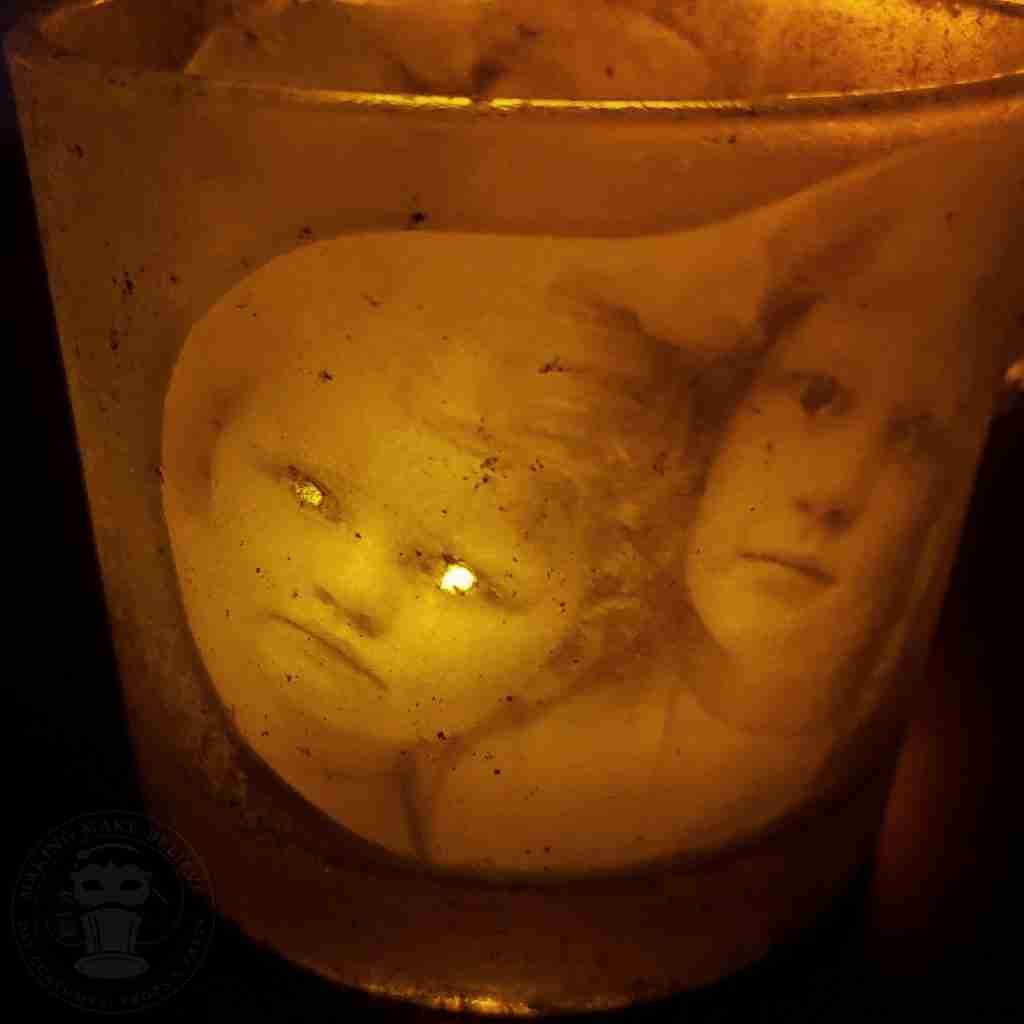
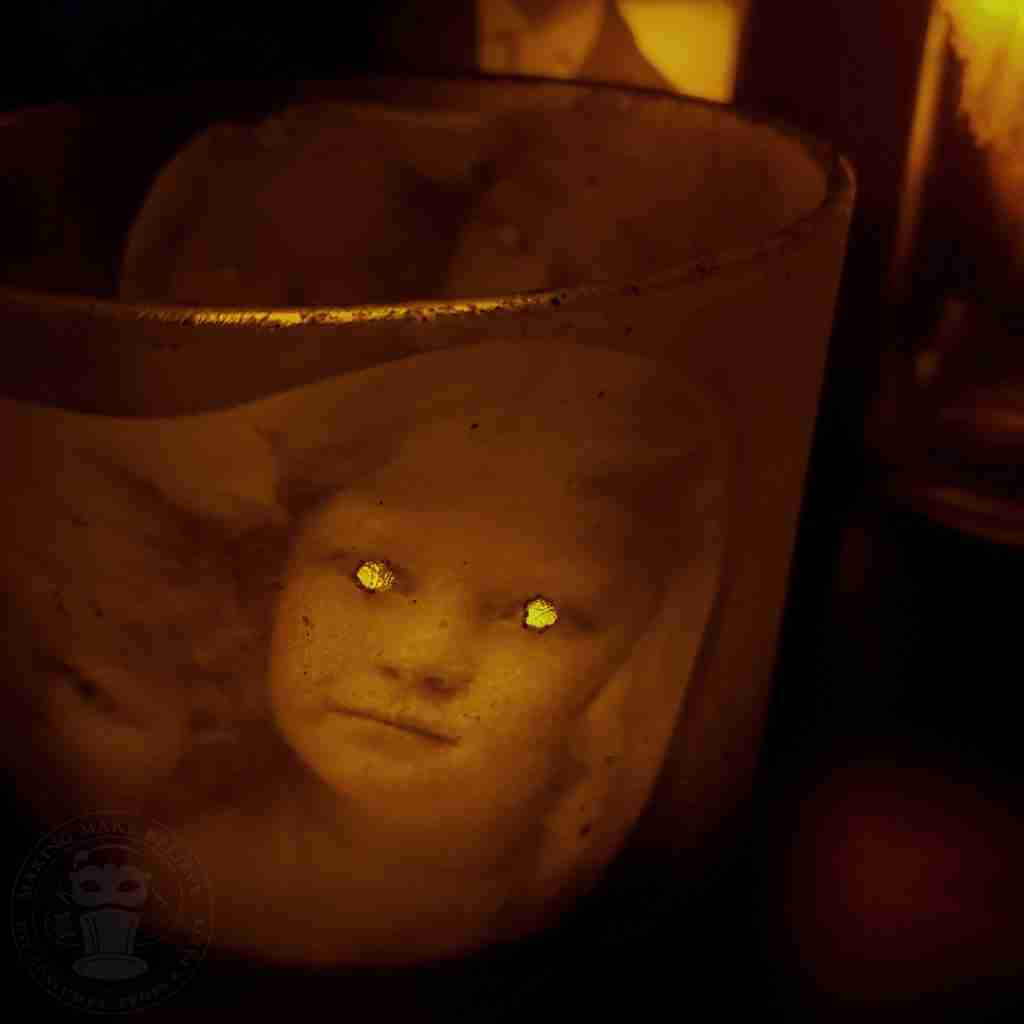
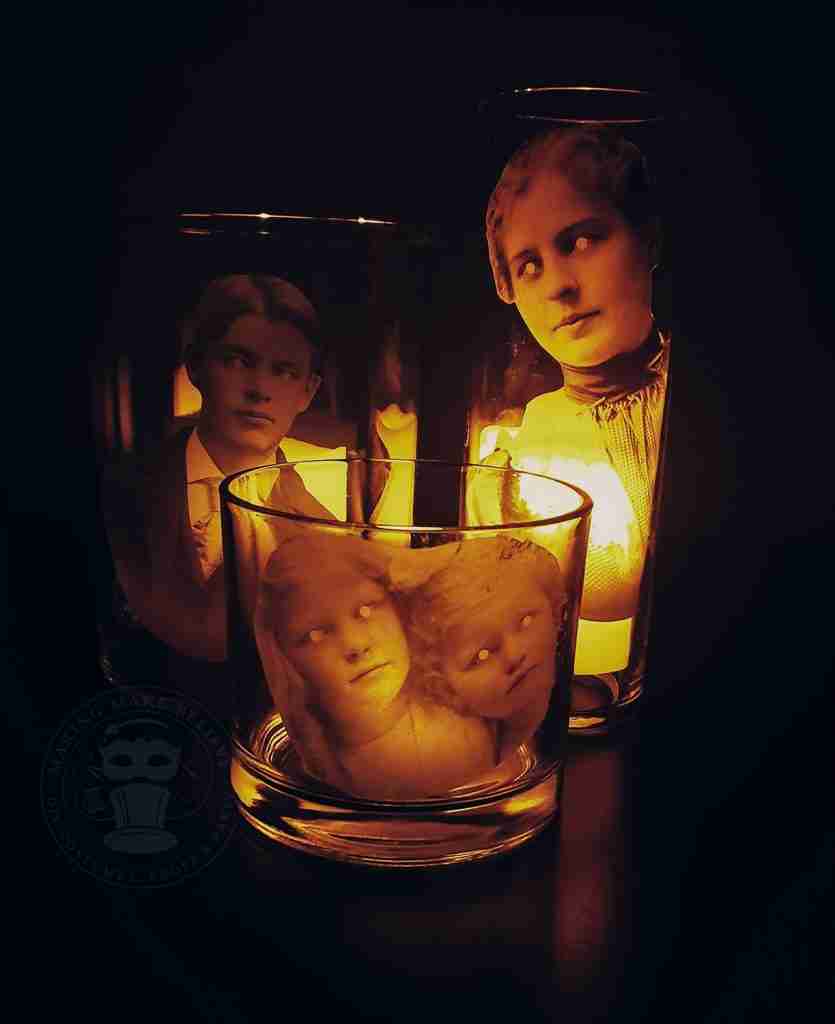
Ok, so what do you think? Will these shadowy silhouettes of the year’s past haunt your house this Halloween? Let me know on Instagram or Facebook.
Until next time, keep haunting.

Templates, patterns and printables for every project on the blog.

Counting down to Halloween since the 1970s. I create, style and celebrate all things costume and Halloween, all year round.
Welcome to my world of Halloween Ever After, where I create, style, and celebrate all things costume and Halloween.
Within these haunted pages lie affiliate links to curious and captivating finds I love. If you make a purchase through them, I may earn a modest commission (think fun-size candy bar), which helps keep the Halloween magic alive. No extra cost to you – cross my batty heart.



Check your email for the Haunted Library password.
Don’t miss a moment of the mischief.
Add hello@halloweeneverafter.com to your address book.
The magic happens right here in my studio and office. When you step inside my creative space, you’ll find an ever expanding gallery wall overflowing with original spooky art and classic Halloween LPs, right alongside a haunted cabinet packed to the brim with vintage curiosities.
It’s under the watchful eyes of these retro treasures that I design and craft.
Join us and get access to our Haunted Library stocked with templates, printables, cut files, and exclusive content. Plus, you’ll receive Eerie Emails just for our subscribers.
*Stay as long as you like. Unsubscribe at any time.


