Free templates & patterns
130+ freebies are waiting in the Haunted Library
Templates, patterns and printables for every project on the blog.
Formerly Making Make Believe · Join the Haunted Library

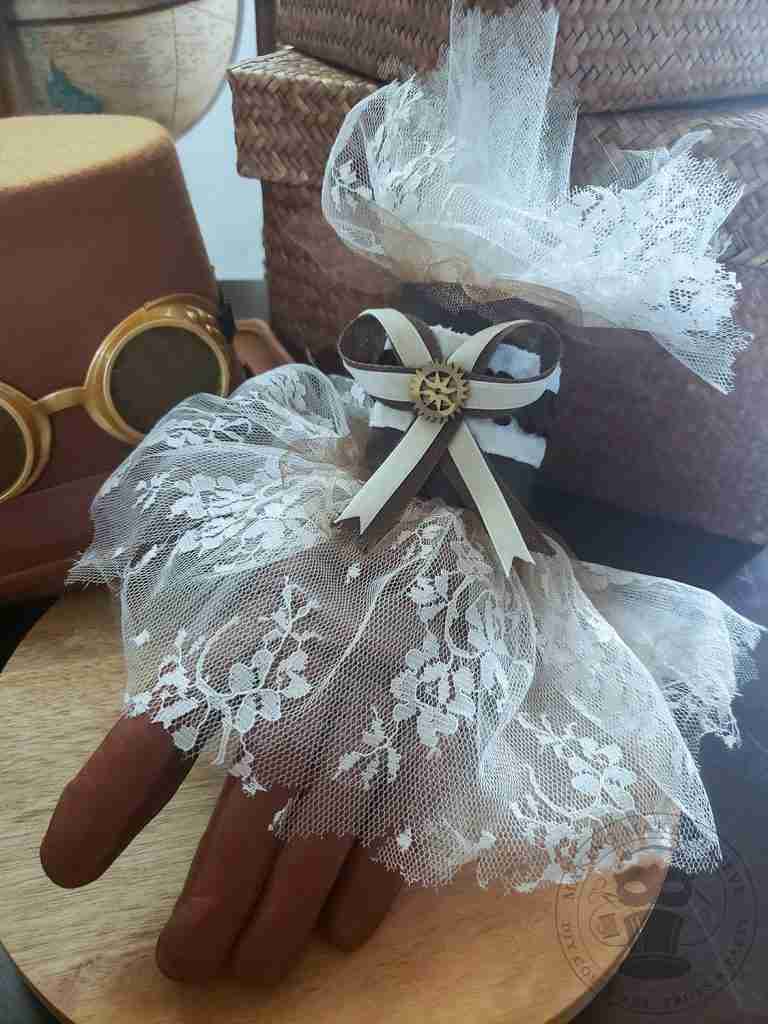
Steampunk Wrist Cuffs
Earlier this month, Gabe (youngest son) and I traveled to Los Angeles to see Brittan (oldest son). While there, I insisted on visiting the Fabric District in Downtown LA. I had not been in nearly 20 years, and I was on the hunt for a specific faux fur, and a deep orange felt. After we got past all of the reasons why we weren’t going to DTLA (crowded, atrocious parking, awful traffic, etc.), Brittan relented and agreed to take me. So, we made the trip, paid to park on the roof of a tiny building, and began to weave our way through the weekend crowded sidewalks so that I could look at textiles.
Our first stop was Michael Levine‘s where I had hope that I could find everything in one place and put the boys out of their misery. (Actually, they were fine once we got there – they even helped me shop.)
When you’re used to JoAnn’s and Hobby Lobby, a fabric store like Levine’s can be a bit overwhelming. There’s too much to see, too many options, and too easy to buy too much. So after a couple of passes through the building, I settled on two Halloween designs by Alexander Henry (a fave of mine) and a piece of sheer yellow fabric. However, the faux fur and felt I was searching for were not to be found, so it was off to other shops.
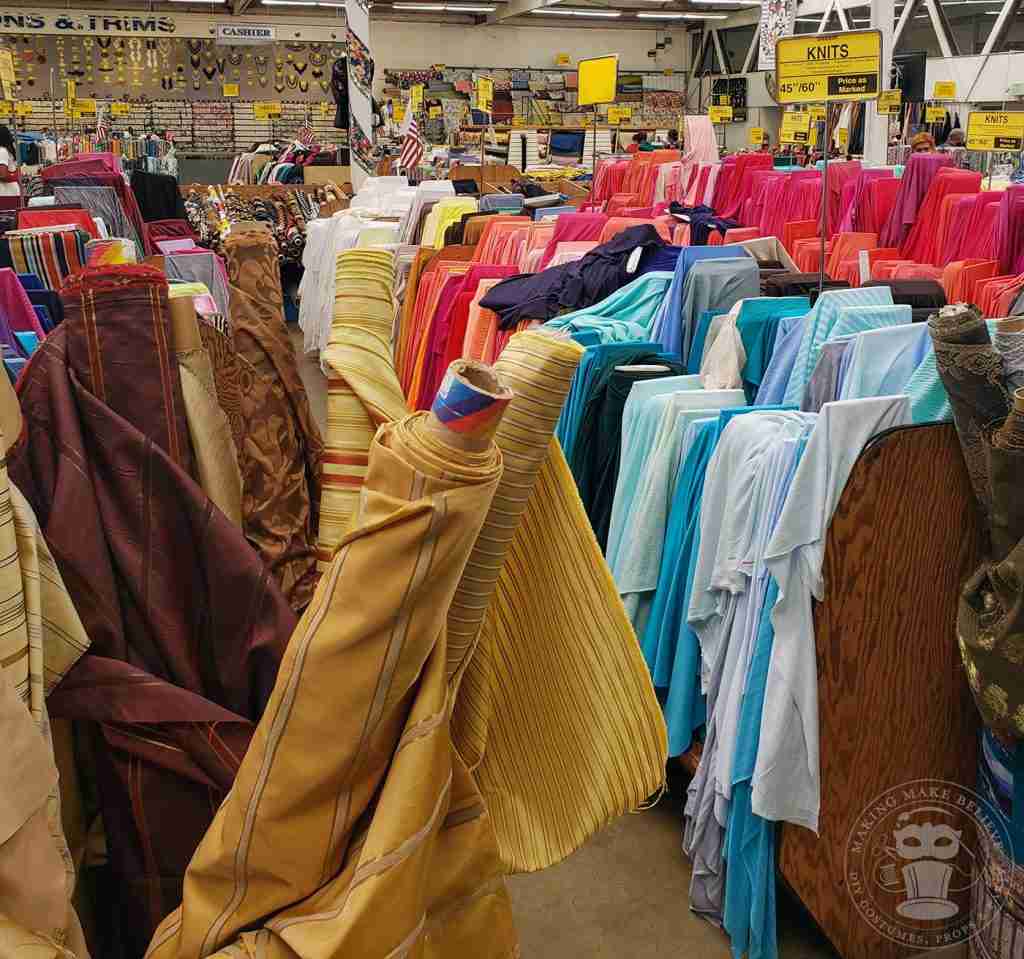
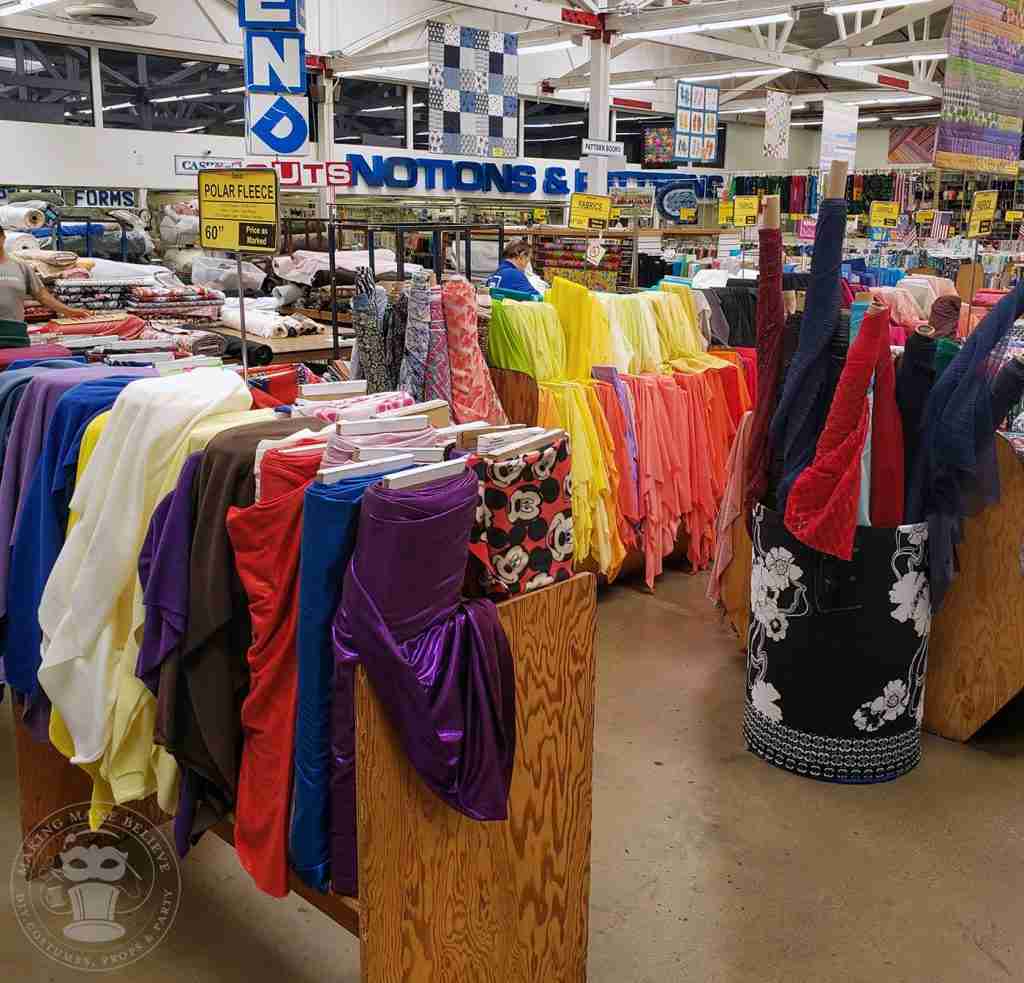
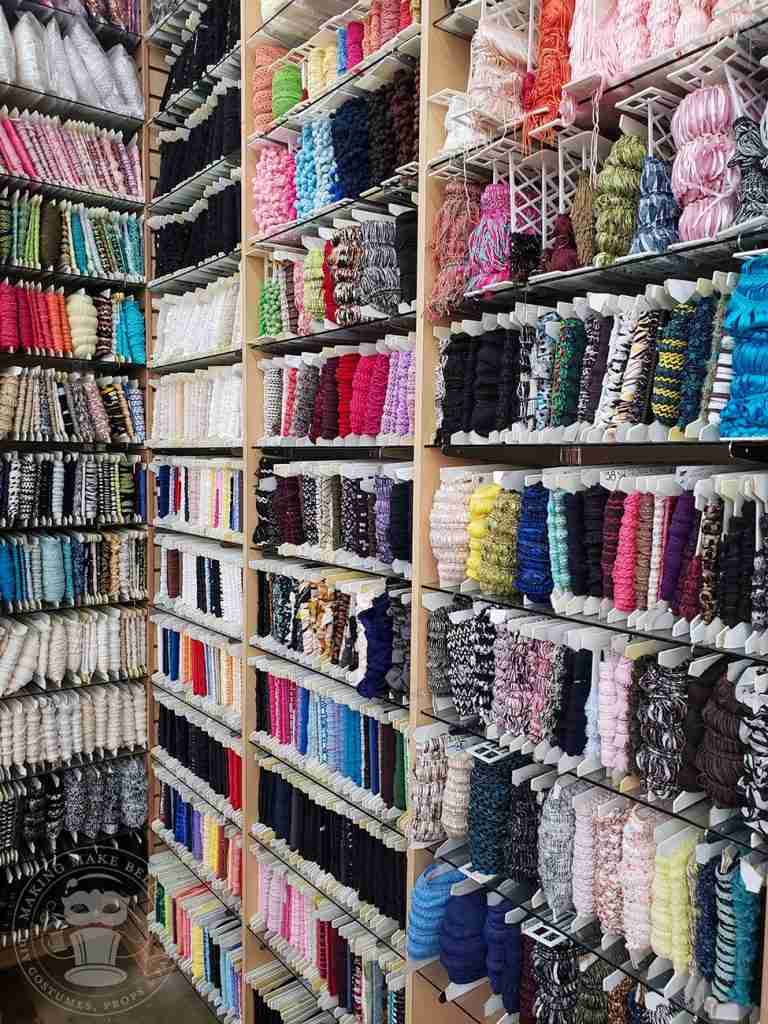
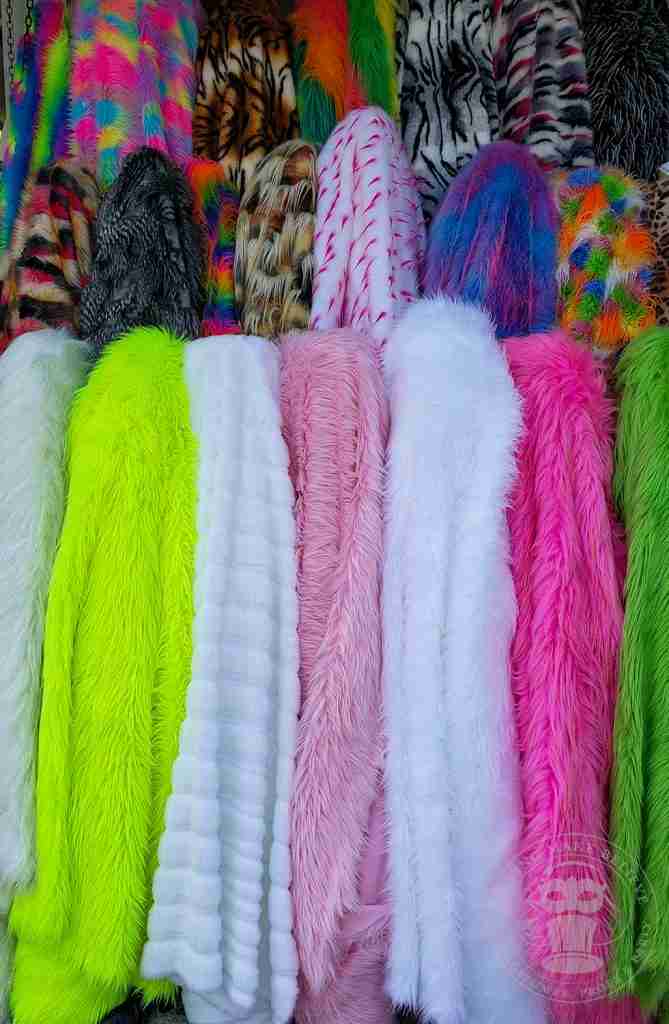
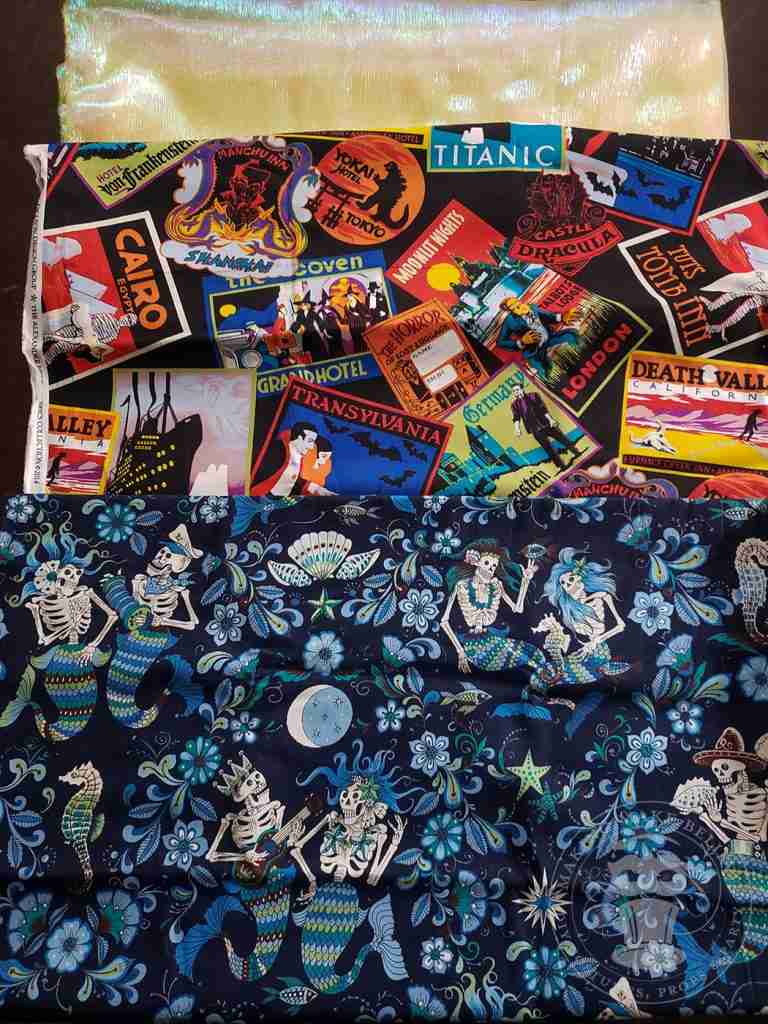
We had passed City Fabric on the way in, and I noticed plenty of faux fur there as we drove by. They did not disappoint. And, as luck would have it, a couple of shops down the way, I found New Creations Fabric & Foam, who supplied me with the perfect orange felt that I used for the Halloween Spirit Pennant.
So we had conquered the fabric quest in a little over an hour and were off to do other fun things.
But why, when faced with practically any fabric I could want, did I purchase so little? Well, mostly because I have a large fabric stash already. In fact, that stash is what prompted this project today.
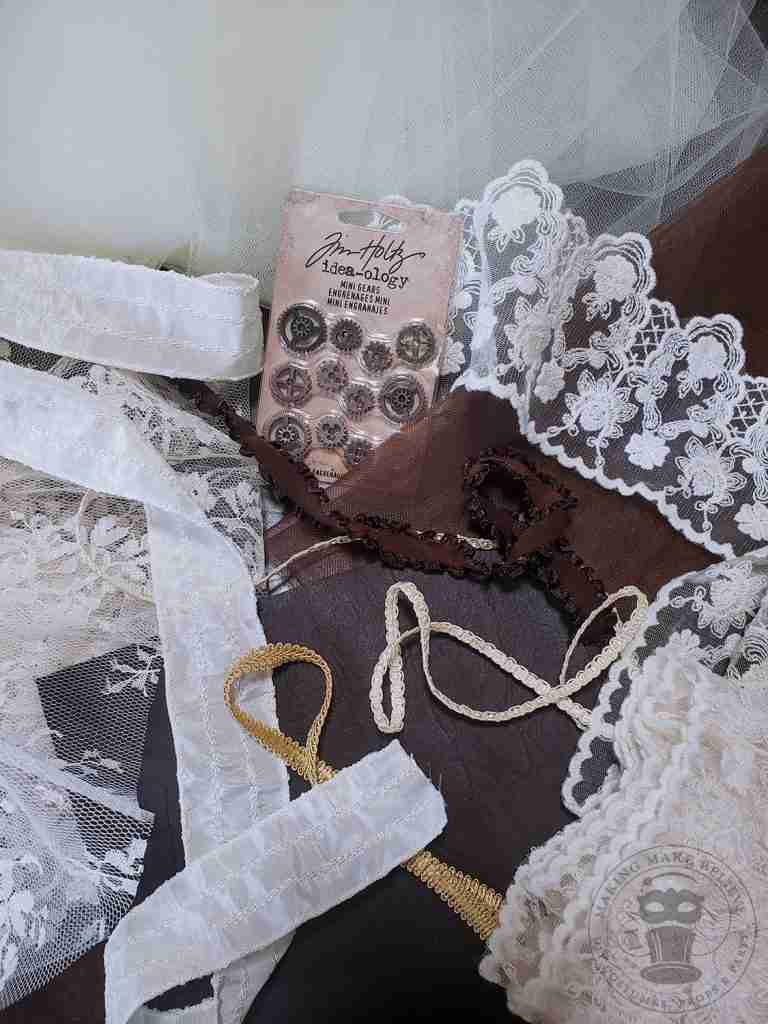
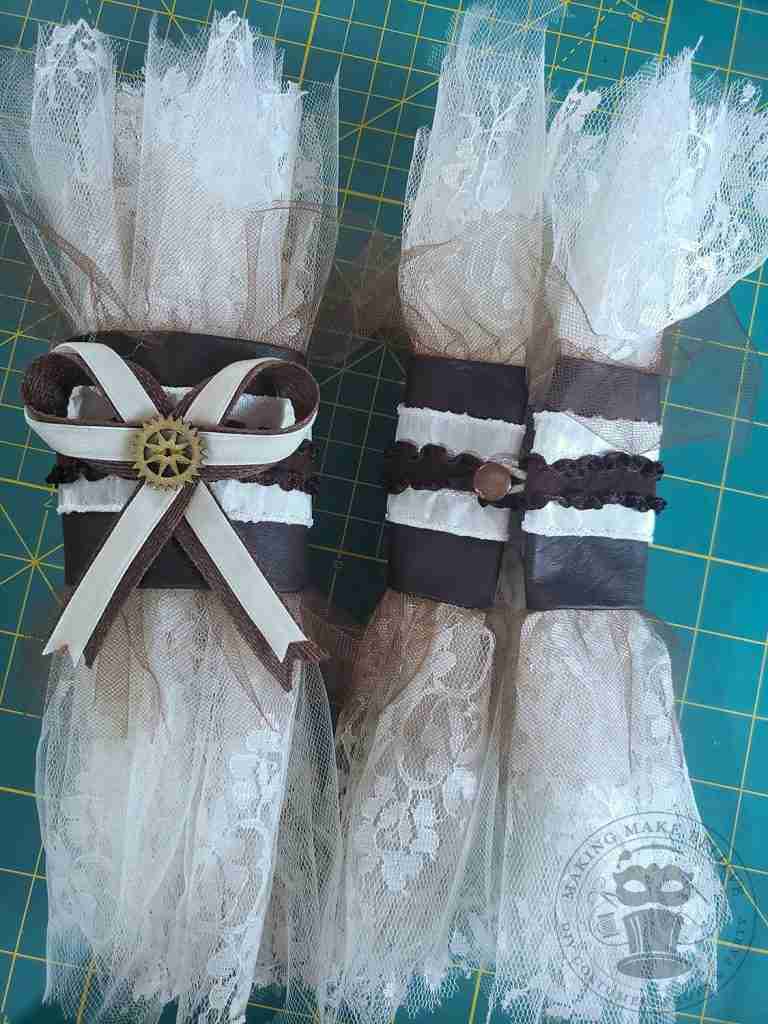
I need to get busy using more of what I have so I dug up some random bits to see what I could fashion as a costume accessory. I pulled some faux leather, lace, tulle, and ribbon trims. The Tim Holtz craft gears had me thinking steampunk, so I thought we’d craft some steampunk wrist cuffs.
This project is based on what you have, so don’t worry if you have different scraps available.
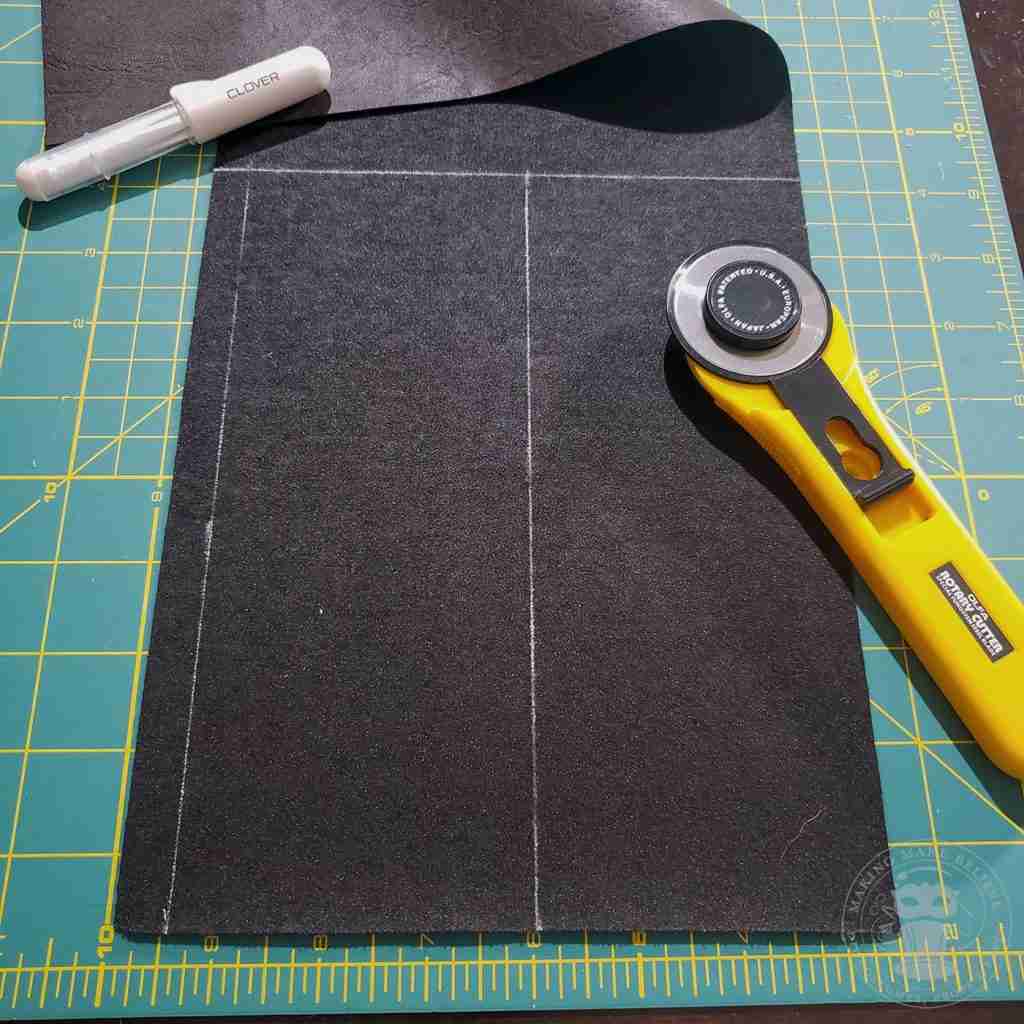
For the base of the cuff, I’m using the faux leather which I cut at 9″ long and 3.5″ wide. (My wrist measures approximately 6.75″ so cut your leather about 2-2.25″ larger than your wrist measurement.)
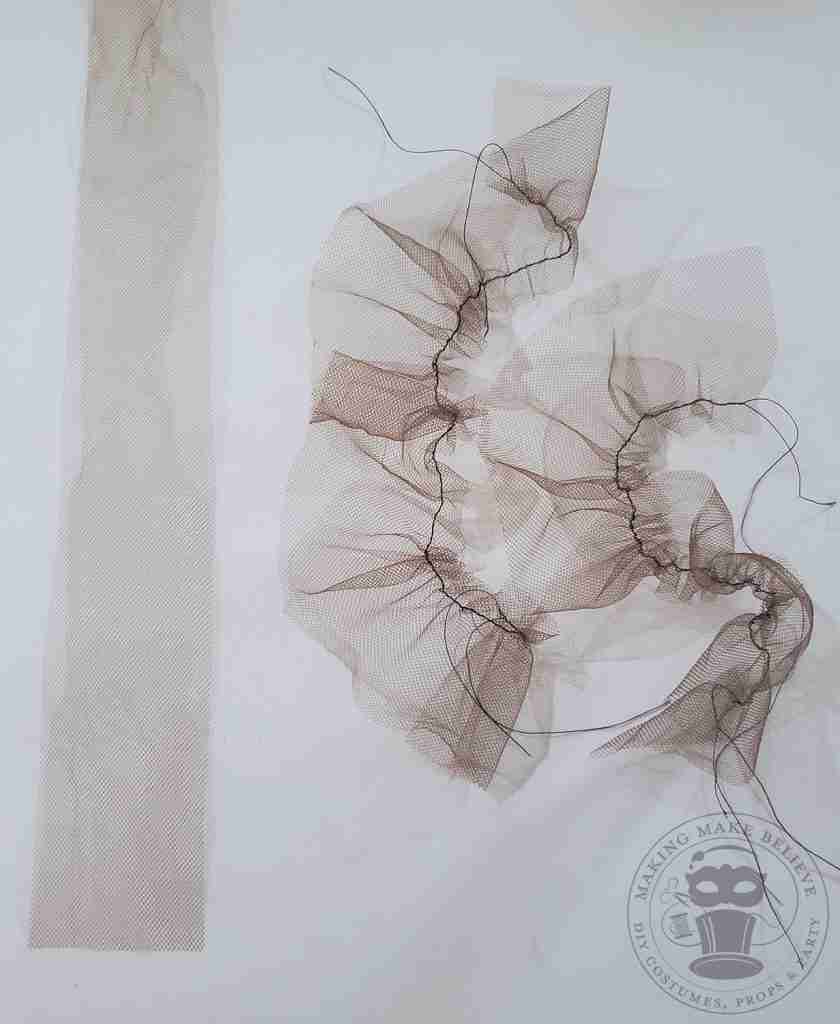
Next, cut four 20″ pieces of tulle approximately 2.25″ wide and, using a basting stitch, stitch 1/2″ away from one edge, gather the tulle to fit the length of the cuff.
Lay your bracer right side up. Take a length of your gathered tulle and pin or clip the gathered edge to the edge of the bracer. Do this for both sides. Next, stitch the tulle to the bracer using a 1/4″ seam allowance as shown, then remove the basting stitch. Repeat for the other cuff.
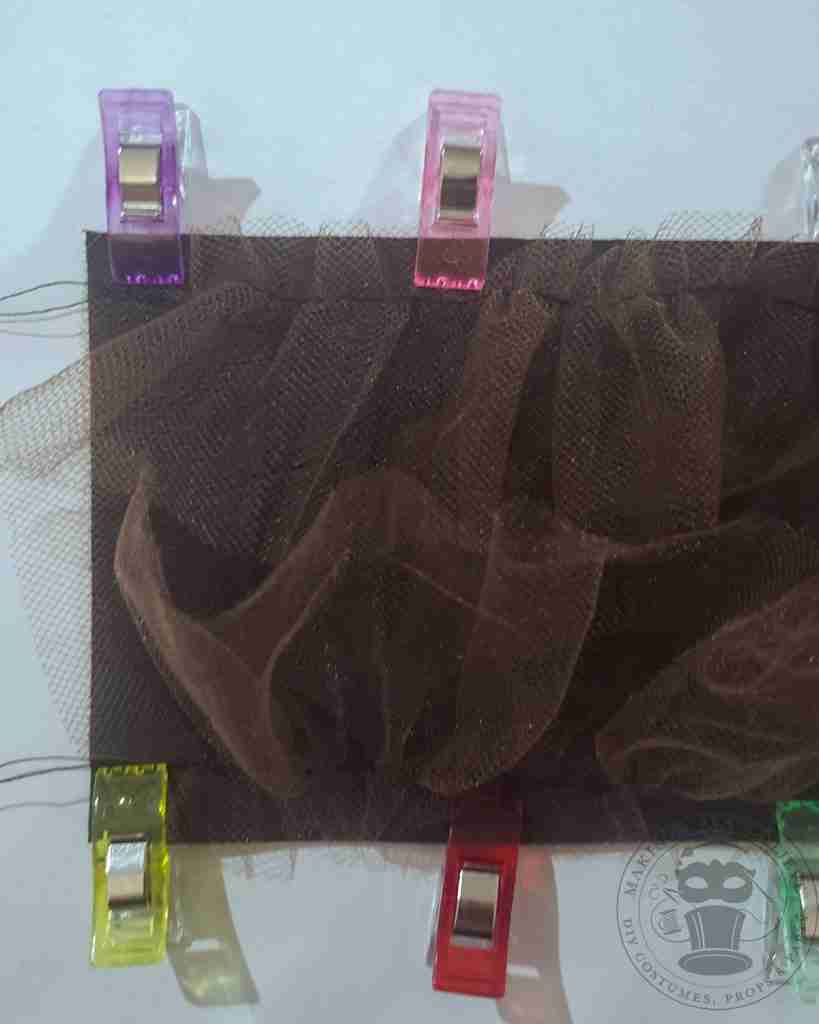
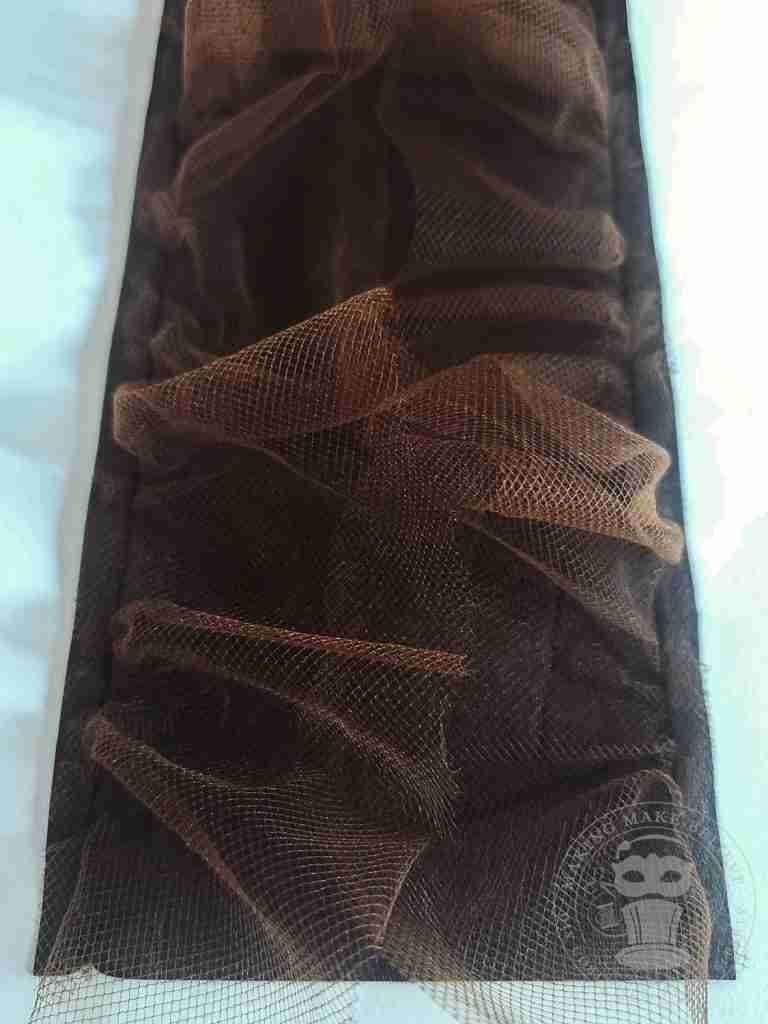
Flip the bracer wrong-side up. Then, fold the bracer over to the back along the stitch line and hot glue.
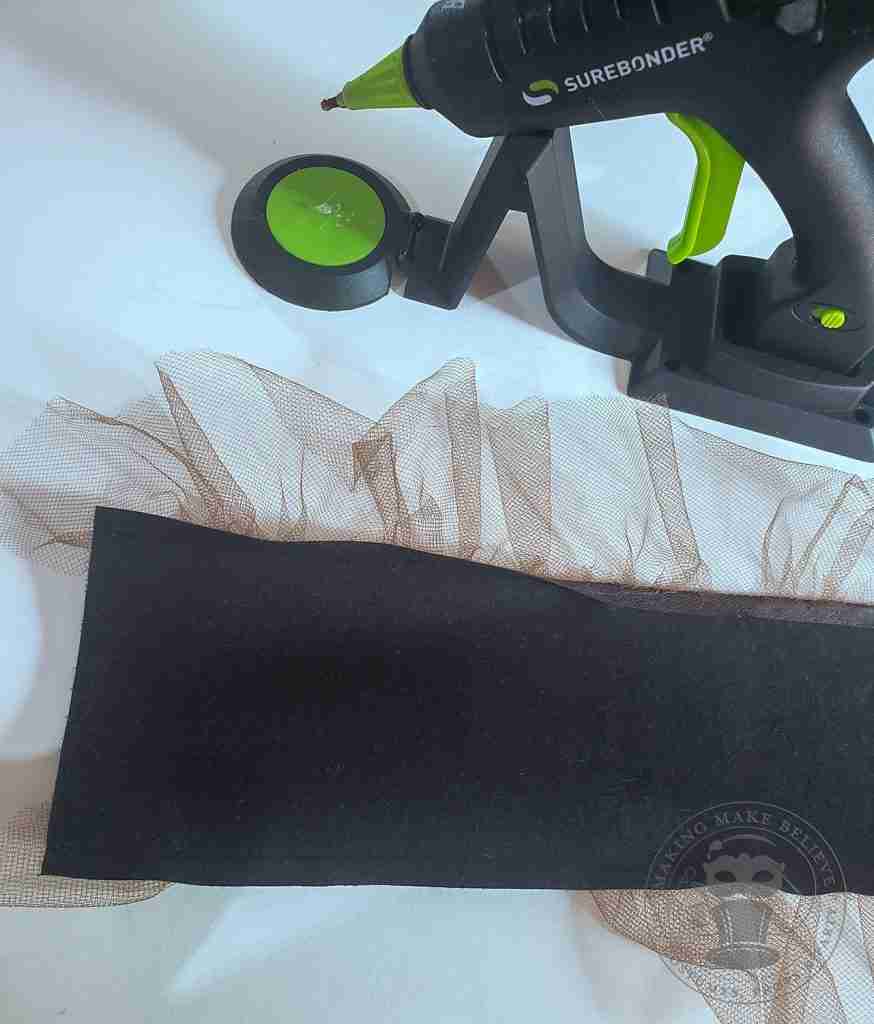
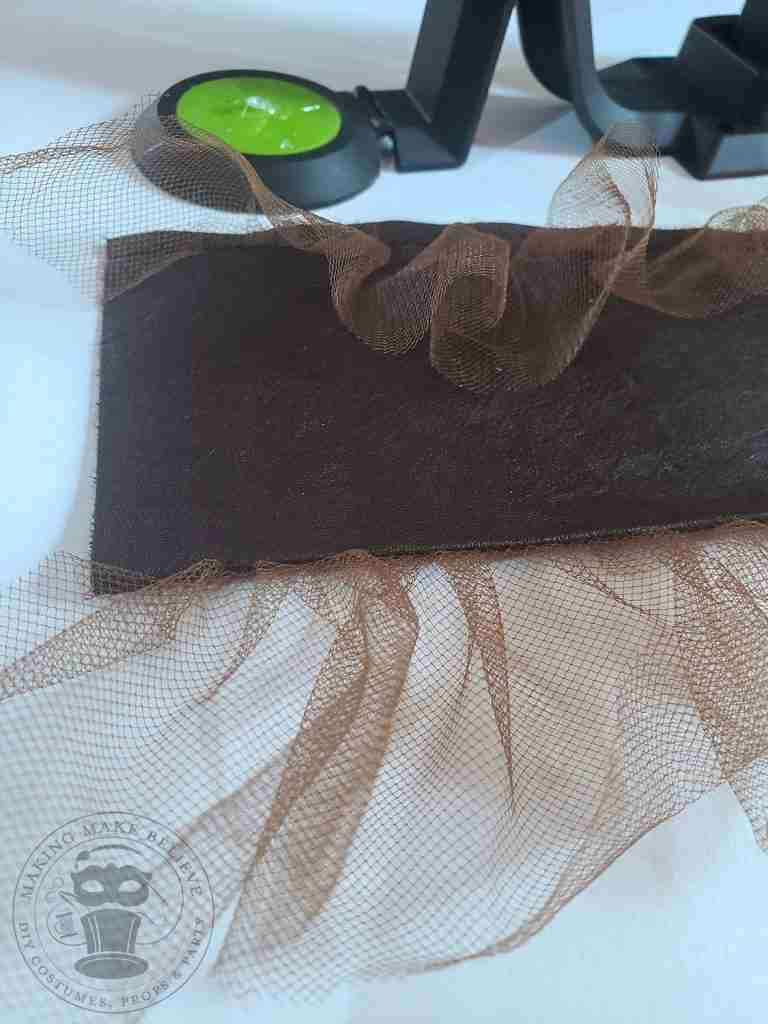
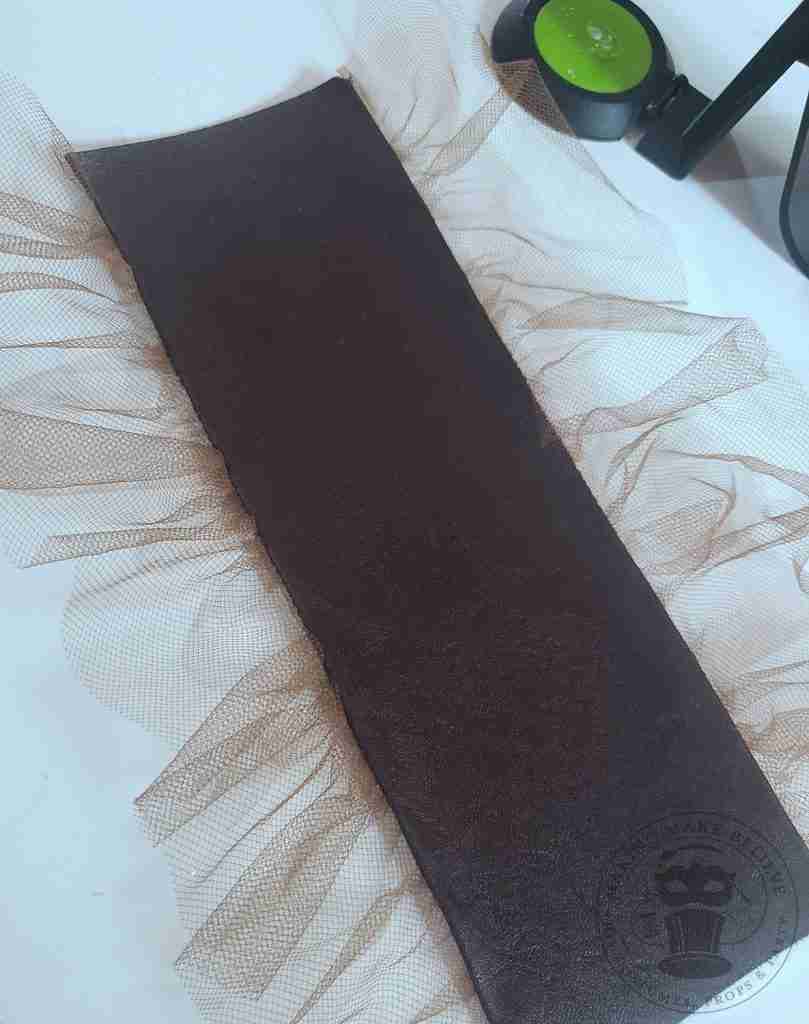
Next, cut two of the main tulle and two of the lace approximately 28″ wide and 12″ long and distress both fabrics.
Then, stack one lace and tulle together and baste stitch down the center. Repeat for the other two pieces.
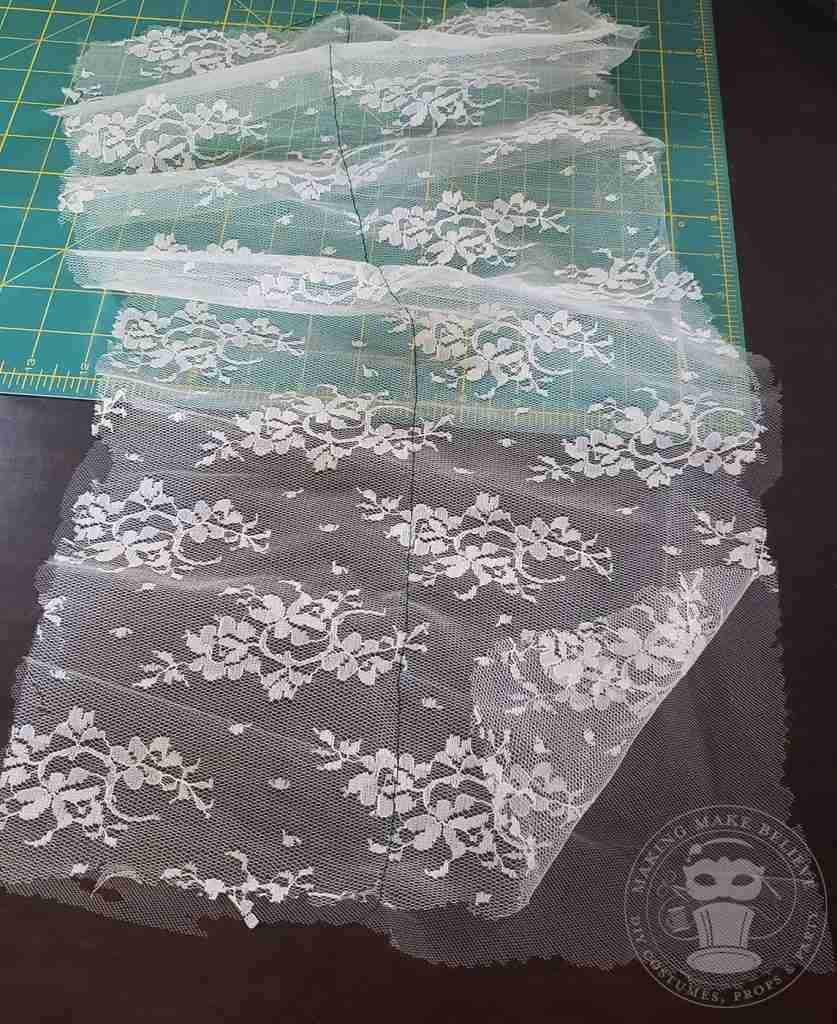
Gather the lace/tulle combo to fit the length of your bracer.
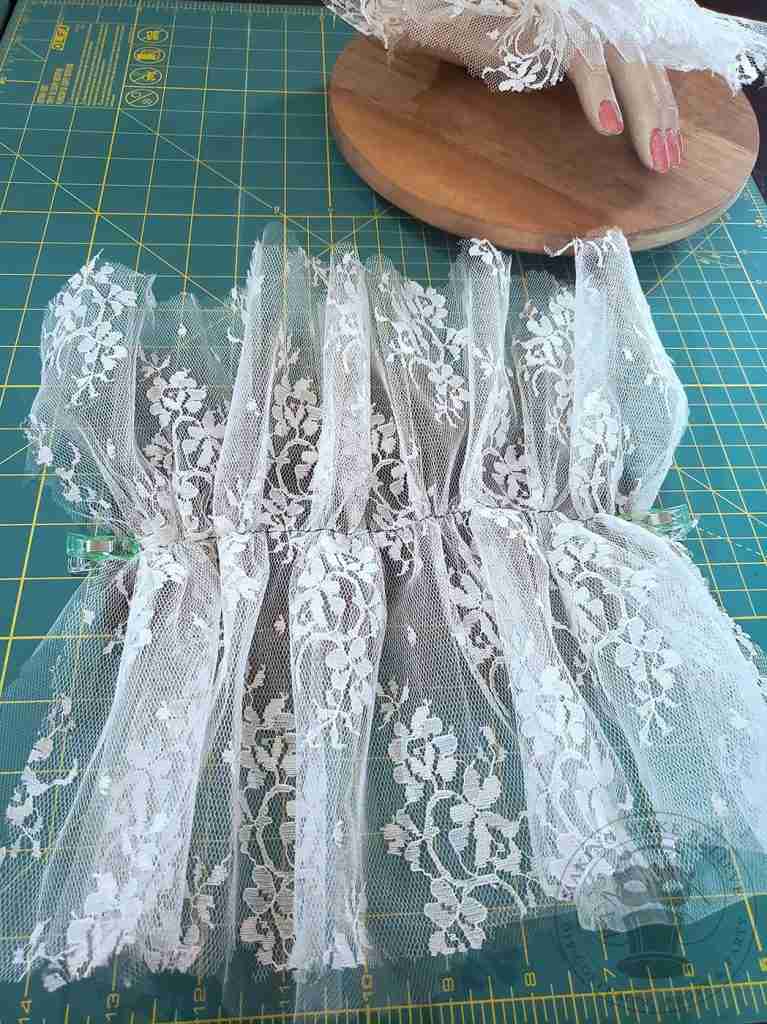
Cut ribbon trims to fit on top of the bracer.
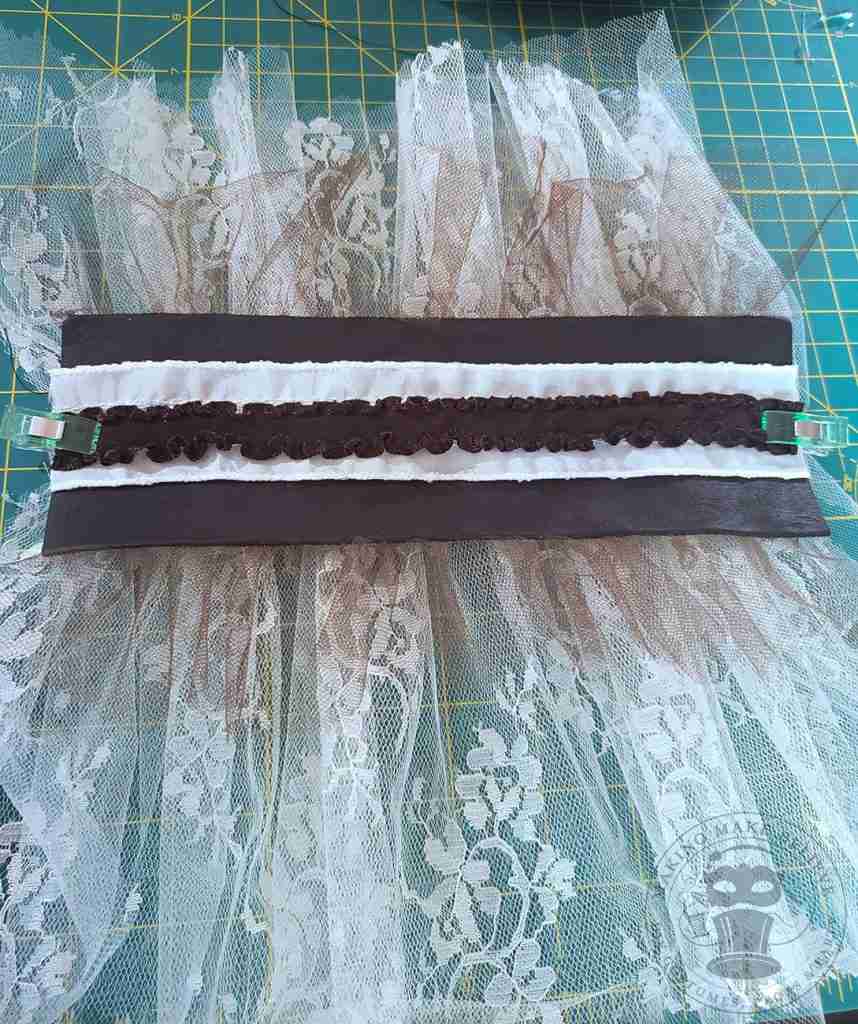
Stack the bracer onto the lace/tulle combo, place the ribbon trim on top and pin it in place. (I did not center the lace/tulle to be equal at the top and the bottom. I left more of the lace/tulle at the bottom of my cuff towards my hand as a matter of personal preference.) Repeat for the second cuff.
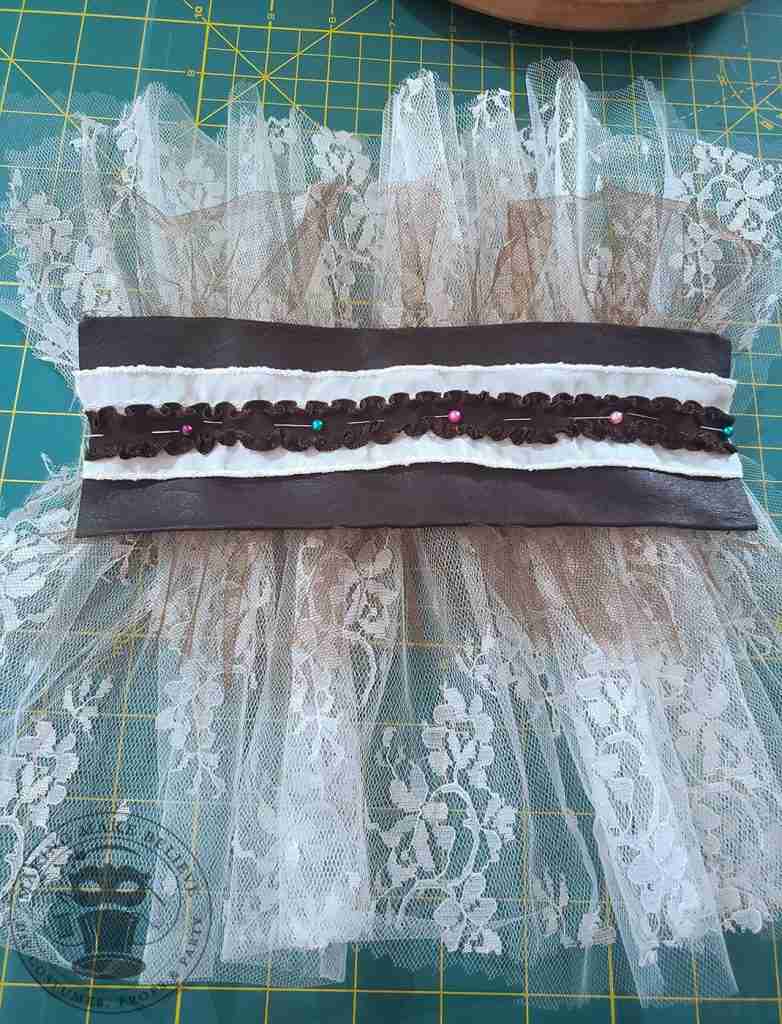
Machine stitch a zigzag stitch down the center of the bracer to attach all of the layers together.
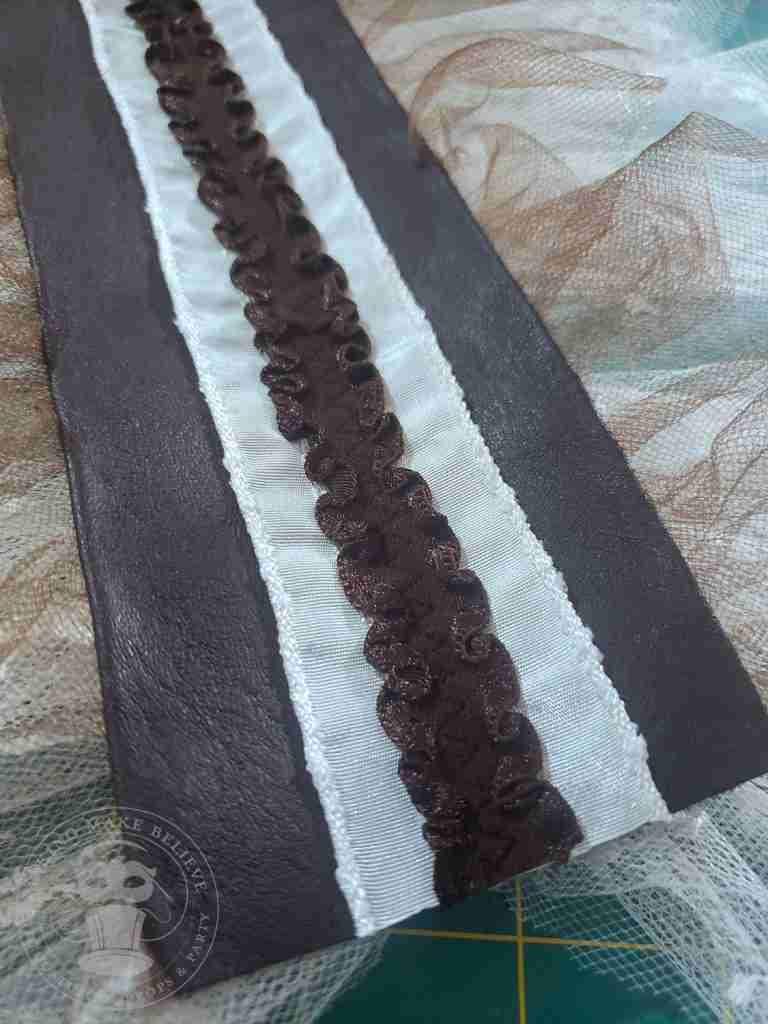
Fold 3/4″ of each end to the underside and stitch or hot glue.
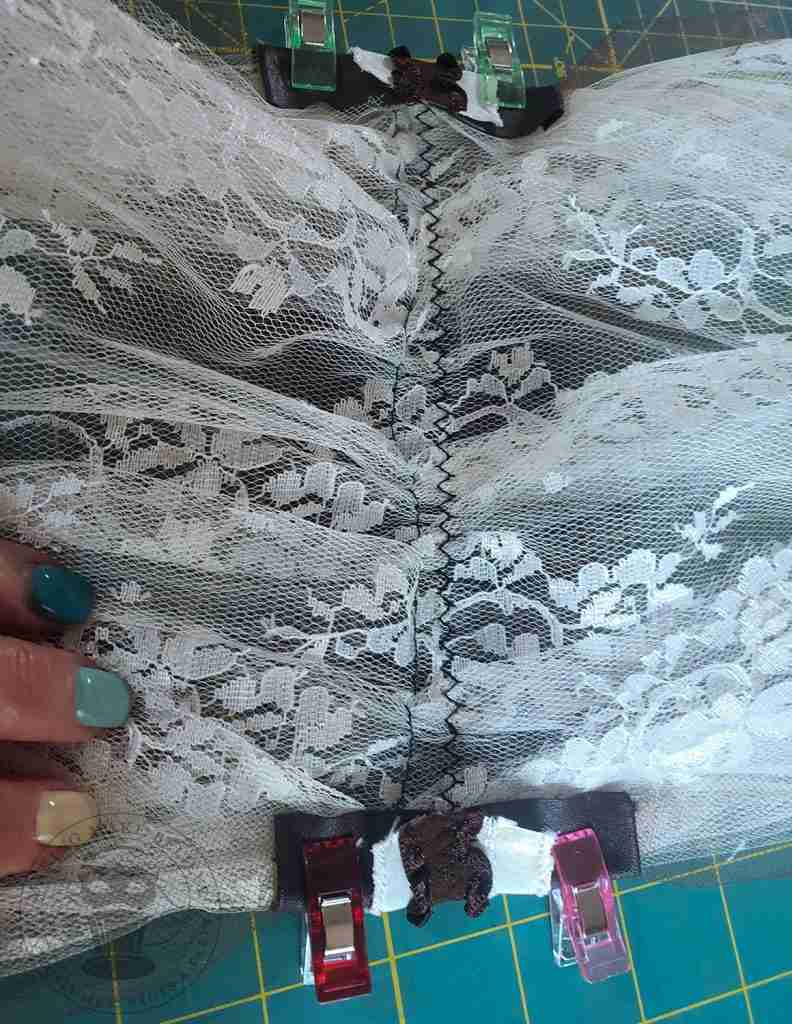
Stitch a button and loop closure to your openings and embellish as desired.
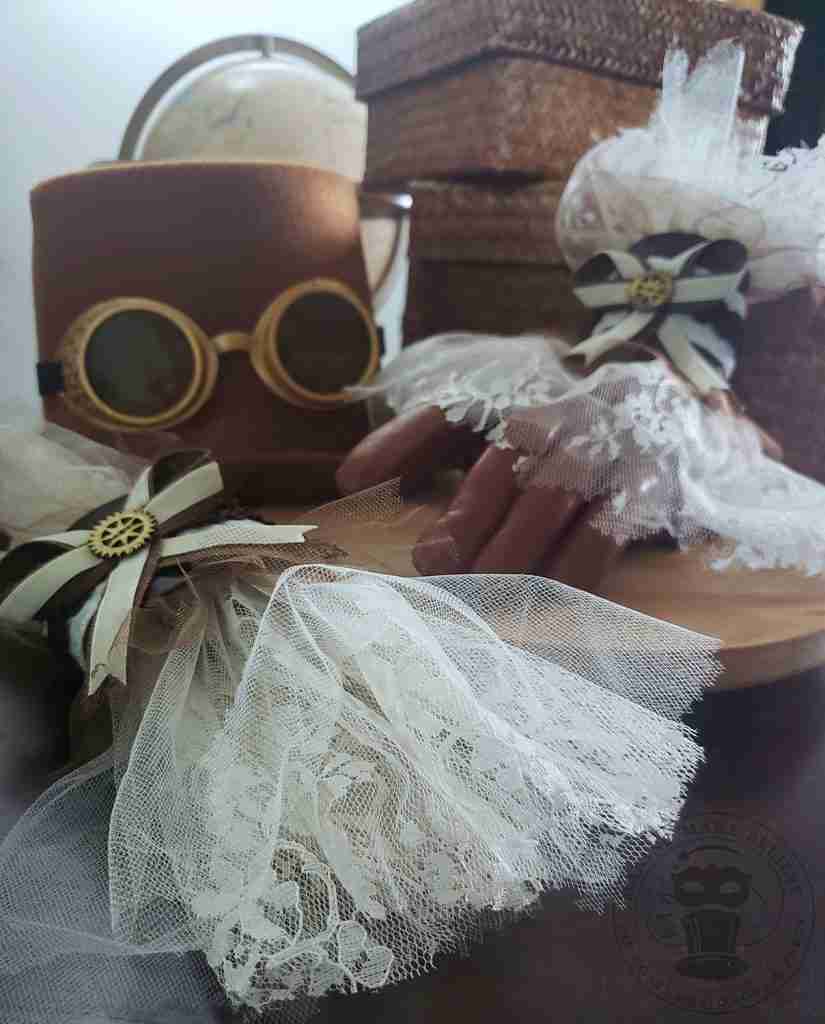
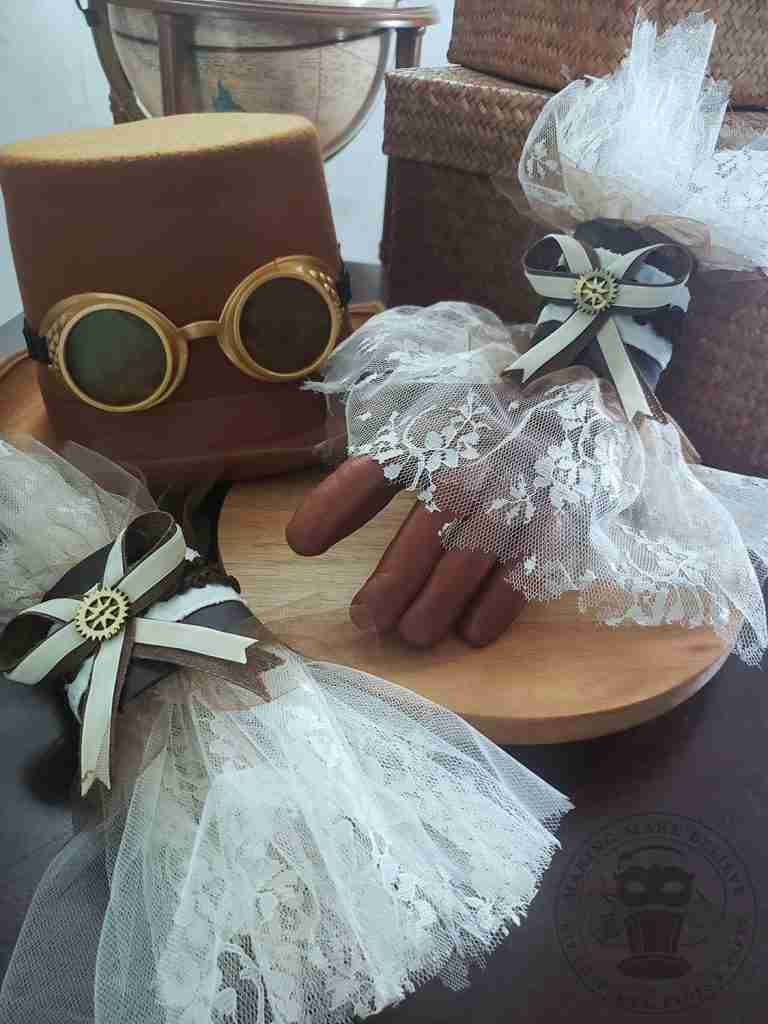
Pair these steampunk wrist cuffs with some gloves, an aviator or top hat, and some goggles, and you are on your way to building a character.
I like how these turned out, but what do you think? Are you going to craft some Steampunk wrist cuffs from your leftovers? Let me know on Instagram or Facebook.
Until next time, stay in character.

Templates, patterns and printables for every project on the blog.

Counting down to Halloween since the 1970s. I create, style and celebrate all things costume and Halloween, all year round.
Welcome to my world of Halloween Ever After, where I create, style, and celebrate all things costume and Halloween.
Within these haunted pages lie affiliate links to curious and captivating finds I love. If you make a purchase through them, I may earn a modest commission (think fun-size candy bar), which helps keep the Halloween magic alive. No extra cost to you – cross my batty heart.



Check your email for the Haunted Library password.
Don’t miss a moment of the mischief.
Add hello@halloweeneverafter.com to your address book.
The magic happens right here in my studio and office. When you step inside my creative space, you’ll find an ever expanding gallery wall overflowing with original spooky art and classic Halloween LPs, right alongside a haunted cabinet packed to the brim with vintage curiosities.
It’s under the watchful eyes of these retro treasures that I design and craft.
Join us and get access to our Haunted Library stocked with templates, printables, cut files, and exclusive content. Plus, you’ll receive Eerie Emails just for our subscribers.
*Stay as long as you like. Unsubscribe at any time.


