Free templates & patterns
130+ freebies are waiting in the Haunted Library
Templates, patterns and printables for every project on the blog.
Formerly Making Make Believe · Join the Haunted Library

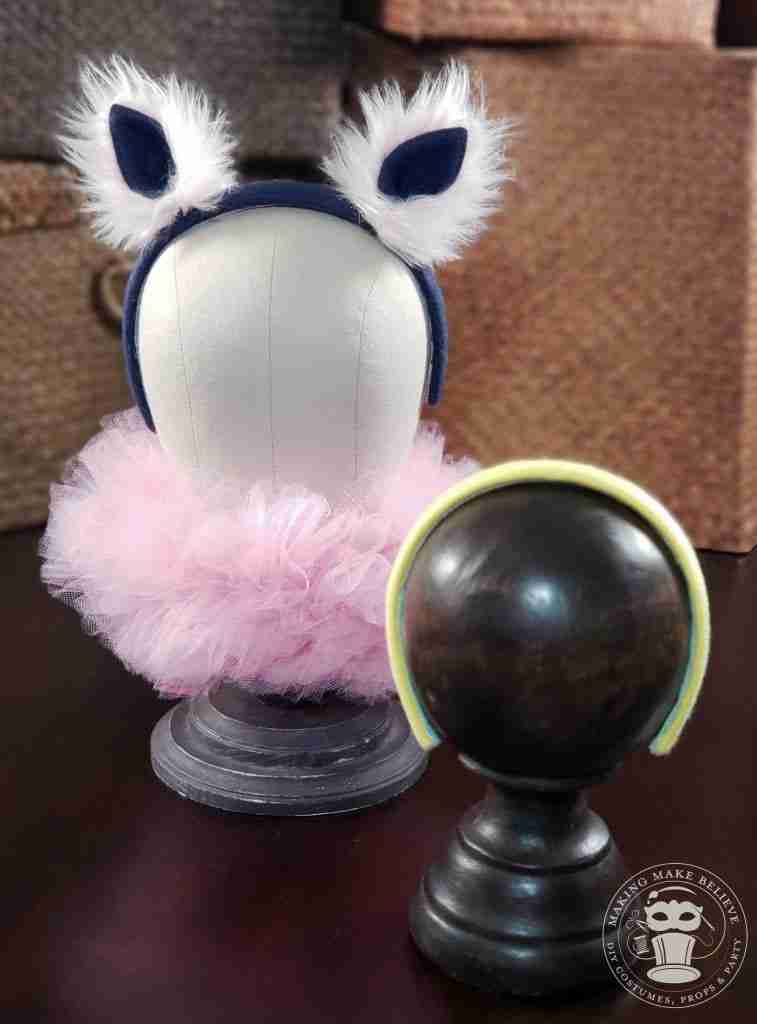
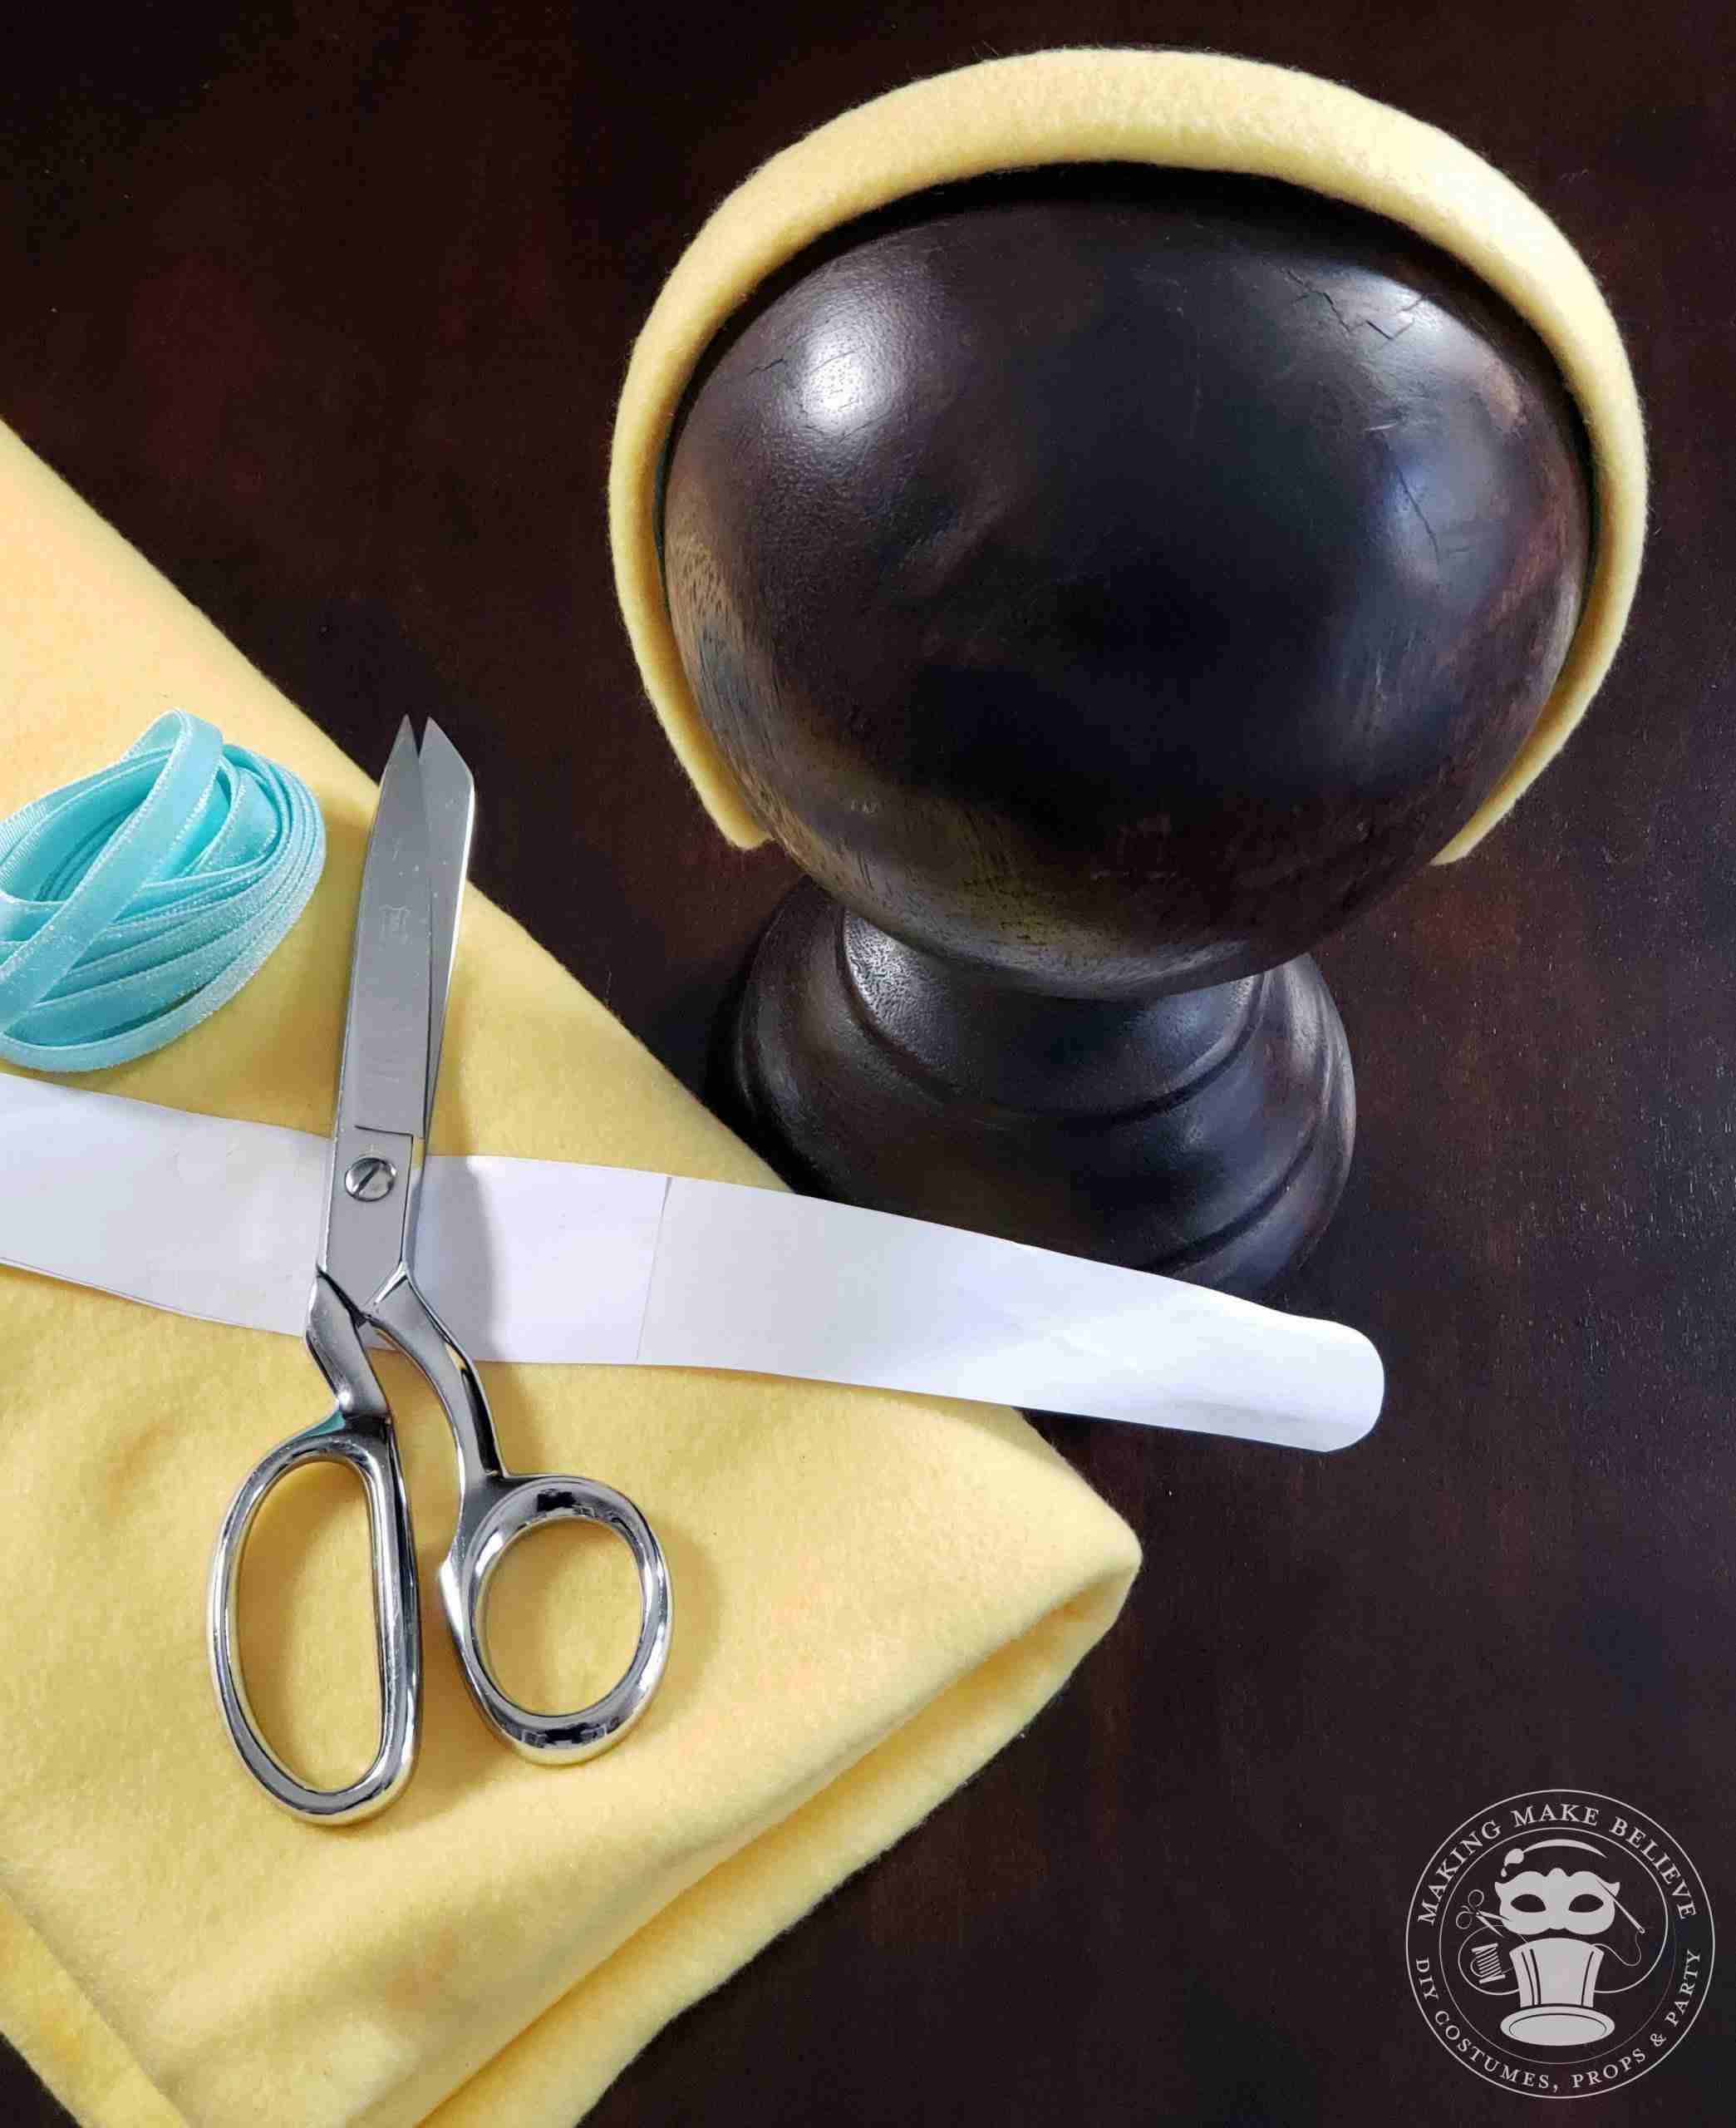
When I’m putting together a costume, I usually have some particular ideas on what I want. Rather than scour the web and local stores hoping to find something that might work, I’ve found that it’s better just to make exactly what I want. That’s what prompted the need for this headband cover.
I made this pattern so I could have headbands in nearly any color for almost any costume character. I wanted a smooth, finished look without bunching that could serve as a base to slide character ears on and off, so I made the pattern a close fit. I wanted the cover to allow for me to stitch on embellishments, but I also needed it to be hot glue friendly, unlike slick plastic headbands. I made sure the stretch of the fabric ran across the width of the cover, making it easier to wrap, and I took my time gluing it into place, working from the center out.
Oh, and one other thing. All headbands are different, so before you cut into the last bit of that oh-so-fabulous fabric, test the pattern out on some scrap and make any needed sizing adjustments. I tend to use 3/4″ headbands, but you can make this pattern longer, shorter, wider, or thinner as needed.
Headbands make an excellent base for character ears, miniature hats, flowers, etc. There’s no limit to what you can create with this headband cover and, I would love to see how you use this in your costume.
Materials:
NOTE: This pattern has been tested on a ¾”, smooth, plastic headband. Adjust the length and width of the pattern as needed to fit your specific headband.
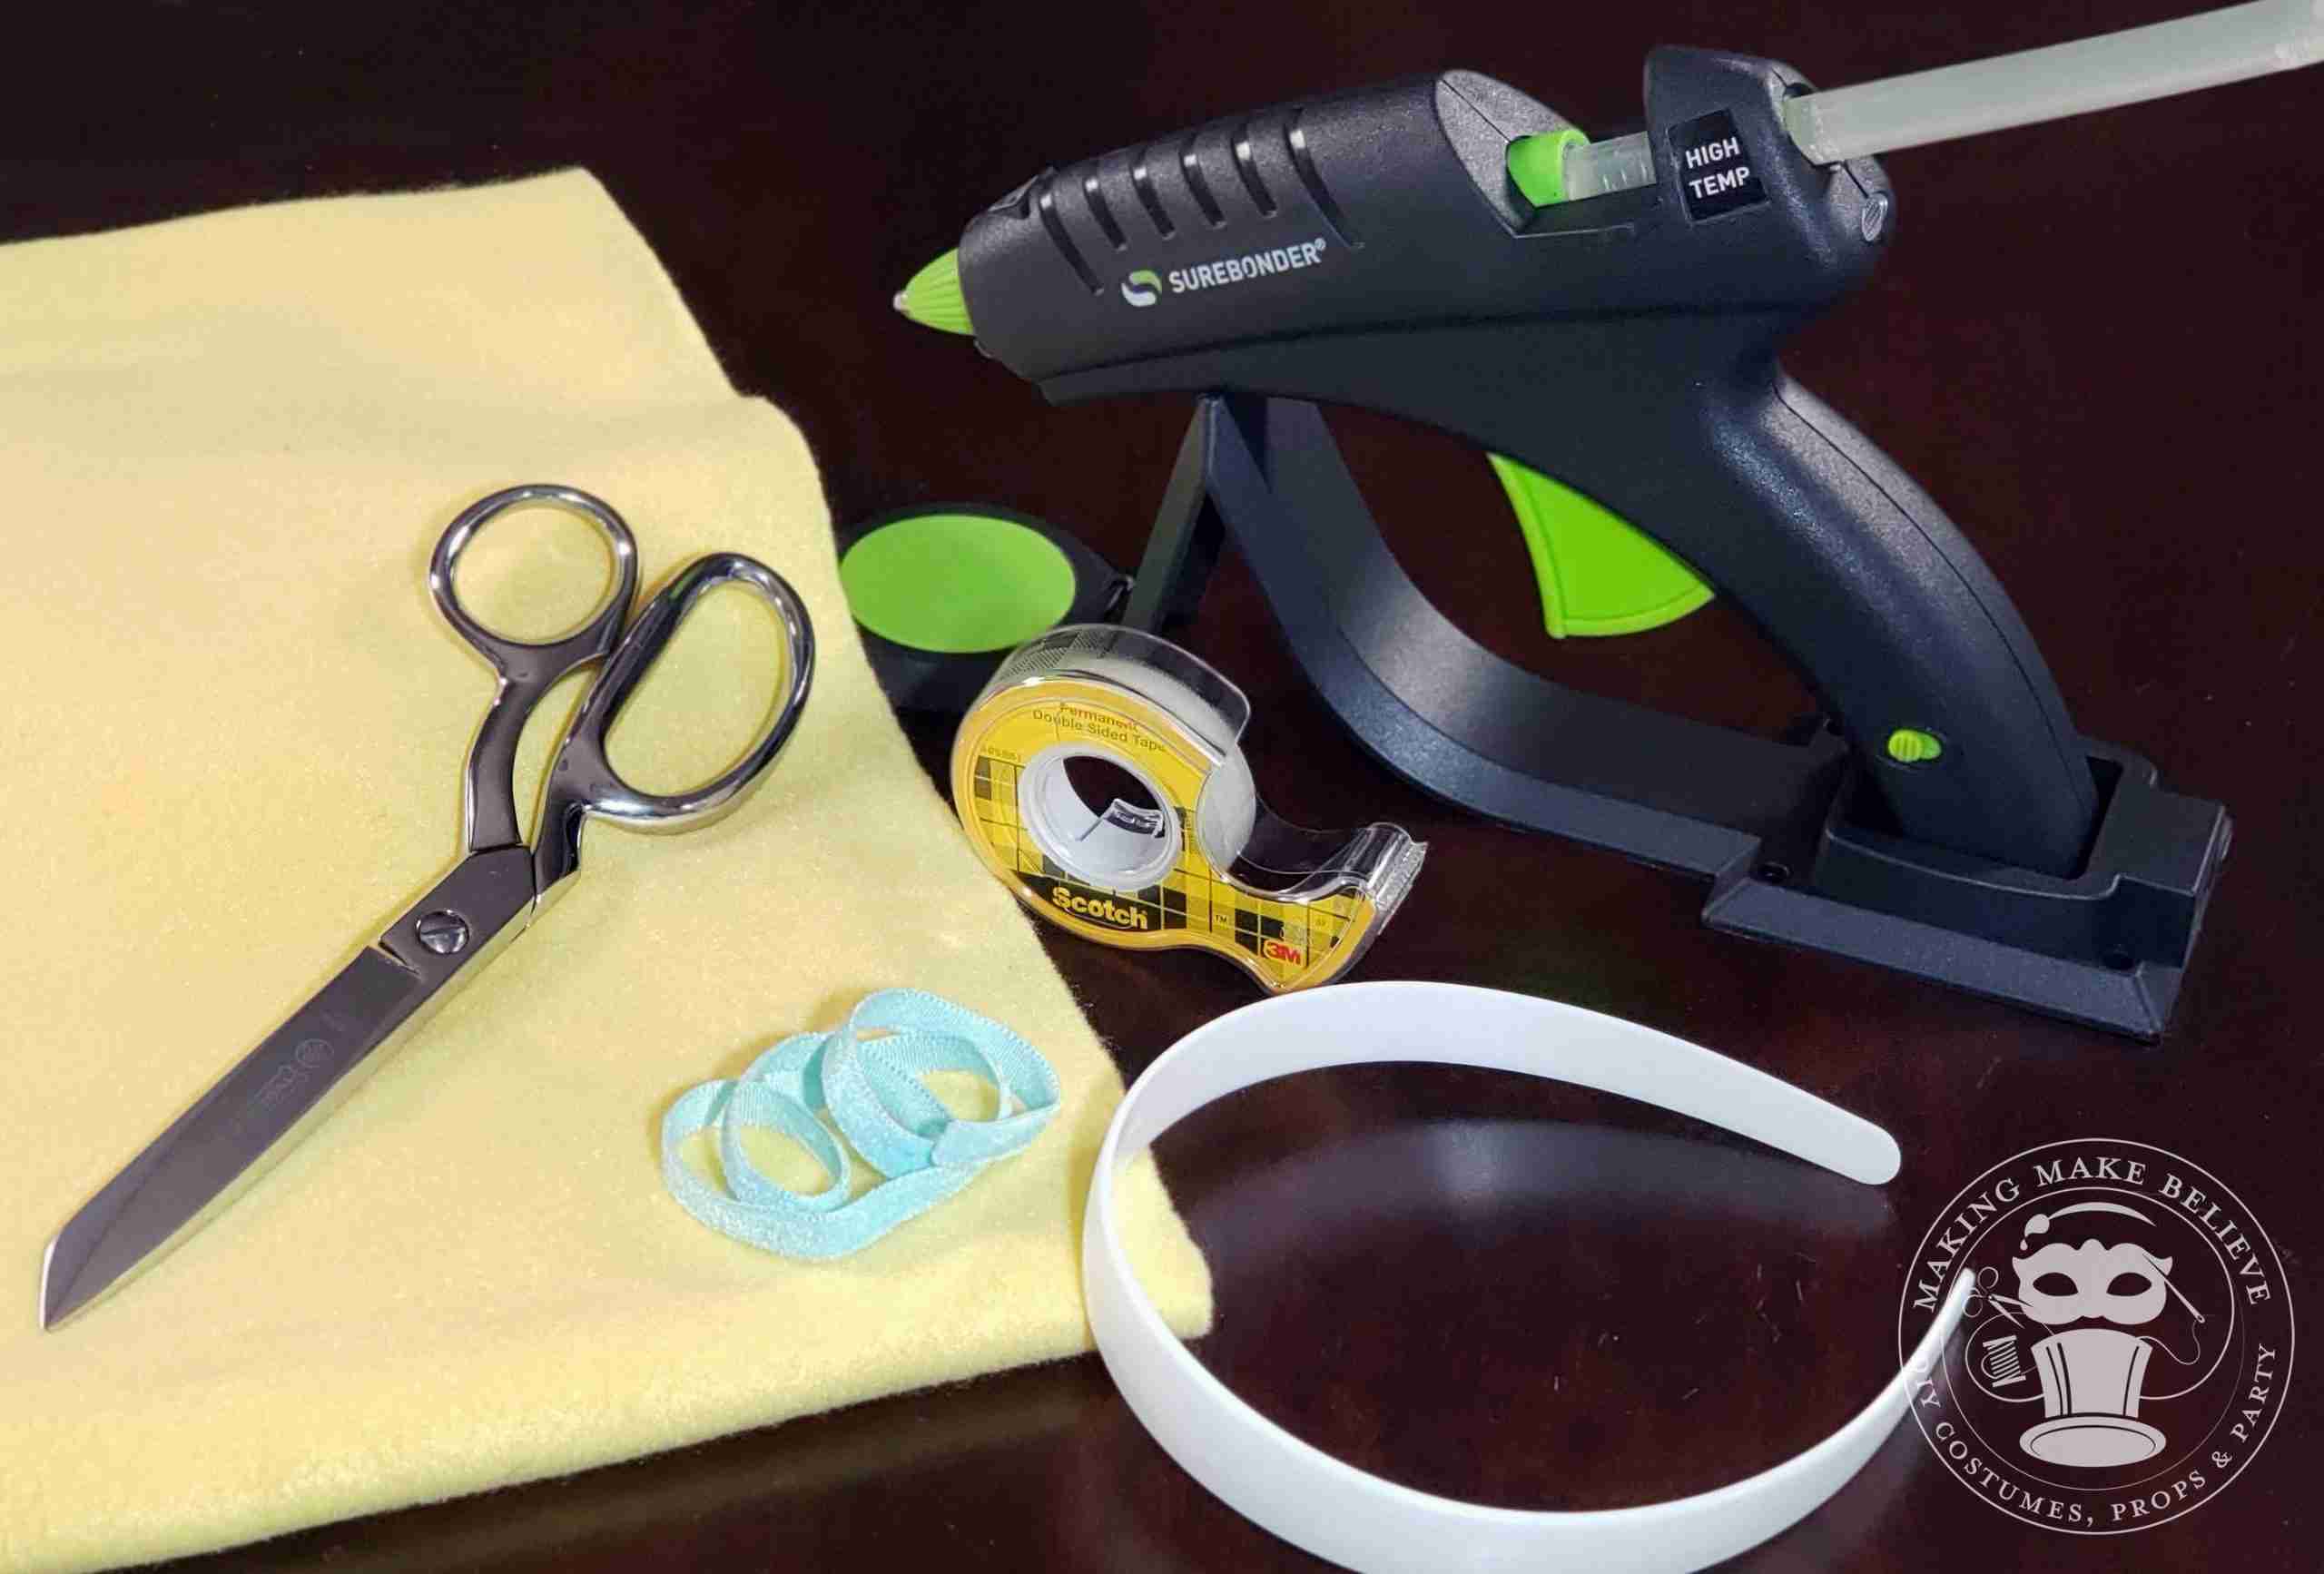
Tools:
To machine cut:
NOTE: If using a cutting machine, be sure to secure your material to the proper mat for your machine. The size of this cut may require a larger than standard cutting mat. Select the appropriate cutting settings and install the correct cutting blade for the material.
To hand cut:
Before You Get Started:
Download the free No-Stitch Headband Cover template pattern or SVG Cut File from the Haunted Library.
If you are going to use a cutting machine, upload the pattern file to your design software. To cut by hand, print, cut out the pattern and, trace onto your material.
Steps:
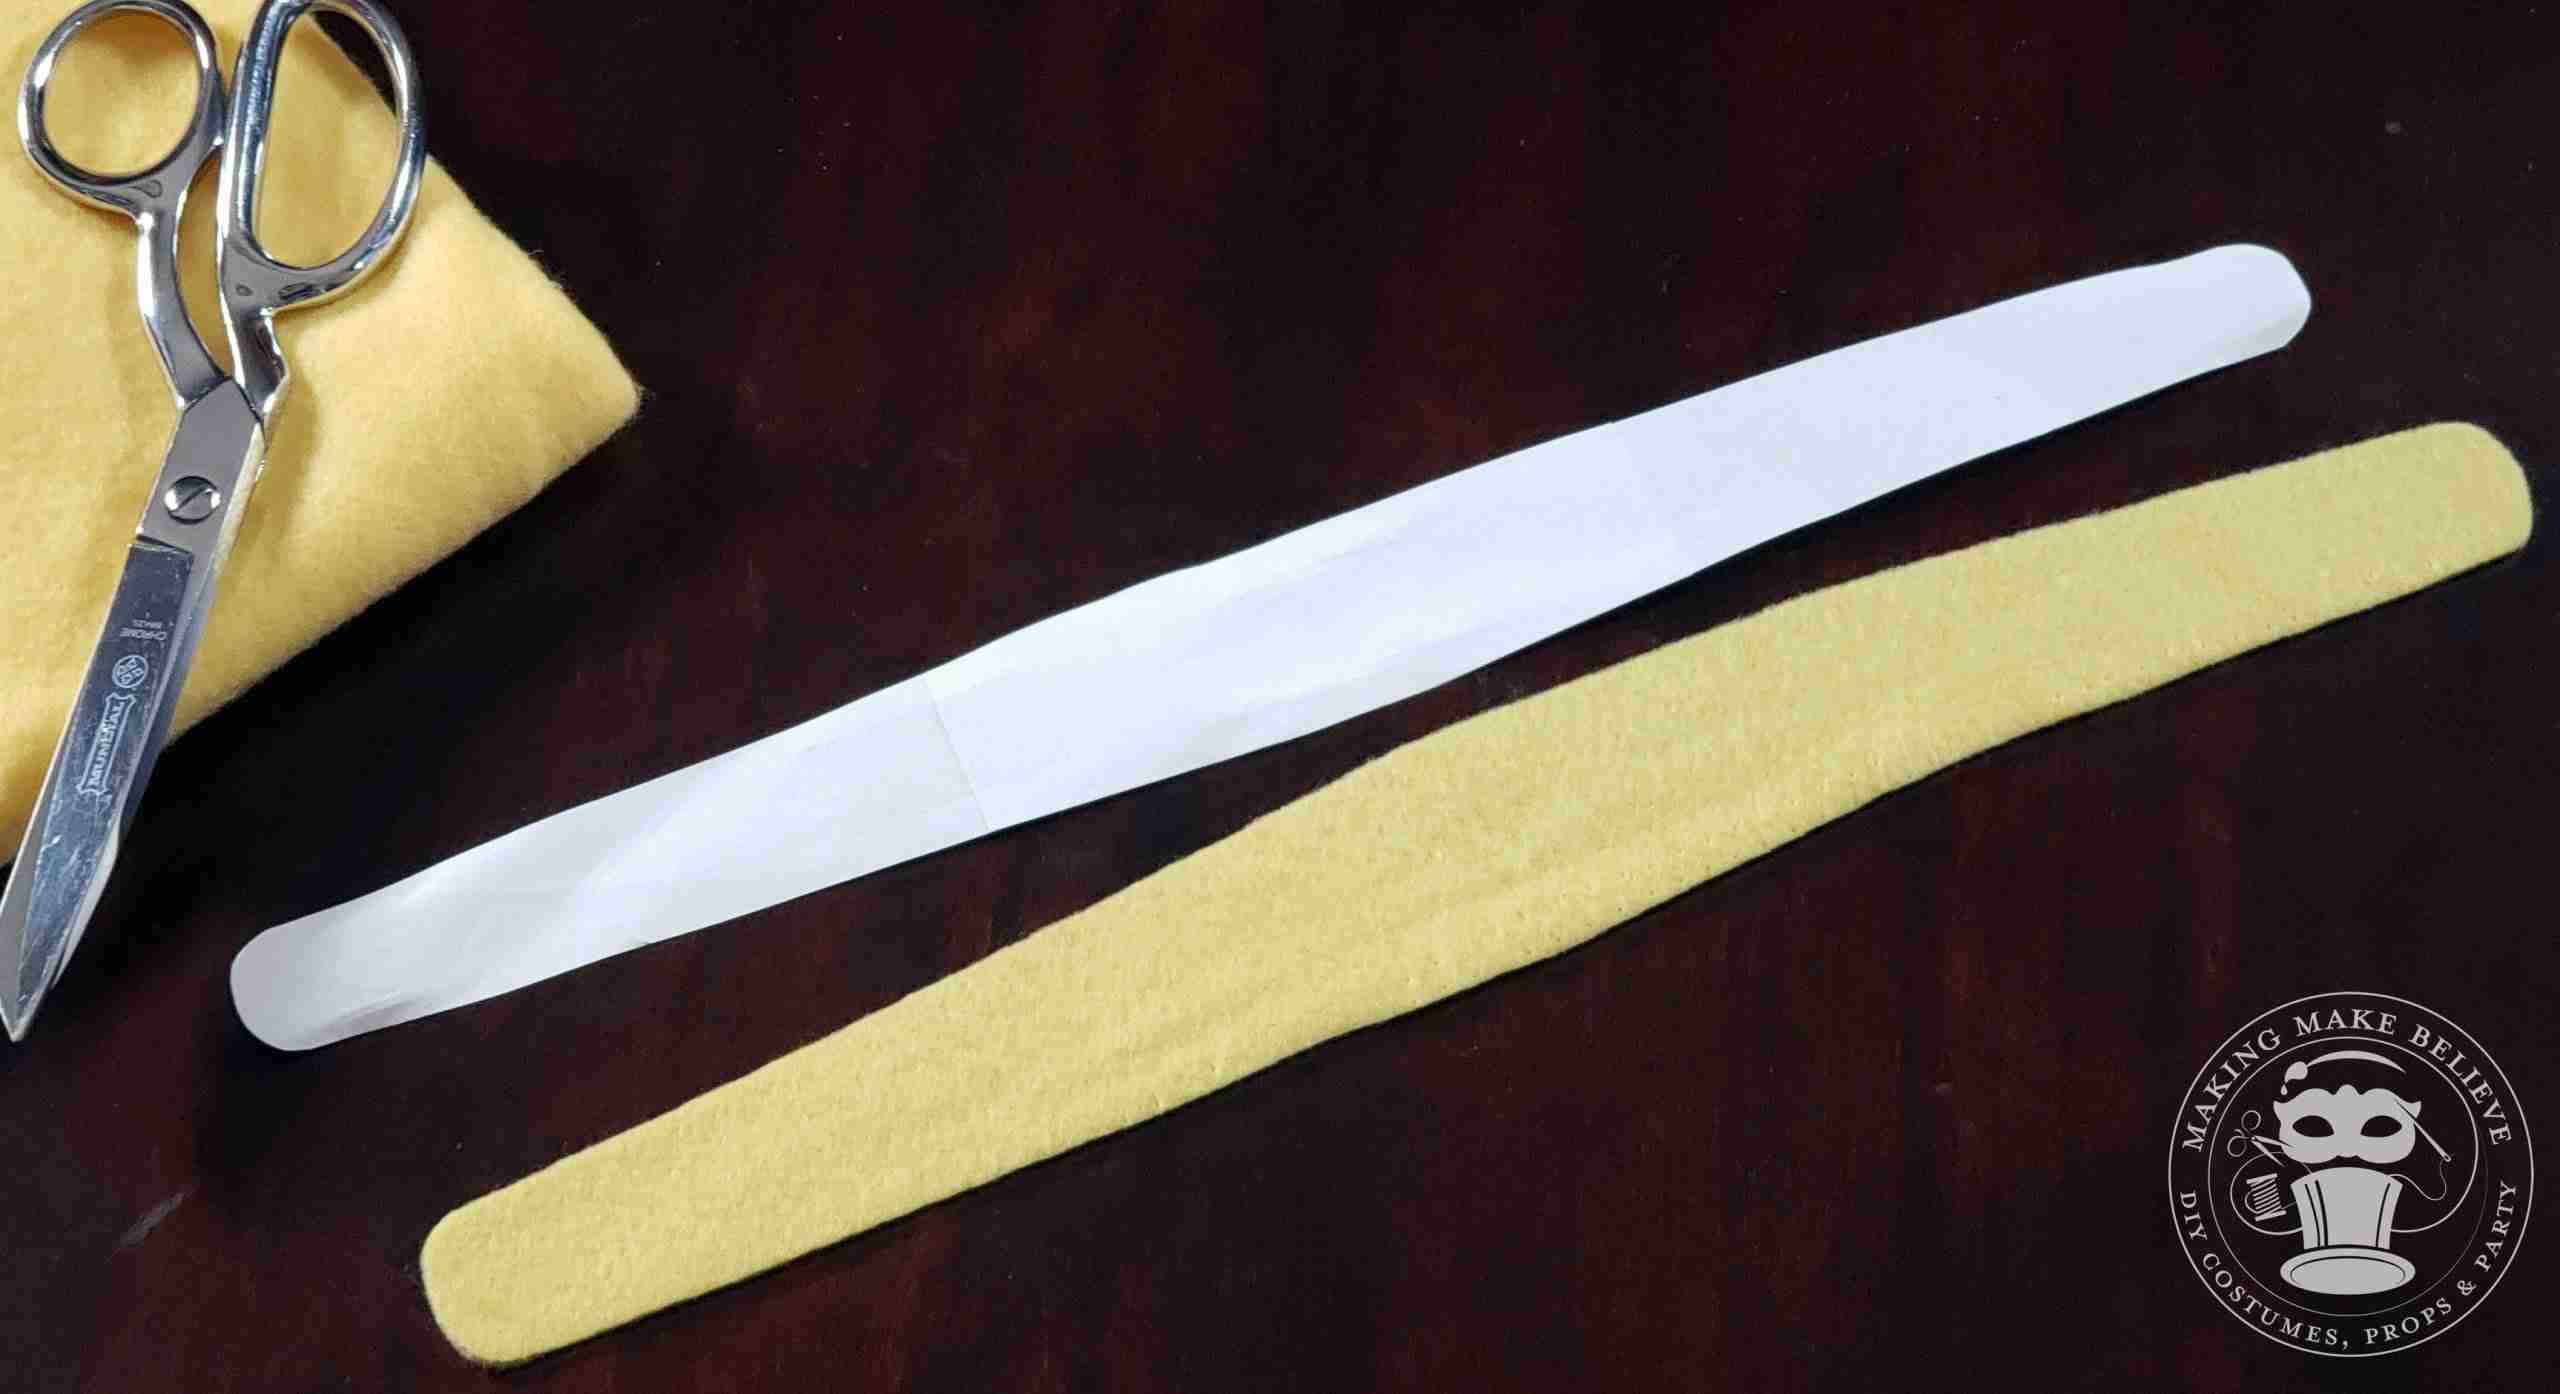
1. Cut out Headband Cover from fleece.
TIP: Take your fabric and determine the direction that has the greatest stretch. Cut the pattern with the greatest stretch running across the width (side to side) of your cover.
TIP: Adjustments to size can be made by decreasing or enlarging the pattern to account for the difference in headband size, the stretch of fabric, etc.
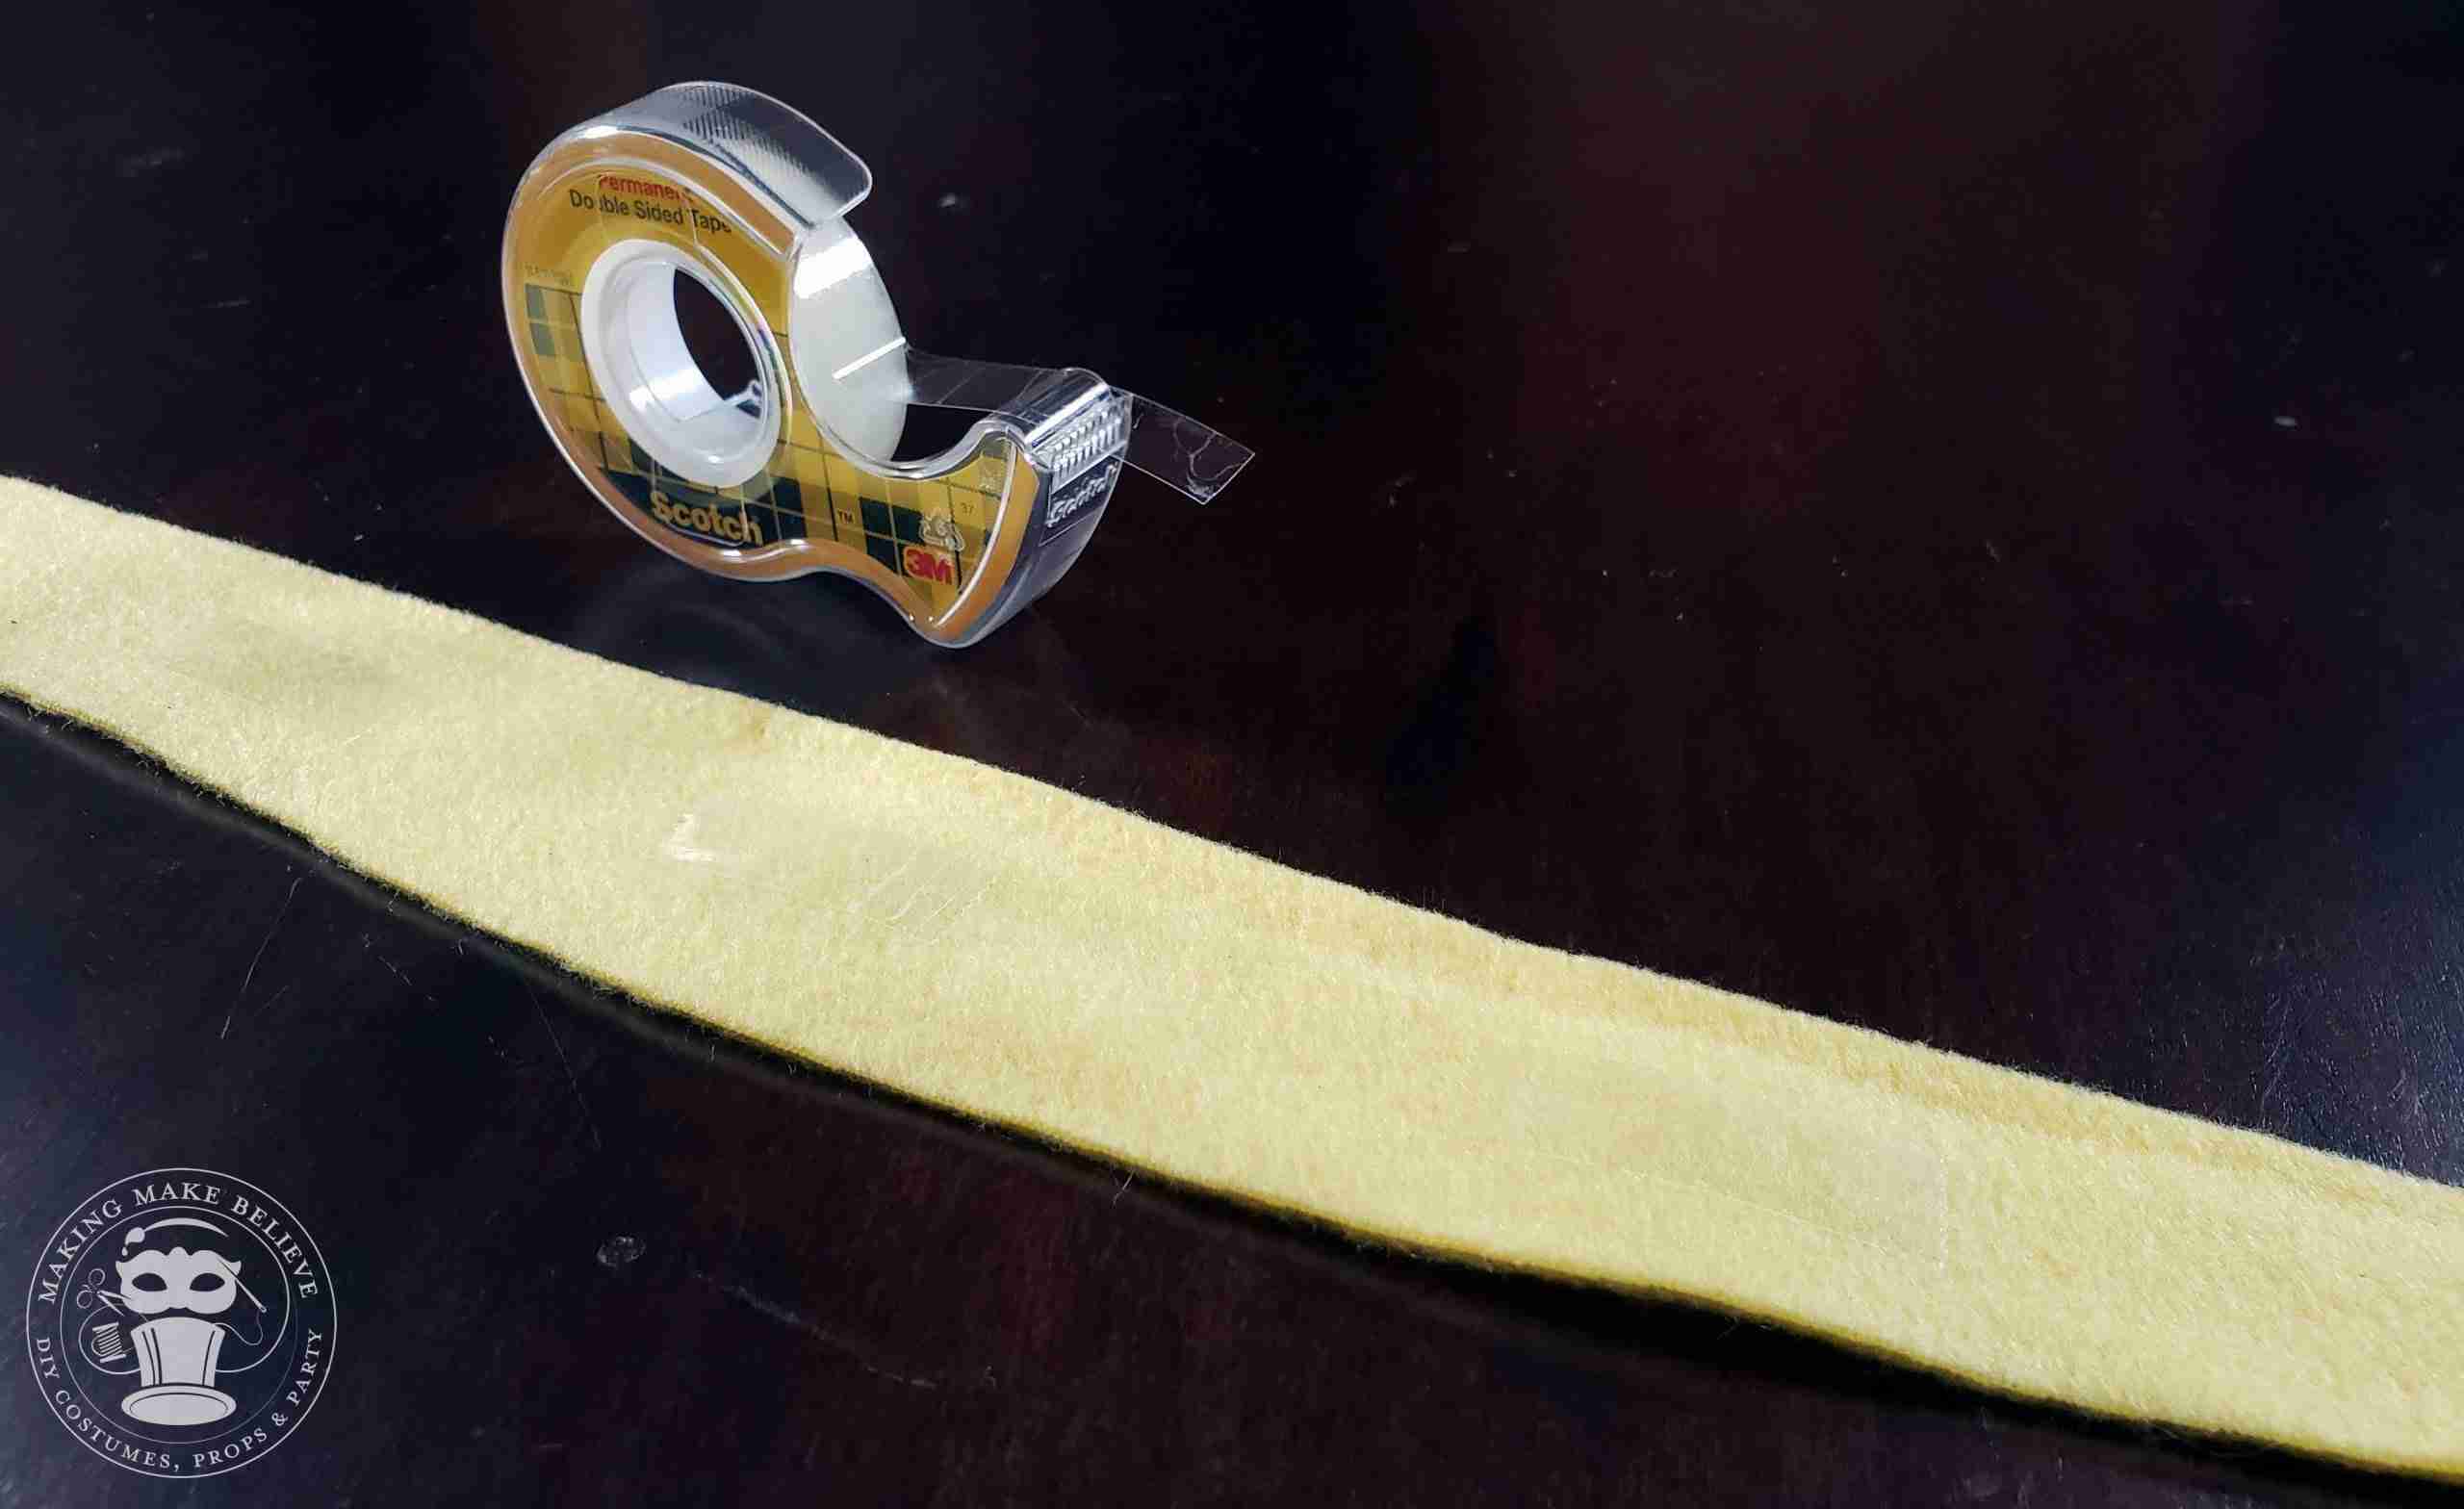
2. With the fleece wrong side up, place stips of double-stick tape down the center. If you do not have double-stick tape, you can simply use clips or clothespins to hold the cover onto your headband.
TIP: On standard fleece, the right side is nubby, and the wrong side is smooth. Some fleece is smooth on both sides. In either case, for projects such as these, you can select whichever side you prefer as the right side.
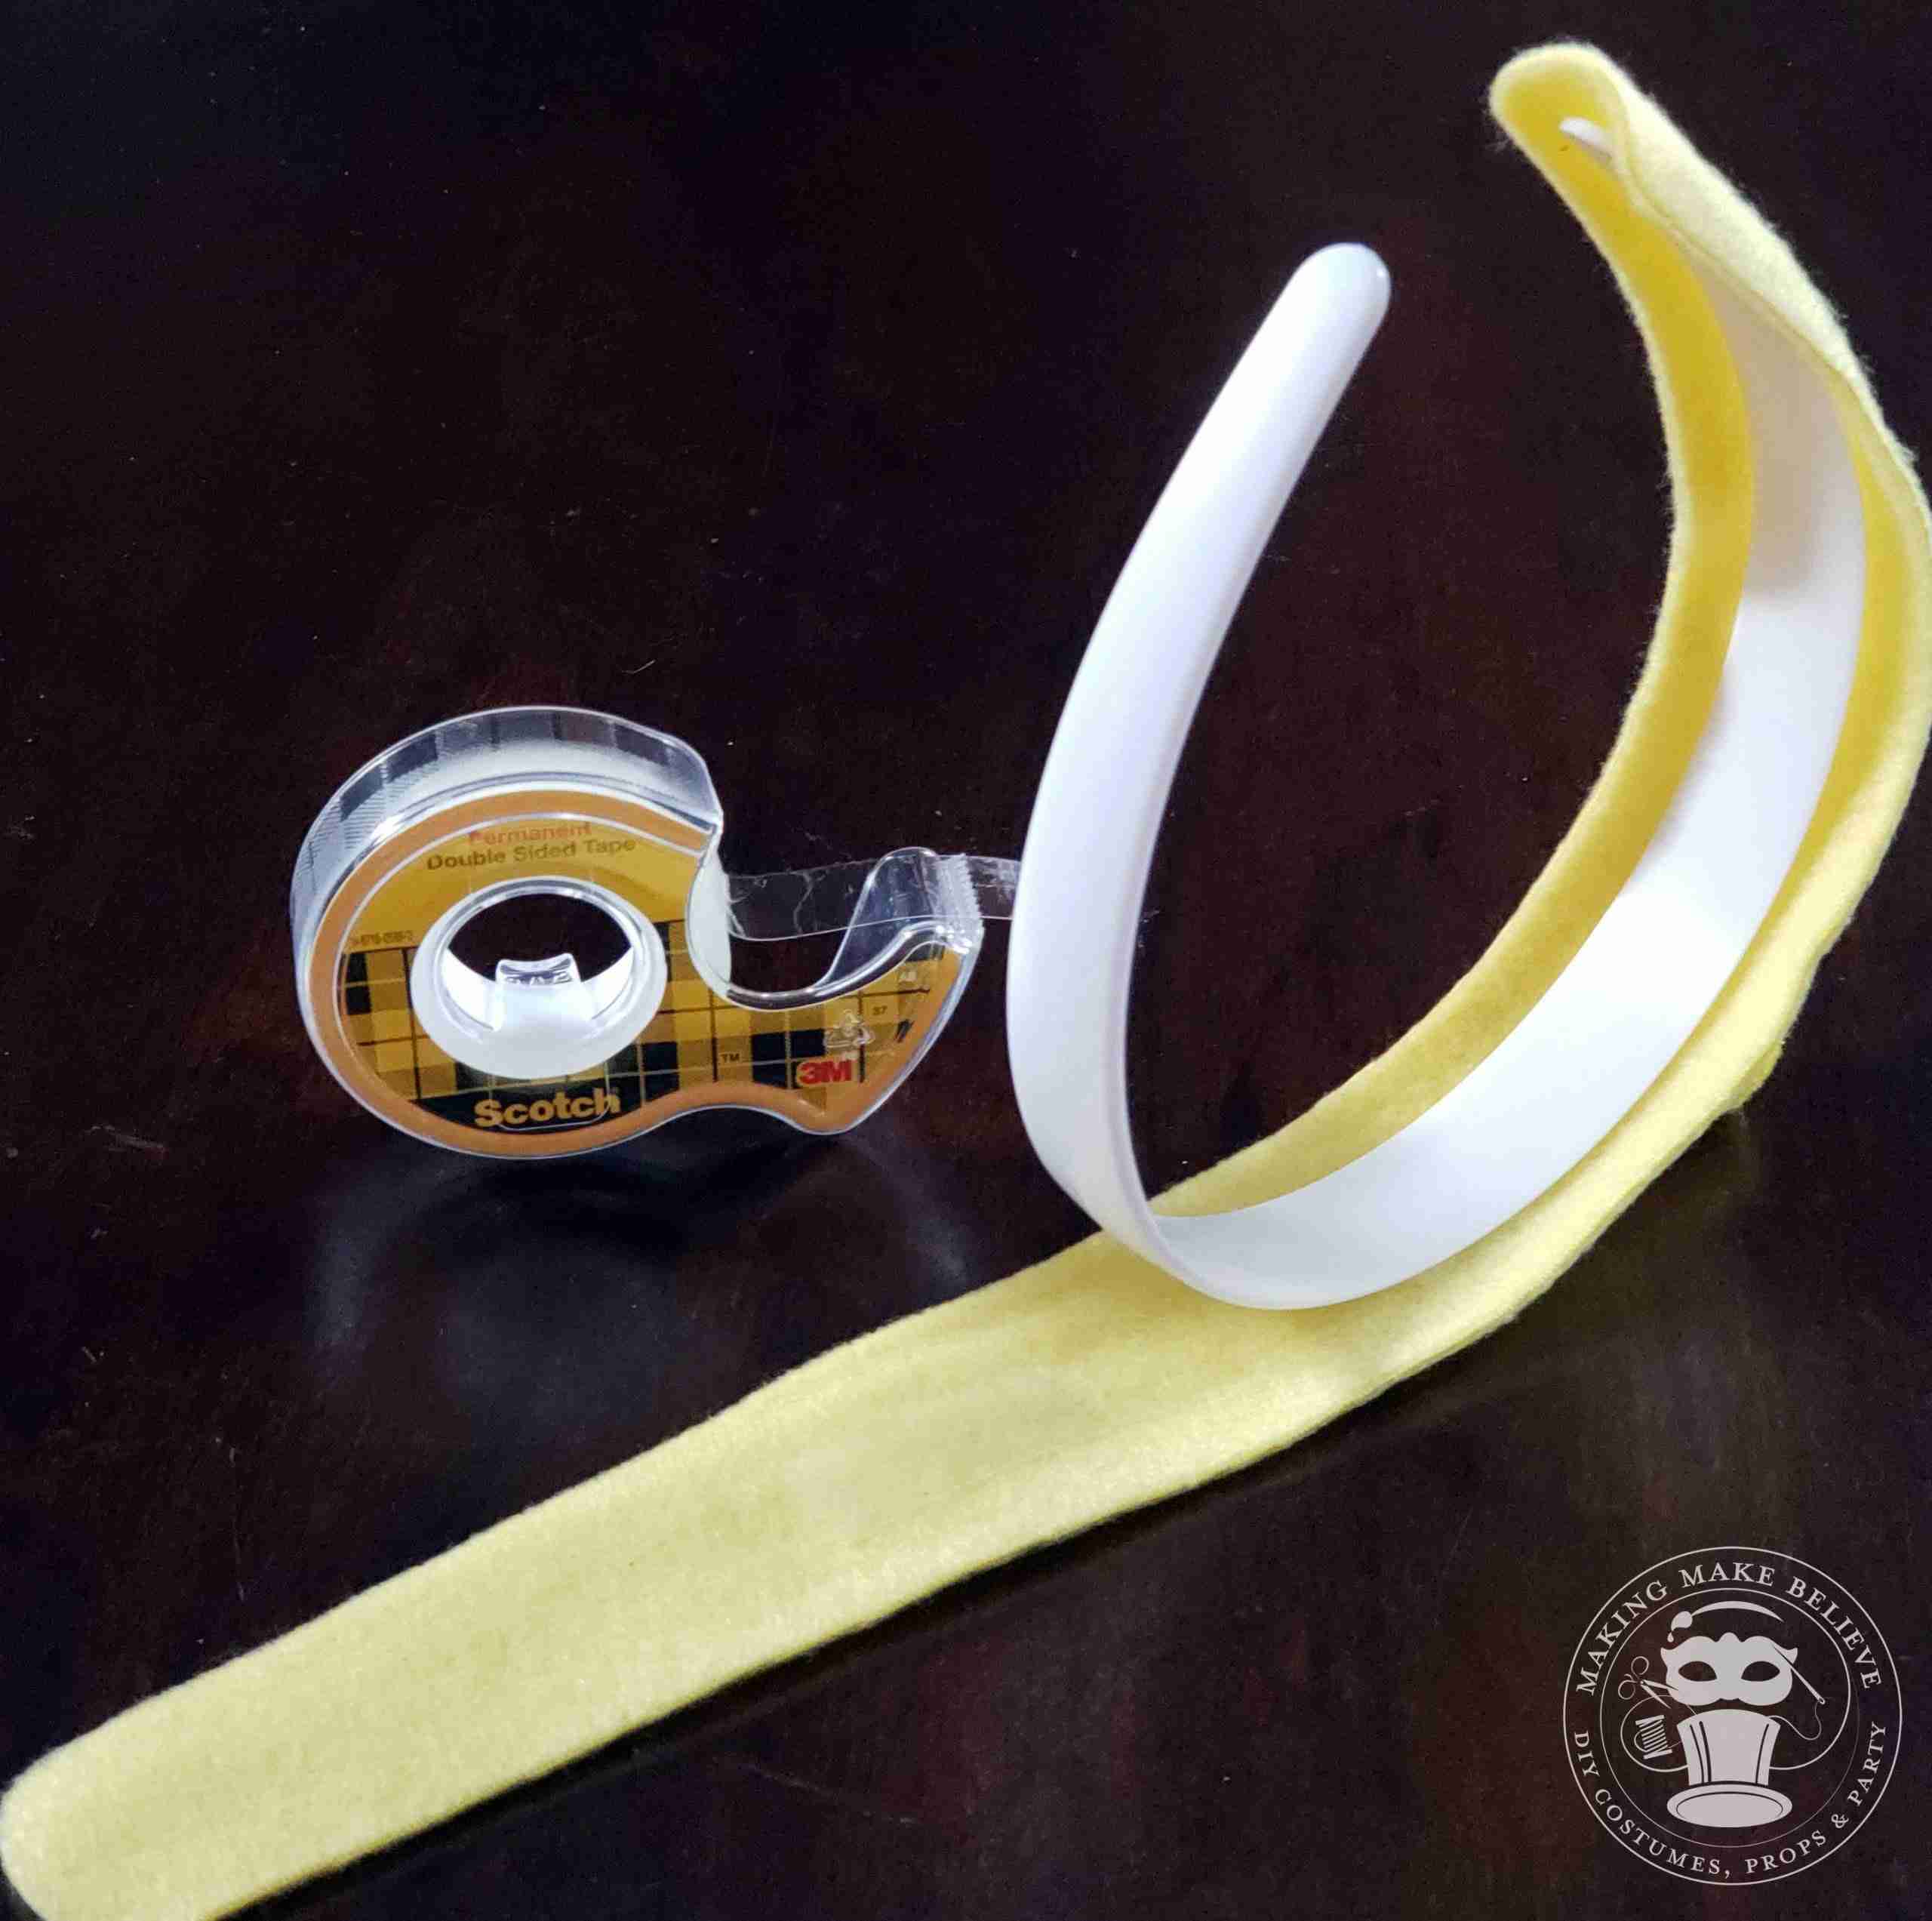
3. Beginning at the center, stick the cover onto the headband. Ensure that the cover is even with each end.
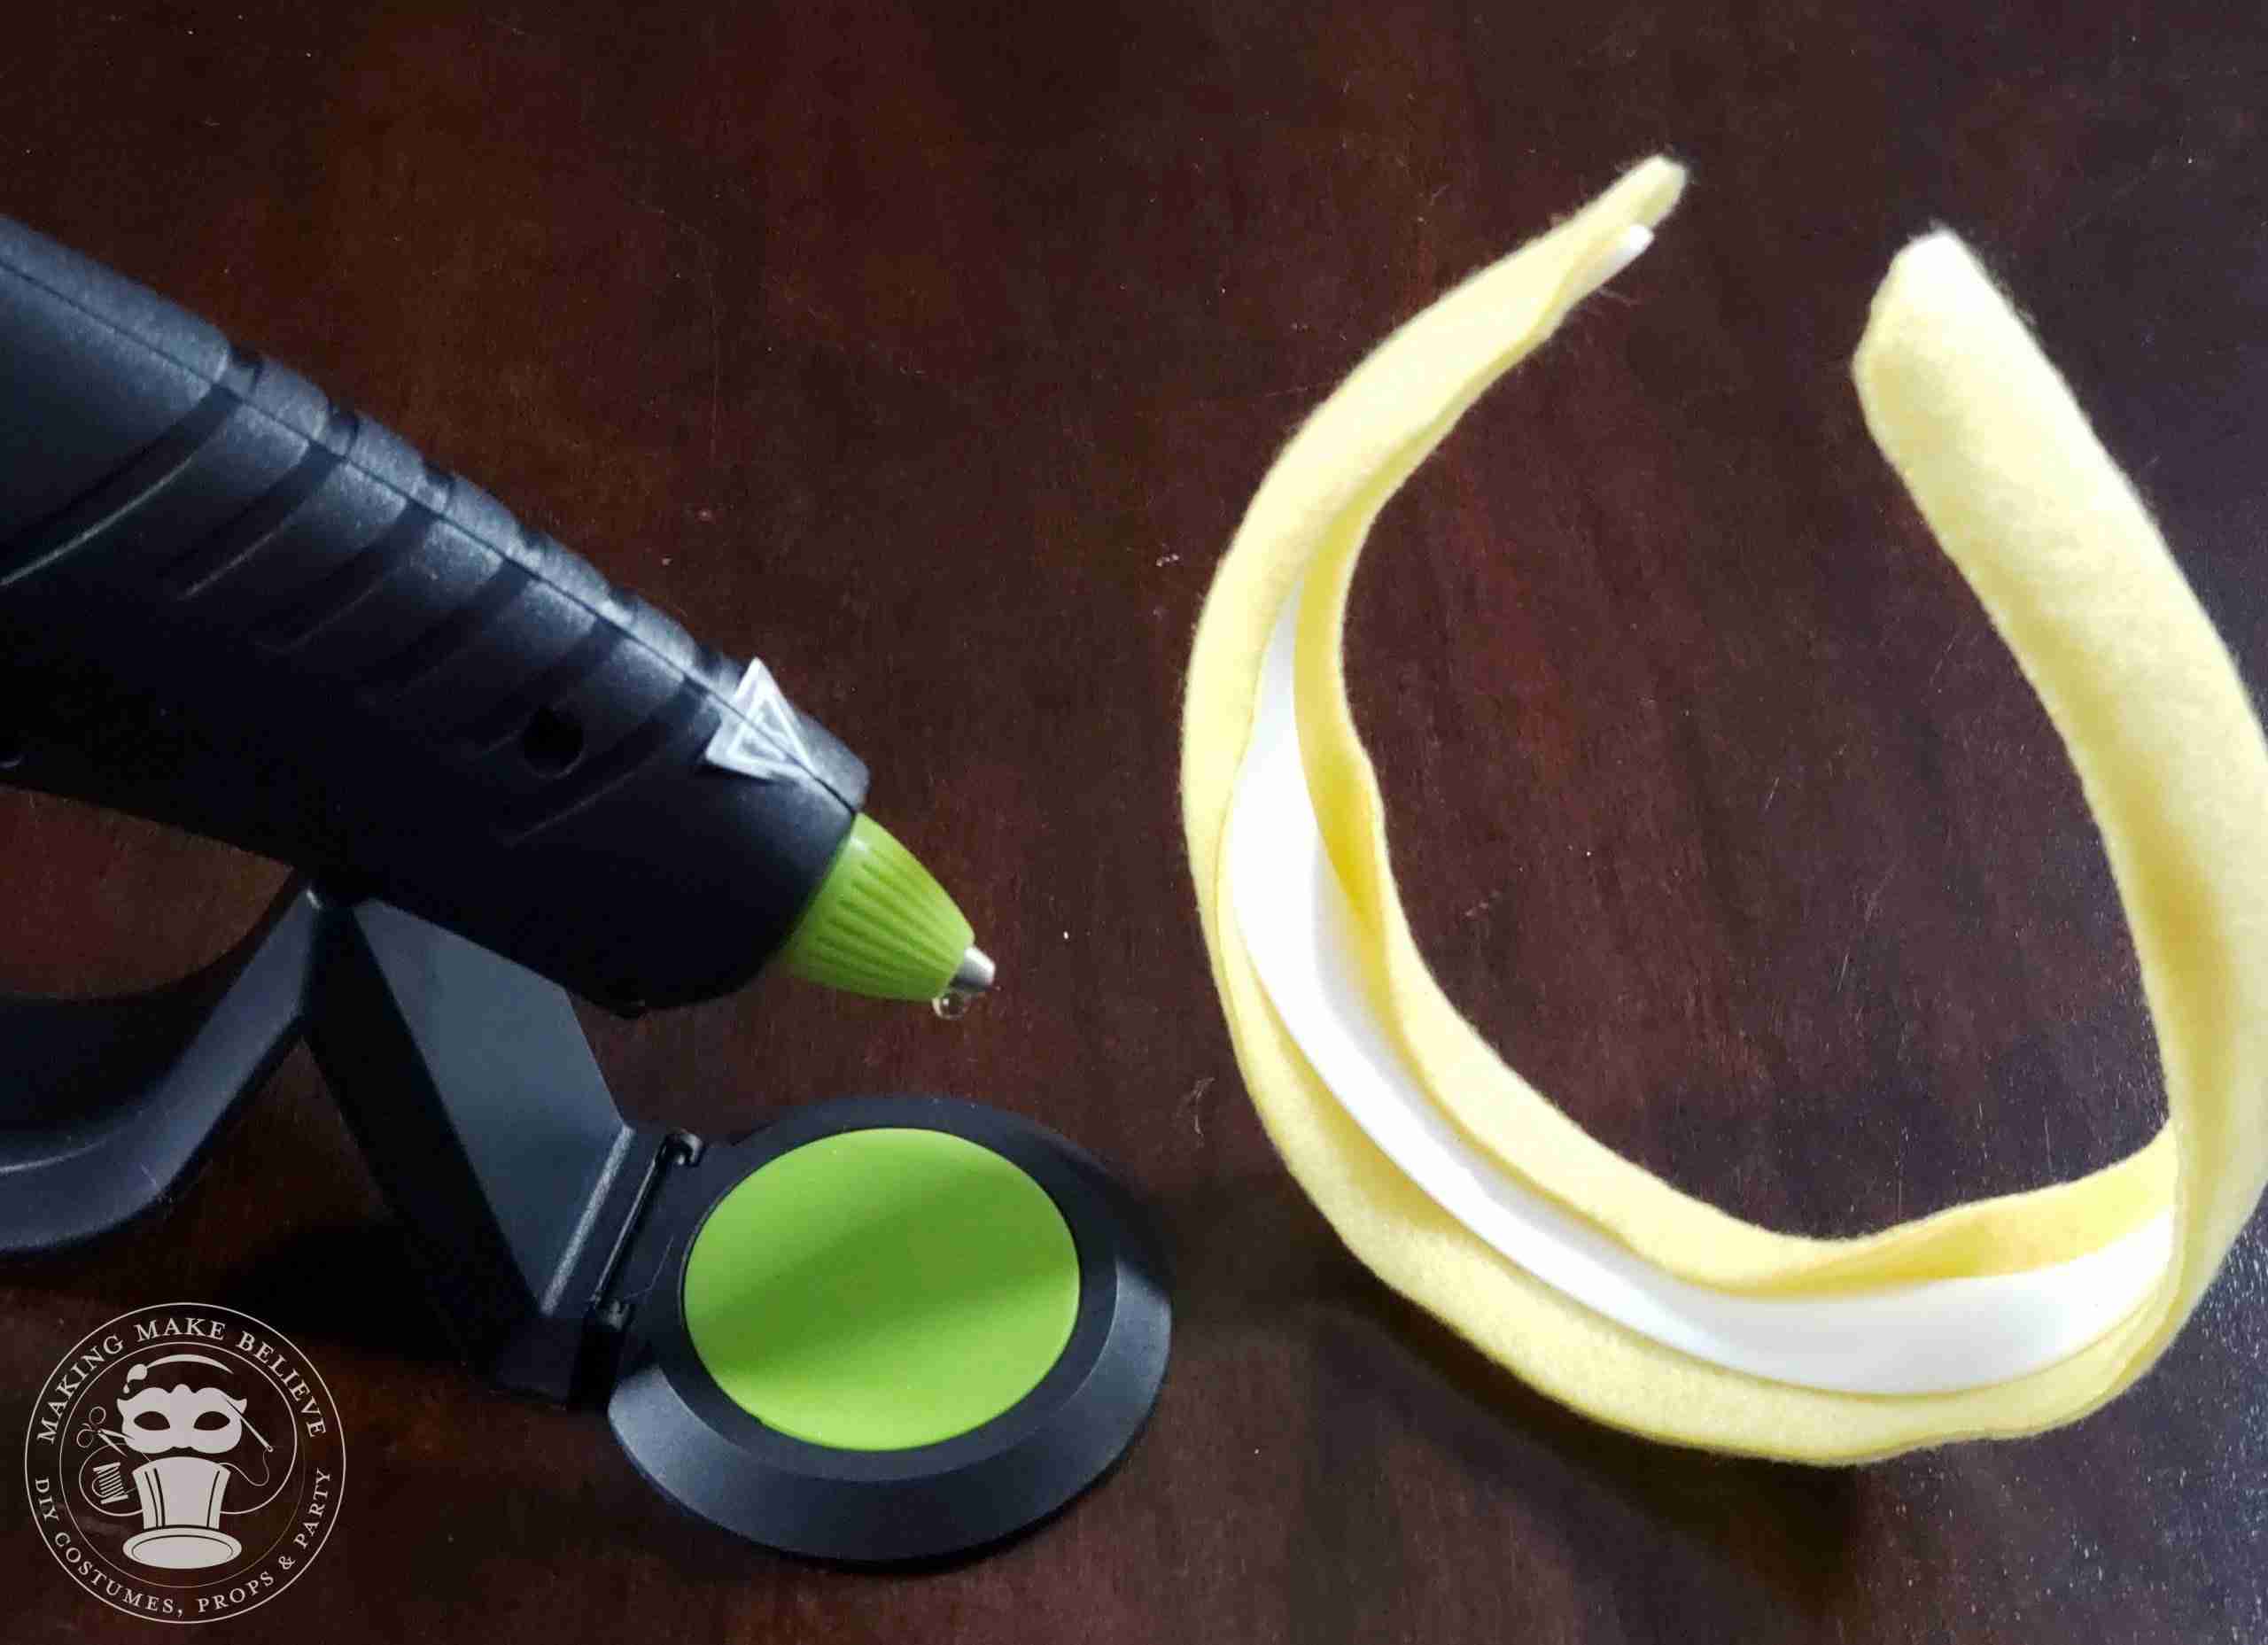
4. Beginning at center, fold under one edge of cover aligning the raw edge with the center underside of the headband. Hot glue in place.
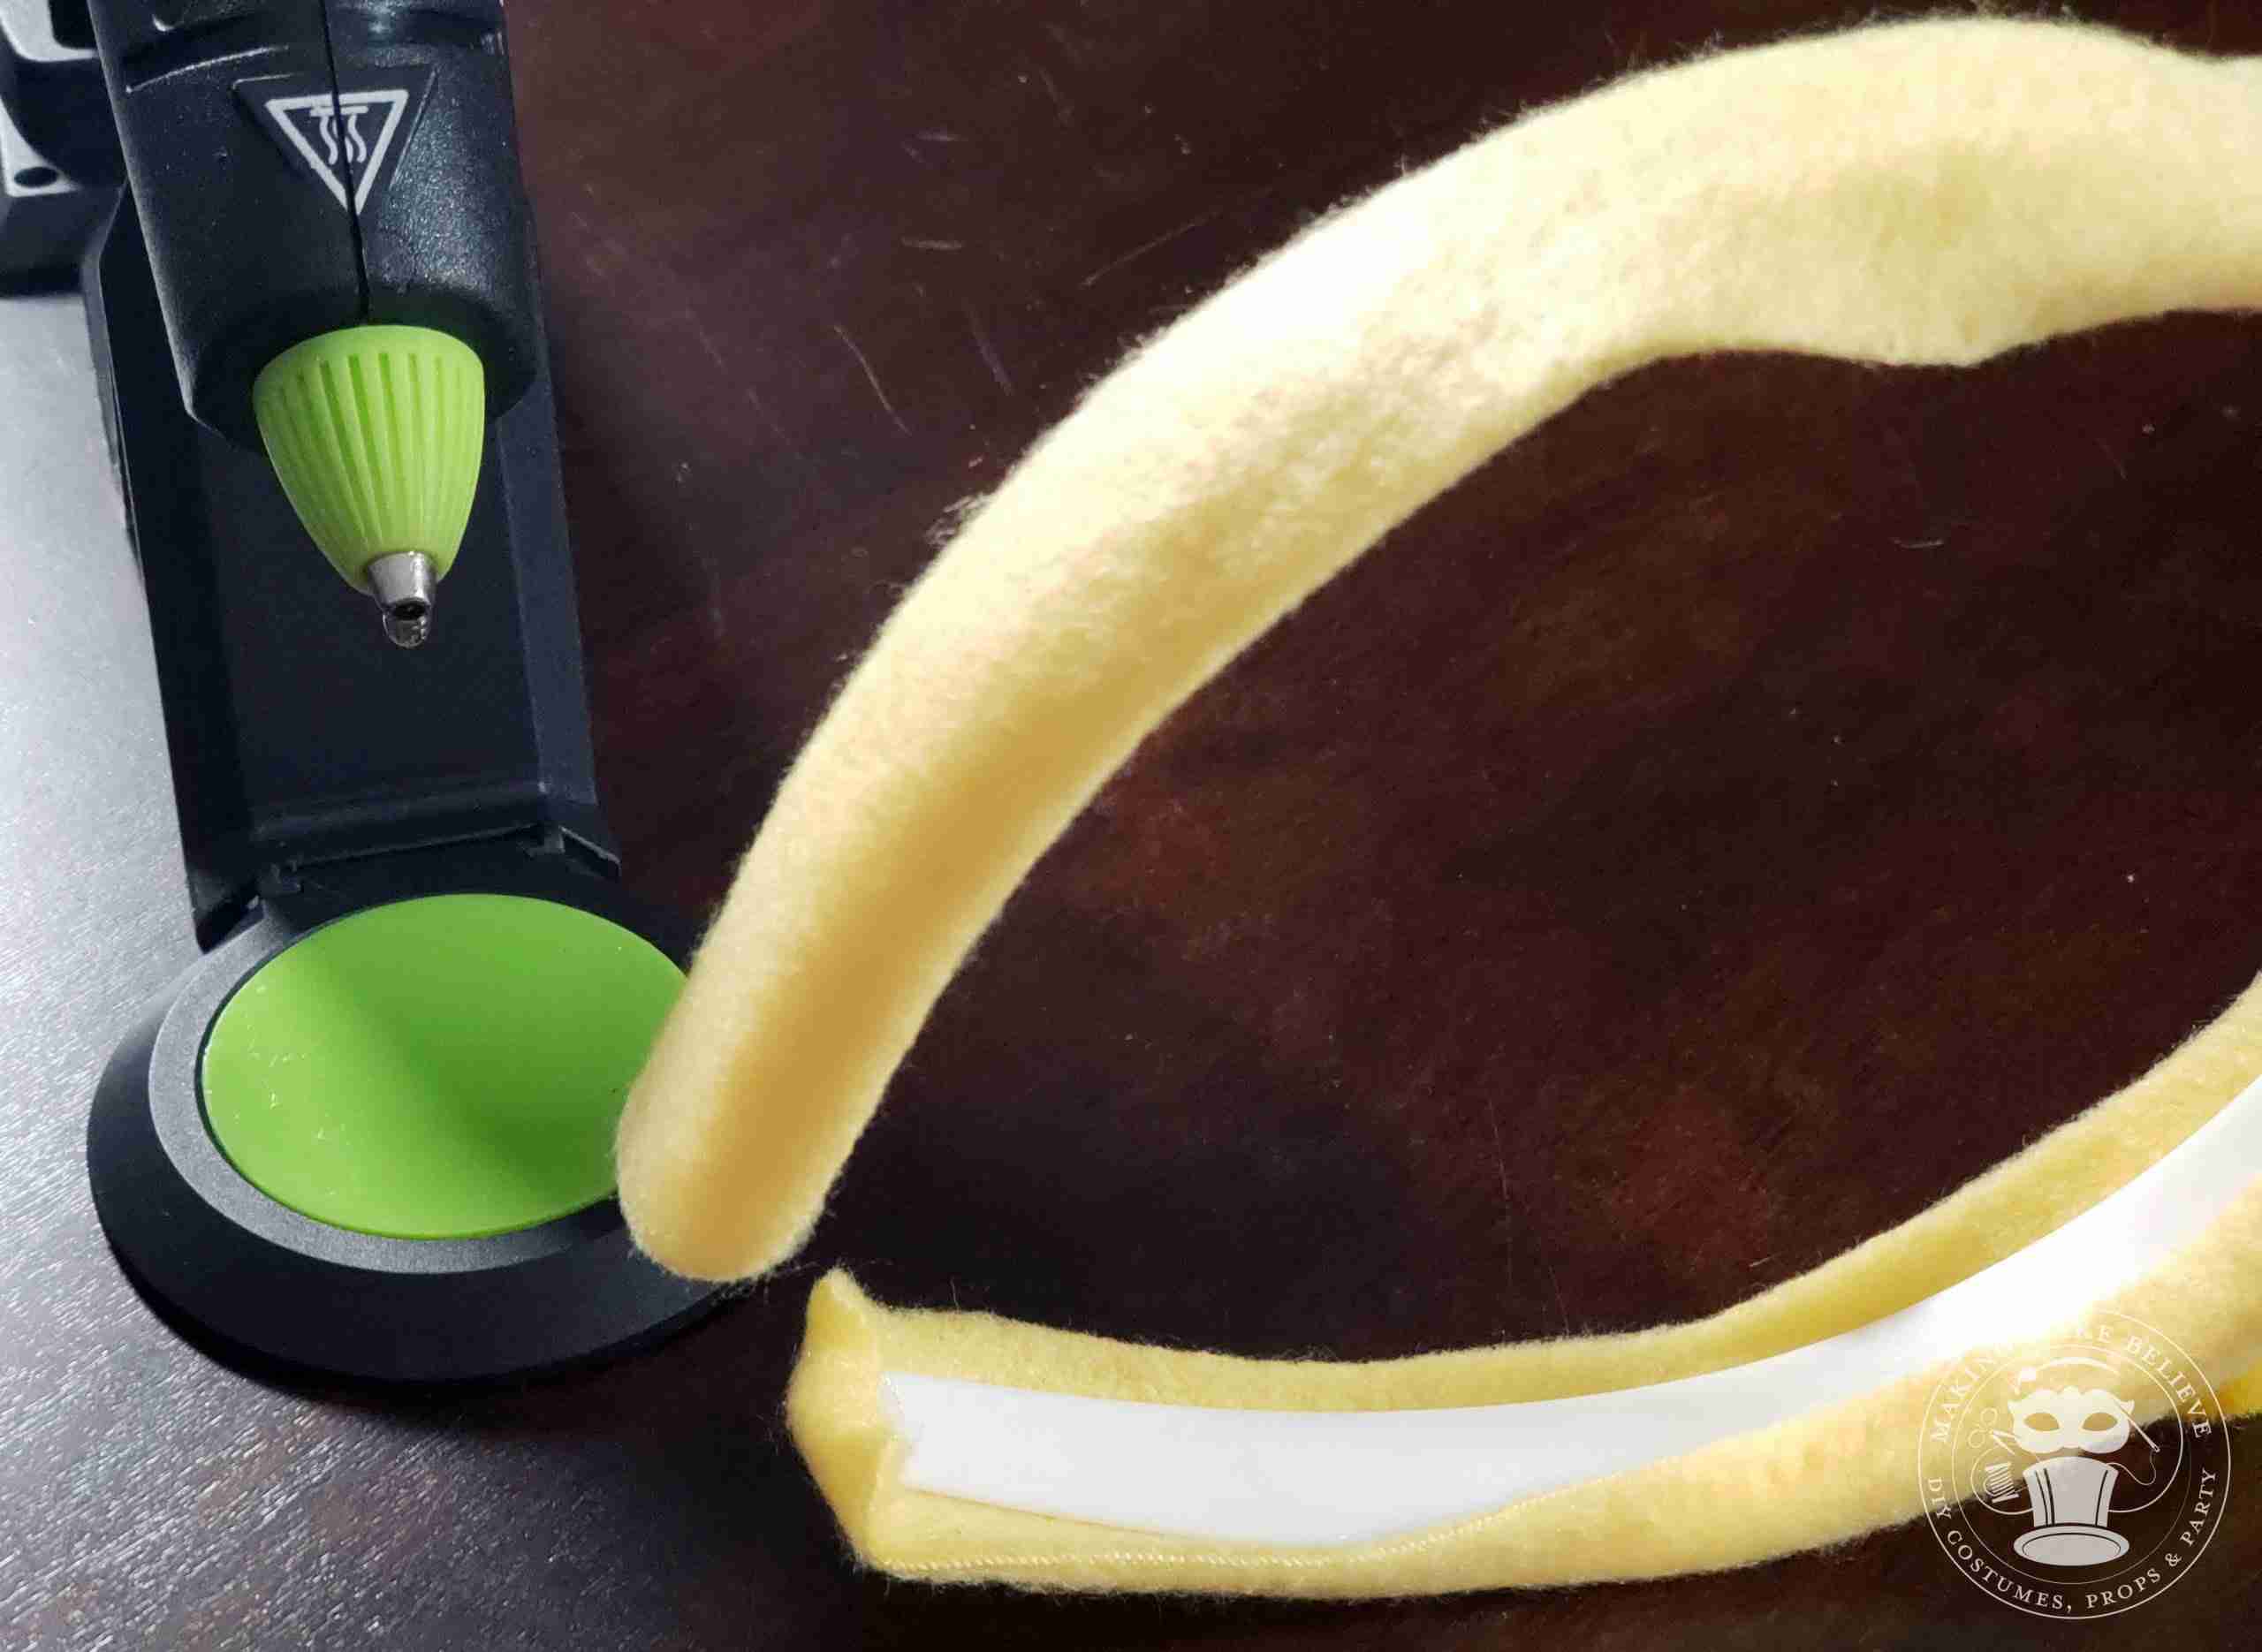
5. Continue folding under you near the end. Fold under and glue the end. Continue gluing edge.
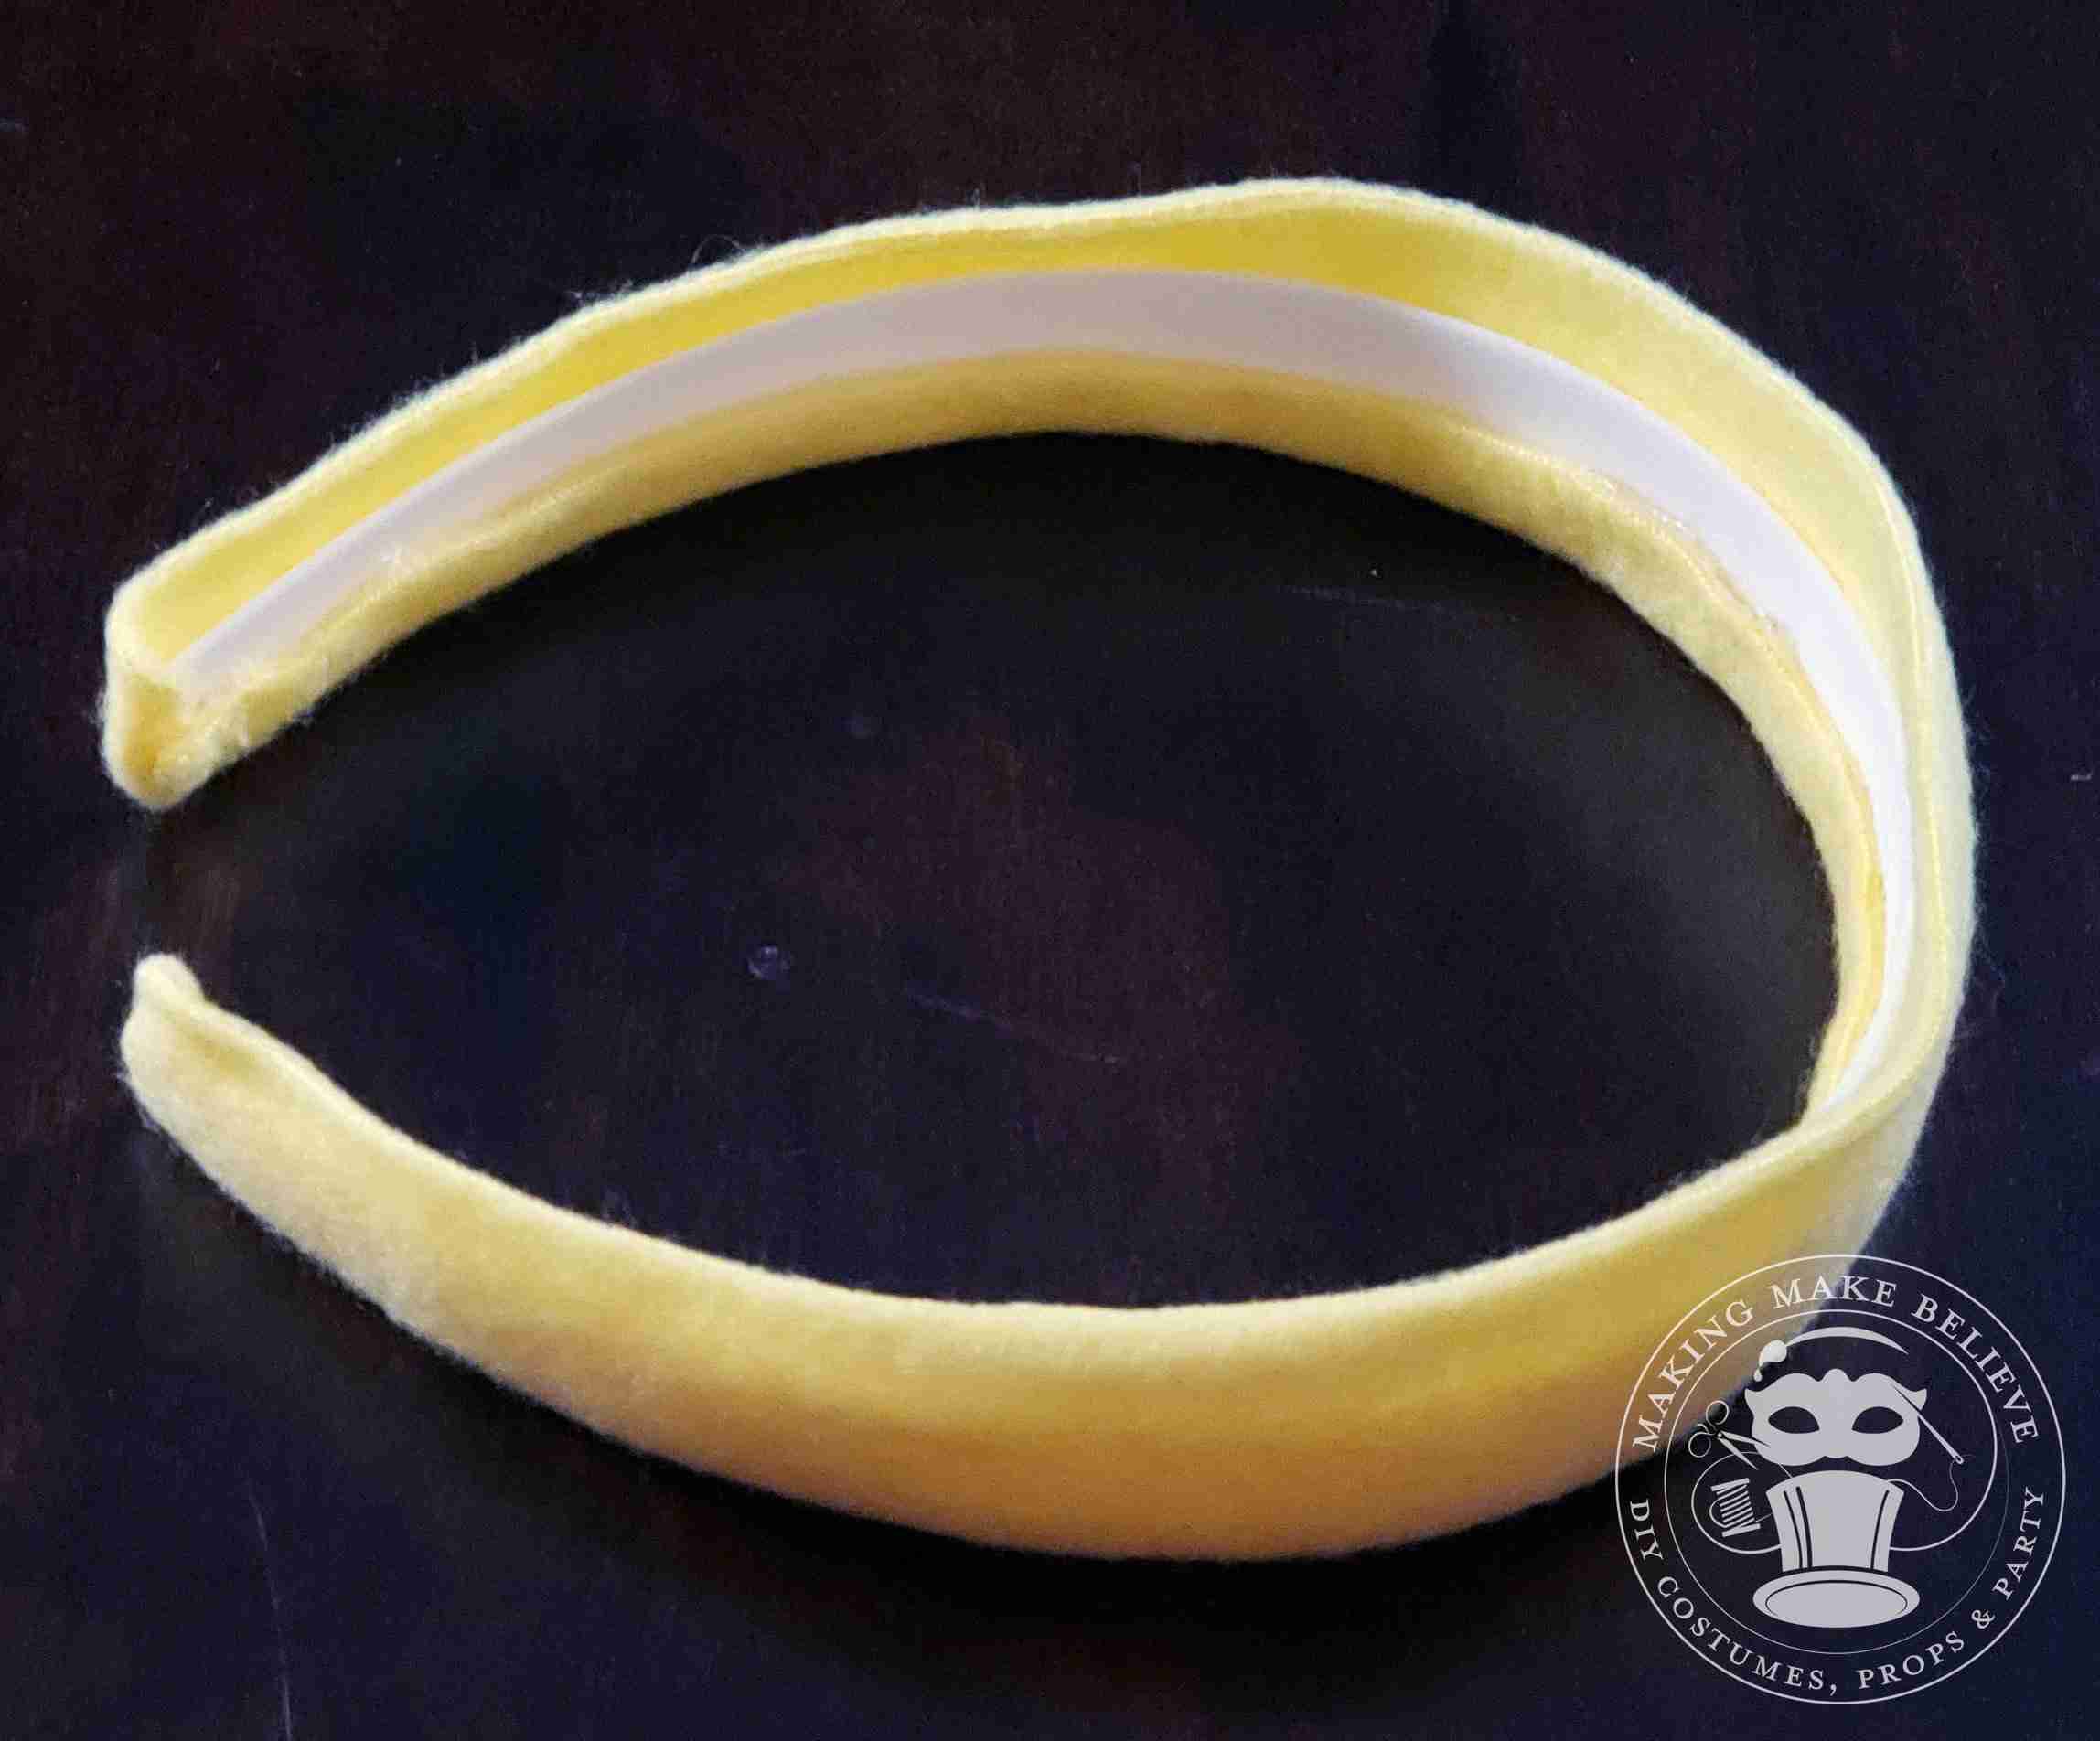
6. Repeat on the other end until you’ve completed one side.
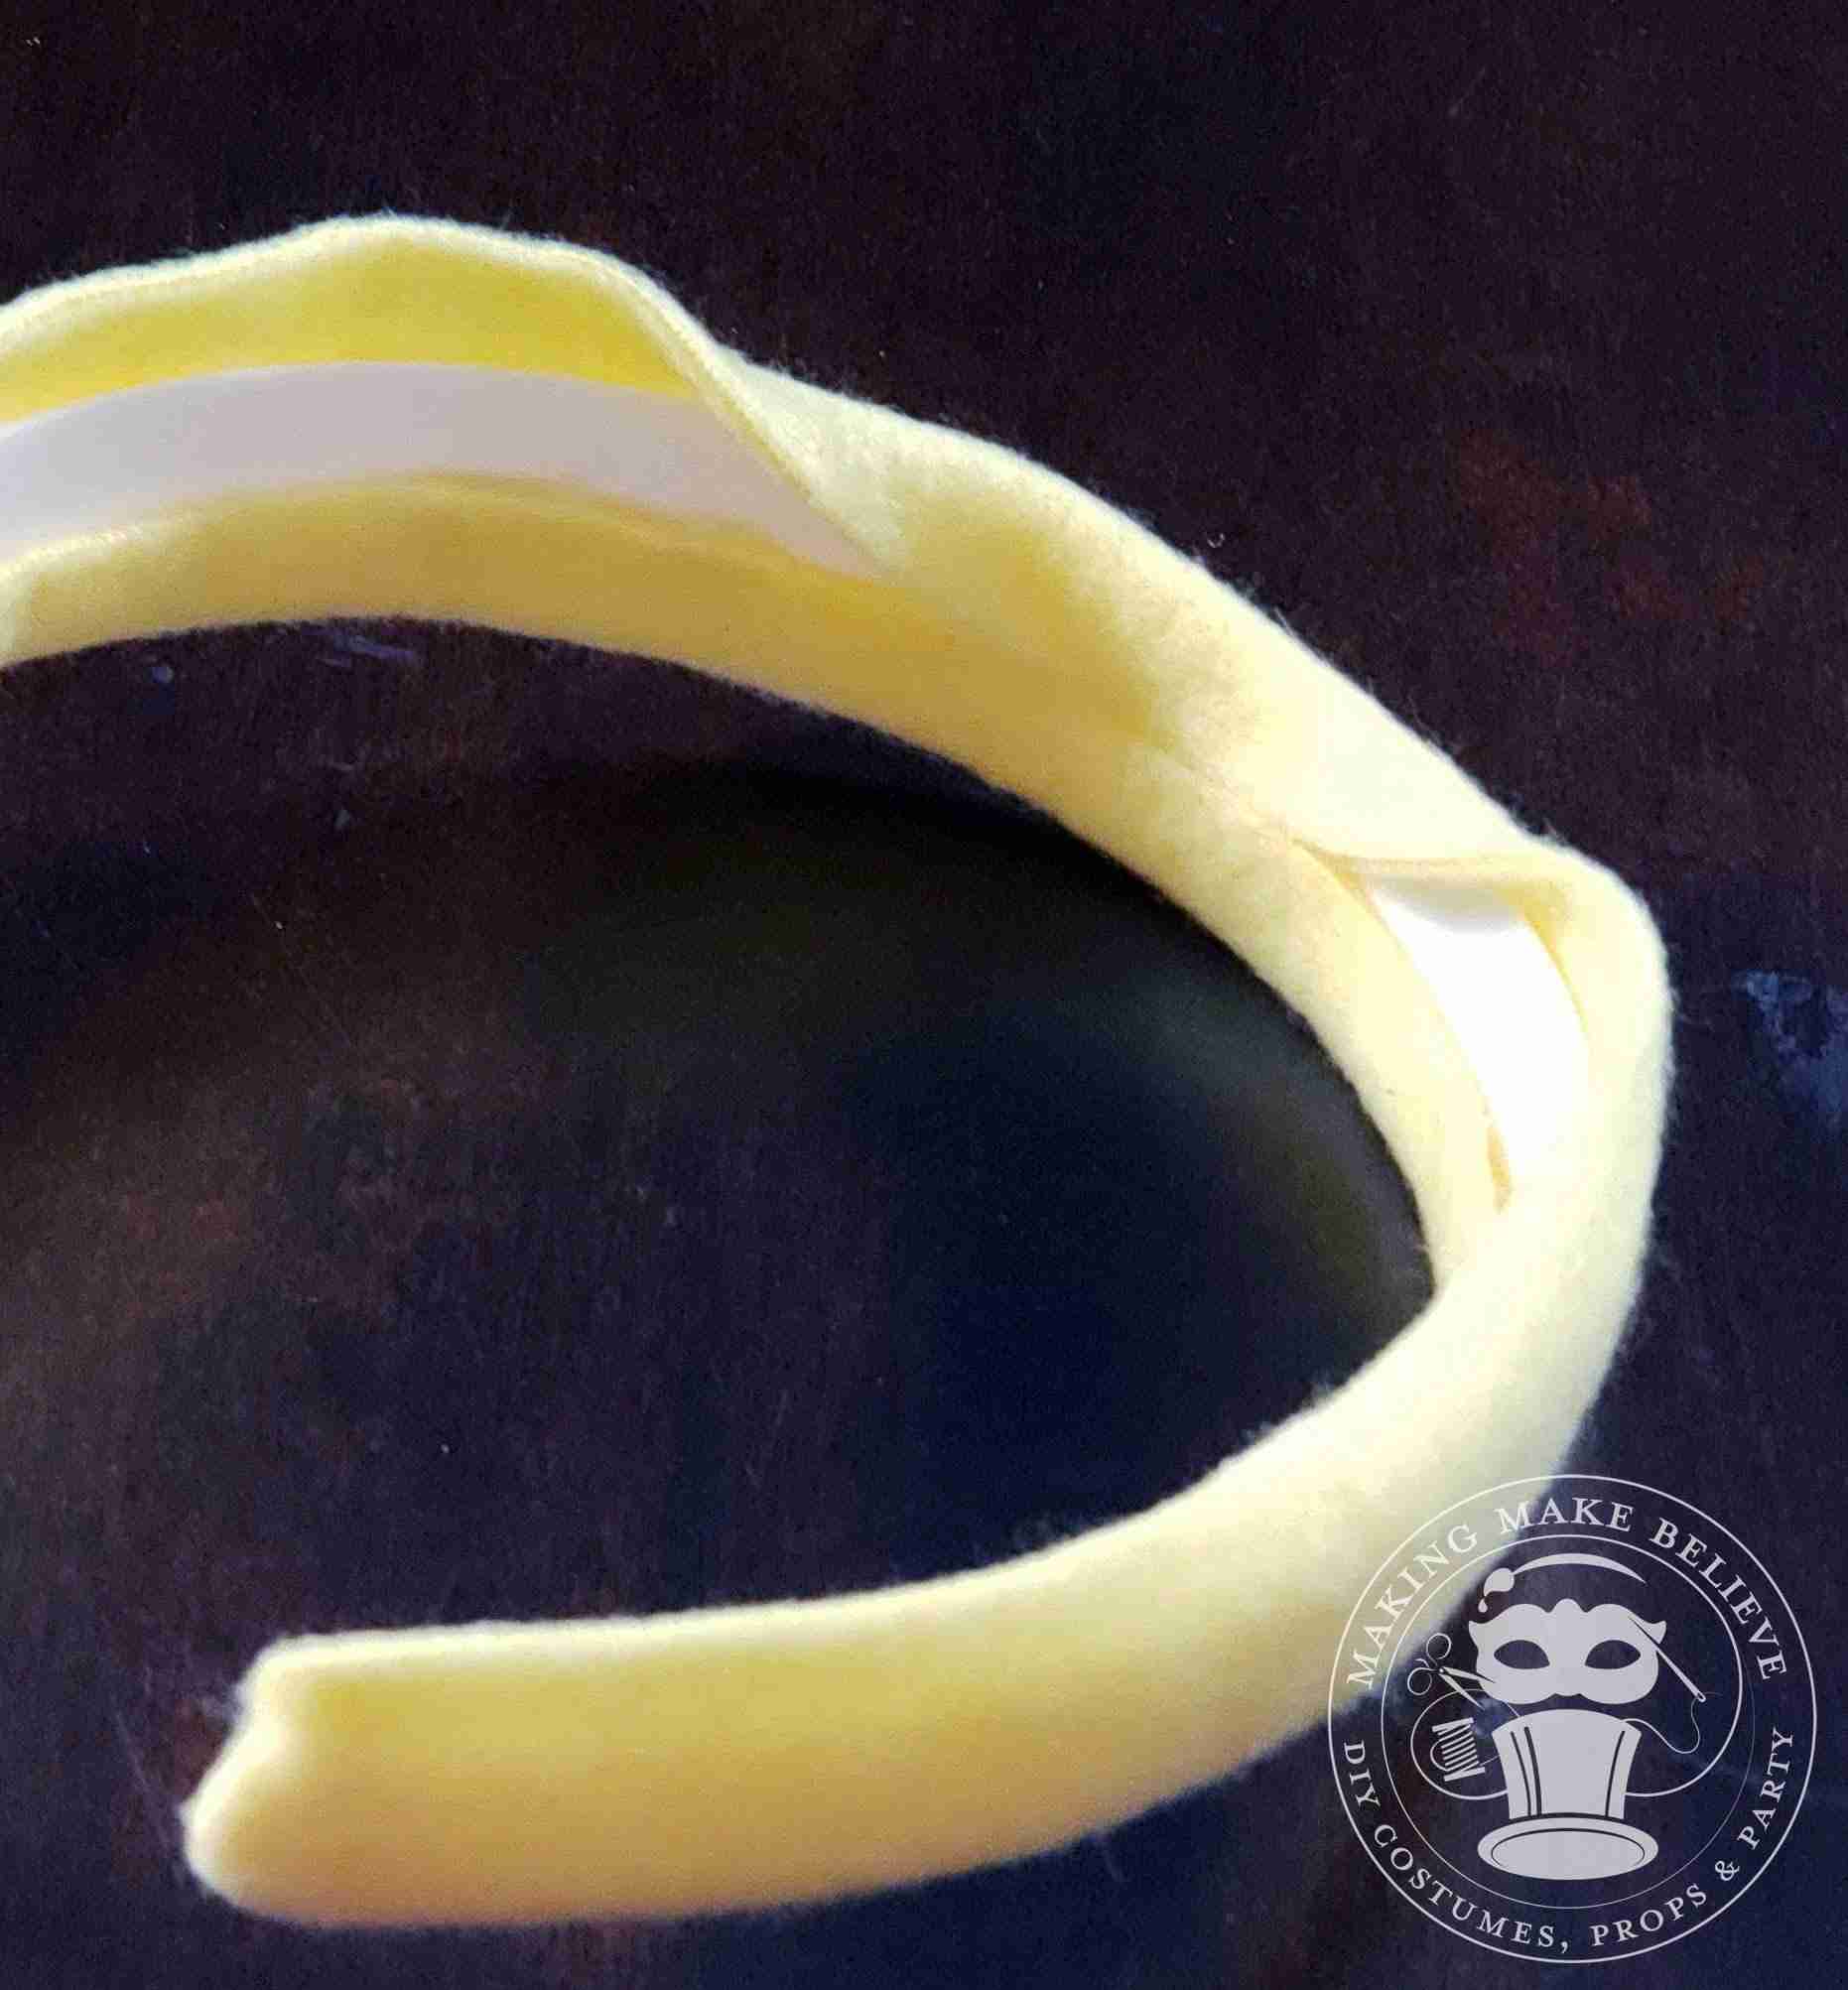
7. Repeat steps 4-6 on the opposite side.
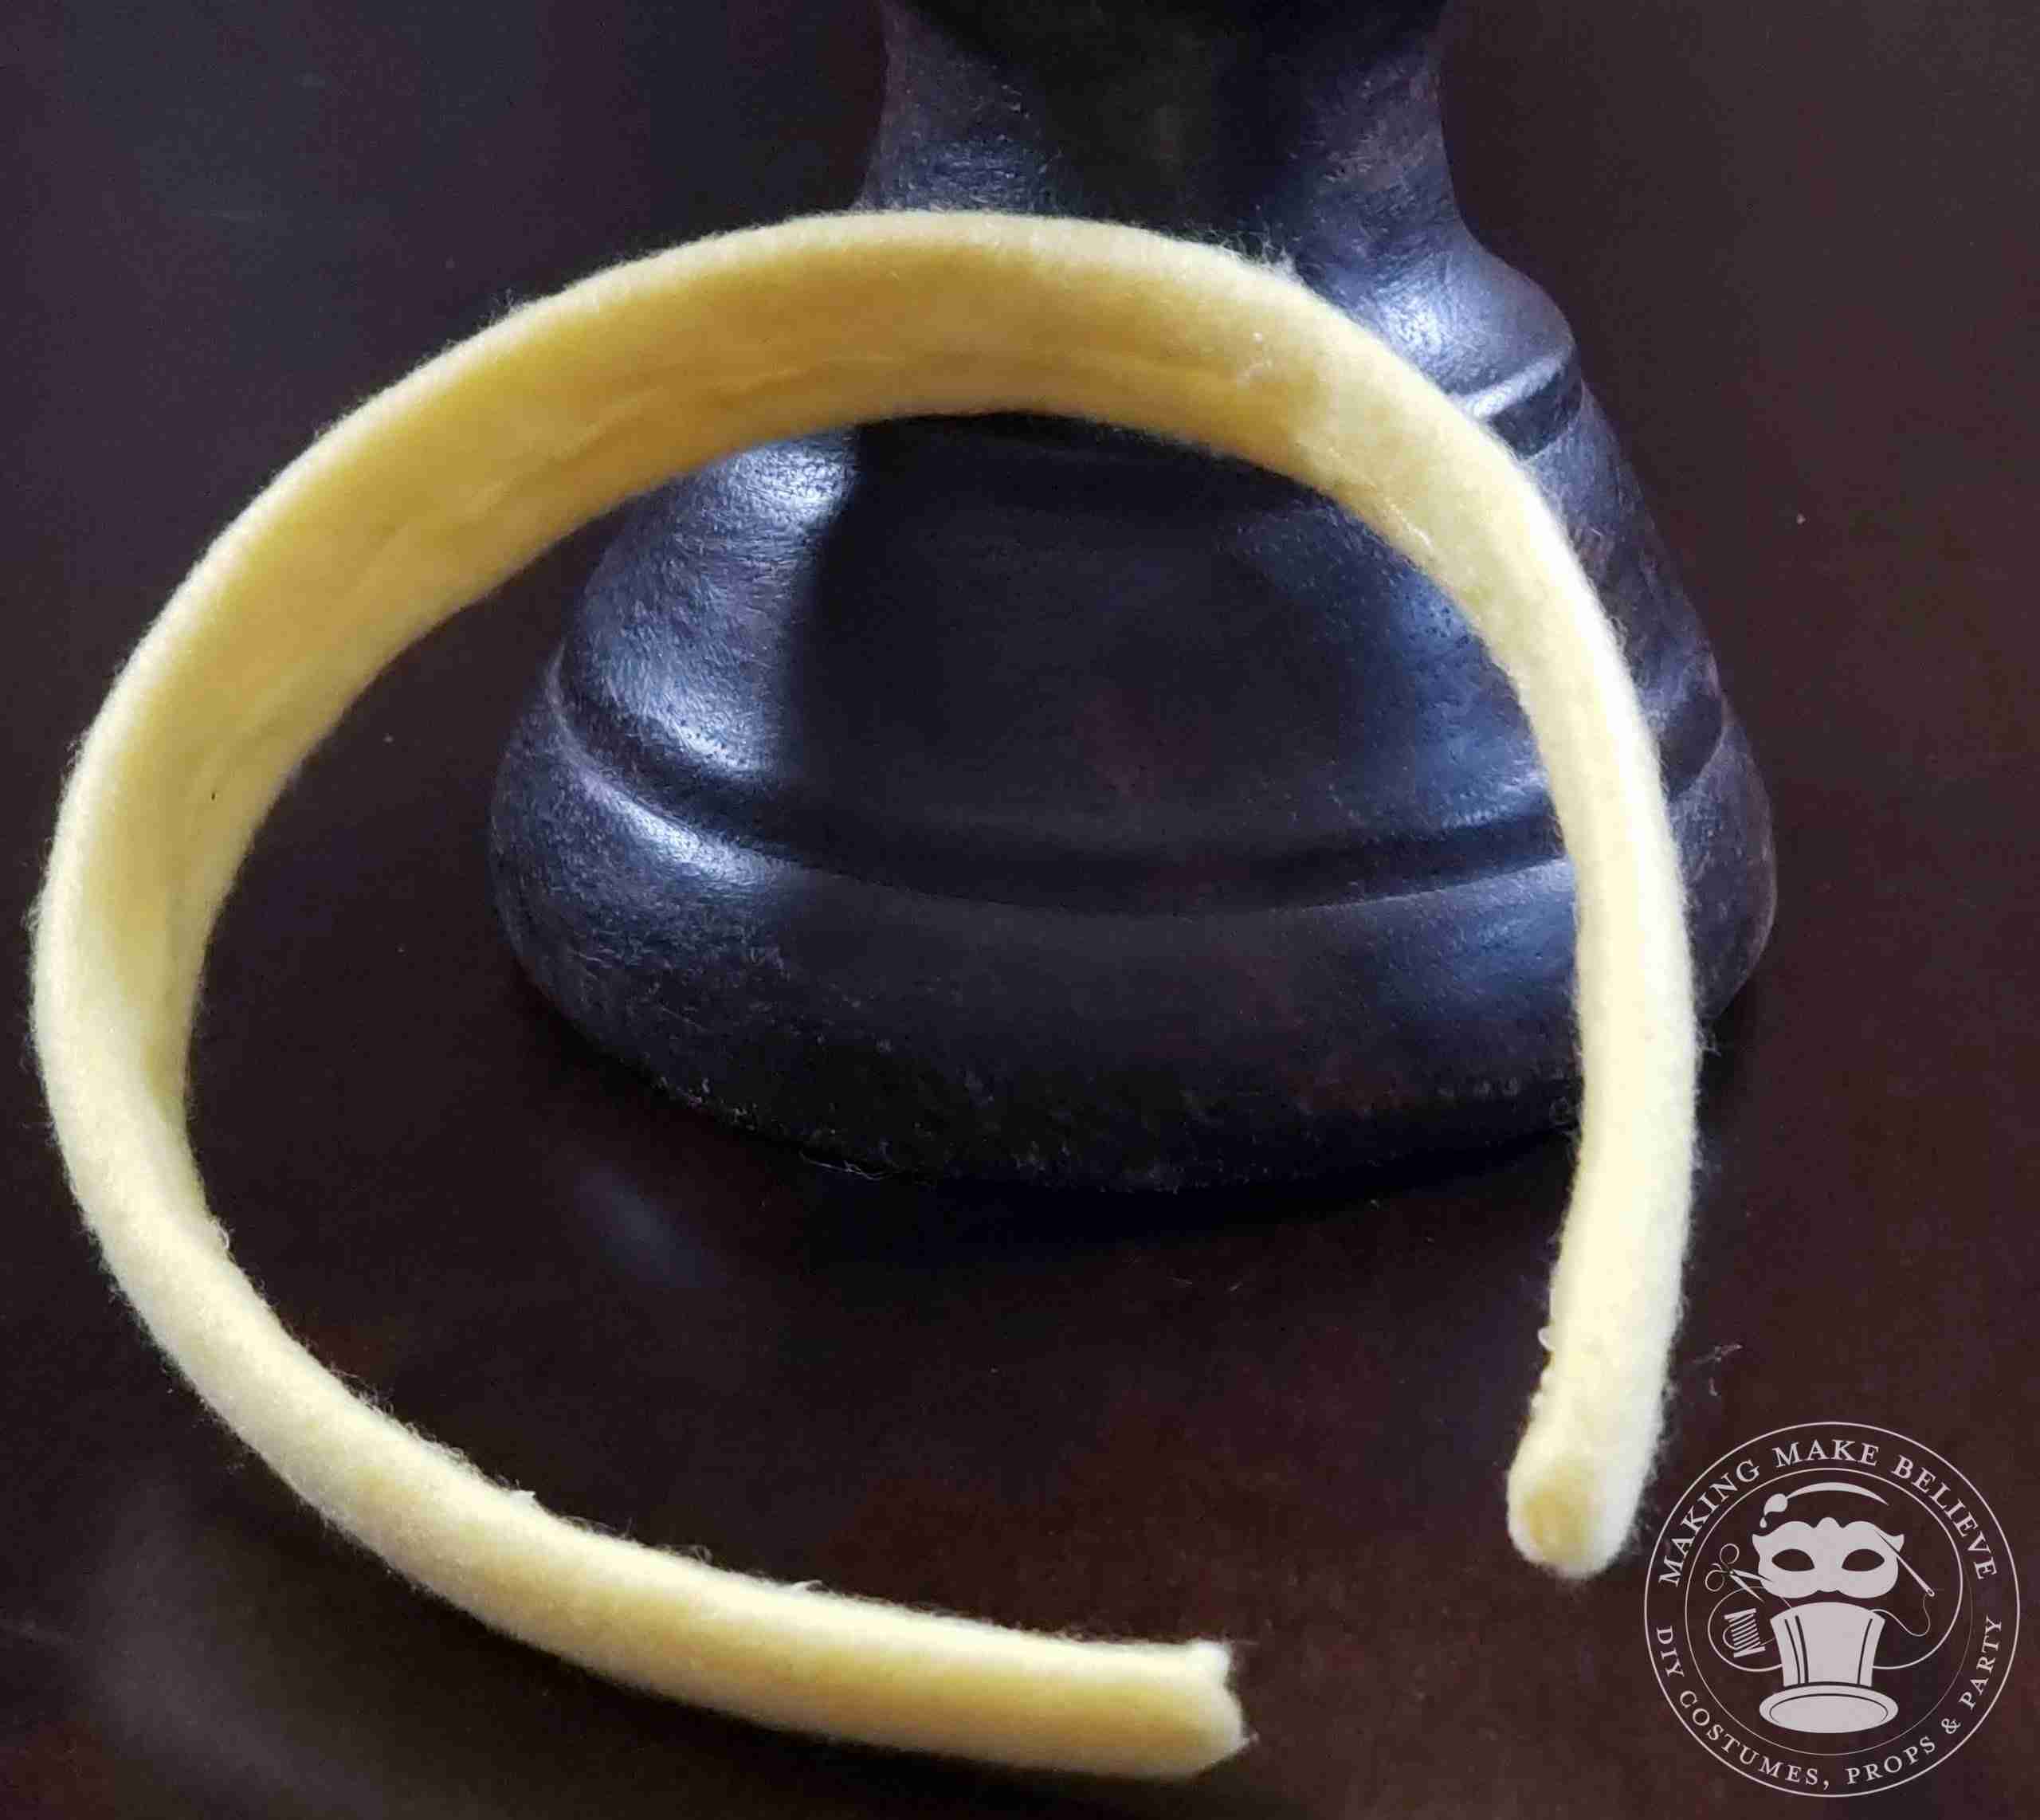
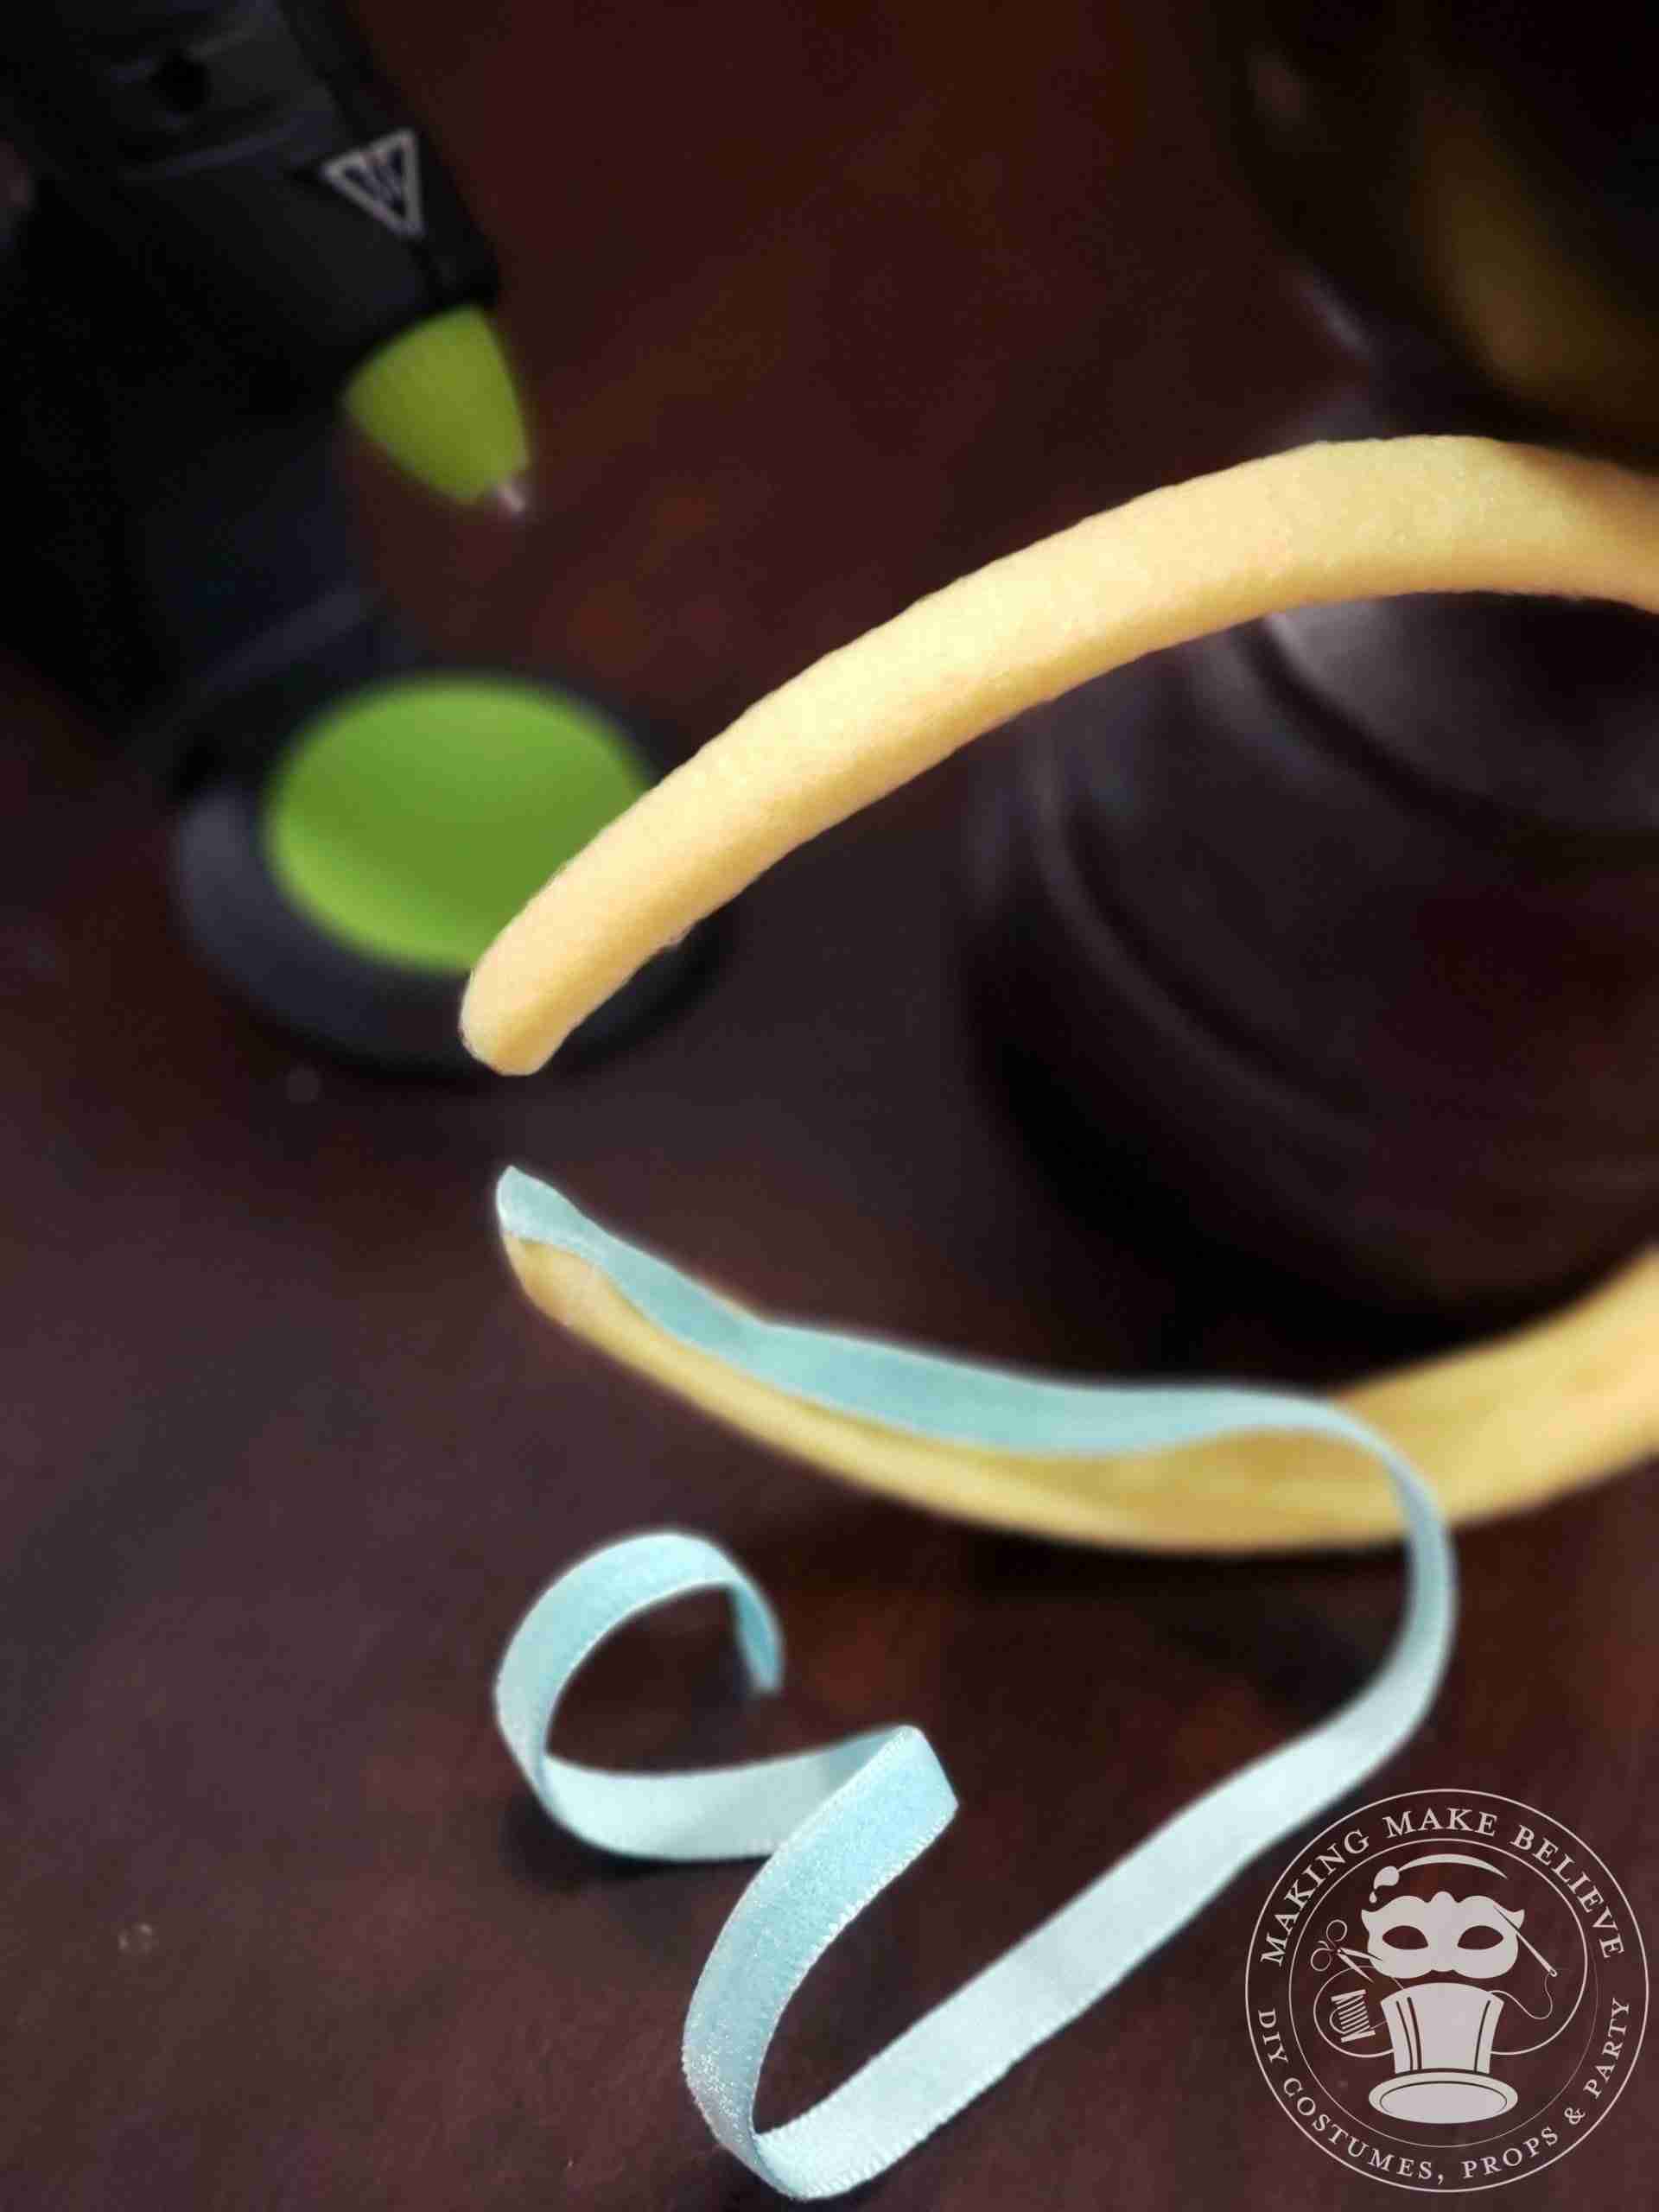
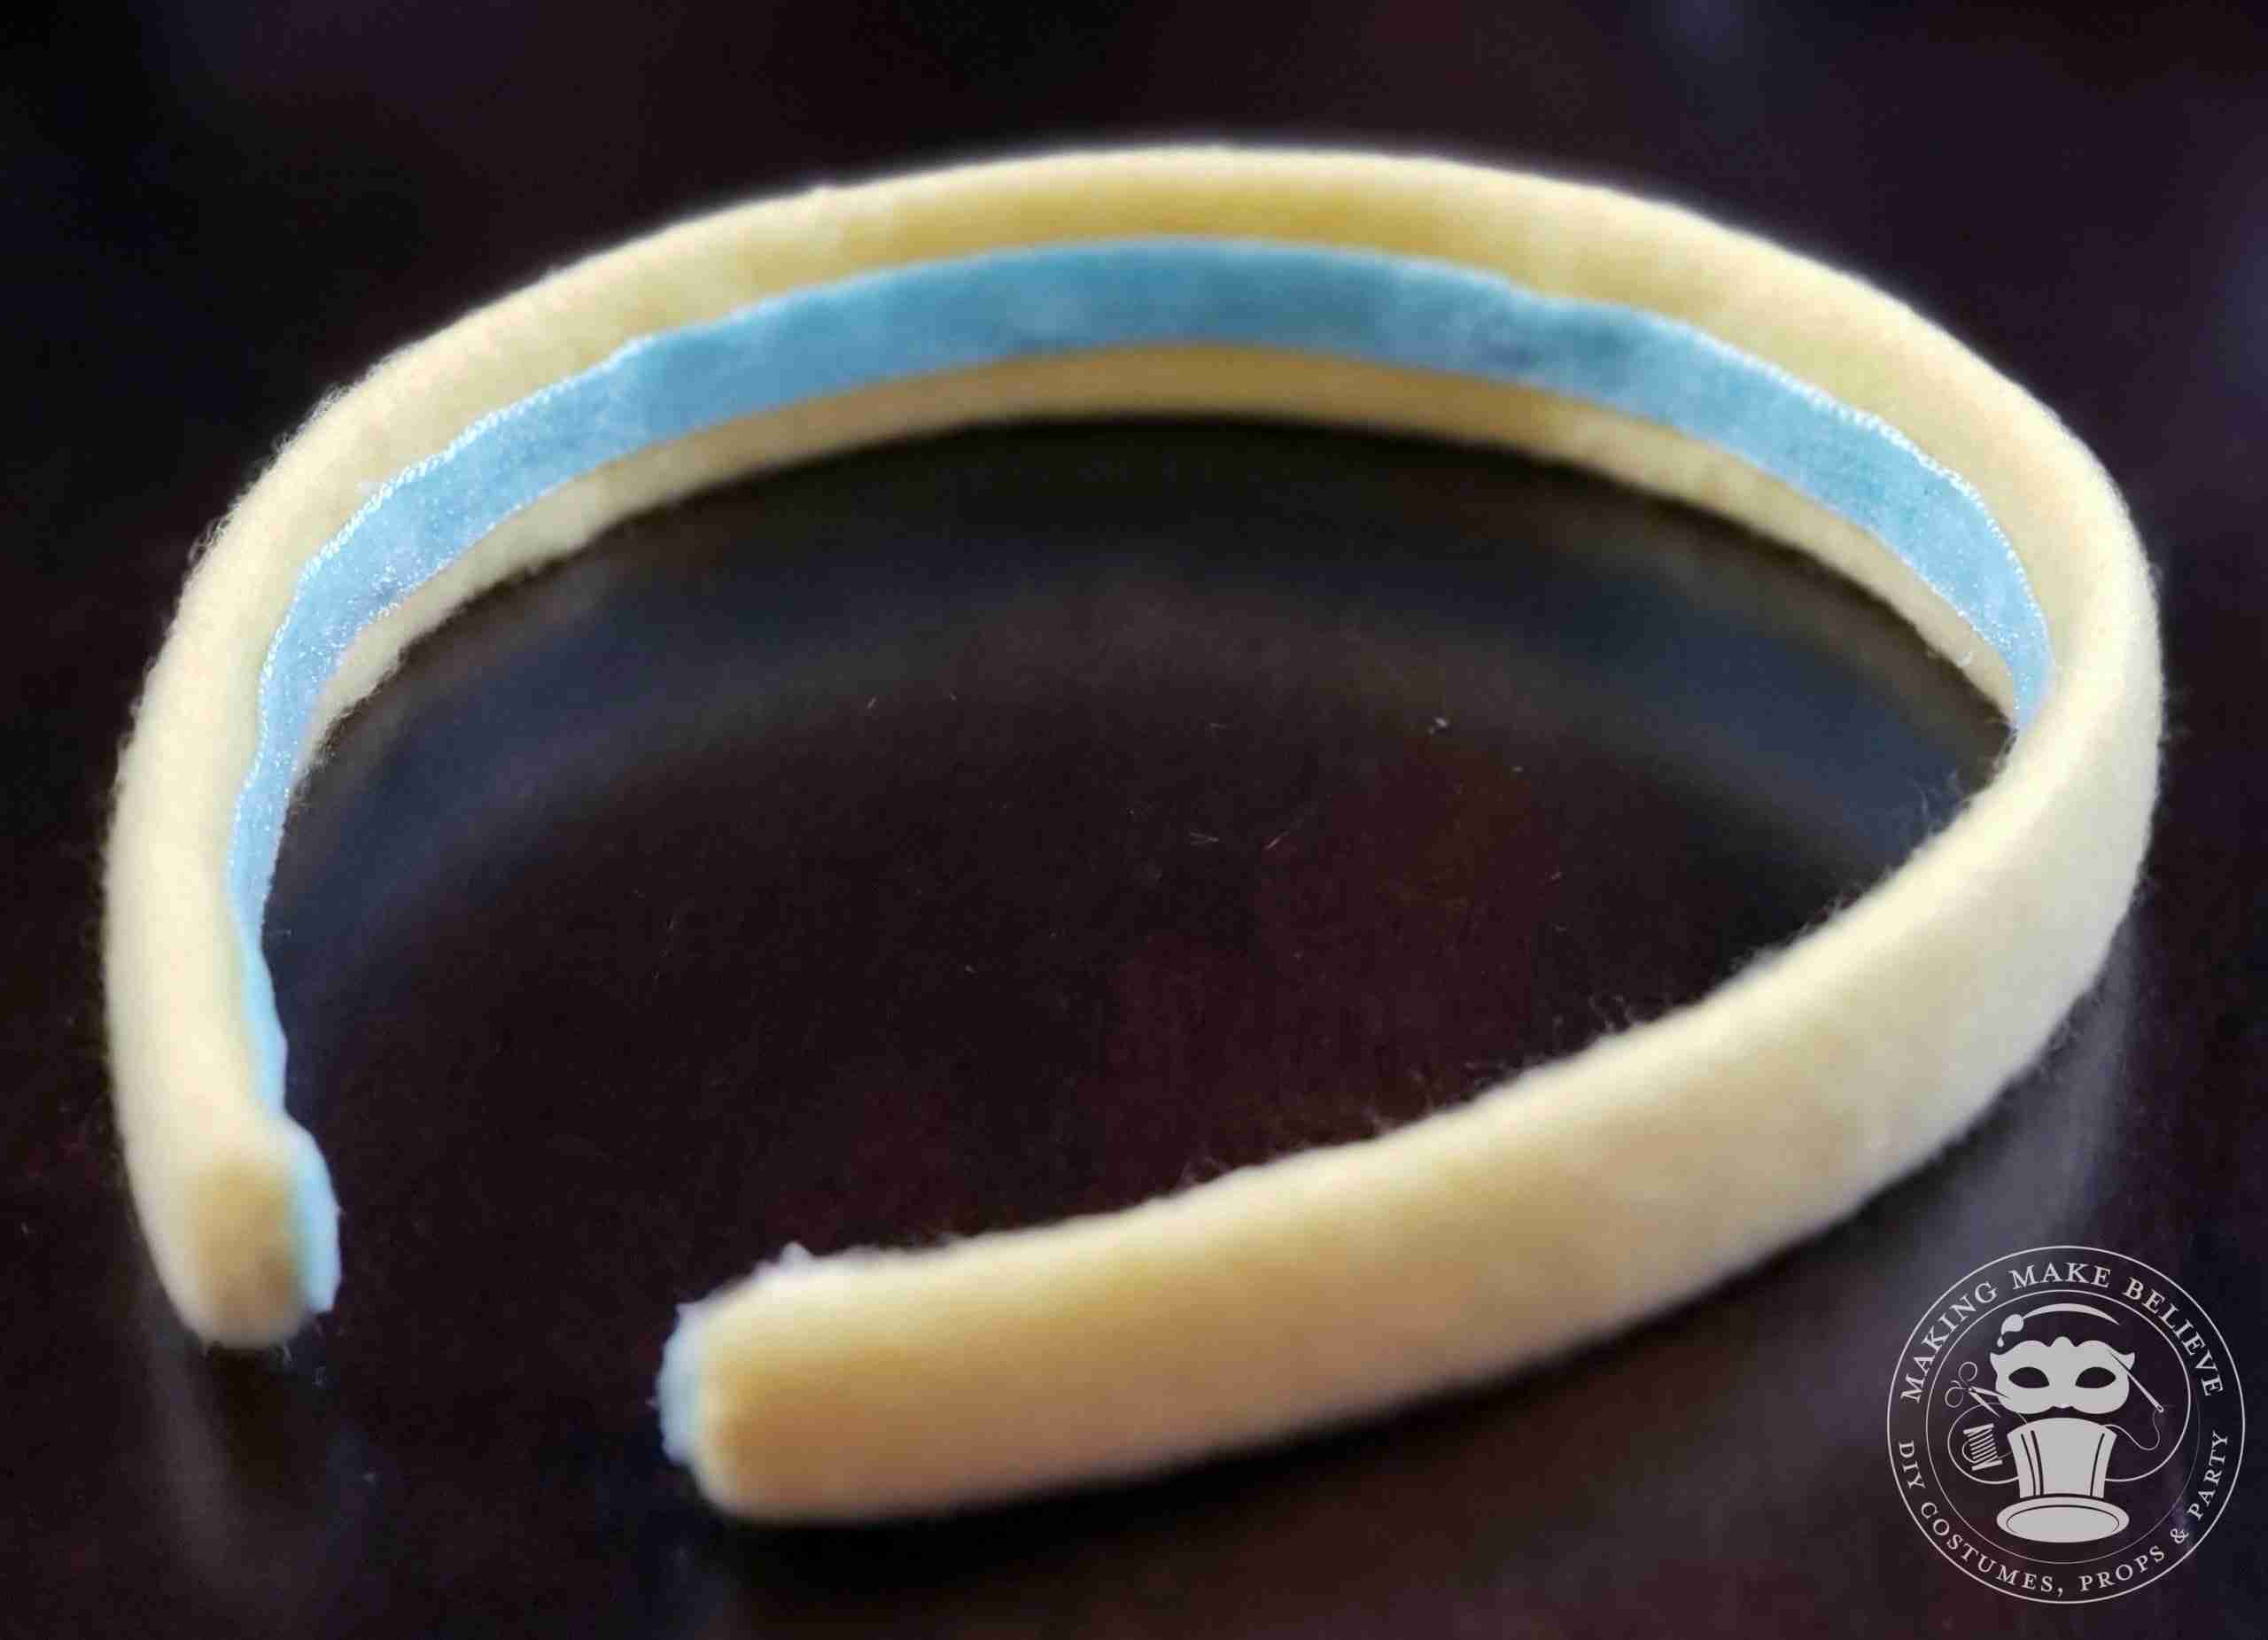
8. Optional: To make the headband more comfortable and give it a finished look, glue a length of soft ribbon along the inside of the headband.


Templates, patterns and printables for every project on the blog.

Counting down to Halloween since the 1970s. I create, style and celebrate all things costume and Halloween, all year round.
Welcome to my world of Halloween Ever After, where I create, style, and celebrate all things costume and Halloween.
Within these haunted pages lie affiliate links to curious and captivating finds I love. If you make a purchase through them, I may earn a modest commission (think fun-size candy bar), which helps keep the Halloween magic alive. No extra cost to you – cross my batty heart.



Check your email for the Haunted Library password.
Don’t miss a moment of the mischief.
Add hello@halloweeneverafter.com to your address book.
The magic happens right here in my studio and office. When you step inside my creative space, you’ll find an ever expanding gallery wall overflowing with original spooky art and classic Halloween LPs, right alongside a haunted cabinet packed to the brim with vintage curiosities.
It’s under the watchful eyes of these retro treasures that I design and craft.
Join us and get access to our Haunted Library stocked with templates, printables, cut files, and exclusive content. Plus, you’ll receive Eerie Emails just for our subscribers.
*Stay as long as you like. Unsubscribe at any time.


