Free templates & patterns
130+ freebies are waiting in the Haunted Library
Templates, patterns and printables for every project on the blog.
Formerly Making Make Believe · Join the Haunted Library

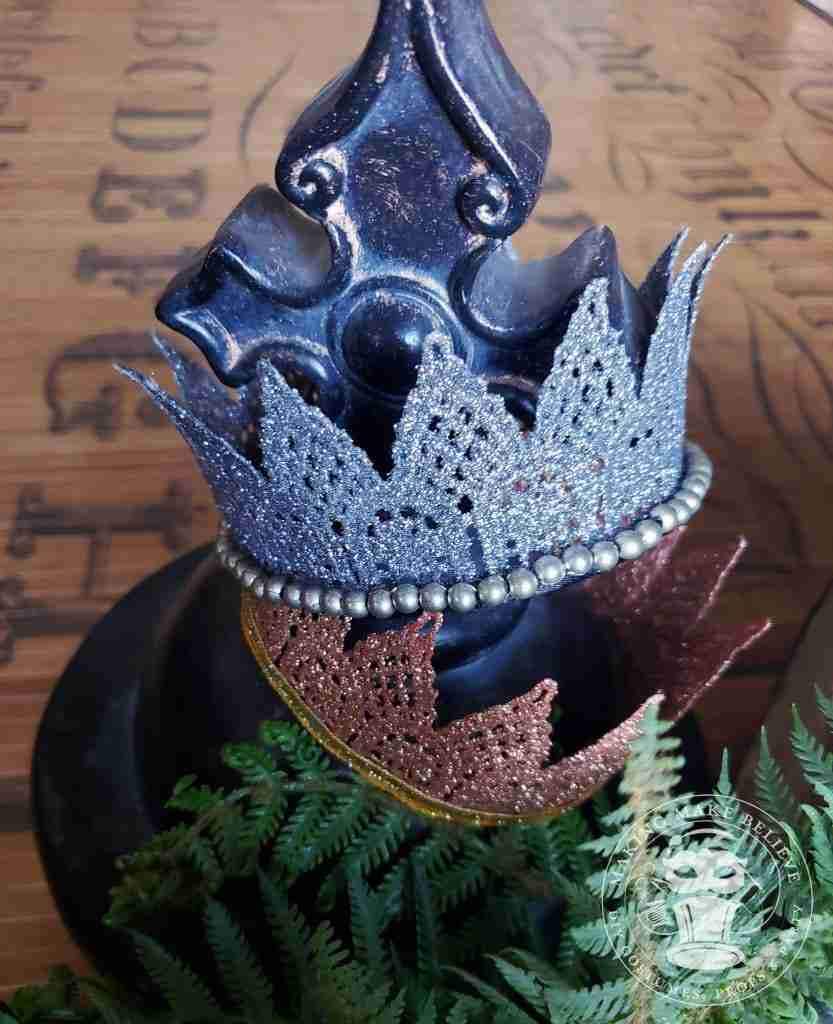
As the sole female in this household, I have often joked that I am the queen – the Laundry Queen, Cooking Queen, Cleaning Queen, the Queen’s Taxi, etc. The funny thing is, the title never came with a crown. I intend to remedy that. This DIY for glitter lace crowns is a fun and simple project for when you need some regal headwear. Using lace, stiffener, paint, and glitter, you can have a crown for every day of the week. While the process is reasonably quick, you will need to allow for a couple of breaks so that the crown can dry. I suggest using that time to practice your royal wave. I kept the embellishments simple (I don’t want to be too flashy on my first day in the monarchy) with beaded trim, ribbon, and small gems. Construct your crown in any size or color you wish. It can be secured using hairpins or by slipping it onto a headband. So, next time the occasion calls for a crown, and you haven’t a thing to wear, craft your own and be sure to share with me how you became royal. Materials:
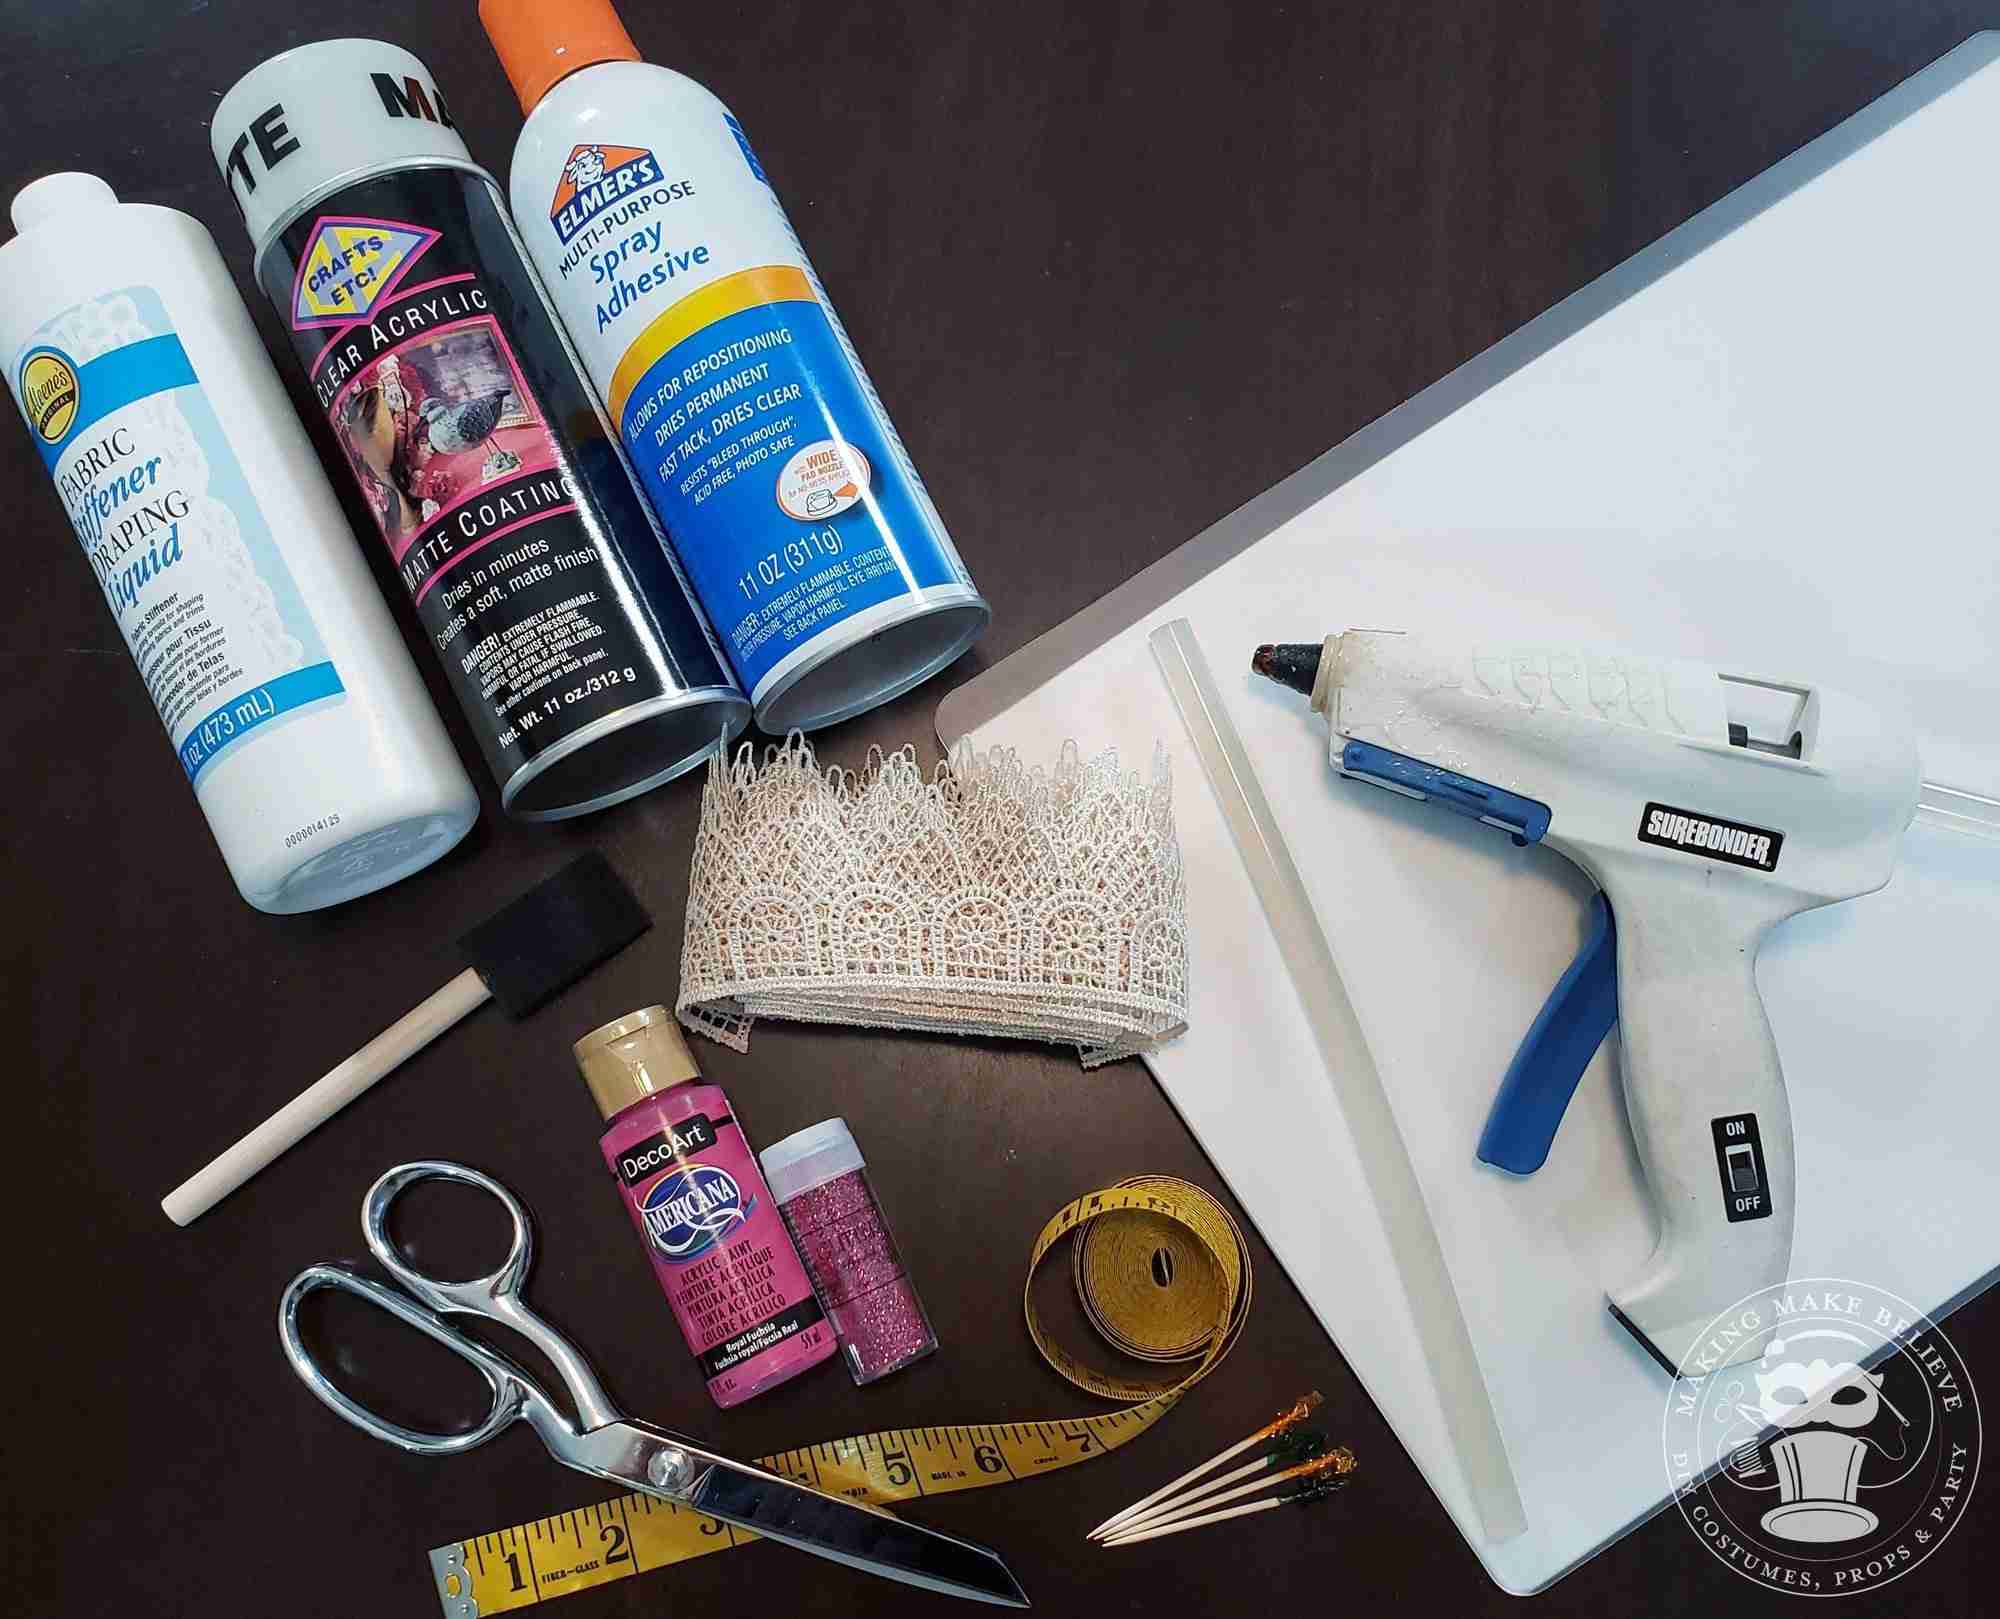
Steps: Tools:
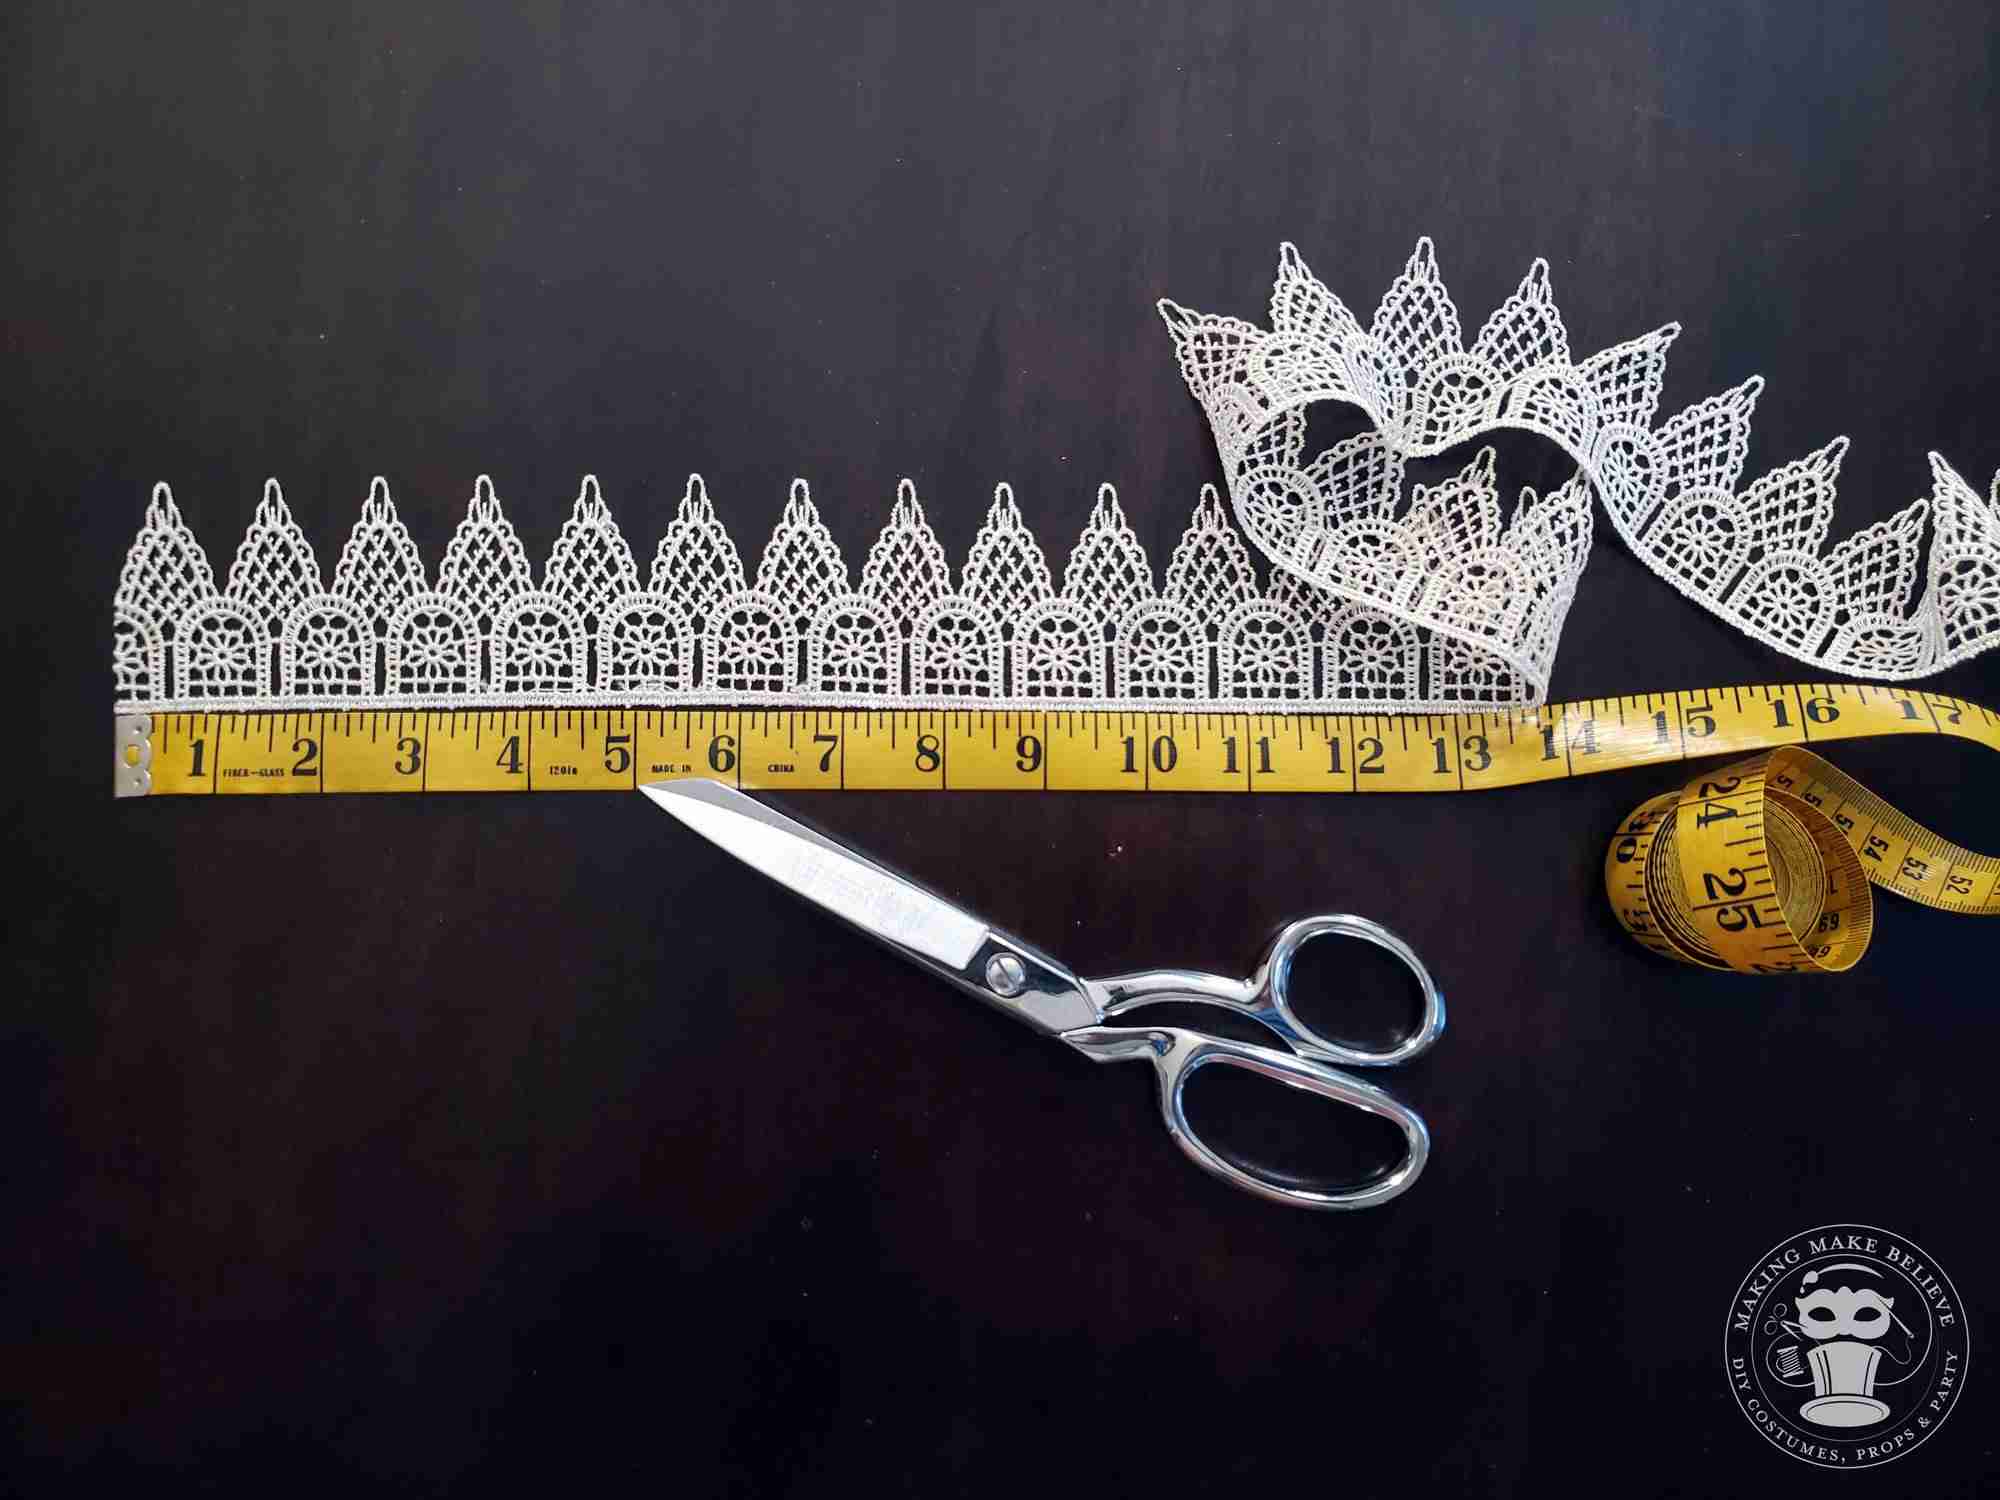
1. Determine how large you’d like your crown to be. Measure lace and cut to the desired length, adding approximately 1” for overlap.
TIP: For reference, our large diameter crowns are approximately 17” in length (includes 1” overlap). Our tiny diameter crowns are about 9 1/2” length (includes 1” overlap).
TIP: Cut at the point where the pattern repeats instead of through the middle of the design.
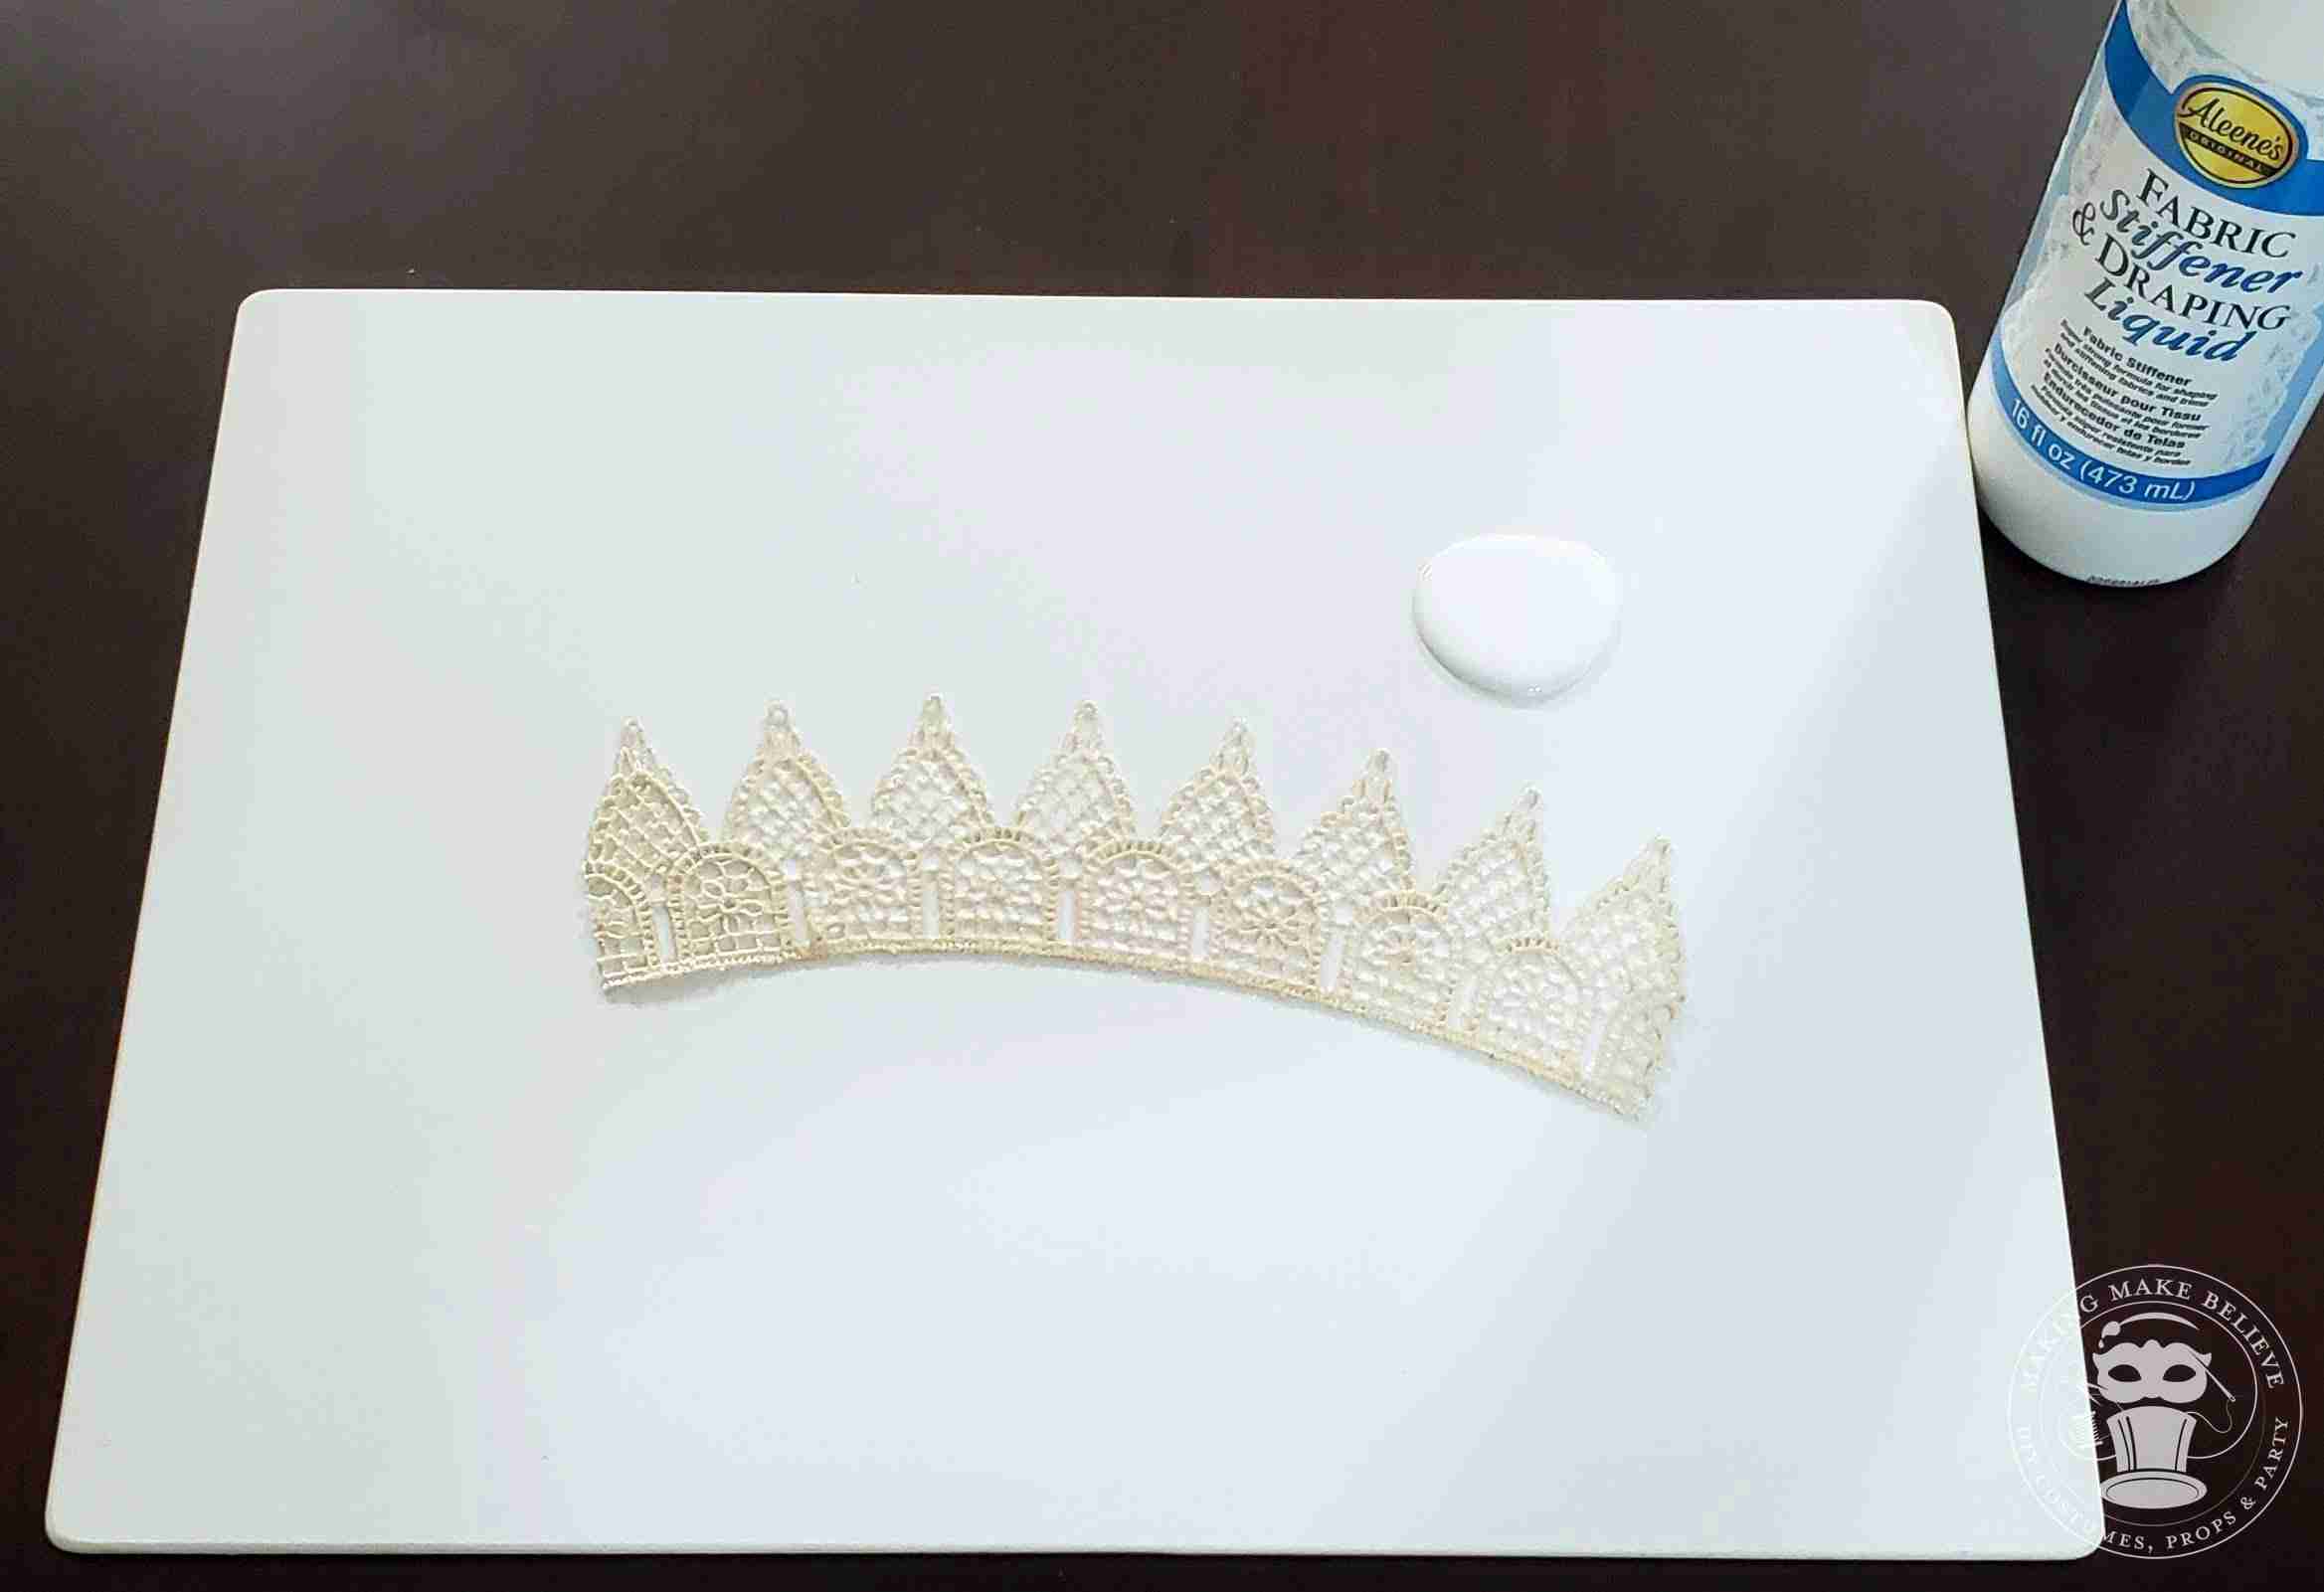
2. Pour a generous amount of fabric stiffener onto your plate. Using your fingers, work the stiffener into the lace until both sides are saturated. Wipe off any excess.
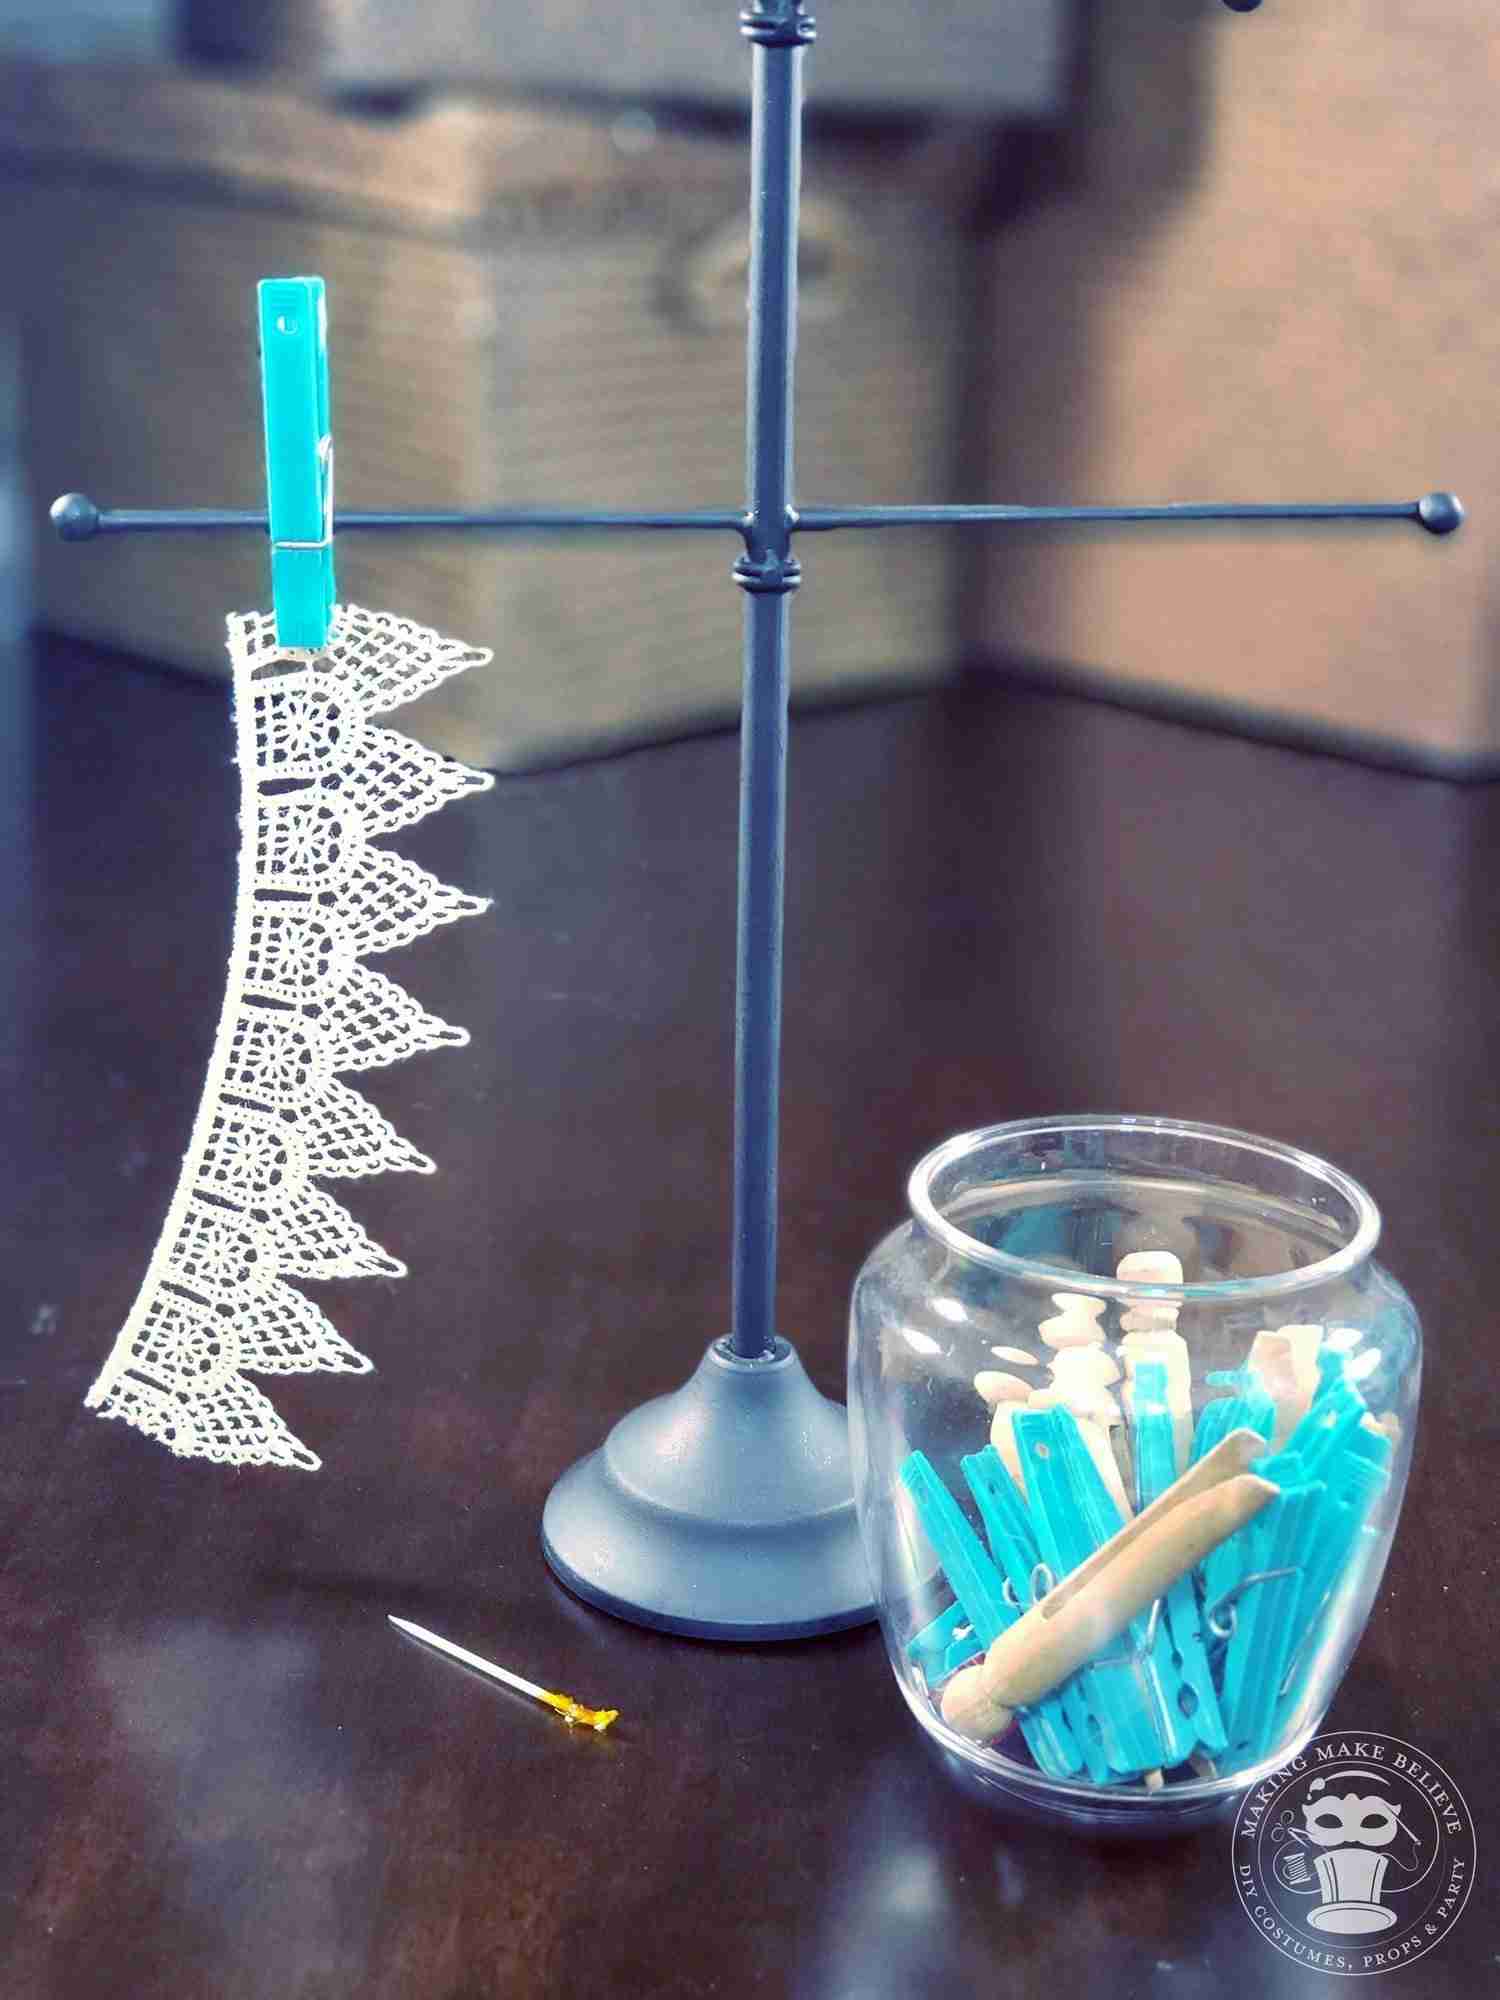
.3. Hang or place lace flat on wax paper to dry. Check back during the drying time and flip the lace to ensure the design openings are free of any excess stiffener.
TIP: We prefer to hang by one end using a clothespin instead of lying flat.
TIP: If you find that openings in the design of the lace have filled with stiffener, take a toothpick to open up those areas before the stiffener dries completely.
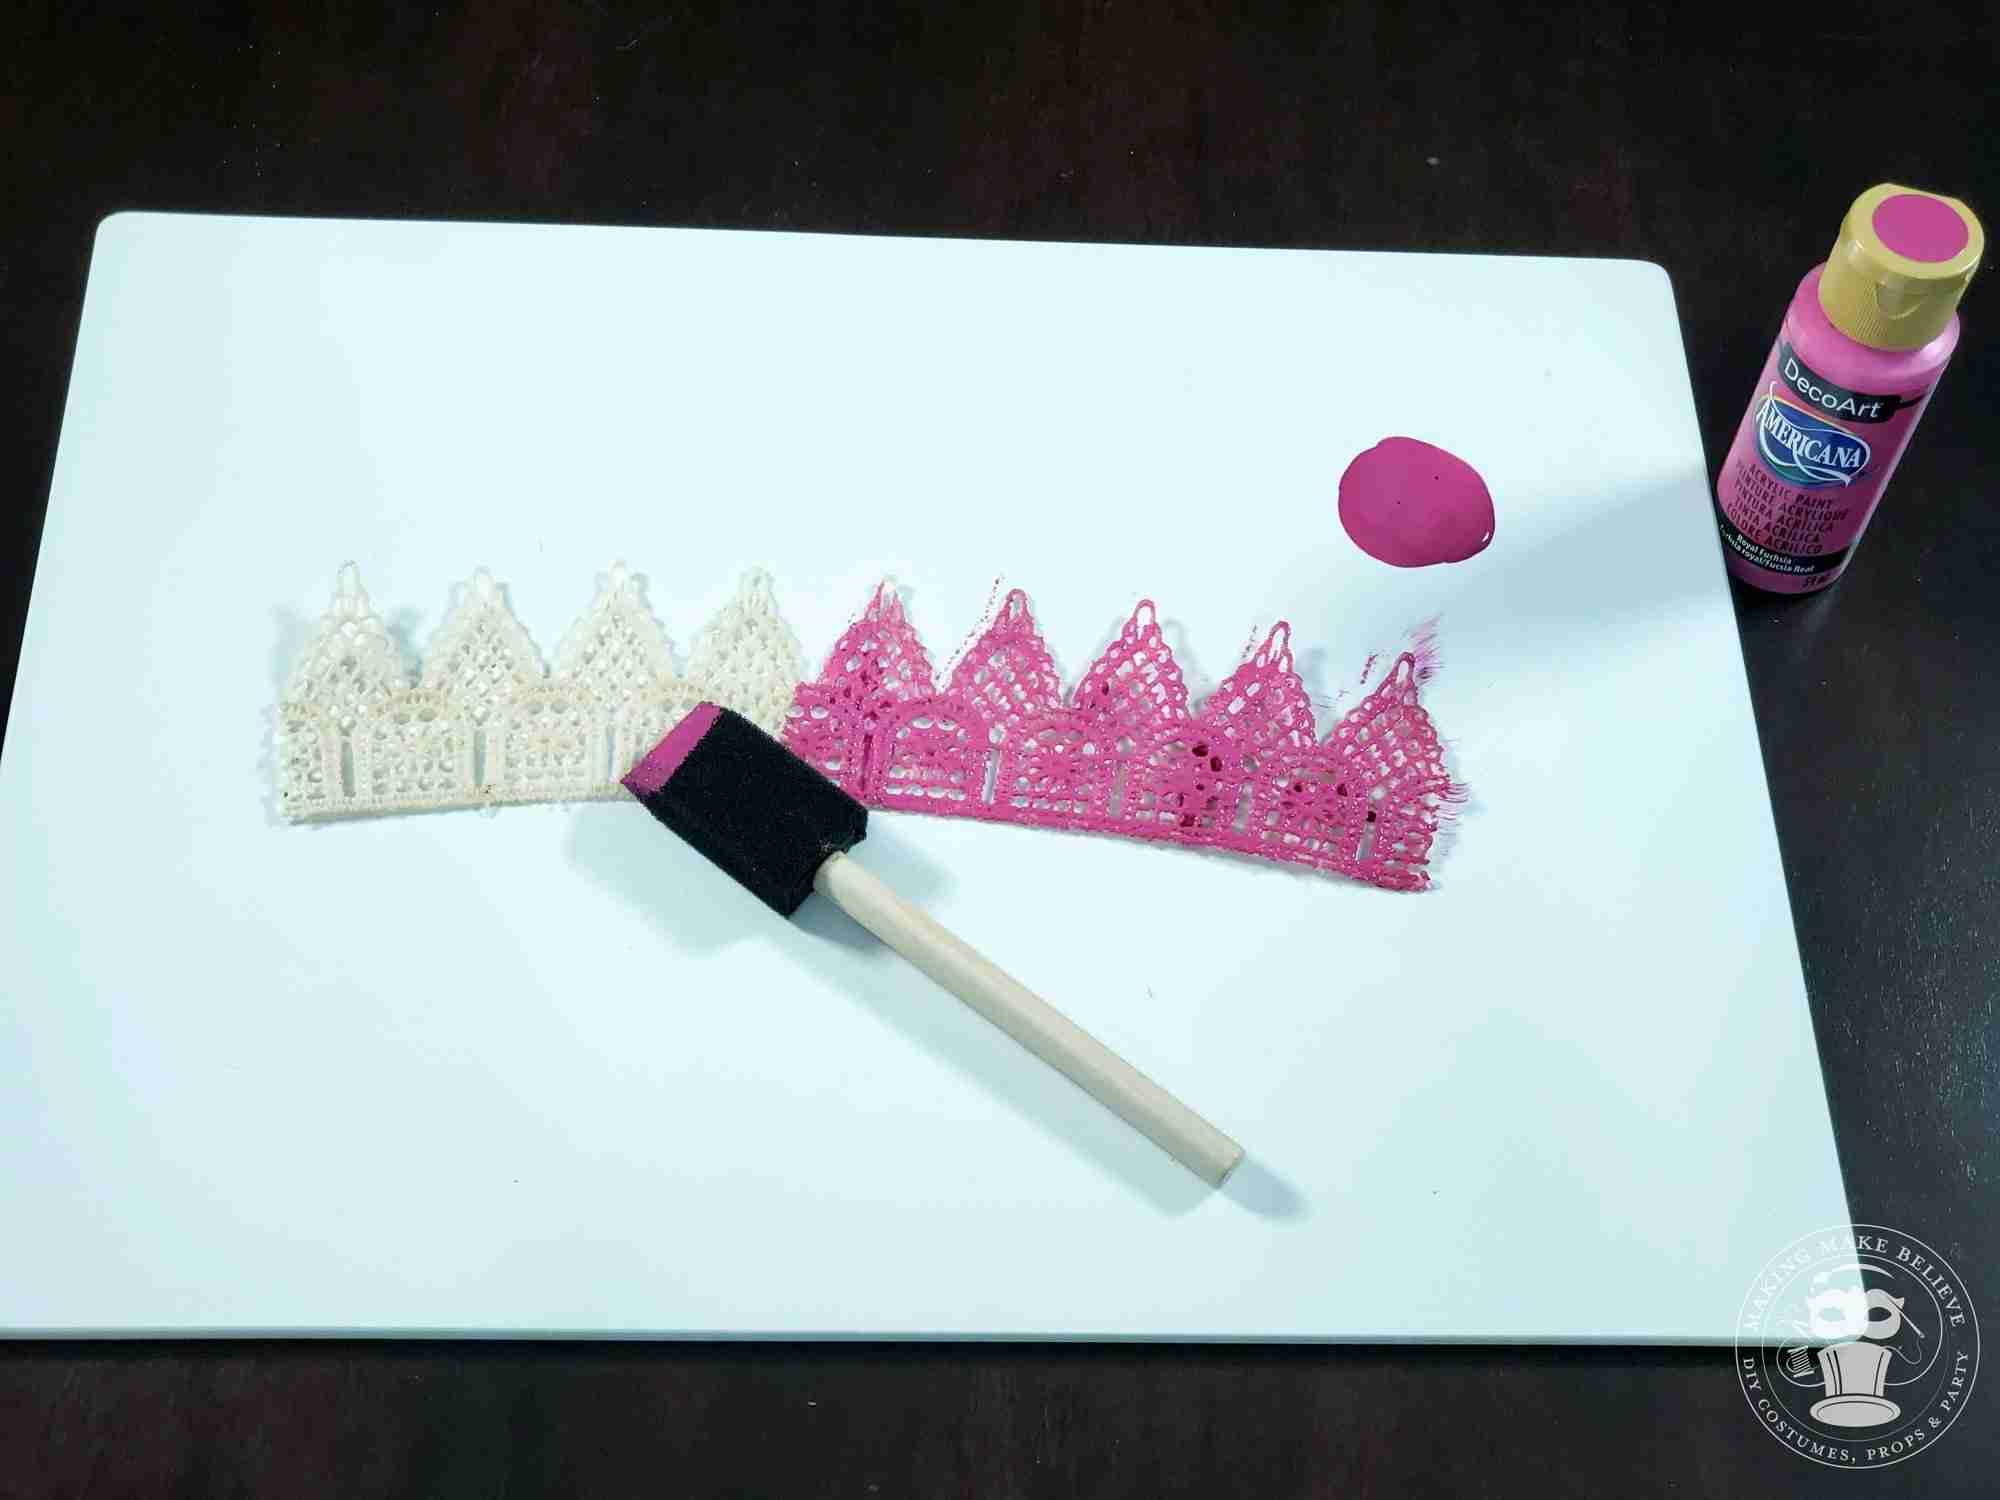
4. Paint the crown taking care to keep from filling in design openings. Repeat on the other side. Hang or lay flat to dry.
TIP: To conserve glitter, choose a matching paint color.
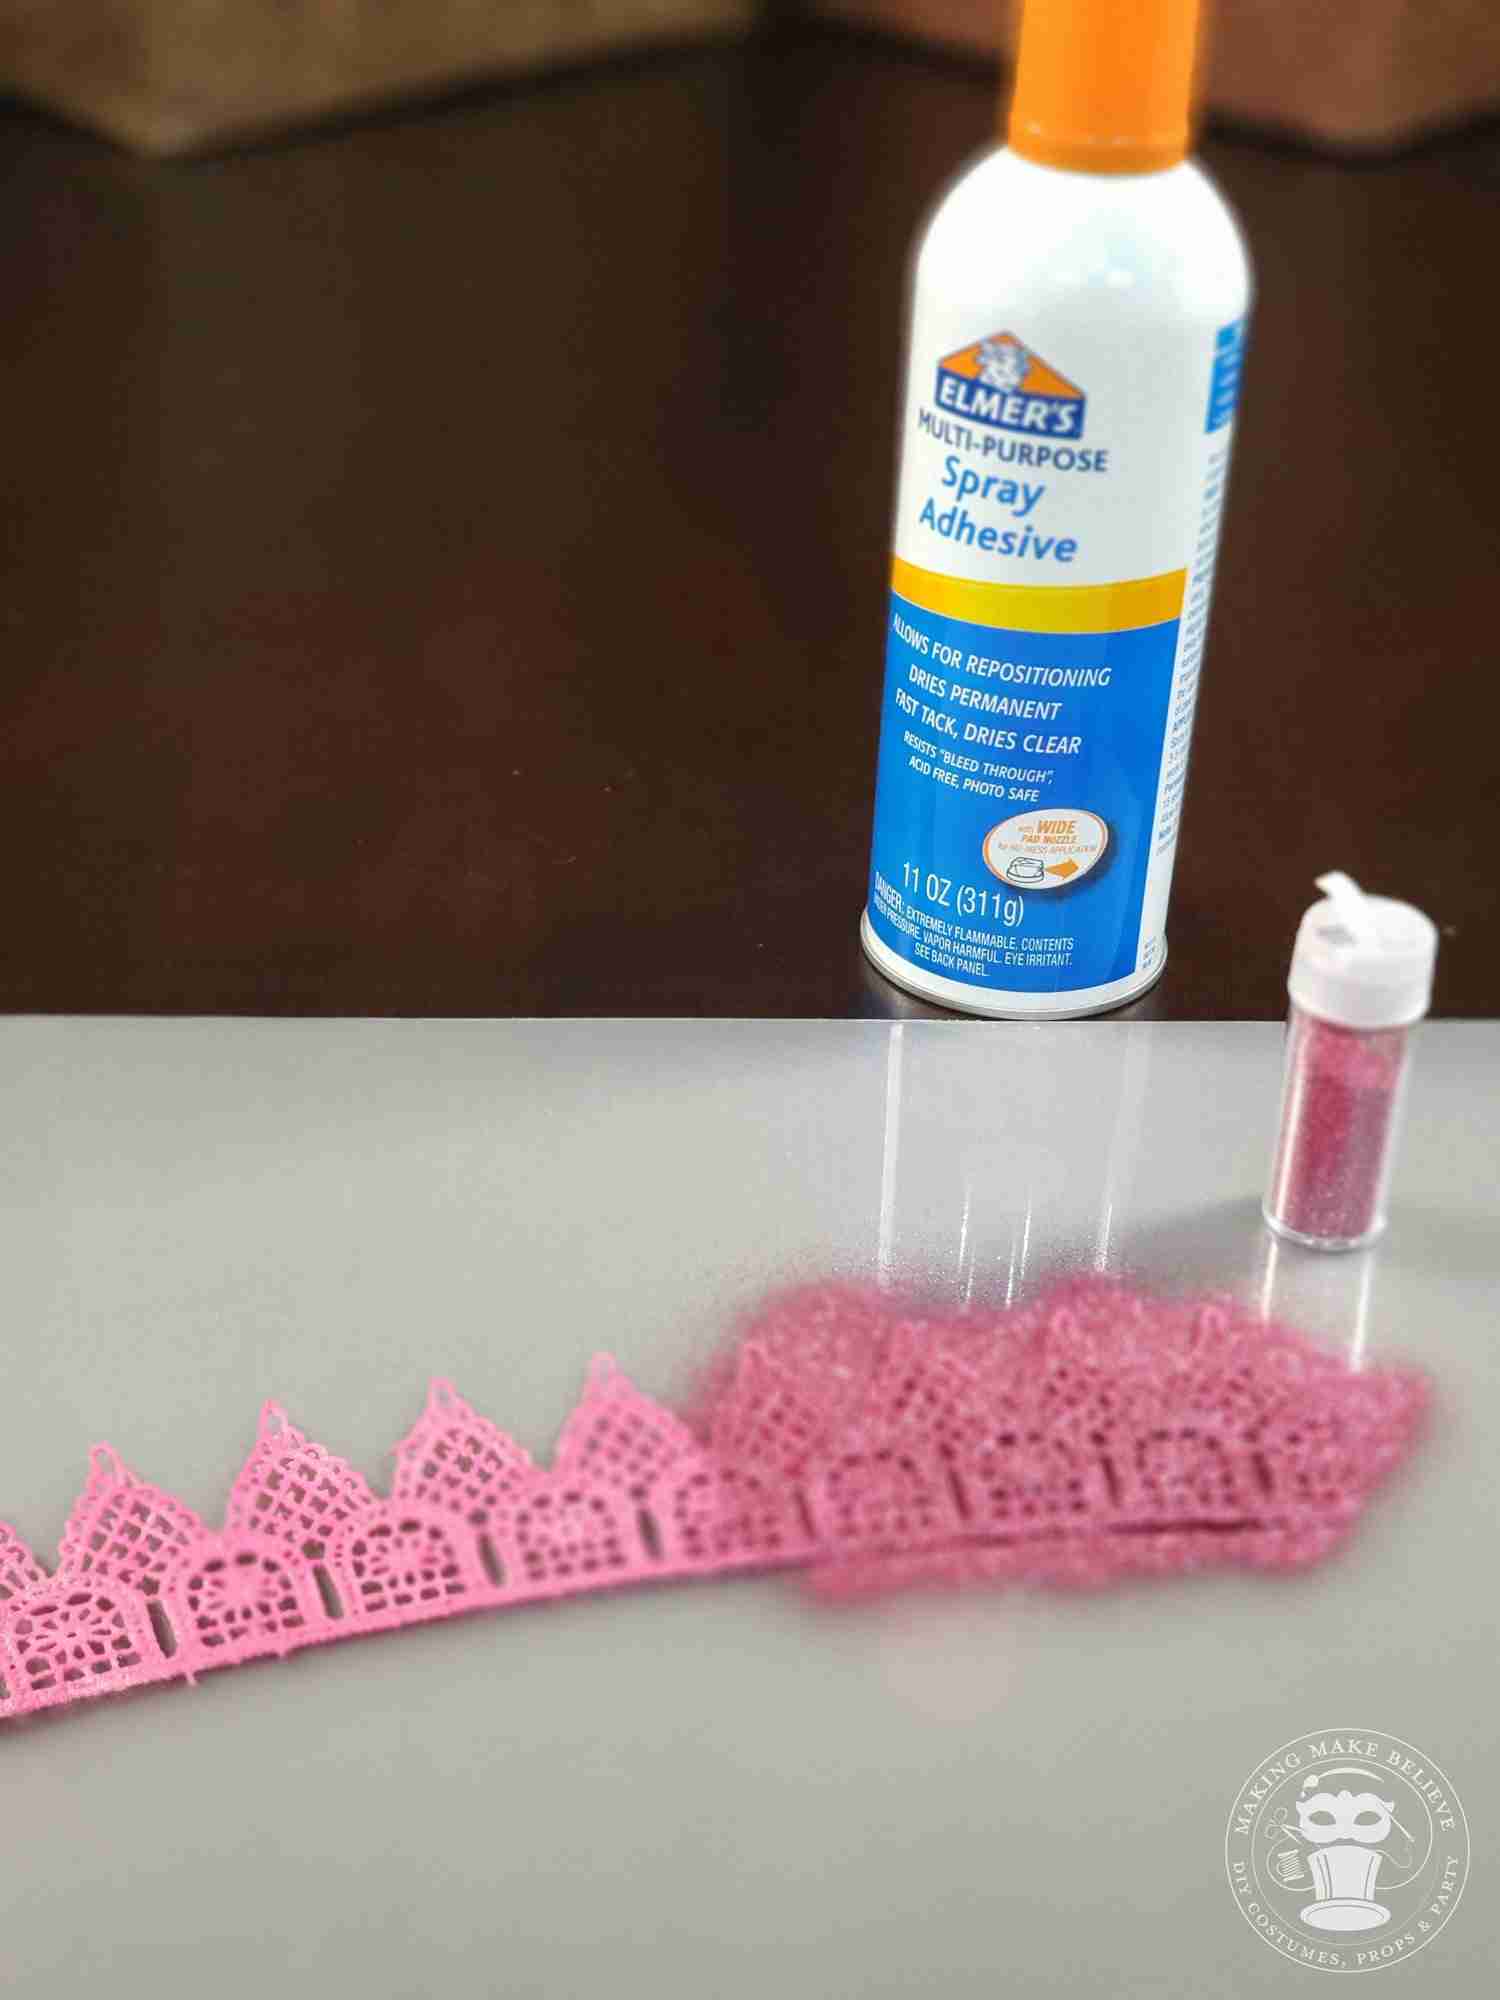
5. Working outside or in a well-ventilated area, apply the spray adhesive to the lace and generously sprinkle glitter. Continue applying adhesive and glitter over both sides of the lace until you have the coverage you desire.
TIP: Sprinkling glitter over a piece of paper allows you to funnel the excess back into the bottle.
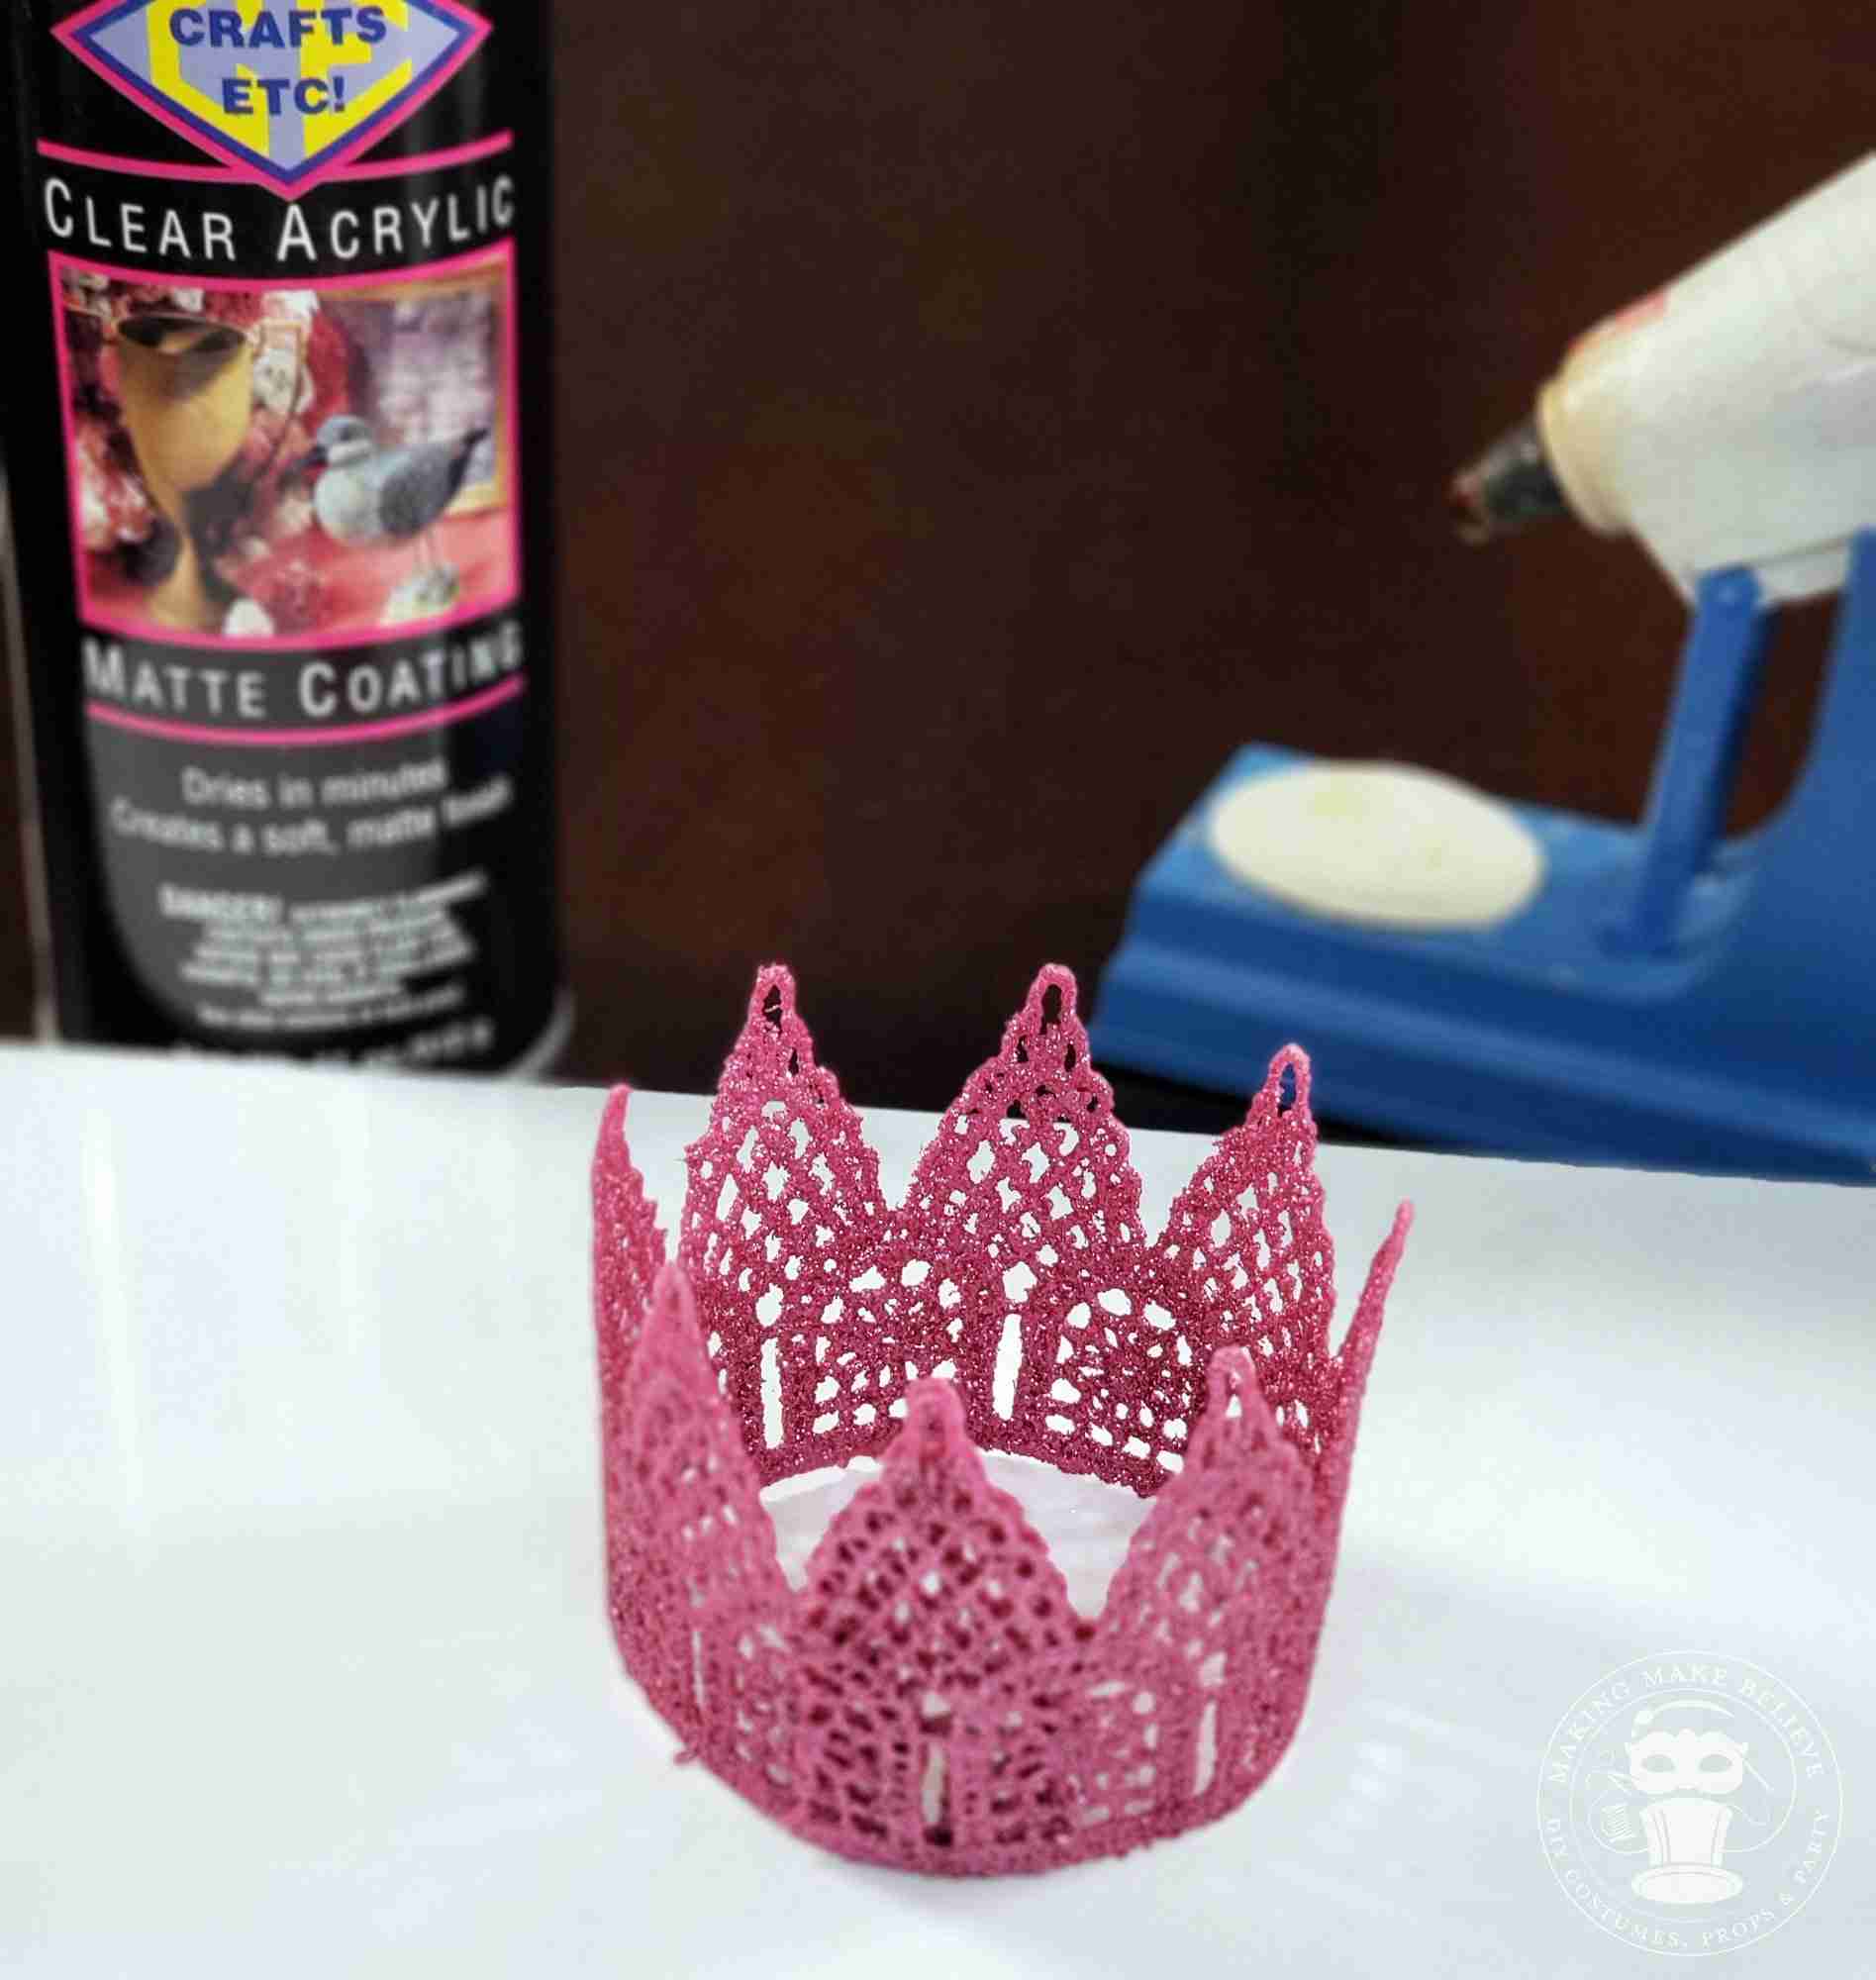
6. Apply clear spray to secure glitter and allow to dry.
7. Overlap ends, matching up design, and hot glue together.
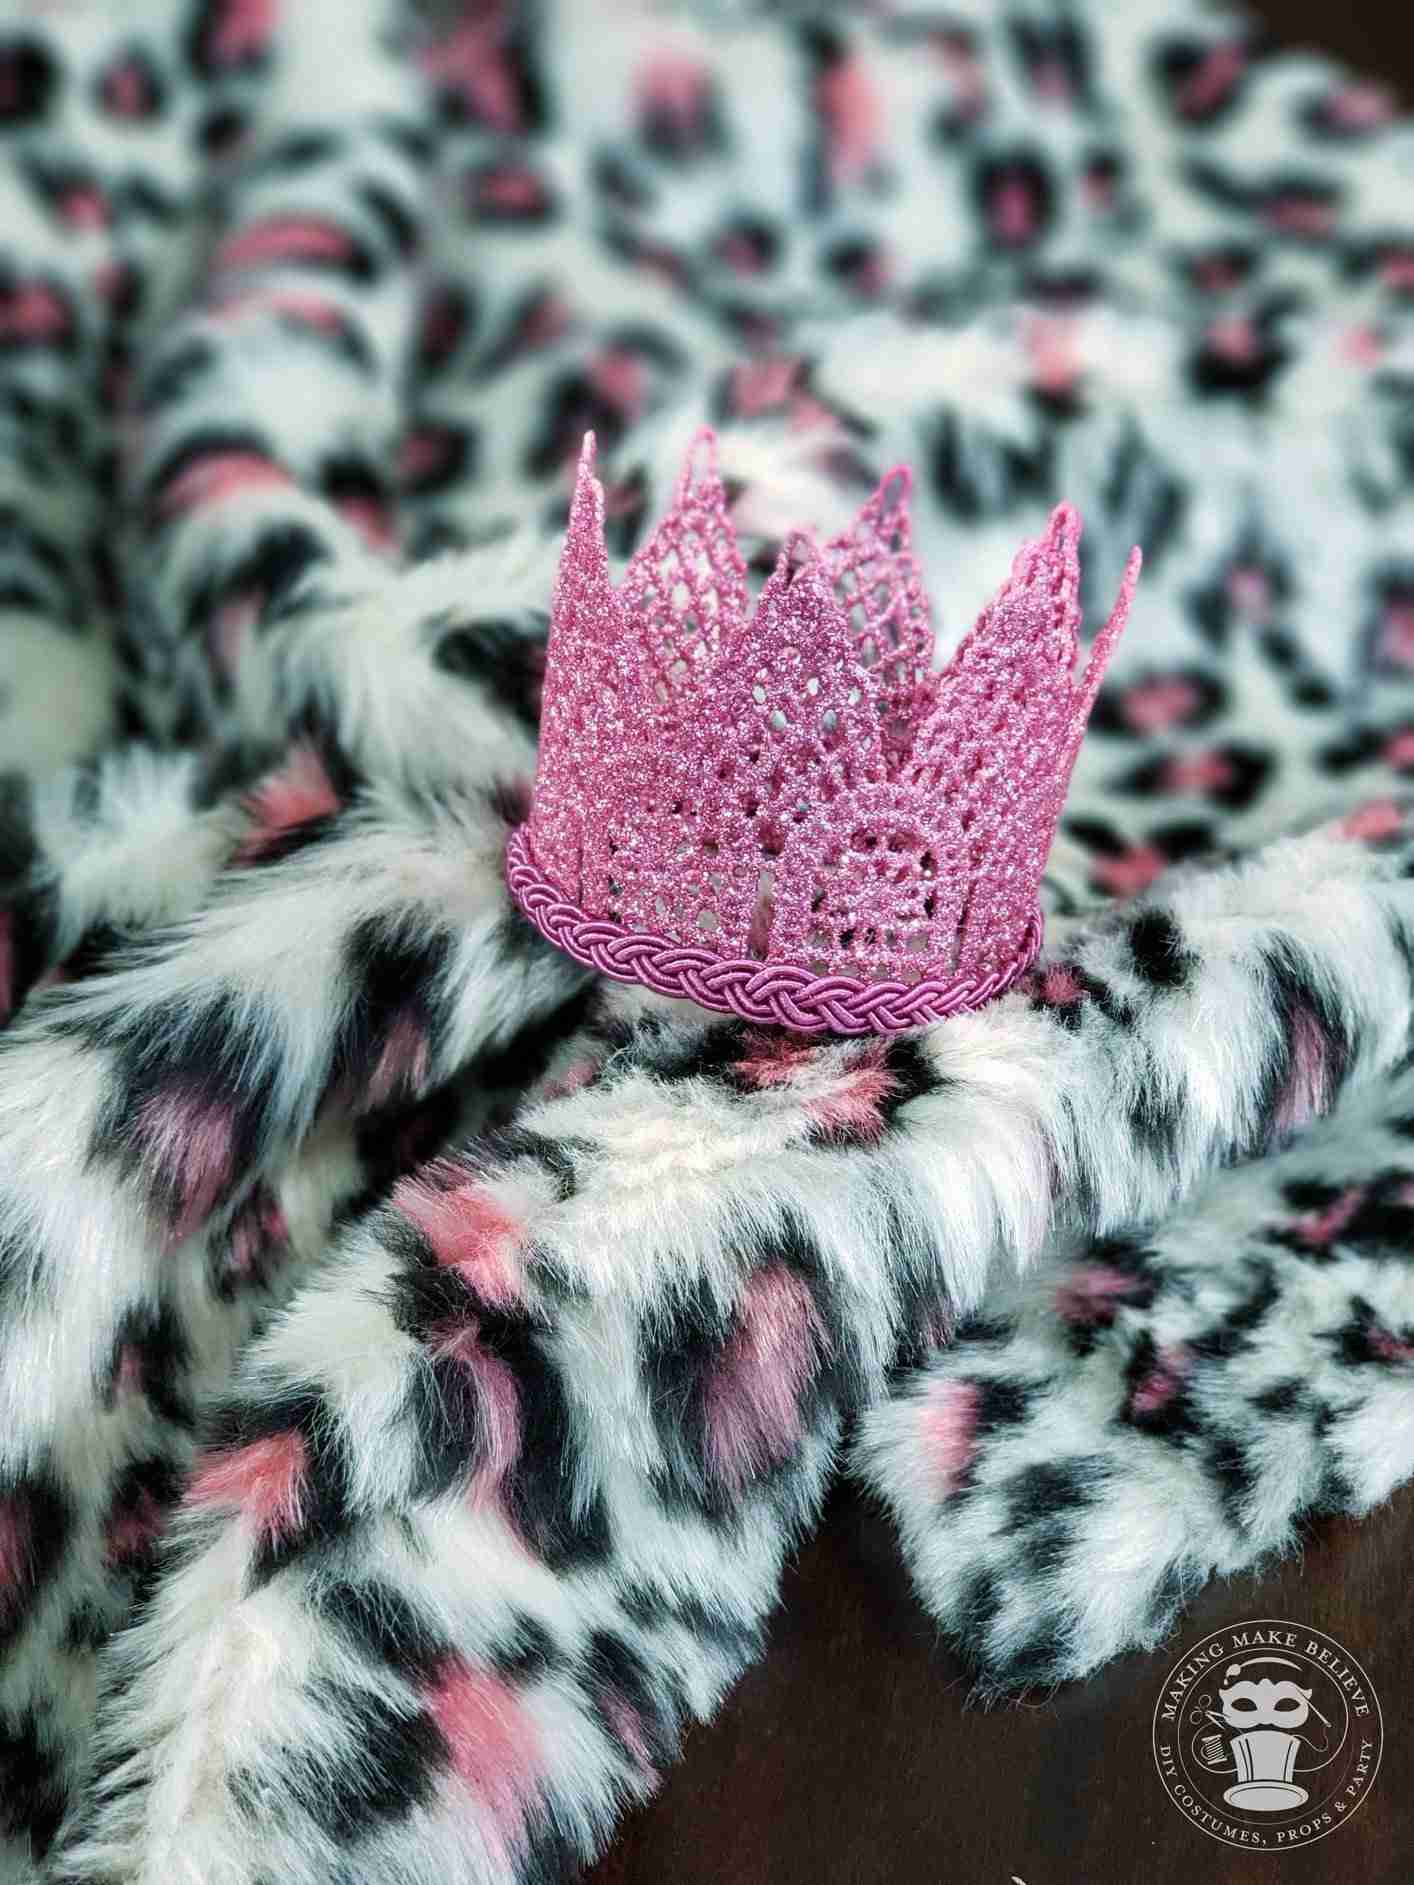
8. Embellish as desired.
Notes:
To wear, secure crown to hair with bobby pins or attach to a headband.
We’ve found that synthetic lace holds its shape better than cotton lace.
We recommend fine glitter. Chunky glitter will not adhere as well and is more likely to chip off over time.
What We Used In This Demo:
Wright’s Double Scalloped Venice Lace in Candlelight 2 1/4″ from JoAnn Fabrics
Deco Art Americana paint in Royal Fuchsia from Hobby Lobby
Extra Fine Glitter by The Paper Studio in Taffy pink.
Wyla Braided Deep Pink Trim (010793154507)

Templates, patterns and printables for every project on the blog.

Counting down to Halloween since the 1970s. I create, style and celebrate all things costume and Halloween, all year round.
Welcome to my world of Halloween Ever After, where I create, style, and celebrate all things costume and Halloween.
Within these haunted pages lie affiliate links to curious and captivating finds I love. If you make a purchase through them, I may earn a modest commission (think fun-size candy bar), which helps keep the Halloween magic alive. No extra cost to you – cross my batty heart.



Check your email for the Haunted Library password.
Don’t miss a moment of the mischief.
Add hello@halloweeneverafter.com to your address book.
The magic happens right here in my studio and office. When you step inside my creative space, you’ll find an ever expanding gallery wall overflowing with original spooky art and classic Halloween LPs, right alongside a haunted cabinet packed to the brim with vintage curiosities.
It’s under the watchful eyes of these retro treasures that I design and craft.
Join us and get access to our Haunted Library stocked with templates, printables, cut files, and exclusive content. Plus, you’ll receive Eerie Emails just for our subscribers.
*Stay as long as you like. Unsubscribe at any time.


