Free templates & patterns
130+ freebies are waiting in the Haunted Library
Templates, patterns and printables for every project on the blog.
Formerly Making Make Believe · Join the Haunted Library

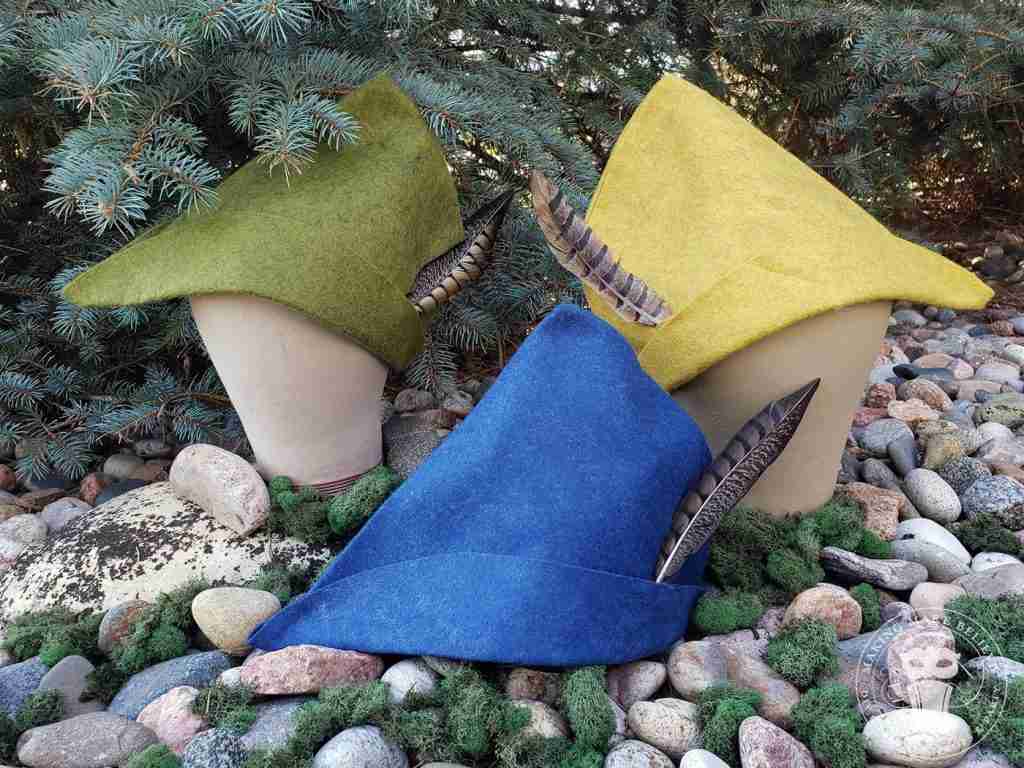
During a visit to Hobby Lobby in early Spring, a bin of closeout fabric started calling my name. (Is it just me or does that happen to anyone else?) The bin contained several bolts of wool-blend felt, and, despite not having a project in mind, I purchased some of each. The felt sat in the studio for a couple of weeks until inspiration came from a traditional, vibrant green, Robin Hood costume hat.
The collection of colors I bought looked perfect for a band of merry men, or women, so I set out to craft my own version. The result is this super simple DIY bycocket hat, designed with one seam that can be machine or hand-stitched.
The optional feather can be placed on either side of the hat and held in place by simple slits. When you need to store that hat, remove the feather, tuck it in the brim and store flat.
My first version sits a little low on me unless I’m wearing a ponytail underneath the hat, so I made a second, smaller version. Both PDF sizes are included with the felt Robin Hood Hat Pattern, which you can get in the Making Make Believe shop.
The hat was fun to create, and I plan to build an entire costume around it soon. I hope you enjoy this project, and if you craft one, be sure to post a pic and tag Making Make Believe. I’d love to see what you create.
Materials:
*See Notes at the end of tutorial for some things to consider when selecting your felt.
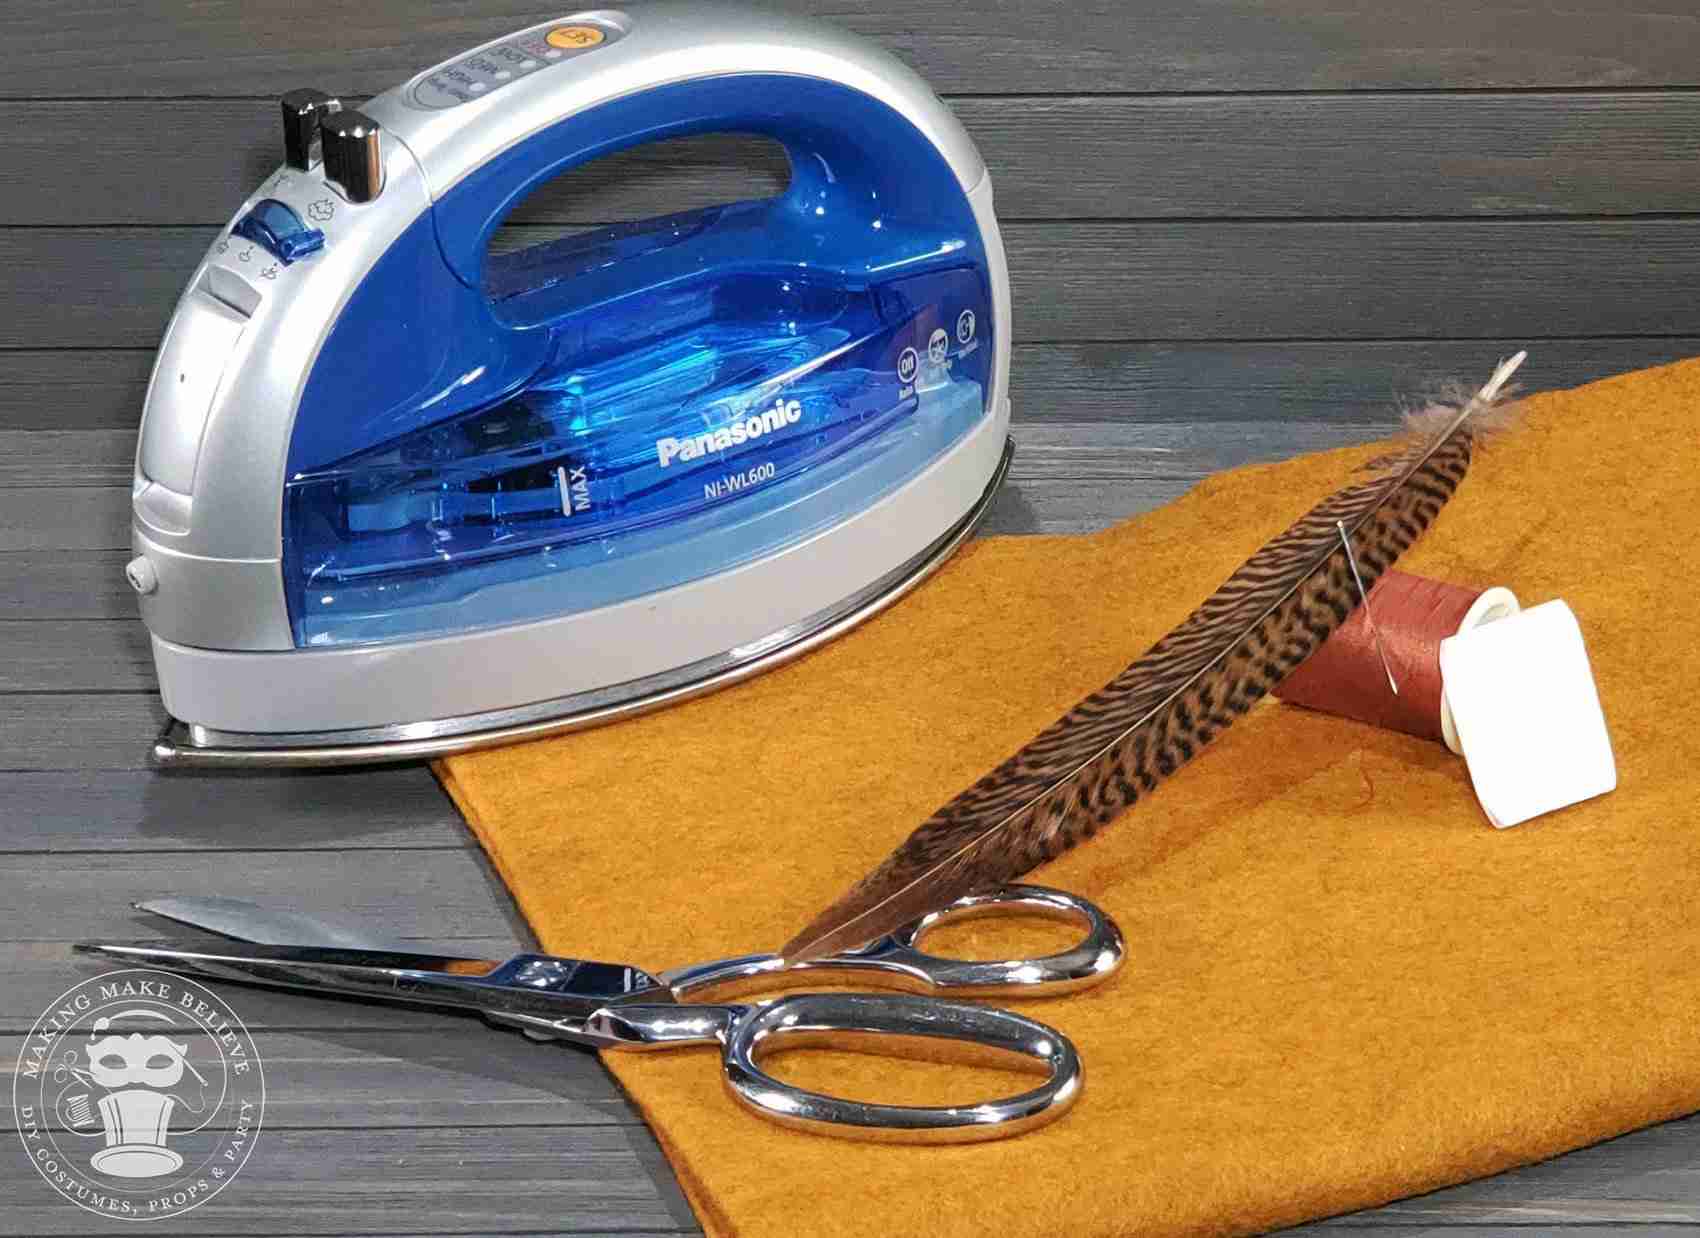
Tools:
To hand cut*:
*An SVG cut file was not made for this pattern as it is cut on the fold.
Before You Get Started:
Visit the Making Make Believe Shop to get your Robin Hood Hat Pattern pattern.
Steps:
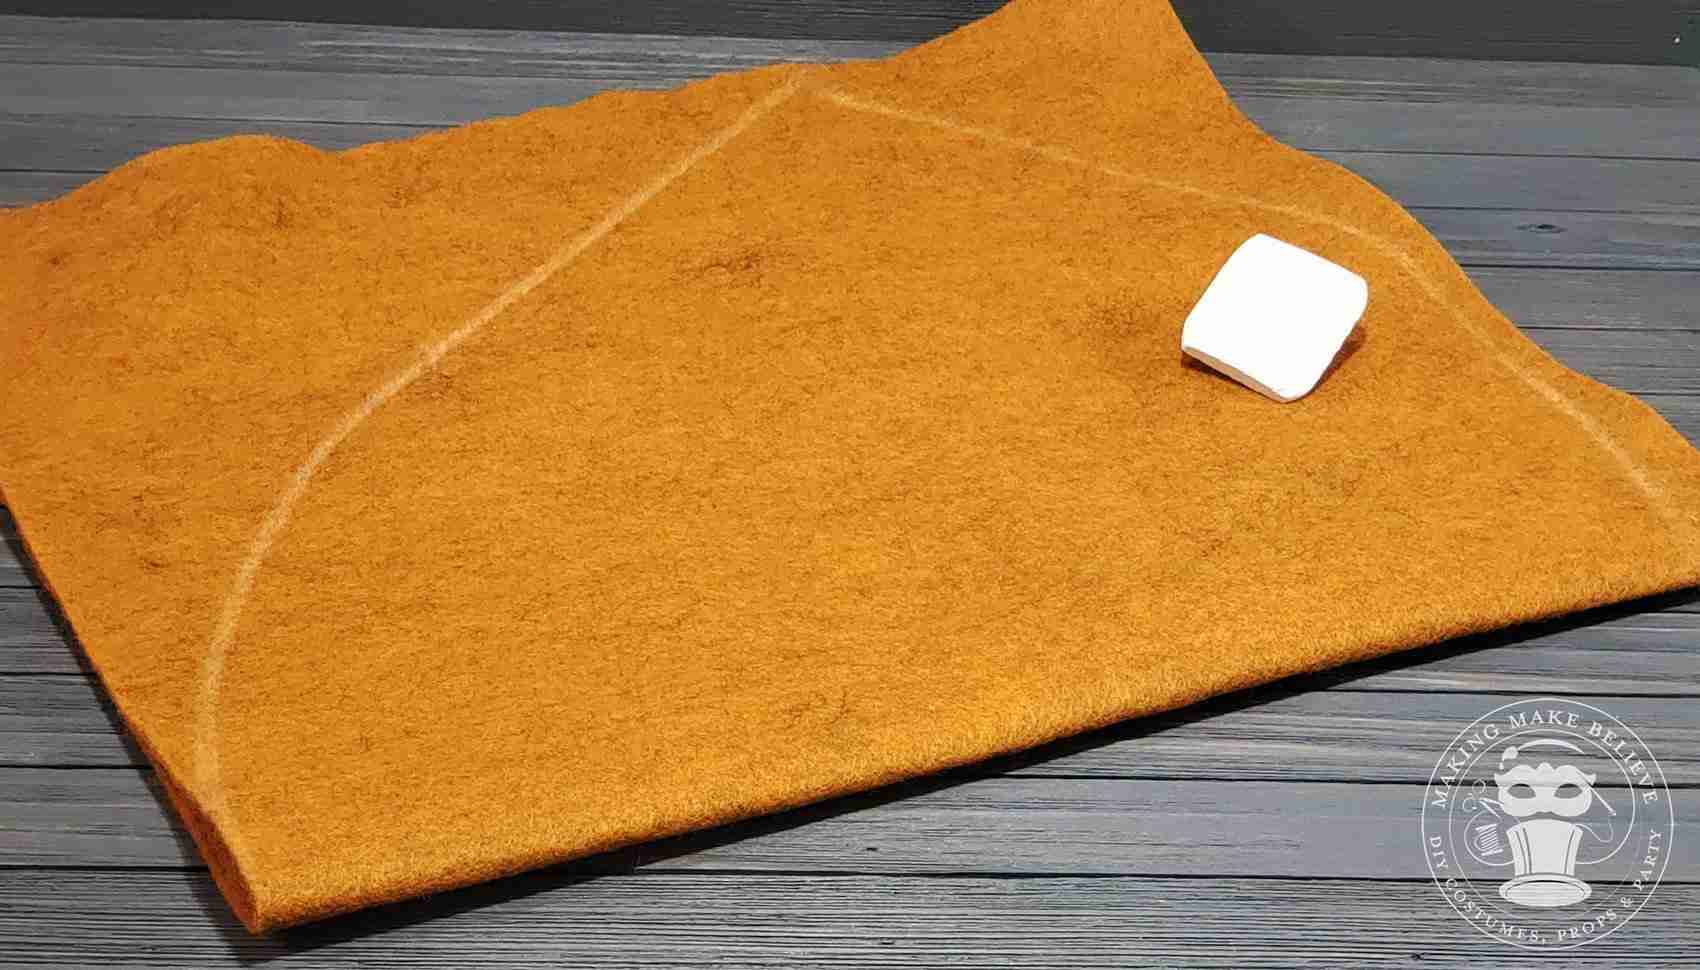
1. Fold your fabric in half and place your pattern piece on the fold as directed by the pattern piece. Trace the pattern onto your felt using a marking pen or chalk.
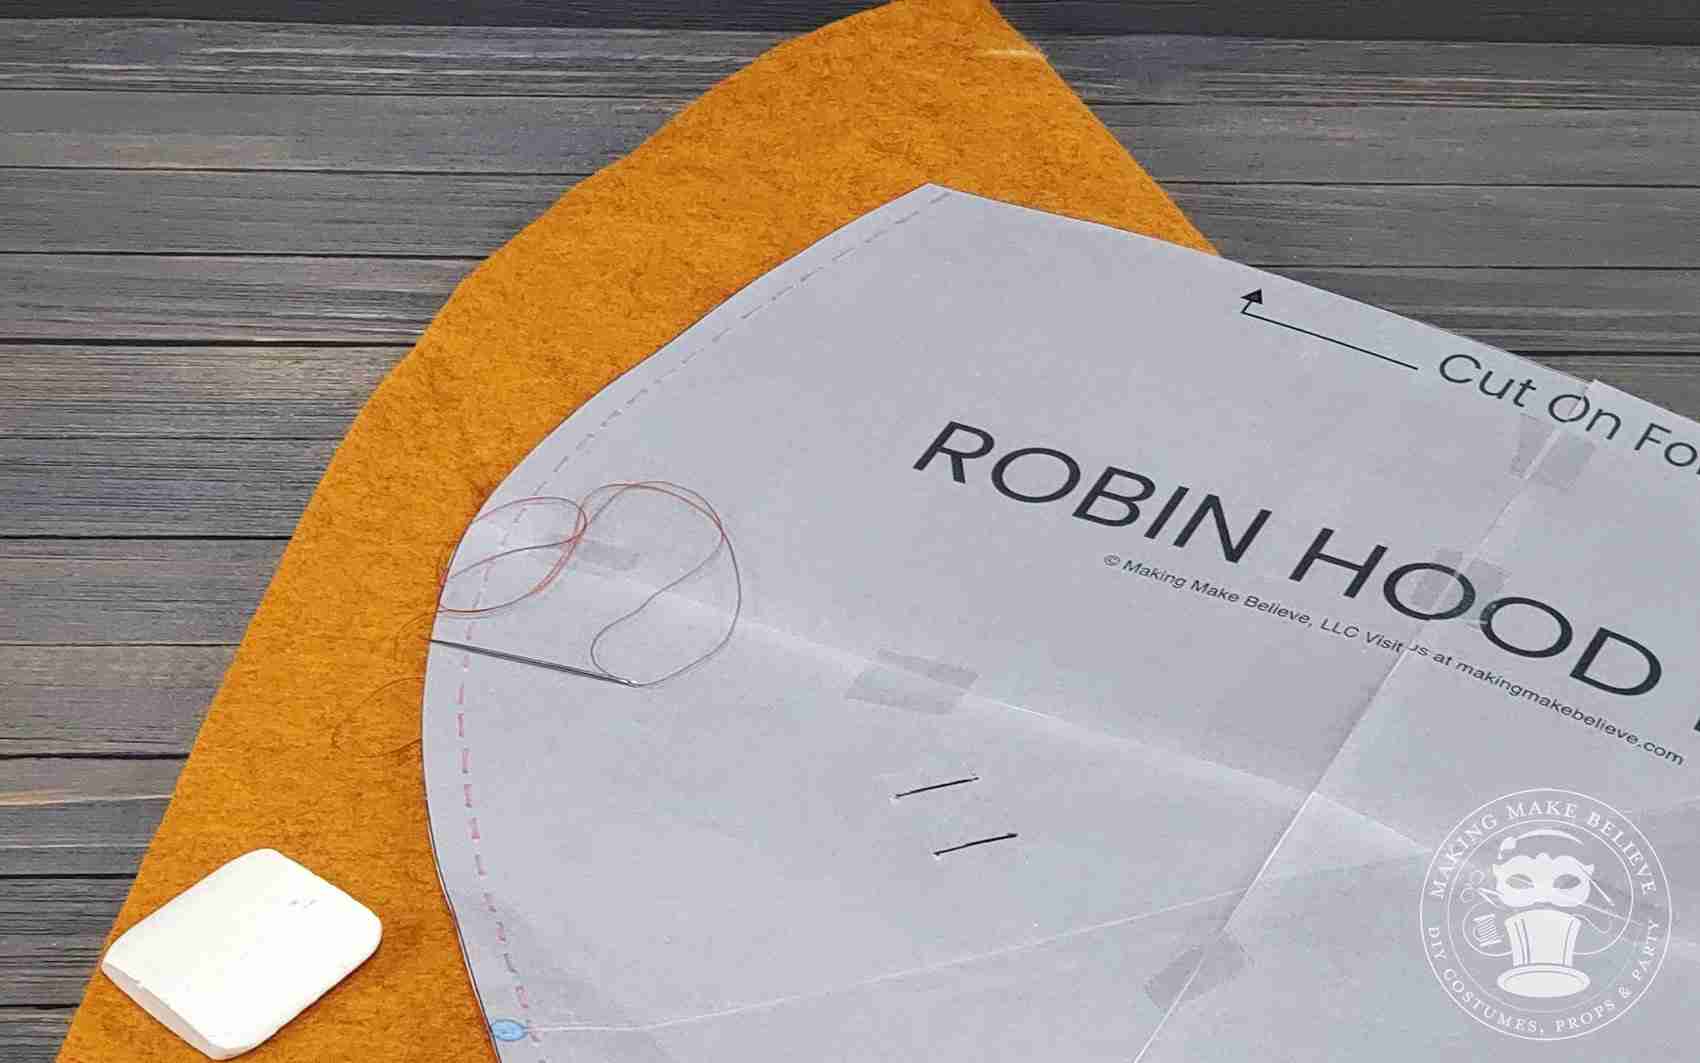
2. Cut out along your cutting line. Using a marking pencil or chalk, transfer the blue dot and black slash marks on the pattern to your hat piece.
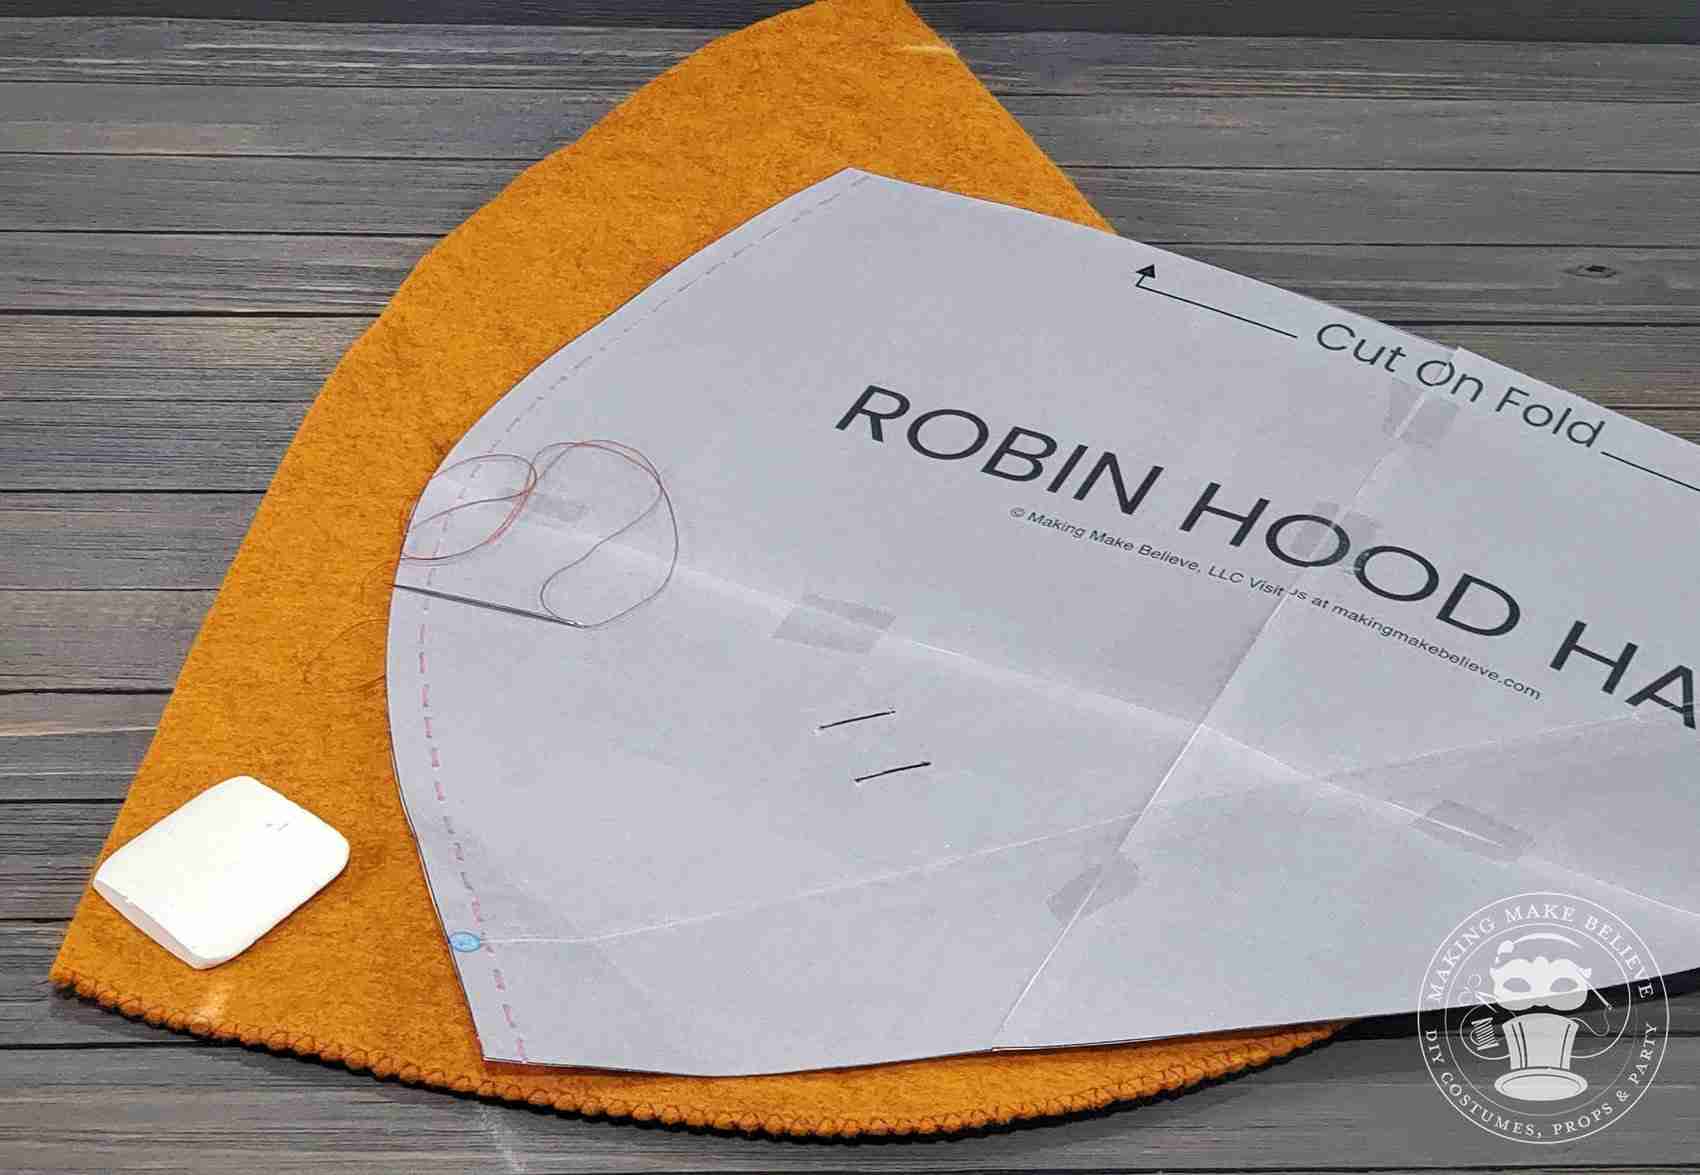
3. Stitch a 1/4″ seam allowance along the short, curved edge as shown by the pink dash marks on your pattern.
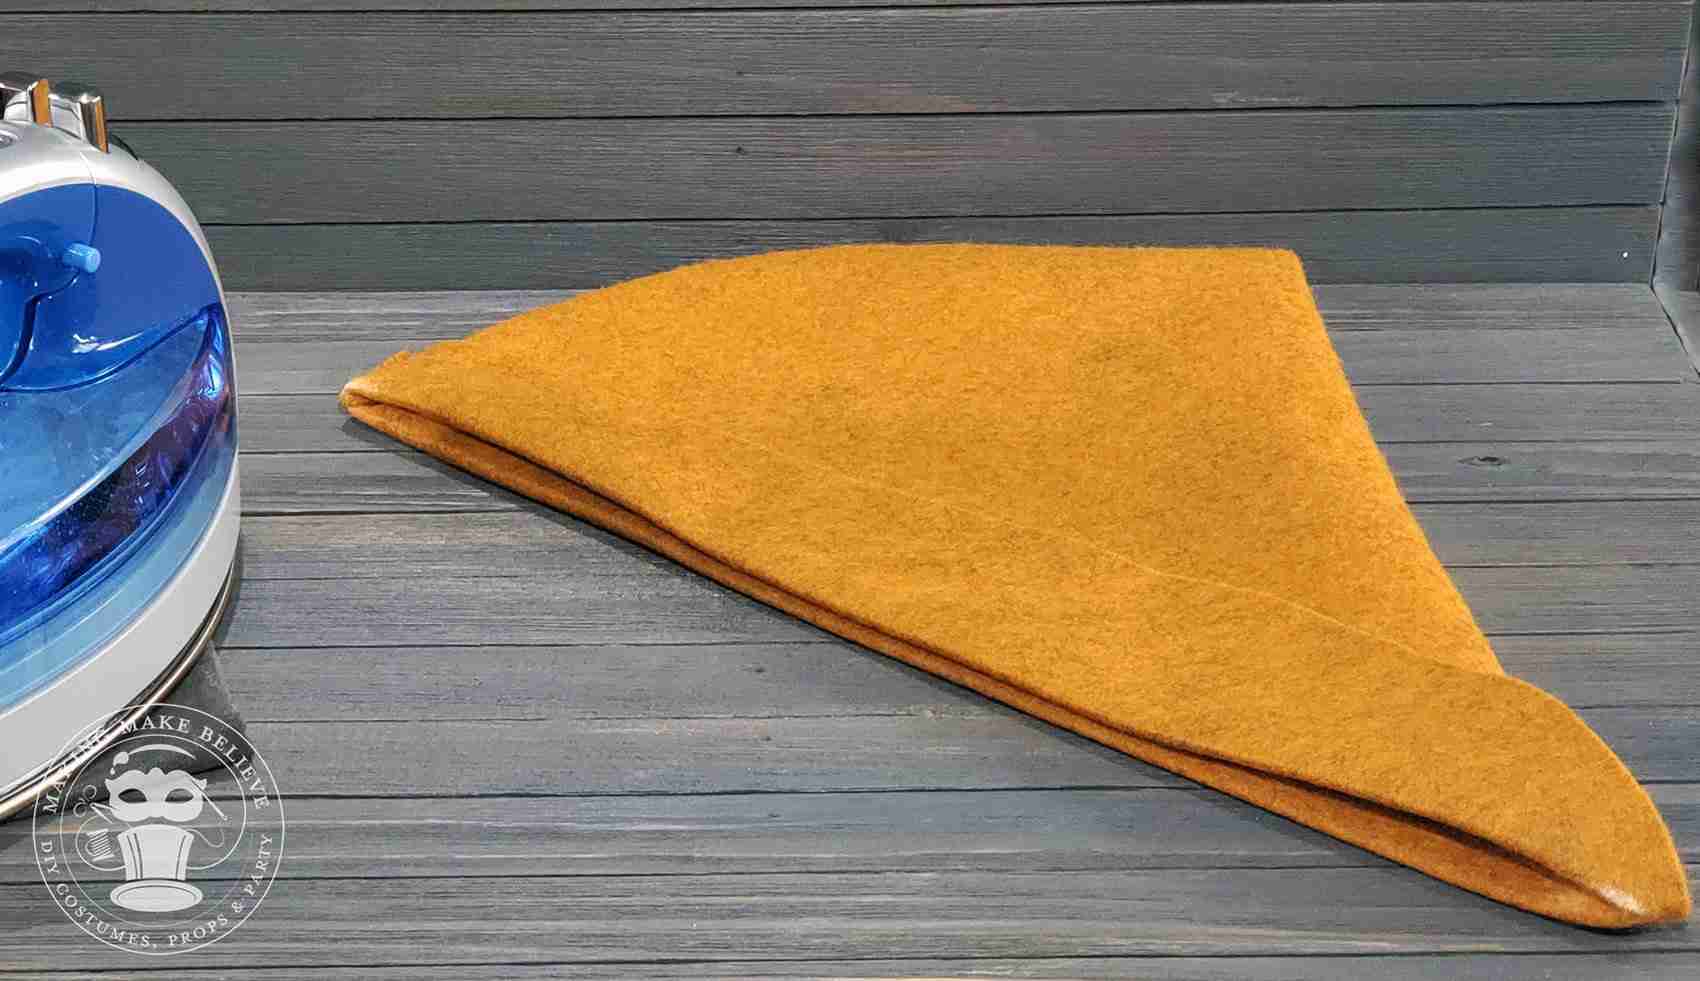
4. Turn hat right side out and press the seam. Form the hat brim by folding up the edge at the dots and press.
TIP: Felts containing acrylic such as craft felts can melt with heat so read the bolt label prior to purchase. Test iron settings on a scrap piece of felt and adjust temperature or use a pressing cloth to protect your project.
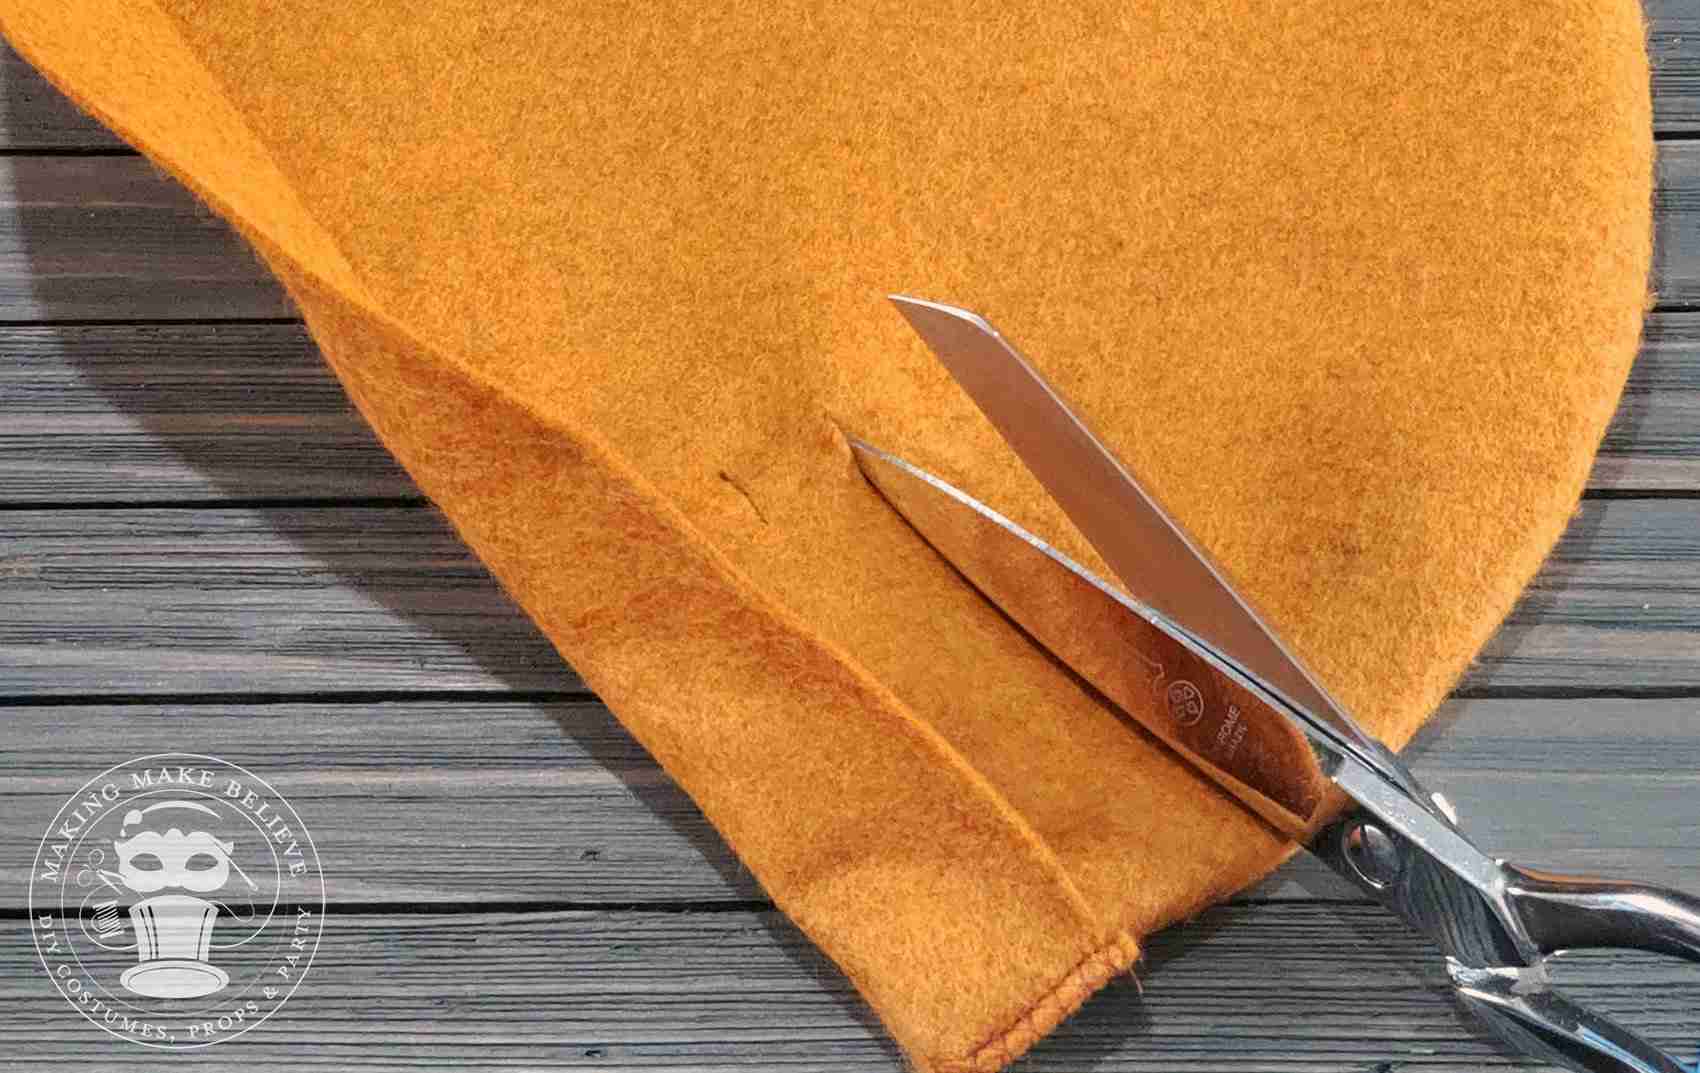
5. Carefully cut slits where you placed the slash marks.
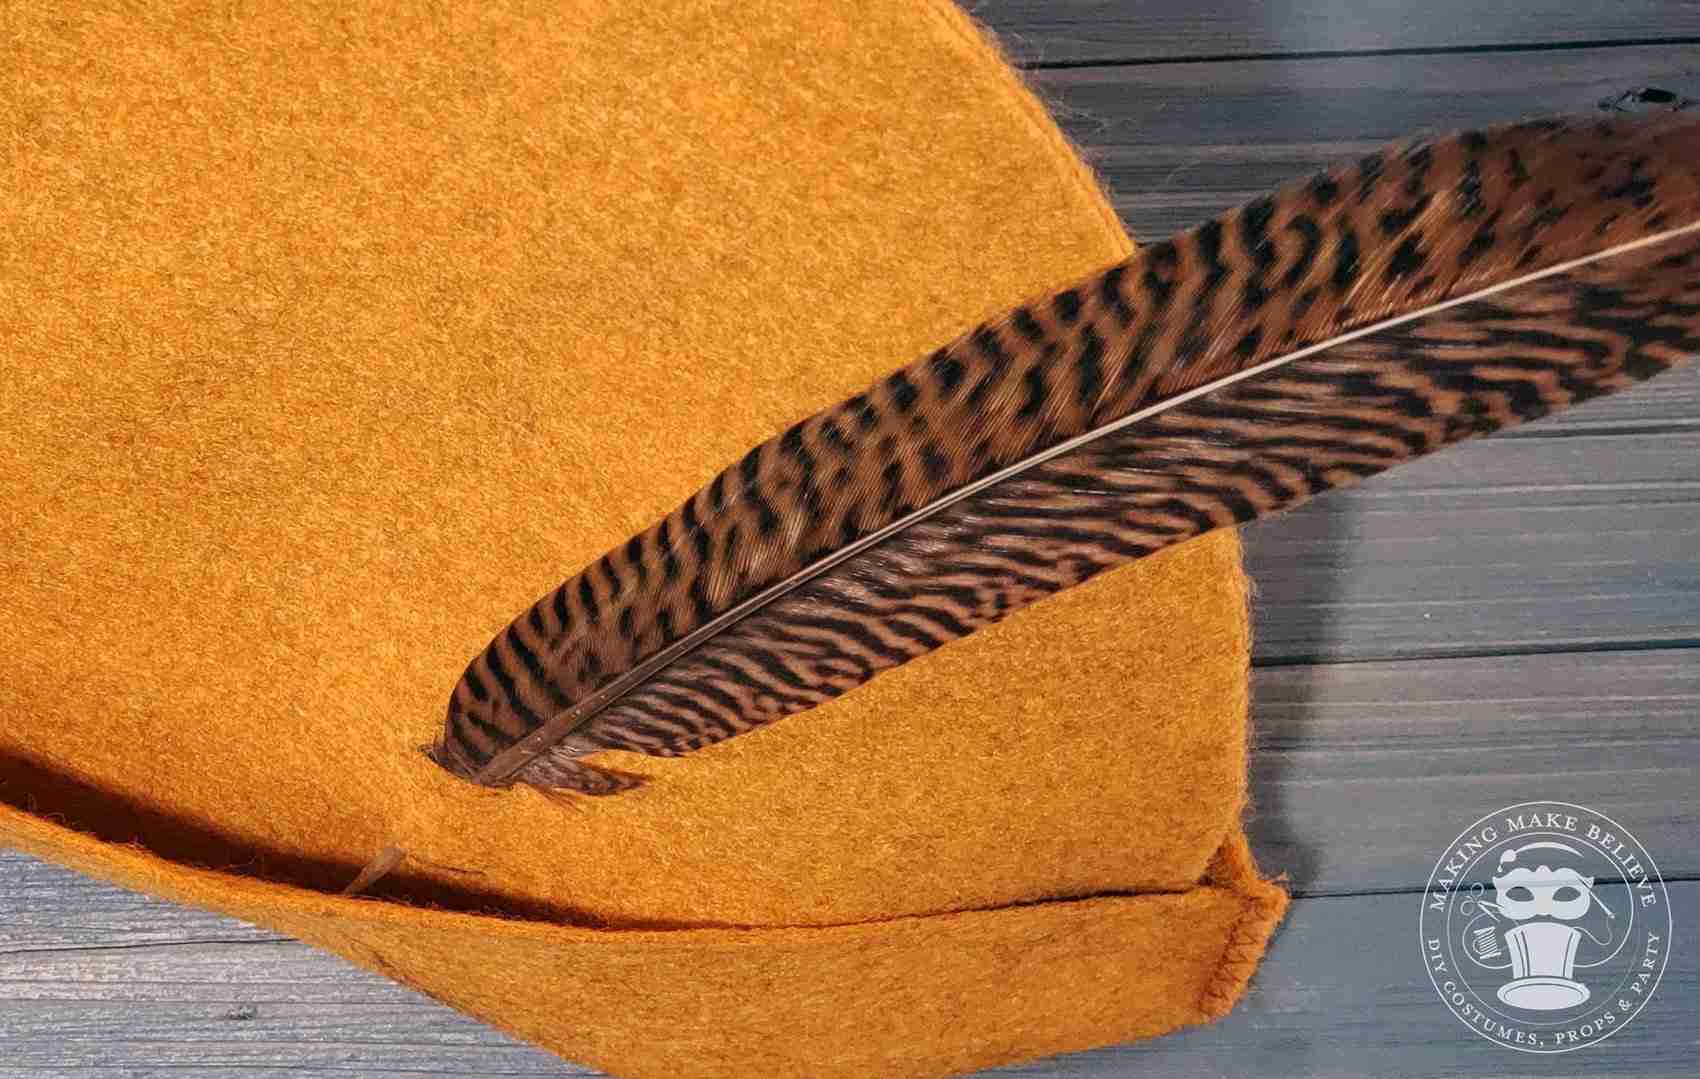
6. Slide feather into the slits and your hat is ready to wear.
TIP: To store hat, remove feather and tuck into flap of brim and lay flat.
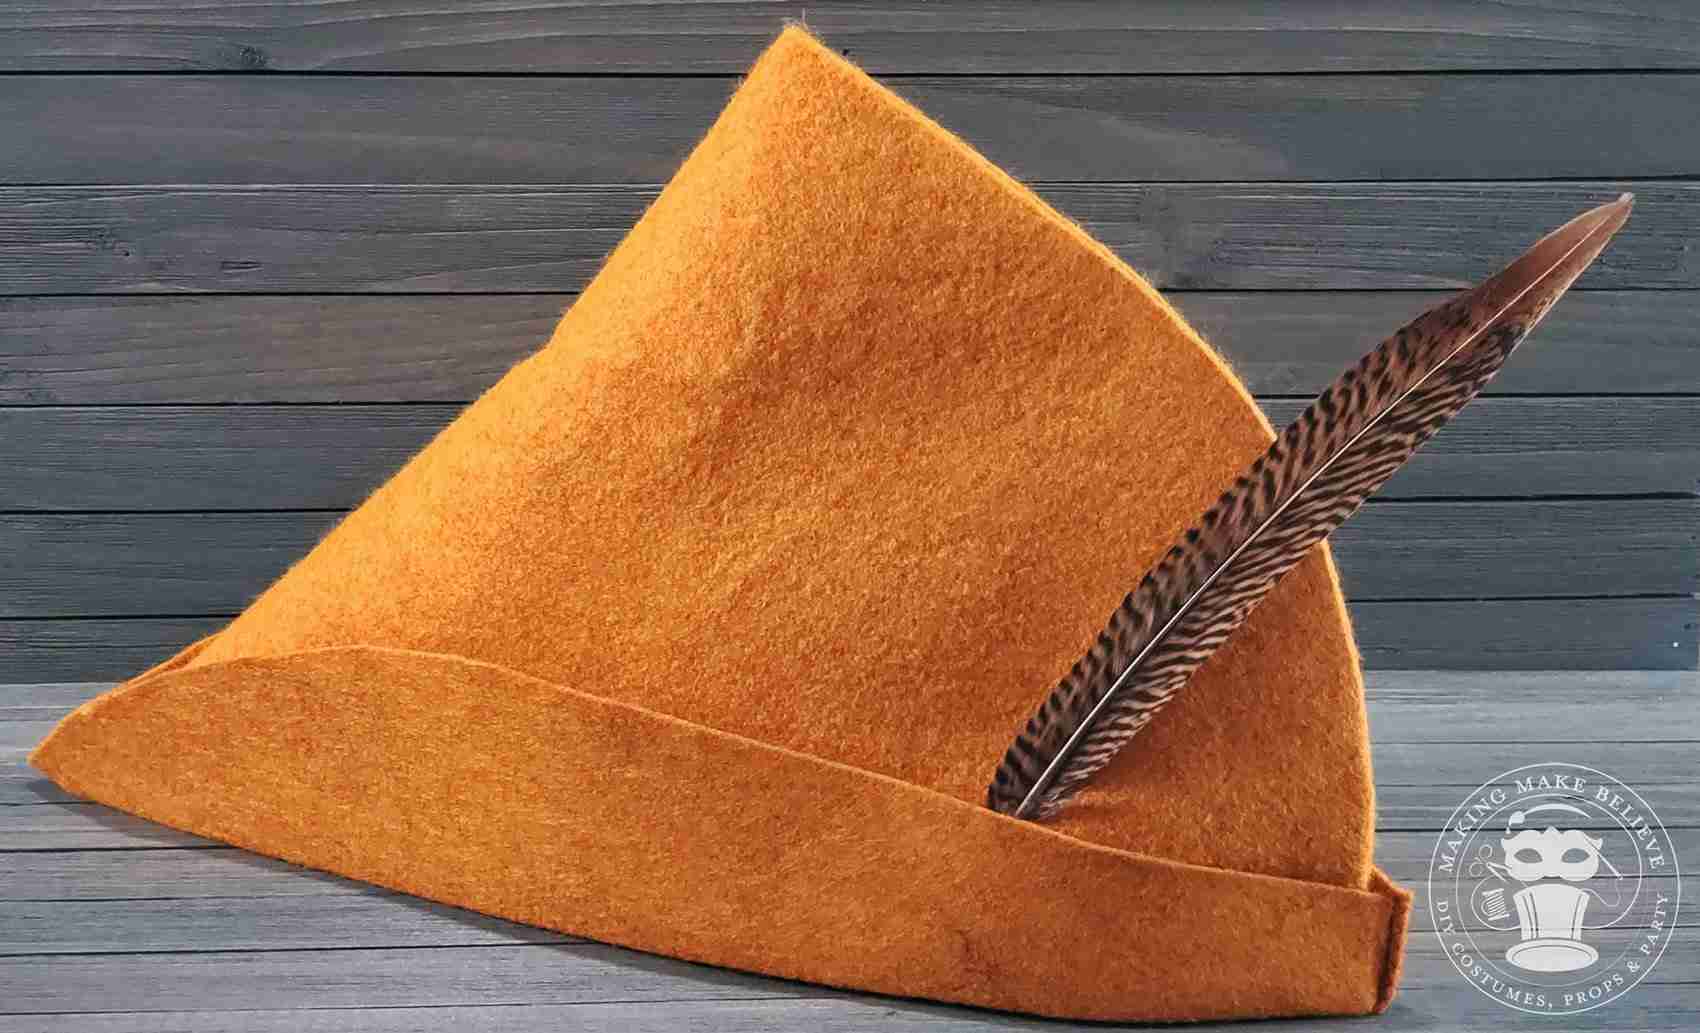
Completed Robin Hood Hat
Notes:
The slits that hold feather can be placed on either, or both sides, of hat.
Some Notes About Felt:
Felts containing acrylic such as craft felts can melt with heat and not recommended for this project.
If using a wool blend, as shown in this demo, set your iron to low heat, no steam and test settings on a scrap piece of felt. Adjust temperature or use a pressing cloth to protect your project.
Used In This Demo:
Wool blend felt in Pumpkin Spice from Hobby Lobby (814859022812)
Natural Pheasant Craft Feather by Antunihood on Amazon (B07WSVX87N)

Templates, patterns and printables for every project on the blog.

Counting down to Halloween since the 1970s. I create, style and celebrate all things costume and Halloween, all year round.
Welcome to my world of Halloween Ever After, where I create, style, and celebrate all things costume and Halloween.
Within these haunted pages lie affiliate links to curious and captivating finds I love. If you make a purchase through them, I may earn a modest commission (think fun-size candy bar), which helps keep the Halloween magic alive. No extra cost to you – cross my batty heart.



Check your email for the Haunted Library password.
Don’t miss a moment of the mischief.
Add hello@halloweeneverafter.com to your address book.
The magic happens right here in my studio and office. When you step inside my creative space, you’ll find an ever expanding gallery wall overflowing with original spooky art and classic Halloween LPs, right alongside a haunted cabinet packed to the brim with vintage curiosities.
It’s under the watchful eyes of these retro treasures that I design and craft.
Join us and get access to our Haunted Library stocked with templates, printables, cut files, and exclusive content. Plus, you’ll receive Eerie Emails just for our subscribers.
*Stay as long as you like. Unsubscribe at any time.


