Free templates & patterns
130+ freebies are waiting in the Haunted Library
Templates, patterns and printables for every project on the blog.
Formerly Making Make Believe · Join the Haunted Library

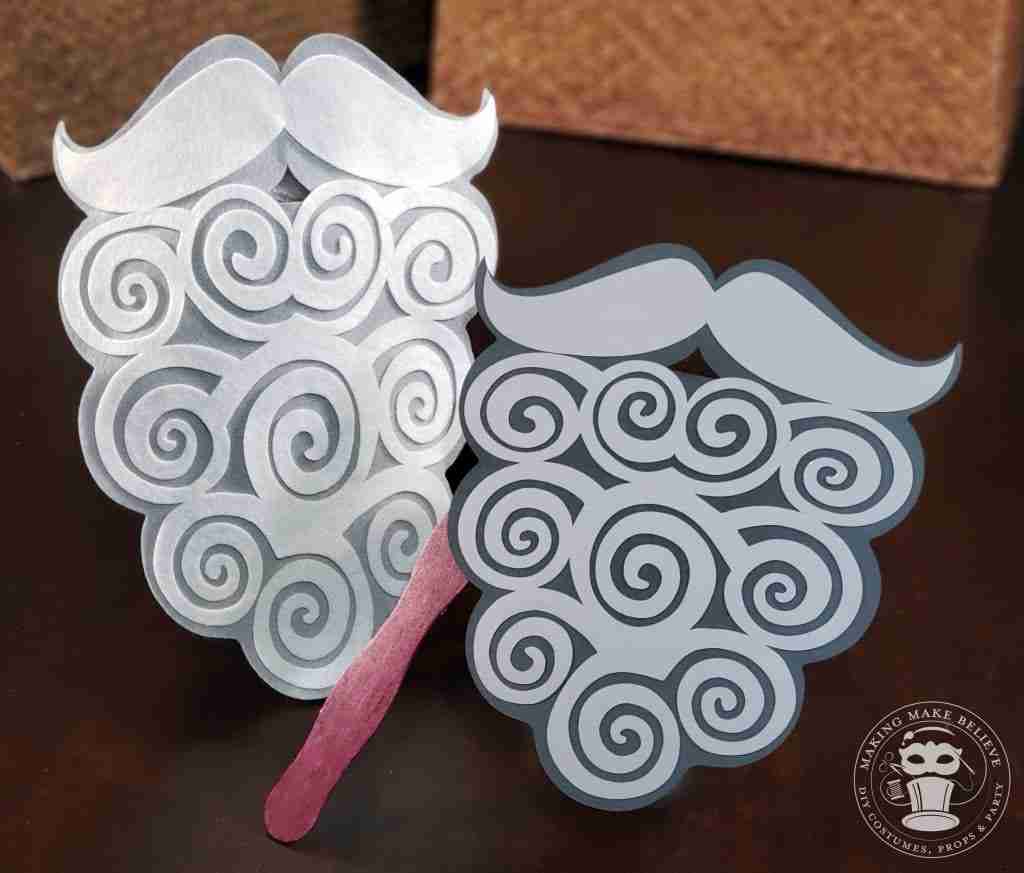
One of my superpowers is the ability to whip up a costume or craft at a moment’s notice using only what we have on hand. Our children, who sometimes failed to remember a deadline until the night before it was due, liked to test this skill.
The boys would usually remember these assignments just as Gerard and I were getting ready to relax and send them off to bed. Realizing that we had an hour or two of project homework ahead, the husband would expound on the virtues of planning while I would head downstairs to my craft stash.
Now, as an empty-nester, I kind of miss those challenges, but I remember the stress that late-night homework can bring. I put together this pattern with that in mind. I hope it will be useful should you find yourself in need of a beard for a last-minute costume.
You can craft this whimsical beard and mustache combo from felt for wear as a costume piece or, it can be cut from paper to use as a photo booth style prop. You can shrink, enlarge, widen, or narrow the pattern to fit nearly any face.
Standard size felt squares, and letter size paper means that you’ll probably have what you need on hand or that you can find it quickly. Add ribbon, yarn, cording or elastic for wear. Add a wavy craft stick or dowel for a fun and fast photo prop.
If you are in a serious hurry, just use the base with or without the mustache topper. Don’t have time to cut or glue all the whirly-gigs? No problem, just draw them on with a marker.
Inspiration for this project may be last-minute homework assignments, but this piece can work well for other costume needs for children and adults.
Materials for wear:
Materials for prop:
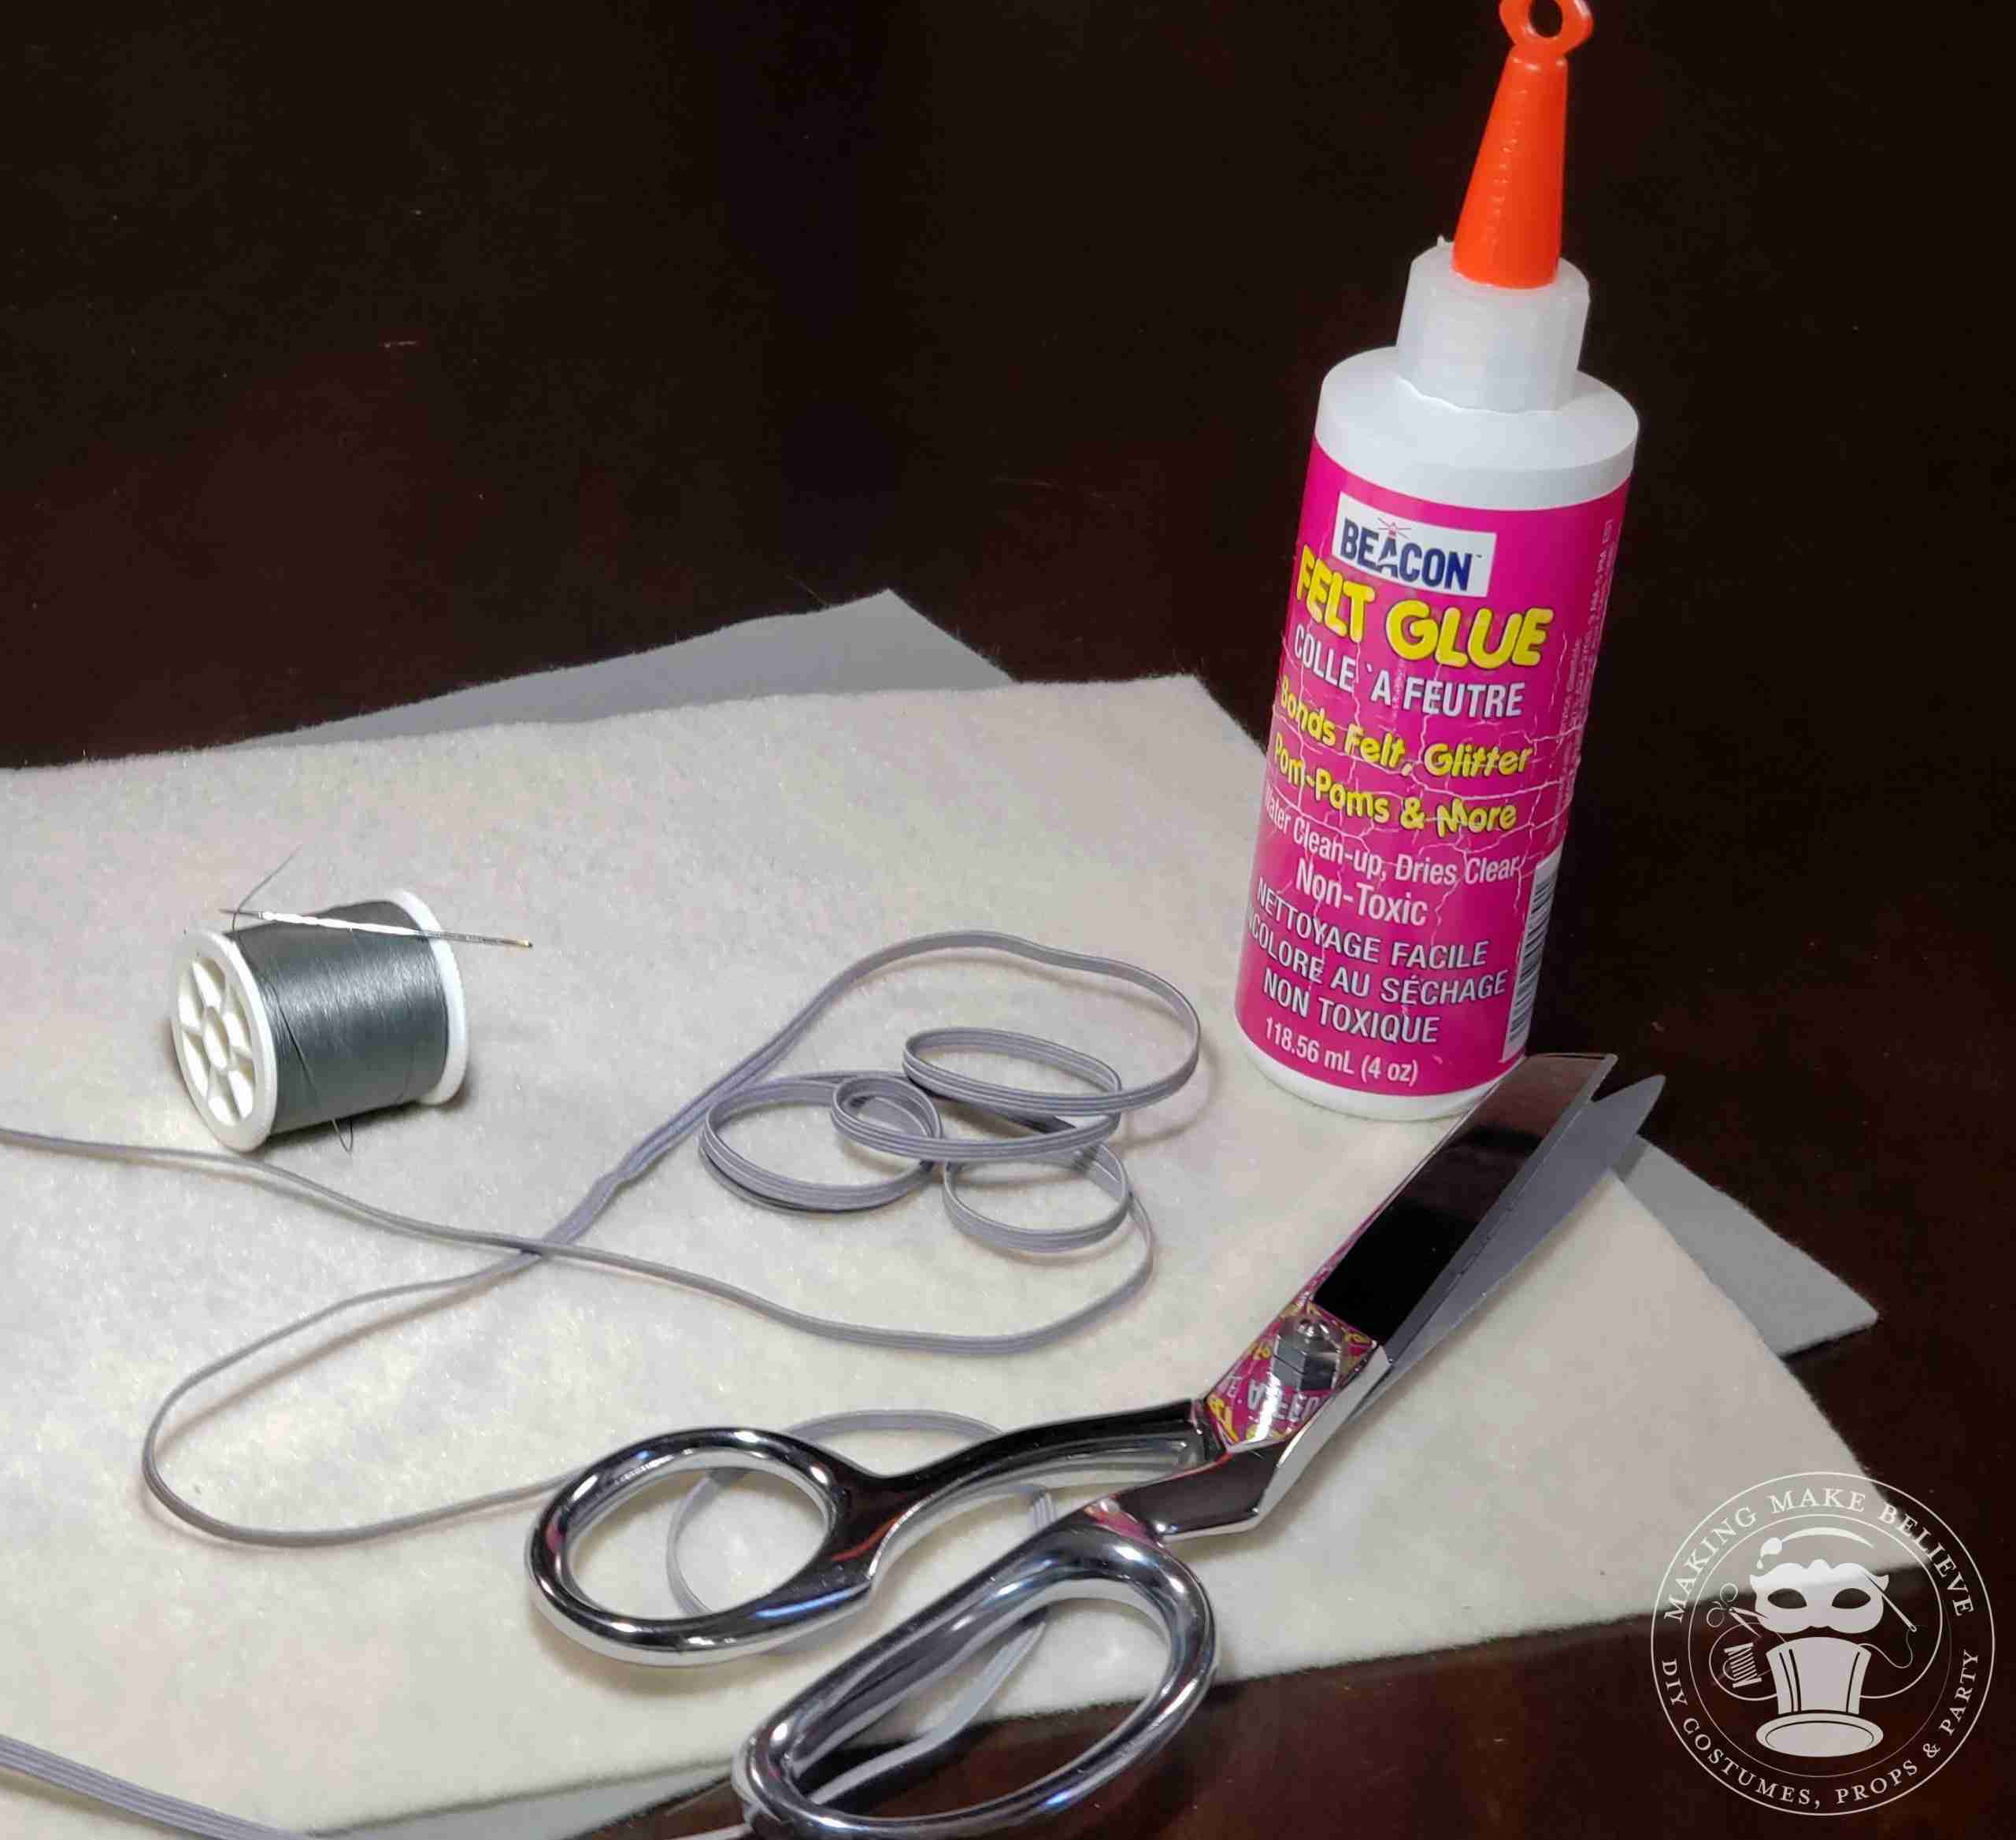
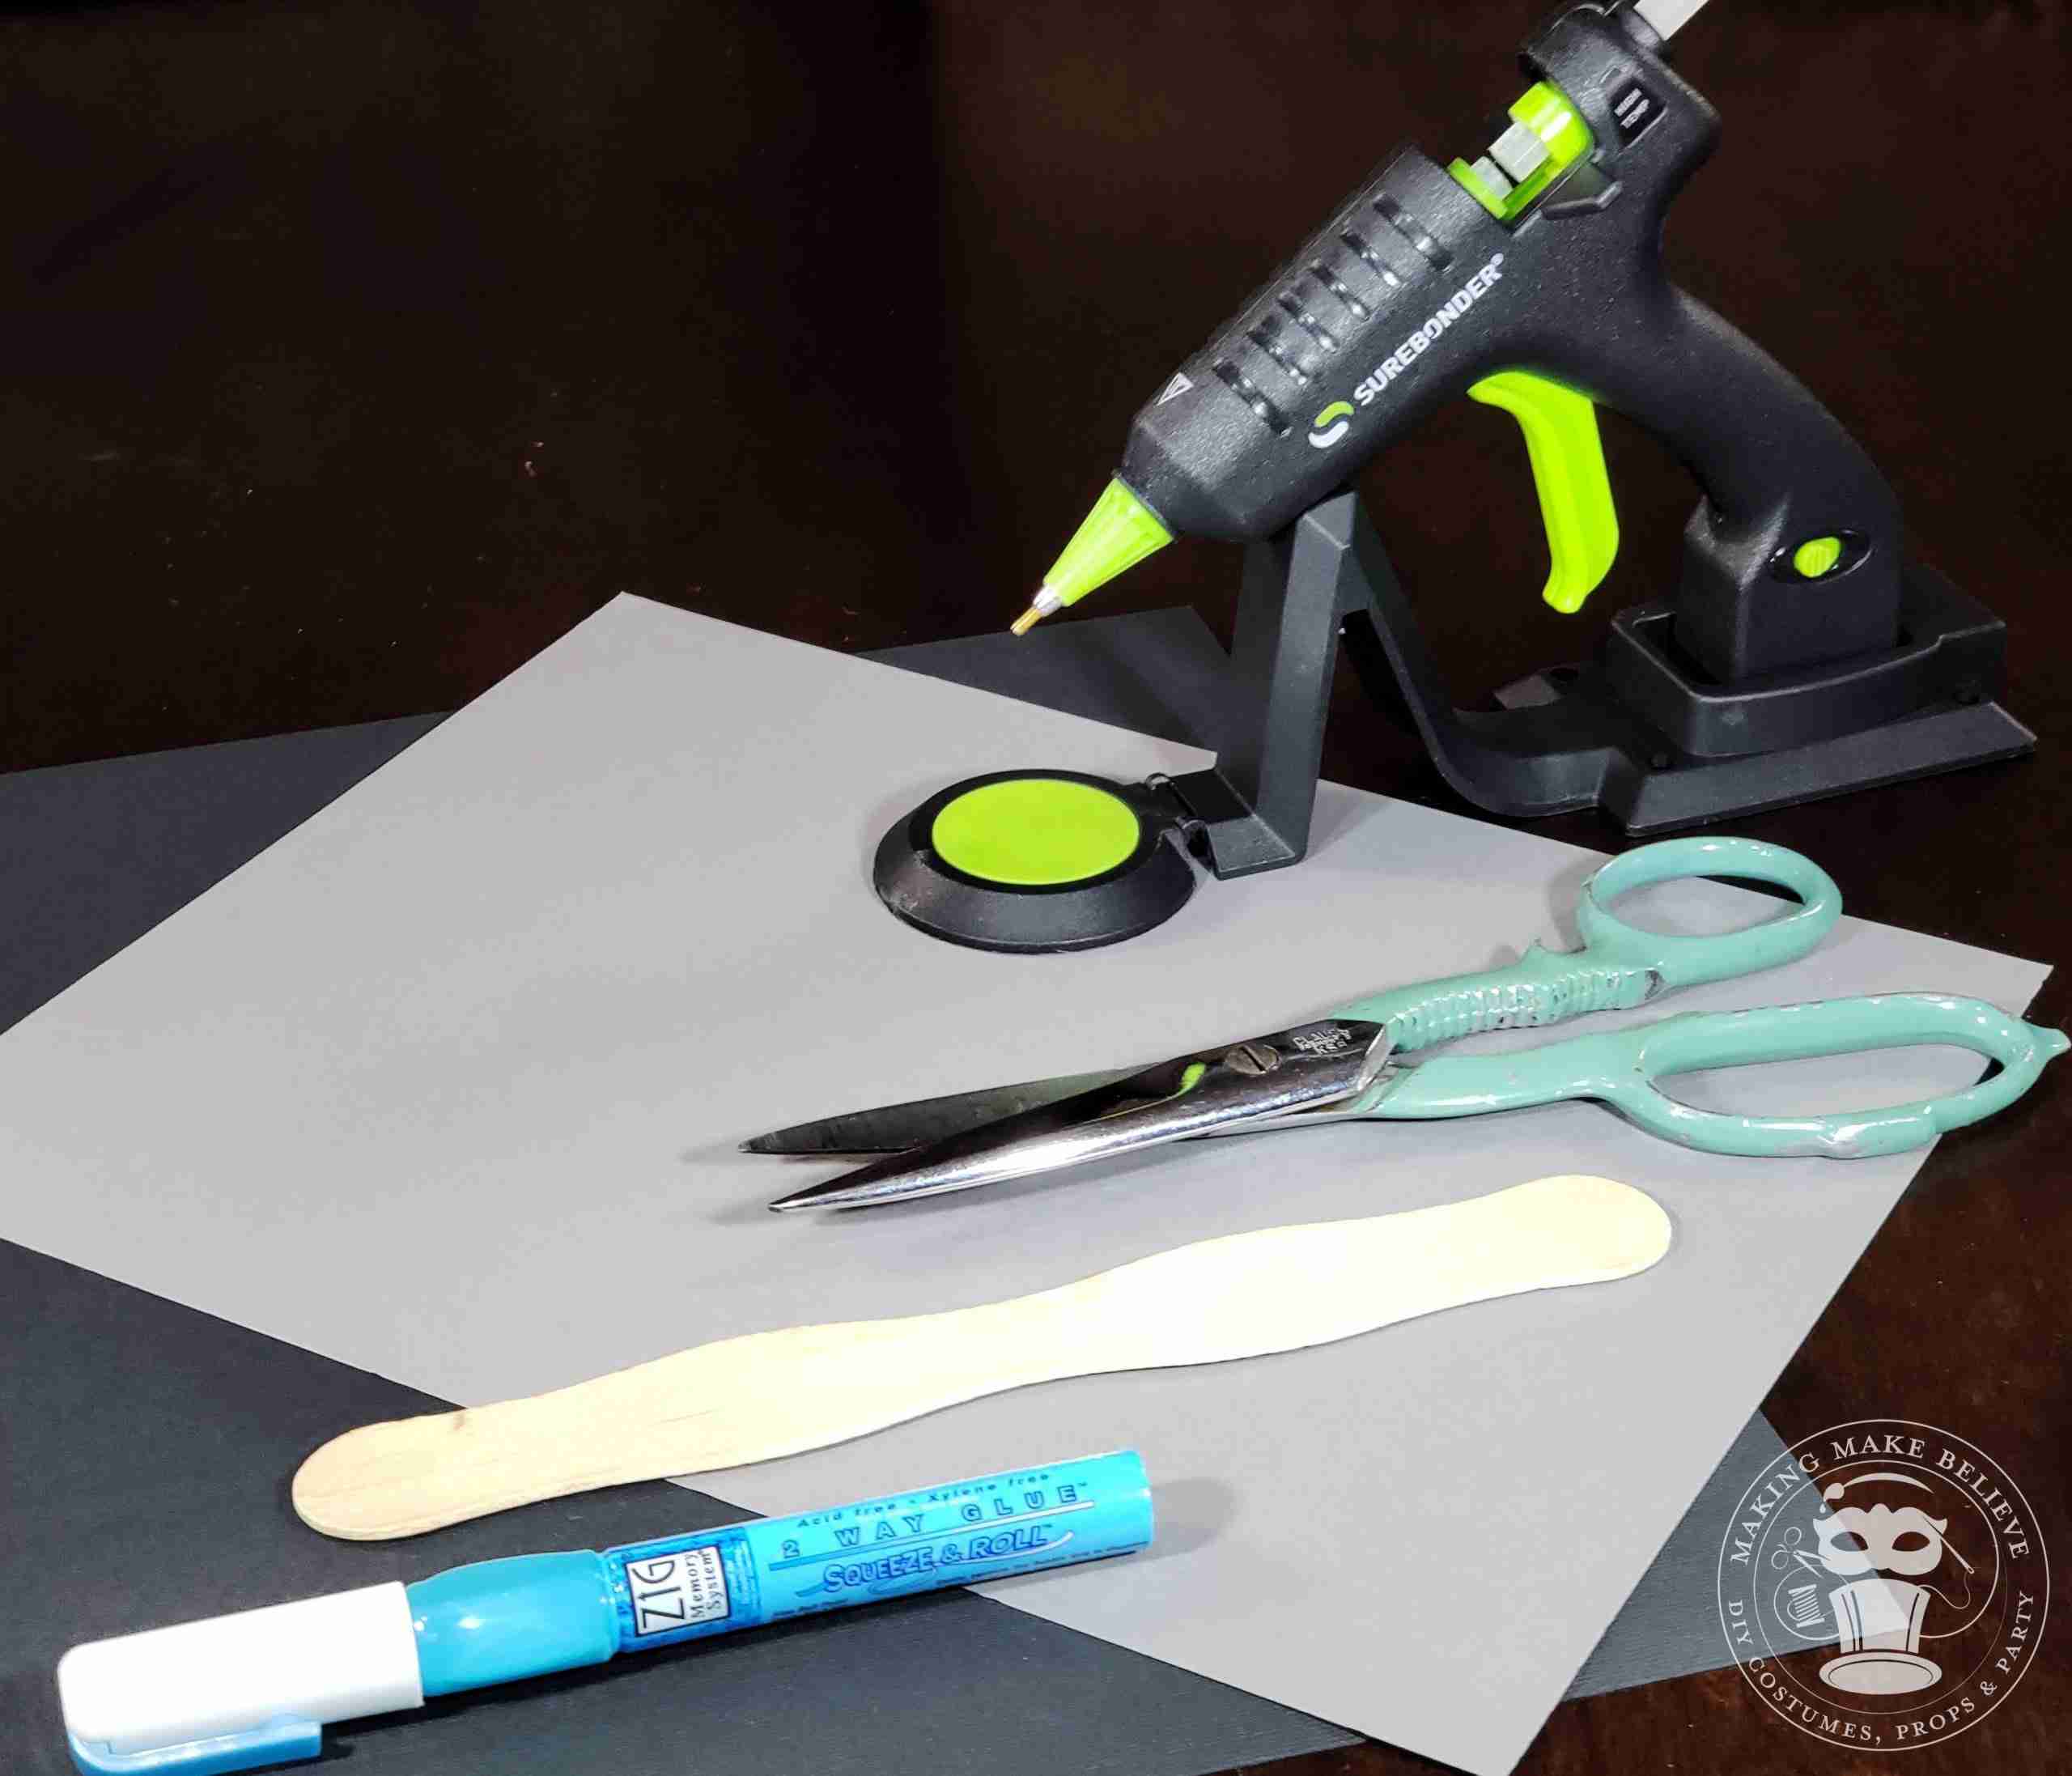
Tools:
To machine cut:
To hand cut:
NOTE: If using a cutting machine, be sure to secure your material to the proper mat for your machine. Select the appropriate cutting settings and install the correct cutting blade for the material.
Before You Get Started:
Get the PDF pattern and SVG cut file are in the Haunted Library.
If you are going to use a cutting machine, upload the pattern file to your design software. To cut by hand, print, cut out the pattern and trace onto materials.
Steps:
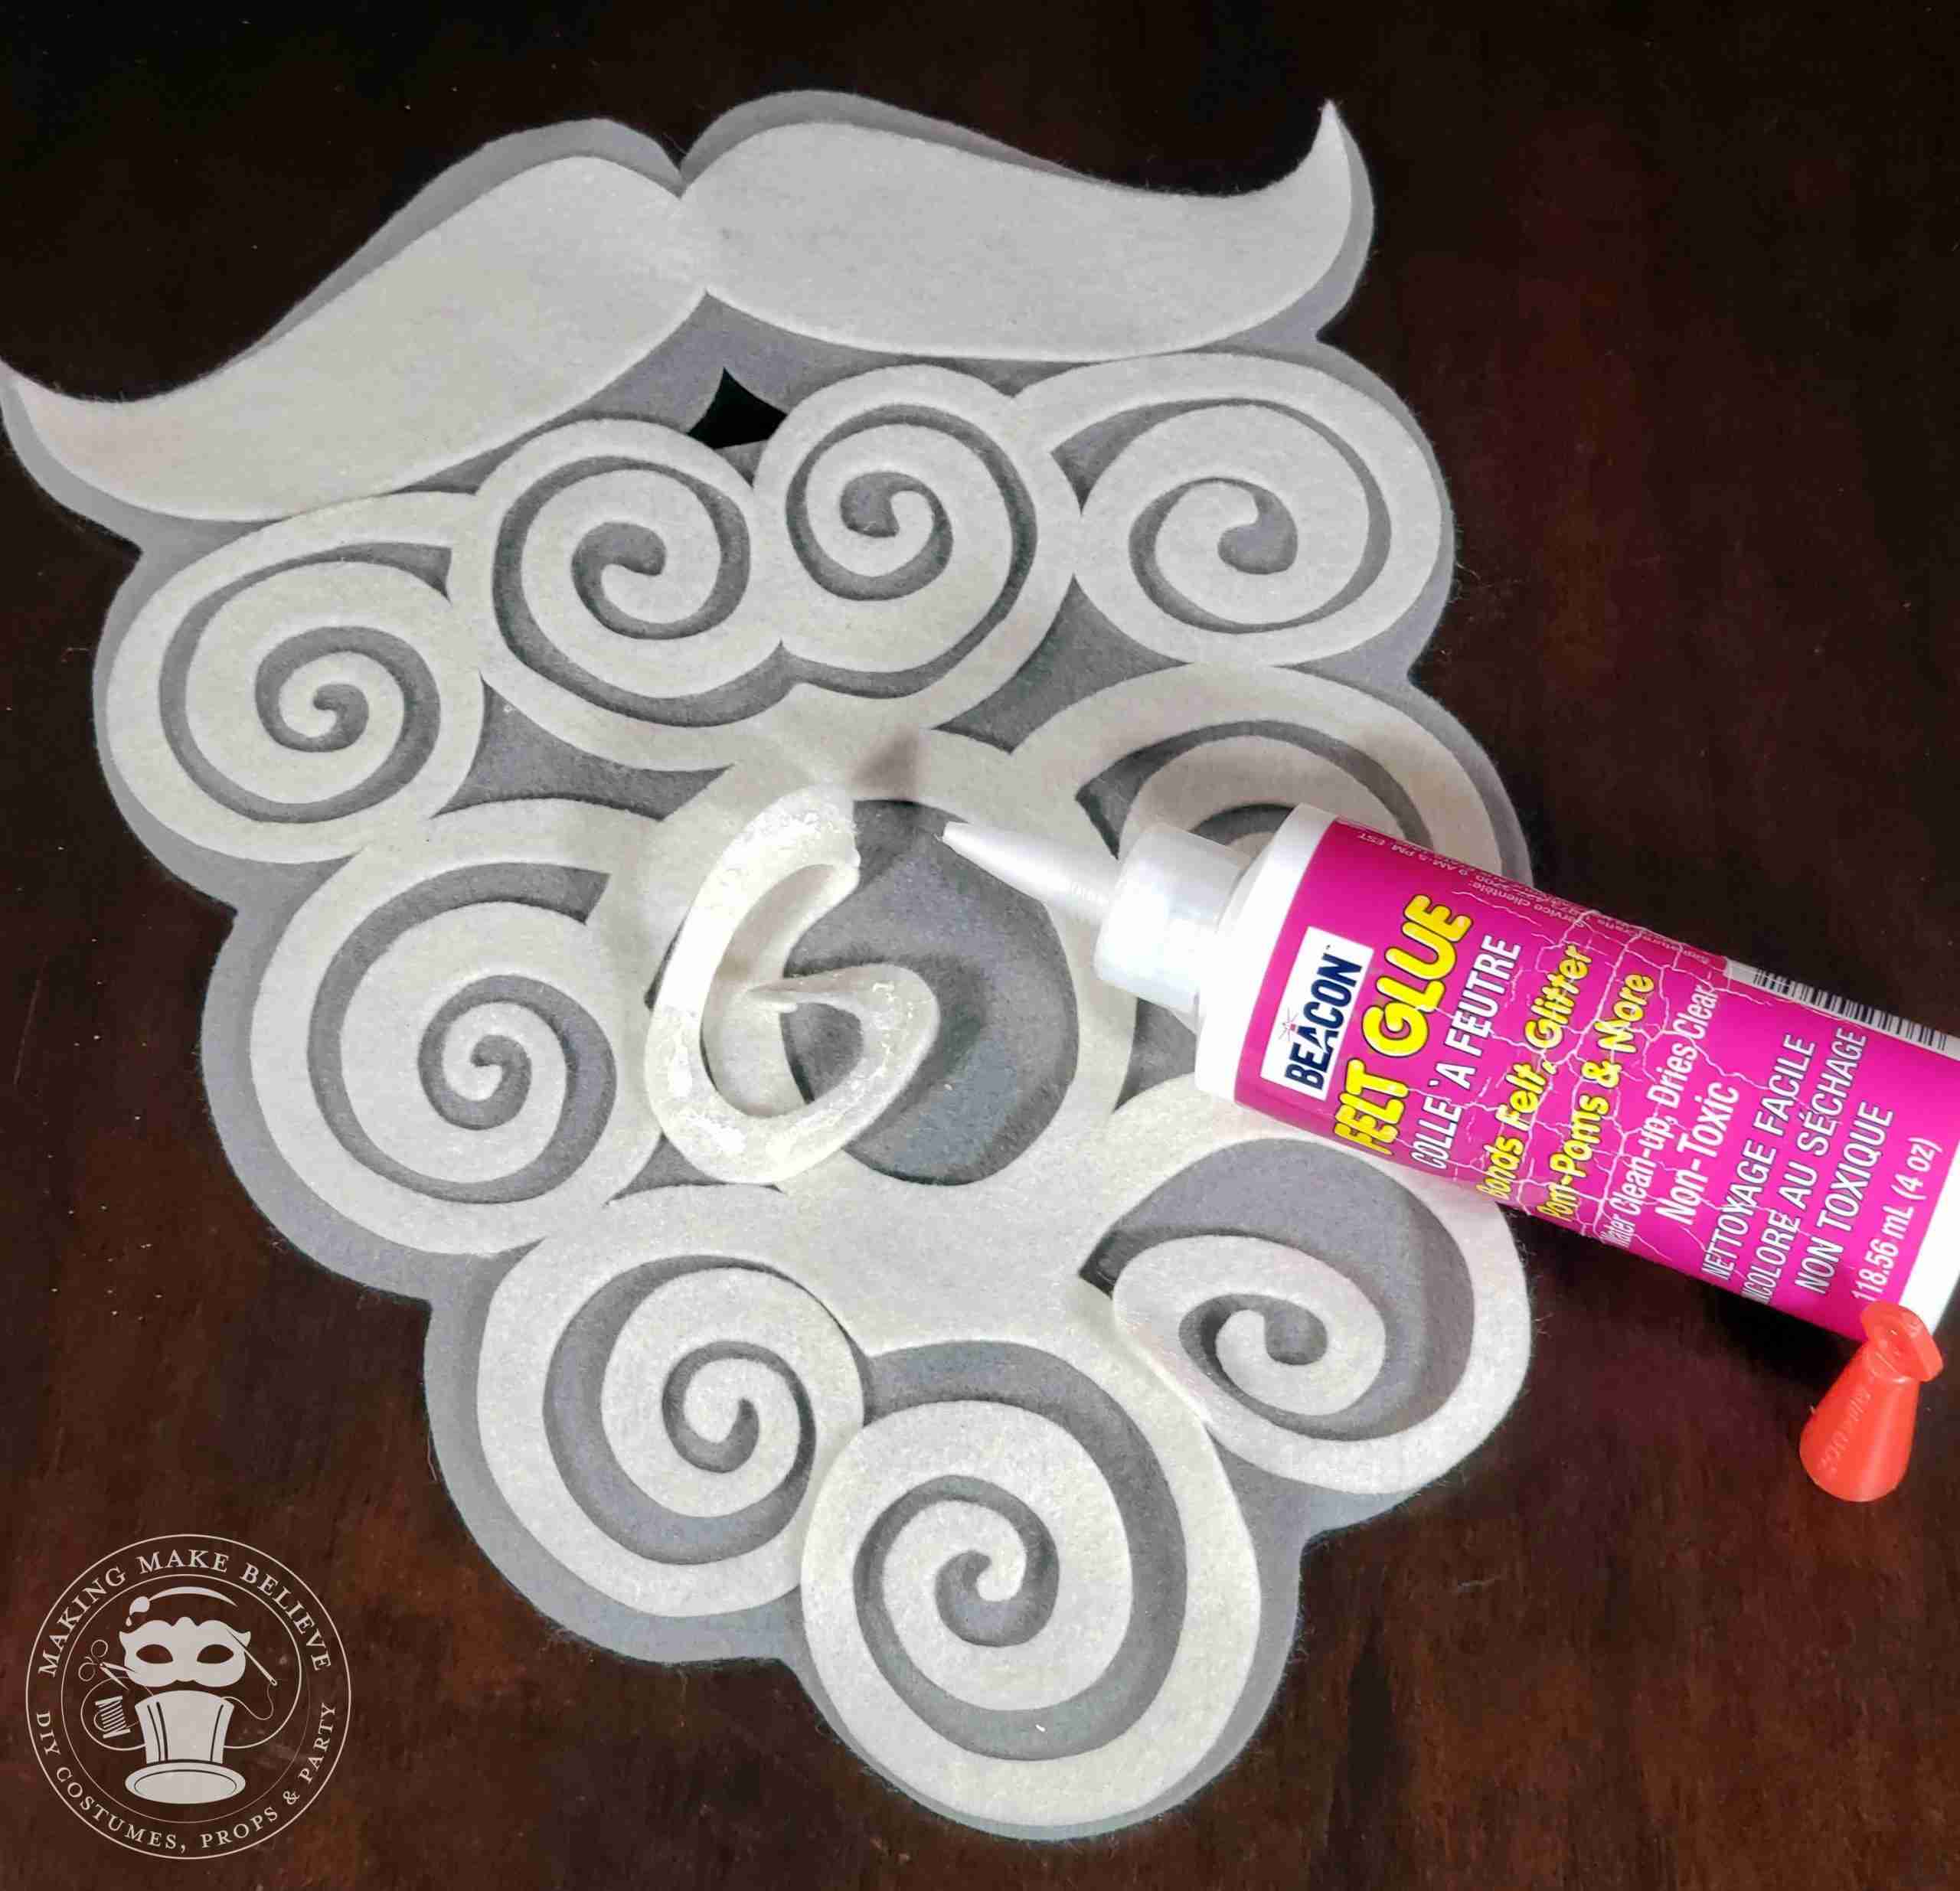
1. Cut out one base, one mustache, and one whimsical beard overlay from your felt or paper. Place your base, right side up, and position the whimsical overlay and mustache on top. Using the Beacon Felt Glue for the felt version or a glue pen for the paper version, adhere the overlay to the base.
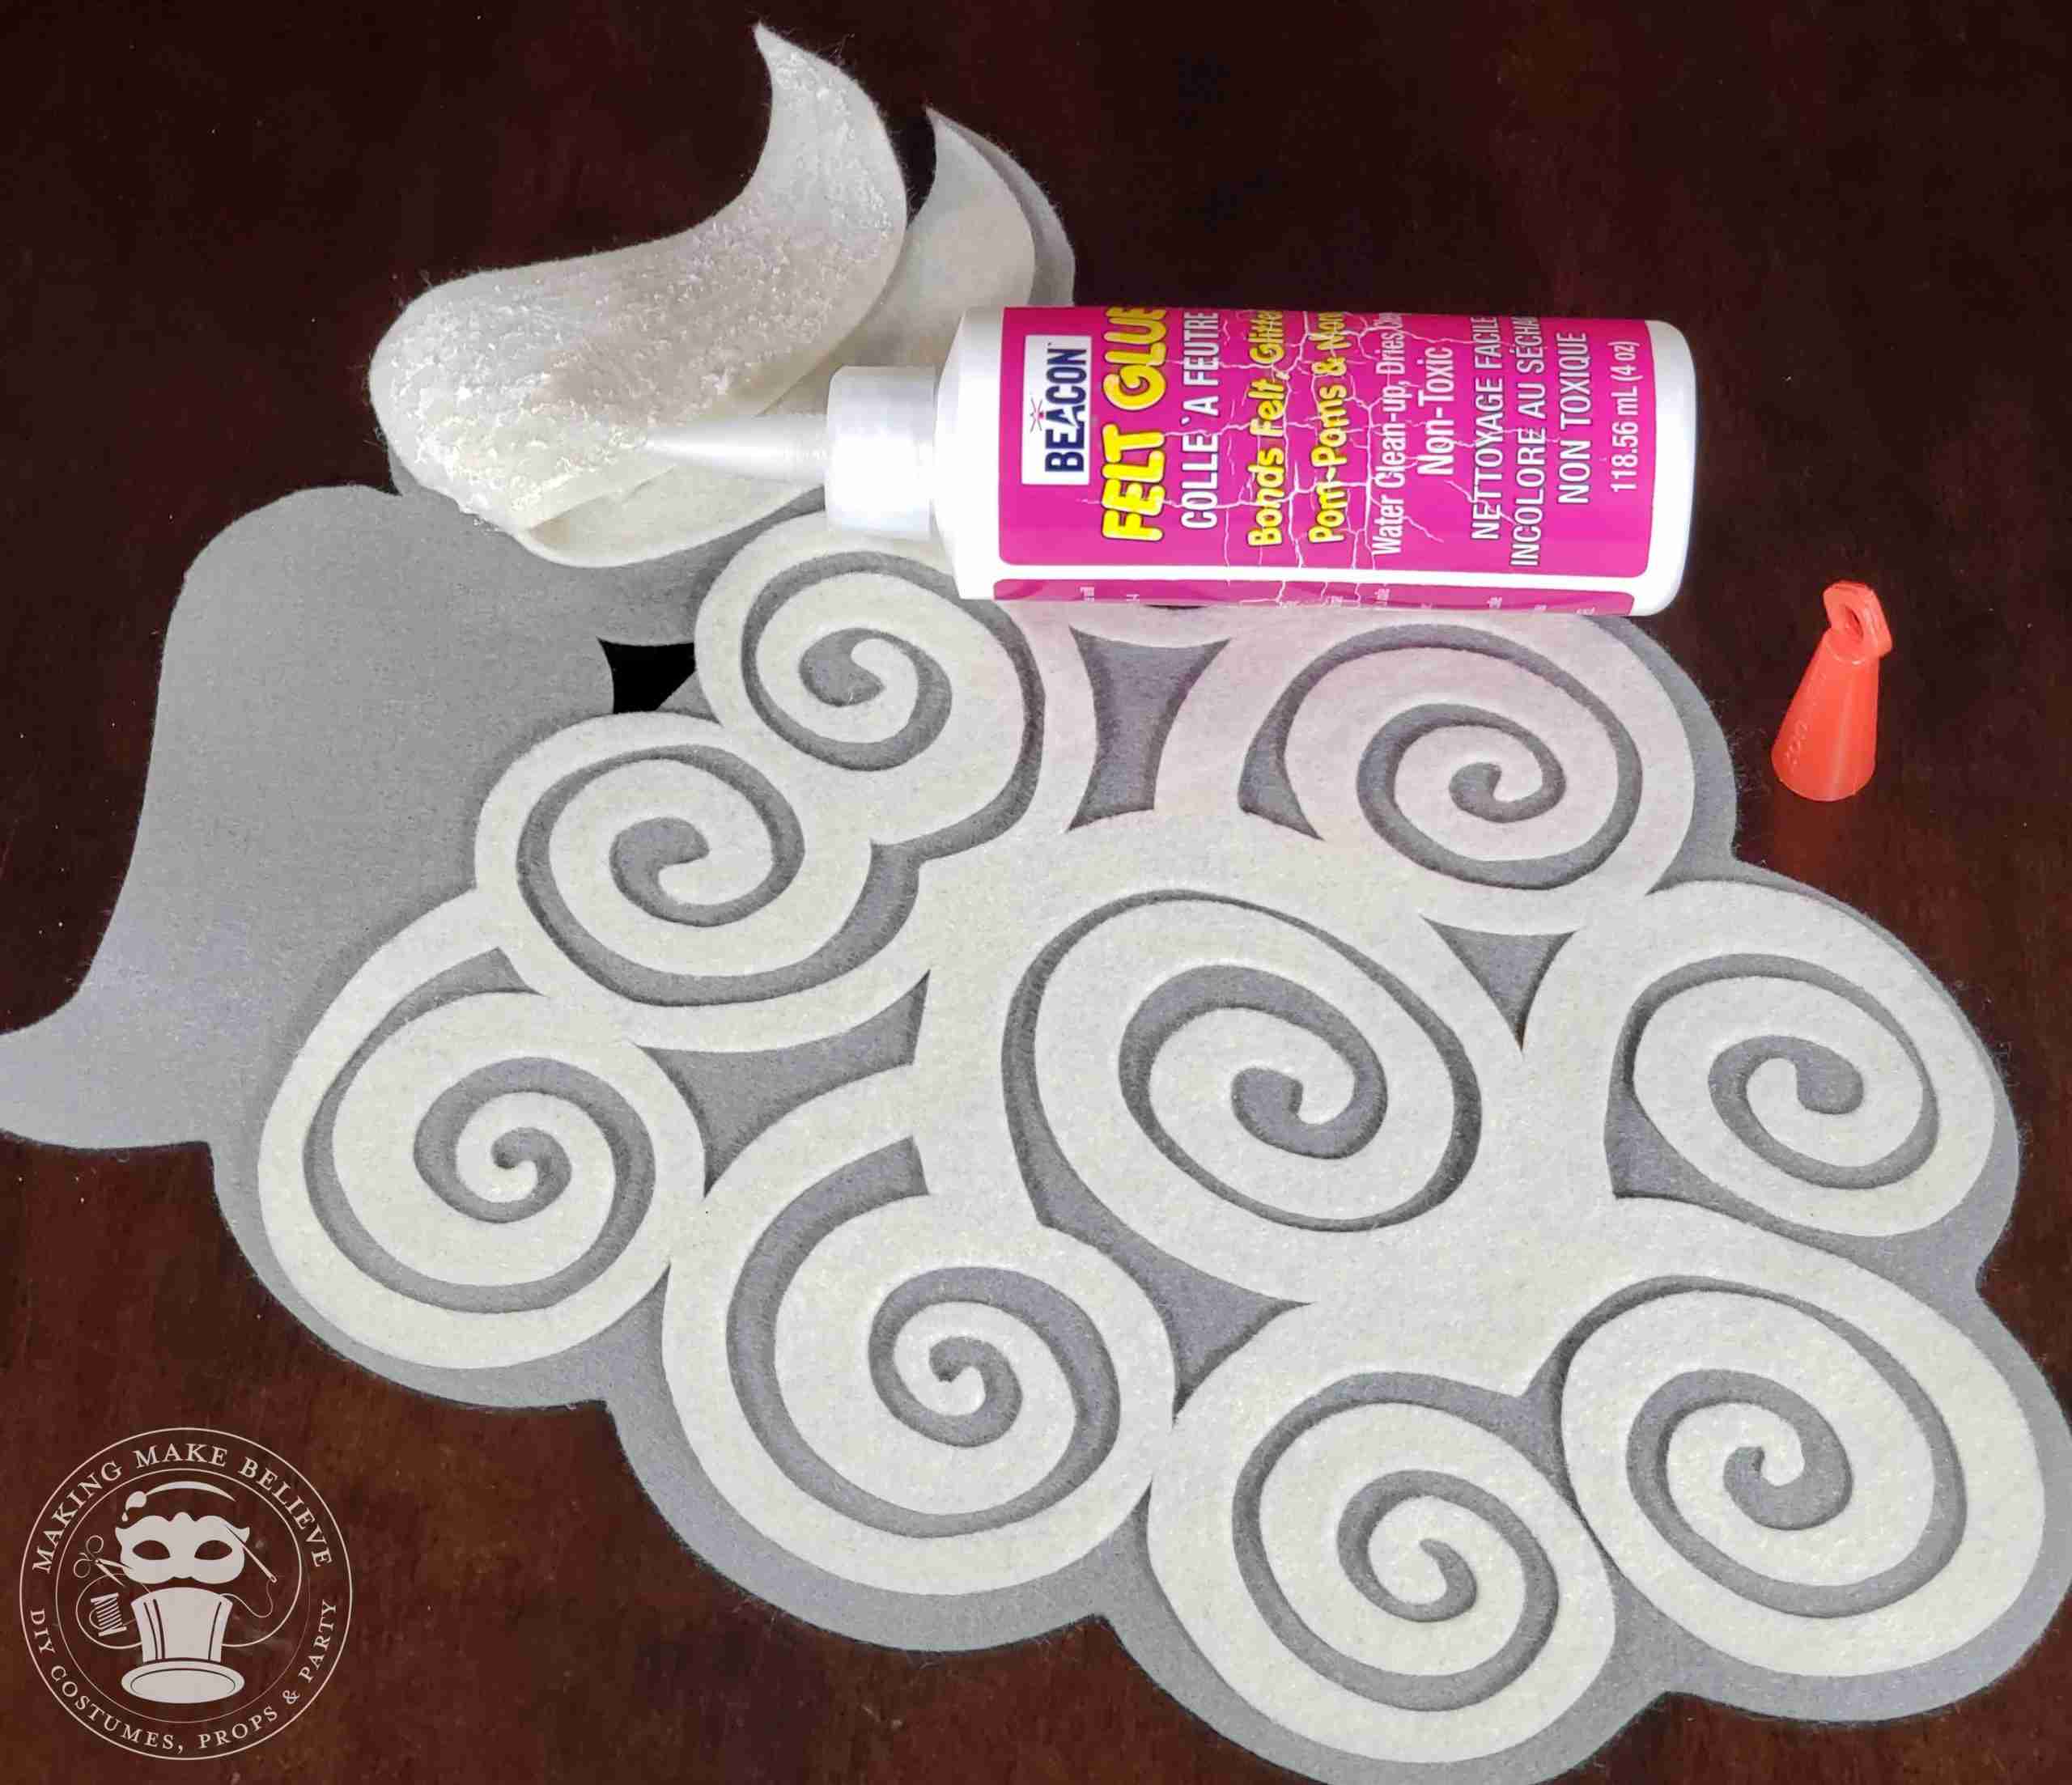
2. Glue the mustache to the base.
TIP: For a fun alternative, stitch the mustache and overlay onto the base using a sewing machine or with a decorative hand-stitch.
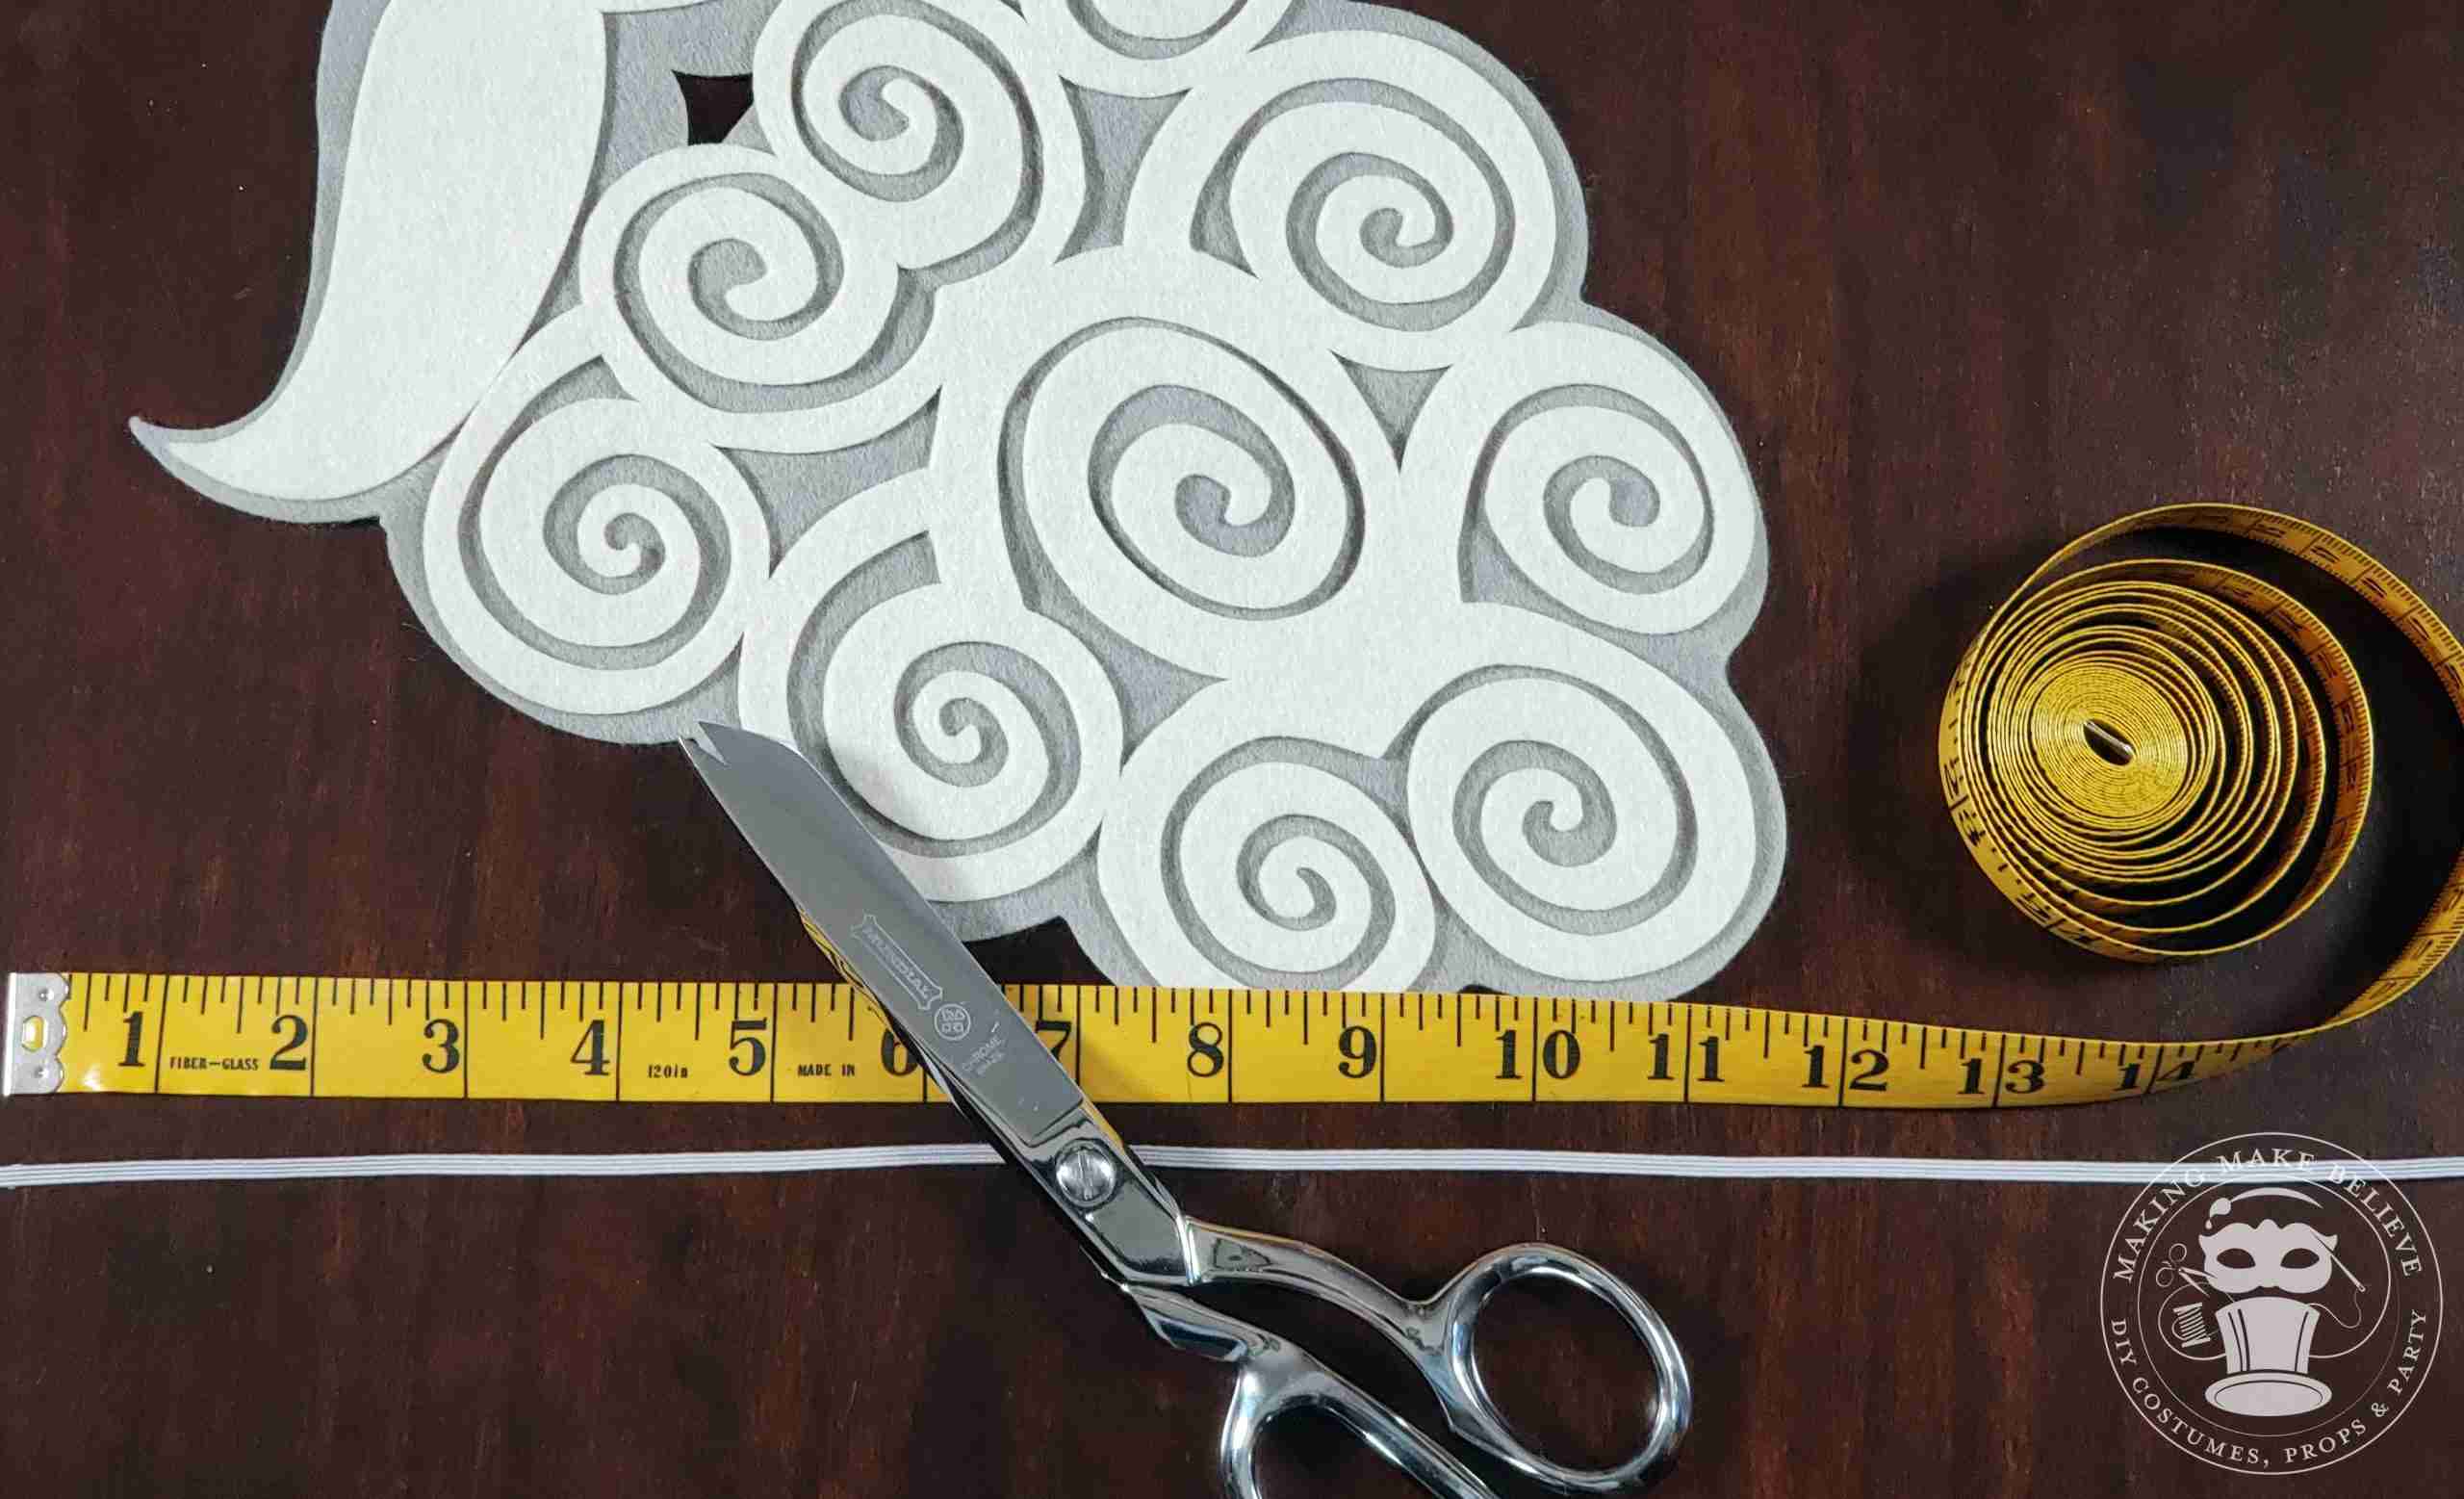
3. Once the glue has dried, hold the felt beard to your face to determine where you’d like to place ties and measure out enough ribbon to tie around your head.
TIP: My head measures approximately 21 1/2″ around, and I used 36″ of ribbon (18″ per side). For the elastic version, I used 15″ of elastic.
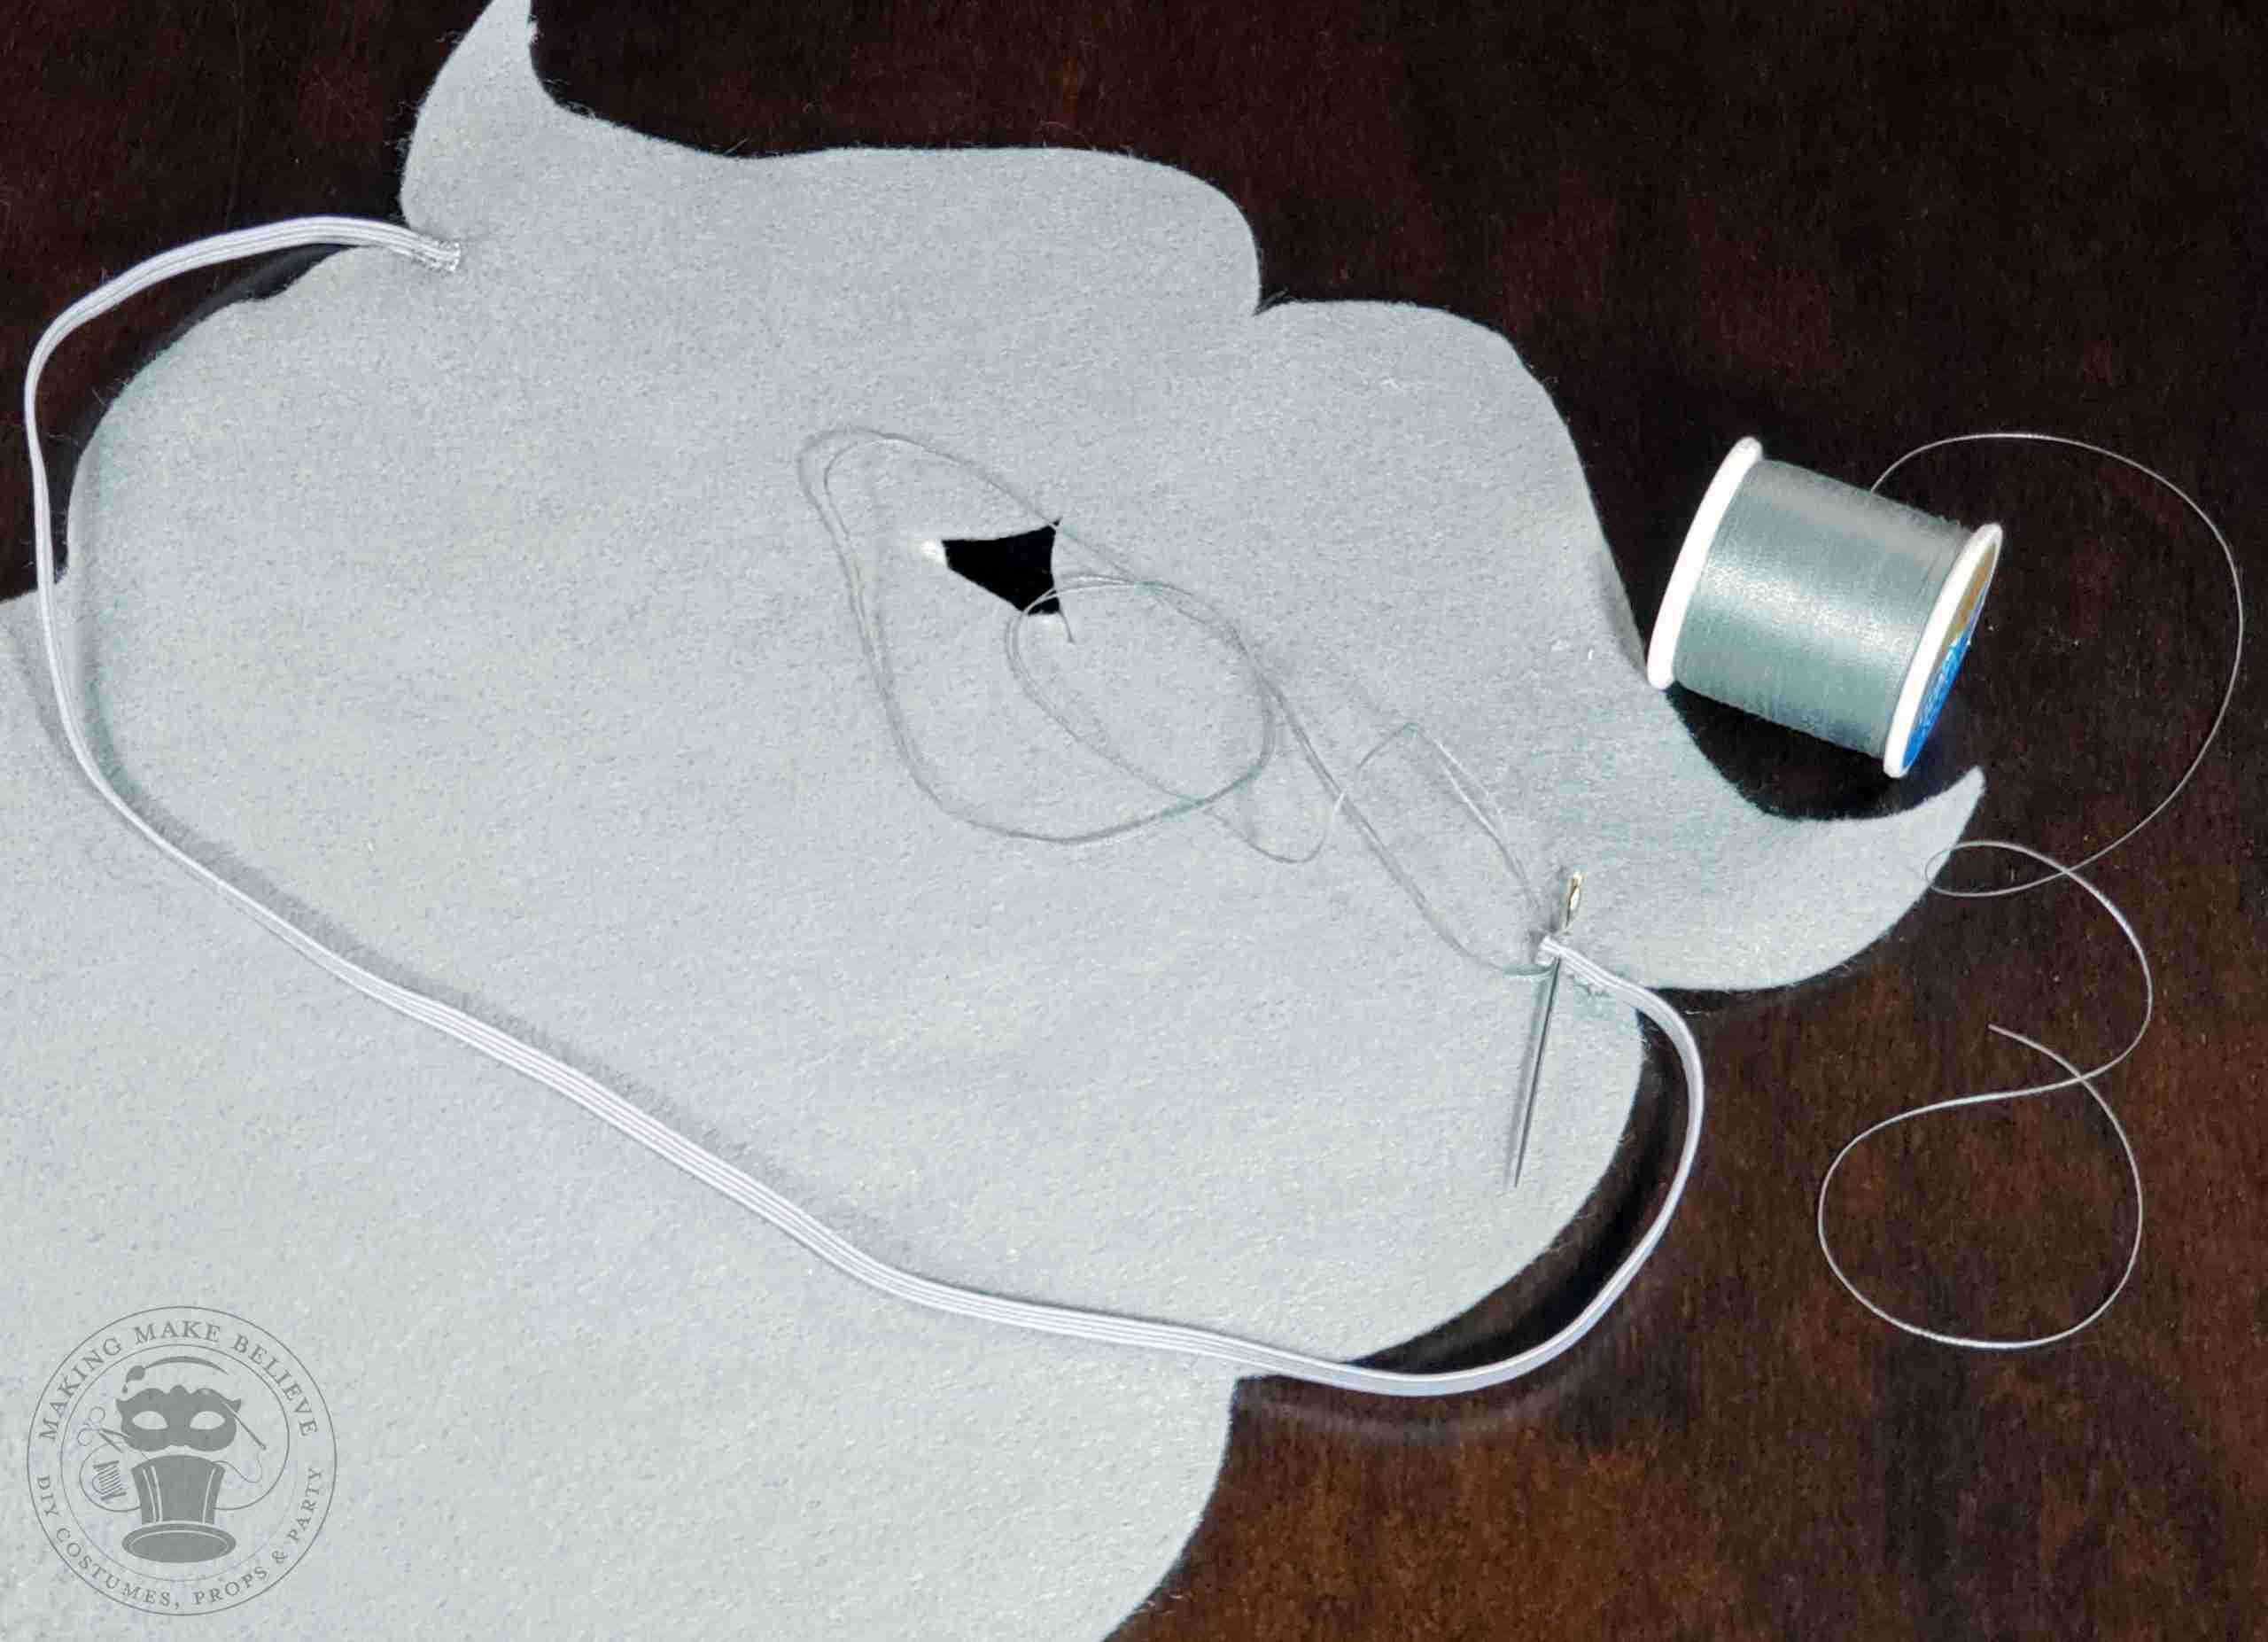
4. For felt version, stitch ribbon or elastic to the back of the base. For the paper version, paint prop stick (if desired) and hot glue to the back of the beard.
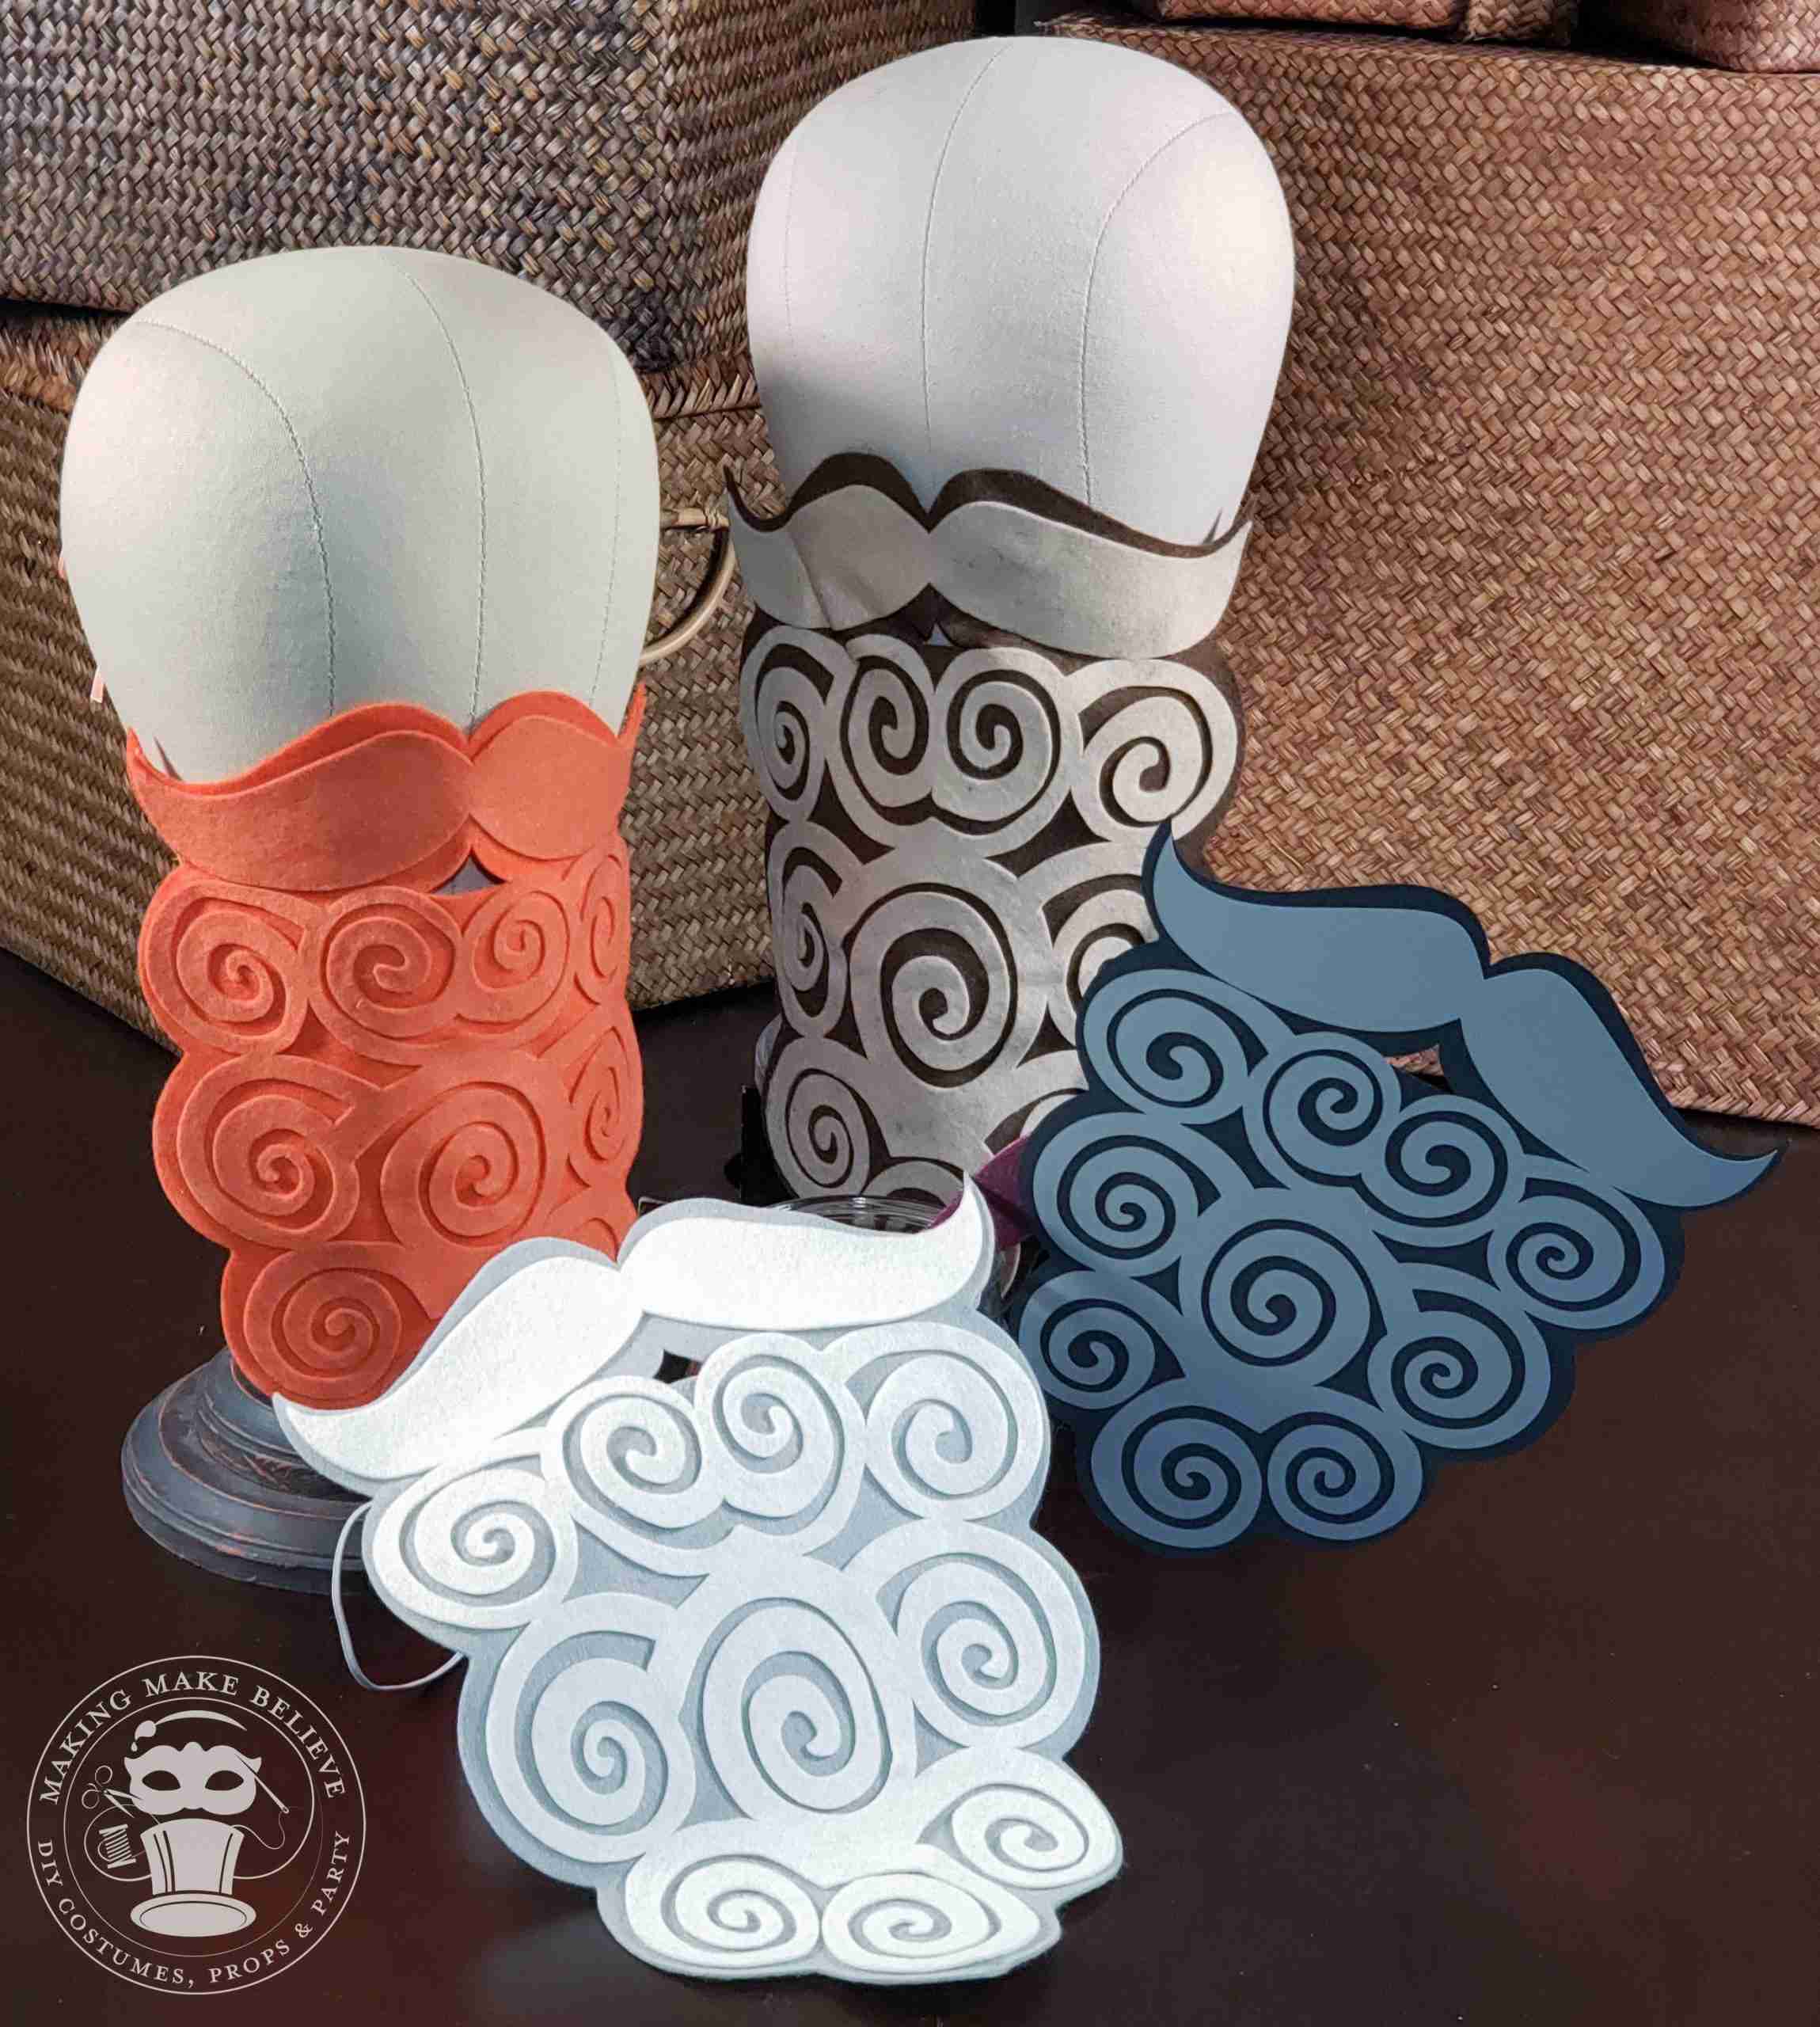
5. If your character sports a beard (lumberjack, leprechaun, Santa, etc.), this pattern allows you to mix and match felts or papers to craft the look you need.


Templates, patterns and printables for every project on the blog.

Counting down to Halloween since the 1970s. I create, style and celebrate all things costume and Halloween, all year round.
Welcome to my world of Halloween Ever After, where I create, style, and celebrate all things costume and Halloween.
Within these haunted pages lie affiliate links to curious and captivating finds I love. If you make a purchase through them, I may earn a modest commission (think fun-size candy bar), which helps keep the Halloween magic alive. No extra cost to you – cross my batty heart.



Check your email for the Haunted Library password.
Don’t miss a moment of the mischief.
Add hello@halloweeneverafter.com to your address book.
The magic happens right here in my studio and office. When you step inside my creative space, you’ll find an ever expanding gallery wall overflowing with original spooky art and classic Halloween LPs, right alongside a haunted cabinet packed to the brim with vintage curiosities.
It’s under the watchful eyes of these retro treasures that I design and craft.
Join us and get access to our Haunted Library stocked with templates, printables, cut files, and exclusive content. Plus, you’ll receive Eerie Emails just for our subscribers.
*Stay as long as you like. Unsubscribe at any time.


