Free templates & patterns
130+ freebies are waiting in the Haunted Library
Templates, patterns and printables for every project on the blog.
Formerly Making Make Believe · Join the Haunted Library

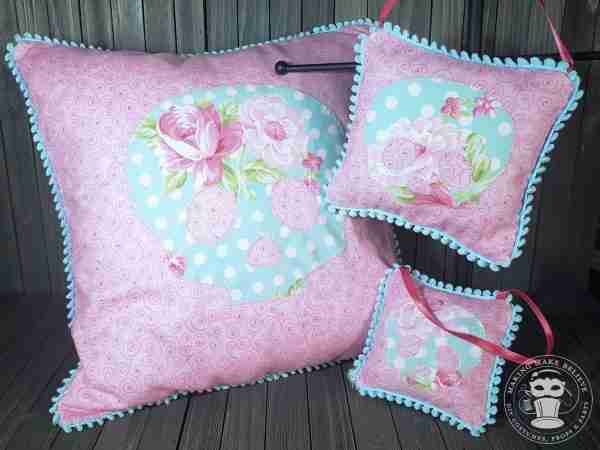
Despite the makeup, nails, and the occasional wearing of high heels, I’m a tomboy at heart. The decor around here leans industrial and masculine. I like dark wood floors, grey walls, and wrought iron. When it comes to decor pieces, I prefer a vintage typewriter over a furry white footrest. It’s safe to say that fluffy and frilly doesn’t exist around here. That is, it didn’t, until today.
I decided to use this pattern to craft a pillow. Rather than go with a traditional color scheme like black and white or Halloween-style in black and orange, I opted for pink and floral.
And … I love it!
I like this look so much that I ended up with a pillow and two door-hangers. And, now my mind is racing with tons of ideas on what I could create.
Make just one piece as an accent or use this as the inspiration for an entire room. Start from scratch, as shown here, or add to ready-made pillow covers, kitchen towels, window coverings, or aprons. Add to the back of a jacket, front of a t-shirt, or hand stitch to a hat. The options are endless.
Not to worry, I won’t be changing up the decor to pink skulls, but you might see little bits of fluff and frilly around here in the future.
This simple skull applique is crafted with our Skull Trio Party Pattern. Grab your free copy from the Haunted Library. And, don’t forget to visit the introduction post to see what else you can do with these skellie faces.
Materials:
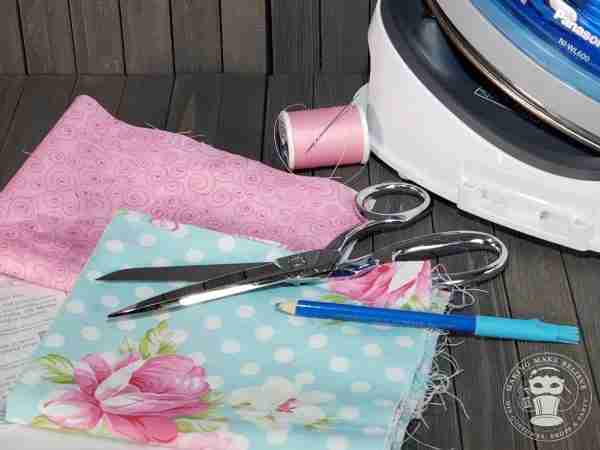
Tools:
To machine cut:
To hand cut:
NOTE: If using a cutting machine, be sure to secure your material to the proper mat for your machine. Select the appropriate cutting settings and install the correct cutting blade for the material.
Before You Get Started:
Get your free copy of this pattern from the Haunted Library.
If you are going to use a cutting machine, upload the pattern file to your design software. To cut by hand, print, cut out the pattern, and trace onto materials.
Steps:
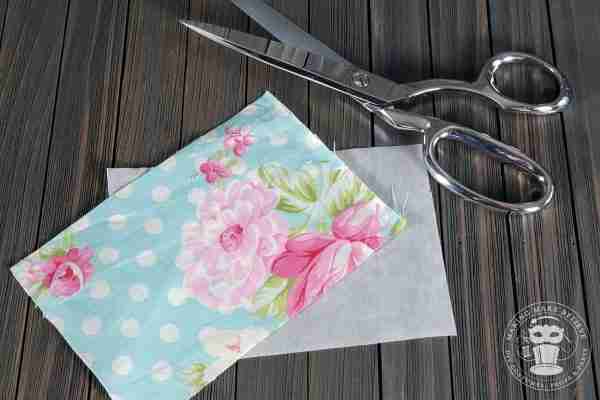
1. Cut the fabric for your skull and the Wonder Under® large enough to accommodate the size of your skull face.
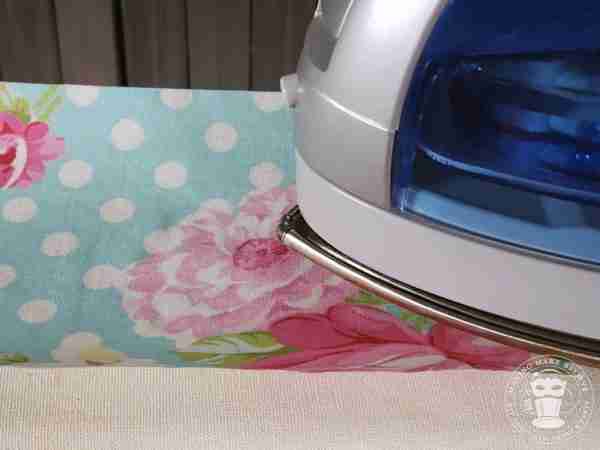
2. Following the instructions, press the Wonder Under® to the wrong side of the fabric.
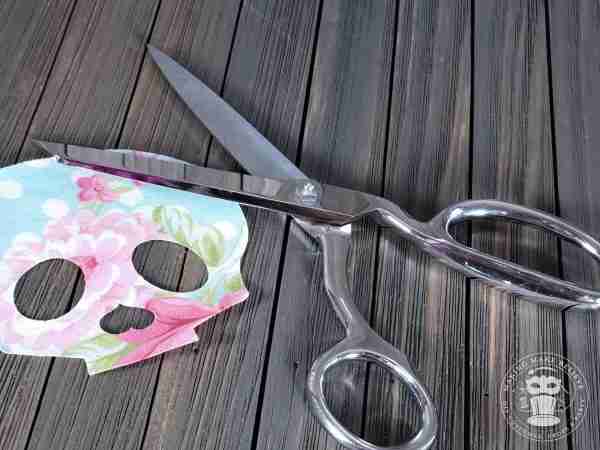
3. Cut skull face from the Wonder Under® backed fabric.
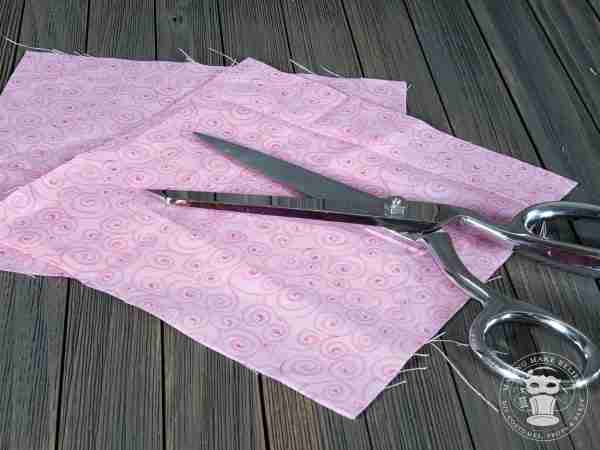
4. Cut the backing fabric for your project. In this case, I cut two 7″ squares to craft a door hanger style pillow.
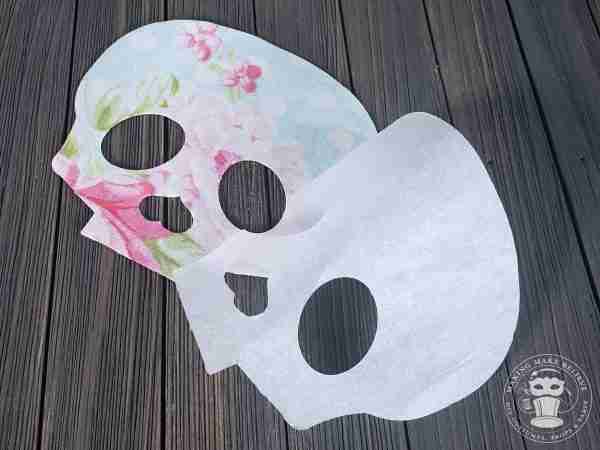
5. Peel paper backing from Wonder Under® side of skull.
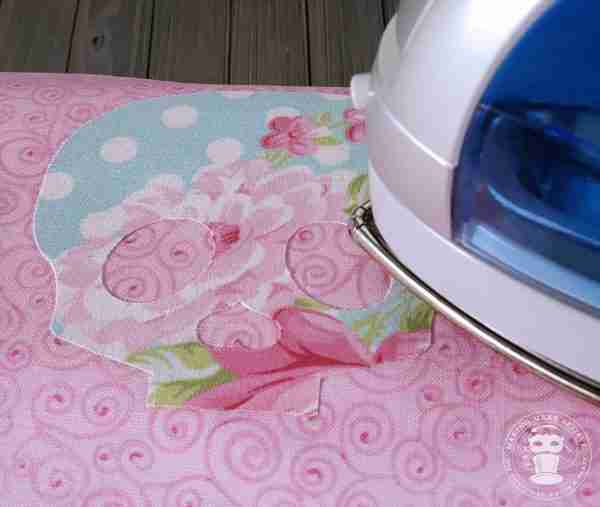
6. Place skull face onto backing fabric and press with iron according to Wonder Under® instructions.
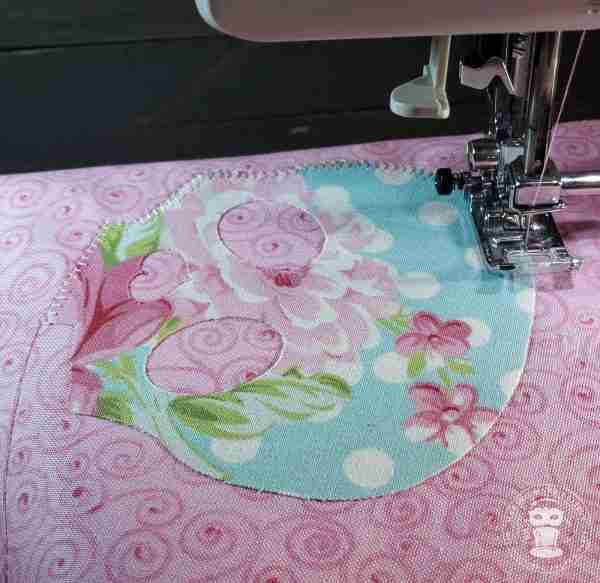
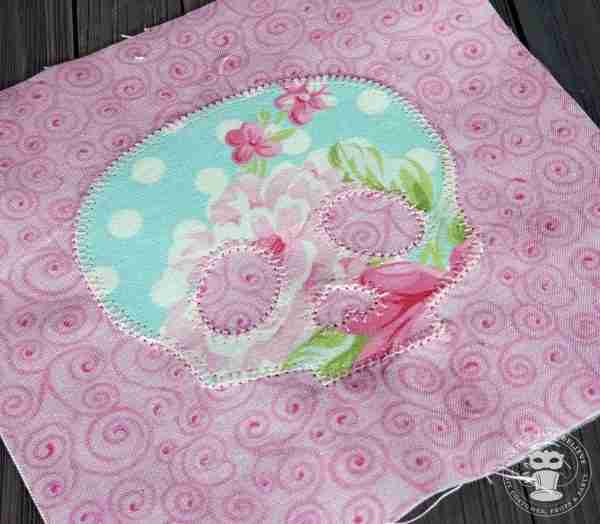
7. Machine or hand stitch the edges of the skull.
TIP: Decorative stitching is not required. A simple, straight stitch will suffice.
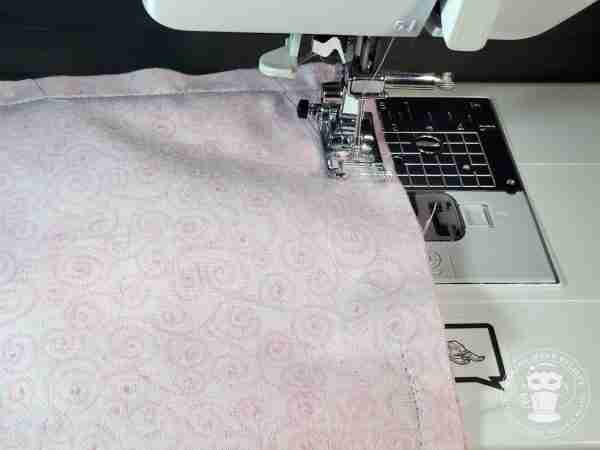
8. To finish pillow, place right sides of pillow fabrics together. Stitch with a 1/2″ seam allowance leaving an opening for turning. Turn right side out, stuff with fiber fill and close opening.
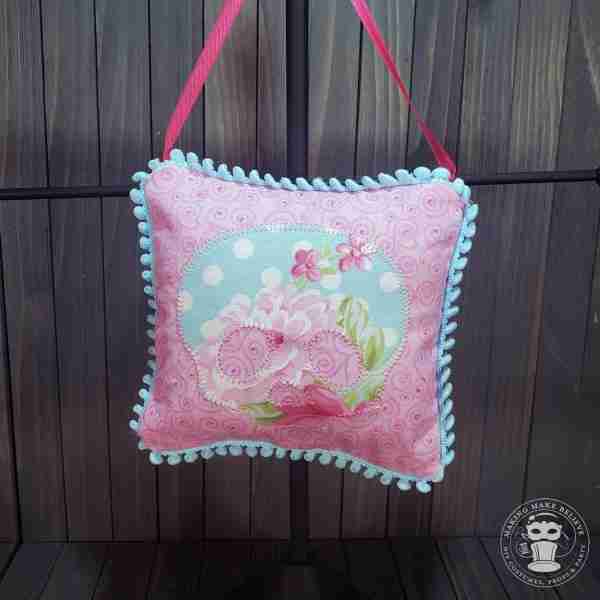
That’s it! Now you’re ready to party.
NOTE: Door hanger shown with ribbon hanger and optional trim.


Templates, patterns and printables for every project on the blog.

Counting down to Halloween since the 1970s. I create, style and celebrate all things costume and Halloween, all year round.
Welcome to my world of Halloween Ever After, where I create, style, and celebrate all things costume and Halloween.
Within these haunted pages lie affiliate links to curious and captivating finds I love. If you make a purchase through them, I may earn a modest commission (think fun-size candy bar), which helps keep the Halloween magic alive. No extra cost to you – cross my batty heart.



Check your email for the Haunted Library password.
Don’t miss a moment of the mischief.
Add hello@halloweeneverafter.com to your address book.
The magic happens right here in my studio and office. When you step inside my creative space, you’ll find an ever expanding gallery wall overflowing with original spooky art and classic Halloween LPs, right alongside a haunted cabinet packed to the brim with vintage curiosities.
It’s under the watchful eyes of these retro treasures that I design and craft.
Join us and get access to our Haunted Library stocked with templates, printables, cut files, and exclusive content. Plus, you’ll receive Eerie Emails just for our subscribers.
*Stay as long as you like. Unsubscribe at any time.


