Free templates & patterns
130+ freebies are waiting in the Haunted Library
Templates, patterns and printables for every project on the blog.
Formerly Making Make Believe · Join the Haunted Library

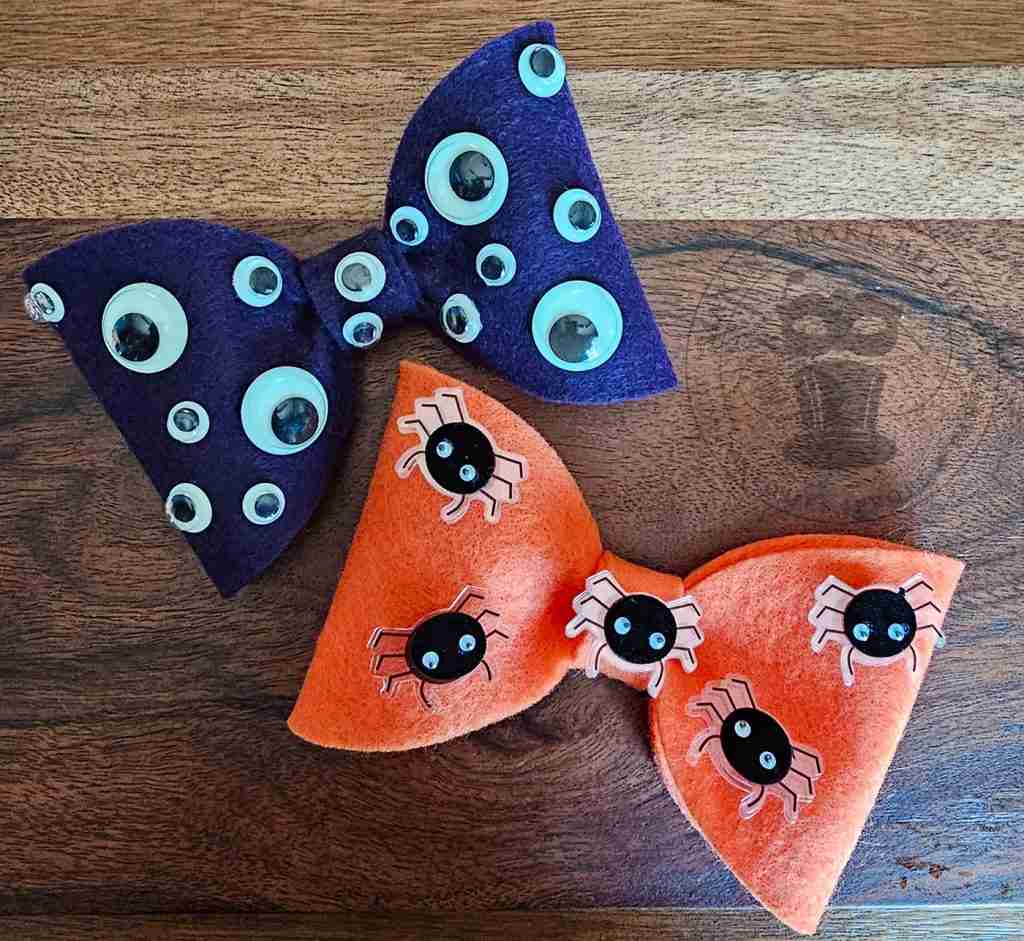
Halloween Bow Tie – Quick & Easy
As an Amazon Associate I earn from qualifying purchases.
This post may contain affiliate links for your convenience. Click here to read our disclosure policy.
Sometimes it’s the simple things.
I love over-the-top costumes, and I’ve spent many hours crafting full-character ensembles, but some of my best and most favorite pieces are often the “out of time, gotta make it work” solutions that happen at the last minute.
With the clock ticking and no time to spare, grabbing a glue gun, some felt, and embellishments may be all that’s needed to pull off that costume or party piece.
Today’s project falls into this category. It’s the little something-something you can add to an existing costume or, for those who prefer less over more, use it as your only costume piece.
I’m talking about Halloween bow ties. These small accessories are a great
last-minute costume solution.
The ties come together quickly, are easy on the budget, and can be customized to fit nearly any character.
The clock is ticking, so let’s get started.
For this project, we will need:
Craft felt
Cutting machine or scissors
Adhesive, such as Beacon Felt Glue or hot glue
Clips
Elastic, ribbon, or hair clip/headband
Embellishments
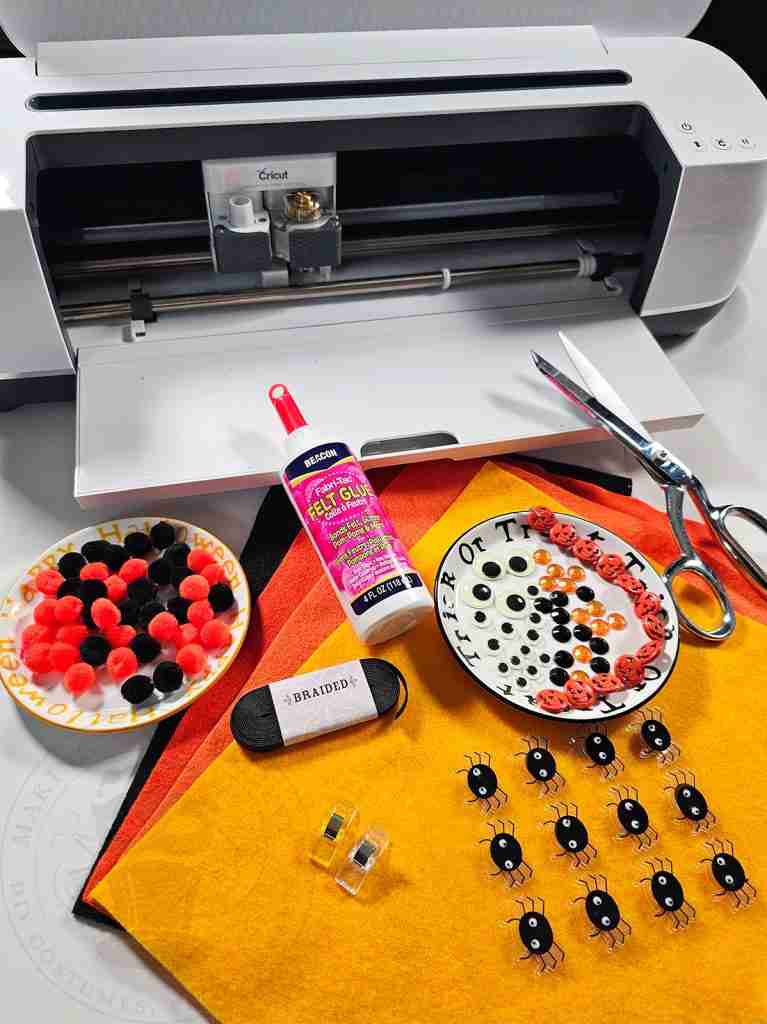
We will also need the Quick Halloween Bow Tie template from the Haunted Library.
Select the SVG for machine cutting or the PDF for hand cutting.

To machine cut, upload the SVG file into your design software, such as Cricut Design Space.
To hand cut, open the PDF file in your favorite reader (Adobe, FoxIt, etc.). Print and cut out the template and transfer the pattern to your felt.
My bow ties are 10.7″ long, but you can resize them if desired.
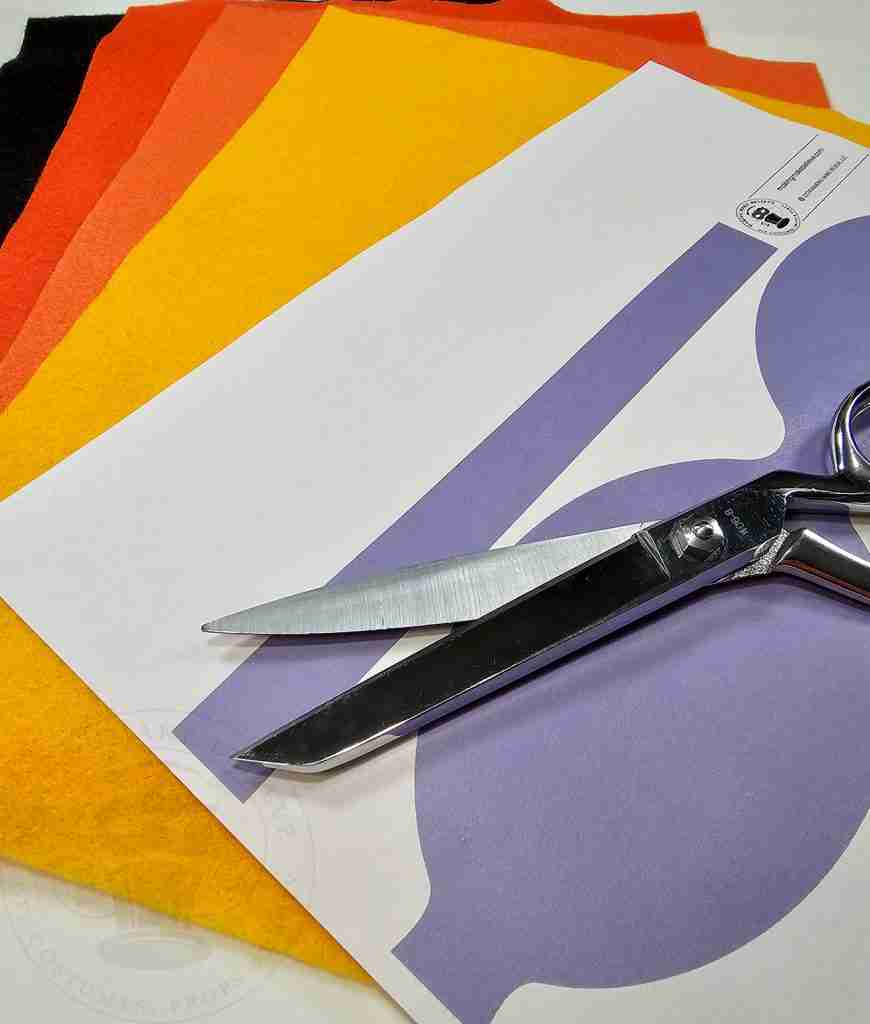
To begin, cut out one bow tie and one band.
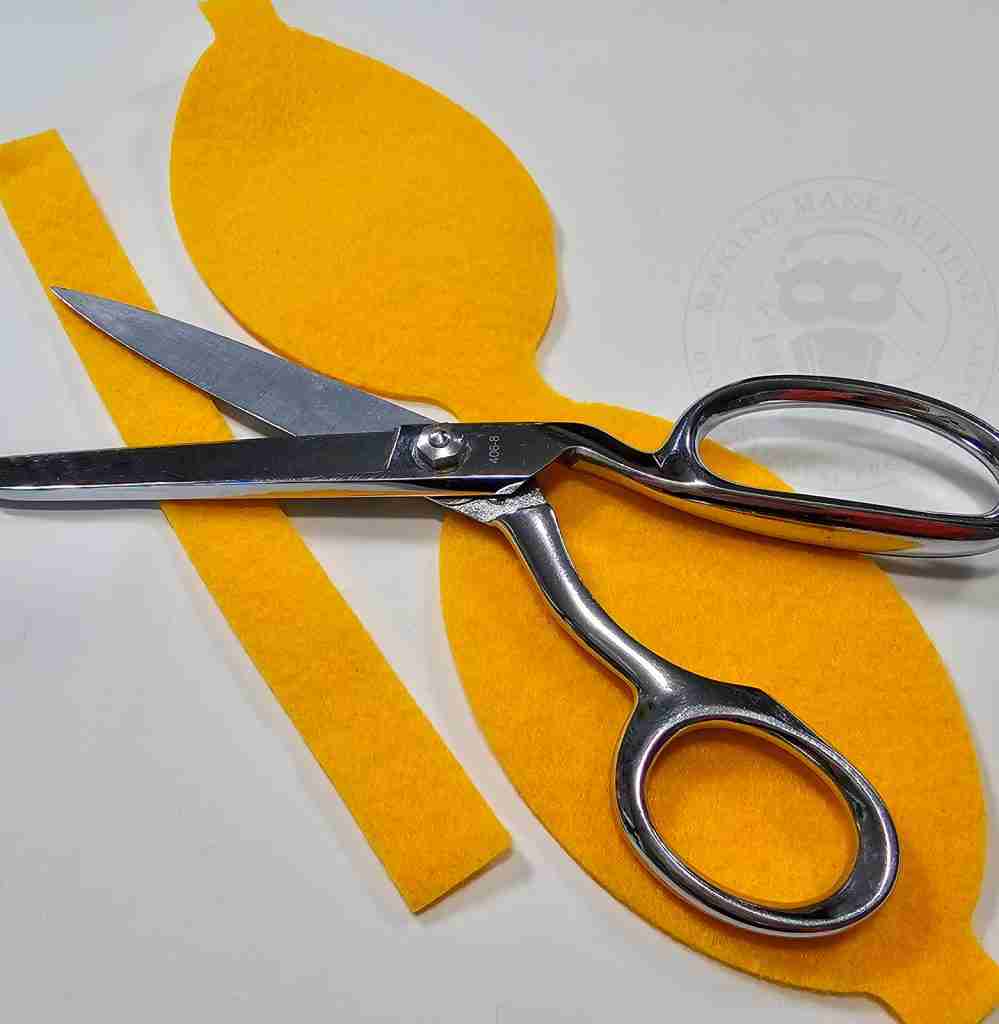
Take the bow tie piece and fold it over one end.
Be sure to align the tab with the center and glue it into place.
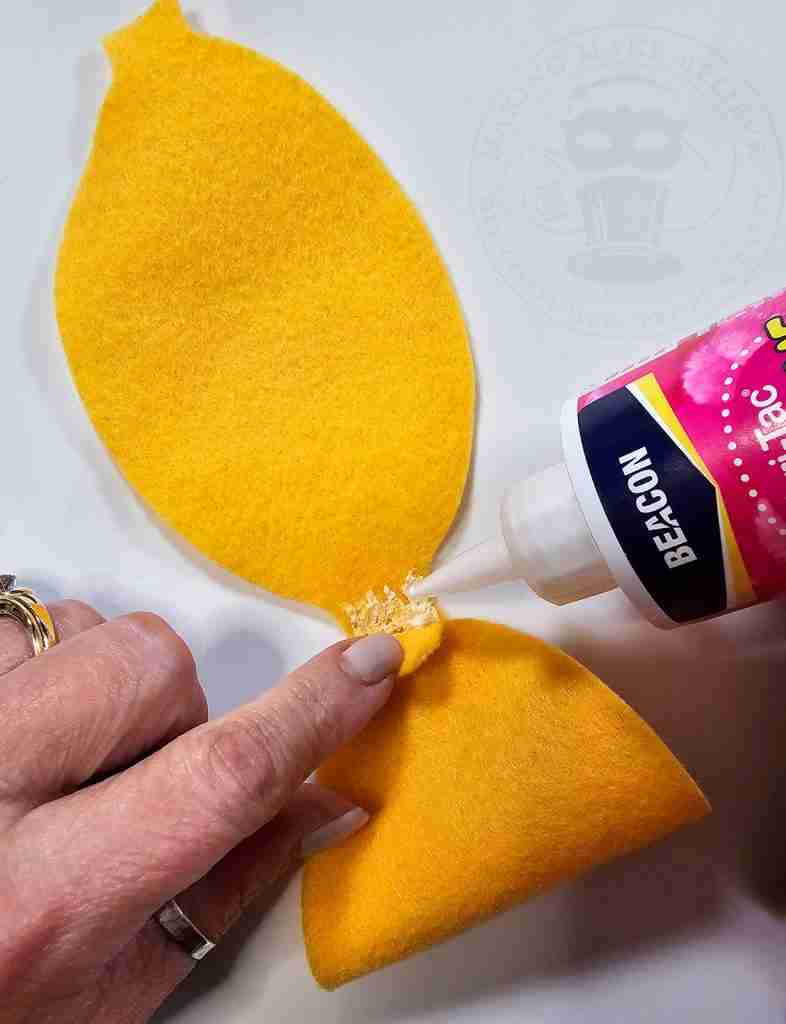
Repeat with the opposite side.
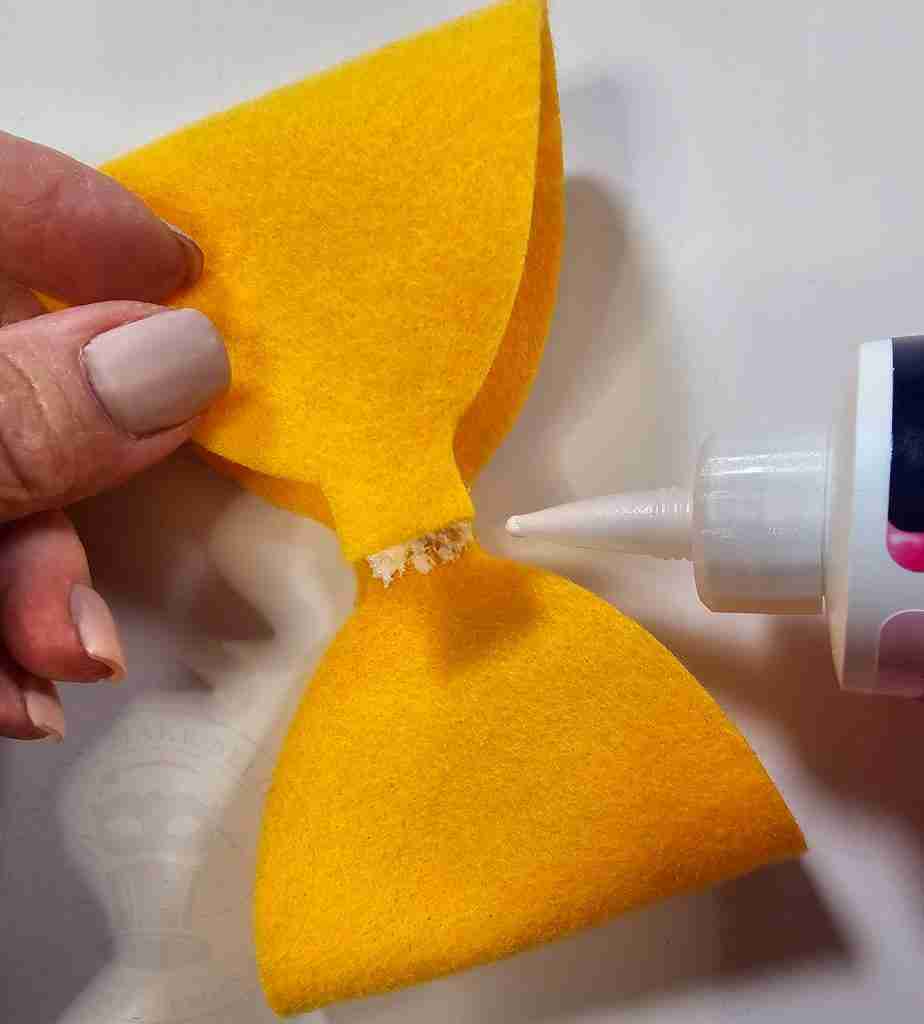
Clip and allow to dry.
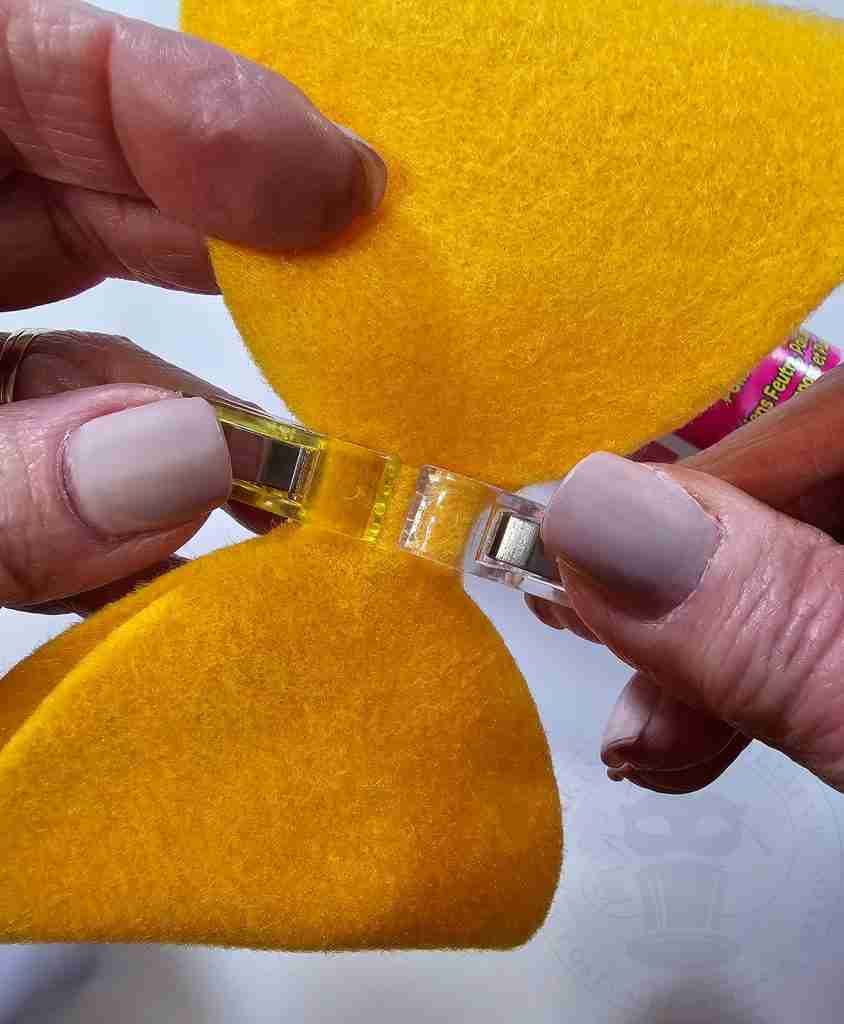
Pinch the bow tie in the center.
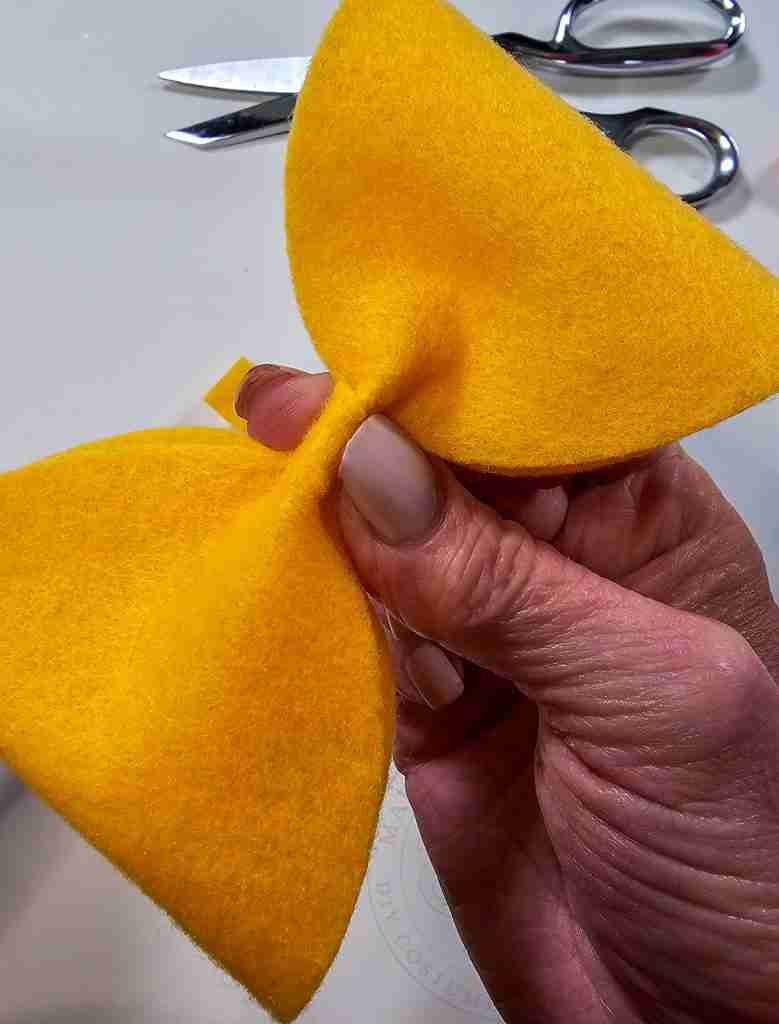
Wrap the band around the pinched bow tie.
The band is longer than needed, so wrap as many times as you like, ending on the backside, and cut off any excess.
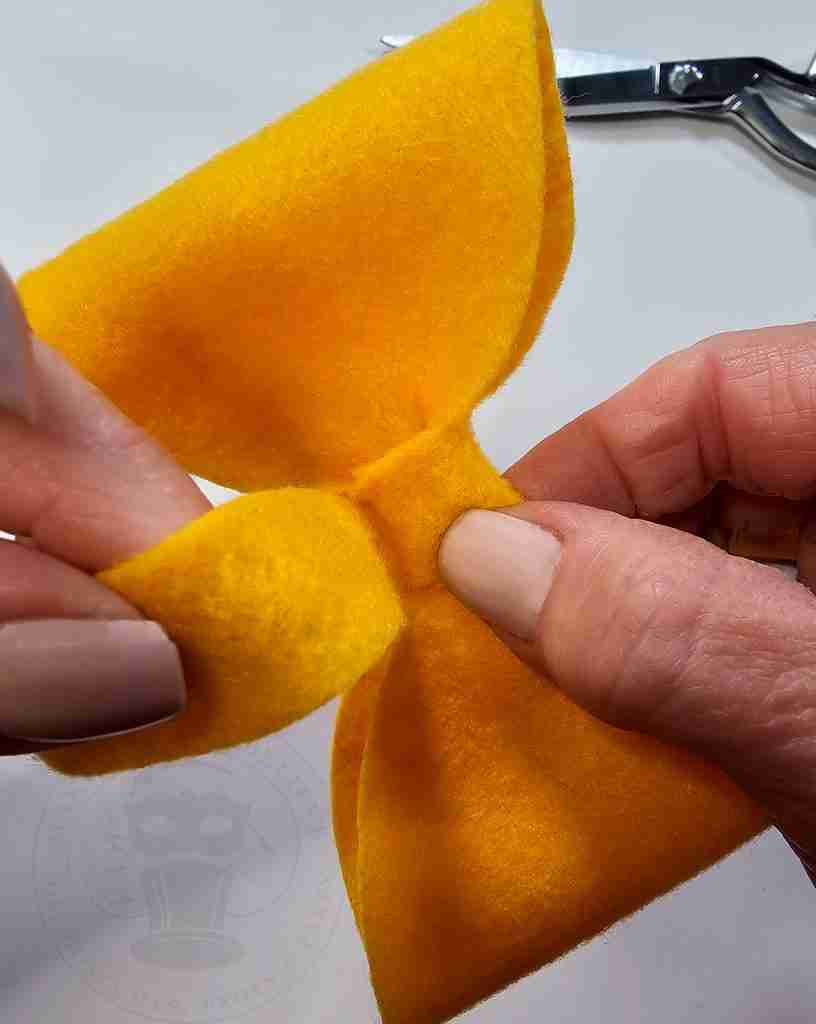
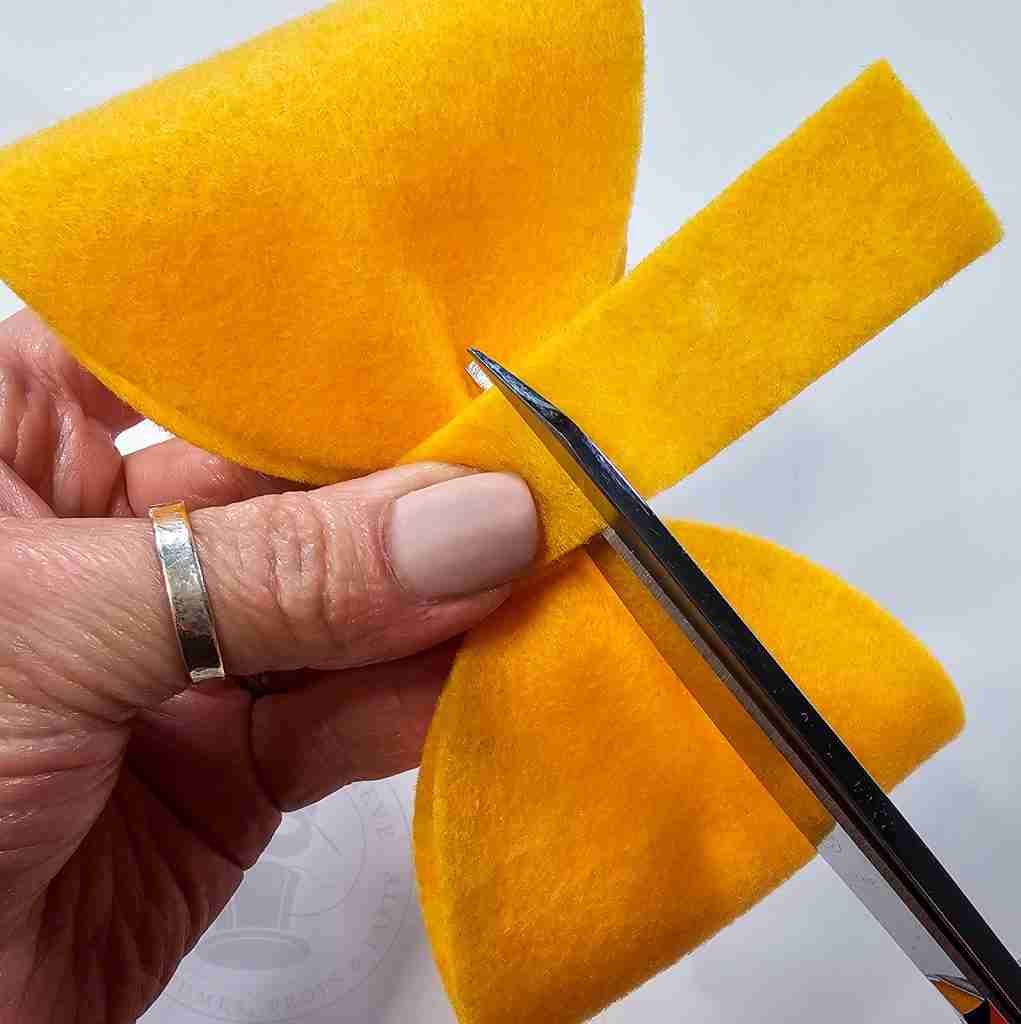
Glue to secure and allow to dry.
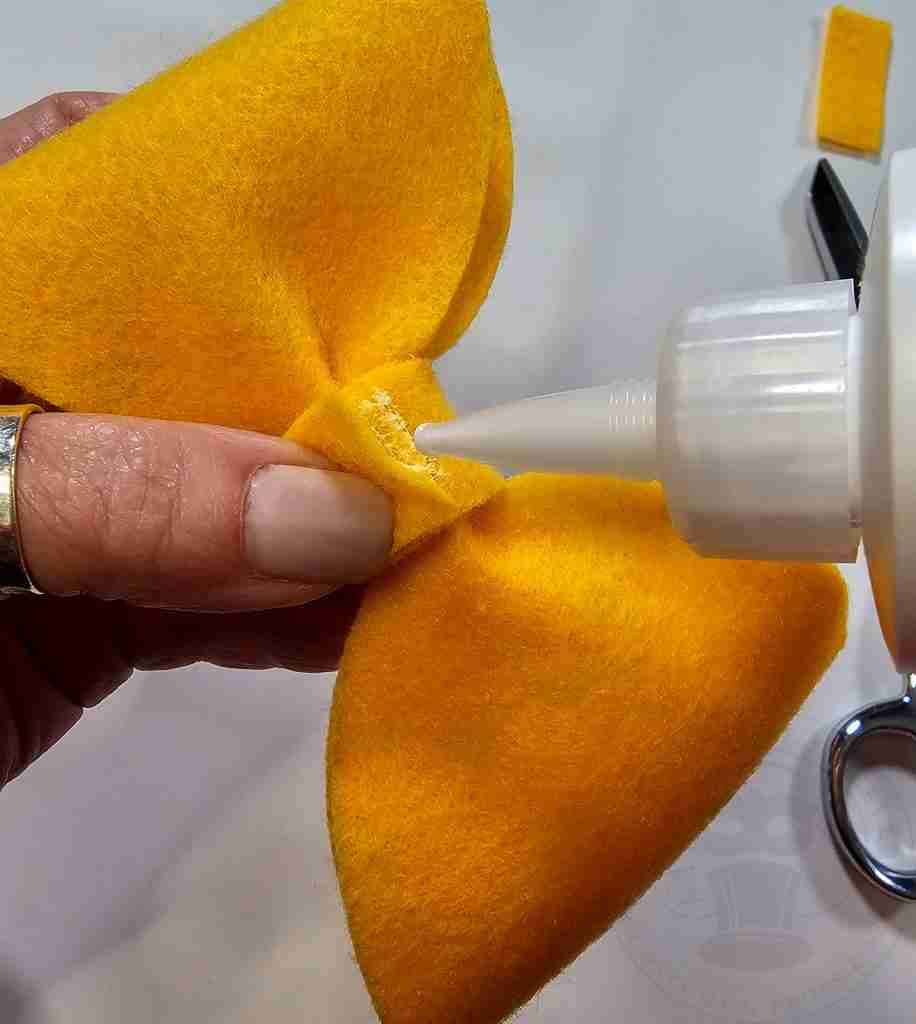
Cut a length of elastic or ribbon based on your neck size and what is comfortable for you.
Slide it through the band in the back of the bow tie.
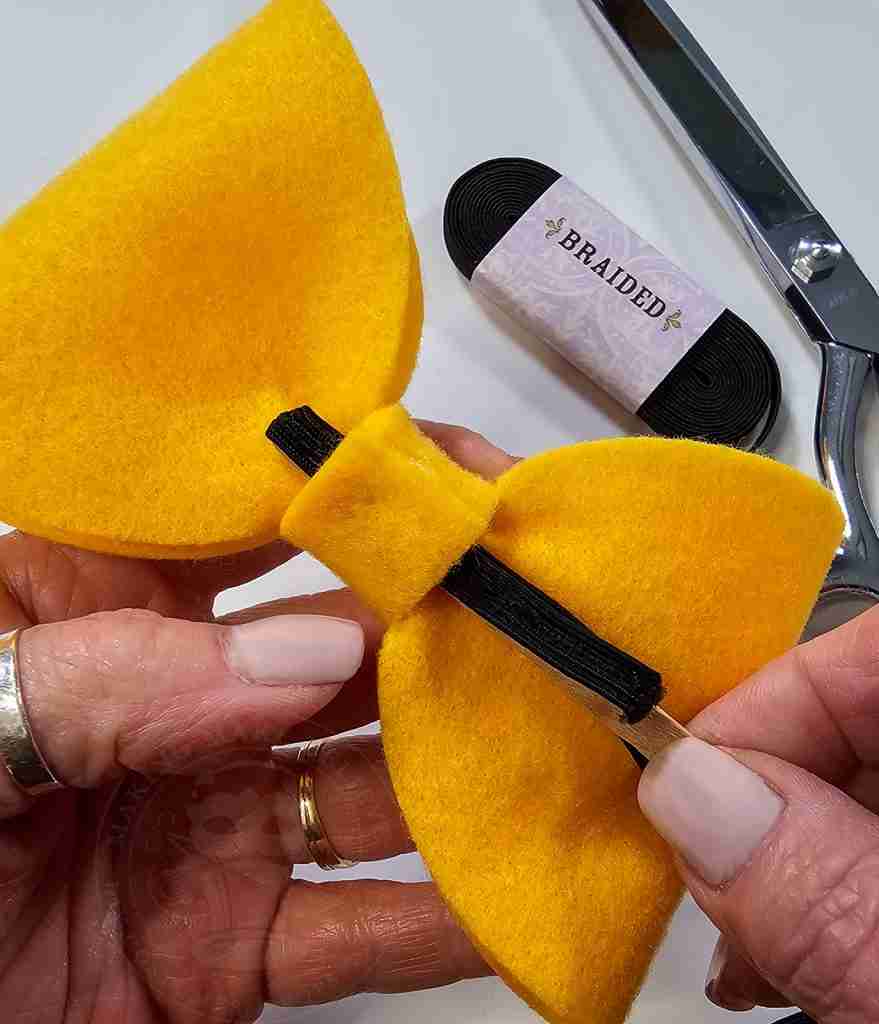
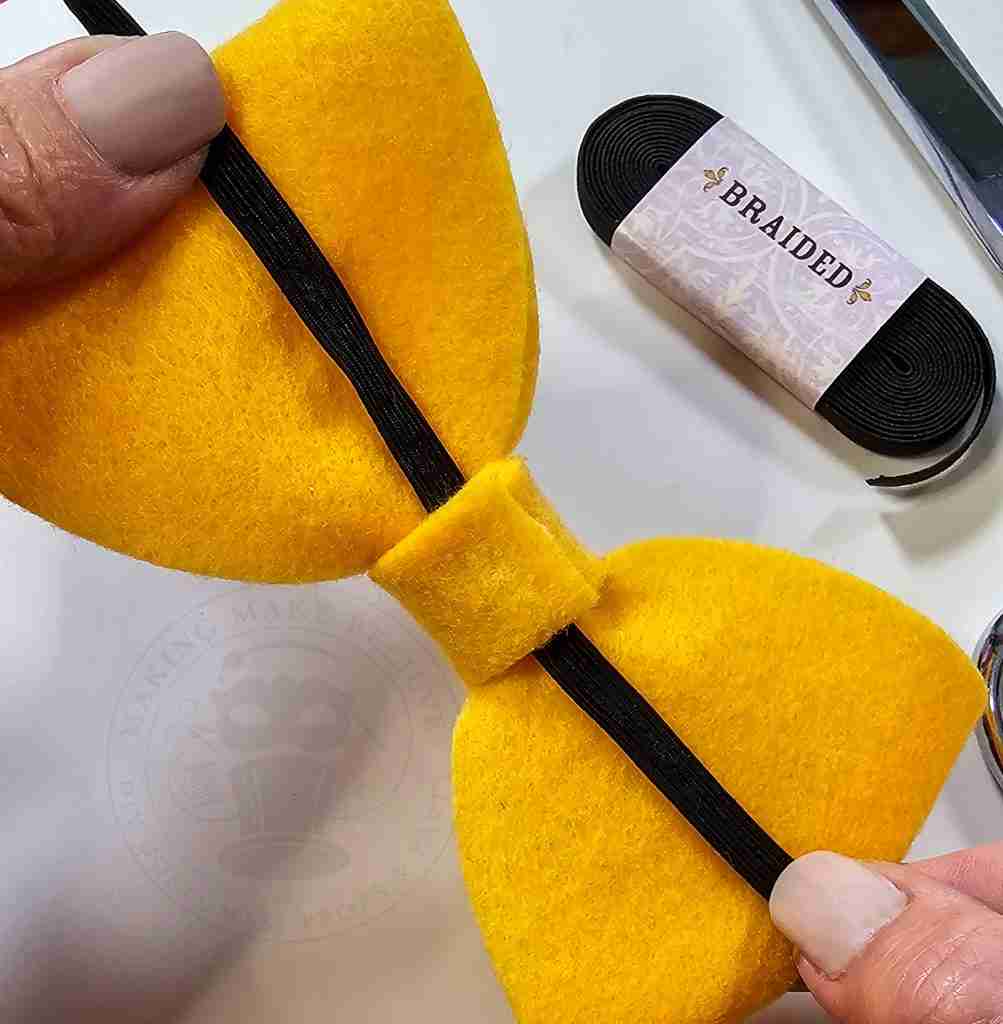
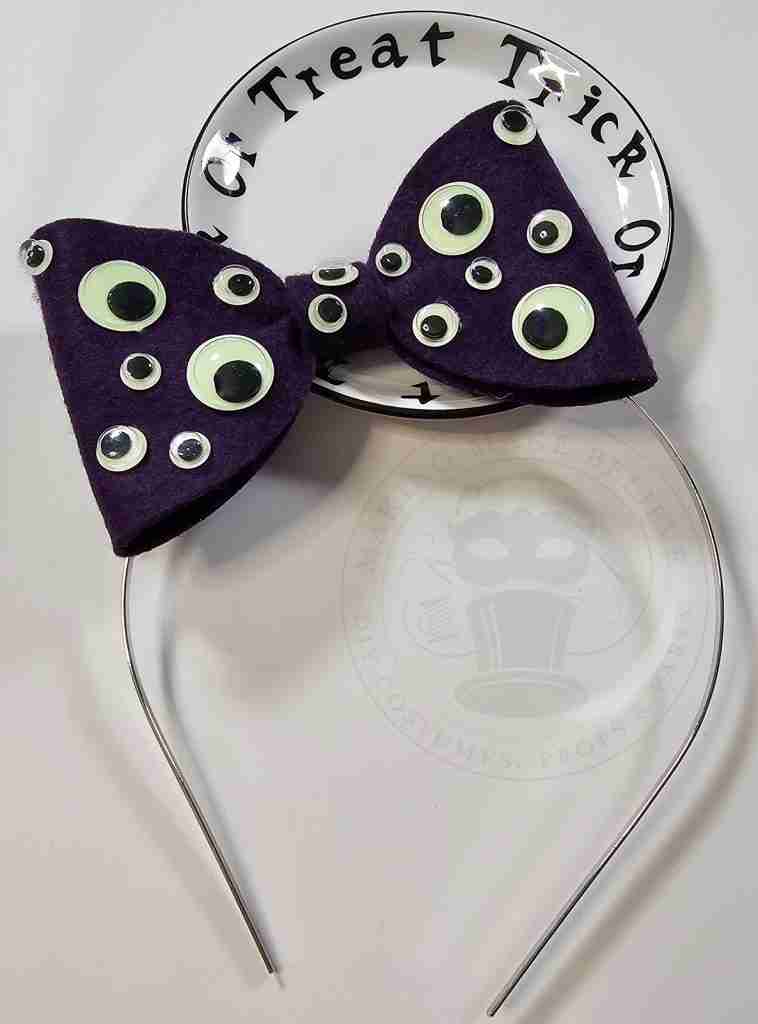
Alternatively, add a hair clip or headband to wear on your head.
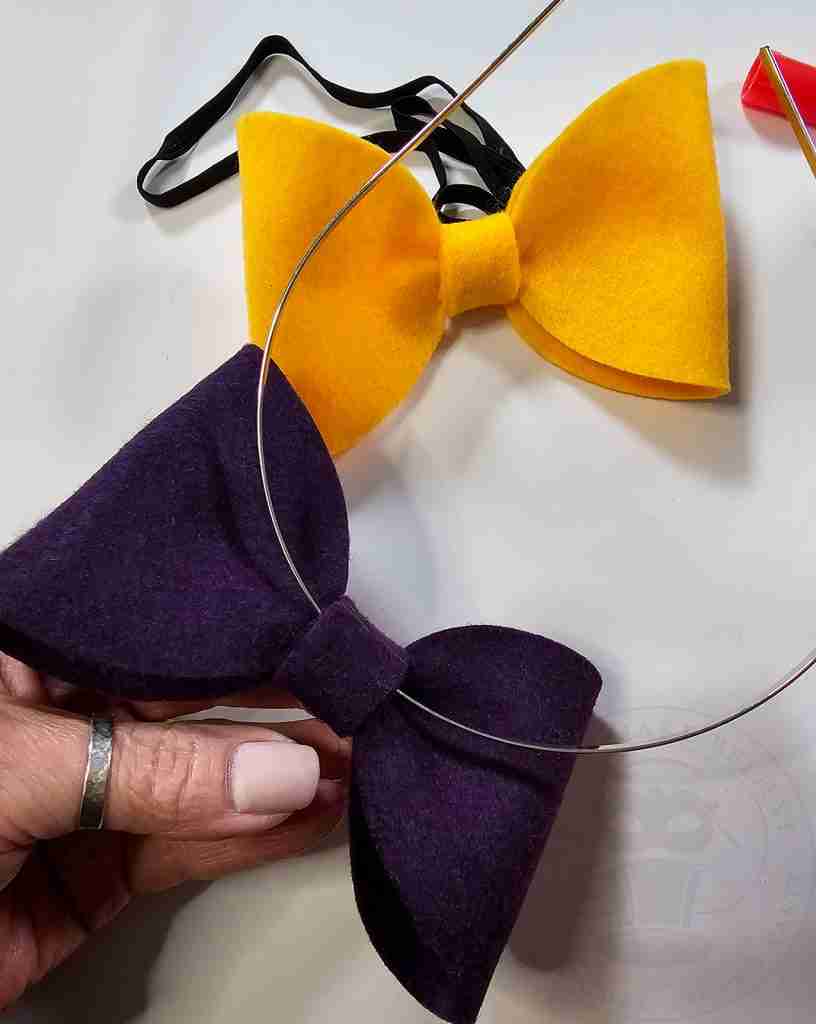
Now for the fun part!
Add embellishments to customize your Halloween bow tie to fit your theme, character, or mood.
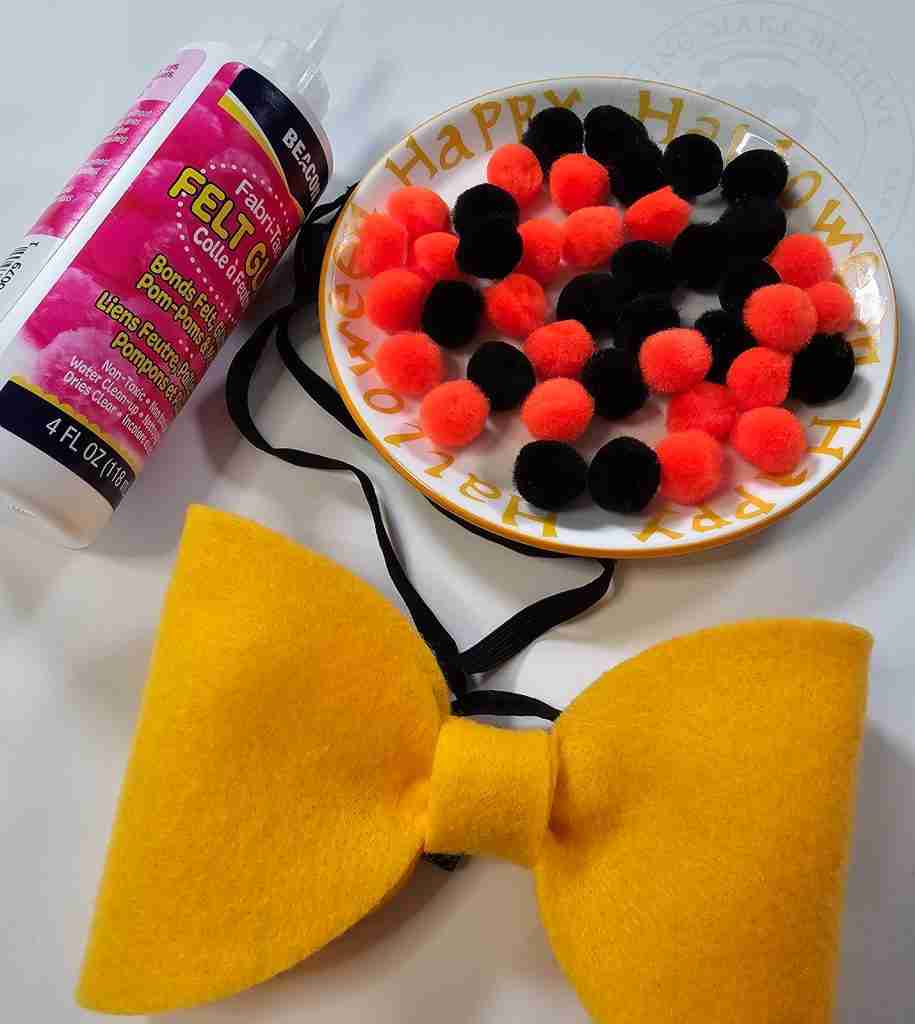
I made several examples in no time, and they are fun to make, even if you’re in a hurry.
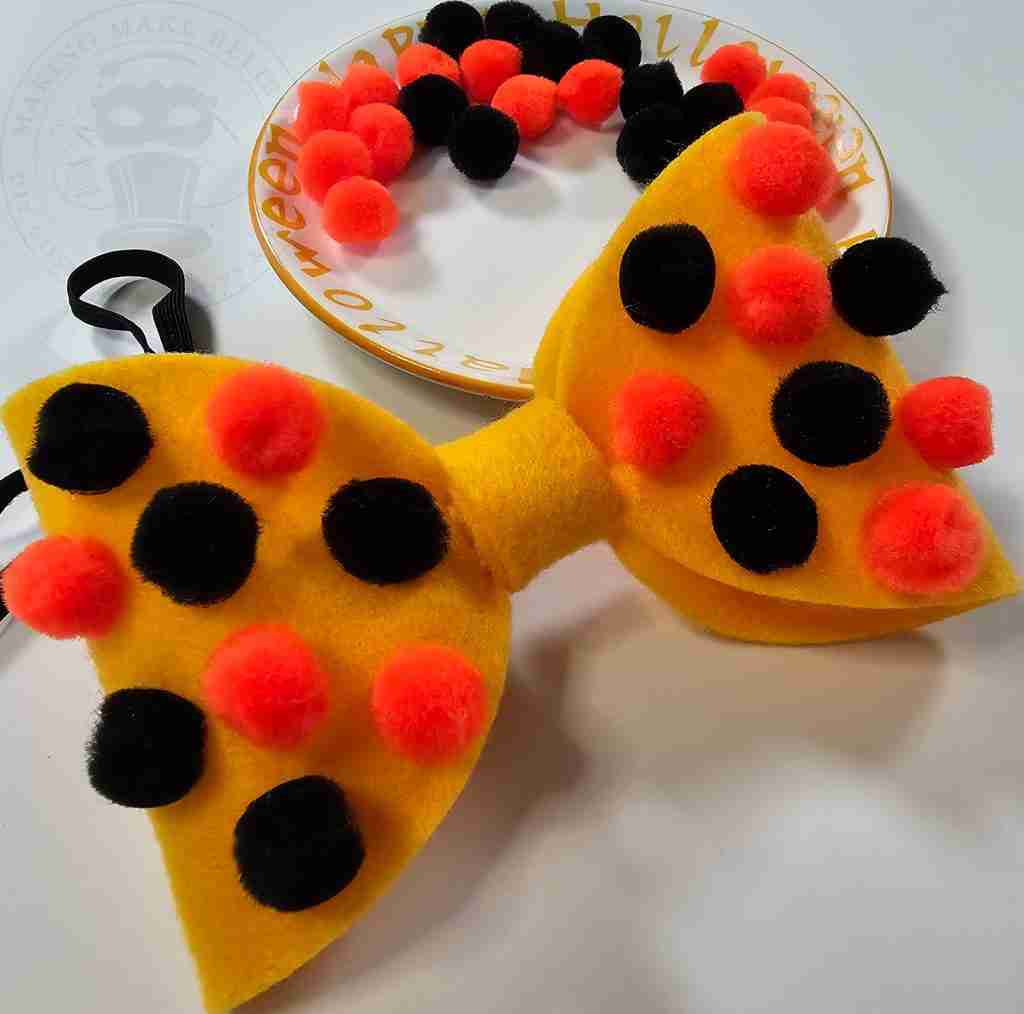
I added orange and black mini pom poms for a fuzzy polka-dot Halloween bow tie.
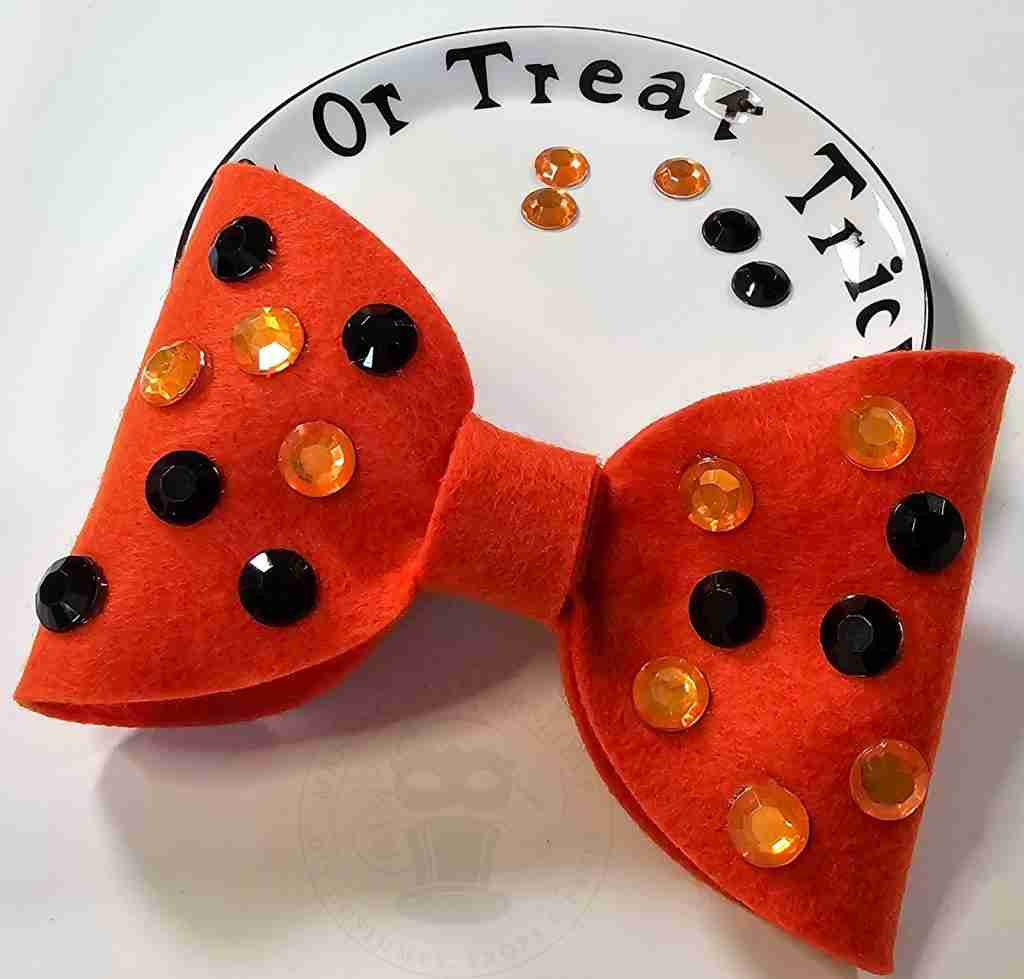
For a more glitzy look, I added black and orange craft gems.
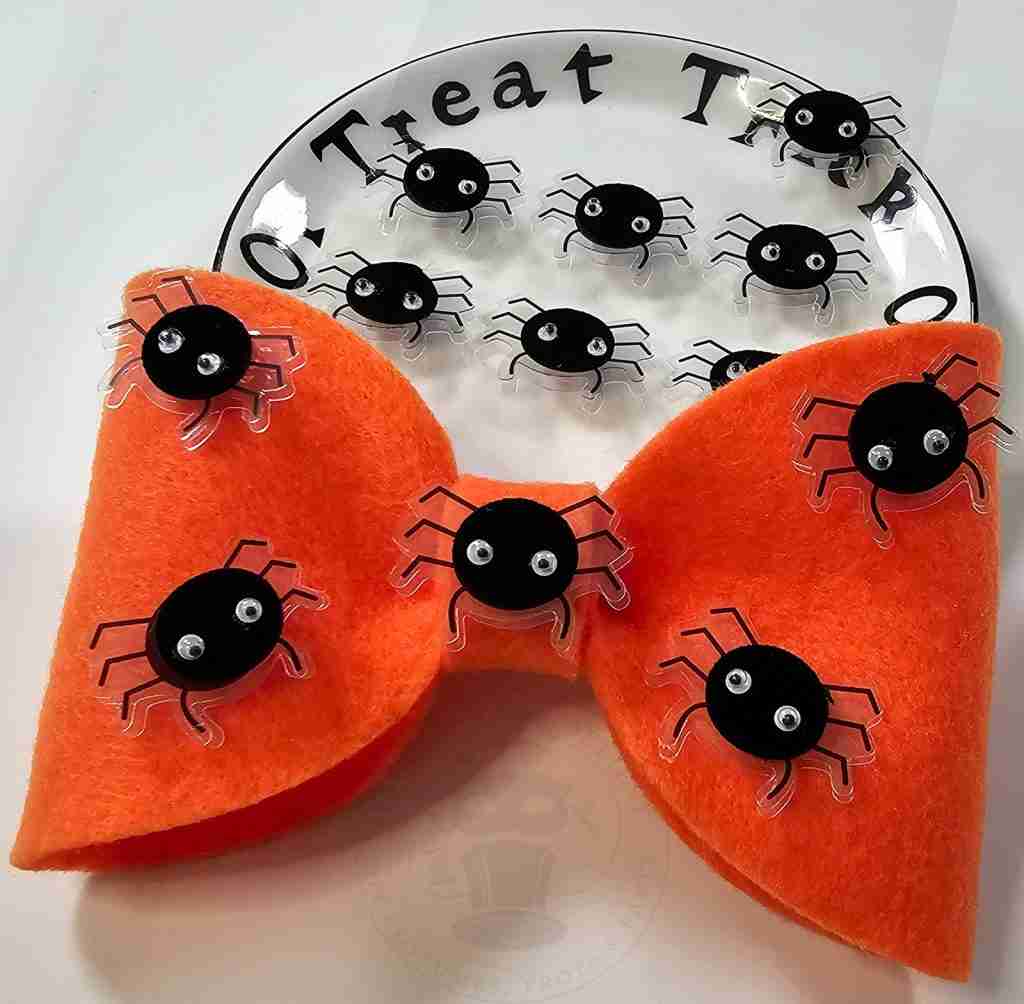
I used these adorable little 3D spider stickers that I found in the scrapbook section at Hobby Lobby. Too cute!
This one might be my favorite – a purple bow tie covered with glow-in-the-dark googly eyes.
Don’t feel like wearing a bow tie? Try crafting a Halloween rosette (aka a cockade).
Leave the bow tie at 10.7″ but resize the width to 2″ and cut three.
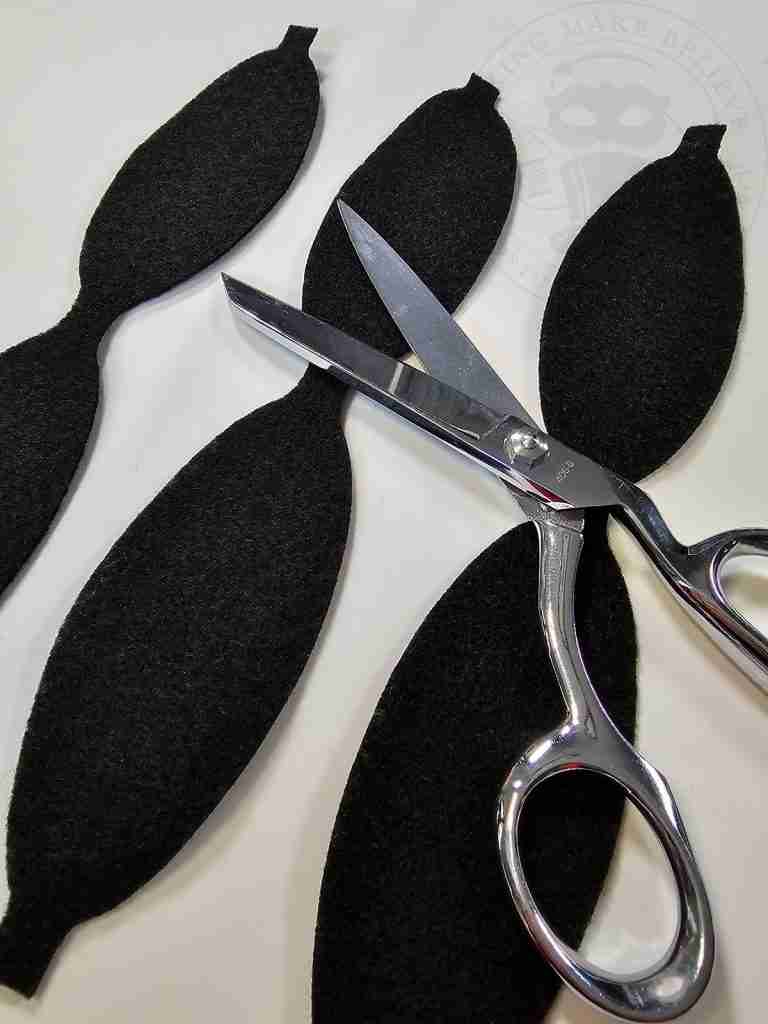
Form each into a bow tie by folding over each end to the center and gluing it into place.
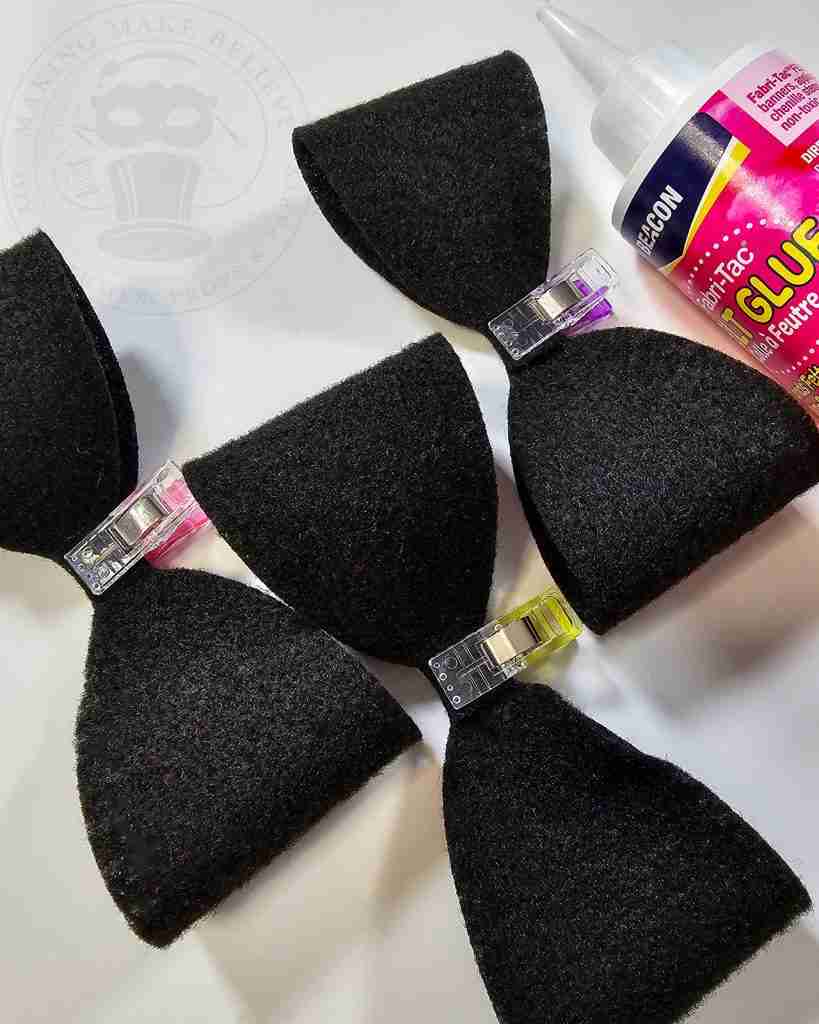
Stack the bow ties, rotating each one slightly to form a circle or rosette.
Glue the stack together at the center.
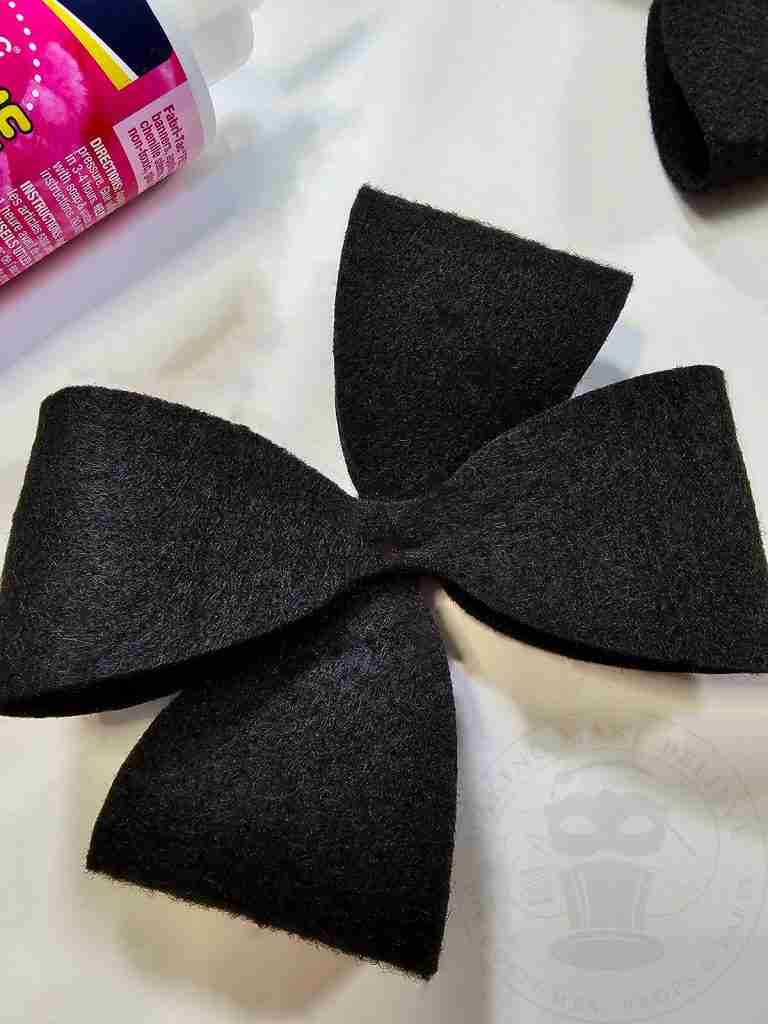
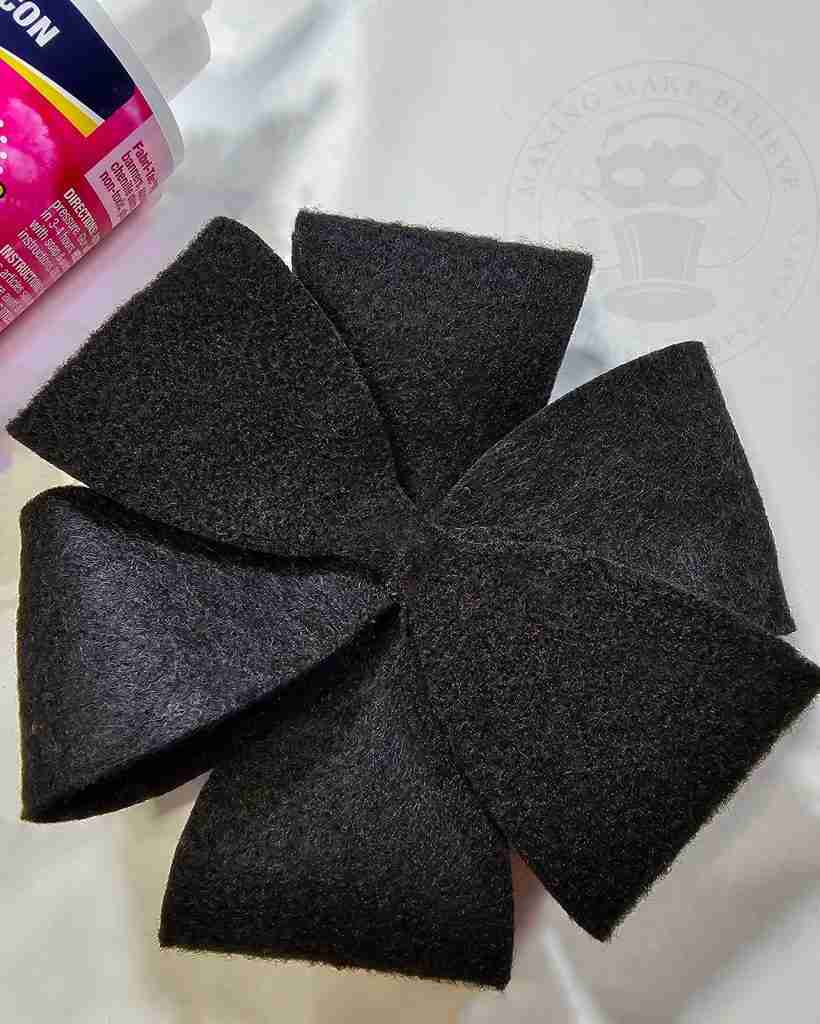
Embellish as desired.
Add a safety pin to the back and pin your rosette onto your costume.
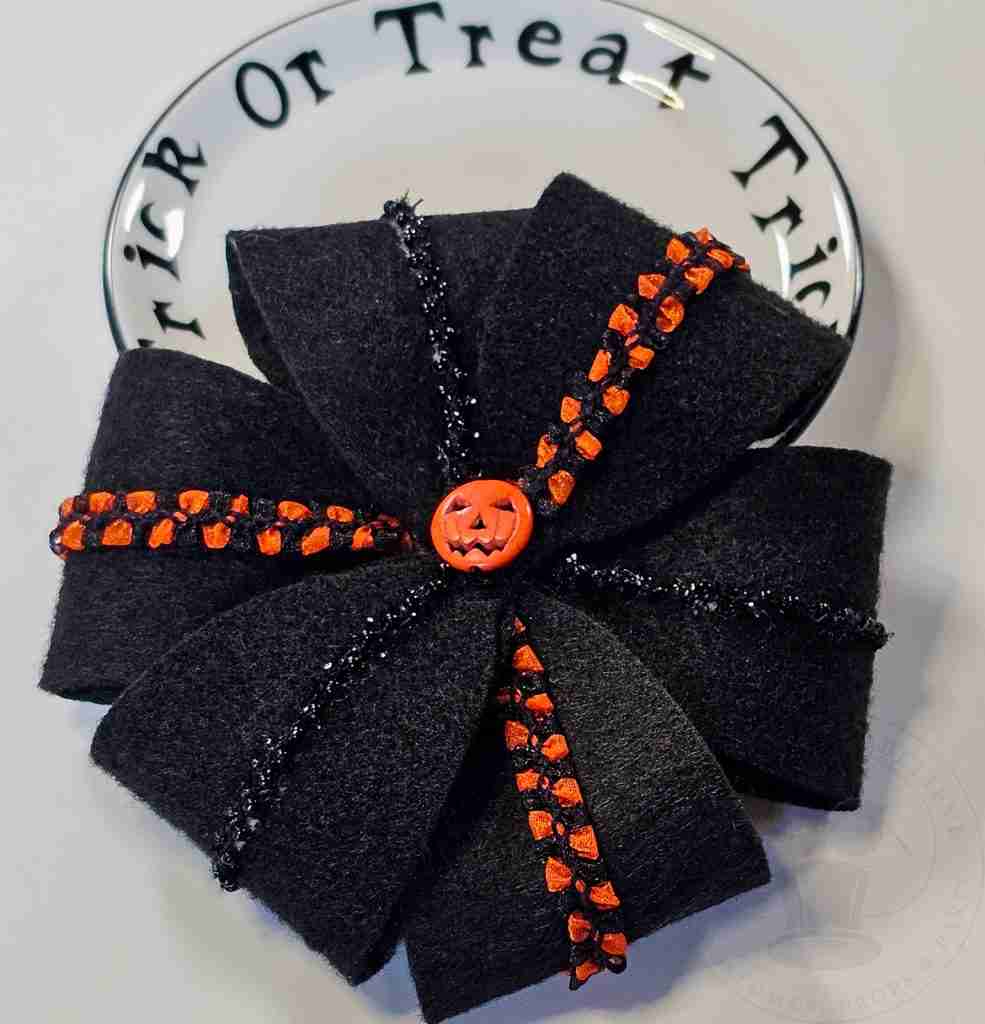
Quick and easy!
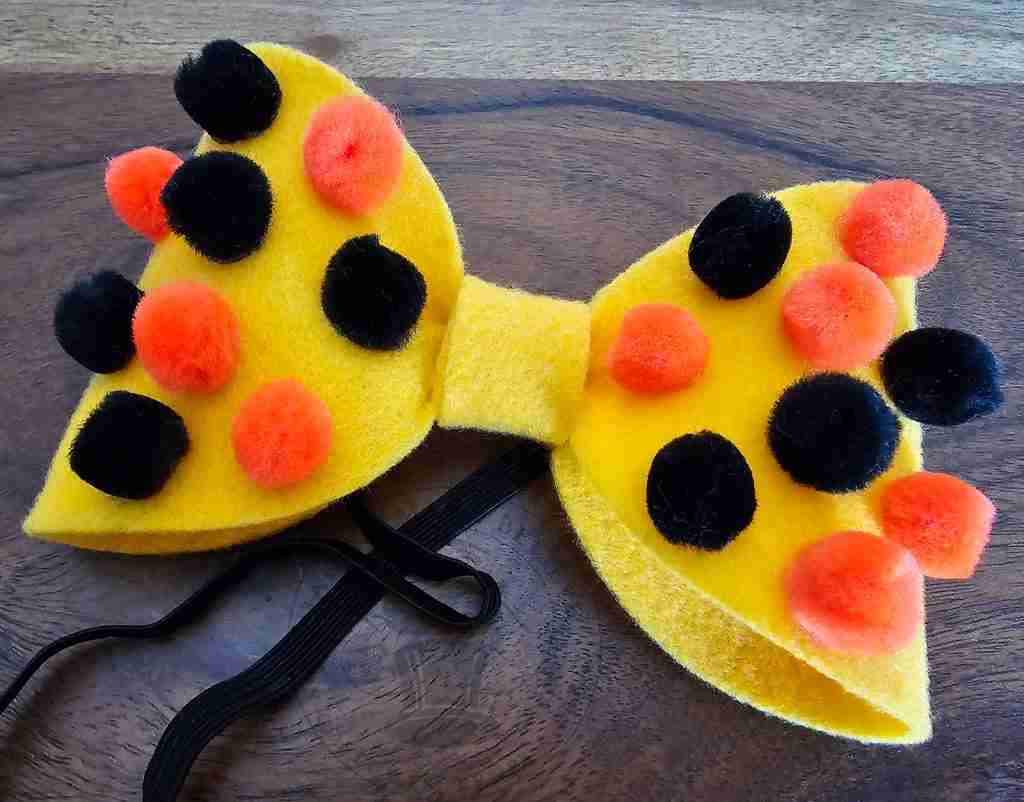
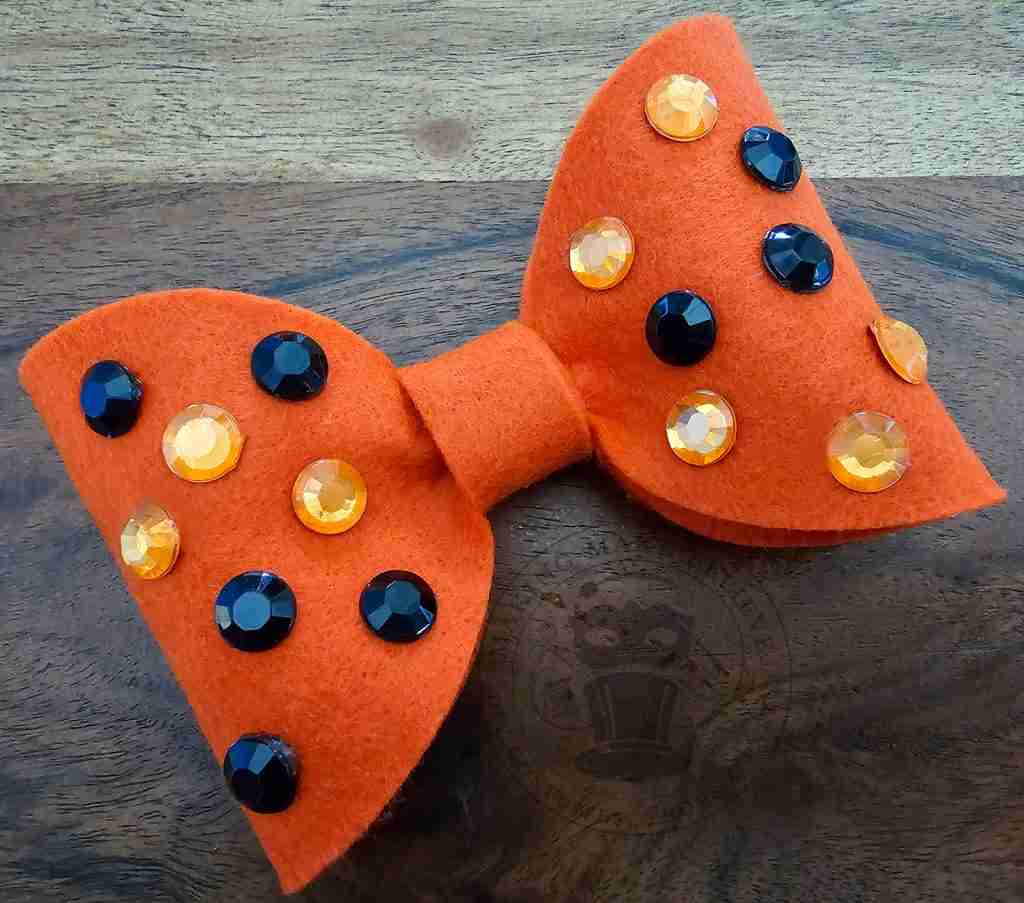
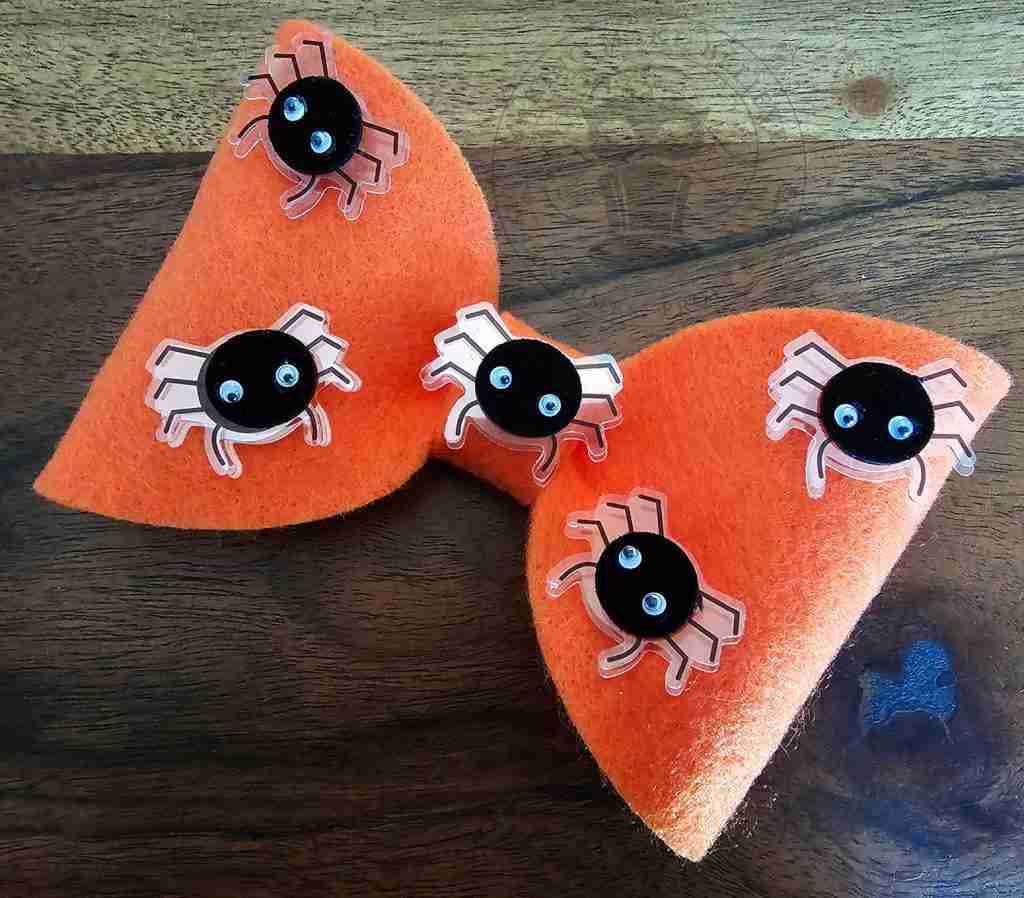
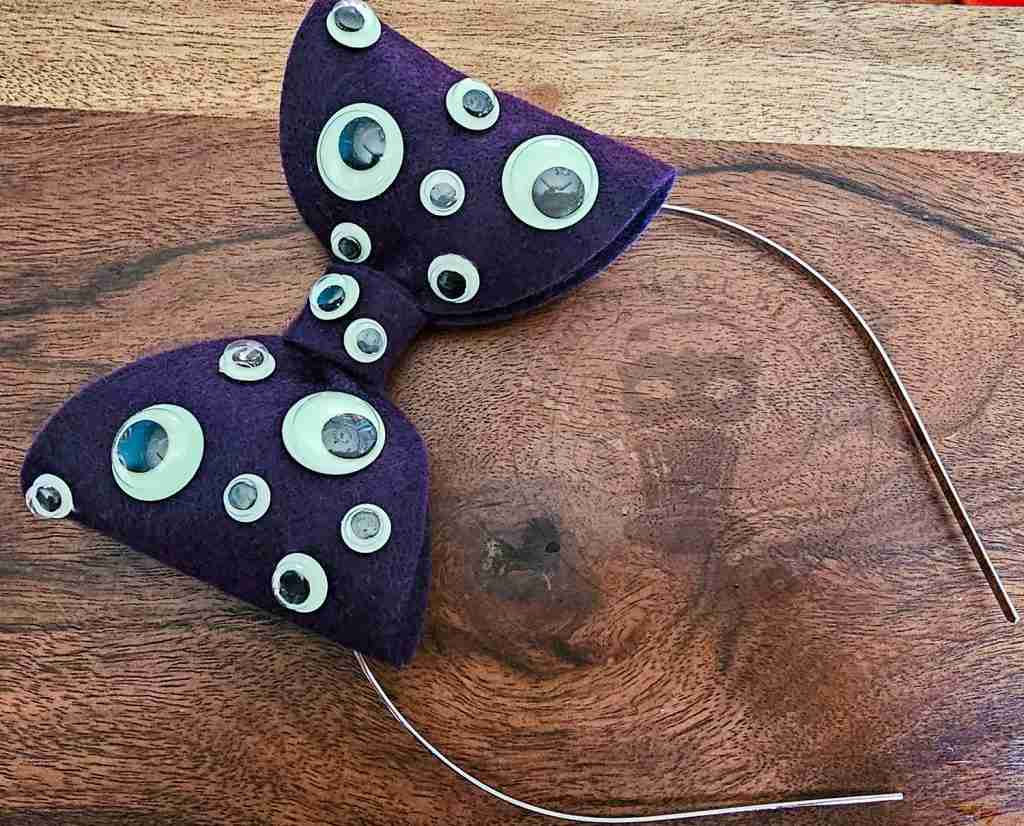
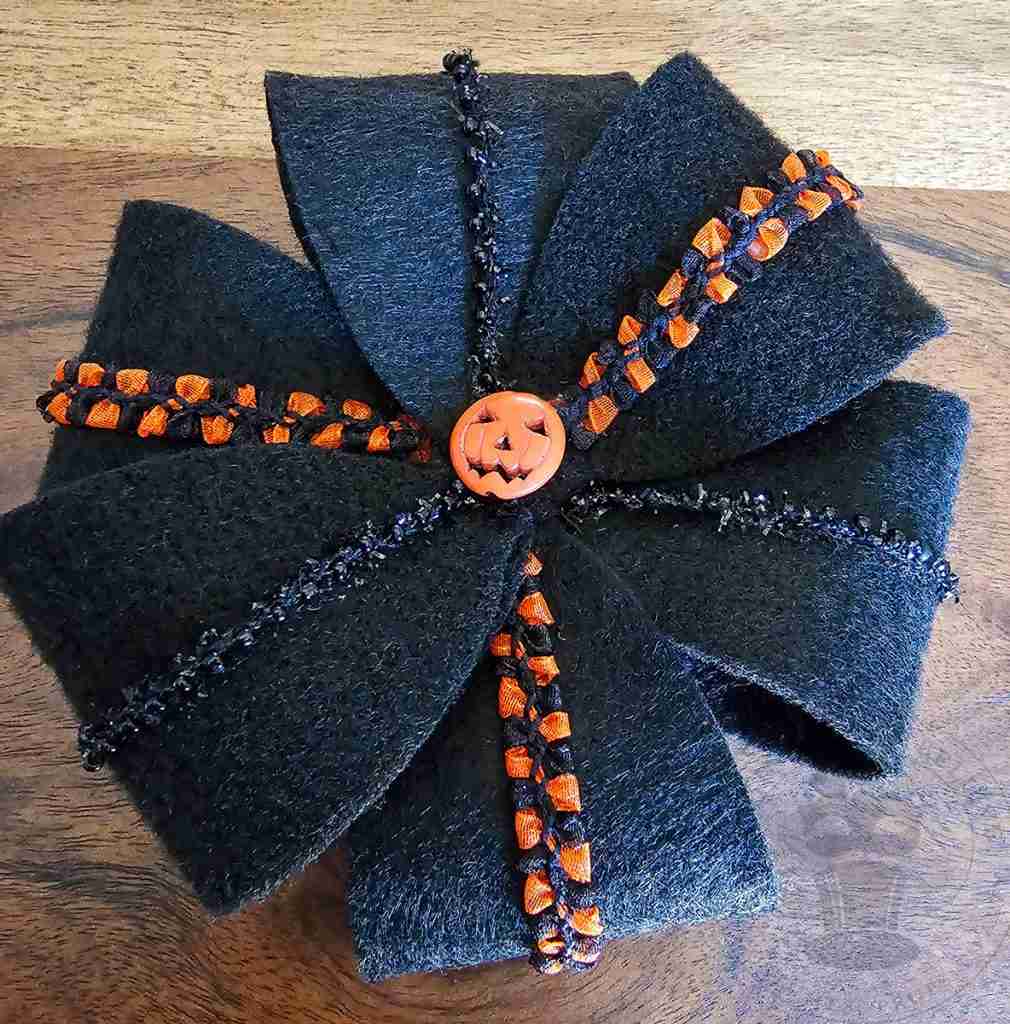
I hope you have fun with this last-minute costume piece.
Until next time – keep it spooky.

Templates, patterns and printables for every project on the blog.

Counting down to Halloween since the 1970s. I create, style and celebrate all things costume and Halloween, all year round.
Welcome to my world of Halloween Ever After, where I create, style, and celebrate all things costume and Halloween.
Within these haunted pages lie affiliate links to curious and captivating finds I love. If you make a purchase through them, I may earn a modest commission (think fun-size candy bar), which helps keep the Halloween magic alive. No extra cost to you – cross my batty heart.



Check your email for the Haunted Library password.
Don’t miss a moment of the mischief.
Add hello@halloweeneverafter.com to your address book.
The magic happens right here in my studio and office. When you step inside my creative space, you’ll find an ever expanding gallery wall overflowing with original spooky art and classic Halloween LPs, right alongside a haunted cabinet packed to the brim with vintage curiosities.
It’s under the watchful eyes of these retro treasures that I design and craft.
Join us and get access to our Haunted Library stocked with templates, printables, cut files, and exclusive content. Plus, you’ll receive Eerie Emails just for our subscribers.
*Stay as long as you like. Unsubscribe at any time.


