Free templates & patterns
130+ freebies are waiting in the Haunted Library
Templates, patterns and printables for every project on the blog.
Formerly Making Make Believe · Join the Haunted Library

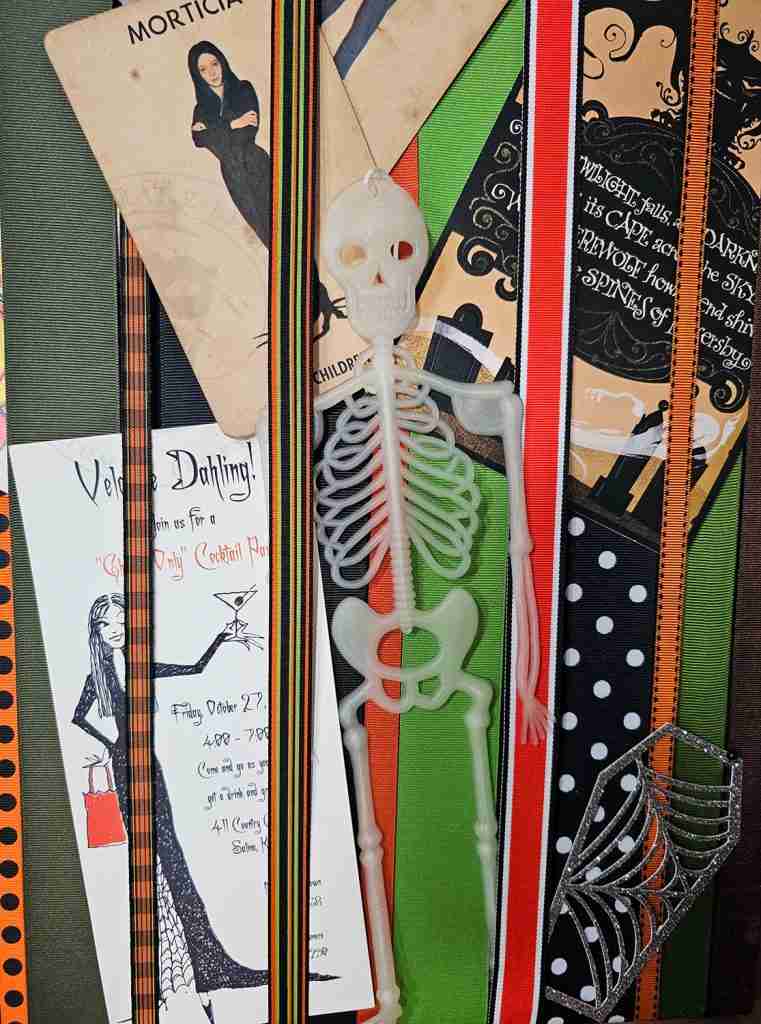
Halloween Memory Board
As an Amazon Associate I earn from qualifying purchases.
This post may contain affiliate links for your convenience. Click here to read our disclosure policy.
As a creative, my want-to-do list is a mile long. There is no end to the projects I would like to make.
I have multiple lists scattered between spreadsheets, paper, texts to myself, and sticky tabs. Every so often, I attempt to herd all the ideas together into one place, but when inspiration strikes, you go with what you’ve got.
One recent attempt to corral the chaos reminded me that I had wanted to make a Halloween ribbon memory board. Since I have an abundance of ribbons, this project moved to the top of the list.
The inspiration for this project is found in Martha Stewart’s 2010 book, Martha Stewart’s Encyclopedia of Sewing and Fabric Crafts.
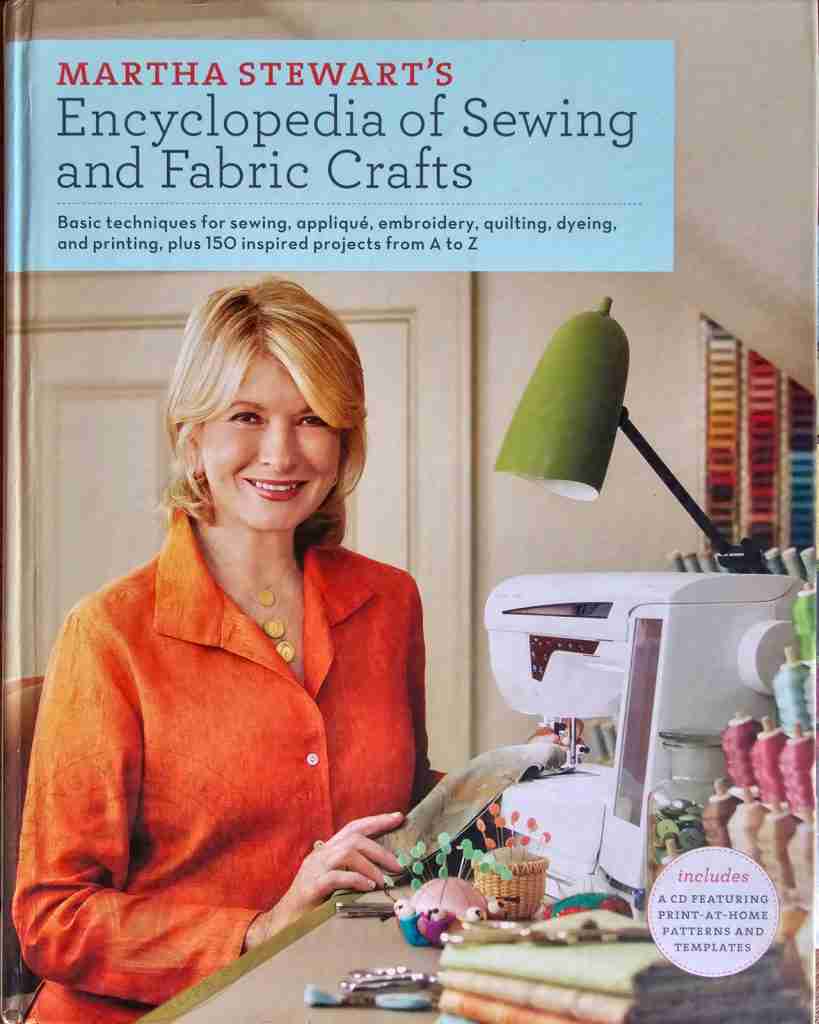
I chose this particular board as I want something to hold my Halloween lists, memorabilia, ephemera, and other spooky goodies without sticking them full of holes.
The ribbons on the board can hold most items in place and still allow me to use pushpins if needed.
Martha’s base is made using Homasote fiberboard, which comes in large 4′ x 8′ sheets and is much larger than I need. This board can be cut down. However, I’m on the verge of being a craft supply hoarder already, so rather than store the leftovers, I’m going a different route.
While I plan to use her techniques to make a larger board in the future, today, I need a smaller one, so I plan to take her inspiration and create a version that fits my space.
I’m not testing this project before sharing it, so keep your fingers crossed that this little experiment works.
Ok, let’s get started.
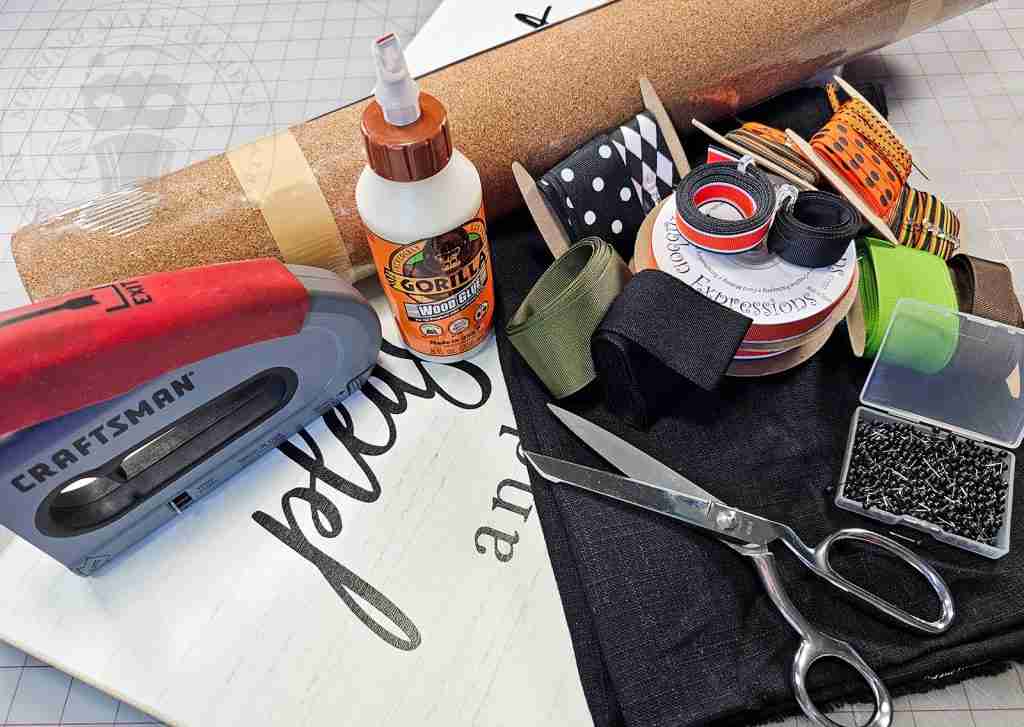
For this project, we will need:
Unframed corkboard OR Frameless wooden art decor + Cork roll + Adhesive
Fabric such as canvas or linen for the base
Scissors
X-Acto knife (to cut cork roll)
Assorted Halloween ribbon (non-wired)
Staple gun
Pushpins
Picture frame hanger (optional)
While an unframed corkboard is likely a quicker and easier way to make this project, Unfortunately, the size I need is not standard.
So, I opted instead to make my base from an unframed art decor piece I found in the size I wanted. You can usually find these on sale at Hobby Lobby.
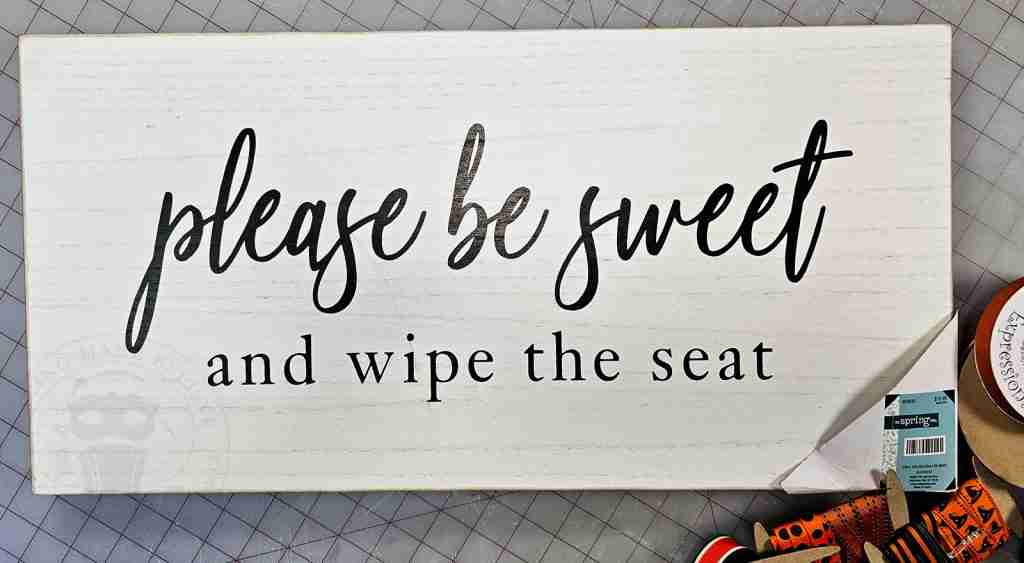
If you use the unframed corkboard, skip to the Dress It Up section.
However, if you are starting with an art decor piece like me, you must add a layer of cork to use pushpins, which you can do using an inexpensive Cork Roll.
I do want to mention here that my cork roll is not very deep, but it was all I was able to acquire locally.
If I stick my pushpins straight into the cork, they will hit the wood base. Because of the cork’s shallowness, my board will require pushpins to be angled.
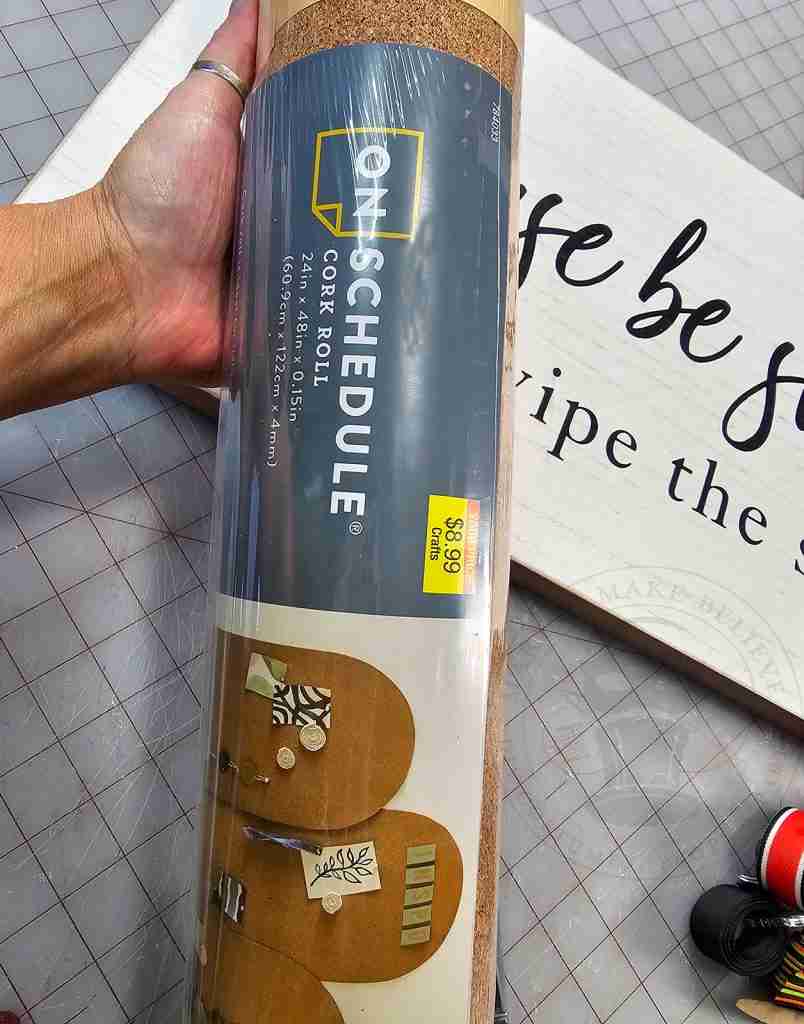
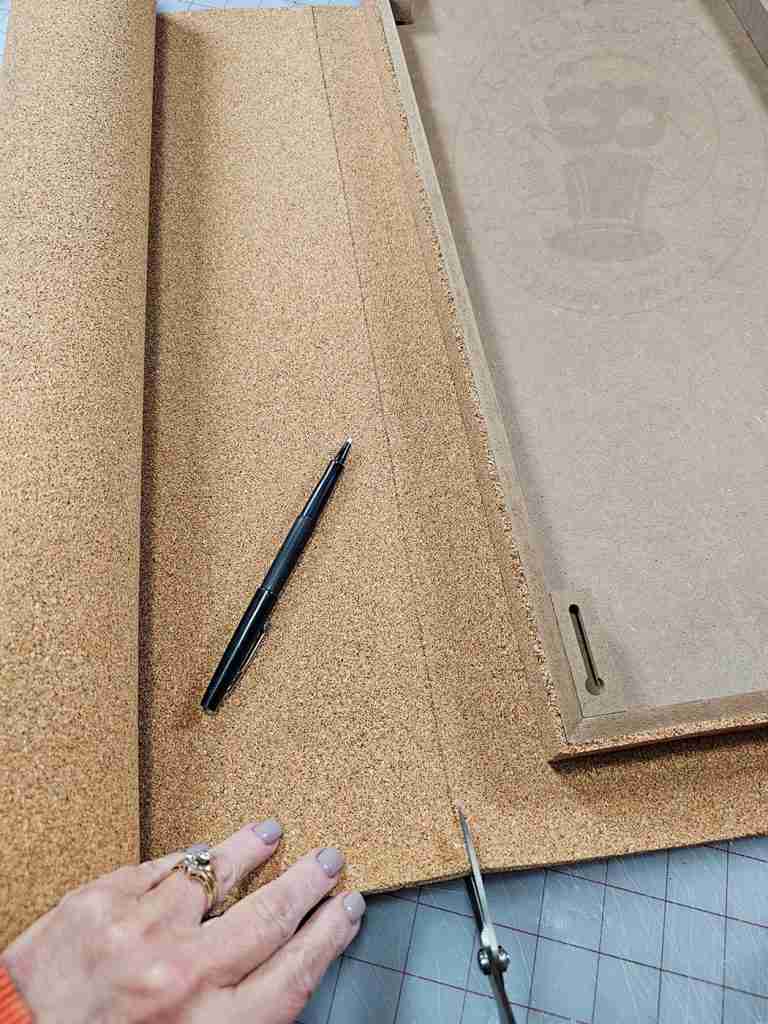
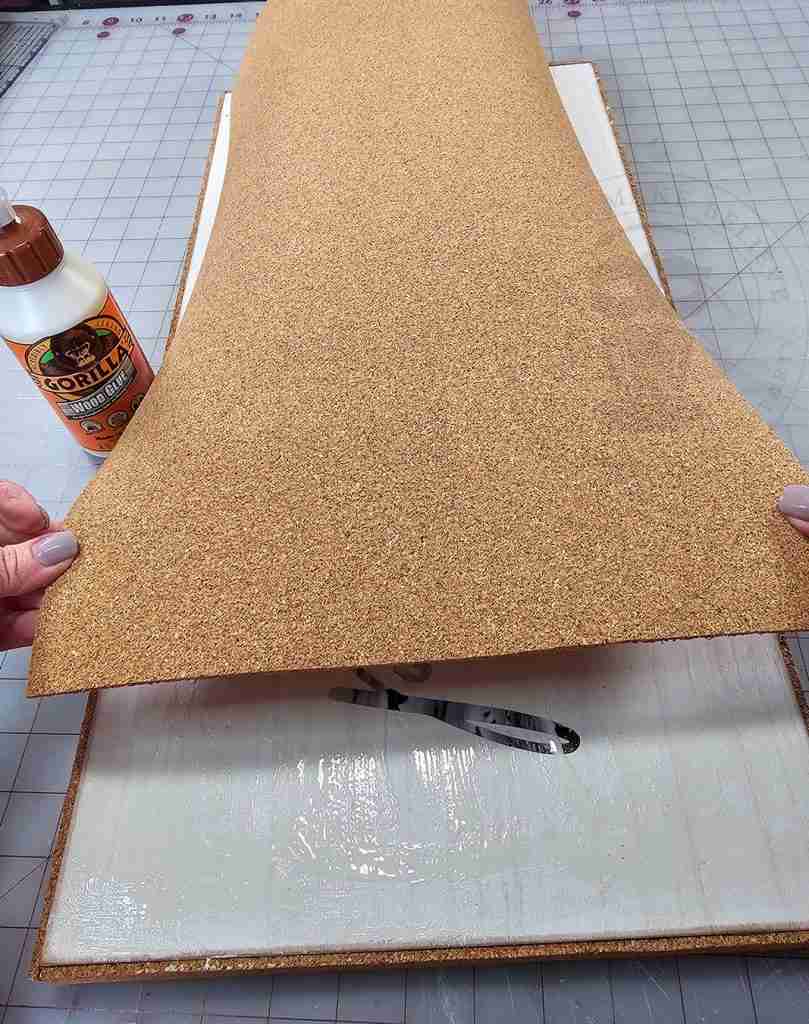
Lay the art piece on top of the cork roll, then trace and cut the cork to fit.
I first lined the sides of my base with strips of cork because, in Martha Stewart’s version, she pins the ribbons into place along the sides before permanently attaching them.
With the sides lined, I then traced and cut the top.
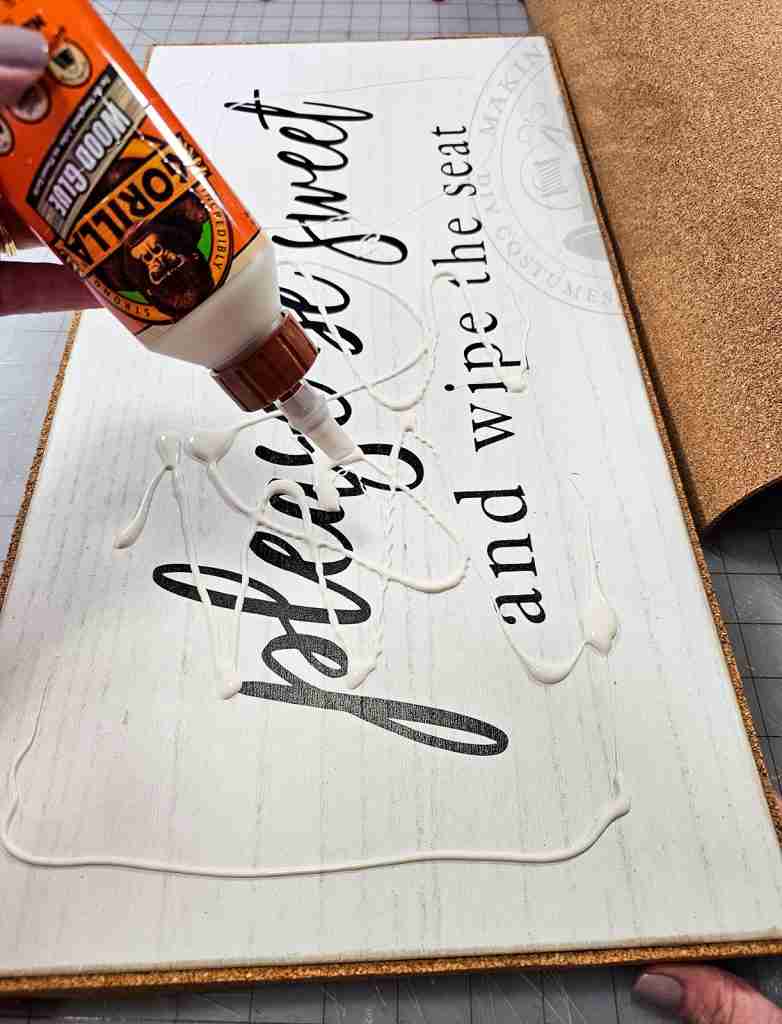
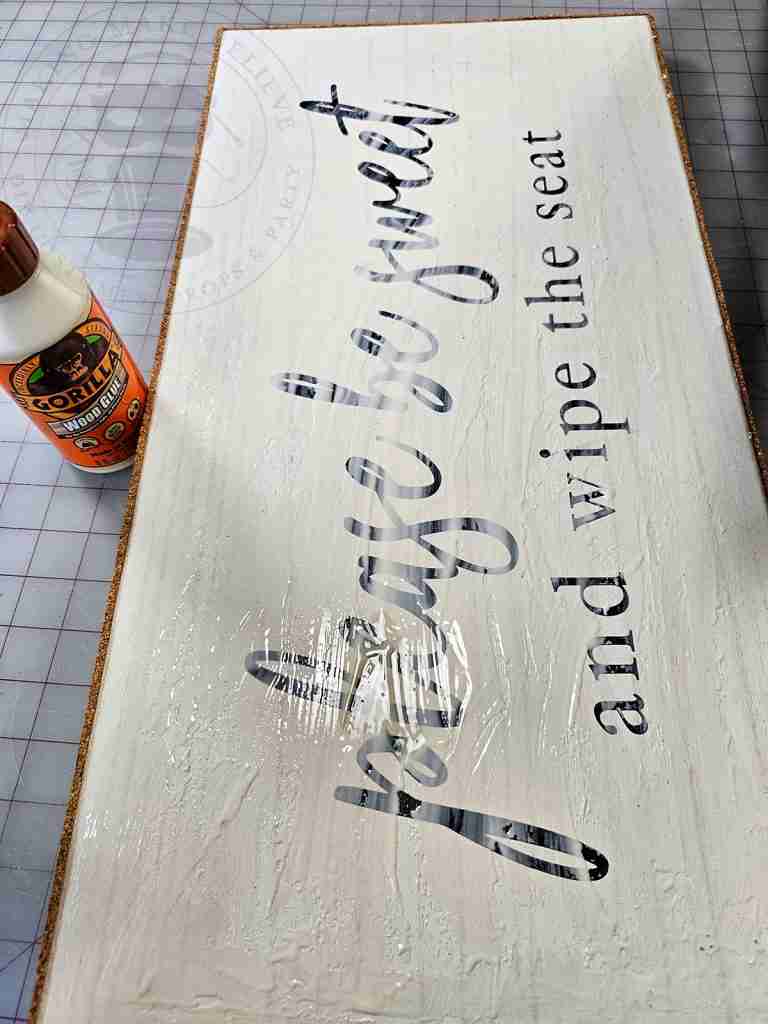
Lastly, glue the cork onto the base and let it dry completely.
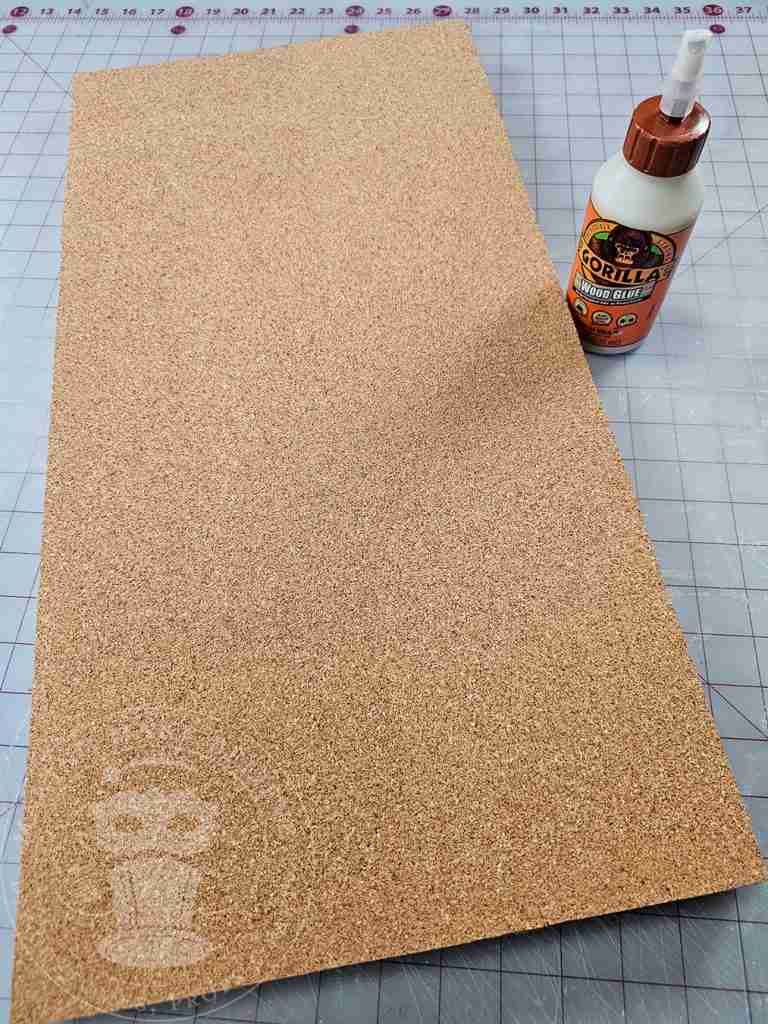
Cut the base fabric to fit the dimensions of the board, plus enough extra fabric to wrap around the back side of the board.
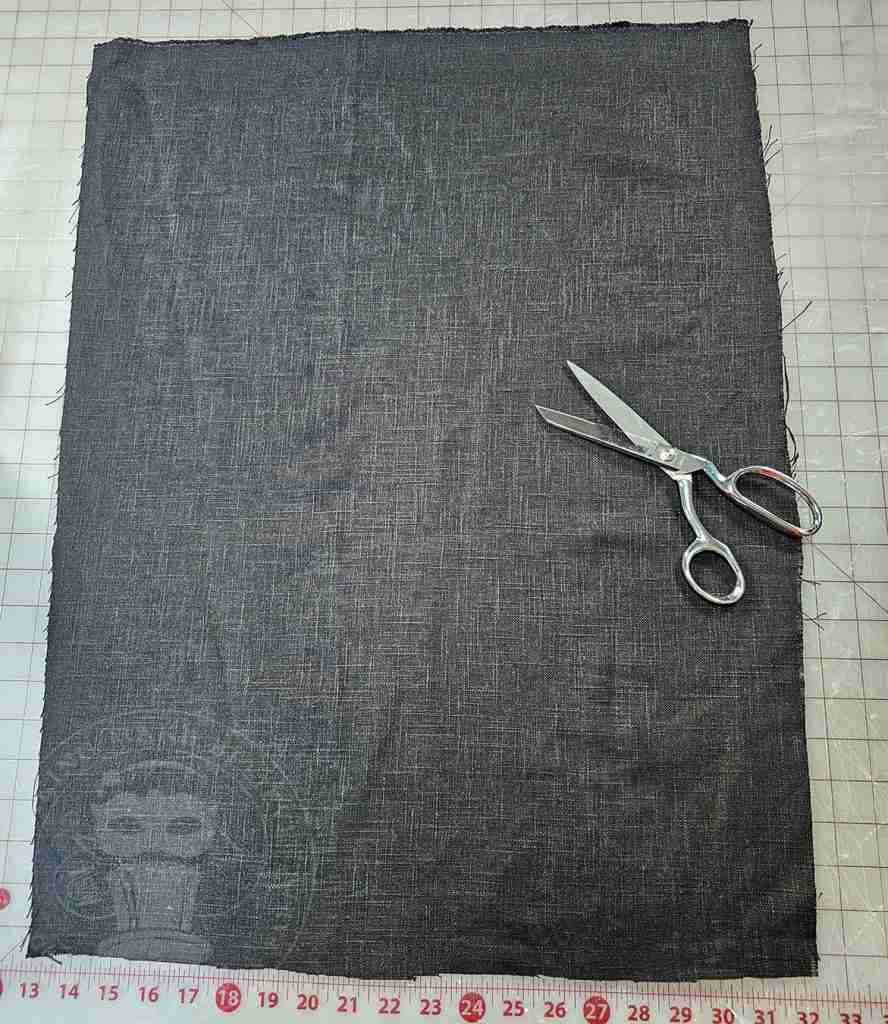
Lay the fabric face down and center the board on top.
Secure the fabric to one side of the board using the staple gun.
Next, secure the opposite side by pulling the fabric taut and stapling in place.
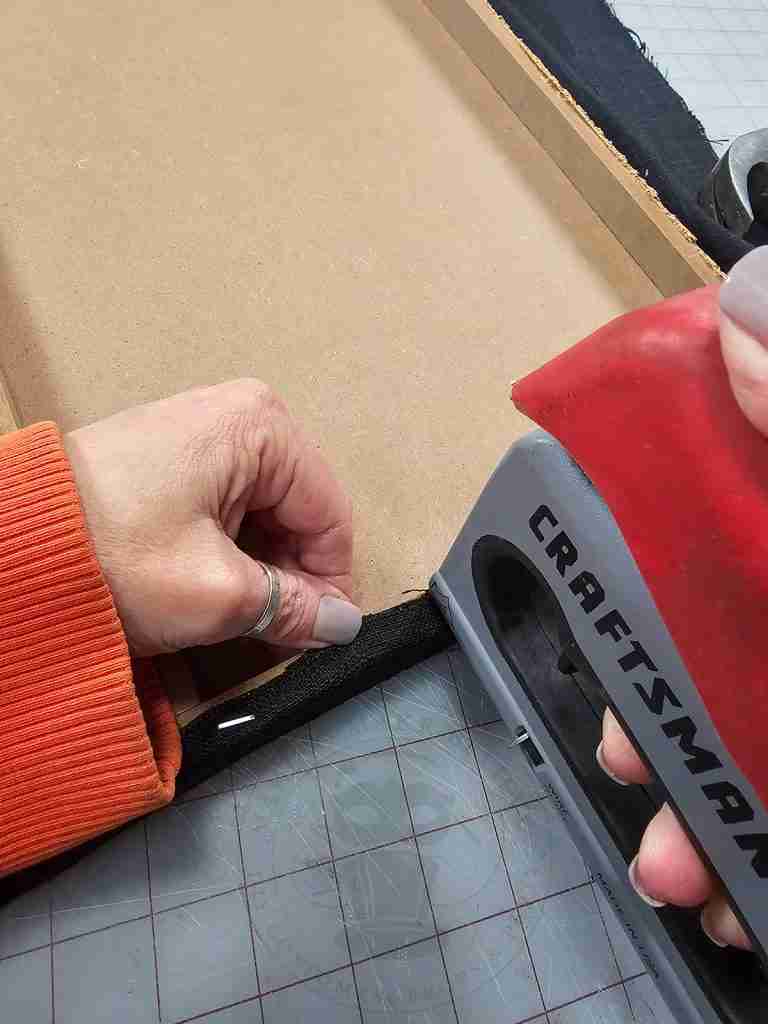
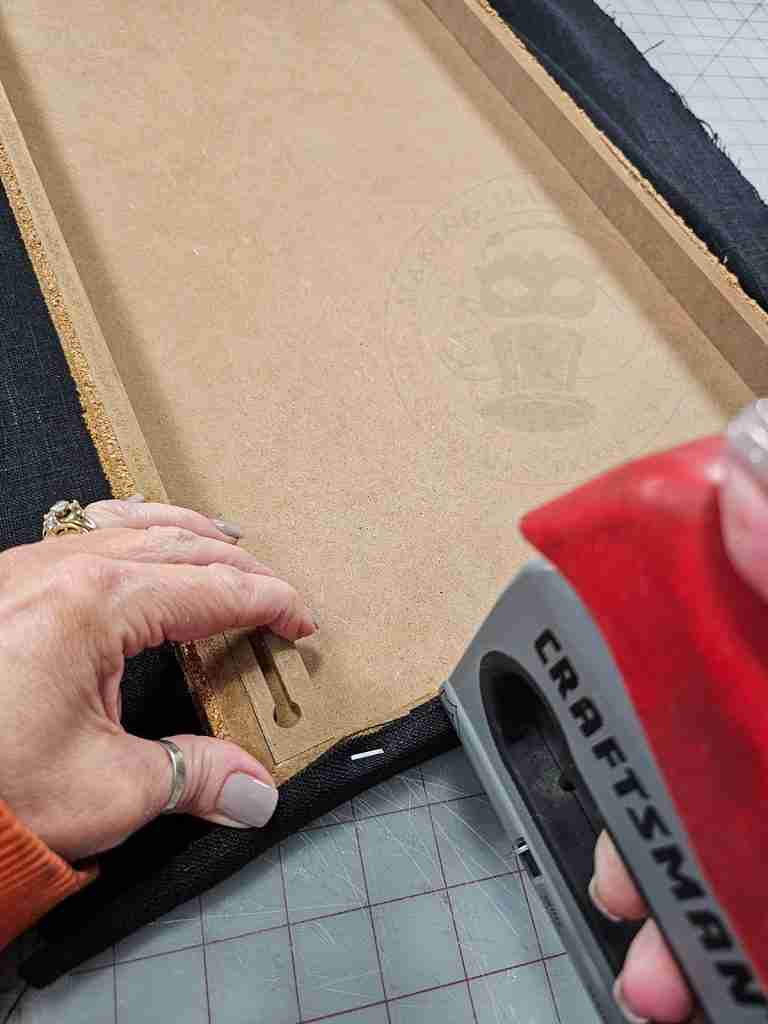
Complete the remaining two sides the same, gently pull them taut, and staple them into place.
Continue until you have secured all of the fabric to the board.
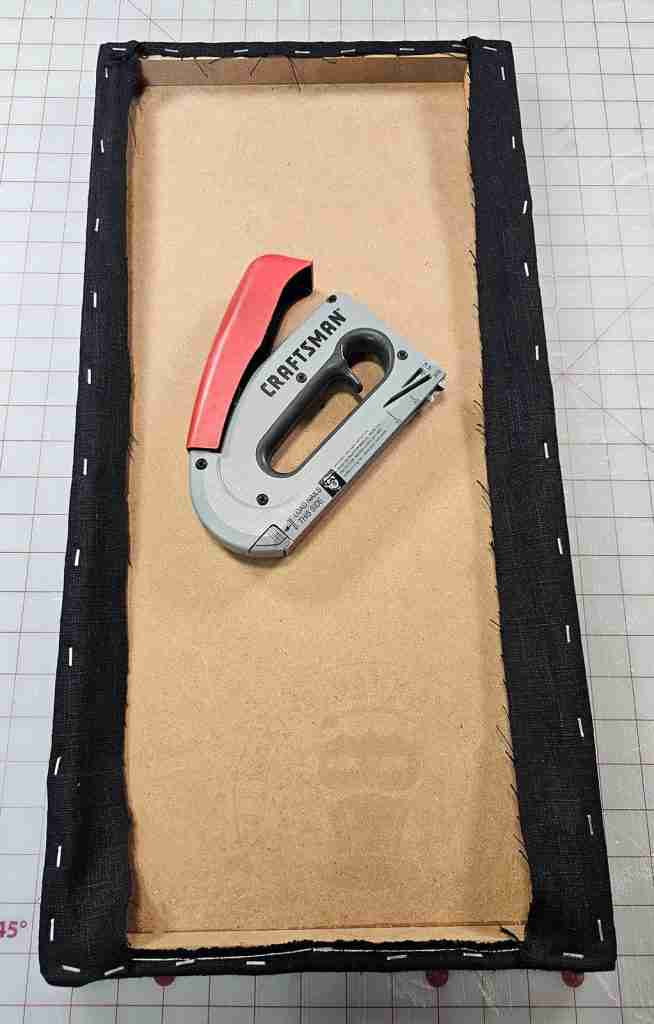
Now that the board is covered, determine if you want a pattern for your ribbon placement or if you prefer it to be random.
Note that when selecting your ribbon, pick something sturdy and non-wired. I like grosgrain for this project.
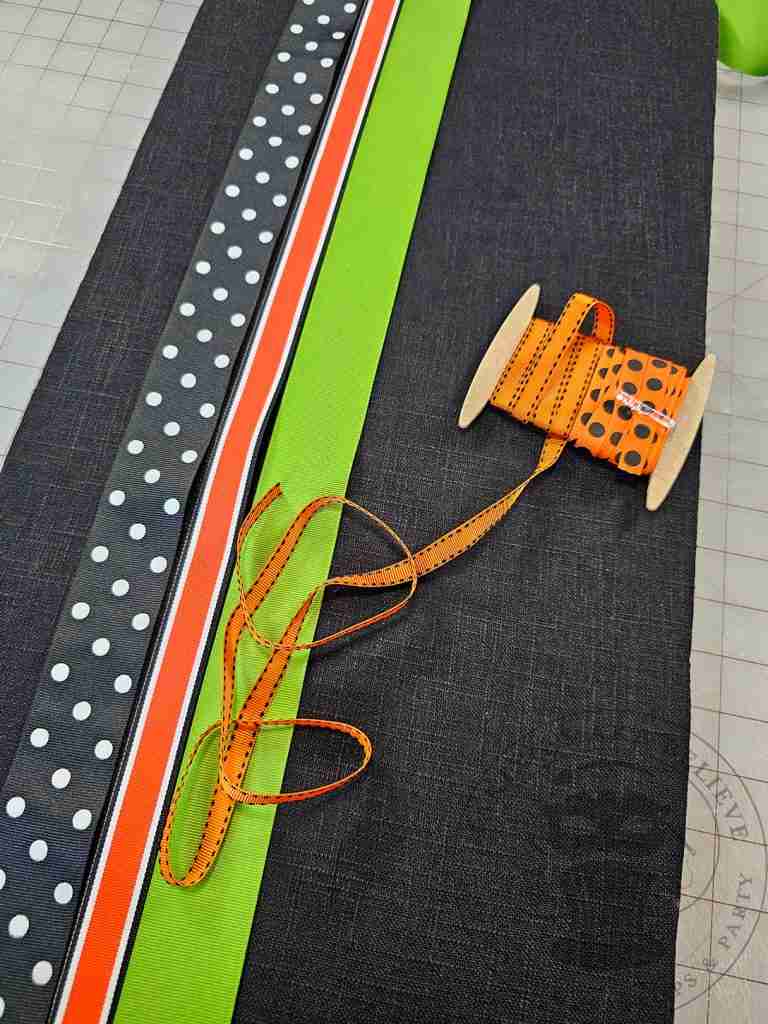
Stretch the ribbon over the length of the board and, using the pushpins, secure it along the top and bottom edge, leaving enough extra to wrap around to the backside.
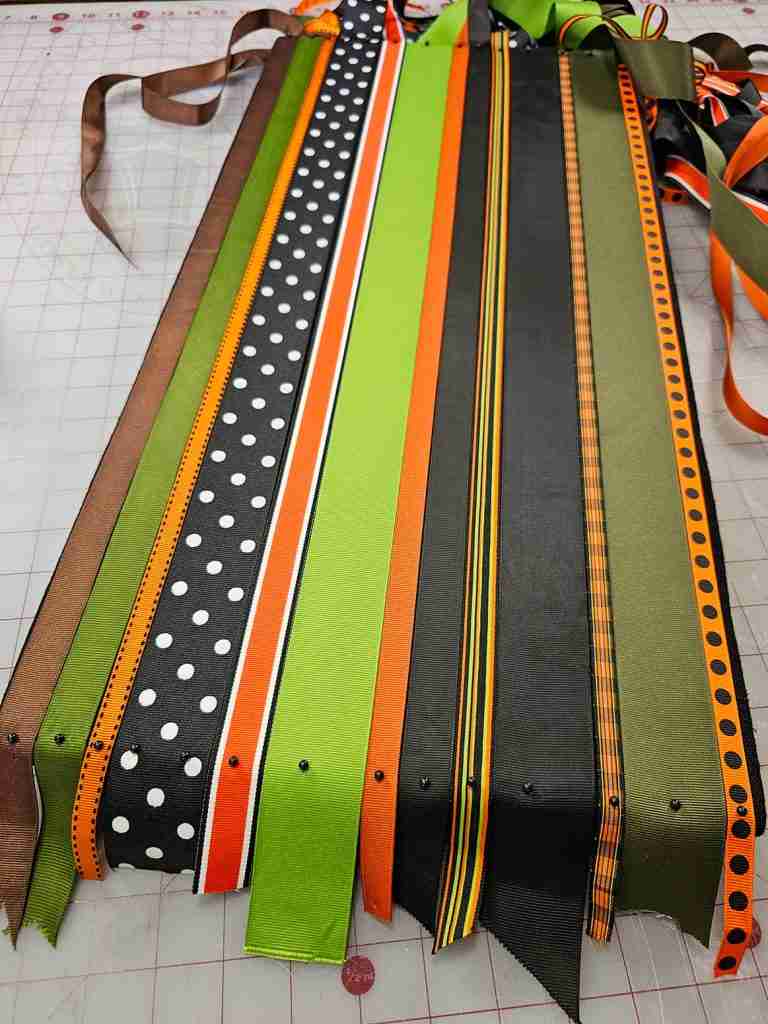
Once you’ve covered the board, flip it over, staple the ribbon ends to the back, and remove the pushpins.
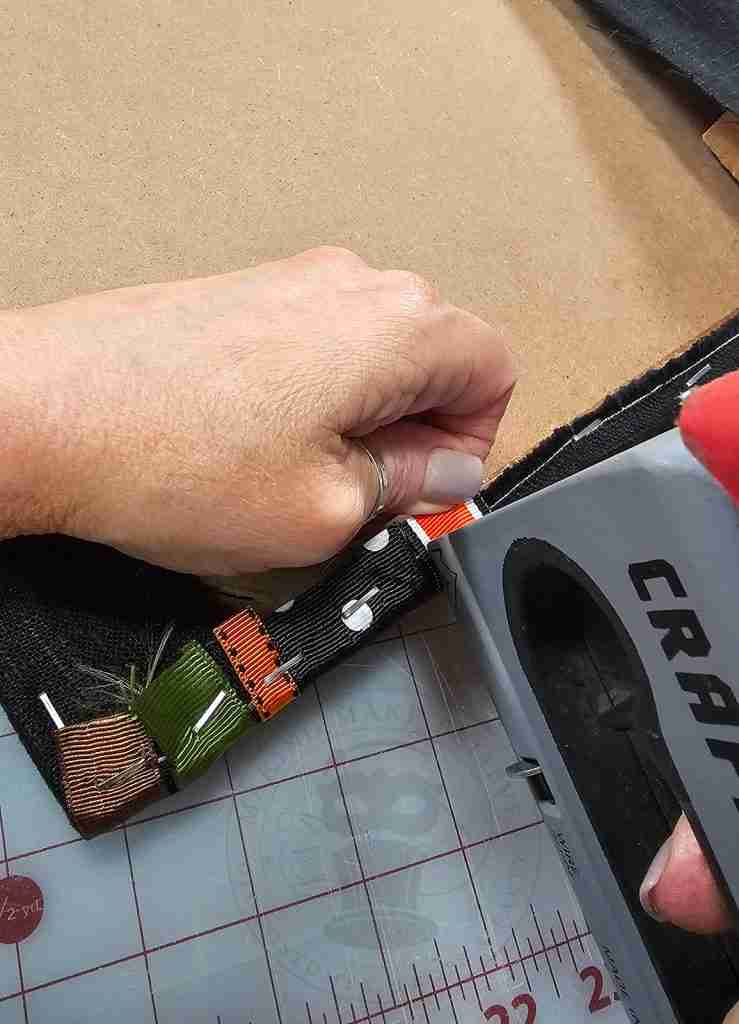
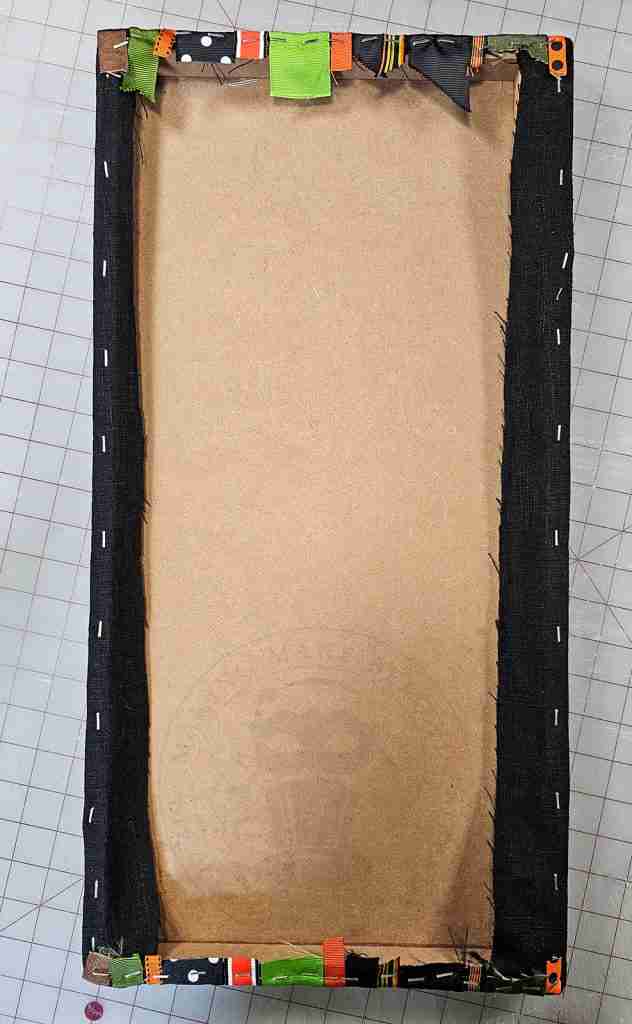
Add a hanger to the back, or simply lean the board against a wall.
I hot glued a piece of felt to the back to give a clean finish. This will also help to protect the wall.
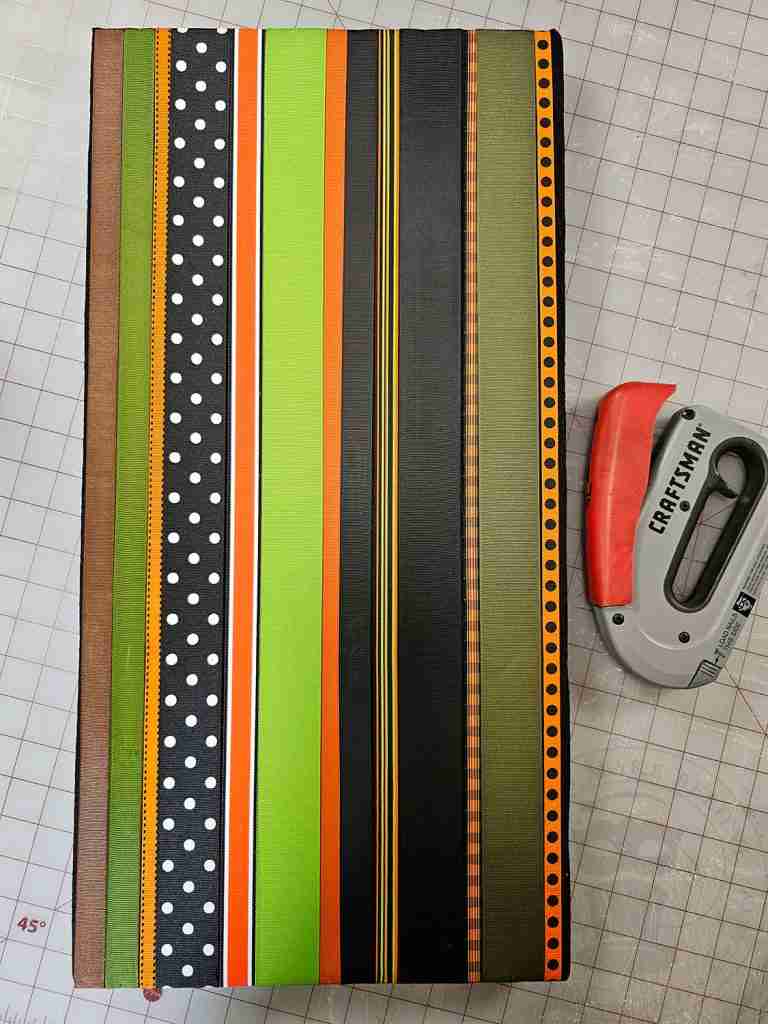
Now load it up with all the fun bits. Add photos, old postcards, vintage Halloween die cuts, invitations, and other mischief and memorabilia by tucking pieces under the ribbons or pinning them to the board.
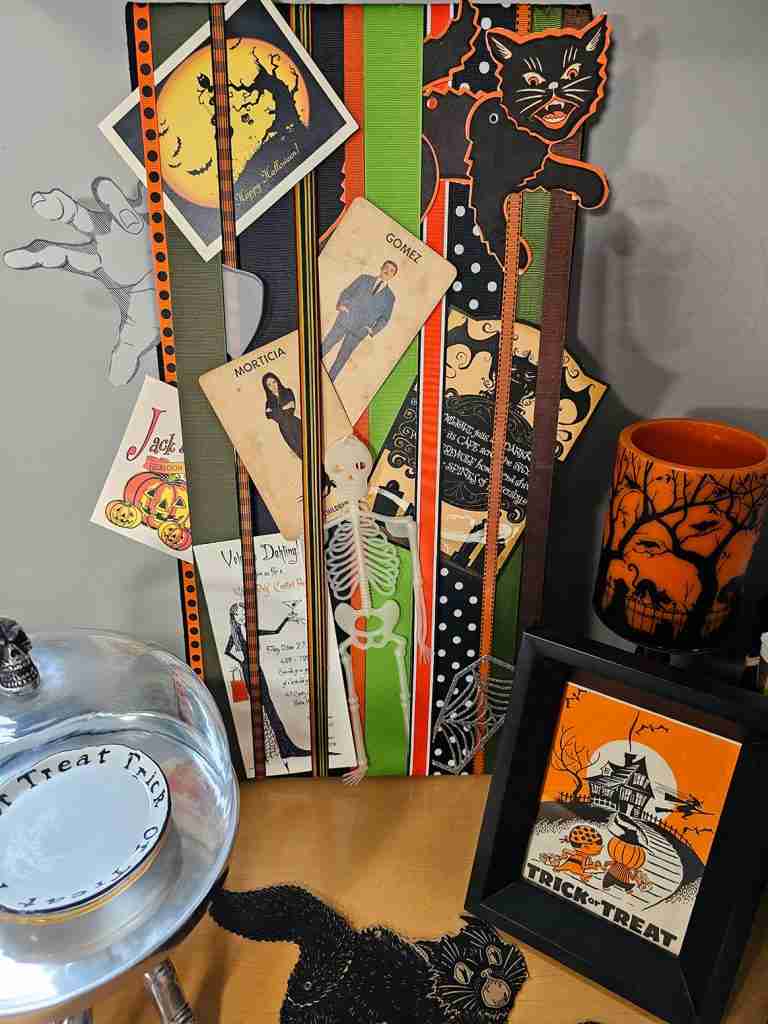
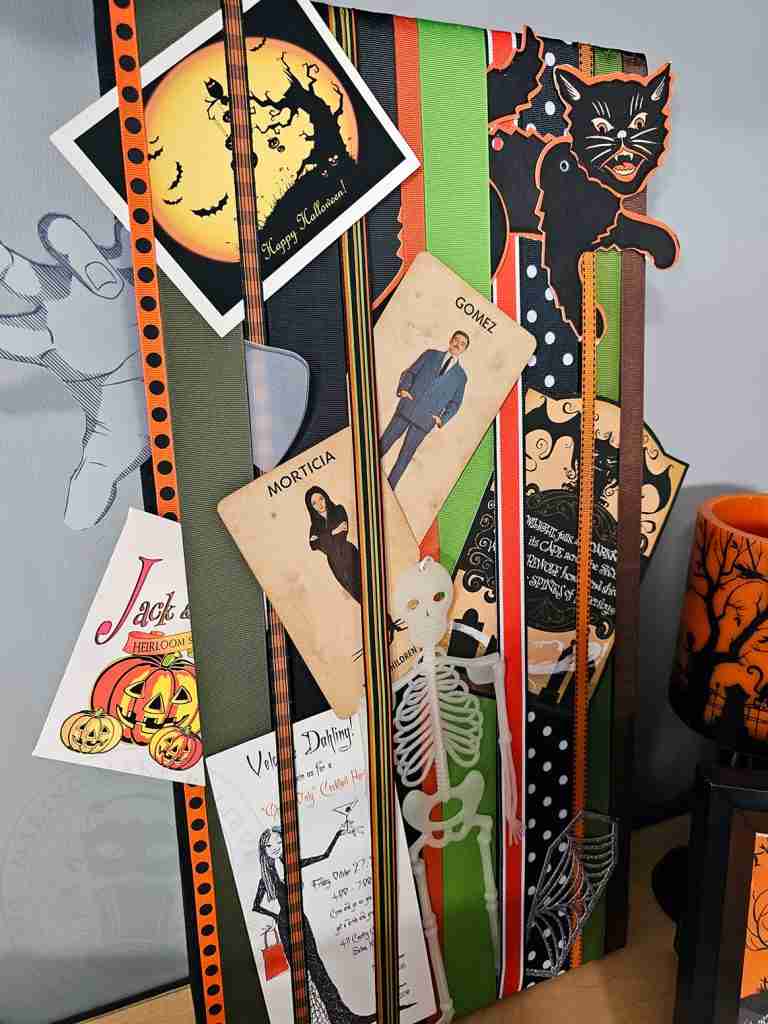
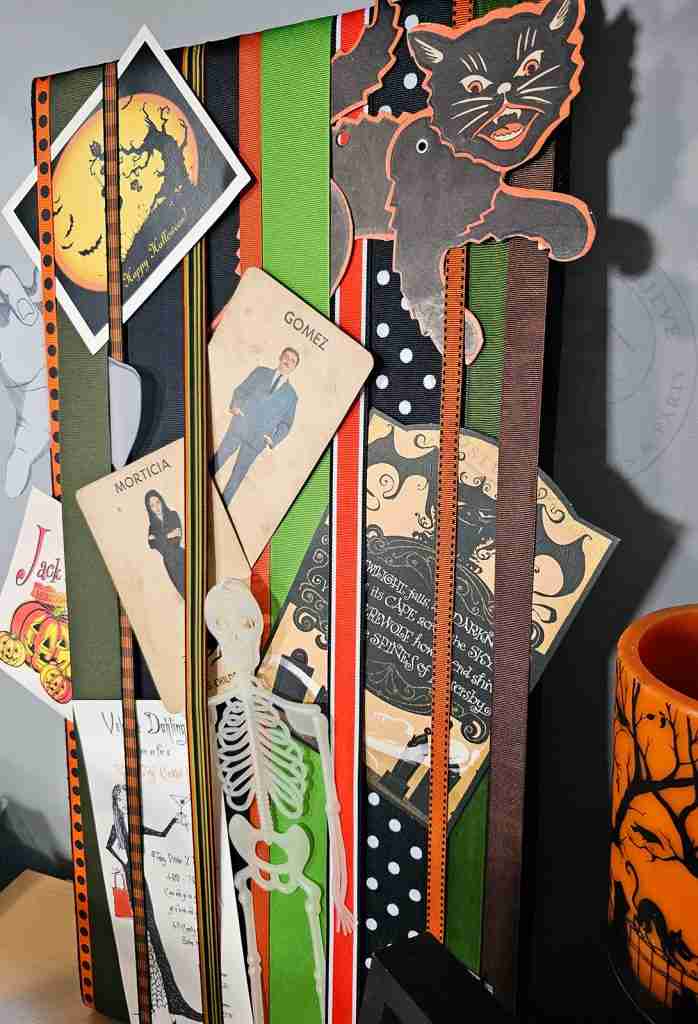
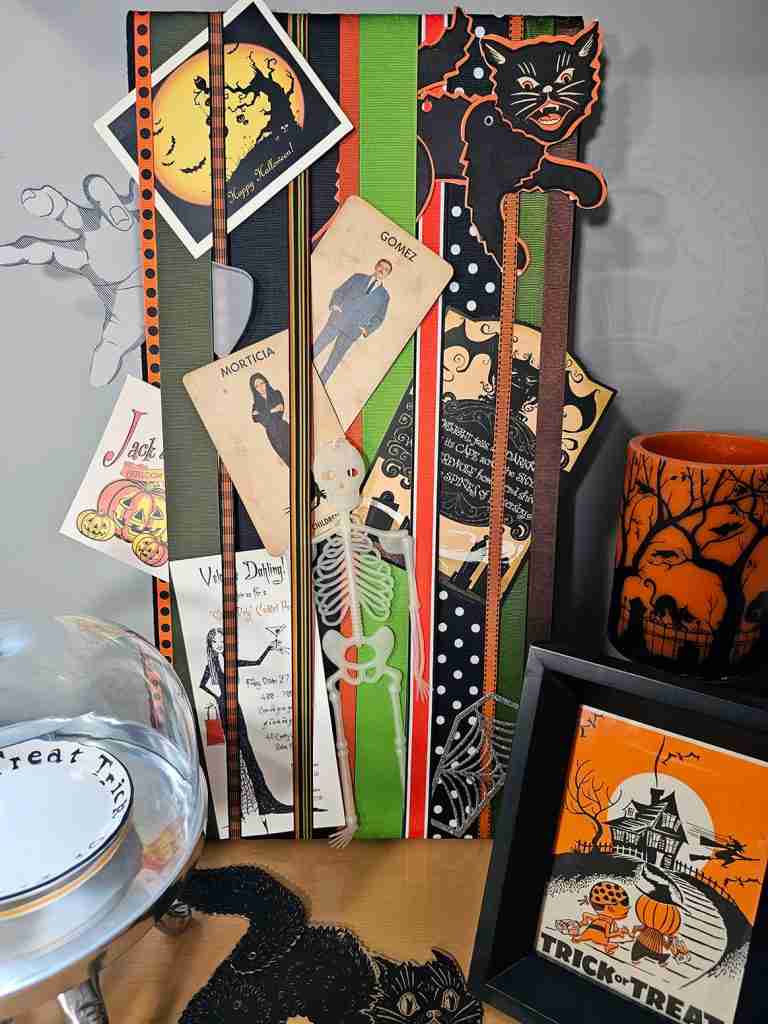
This Halloween memory board was a great way to use some of my favorite ribbons I’ve been collecting.
Now that I’ve seen it in action, I can’t wait to make a larger one following Martha’s tutorial.
After all, I’m sure I can fill it up.
Until next time – stay spooky.

Templates, patterns and printables for every project on the blog.

Counting down to Halloween since the 1970s. I create, style and celebrate all things costume and Halloween, all year round.
Welcome to my world of Halloween Ever After, where I create, style, and celebrate all things costume and Halloween.
Within these haunted pages lie affiliate links to curious and captivating finds I love. If you make a purchase through them, I may earn a modest commission (think fun-size candy bar), which helps keep the Halloween magic alive. No extra cost to you – cross my batty heart.



Check your email for the Haunted Library password.
Don’t miss a moment of the mischief.
Add hello@halloweeneverafter.com to your address book.
The magic happens right here in my studio and office. When you step inside my creative space, you’ll find an ever expanding gallery wall overflowing with original spooky art and classic Halloween LPs, right alongside a haunted cabinet packed to the brim with vintage curiosities.
It’s under the watchful eyes of these retro treasures that I design and craft.
Join us and get access to our Haunted Library stocked with templates, printables, cut files, and exclusive content. Plus, you’ll receive Eerie Emails just for our subscribers.
*Stay as long as you like. Unsubscribe at any time.


