Free templates & patterns
130+ freebies are waiting in the Haunted Library
Templates, patterns and printables for every project on the blog.
Formerly Making Make Believe · Join the Haunted Library

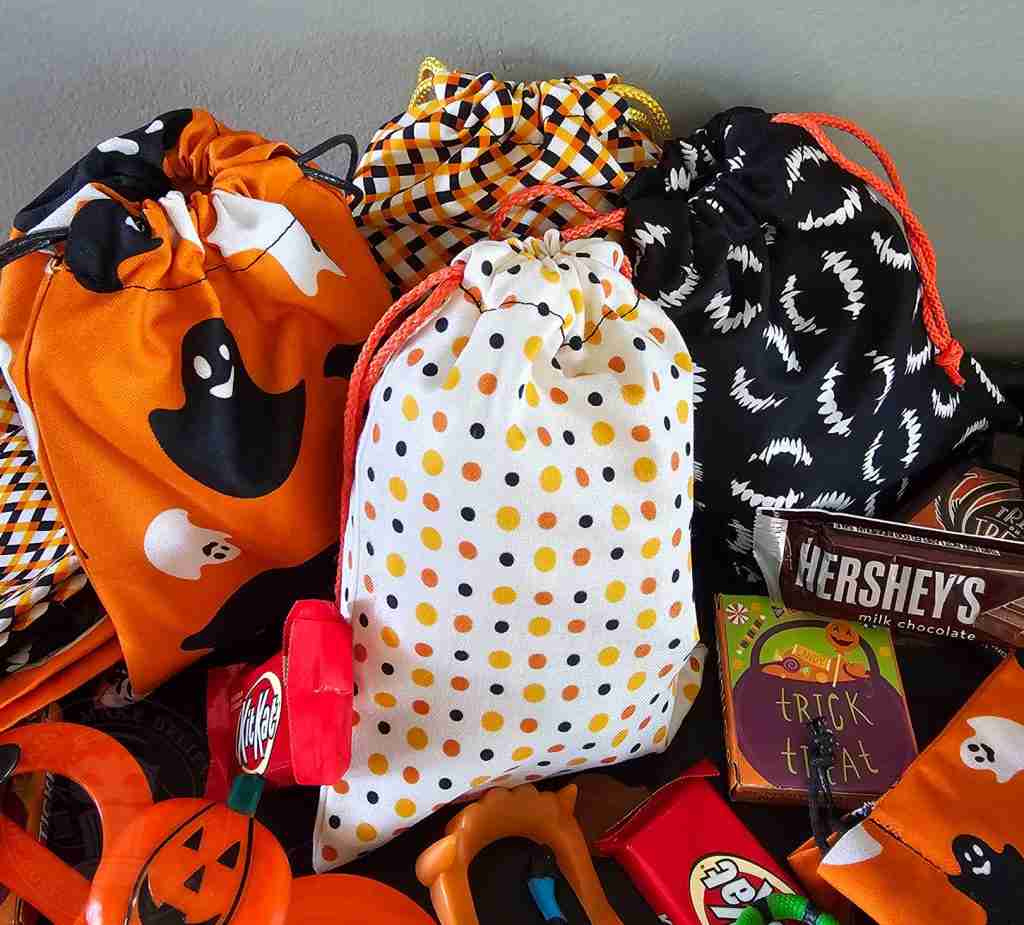
Halloween Treat Bags
As an Amazon Associate I earn from qualifying purchases.
This post may contain affiliate links for your convenience. Click here to read our disclosure policy.
One of my favorite parts of the Halloween season is watching the kiddos in costumes going trick-or-treat.
I miss the days when the boys were little, and we would be busy planning and preparing costumes, filling treat bags, and decorating the yard. It is such a fun season.

While our boys are long past the days of going trick-or-treating, we do have a few visitors each year. Our home is in a small subdivision off the beaten path, so our ghoulish guests are few, but I still enjoy handing out goodies.
We’ve been giving out treats by the handful or using cellophane bags to package our treats, but this year, I’m making our treat bags.
There are dozens of ways you can fashion a Halloween treat bag. I want something simple yet reusable so the bag is still useful when the treats are gone. And, in my continuing attempt to use up some of my stash, I want to make them from Halloween fabric.
So, let’s get started.
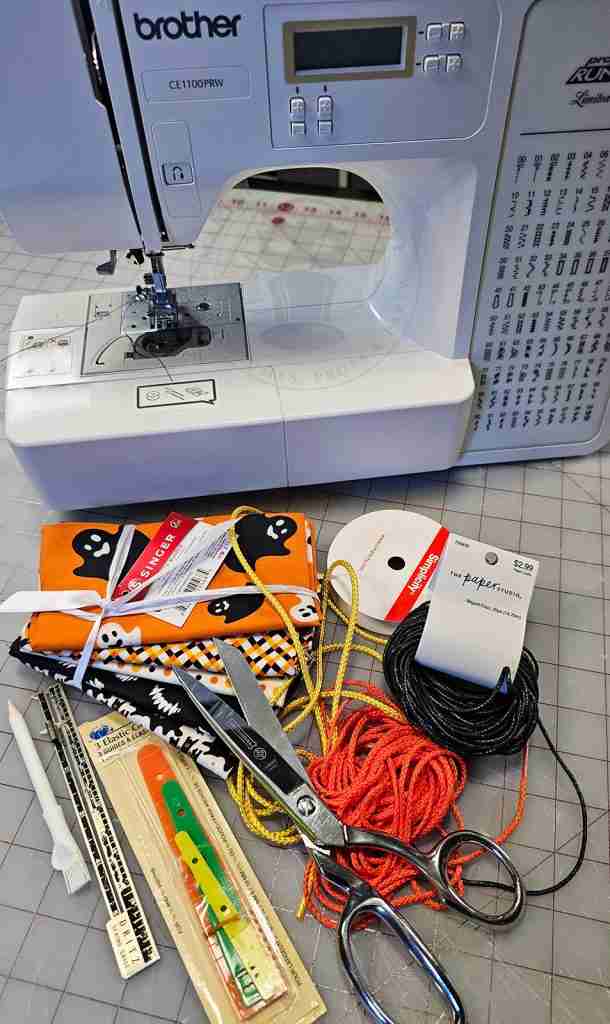
For this project, we will need:
Halloween print fabric *
Scissors
Ruler or sewing gauge
Fabric pencil or marker
Sewing machine or needle and thread
Cording for drawstring
Large safety pin or drawstring/elastic threader
Iron (optional but highly suggested for pressing fabric and folds)
*Small print, non-directional fabric is best for this project.
I’ve listed all the dimensions for this project below, but if you are more comfortable using a template, grab the Halloween Drawstring Treat Bag template from the Haunted Library.

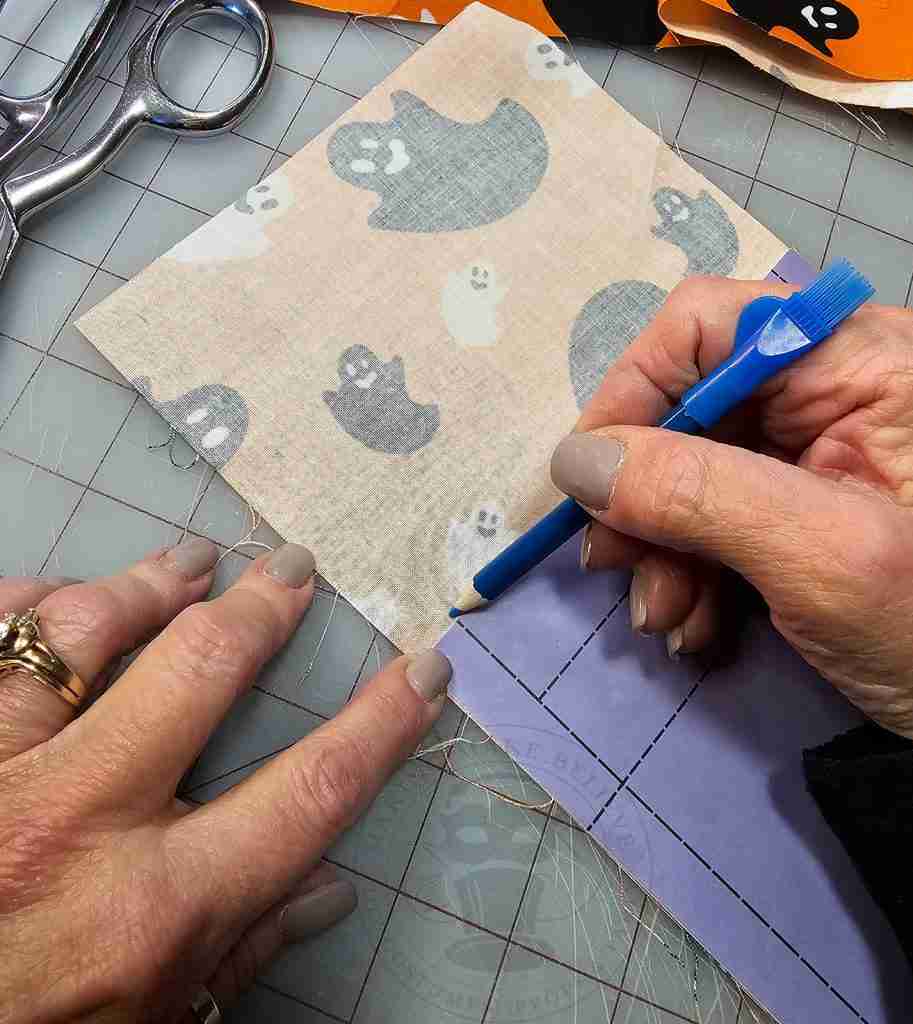
To begin, trace and cut a 6″ wide by 16″ long rectangle from your fabric.
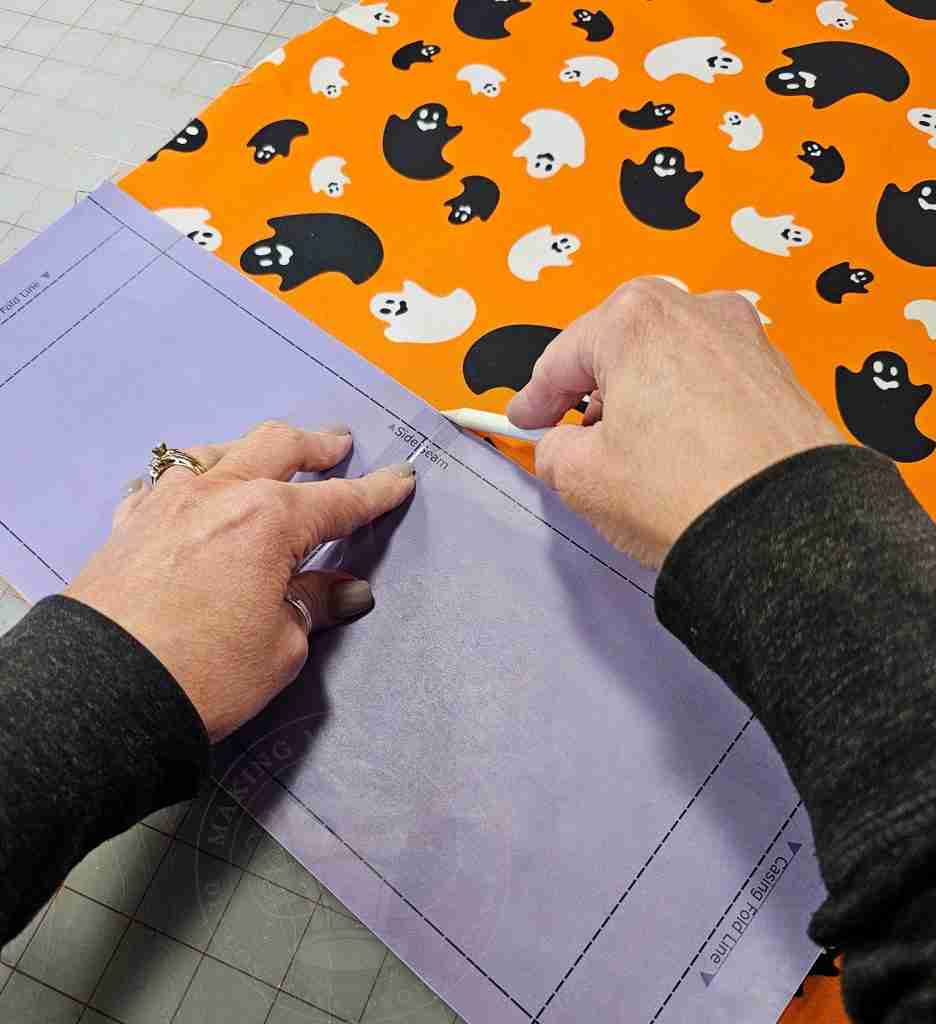
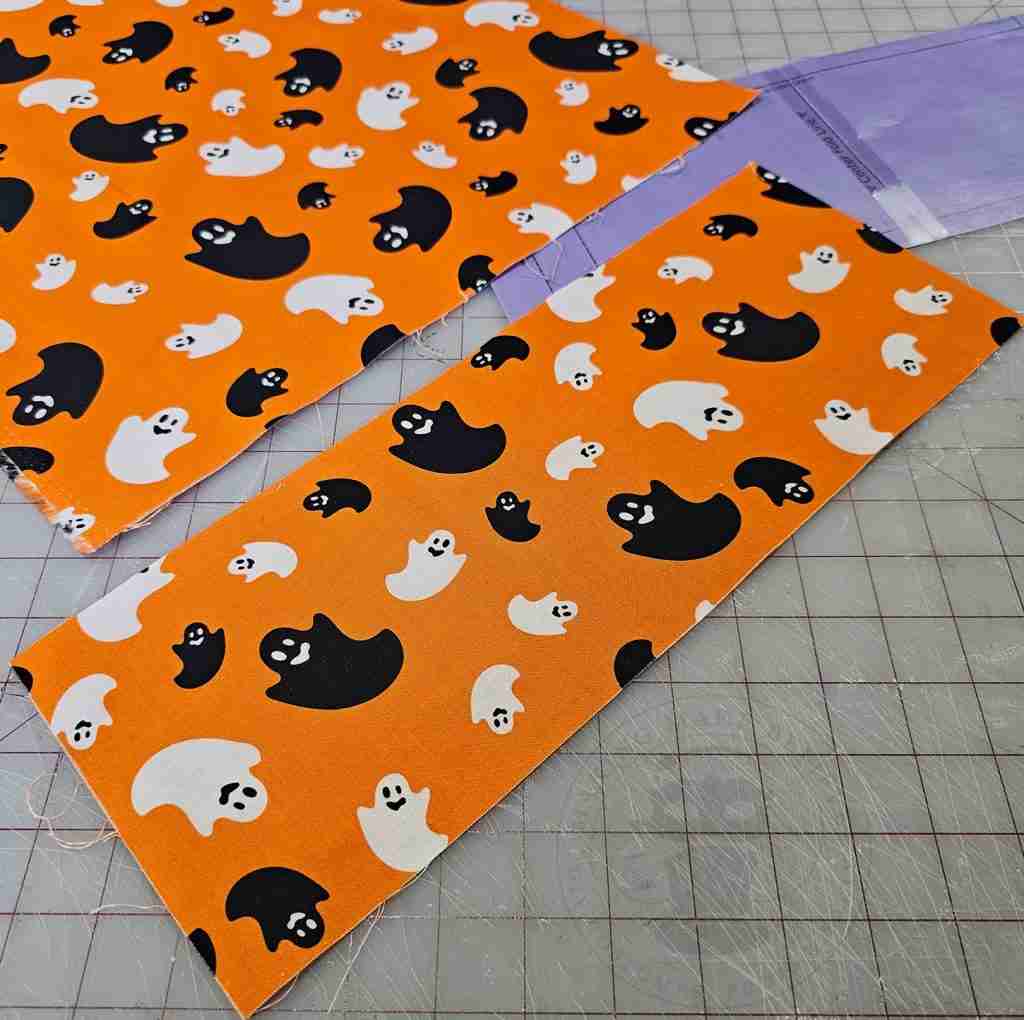
Mark the 1/2″ seam allowance on each long side of the fabric using a fabric pencil and a straight edge.
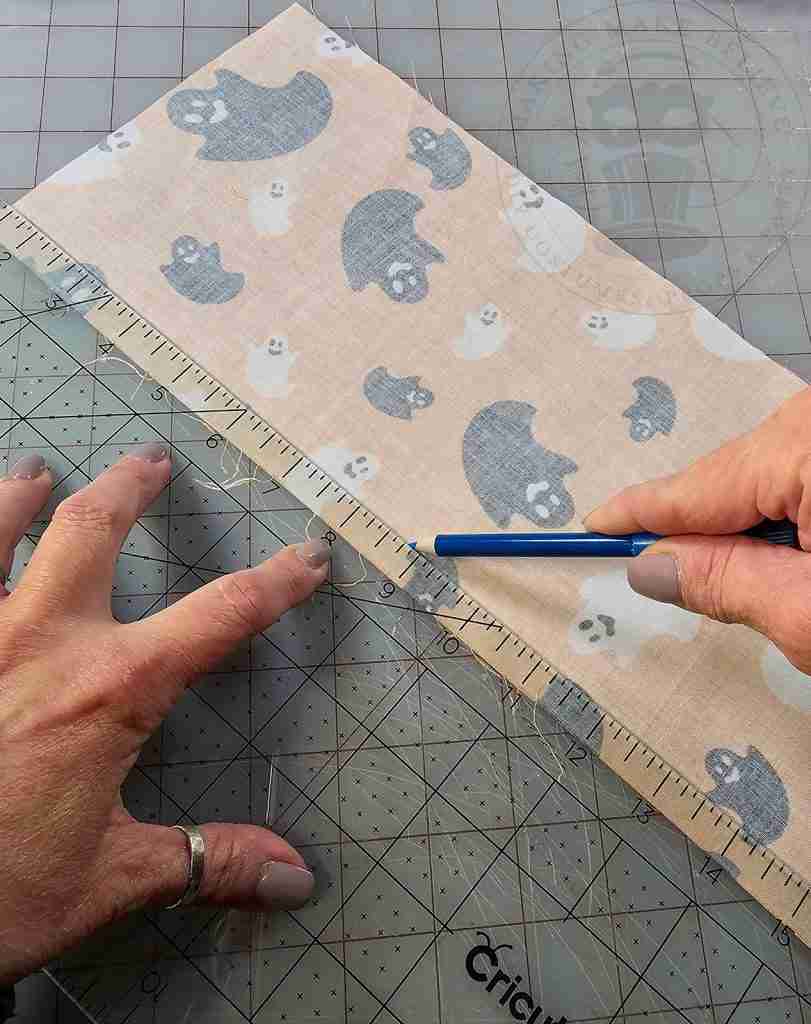
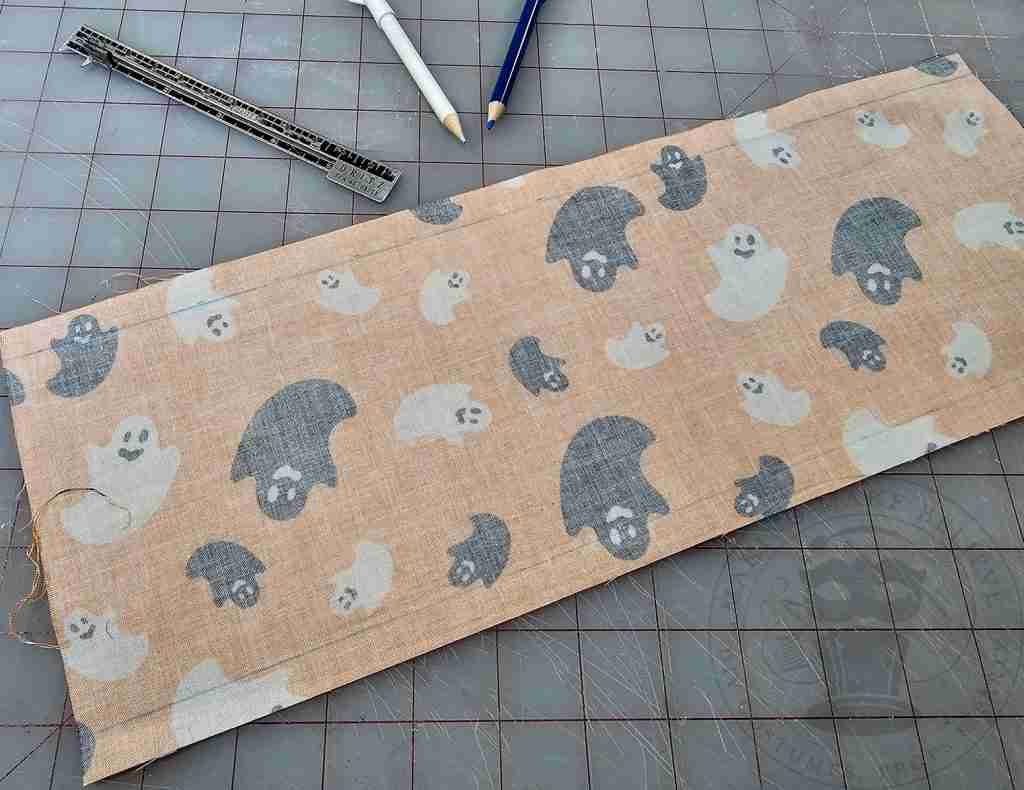
Next, make a mark across the fabric 2″ down from the edge of each short end.
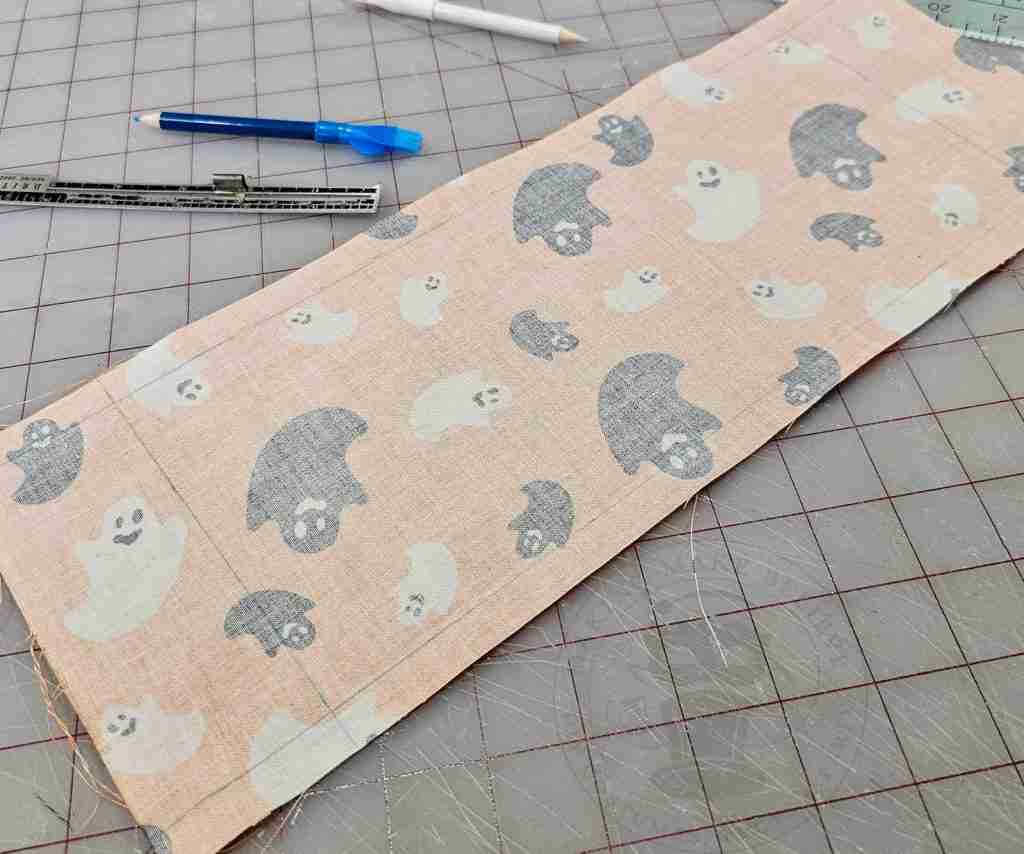
Cut into the seam allowance at each point where the lines intersect.
You will make two cuts on each side.
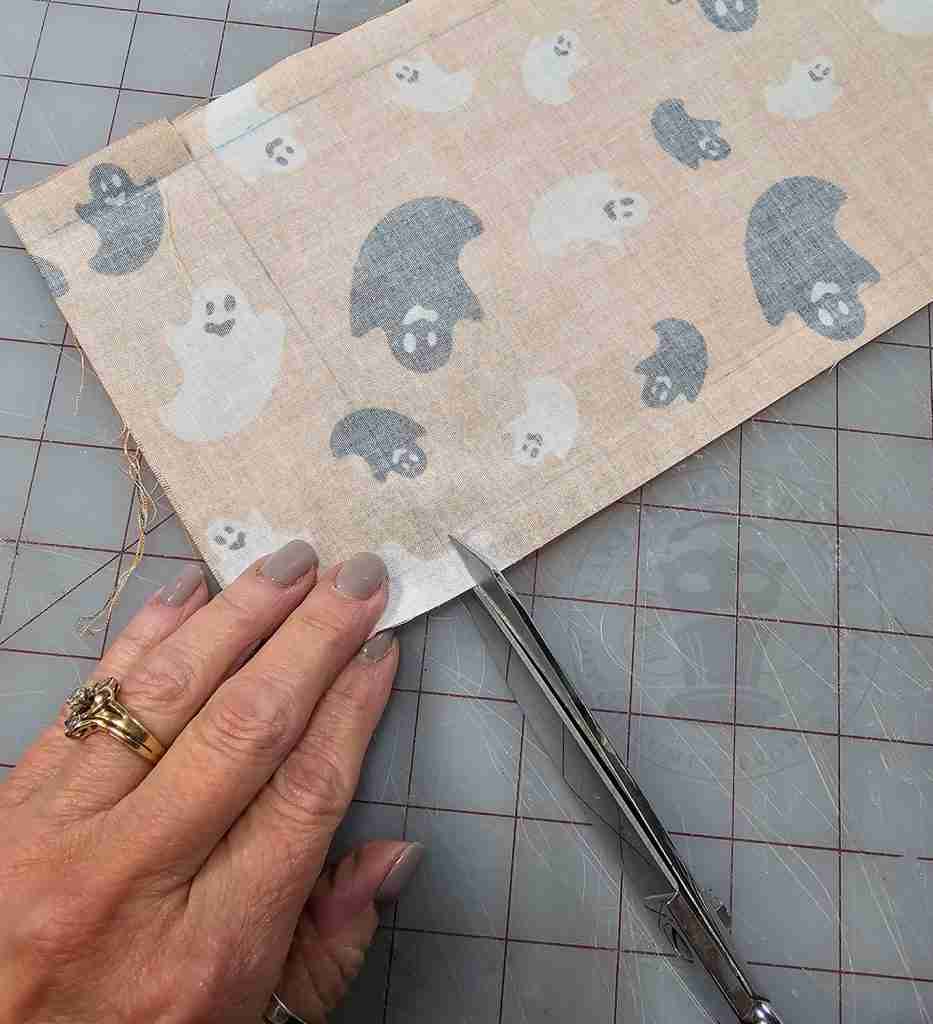
Fold in the seam line above the cut on both edges and fold the top edge down, aligning the raw edge of the fabric to your line.
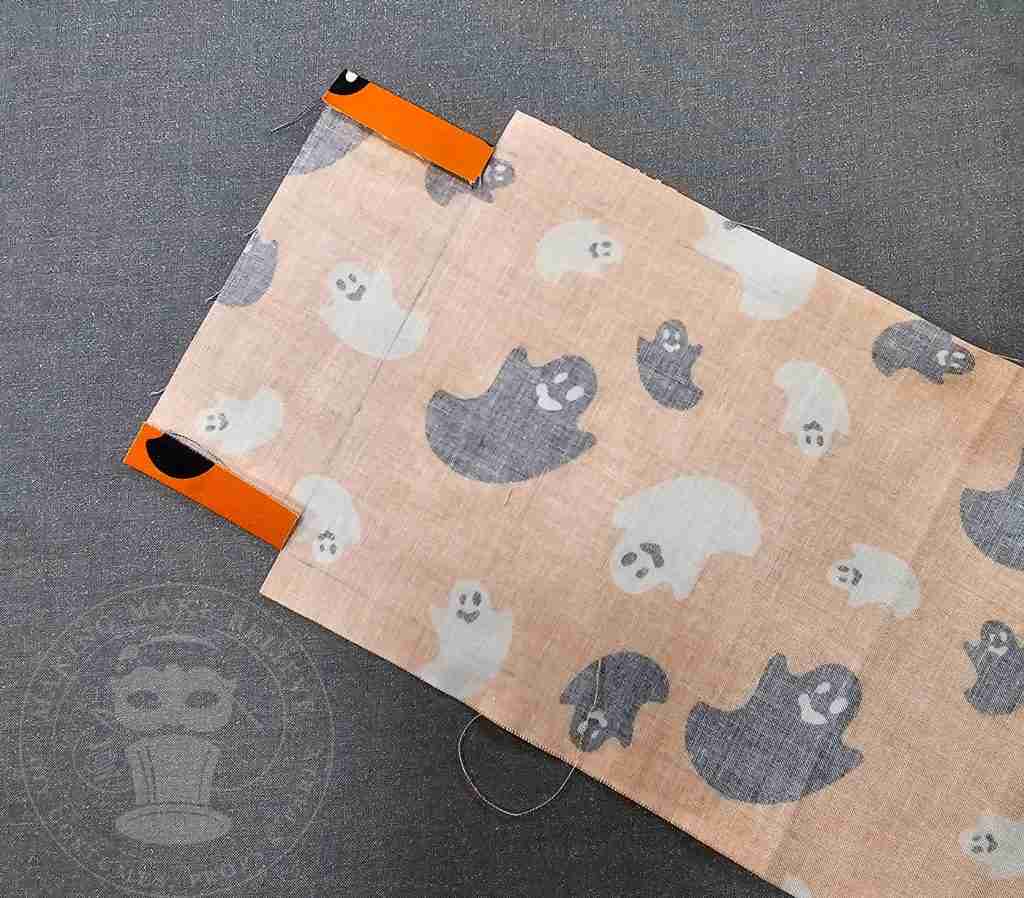
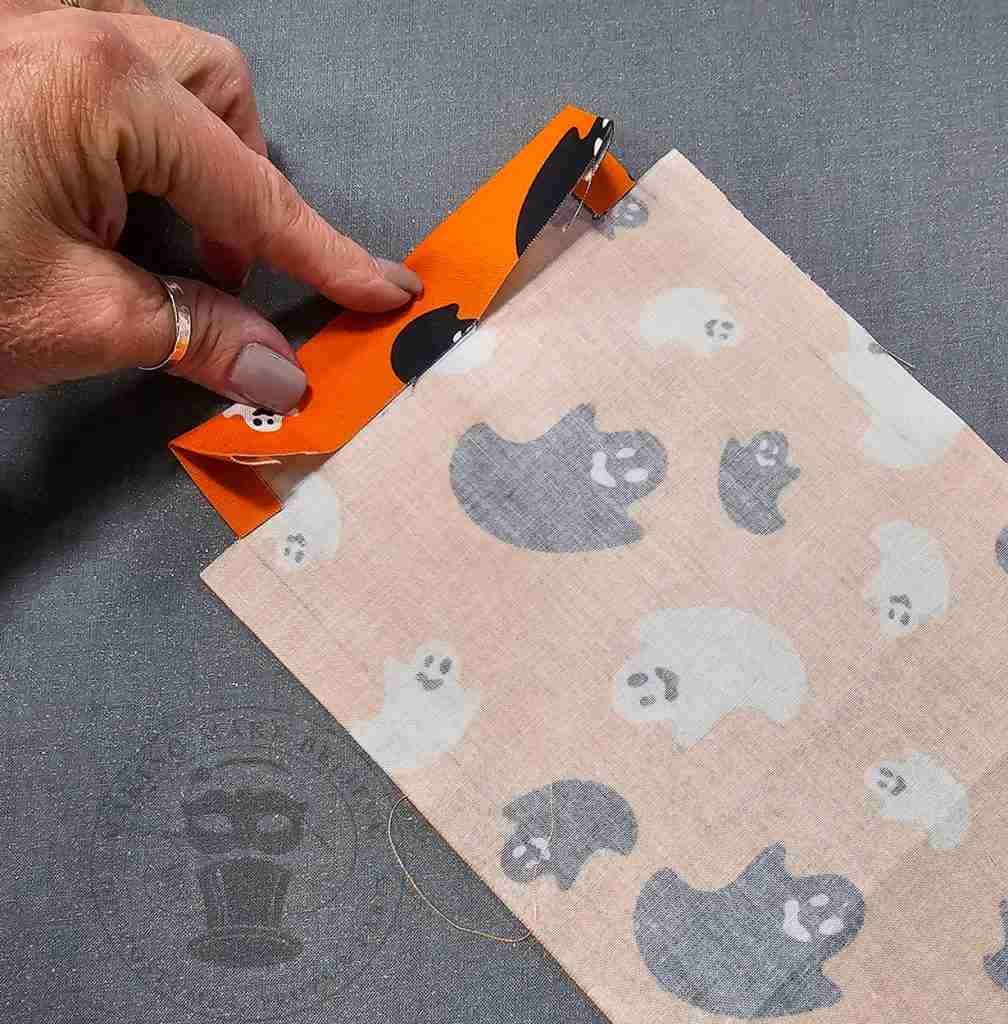
Sew to form the casing stitching close to the raw edge.
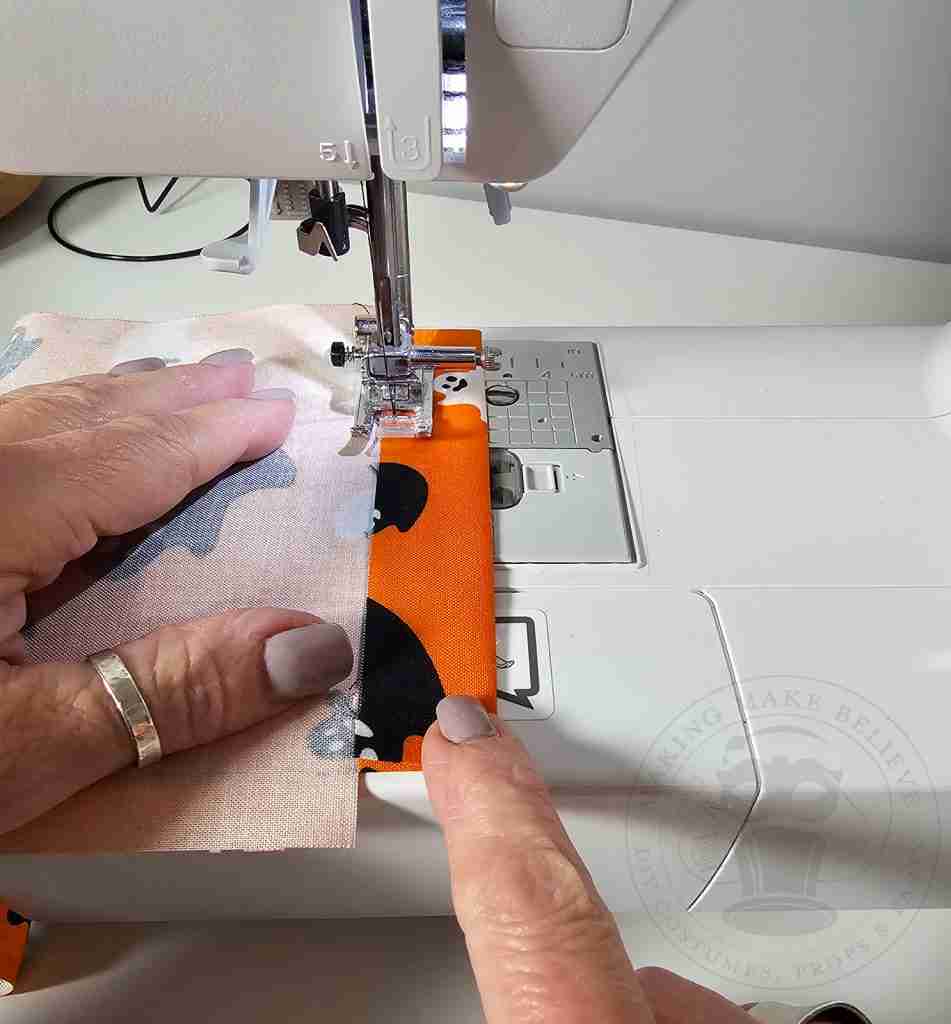
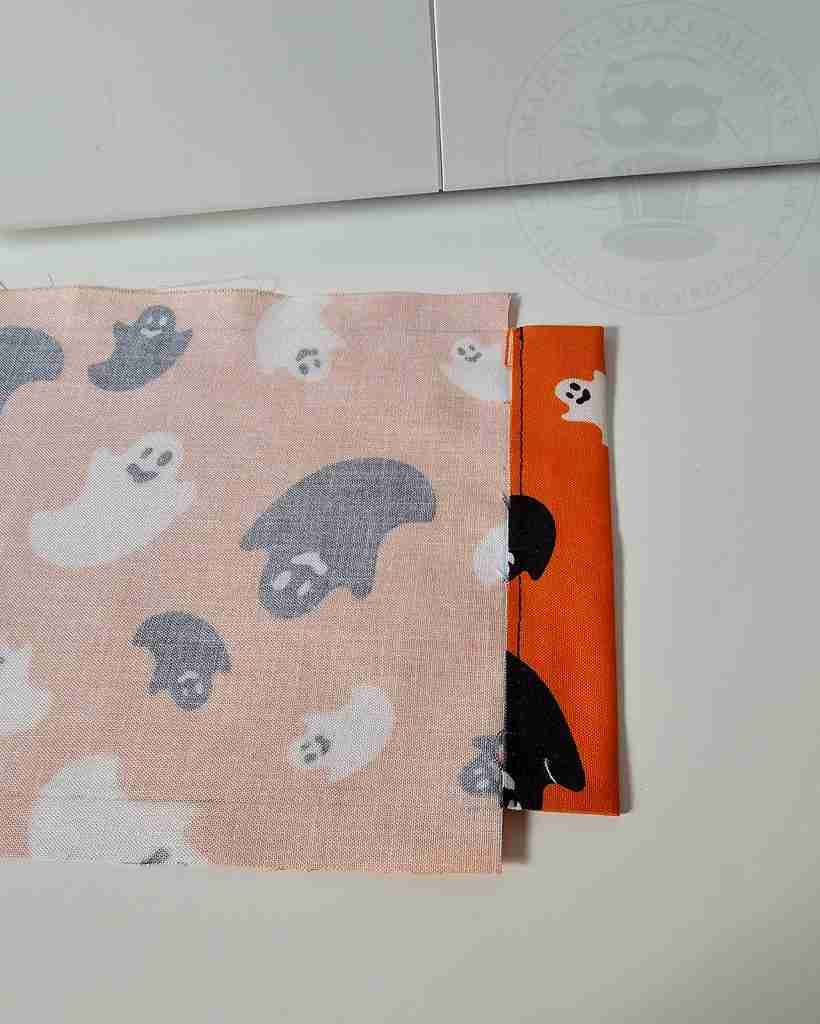
Repeat on the other end of the fabric.
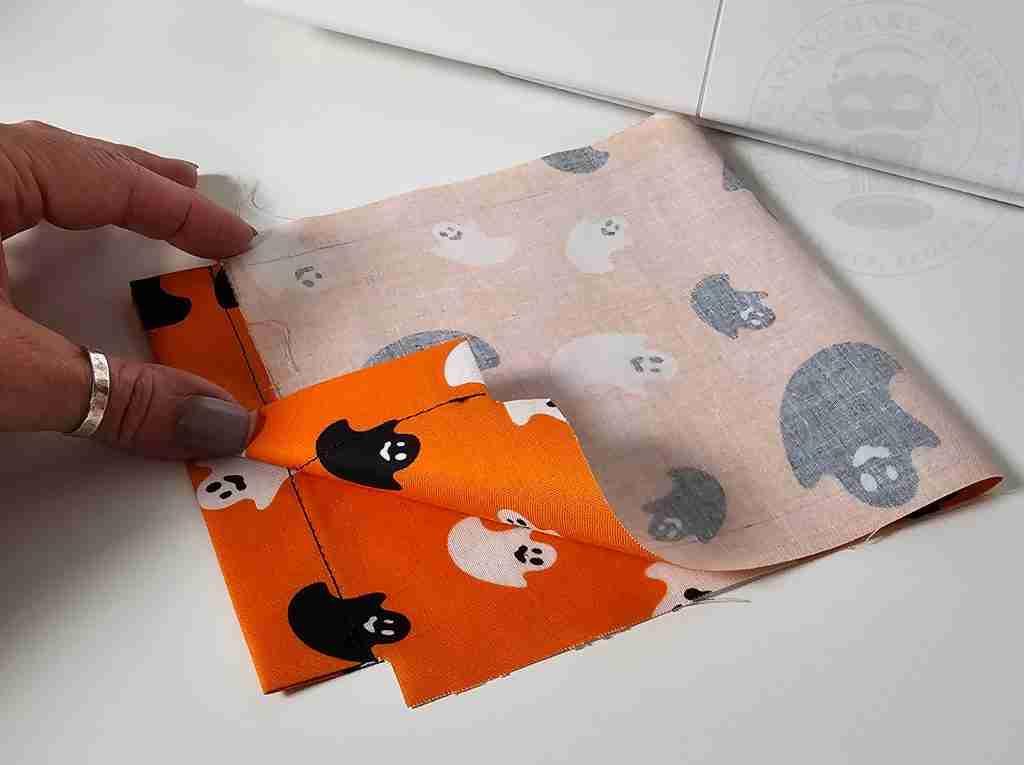
With right sides together, fold the fabric at the center and stitch up the sides following the 1/2″ seam allowance mark.
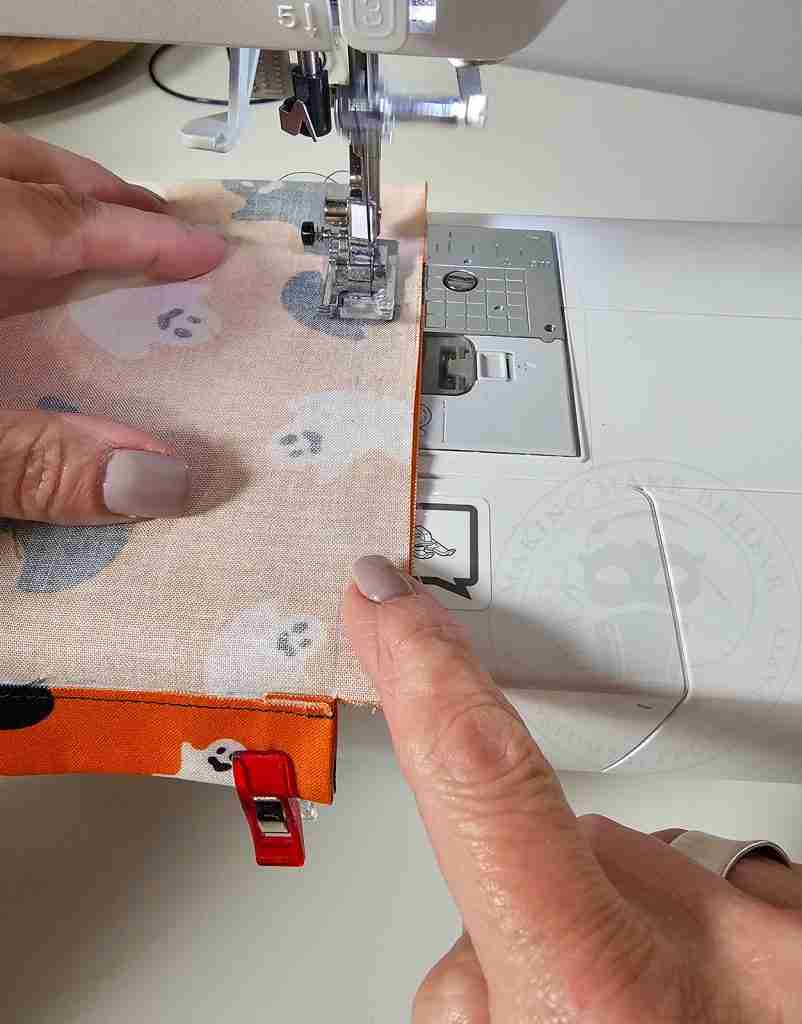
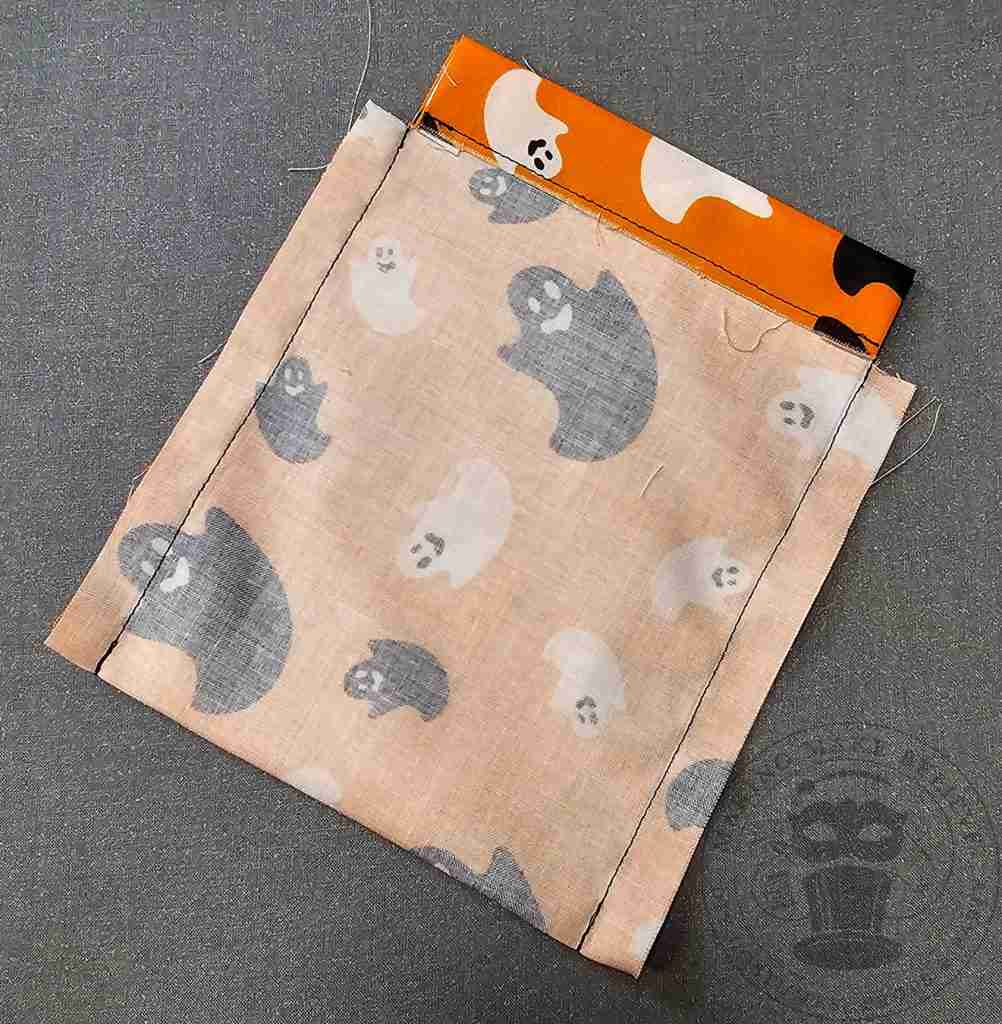
Trim the corners near the fold.
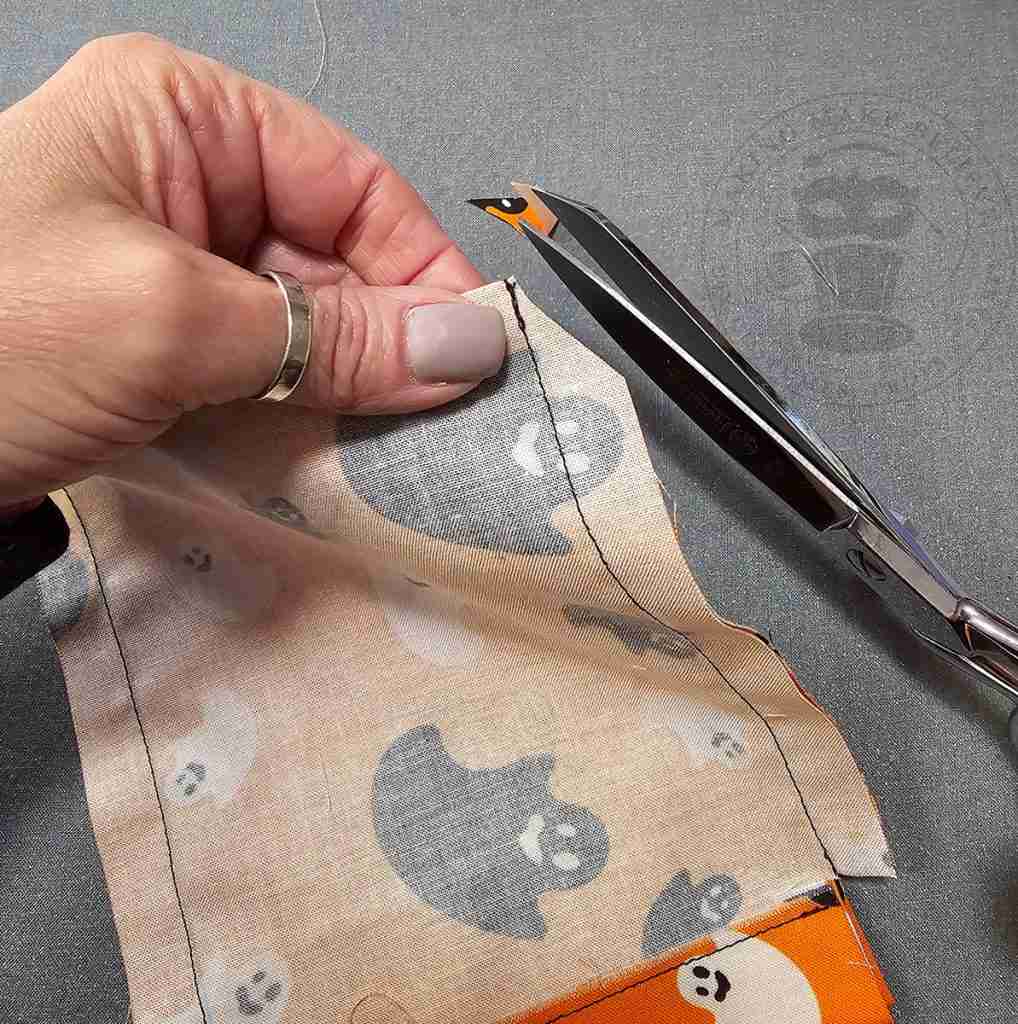
Turn your bag right side out.
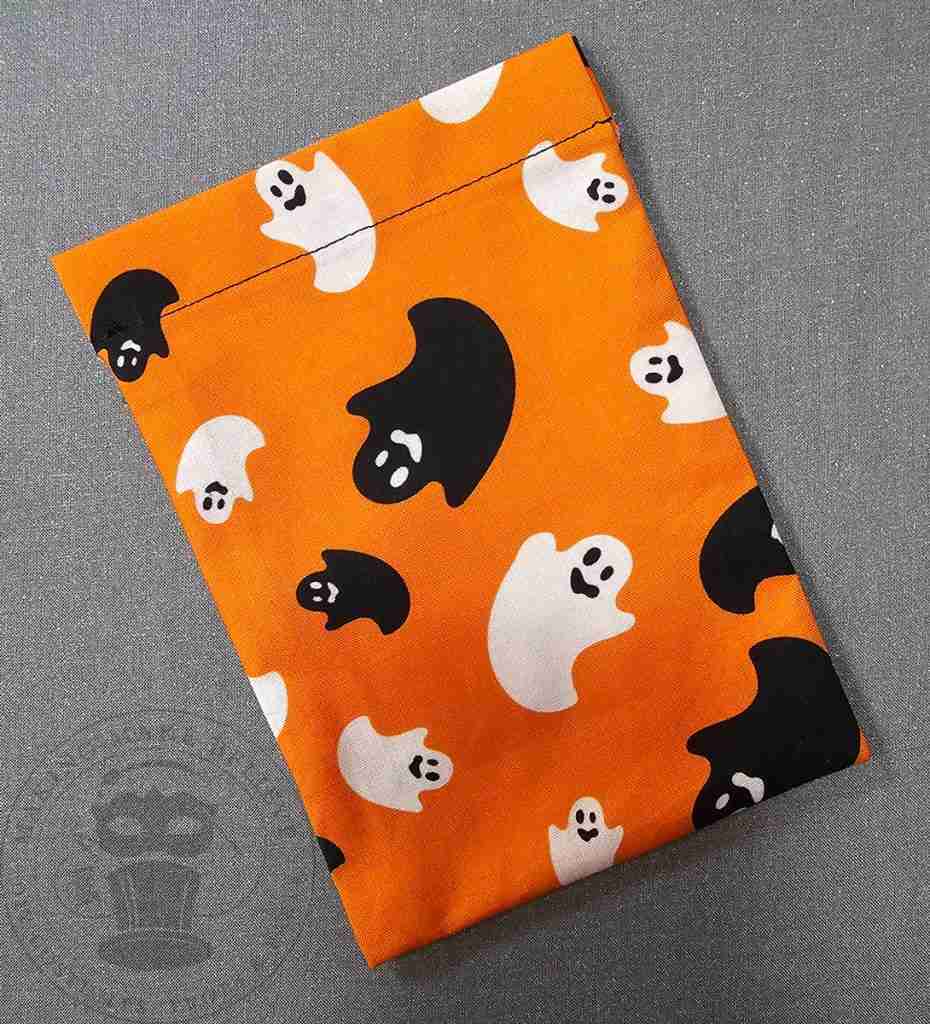
Cut two lengths of cord. I opted to keep my drawstrings short, so I cut the cord to 15″.
Attach one cord end to a drawstring threader or a safety pin.
Guide the safety pin or drawstring threader with the first cord through the drawstring casing – first on one side and then back through the casing on the other side of the bag.
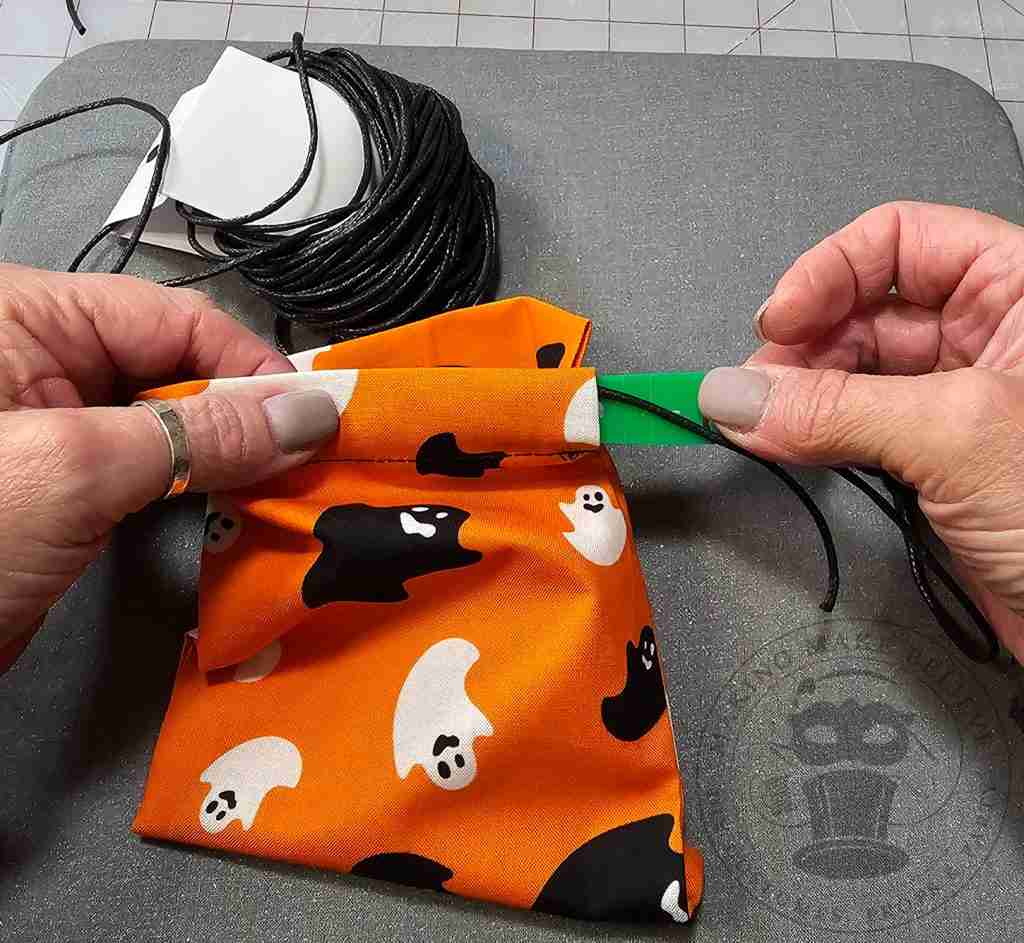
Now, repeat in the opposite direction with the second cord.
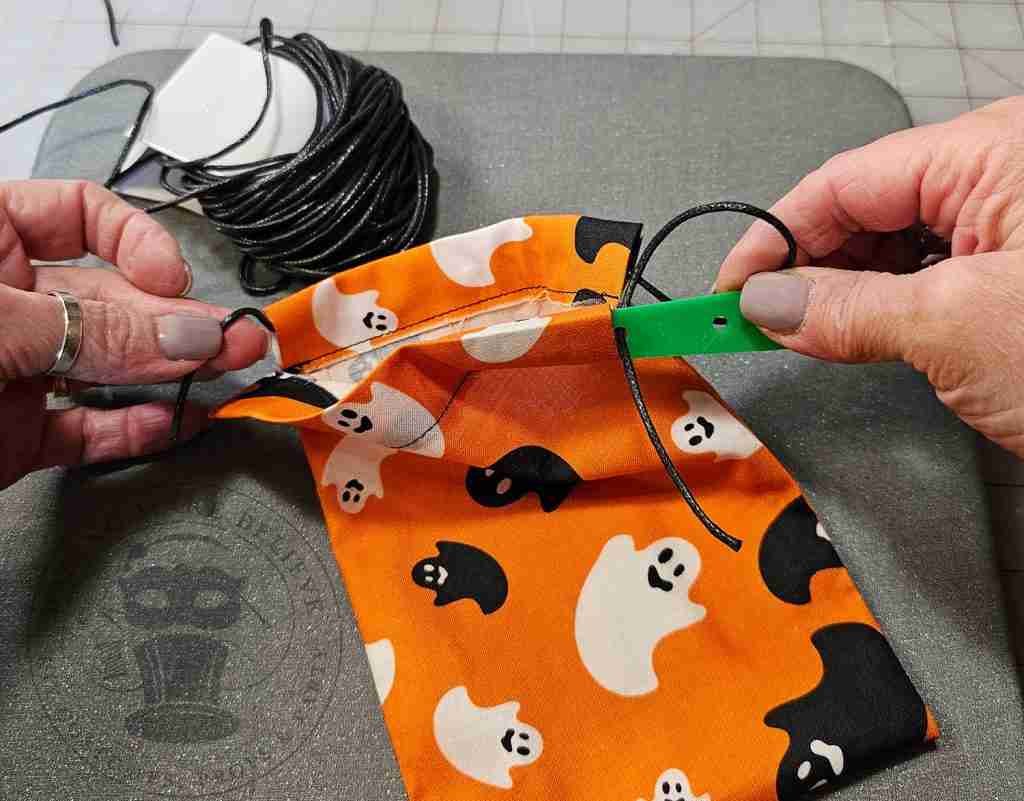
Knot the ends together, and your Halloween treat bag is complete!
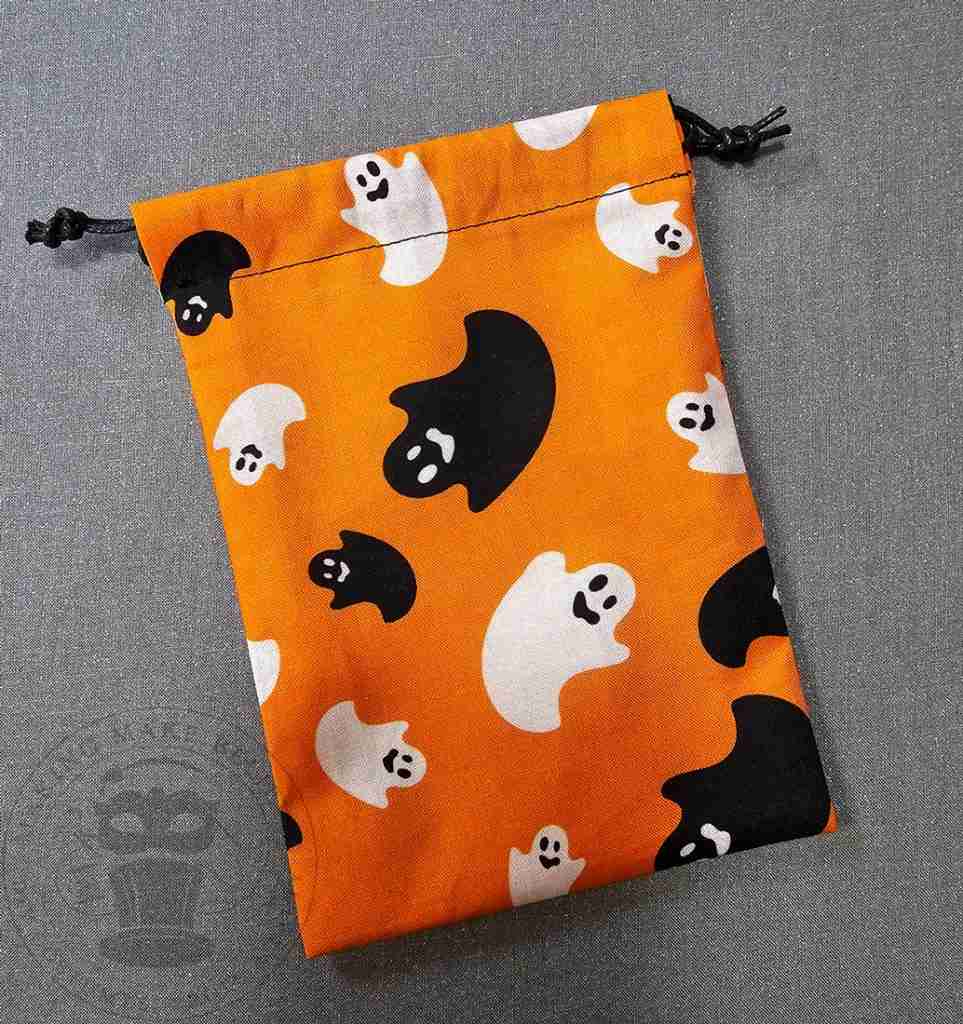
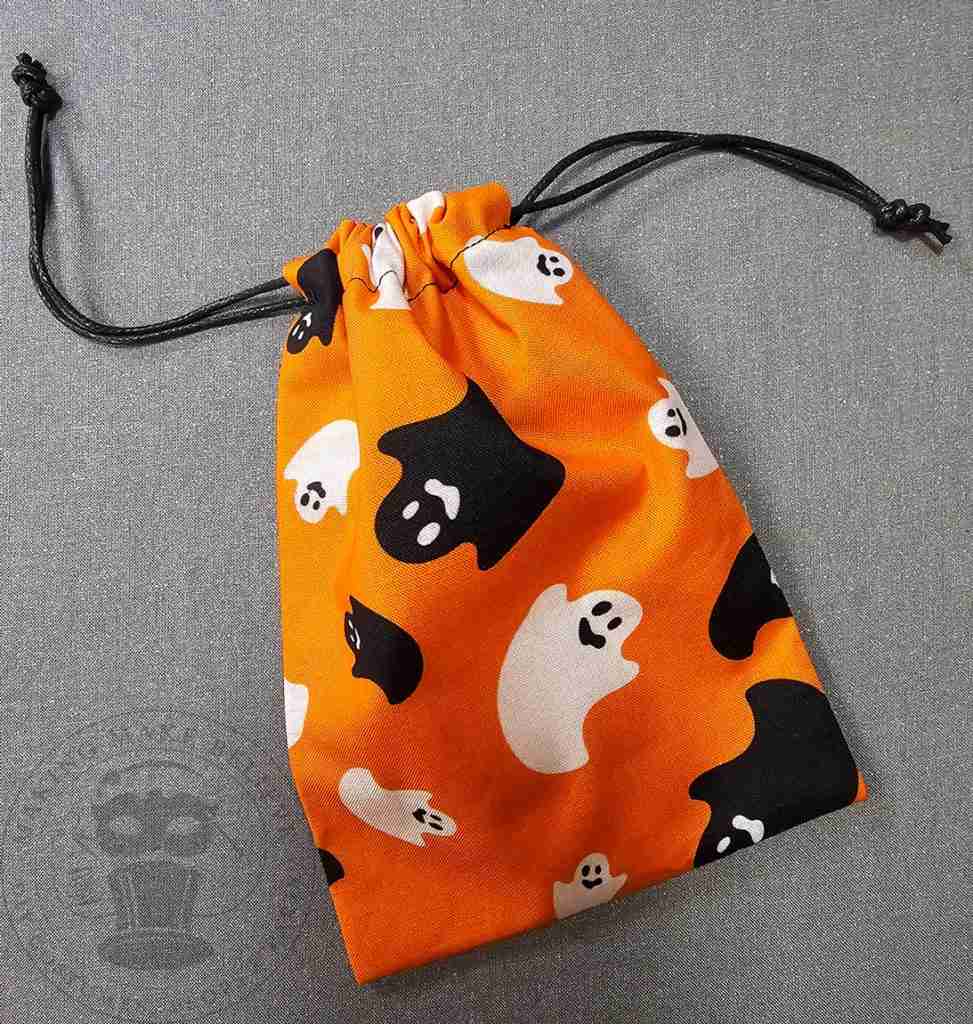
These treat bags come together quickly, and you can assembly line the process if you want to make quite a few.
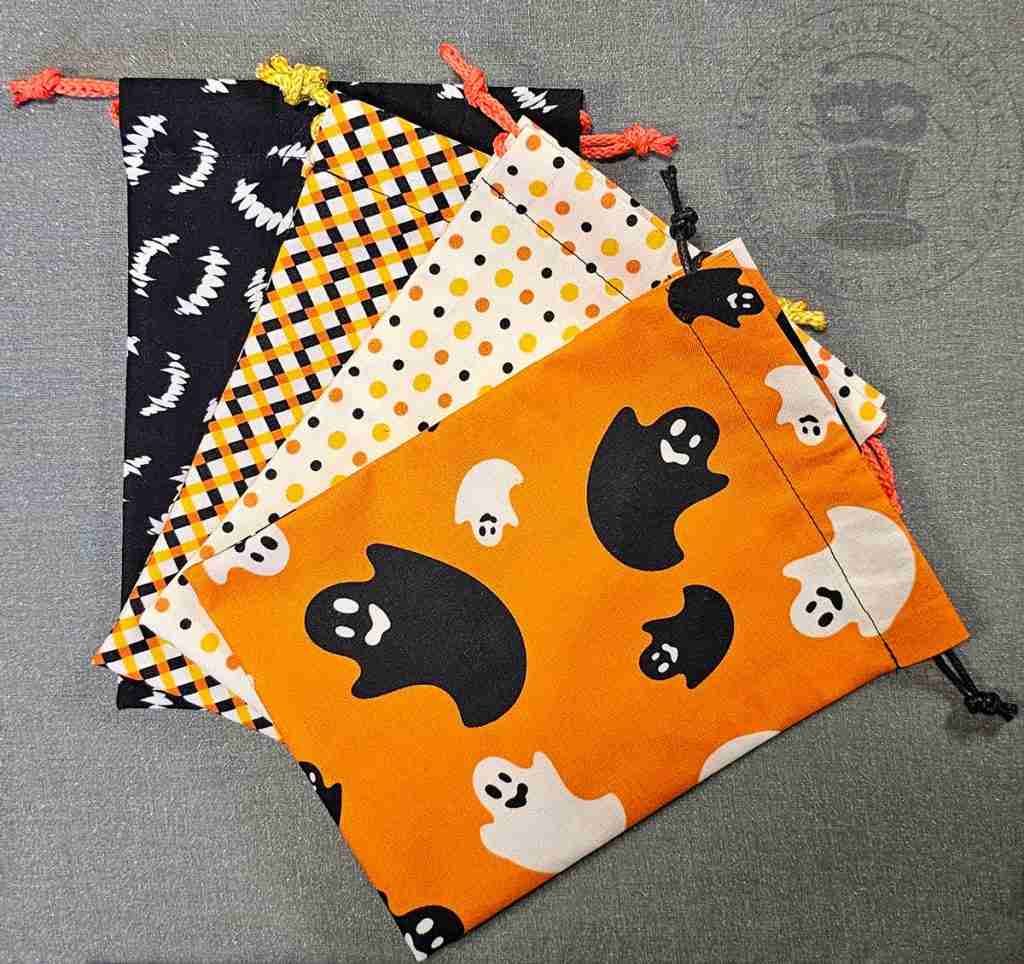
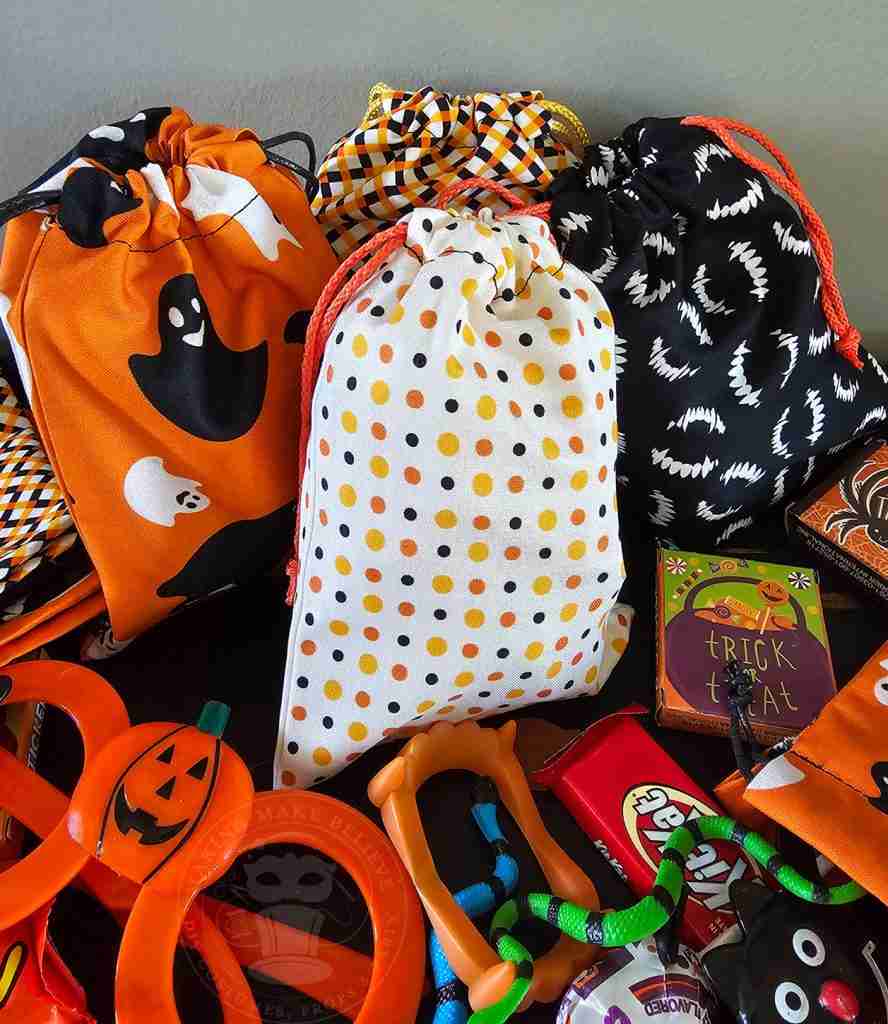
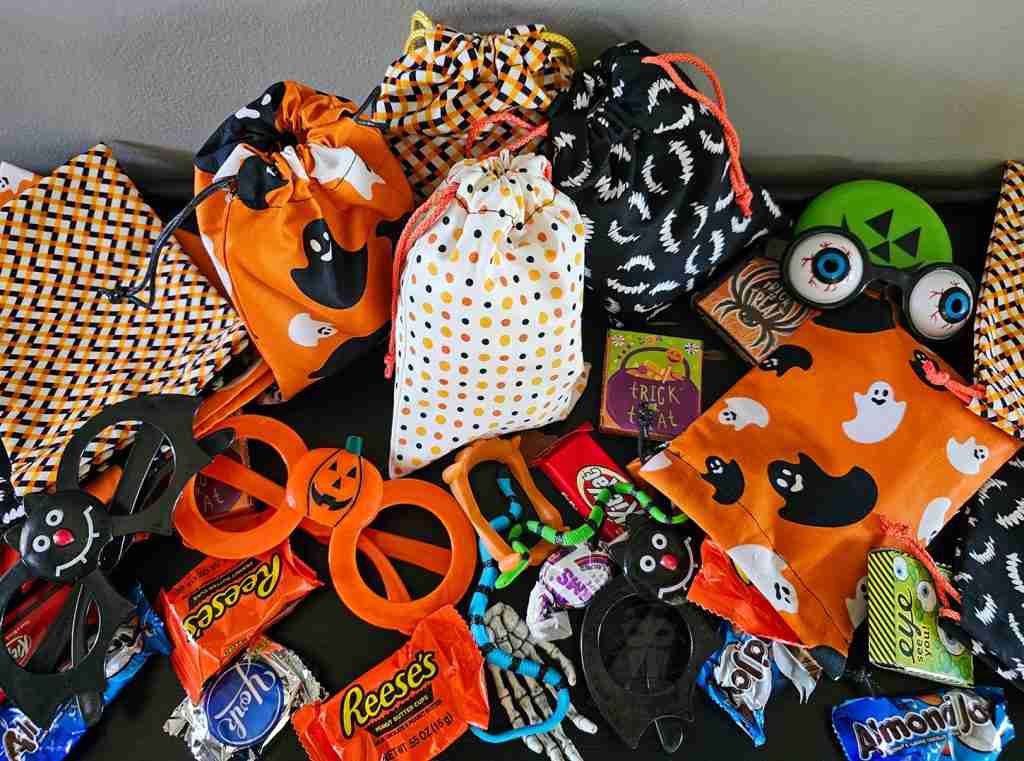
I am excited to have completed another project using up some of my Halloween fabric.
I still have quite a stash, so more projects will be in the pipeline, but I can’t wait to hand these out to trick-or-treaters this year.
Until next time – stay spooky.

Templates, patterns and printables for every project on the blog.

Counting down to Halloween since the 1970s. I create, style and celebrate all things costume and Halloween, all year round.
Welcome to my world of Halloween Ever After, where I create, style, and celebrate all things costume and Halloween.
Within these haunted pages lie affiliate links to curious and captivating finds I love. If you make a purchase through them, I may earn a modest commission (think fun-size candy bar), which helps keep the Halloween magic alive. No extra cost to you – cross my batty heart.



Check your email for the Haunted Library password.
Don’t miss a moment of the mischief.
Add hello@halloweeneverafter.com to your address book.
The magic happens right here in my studio and office. When you step inside my creative space, you’ll find an ever expanding gallery wall overflowing with original spooky art and classic Halloween LPs, right alongside a haunted cabinet packed to the brim with vintage curiosities.
It’s under the watchful eyes of these retro treasures that I design and craft.
Join us and get access to our Haunted Library stocked with templates, printables, cut files, and exclusive content. Plus, you’ll receive Eerie Emails just for our subscribers.
*Stay as long as you like. Unsubscribe at any time.


