
Free templates & patterns
130+ freebies are waiting in the Haunted Library
Templates, patterns and printables for every project on the blog.
Formerly Making Make Believe · Join the Haunted Library

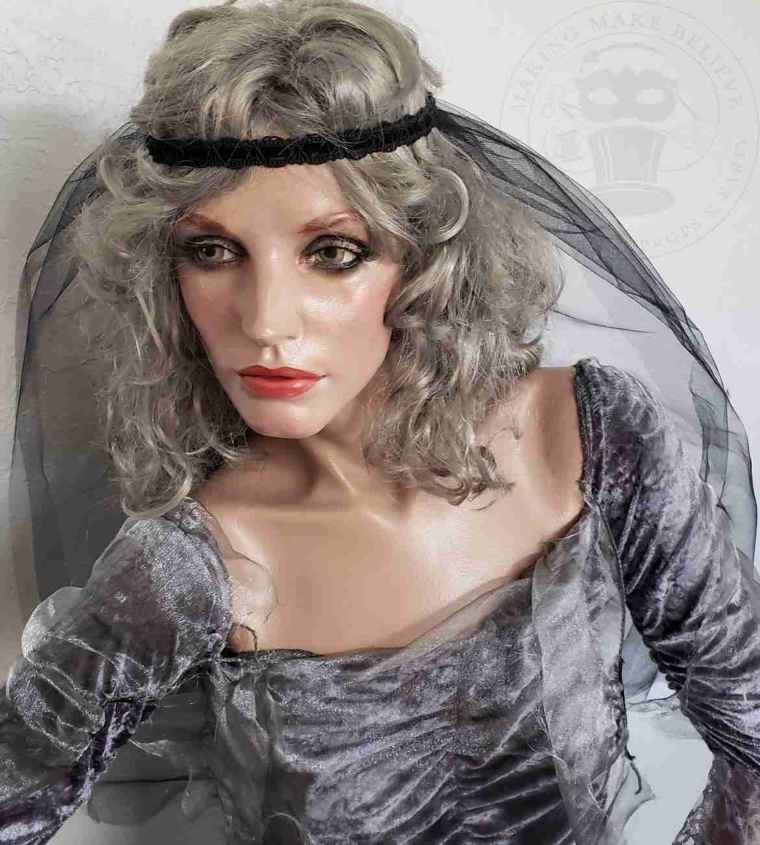
Handmade, vintage costumes are some of my most favorite pieces in the costume closet. I love checking out their construction, especially those from a theater or rental shop. These specimens often sport some creative mending techniques to get them back into circulation quickly.
I also enjoy the variety of fabrics found in vintage costumes. Although various weights, color schemes, and designs were common at the time of construction, many have long since been lost to time. One vintage piece in the closet is this unassuming black circlet veil.
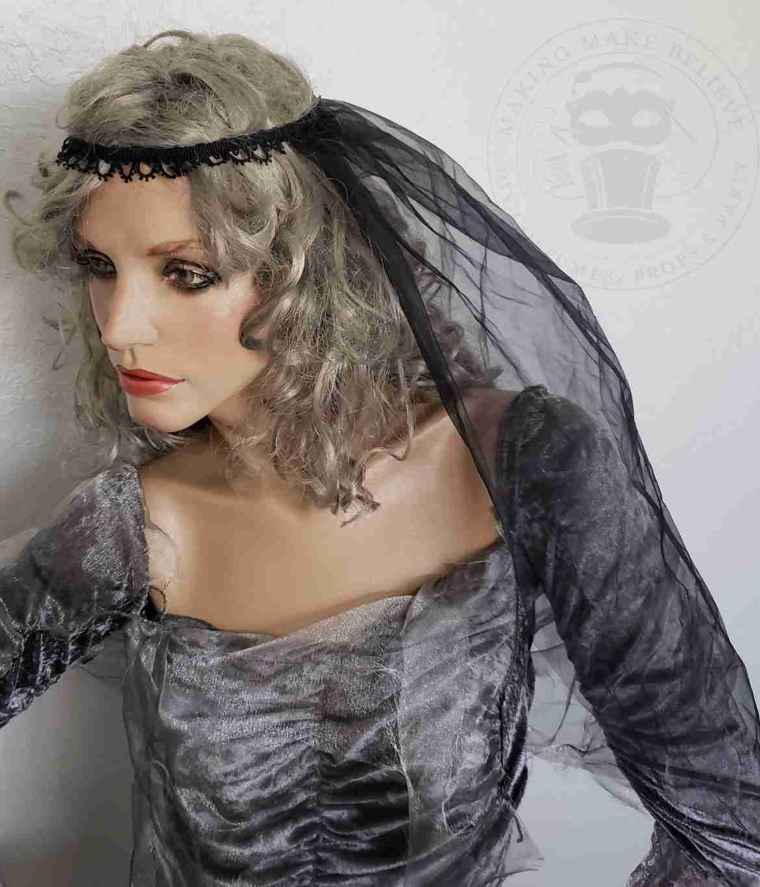
The circlet features a decorative trim that lends it to a dark Renaissance or Medieval look. In the back cascades a mid-length mesh veil.
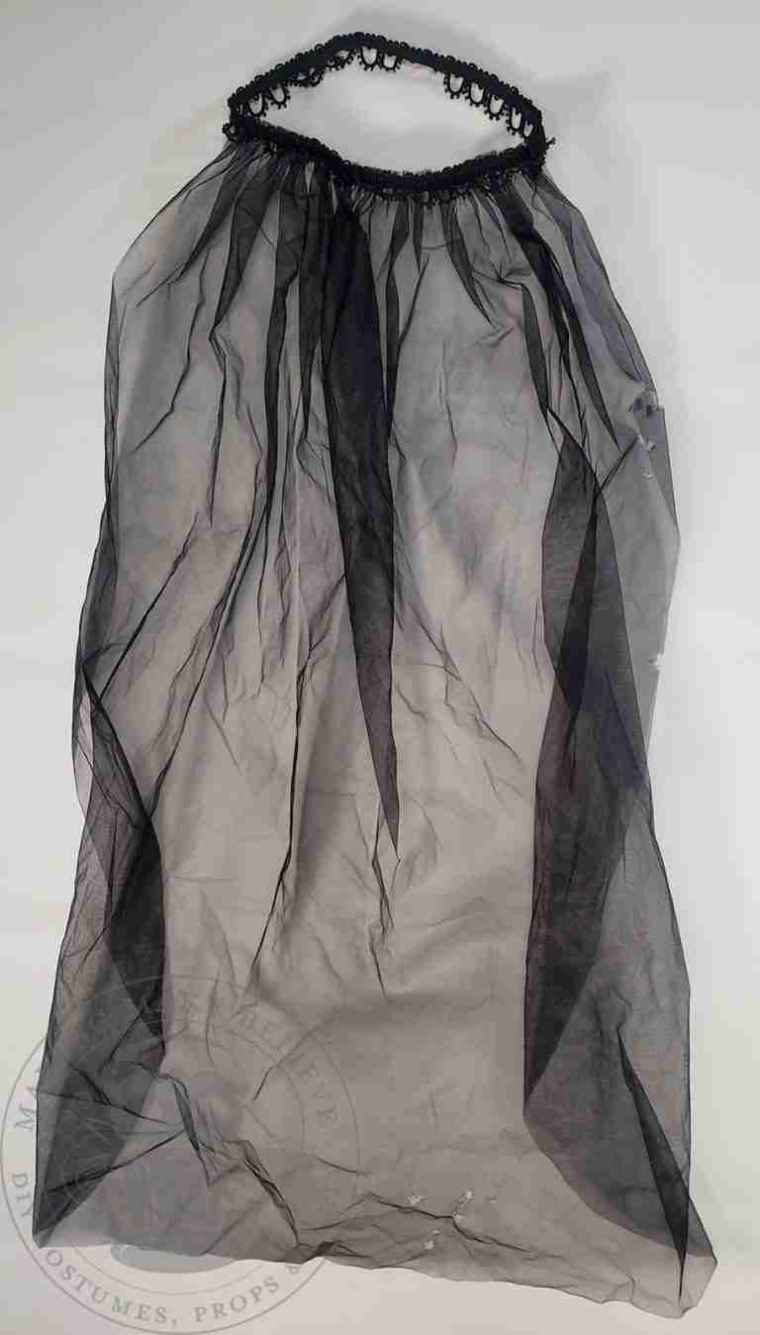
At first glance, the veil looks to be in great shape, but upon closer inspection, you’ll notice some holes in the mesh and damage to a section of the trim in the circlet.
While the damage isn’t significant, the veil can still be worn; I decided to use this vintage piece as a guide for making a newer version.
Save this for your next late-night crafting session—this one deserves a spotlight.
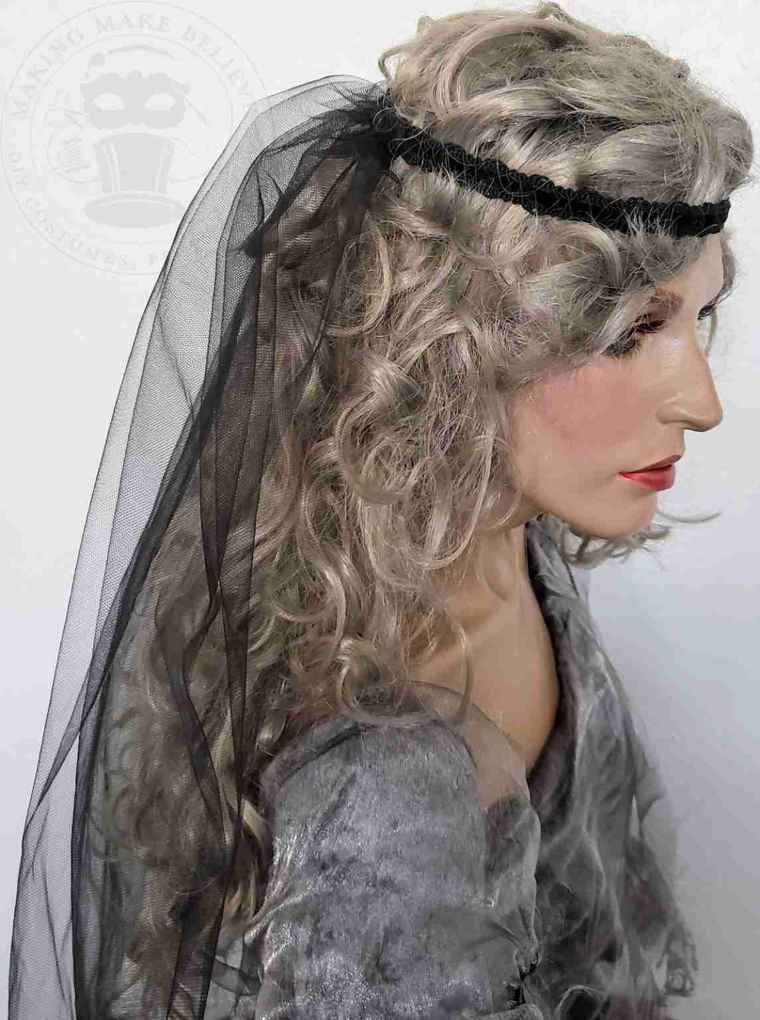
The new Gothic costume veil came together quickly. Despite not having a solid plan for the construction, I was able to complete it in an afternoon, even while documenting the process.
I made this veil true to the original, but you’ll have a lot of flexibility when crafting your own. For example, you can shorten or lengthen the veil, stack multiple layers, and adjust the circlet size based on how you want it to sit on your head.
The original veil is very simple with a more elaborate circlet, but you can embellish the veil to create a different look.
And aside from how quickly this comes together, one of the best features is the material used – tulle. Tulle is easily accessible, comes in a host of colors, and is super inexpensive, so you can make one in every shade without breaking the bank.
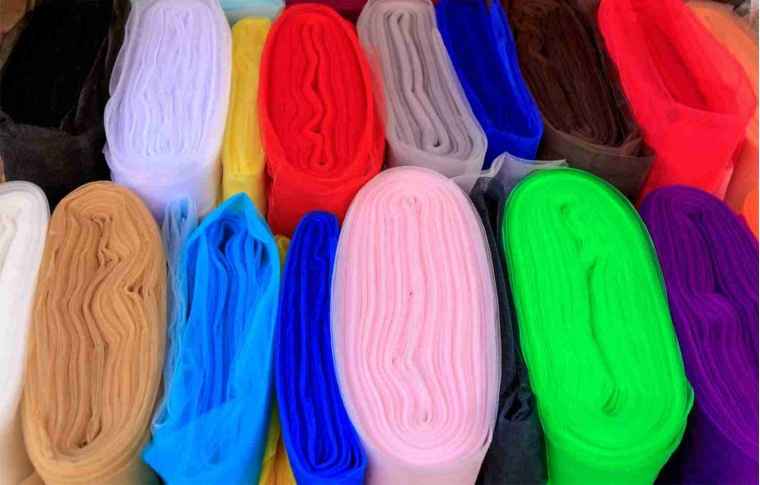
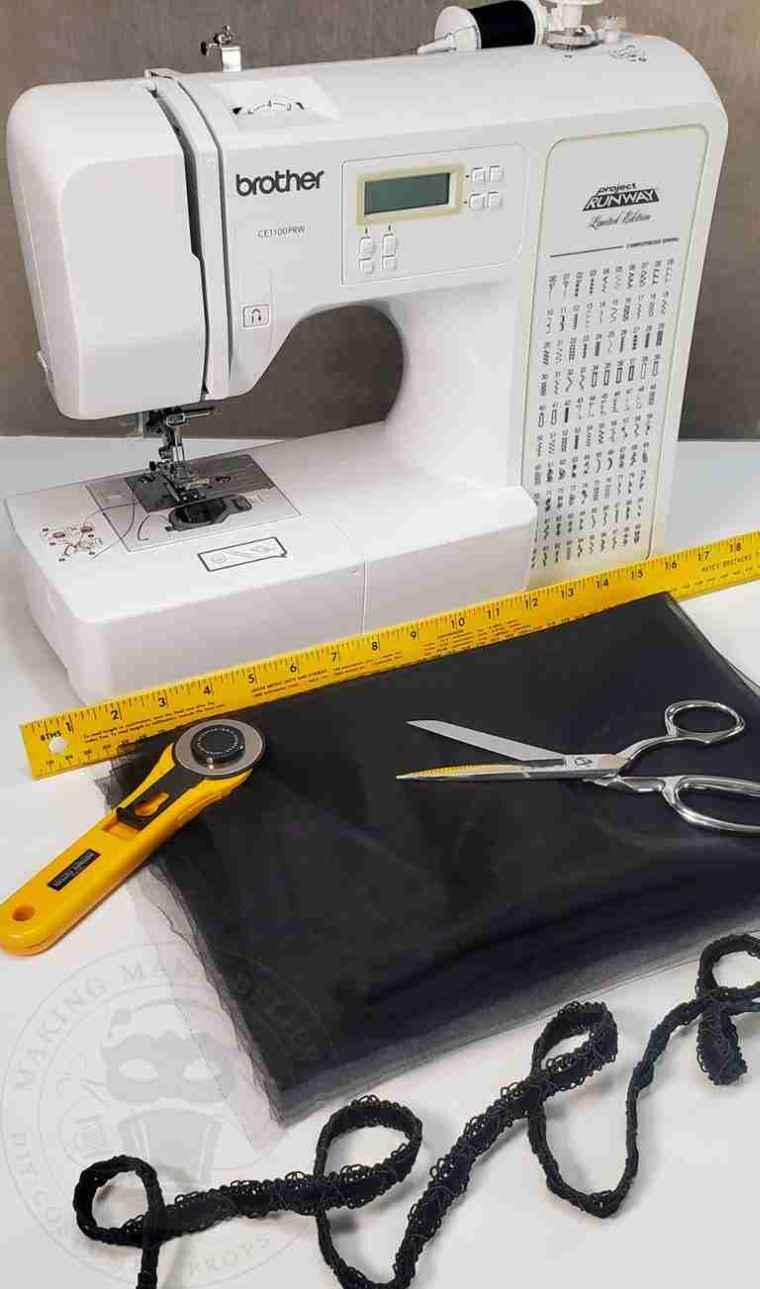
For this project, we will need:
Mesh tulle
Decorative trim
Scissors or rotary cutter
Straight edge
Sewing machine or needle
Thread
Pins (not shown)
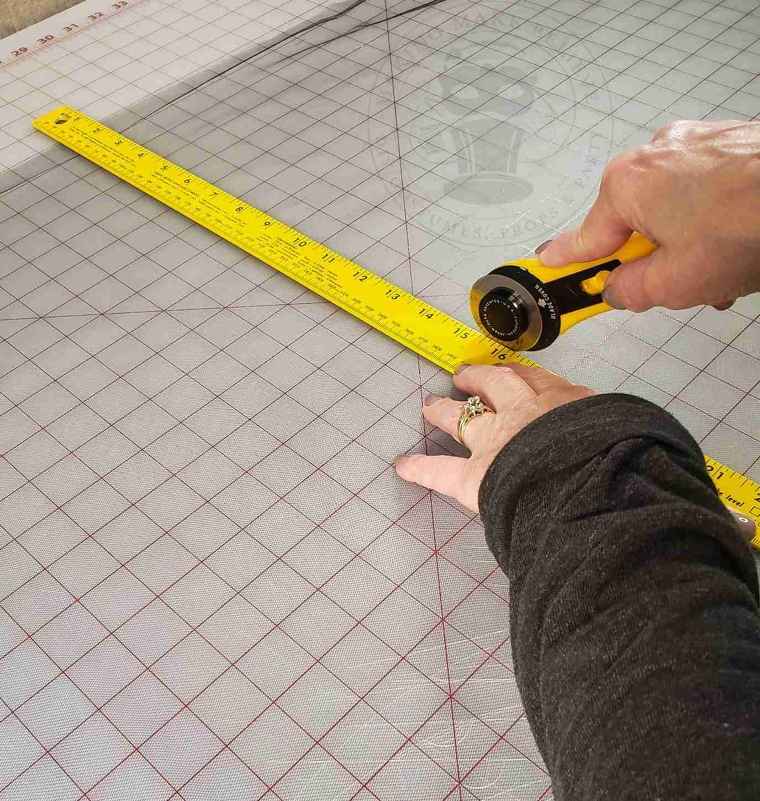
First, lay out your tulle and, using scissors or a rotary cutter and a straight edge, cut a 28″ square from the tulle.
Modern mesh tulle is a lighter weight than the vintage mesh of the original, so I opted to double up and cut two squares for my veil.
Next, determine the size you will need for your circlet. To do this, wrap the decorative trim around your head and mark the length.
The ends of the circlet will overlap a bit, so add 3/8-1/2″ inch to your measurement and cut your trim.
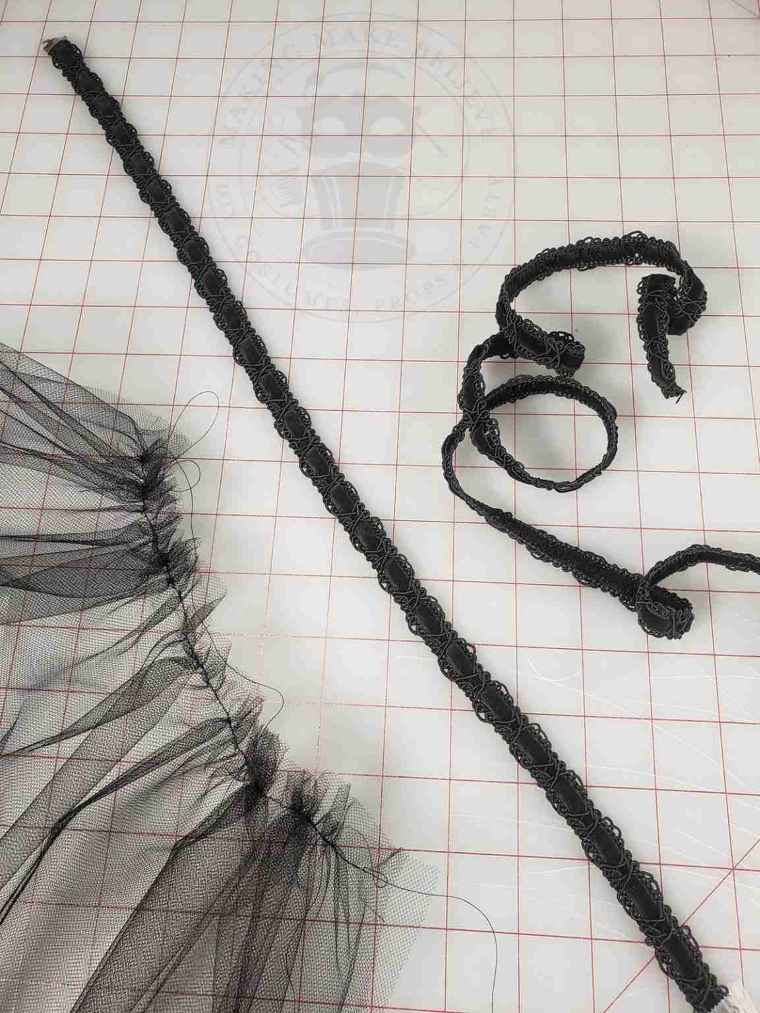
Machine or hand stitch a basting stitch about 3/8″ from the raw edge along one side of the tulle. Be sure not to backstitch your basting stitch, and leave a length of thread at the beginning and end of the basting stitch for gathering.
If using multiple layers of tulle, stack and clip them together before baste-stitching.
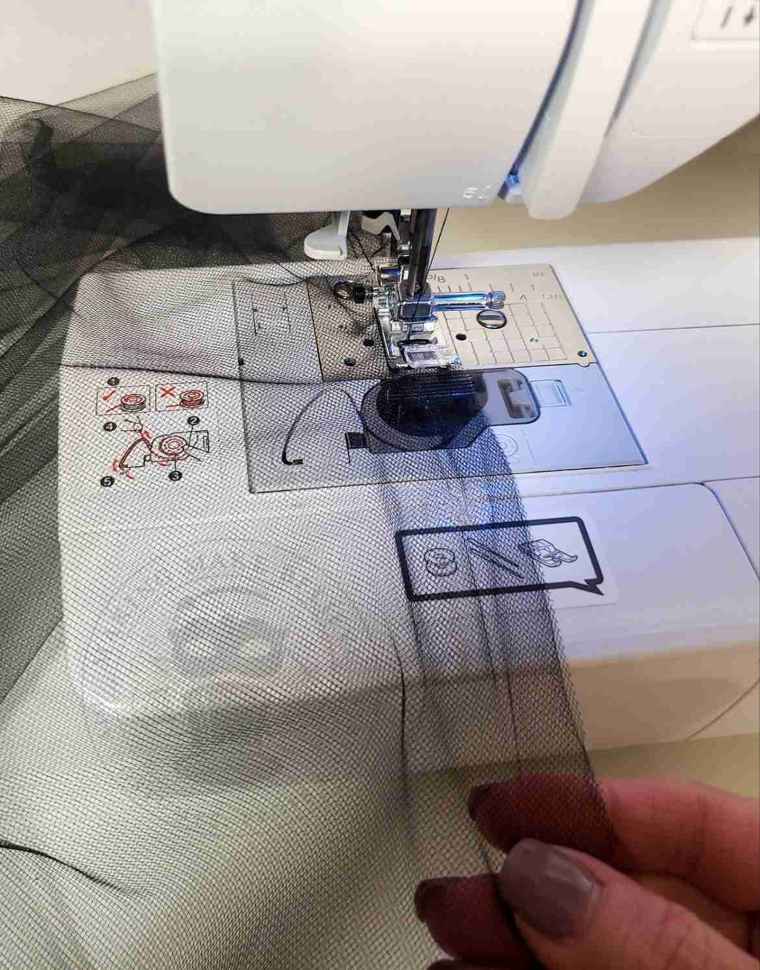
Before gathering the tulle, determine how wide you want the top gathered portion of the veil to be. The gathered section of the original veil is 9″, so I used that as my measurement.
To gather the veil, pull the bottom thread while moving the tulle along the thread toward the other side.
Be gentle when pulling, or the thread might break, and you’ll have to start over. Carefully work the material across the thread until you get it to the desired width.
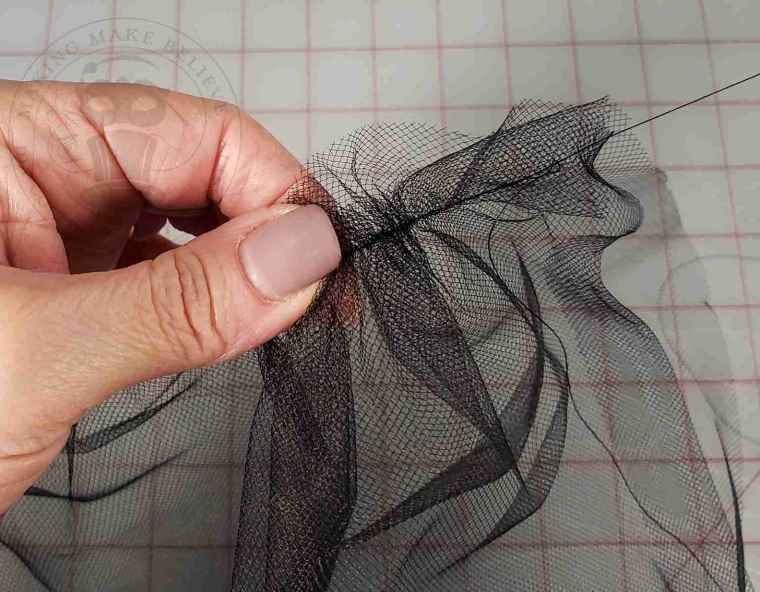
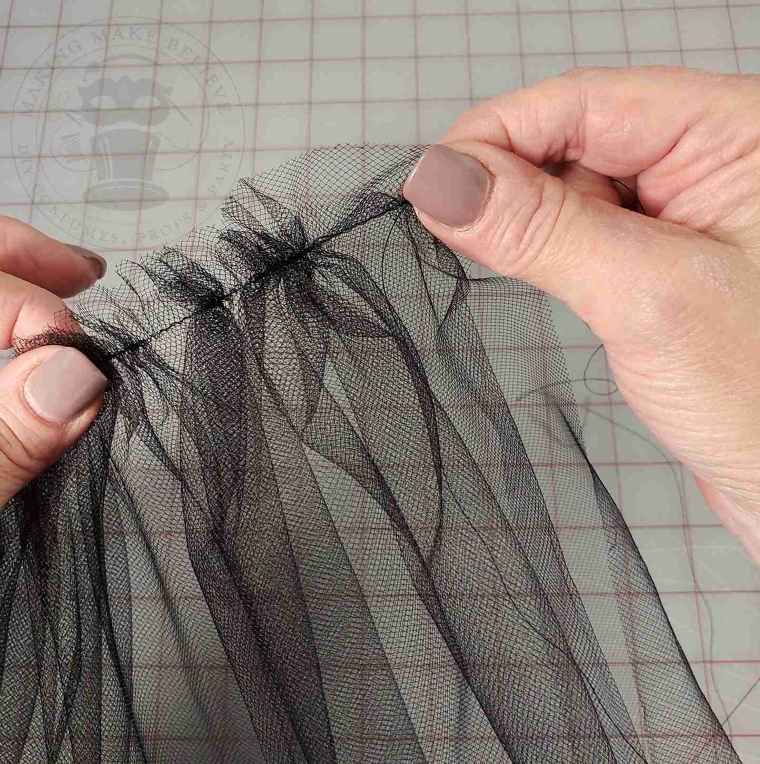
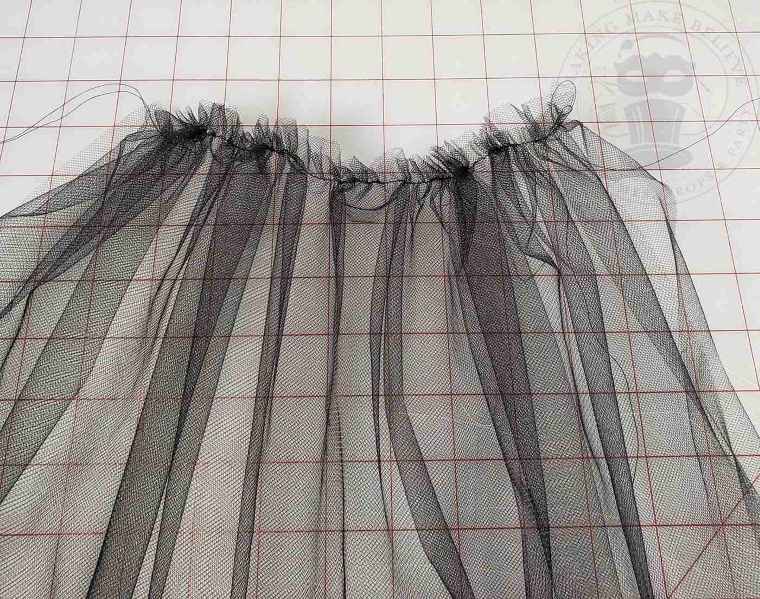
Now that the veil is gathered to the width needed, it’s time to stitch it into place.
Beginning at one end of the decorative trim, pin the gathered edge of the veil to the backside of the trim.
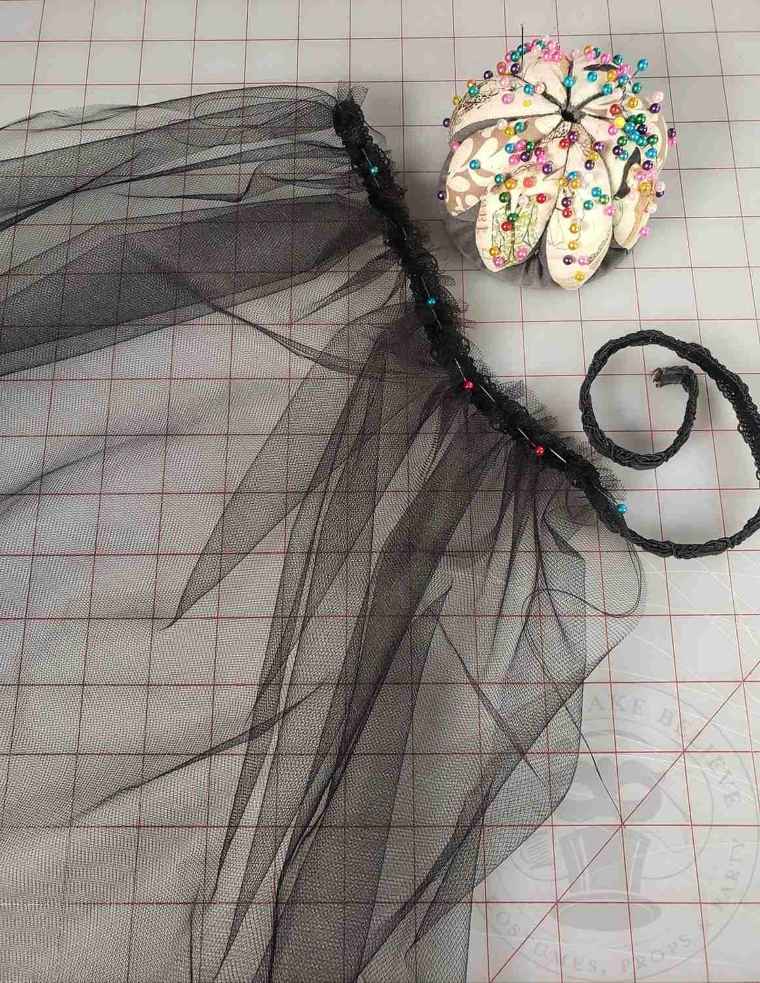
Using a standard straight stitch, sew the veil to the circlet backstitching at the beginning and end as usual.
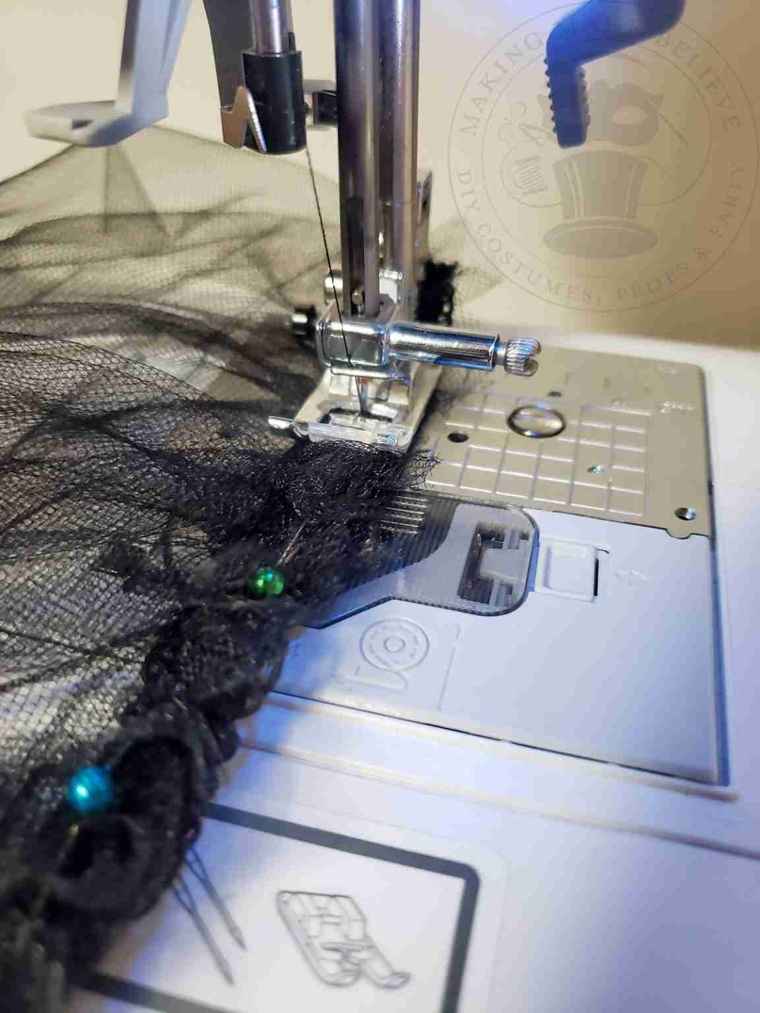
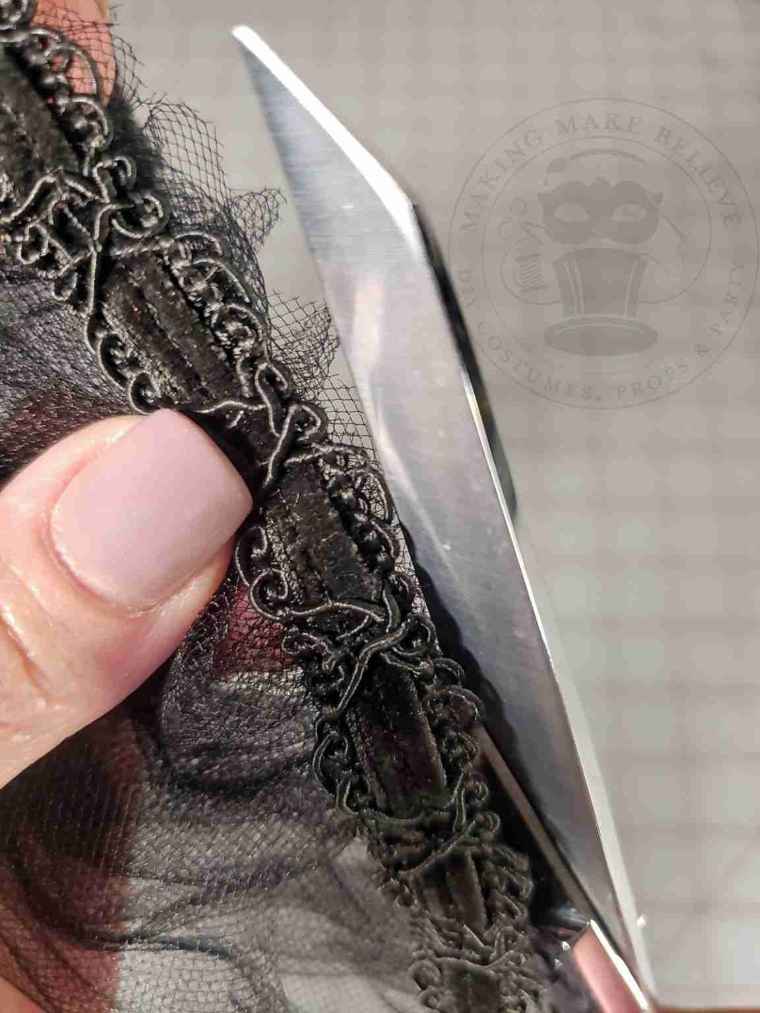
If any tulle is peeking out above your circlet, you can trim it off for a cleaner look.
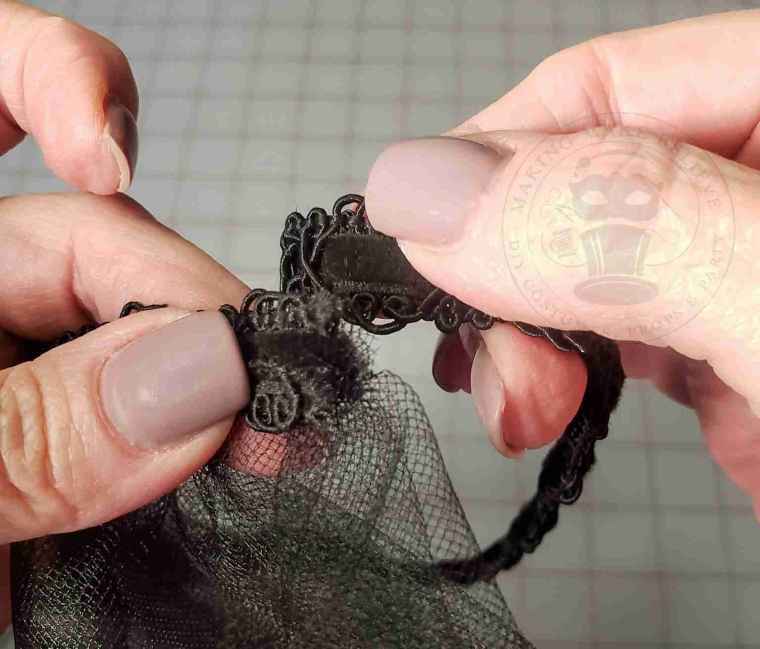
To complete the circlet, with right sides together, overlap the ends about 3/8″ and stitch to secure.
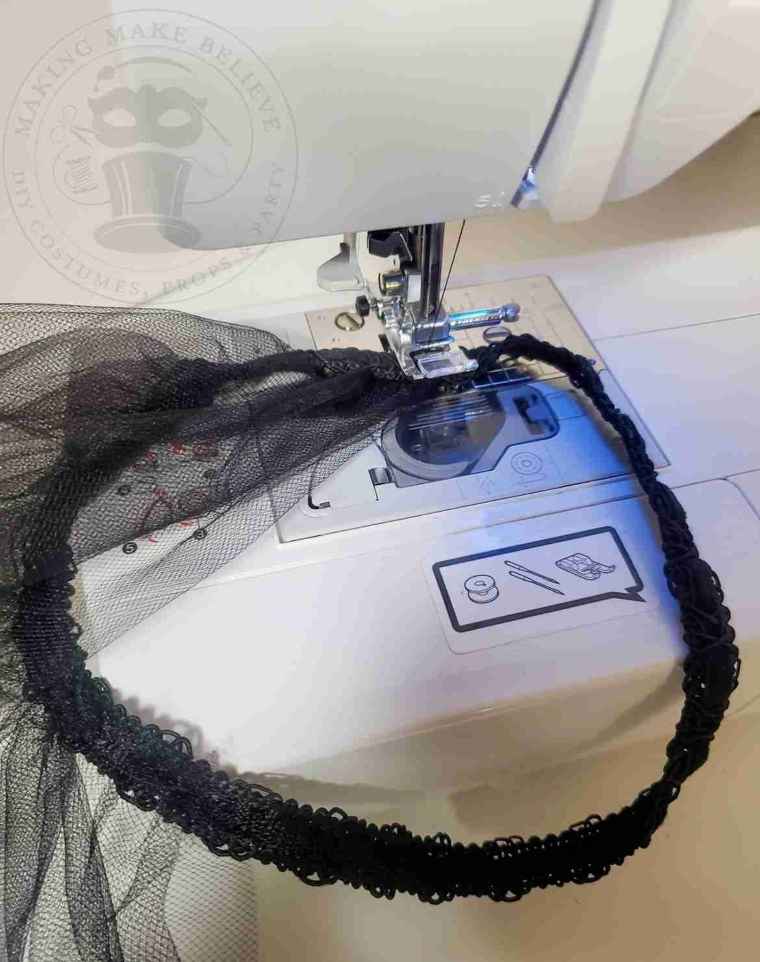
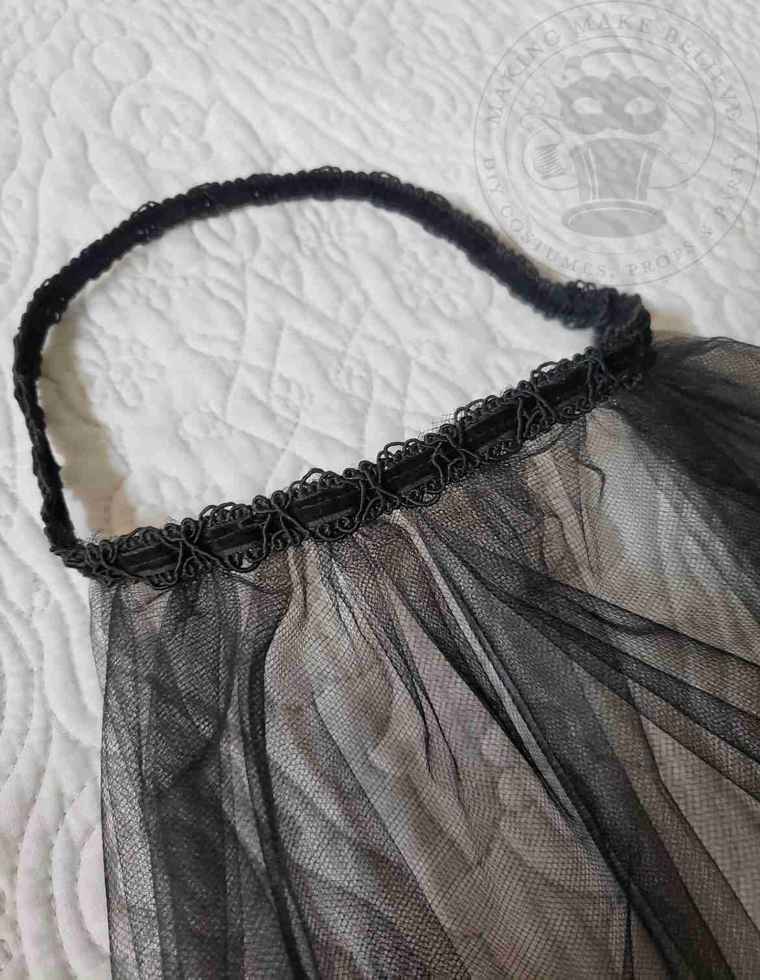
Lastly, the veil can be rounded off as in the original or left square.
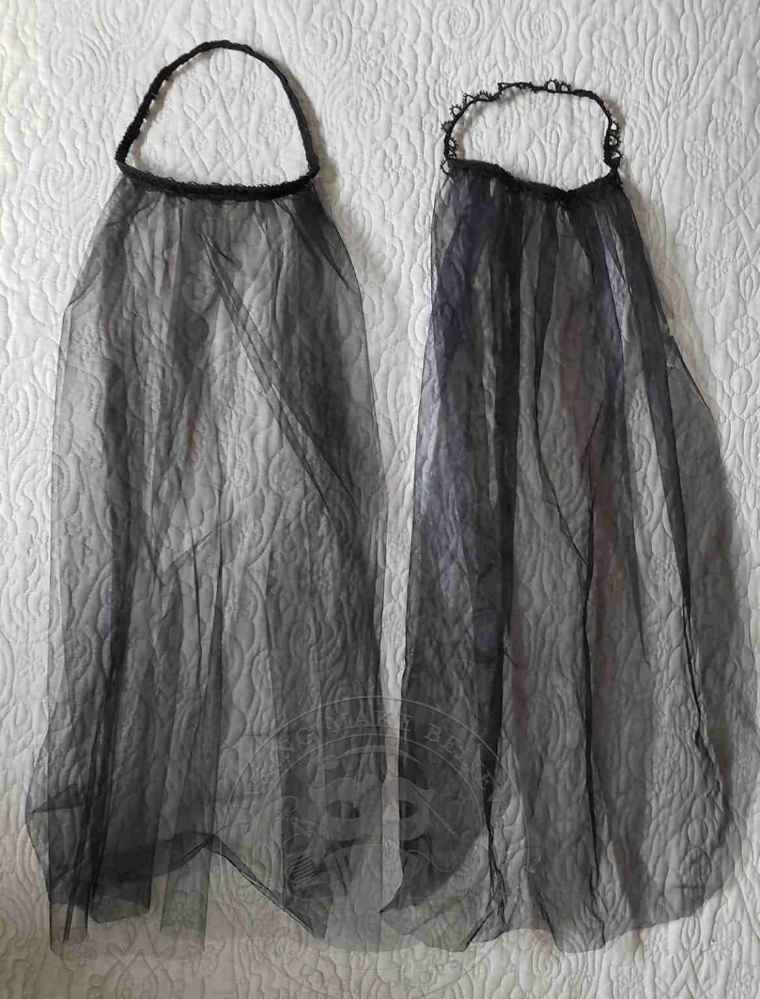
And that’s it! You have a quick, custom gothic costume veil made in an afternoon.
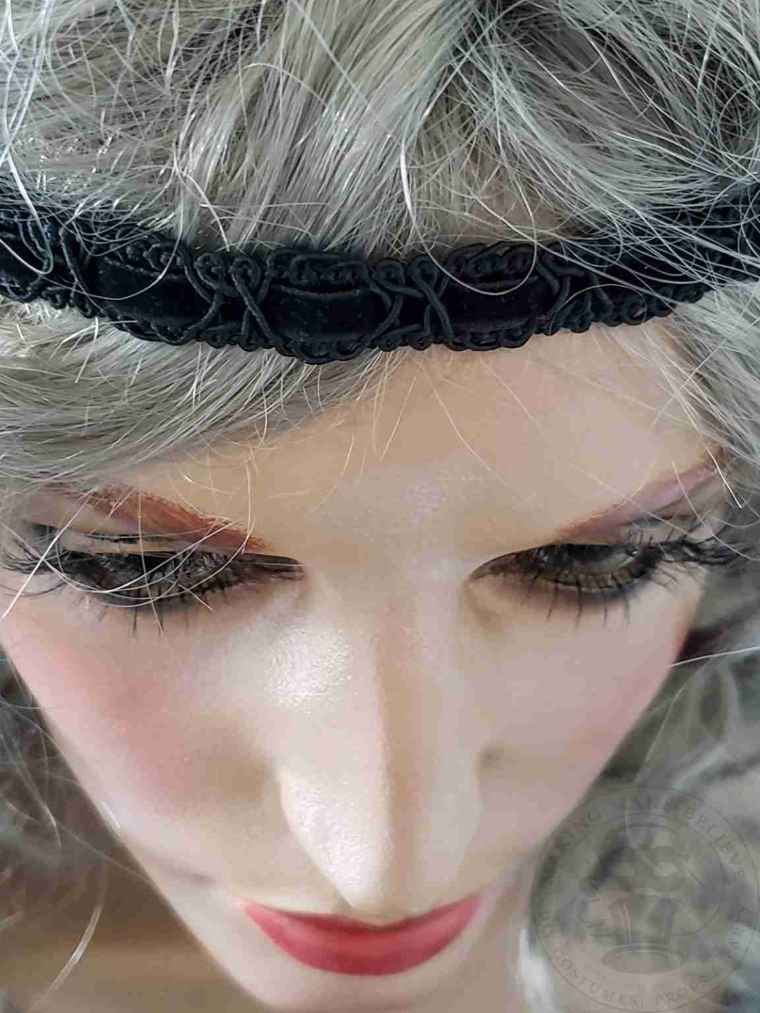
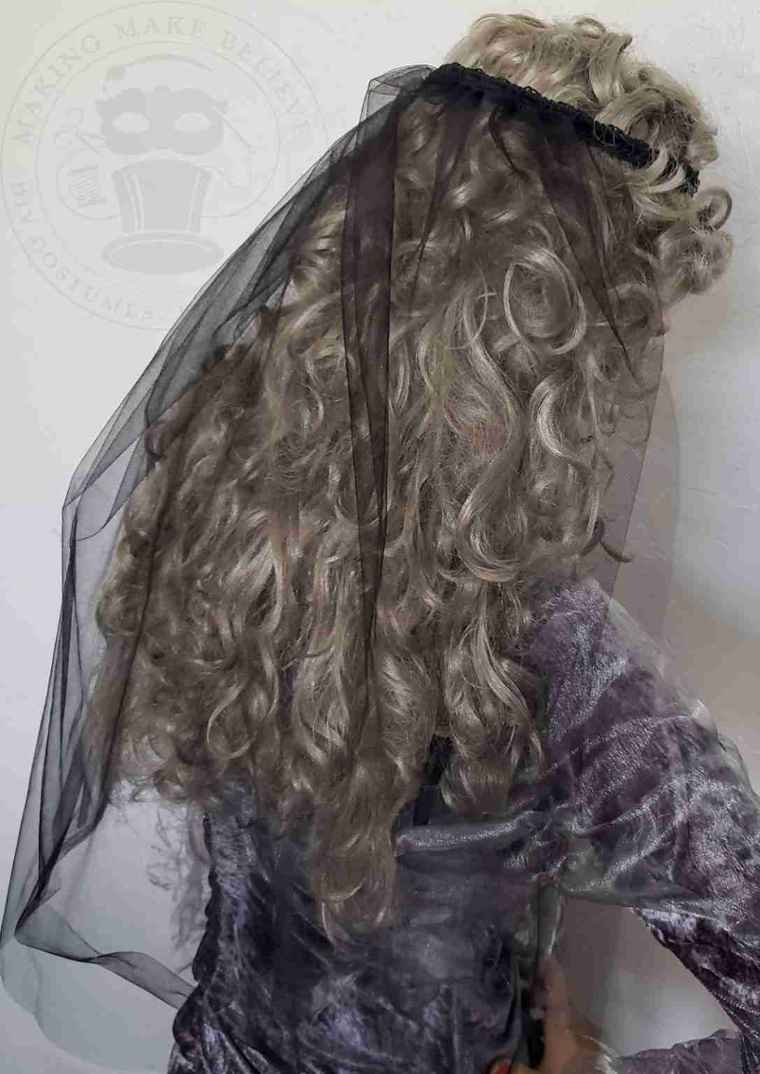
For those curious souls who have reached all the way to the end of this tutorial, please take a moment to appreciate our vintage mannequin model, Gwen.
Gwen came to us after her last gig in the Little Apple (Manhattan, Kansas) where she modeled rental costumes. Little is known about her life previous to entering the costume world as she is rather private. We only know her name as it is tattooed on her arm.
Until next time – stay spooky.

Templates, patterns and printables for every project on the blog.

Counting down to Halloween since the 1970s. I create, style and celebrate all things costume and Halloween, all year round.
Welcome to my world of Halloween Ever After, where I create, style, and celebrate all things costume and Halloween.
Within these haunted pages lie affiliate links to curious and captivating finds I love. If you make a purchase through them, I may earn a modest commission (think fun-size candy bar), which helps keep the Halloween magic alive. No extra cost to you – cross my batty heart.



Check your email for the Haunted Library password.
Don’t miss a moment of the mischief.
Add hello@halloweeneverafter.com to your address book.
The magic happens right here in my studio and office. When you step inside my creative space, you’ll find an ever expanding gallery wall overflowing with original spooky art and classic Halloween LPs, right alongside a haunted cabinet packed to the brim with vintage curiosities.
It’s under the watchful eyes of these retro treasures that I design and craft.
Join us and get access to our Haunted Library stocked with templates, printables, cut files, and exclusive content. Plus, you’ll receive Eerie Emails just for our subscribers.
*Stay as long as you like. Unsubscribe at any time.


