Free templates & patterns
130+ freebies are waiting in the Haunted Library
Templates, patterns and printables for every project on the blog.
Formerly Making Make Believe · Join the Haunted Library

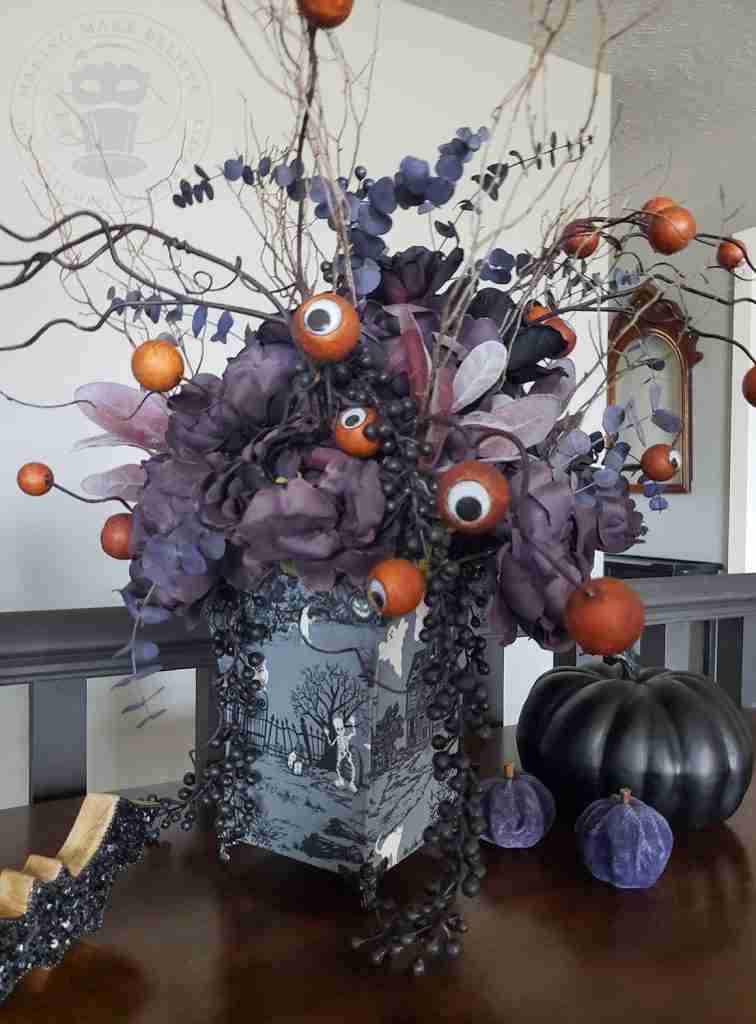
We have crossed into September, and, as luck would have it, today it is overcast with a few thunderstorms heading our way, so it feels like Fall. I. Am. So. Ready.
I’ve been working on new haunted home goods to add to my Halloween decor, a few of which are inspired by thrifty finds like our Halloween Framed Art.
While searching for vintage Halloween at a local thrift, I noticed this container. Made of metal and covered in heavy paper, it would fit nicely into a French Country home.
But I have other plans.
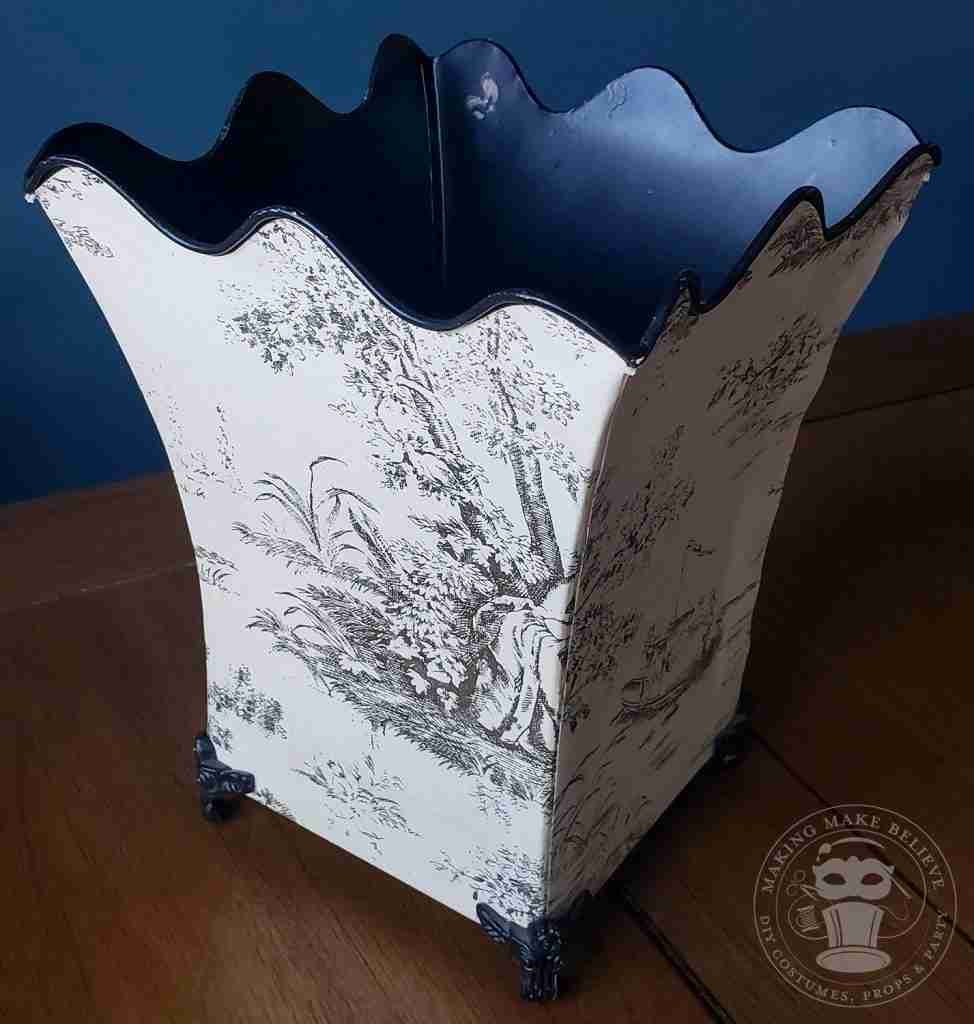
I’m in need of a new Halloween centerpiece so I’m going to give this container a makeover – creepy style.
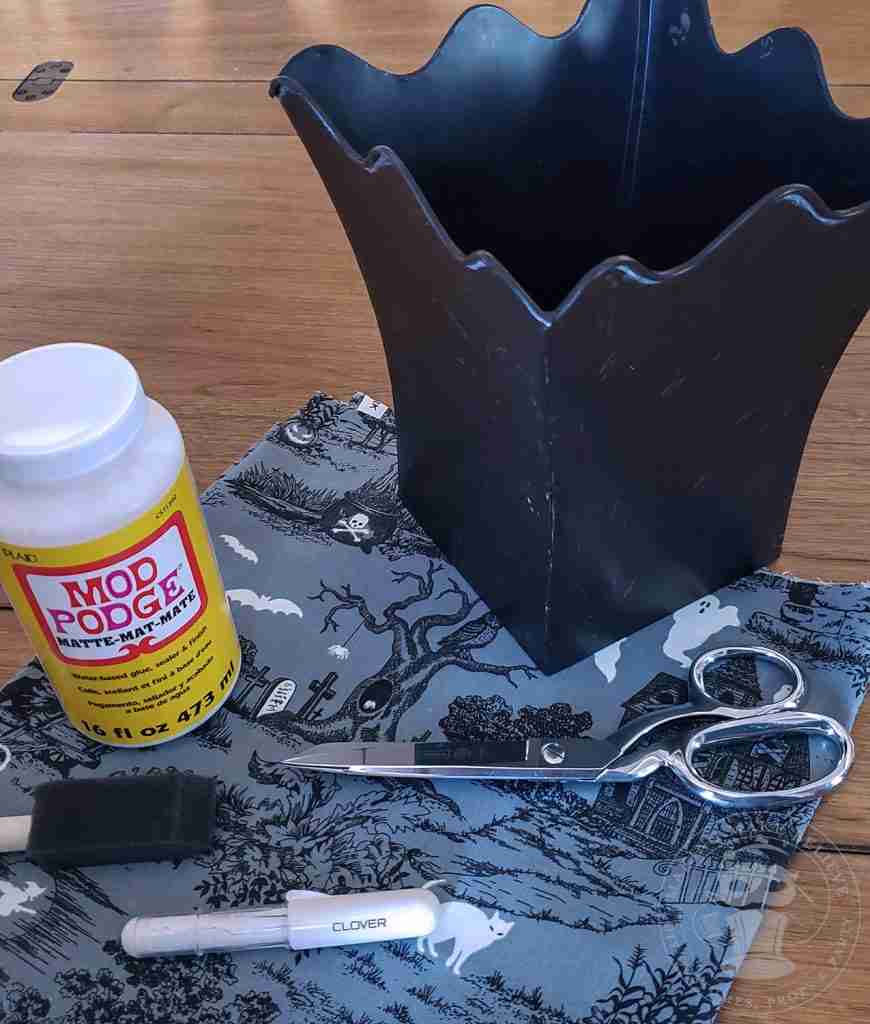
So, in order to spooky this piece up, here’s what we need.
Container
Scissors
Marking pencil or chalk
Mod Podge
Foam brush
And, don’t forget the Halloween print fabric. I’m using Fabric Traditions, Glow In The Dark, from my stash.
First, I removed the French Country style paper from my container.
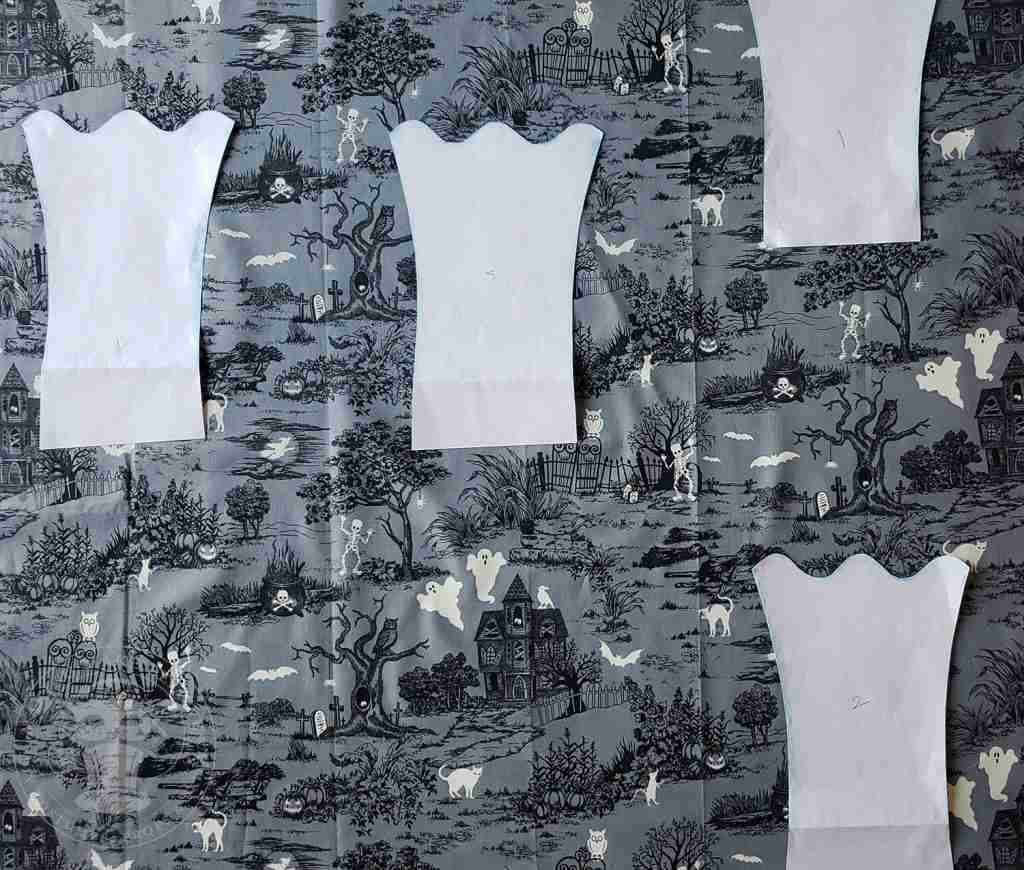
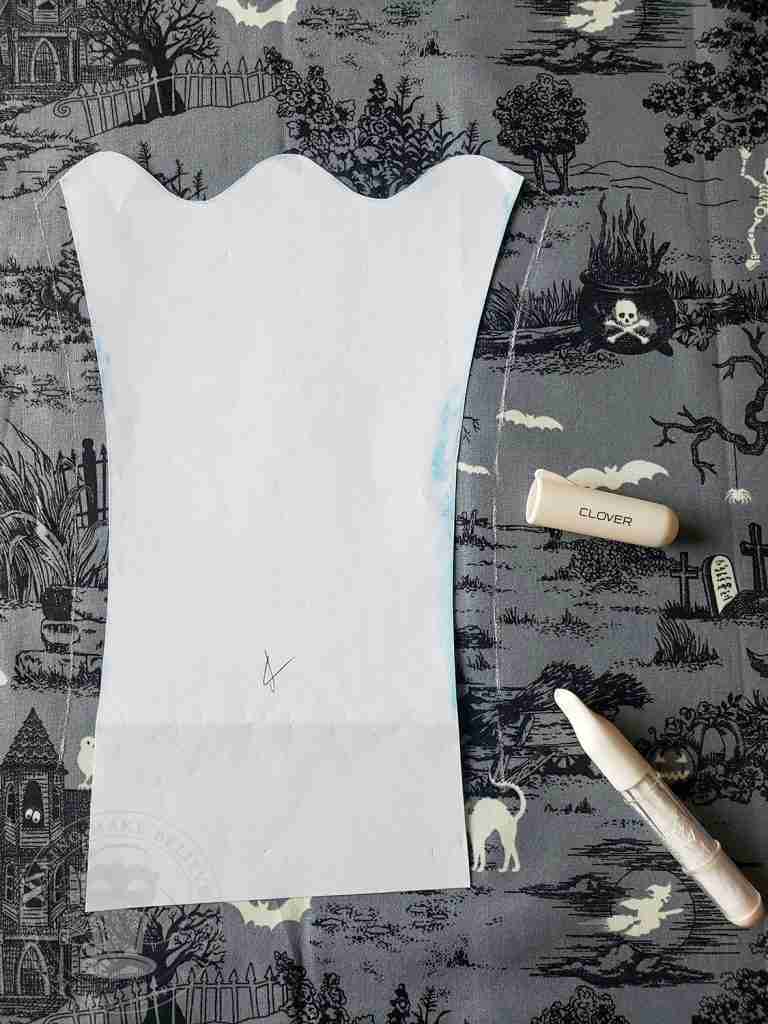
Next, I made a pattern for each side of the container so I could cut my fabric. This step is not required. I made patterns because my container has a scalloped upper edge, it is thinner at the bottom than the top, and each side isn’t exactly the same.
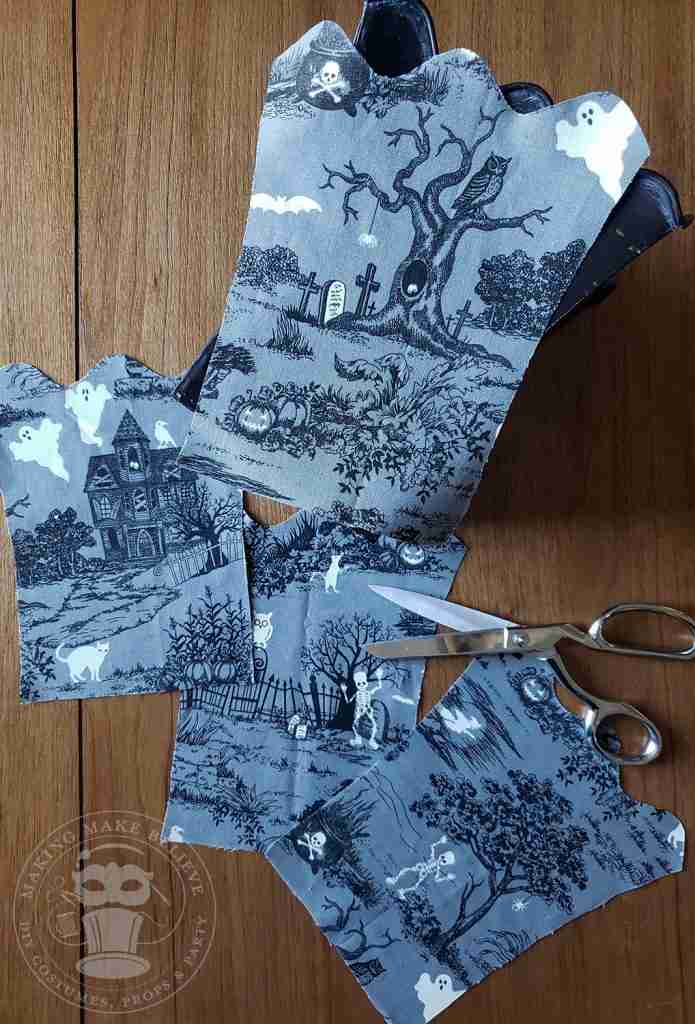
I then laid out my pattern pieces onto my material to select different elements of the fabric to showcase on each side of my container. (I did iron my fabric before doing this but forgot to take a new picture.)
Next, I traced around my pattern pieces, adding 3/8″ to each side and the bottom. I did not do this along the top as my fabric will tuck right underneath the rim edge, but if you need to fold your fabric to the inside, be sure to add this allowance.
Now it’s time to cut out all the pieces.
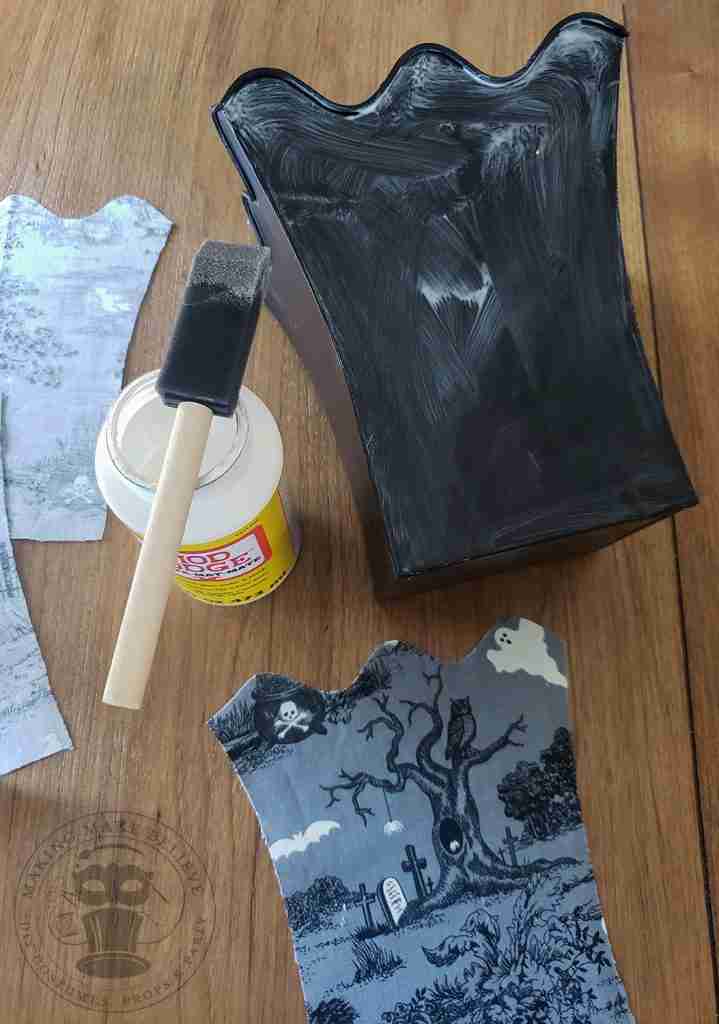
Using a foam brush, I apply Mod Podge onto an area of the container and put the fabric in place. I then folded the extra over each side edge and the bottom. I then repeated this on the opposite side of the container.
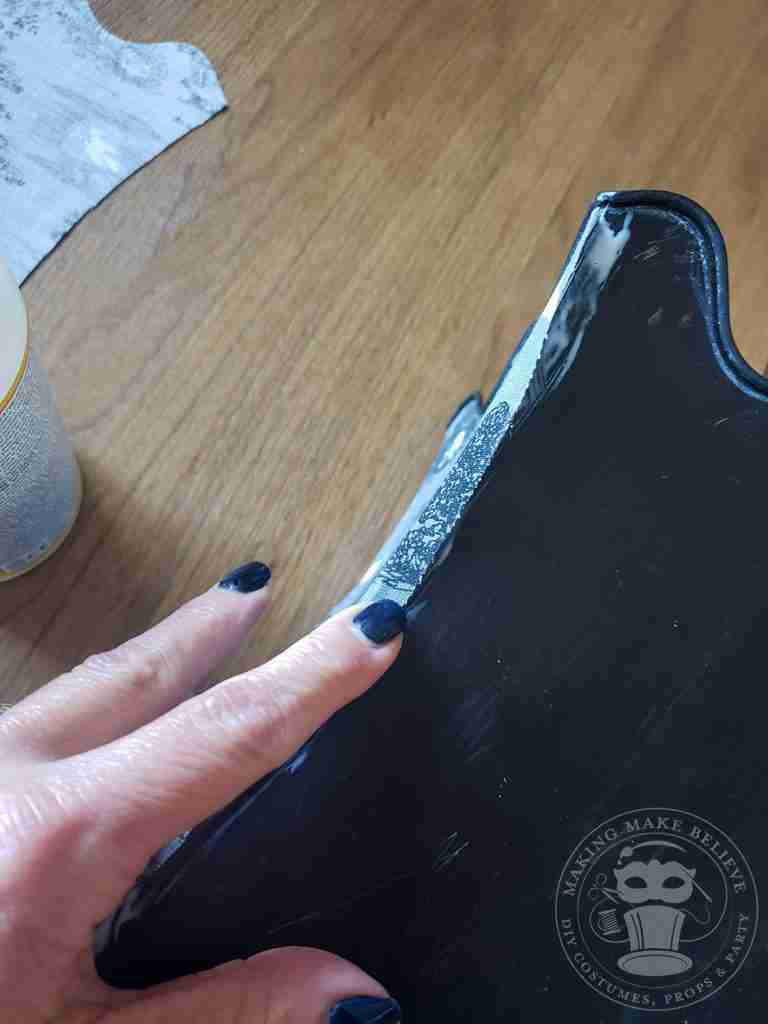
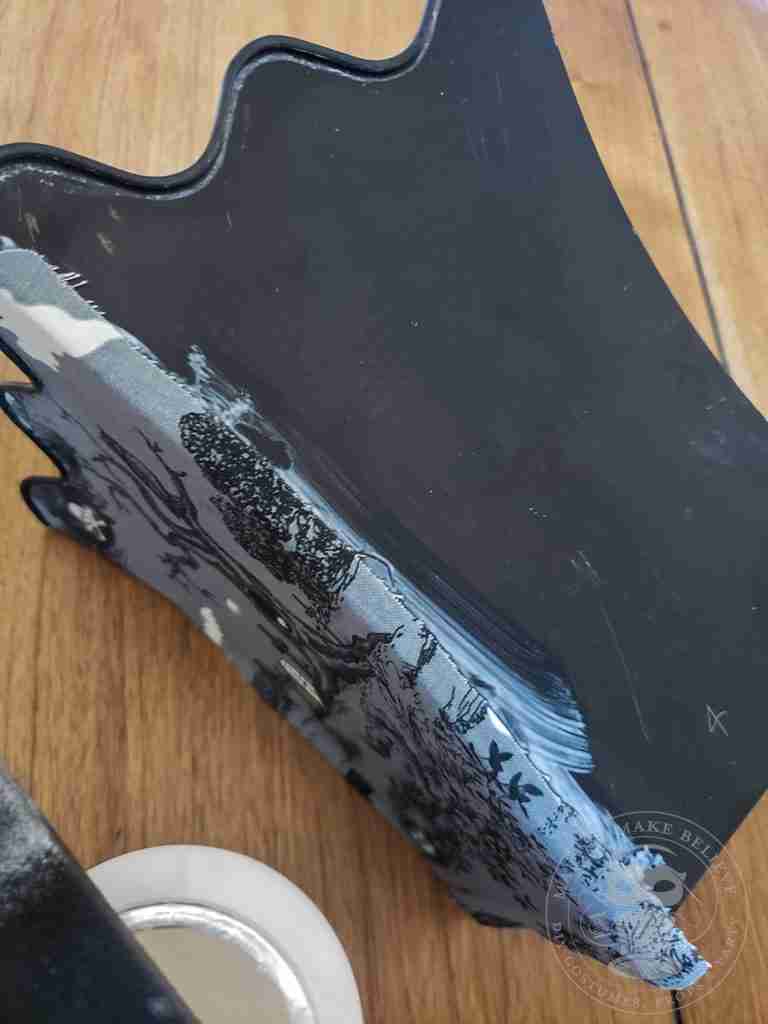
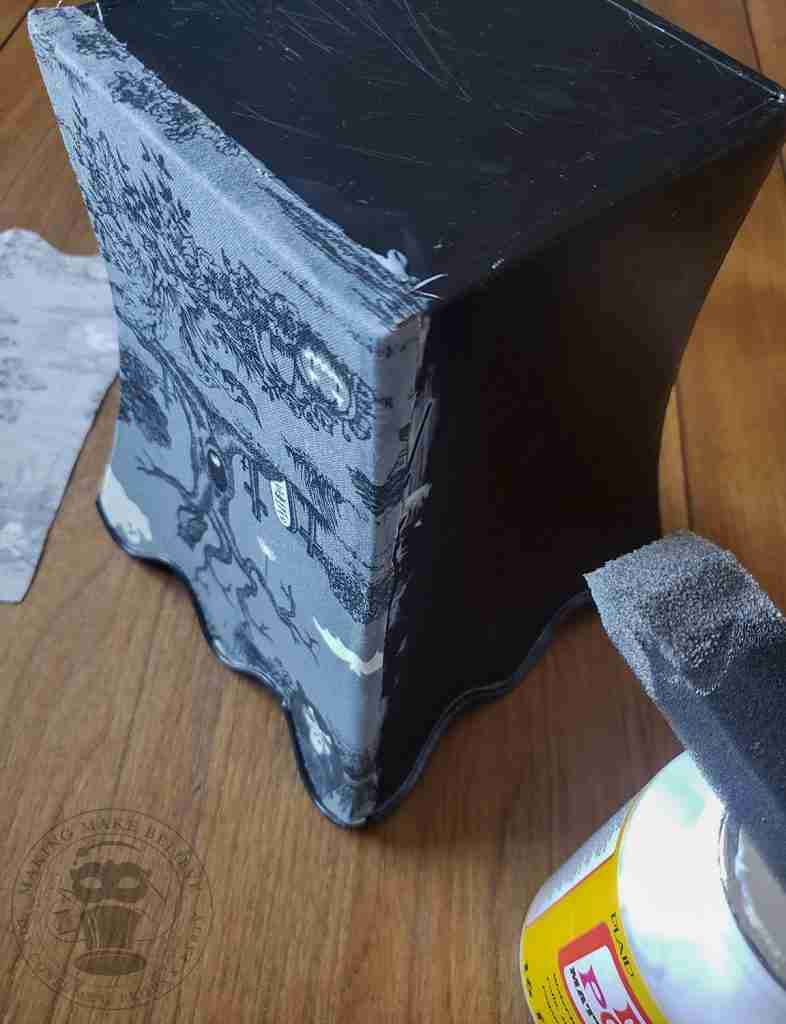
Next, I took the two remaining panels and folded the 3/8″ allowance to the back, pressing it with my iron and clipping the curves so it lies flat.
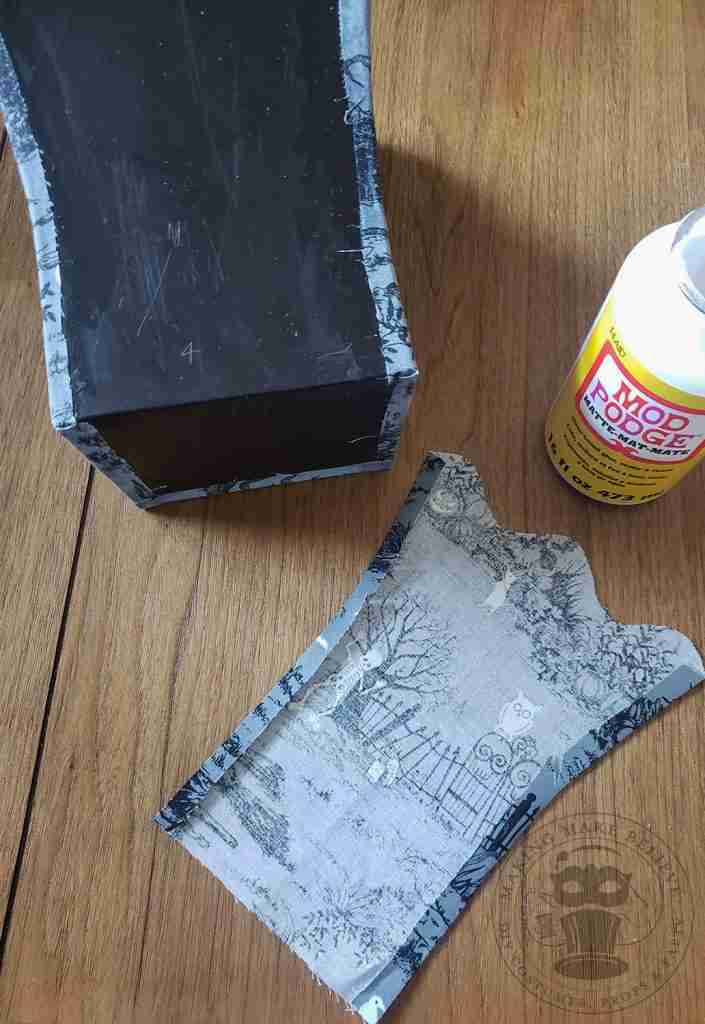
I then apply Mod Podge and secure this panel in place, covering the raw edge from the adjoining panels. This method gives the piece a nice, clean, finished look.
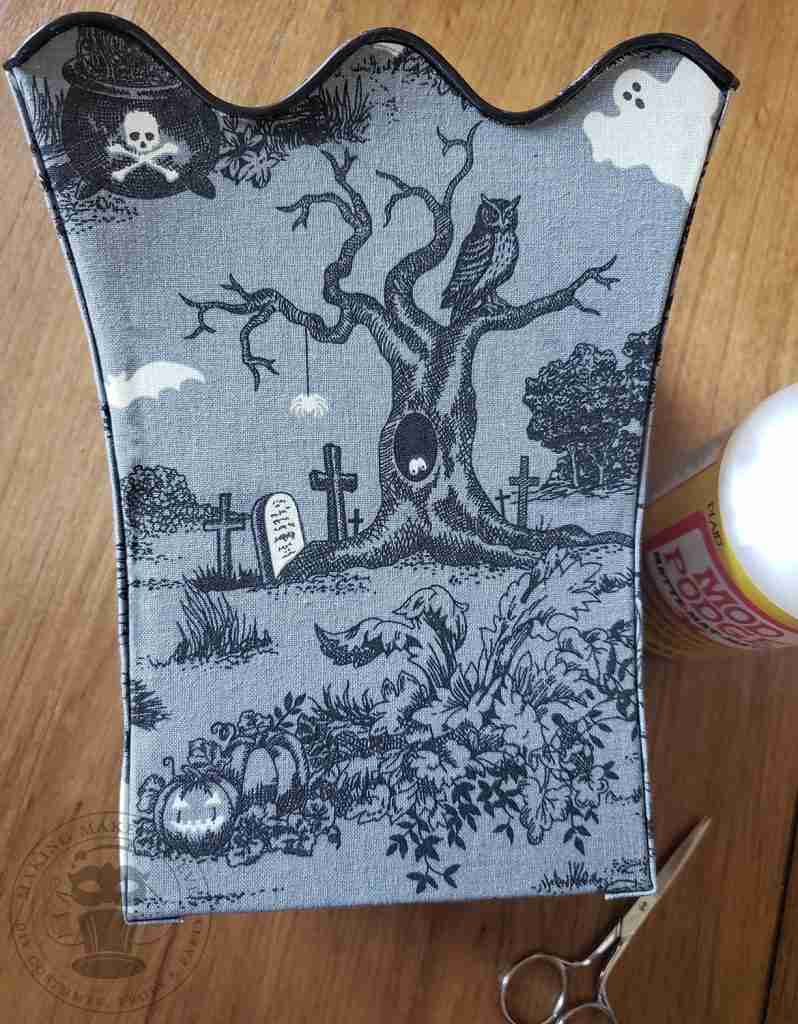
Now that the Halloween centerpiece container is complete, let’s up the eerie factor with some florals. First, I gathered up some assorted floral bits in blacks, purples, and greys, along with some dried twigs, berries, and eucalyptus.
Not satisfied with the dark botanicals, I decided to add a more creepy component, so I also grabbed some orange bell cup pods and googly eyes. We also need hot glue, floral foam, and glow-in-the-dark paint with a foam brush if desired.
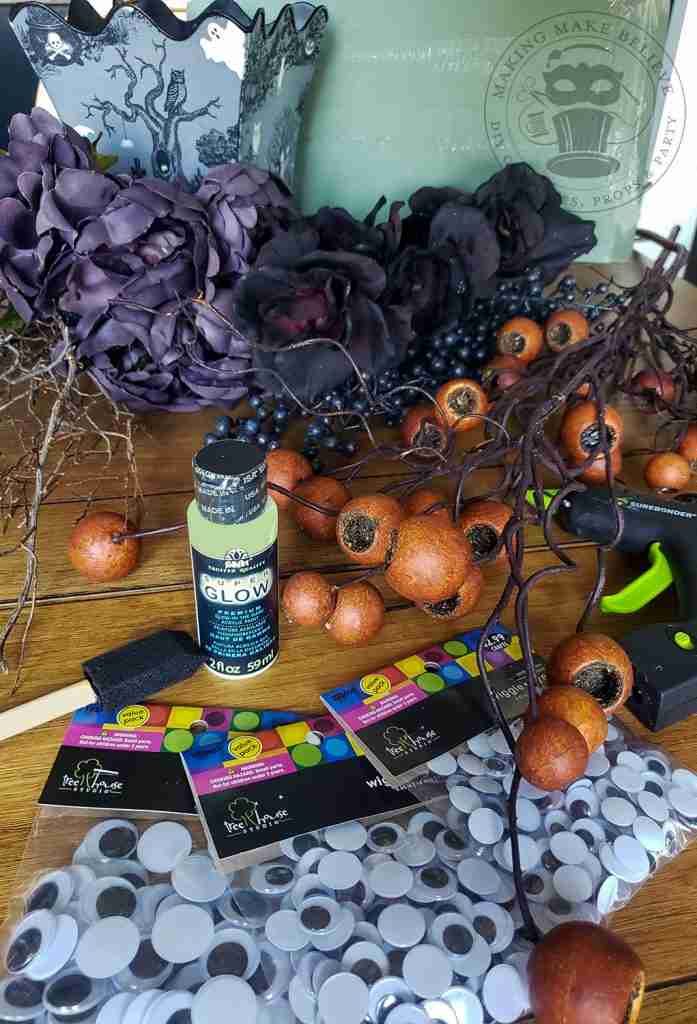
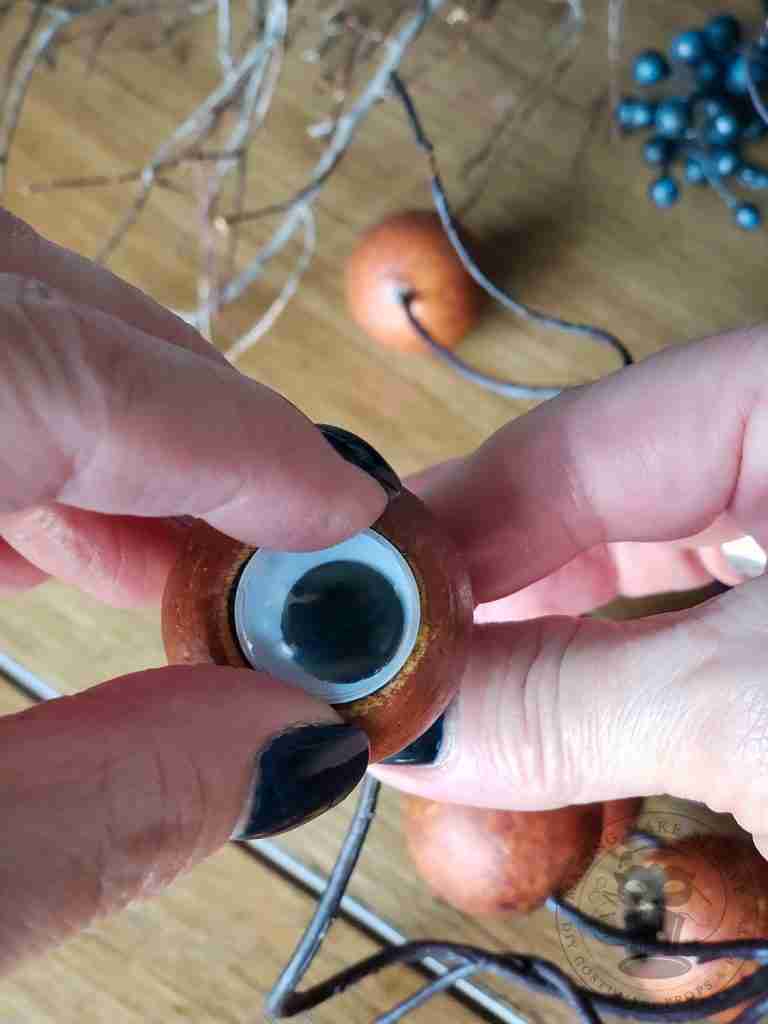
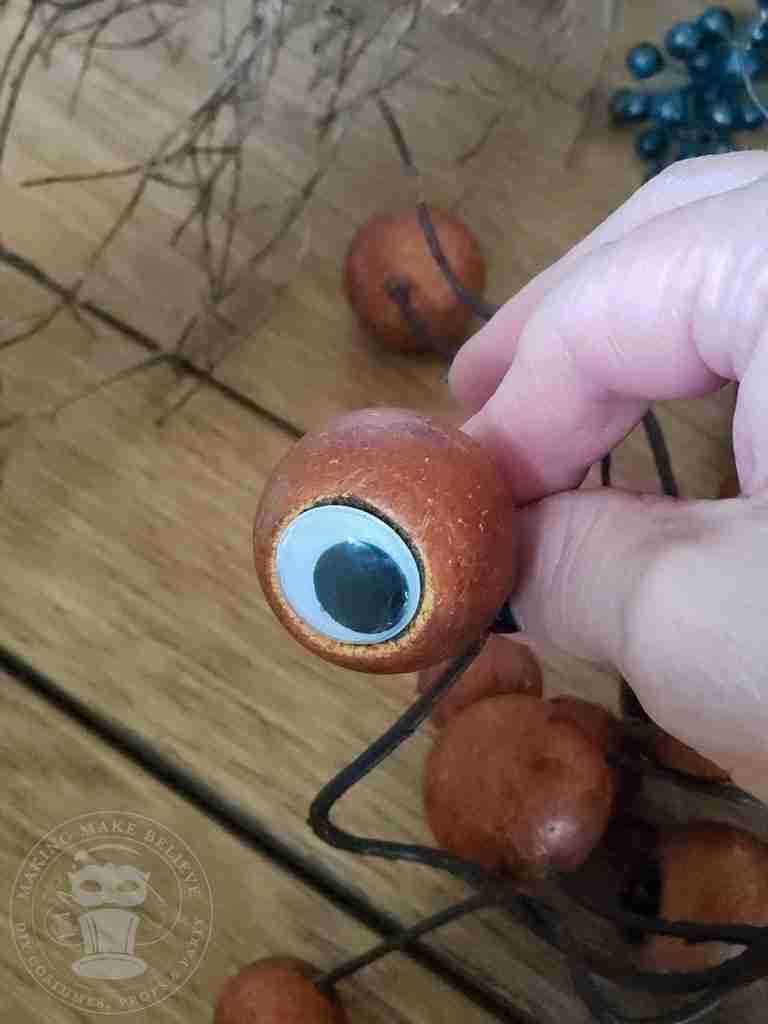
First, determine what size eyes you will need by measuring the opening of your pods. For example, my stem had three different sized pods requiring three different sized eyes. You want the eyes to set just along the edge of the opening rather than slide down inside.
I wanted my eyes to glow in the dark to complement my fabric on the container, but I could only find non-glowing eyes locally. So, since I didn’t wait on an online order, I decided to paint the backside of the eyes.
To make quick work of this, I placed painter’s tape, sticky side up on a plate, and stuck my eyes flat side up onto the tape. This method holds them in place, allowing me to add a heavy coat of paint without having to chase the eyes all over the place.
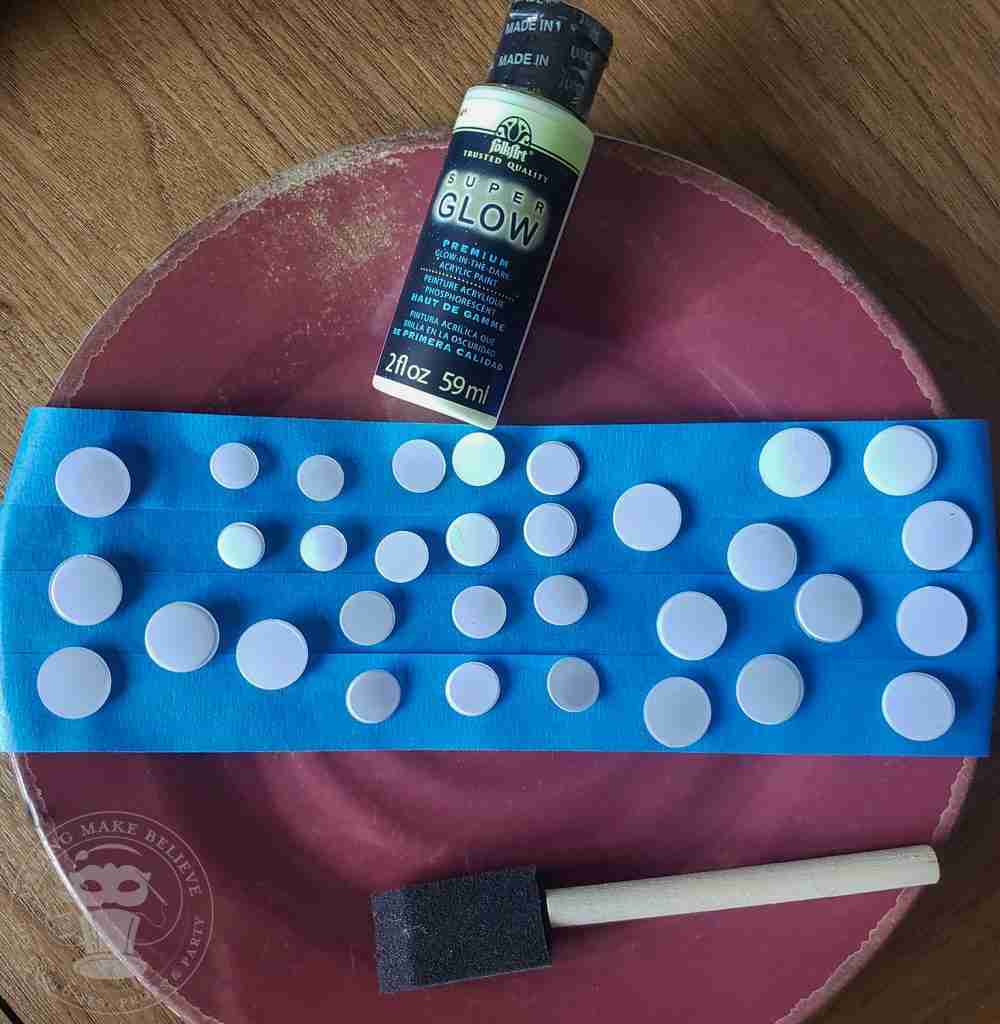
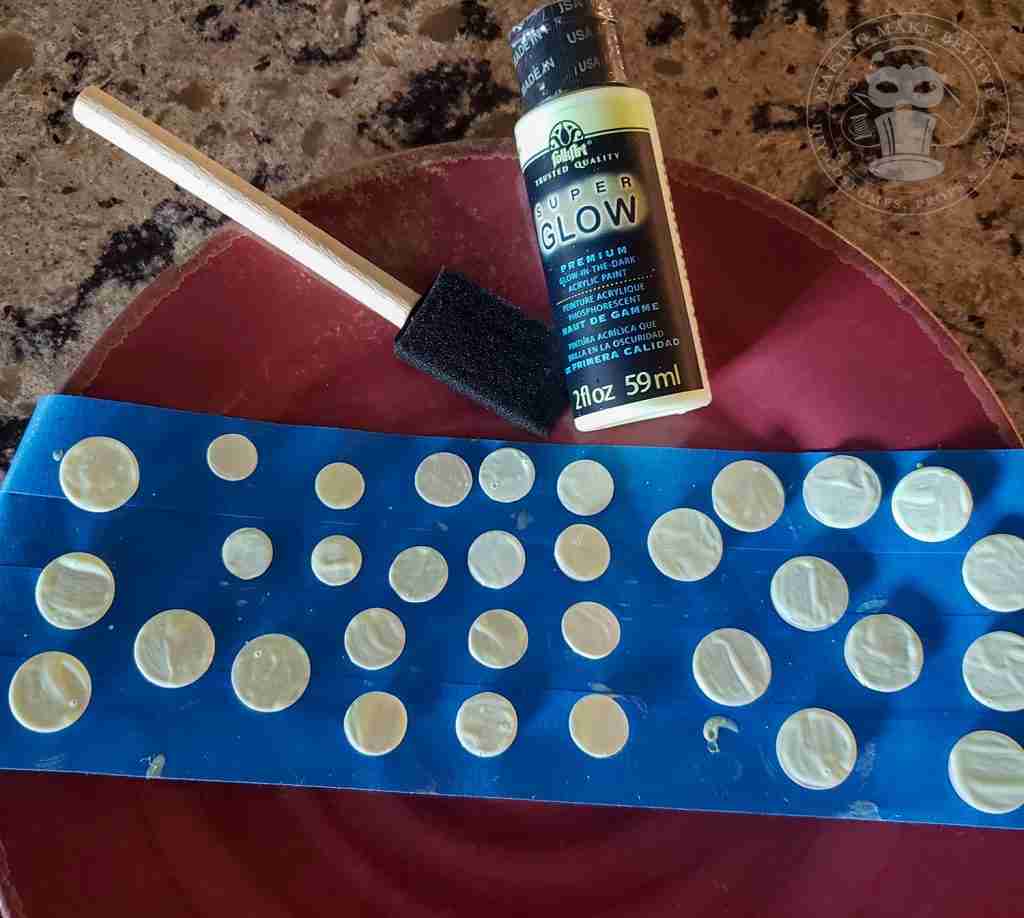
Test an eye or two to make sure that the glow is showing through to the front. Hit the eye with direct light for a minute or so, then check to make sure it glows in a dark room. Add more paint if needed.
Once the eyes are dry, take a small amount of hot glue, run it around the rim of a pod, and place the eye over the opening. Repeat for each pod.
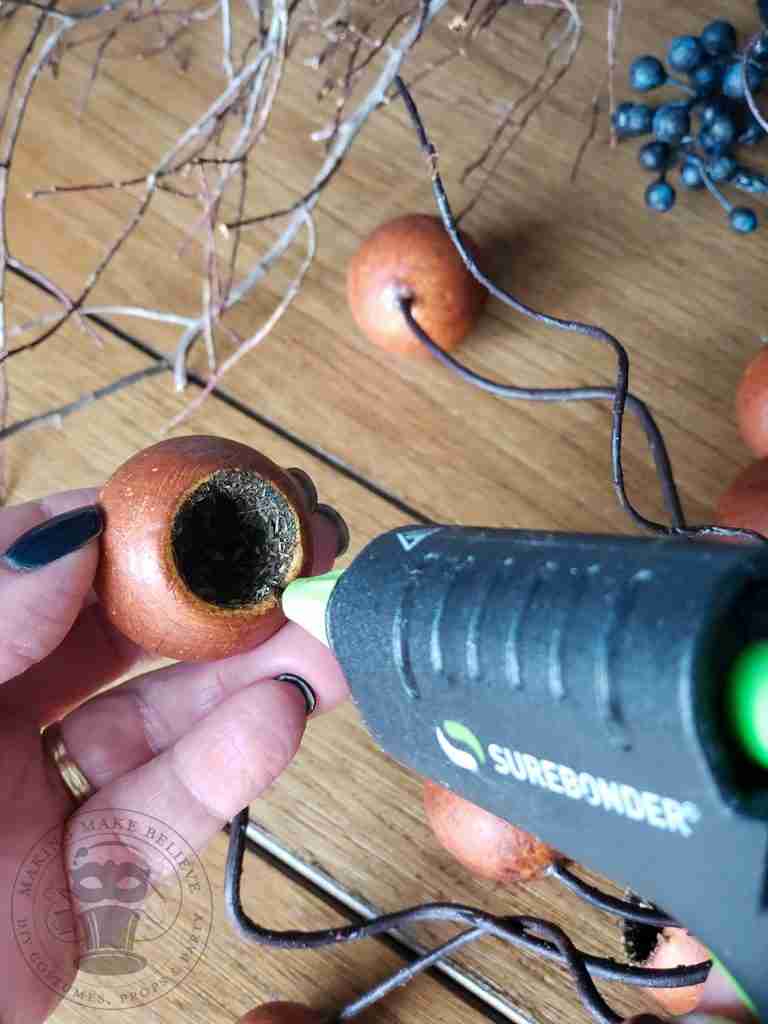
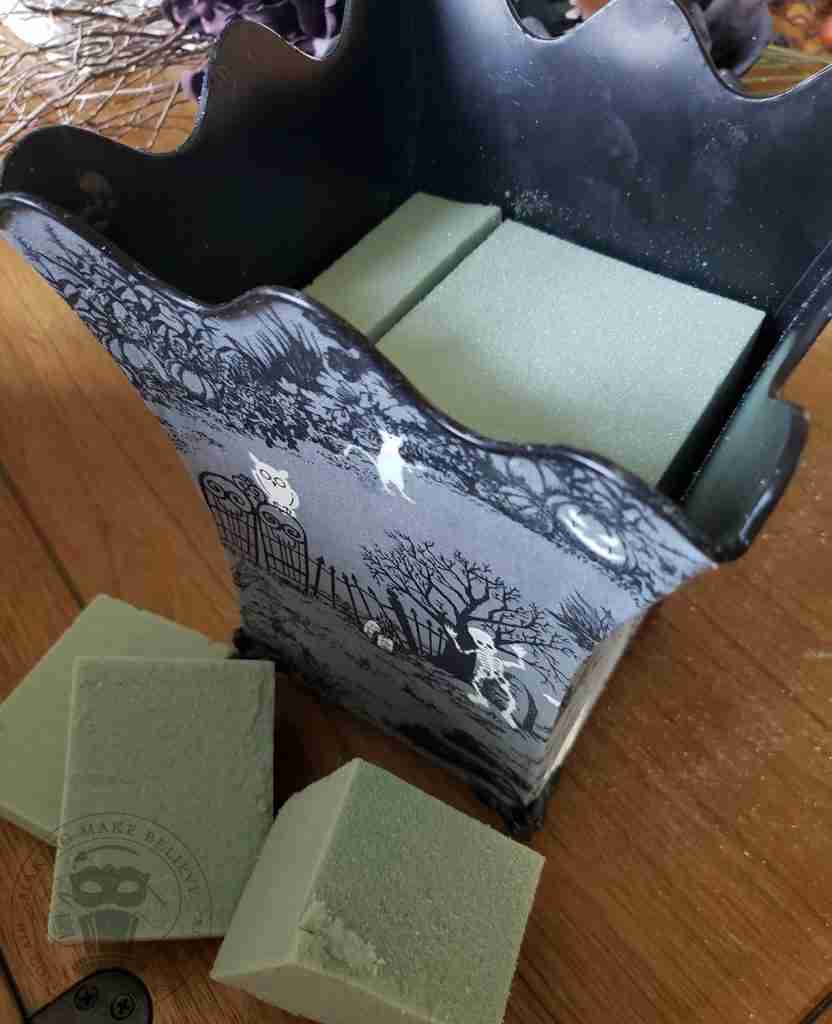
Fill your container with floral foam and begin arranging your stems. Keep building until you get the look you want.
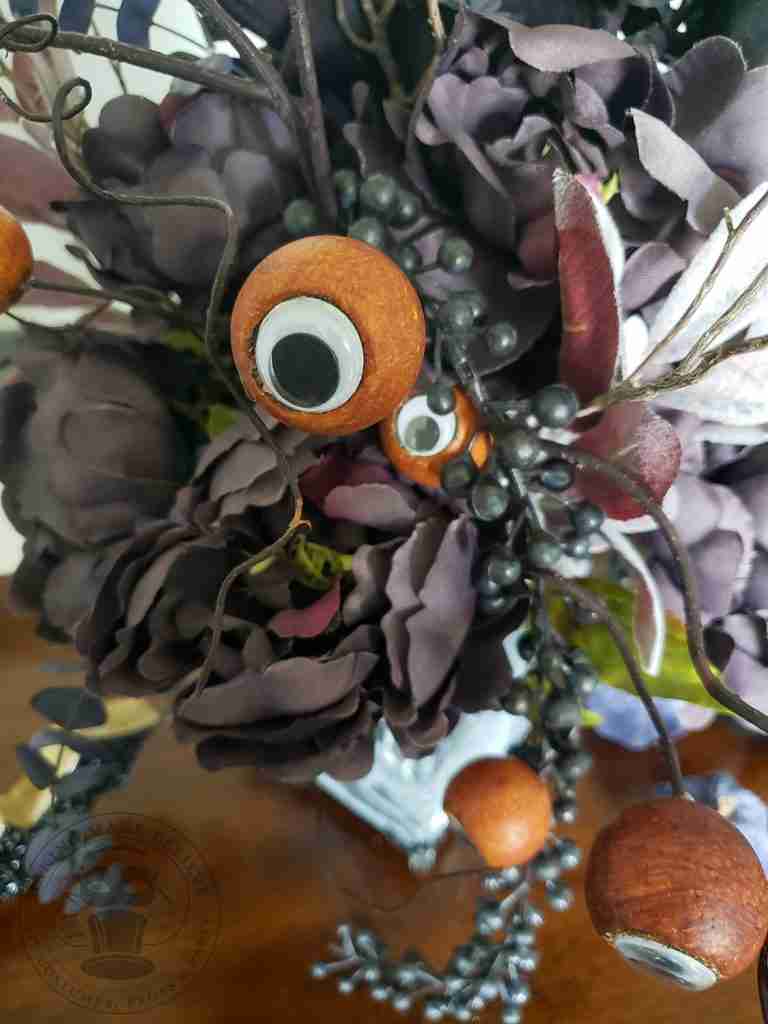
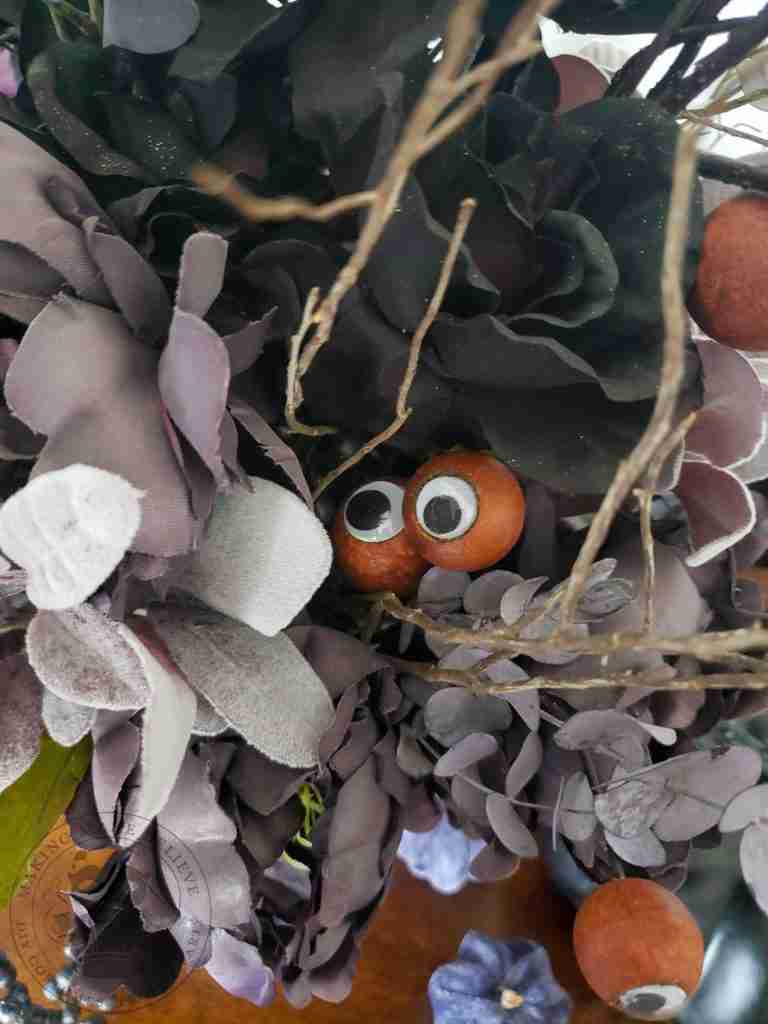
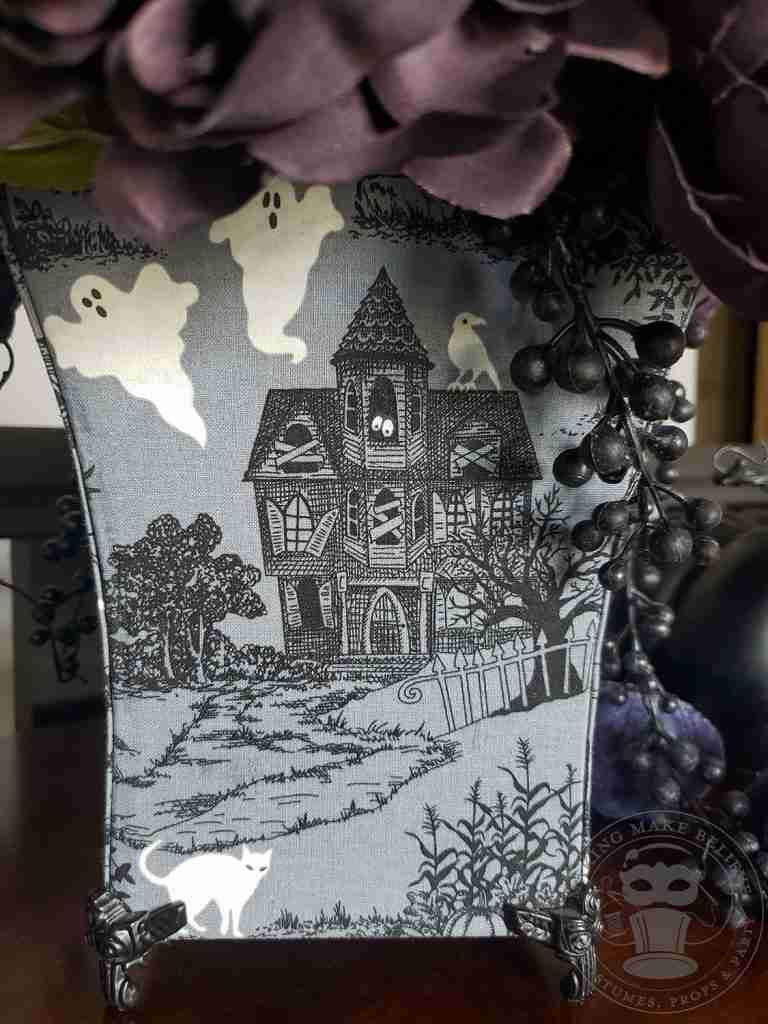
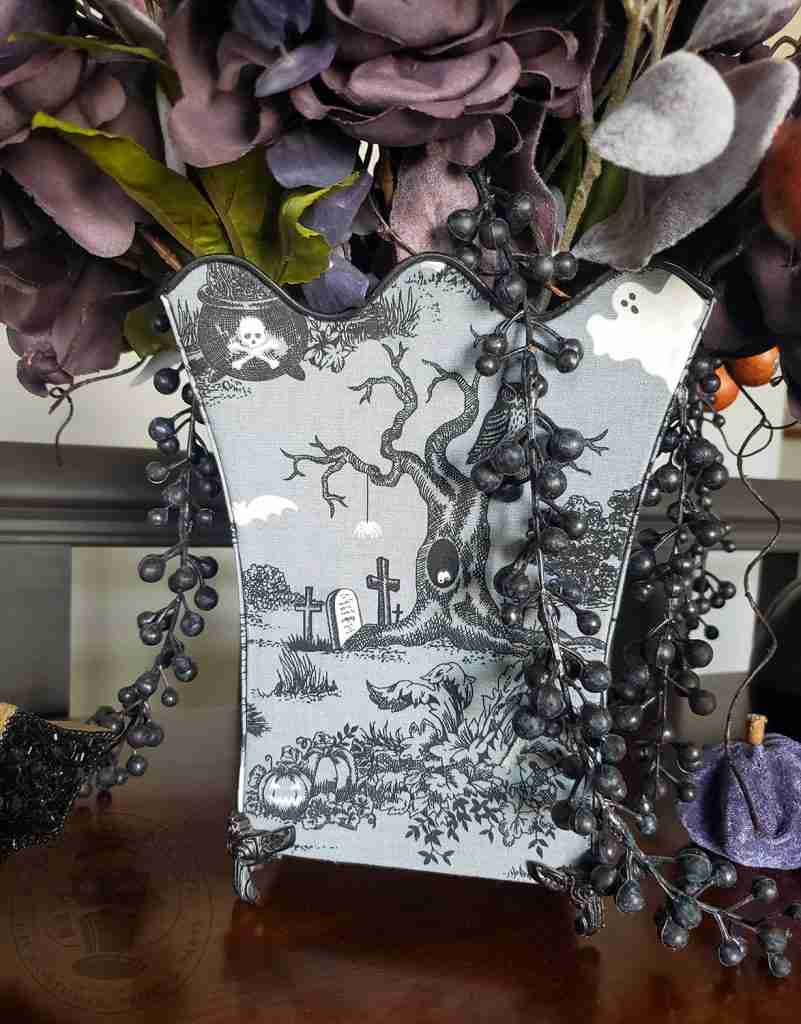
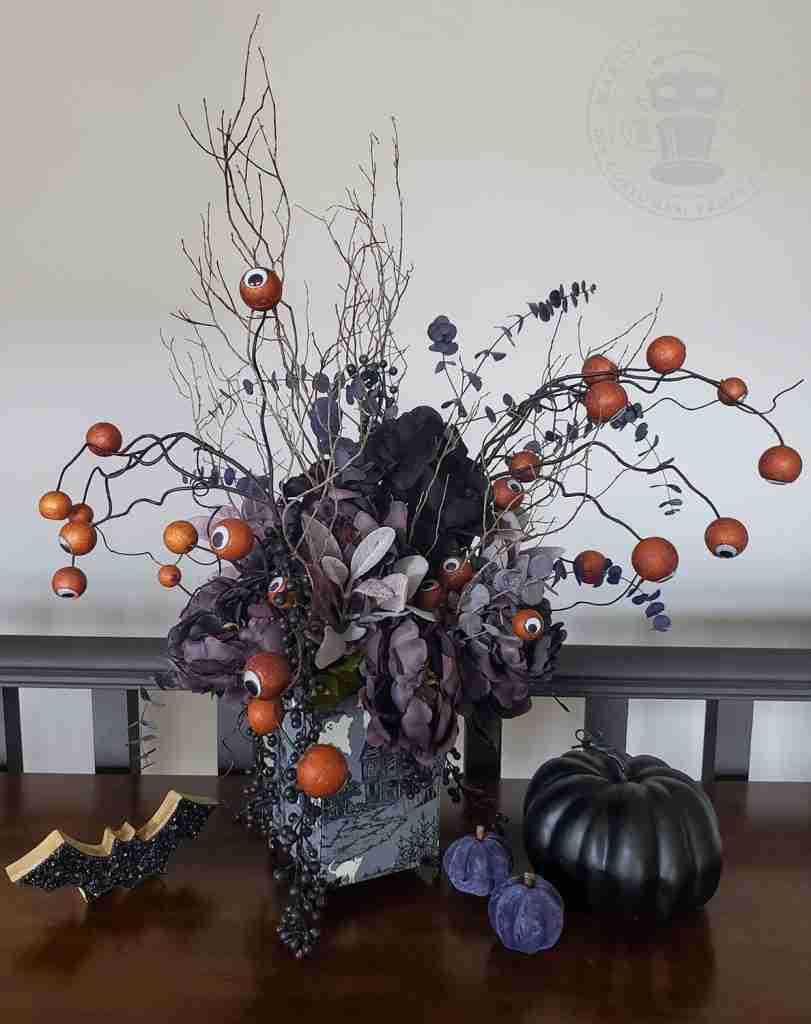
Floral arranging is not my strong suit, but I’m pretty happy with how this Halloween centerpiece turned out. During the day, it’s got a subtle creepy vibe with the dark florals, haunted fabric, and eerie eyes. But at night, the glow-in-the-dark elements give it a frightfully fun twist.
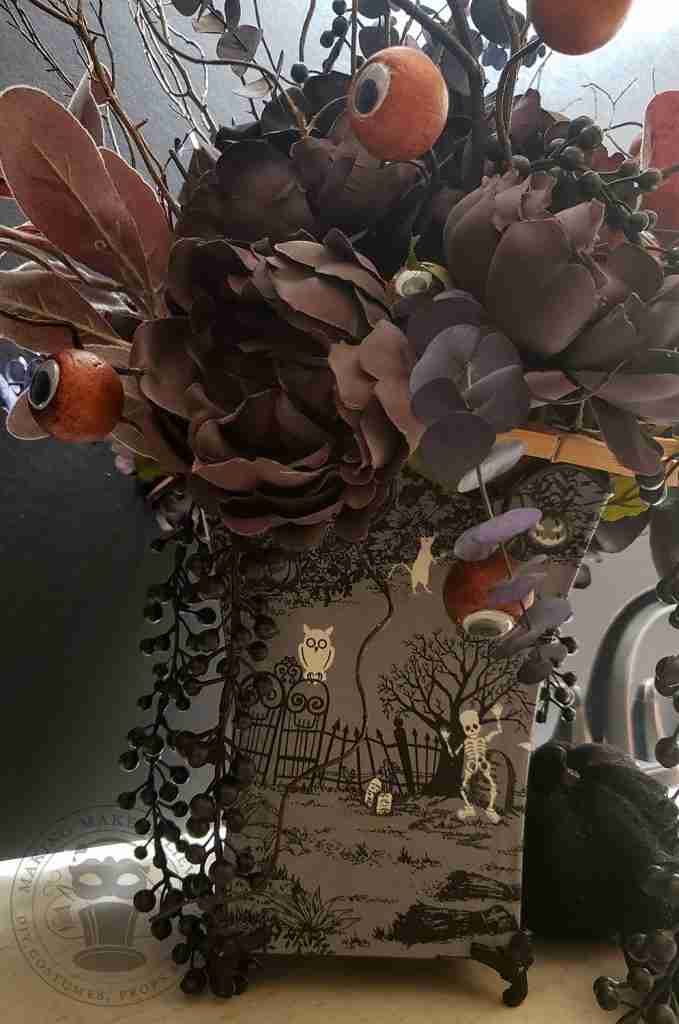
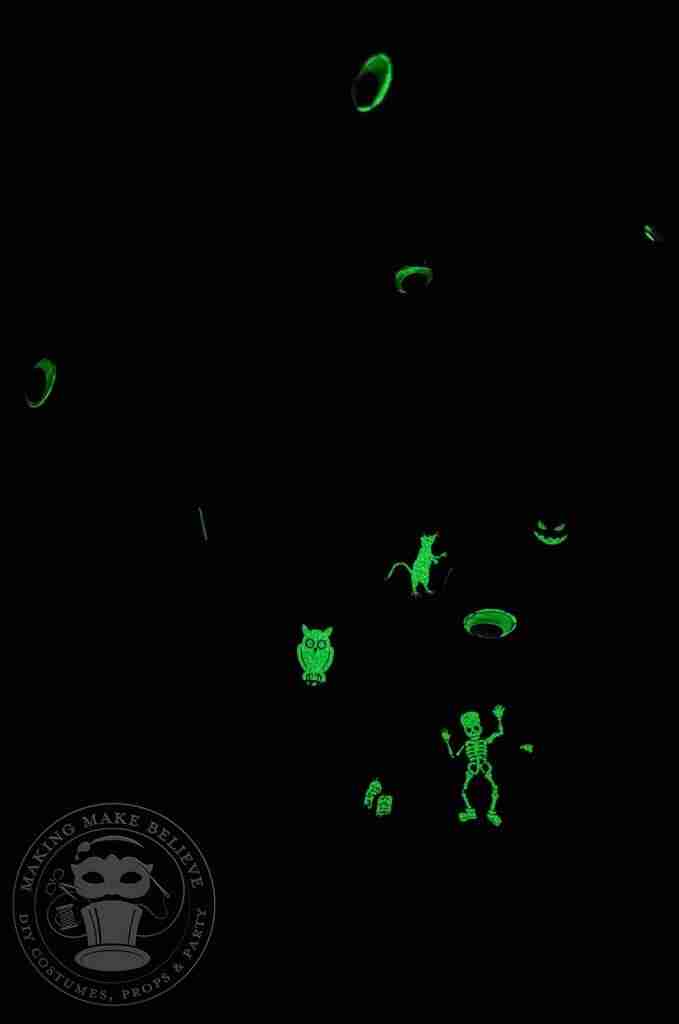
What do you think? Is this a project you want to try? Let me know on Instagram or Facebook.
Until next time, happy haunting.

Templates, patterns and printables for every project on the blog.

Counting down to Halloween since the 1970s. I create, style and celebrate all things costume and Halloween, all year round.
Welcome to my world of Halloween Ever After, where I create, style, and celebrate all things costume and Halloween.
Within these haunted pages lie affiliate links to curious and captivating finds I love. If you make a purchase through them, I may earn a modest commission (think fun-size candy bar), which helps keep the Halloween magic alive. No extra cost to you – cross my batty heart.



Check your email for the Haunted Library password.
Don’t miss a moment of the mischief.
Add hello@halloweeneverafter.com to your address book.
The magic happens right here in my studio and office. When you step inside my creative space, you’ll find an ever expanding gallery wall overflowing with original spooky art and classic Halloween LPs, right alongside a haunted cabinet packed to the brim with vintage curiosities.
It’s under the watchful eyes of these retro treasures that I design and craft.
Join us and get access to our Haunted Library stocked with templates, printables, cut files, and exclusive content. Plus, you’ll receive Eerie Emails just for our subscribers.
*Stay as long as you like. Unsubscribe at any time.


