Free templates & patterns
130+ freebies are waiting in the Haunted Library
Templates, patterns and printables for every project on the blog.
Formerly Making Make Believe · Join the Haunted Library

For several years we have decorated our front yard with a graveyard theme. We stage about a dozen skeletons in the yard doing various activities. We’ve had a bellhop skellie, skellie golfers, and a kid skellie on a swing, to name a few.
In most recent years, we’ve had only a few skeletons in the yard as, over time, the elements have taken their toll, and our population has dwindled. Of the few that remain, one has the job of walking the skeleton dogs and waving to neighbors as they drive by.
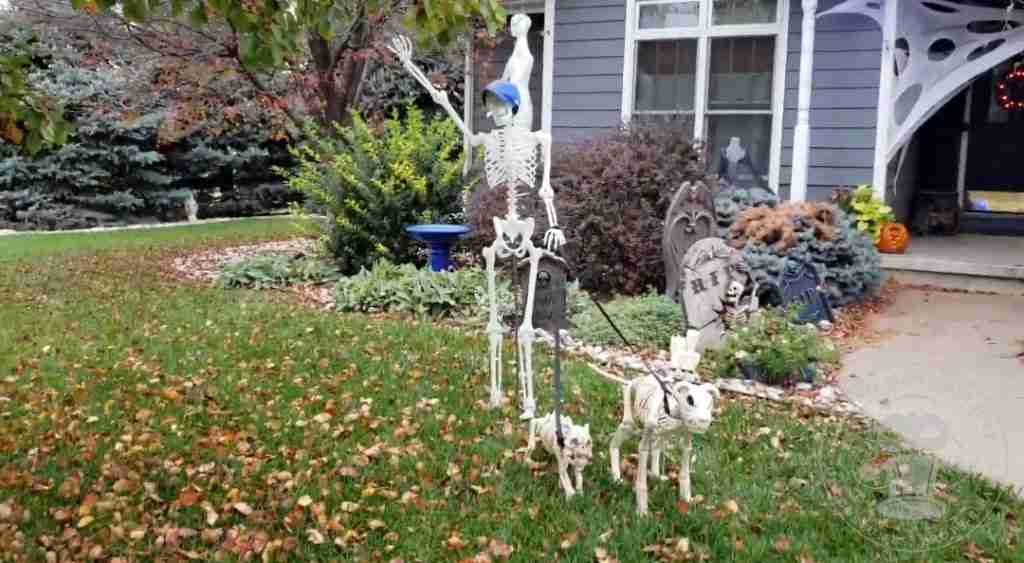
I remember when the skellie dogs came out. First was a medium-sized dog that we thought resembled our beagle, Newman, so getting it was a no-brainer. A couple of years later, they released a new squishy face dog that looked like our pug, Lou. We’ve since added a third dog in honor of Lily Pug.
The Halloween prop field is teaming with skeleton critters – cats, birds, fish, snakes, spiders, rats, owls, and even dragons. I think it’s time to switch things up a bit, so I’m going to give our plain little skellie crow a zombie makeover.
Let’s get started.
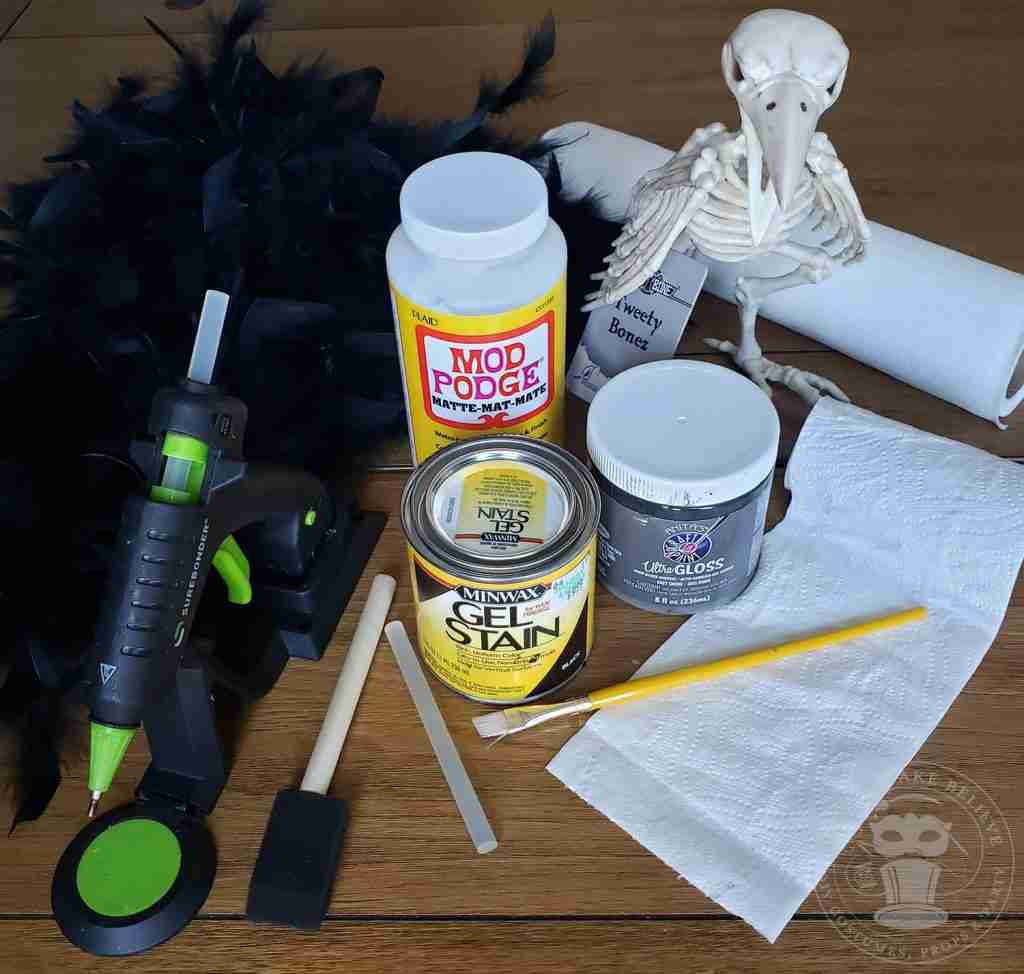
We will need:
Skeleton crow or other skeleton critter
Minwax Gel Stain (your color choice)
Foam brush
Paper towels
Mod Podge
Water
Flat paintbrush
Few sheets of toilet tissue
Craft paint
Black feather boa
Hot glue gun and glue sticks
Before I started the staining process, I separated the wings and feet from the body. If your skeleton has removable screws, I suggest you do the same to make it easier to get into the crevices.
Use your foam brush to add the stain to your crow, making sure to get into all the nooks and crannies.
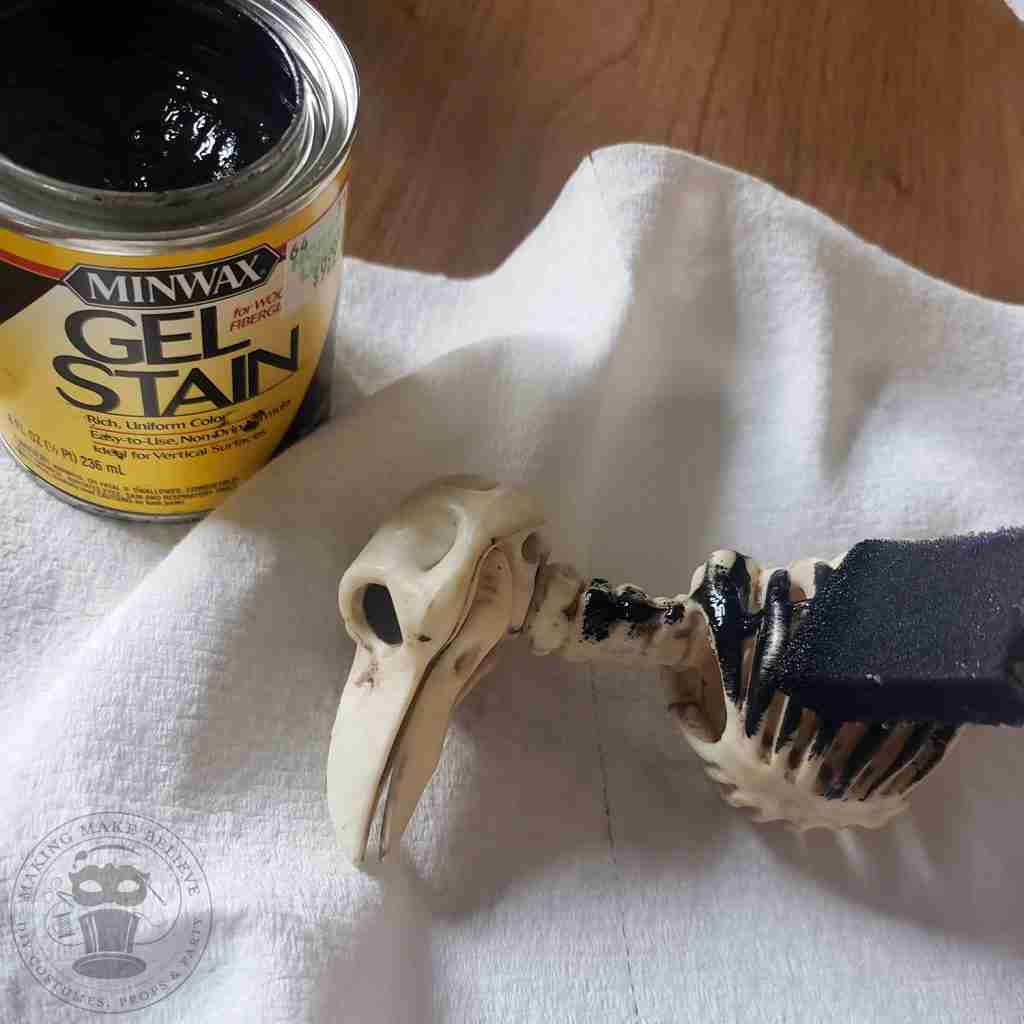
After you’ve covered an area, use the paper towel to wipe away the stain as much or as little as you like. I like to leave the recessed areas fairly dark to add dimension.
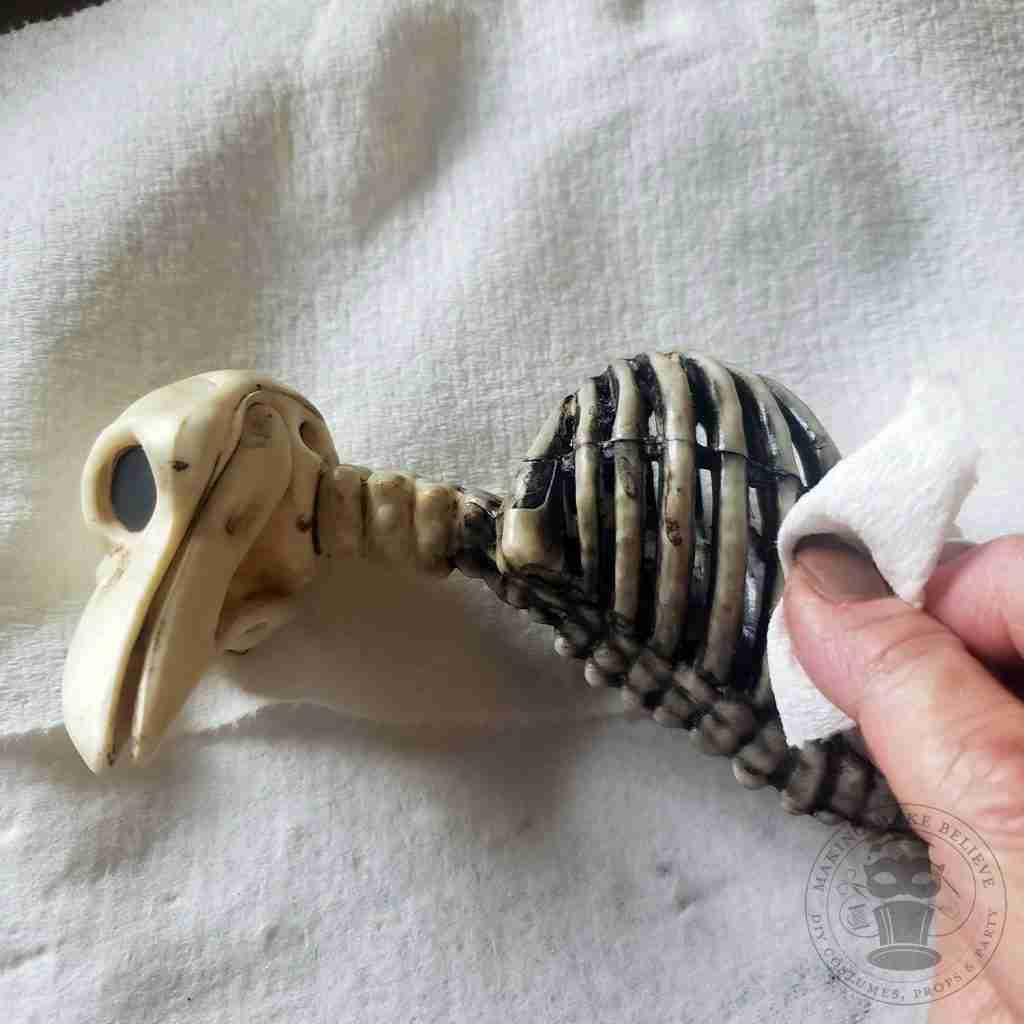
Once you’ve finished staining the entire skeleton, let your stain dry overnight. When it’s dry, you can reassemble it.
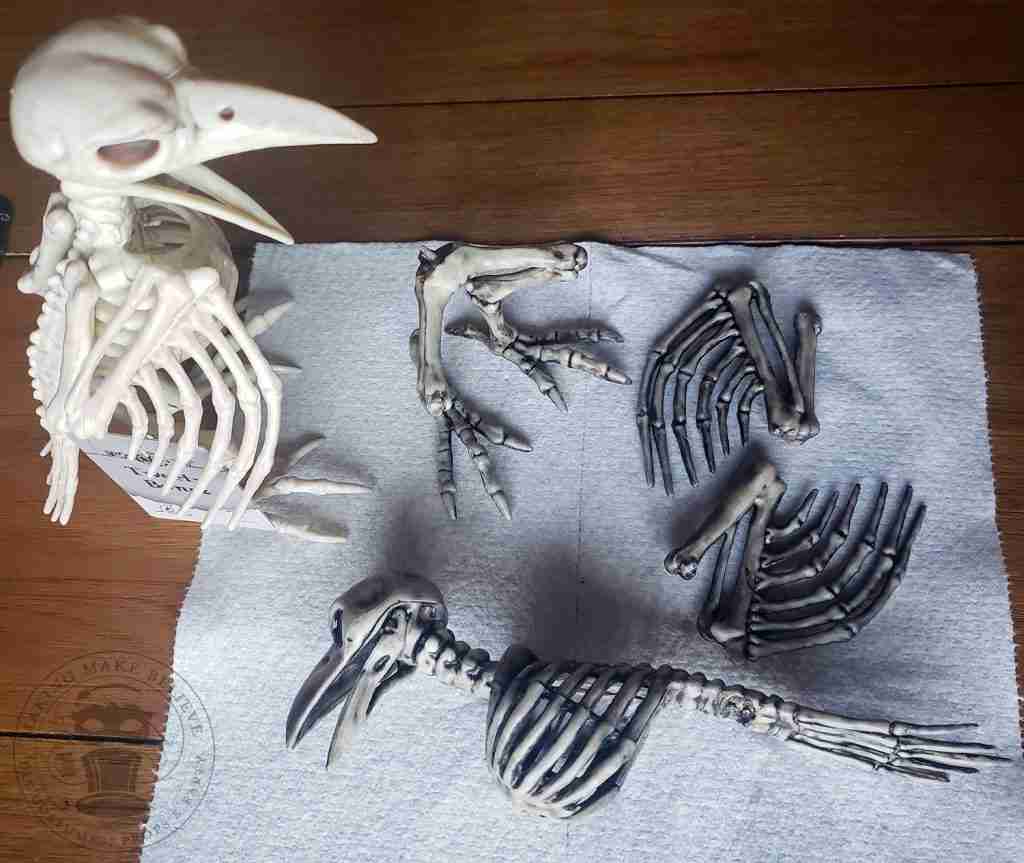
At this point, your skellie is looking more creepy, but we can do more.
Grab a few sheets of toilet tissue and separate the ply. Tear your sheets into smaller pieces eliminating any straight edges.
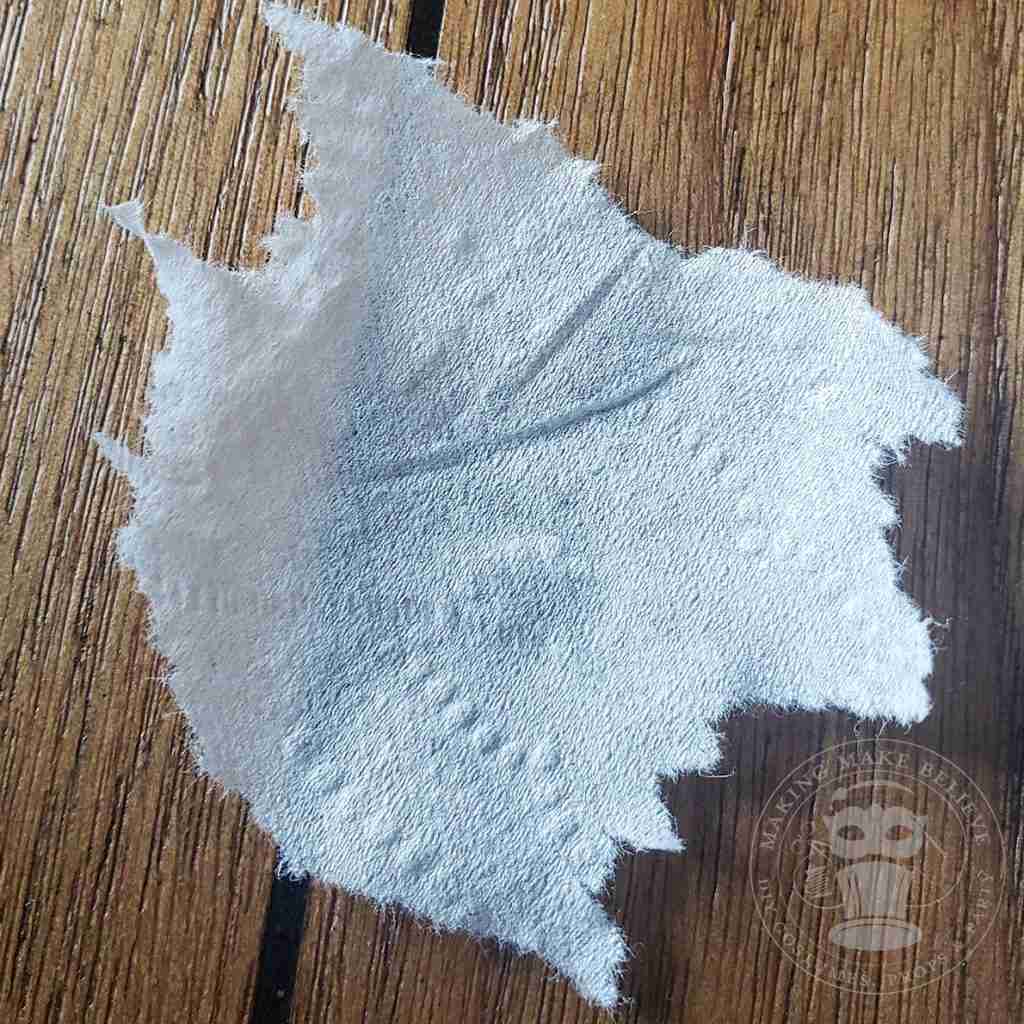
Using a damp flat paintbrush, spread Mod Podge onto a small area of your skeleton crow. Place the torn tissue on top of the Mod Podged area, then use more diluted Mod Podge on top of the tissue. Less is more here; keep your brush damp and use small amounts of the Mod Podge.
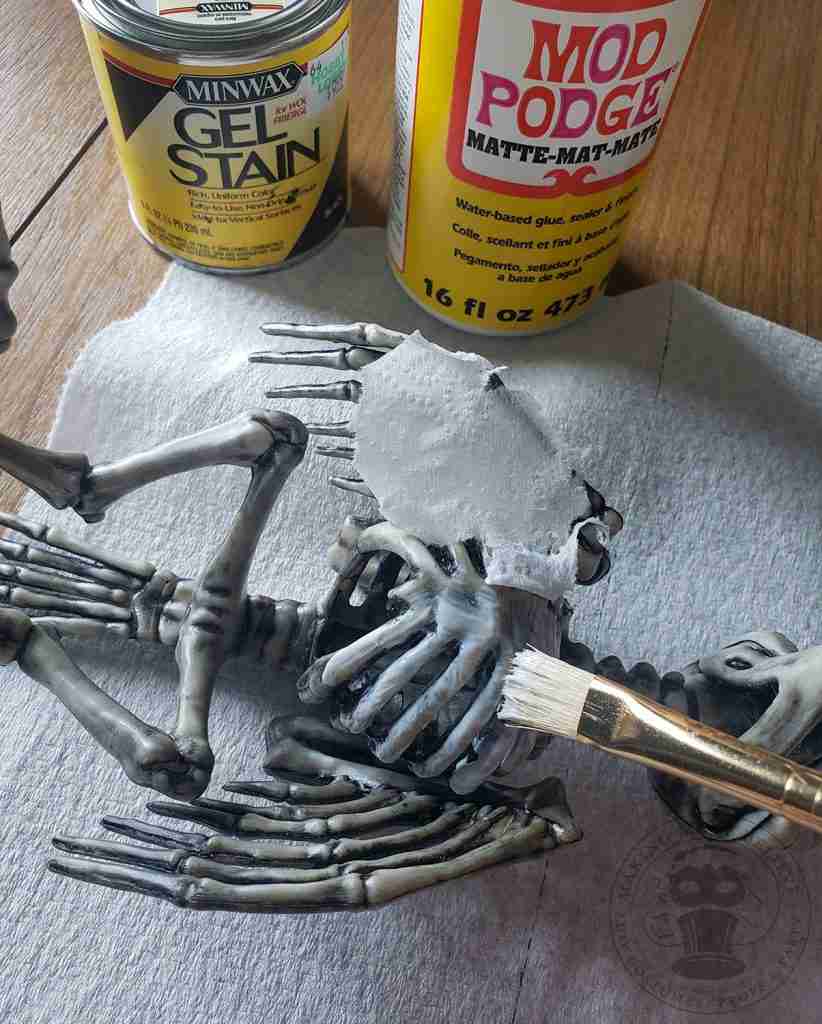
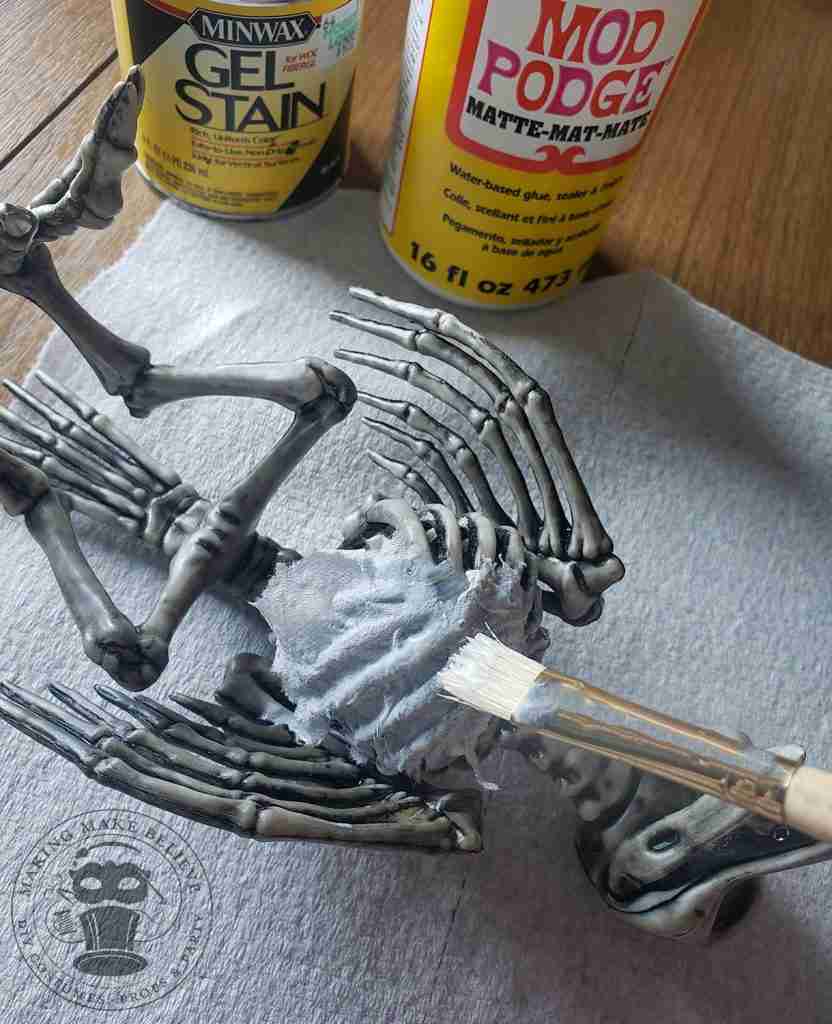
Get creative, adding wrinkles and texture to your piece. Try leaving some areas of bone exposed for a spooky look.
Allow the tissue paper to dry completely.
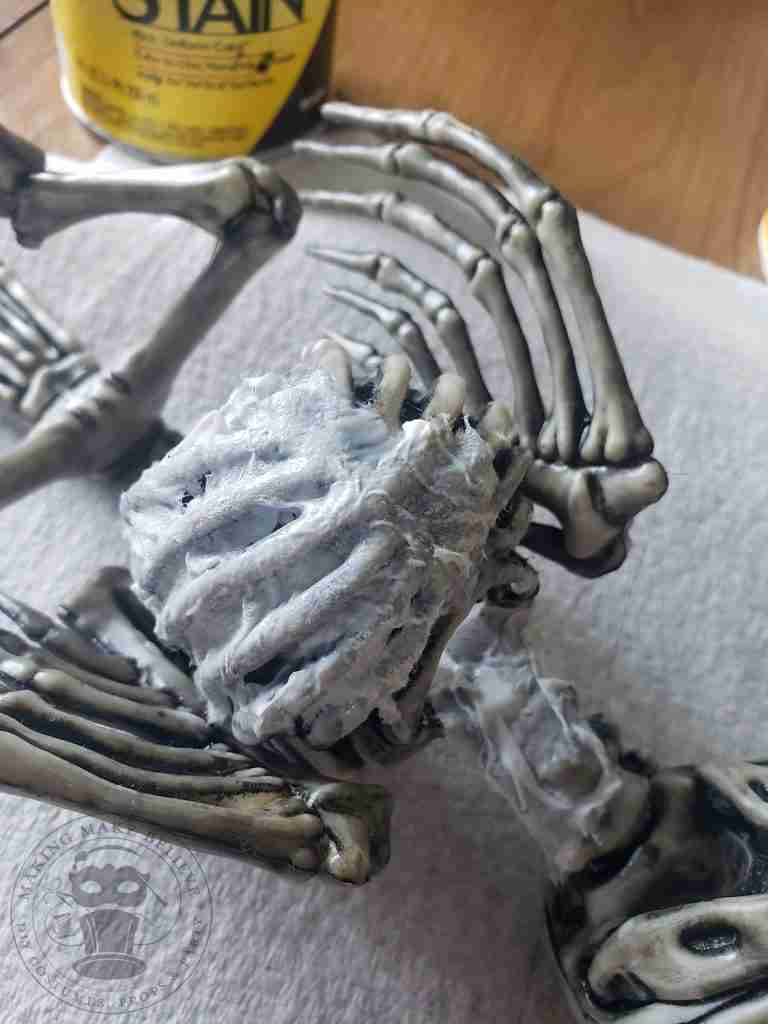
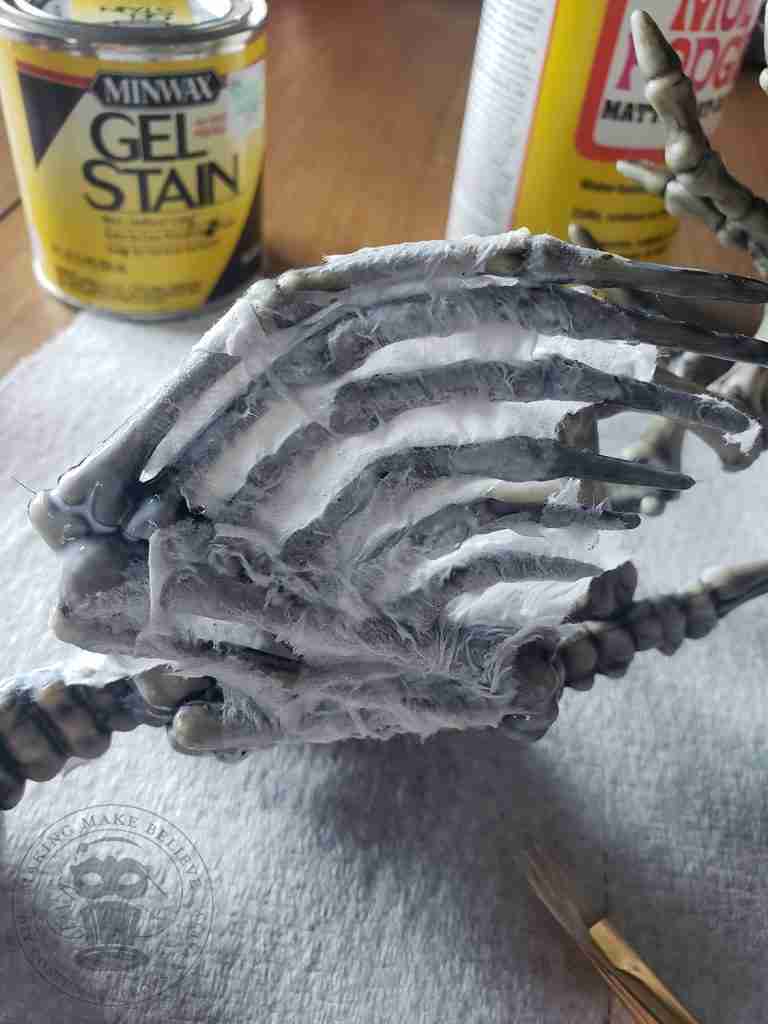
Creepy enough? Not yet.
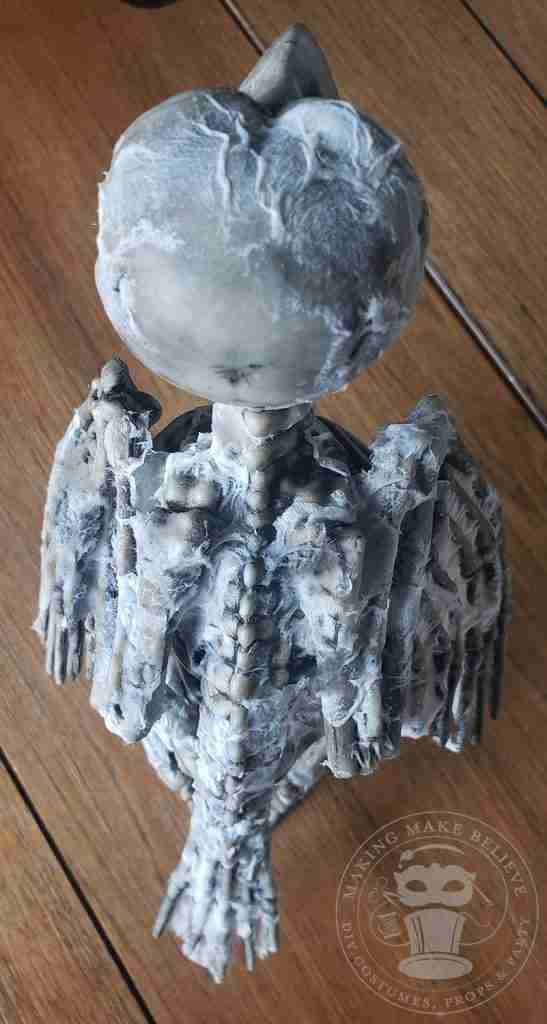
Dip your paintbrush into the craft paint and wipe it on a paper towel, leaving very little color on your brush. Gently dry brush the paint onto the tissue areas of your skellie bird.
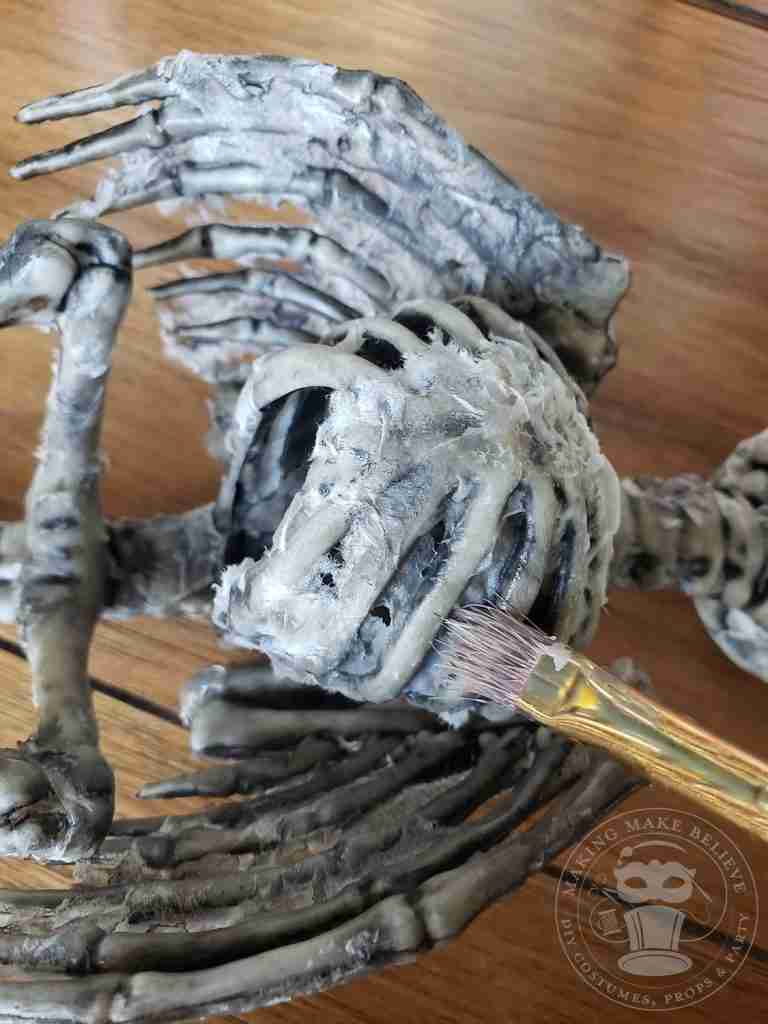
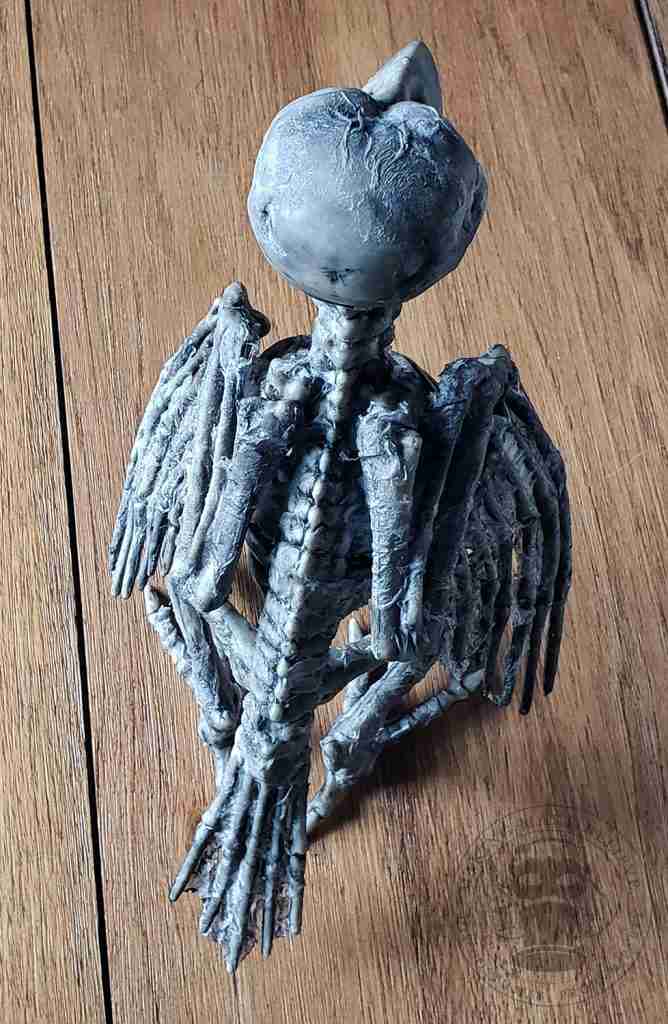
Now our crow is looking very zombified. But wait, there’s more!
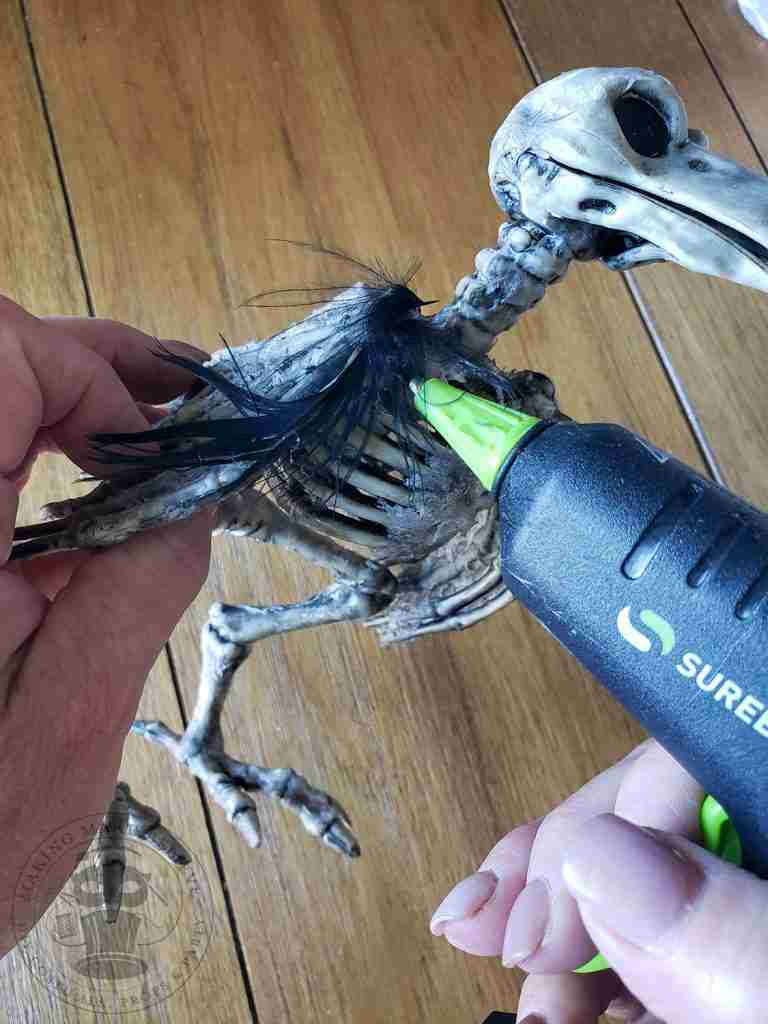
Gently remove some feathers from the boa and randomly hot glue them onto the crow.
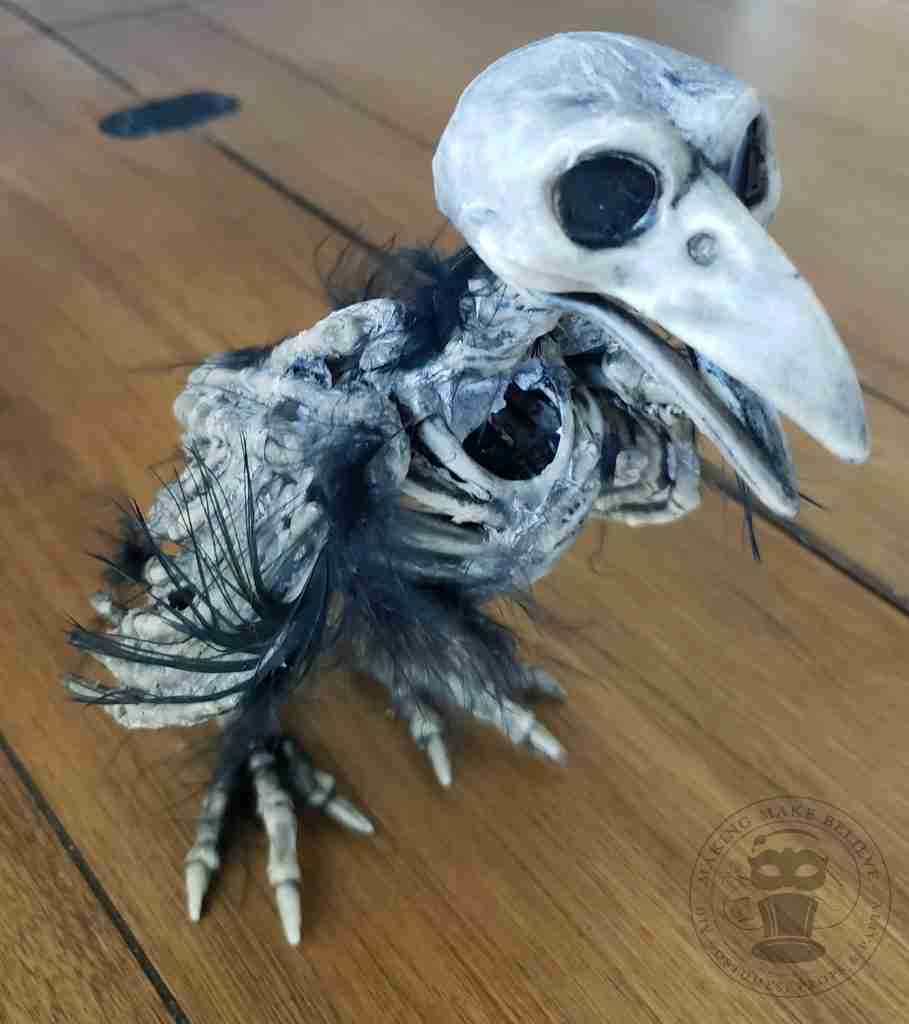
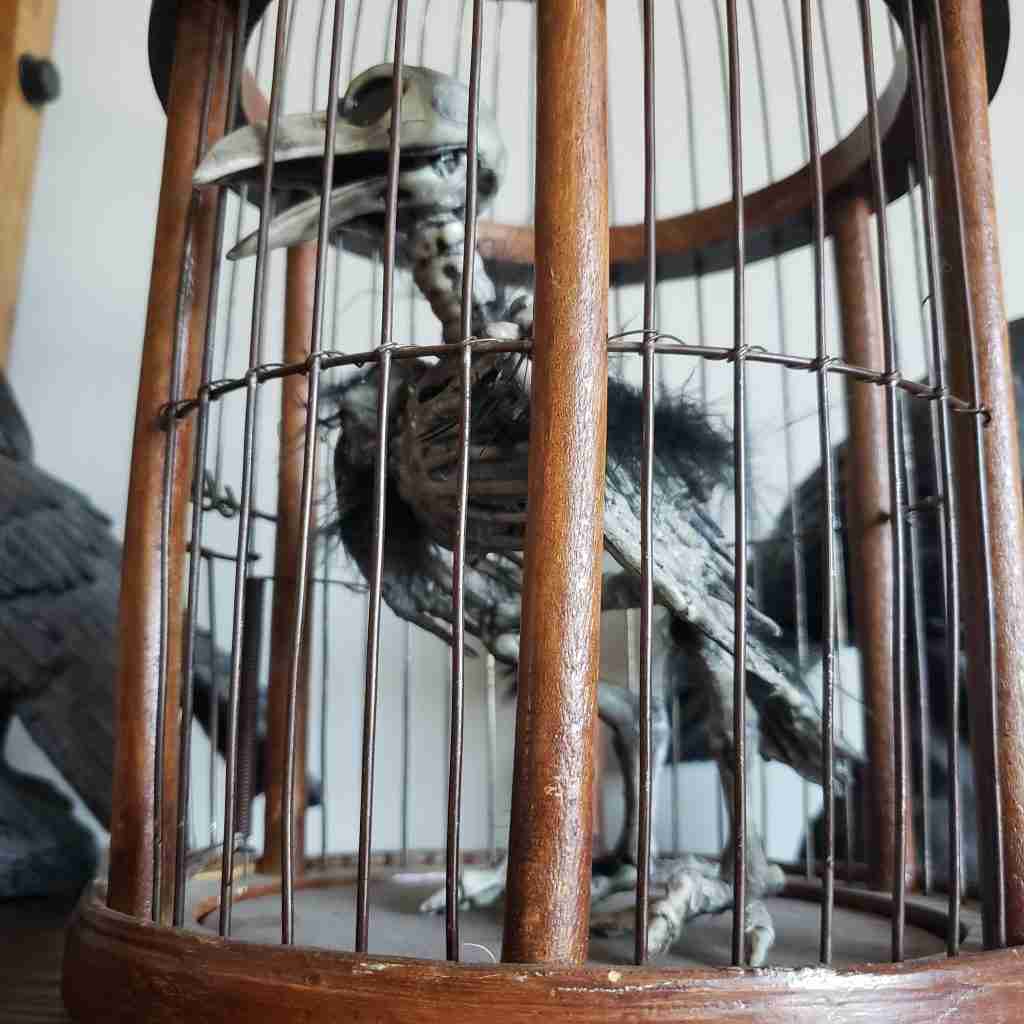
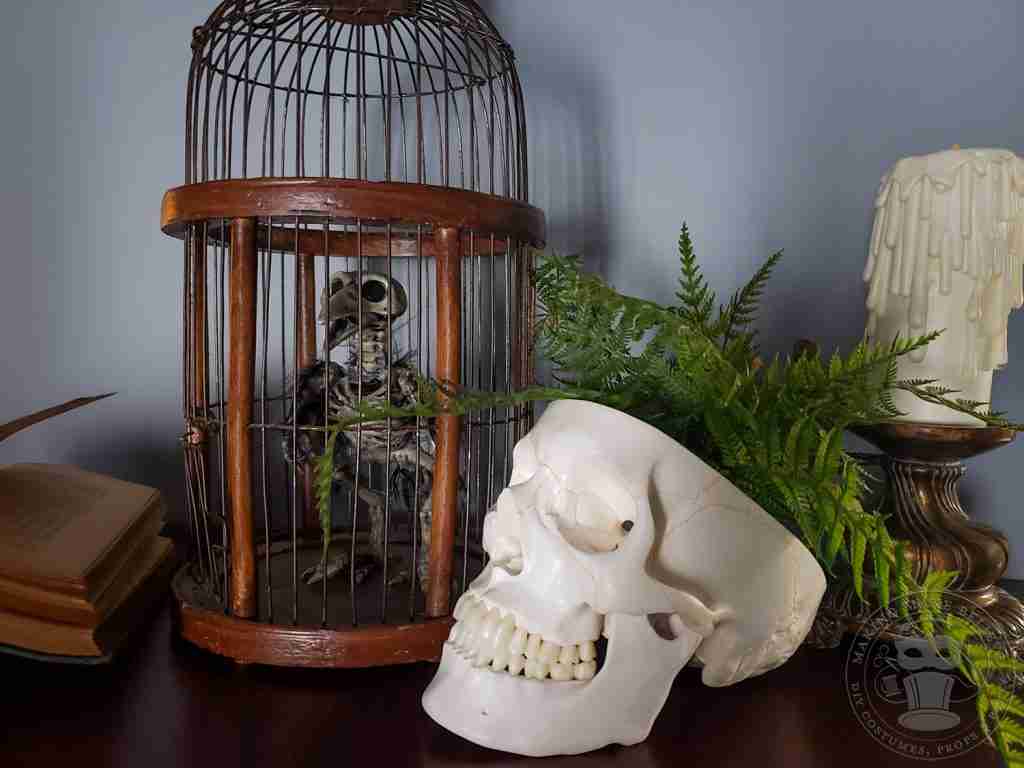
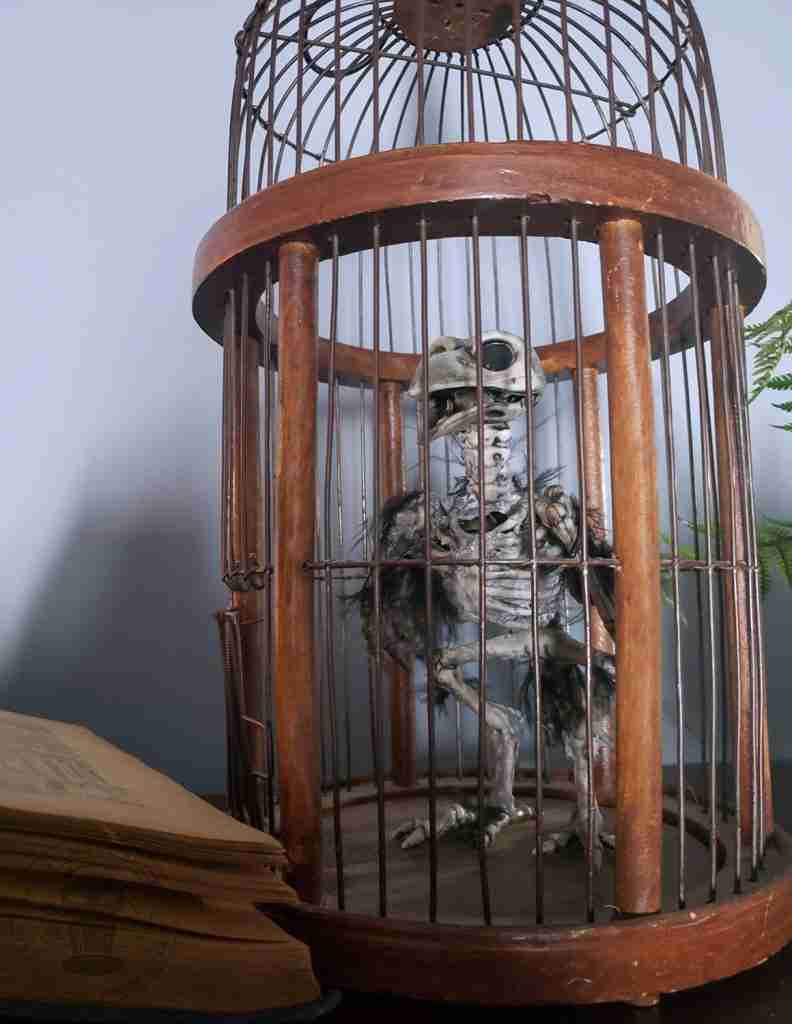
And now you’re skeleton bird is fully transformed into a creepy zombie crow ready to haunt your house or party. All you need to do to stage your skellie is place it in a birdcage and direct some eerie lighting in his direction. (Check out our Creepy Graveyard Candle to make one for your cemetery.)
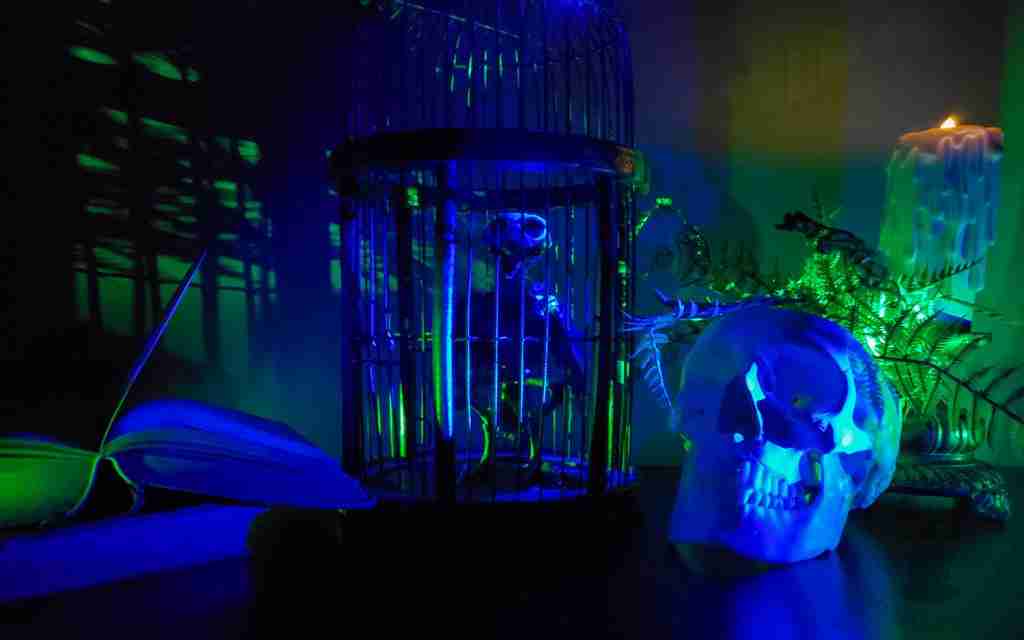
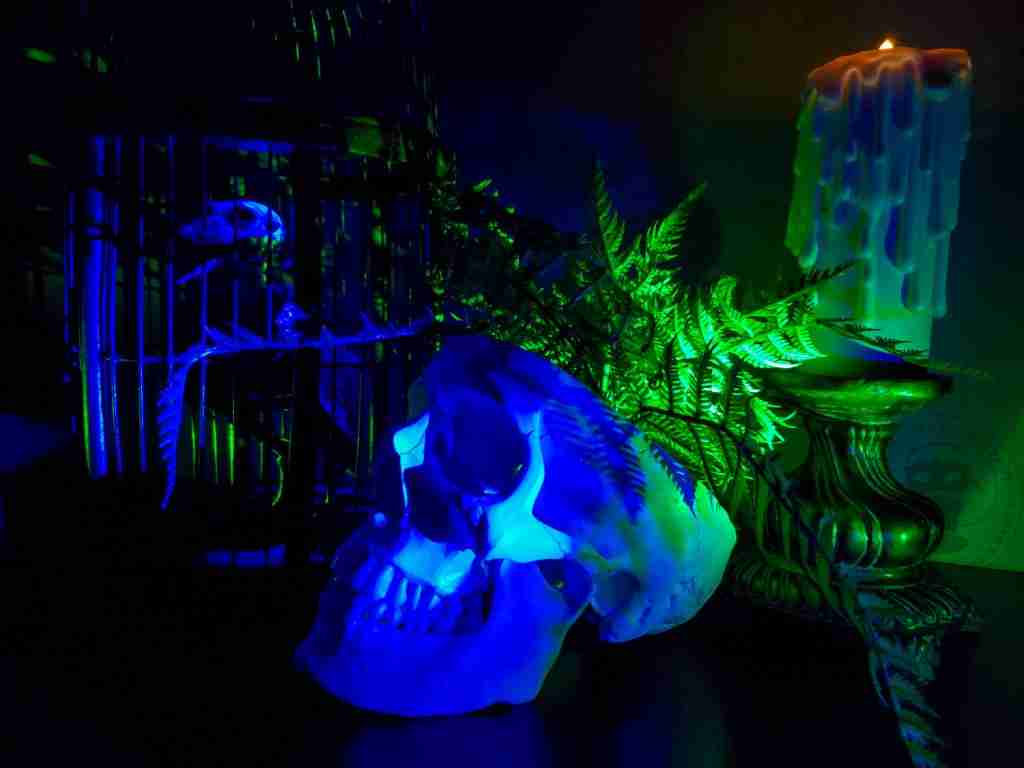
I love this little guy. It’s a fun and spooky piece that’s perfect for any haunted house. But, what do you think? Is this a project you want to try? Let me know on Instagram or Facebook.
Until next time, stay spooky.

Templates, patterns and printables for every project on the blog.

Counting down to Halloween since the 1970s. I create, style and celebrate all things costume and Halloween, all year round.
Welcome to my world of Halloween Ever After, where I create, style, and celebrate all things costume and Halloween.
Within these haunted pages lie affiliate links to curious and captivating finds I love. If you make a purchase through them, I may earn a modest commission (think fun-size candy bar), which helps keep the Halloween magic alive. No extra cost to you – cross my batty heart.



Check your email for the Haunted Library password.
Don’t miss a moment of the mischief.
Add hello@halloweeneverafter.com to your address book.
The magic happens right here in my studio and office. When you step inside my creative space, you’ll find an ever expanding gallery wall overflowing with original spooky art and classic Halloween LPs, right alongside a haunted cabinet packed to the brim with vintage curiosities.
It’s under the watchful eyes of these retro treasures that I design and craft.
Join us and get access to our Haunted Library stocked with templates, printables, cut files, and exclusive content. Plus, you’ll receive Eerie Emails just for our subscribers.
*Stay as long as you like. Unsubscribe at any time.


